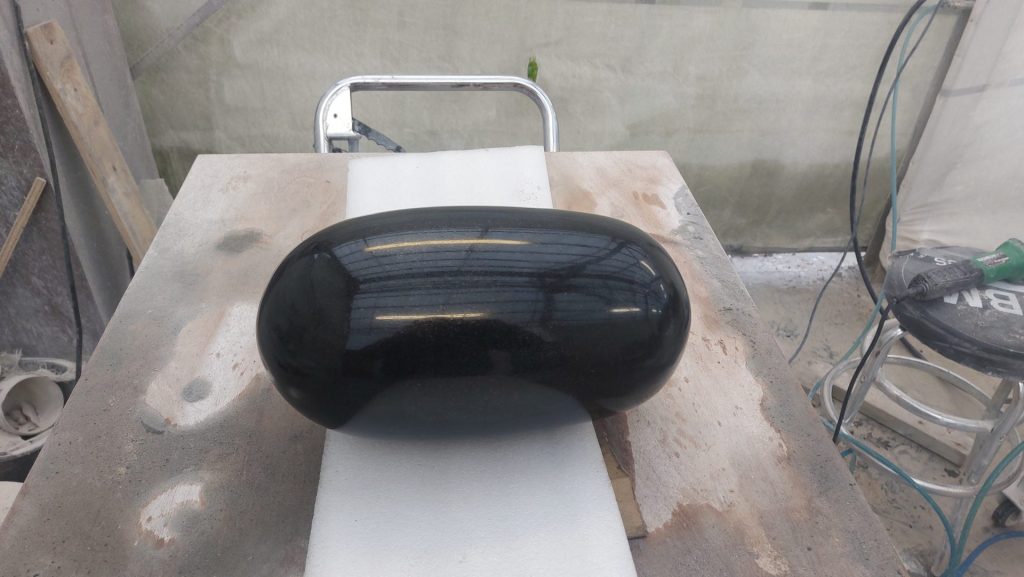
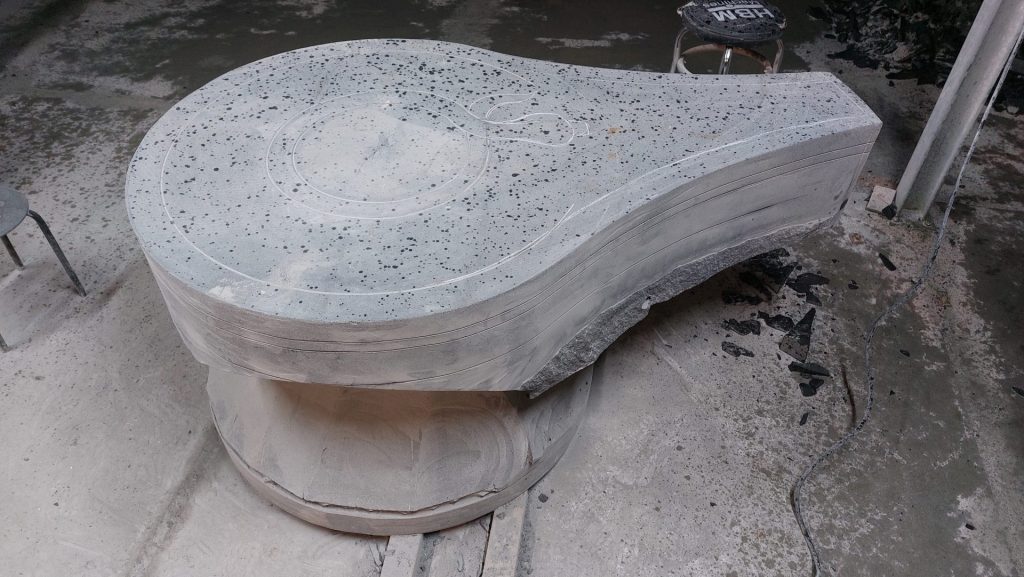
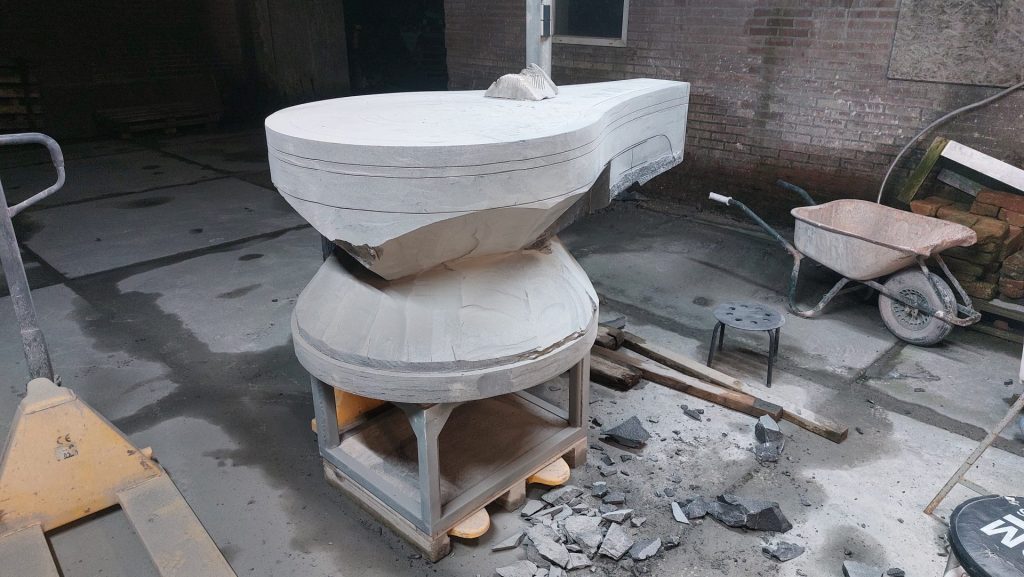
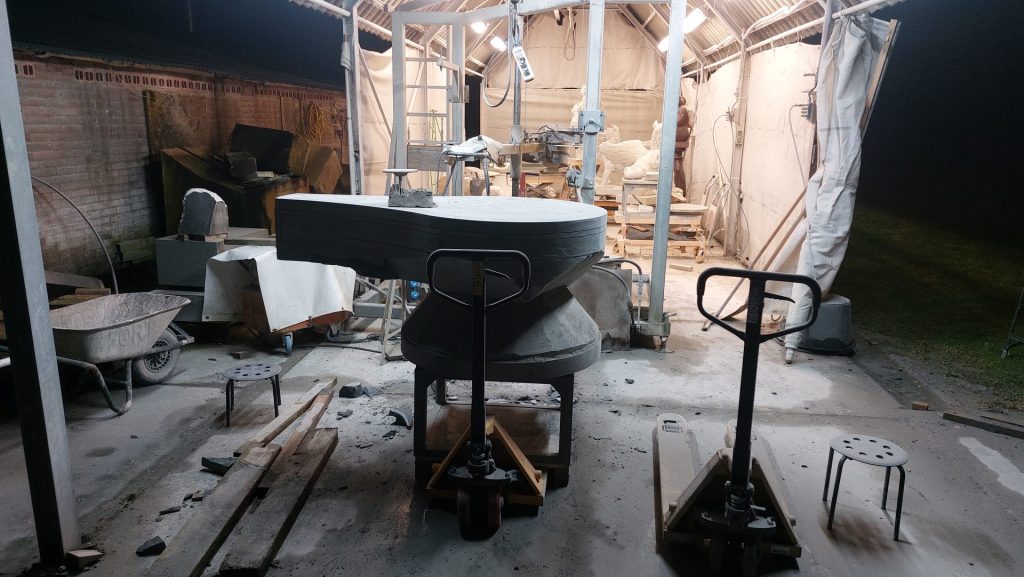
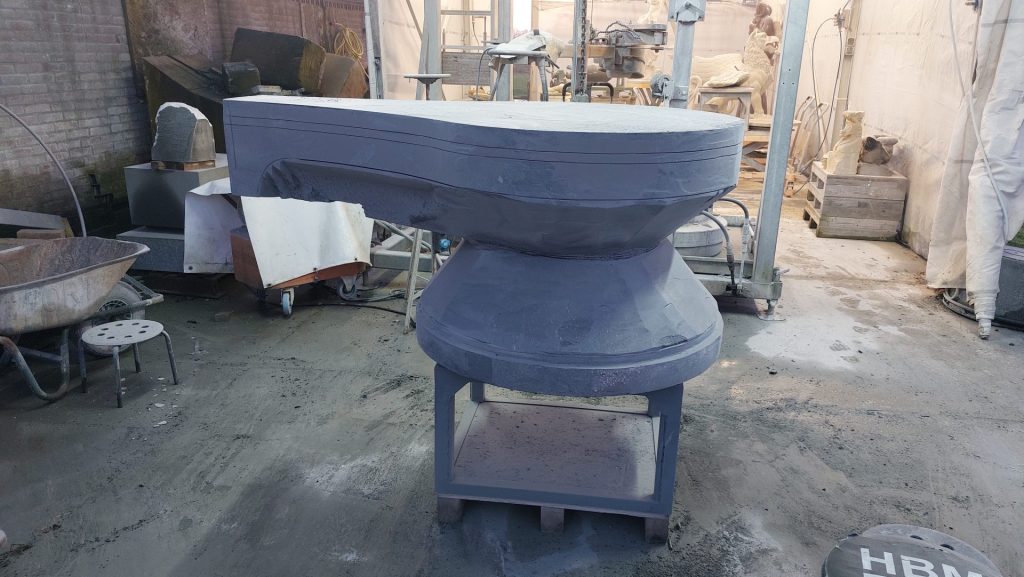
• Prince Carnival, in blue quartzite

    Koen van Velzen with statue of Prince Carnival

    Carnival association The Puupenkoppen (Pipe heads) from Achterveld celebrated its 55 th anniversary. Because they didn't want this to pass unnoticed, they asked me if I would help them come up with an idea for a statue to be placed in front of the clubhouse. Something with the logo, with the name of the association.
    Logo

    When the committee members presented me with their request, I was immediately enthusiastic. The logo is a dancing pipe with a face, which smokes and wears a prince's hat. It's just all quite fragile when you put a pipe like that on just 1 foot. So a literal representation was quickly ruled out because of the weight distribution and fragility of such a pipe. Even if you make it in bronze. Above all, it had to be vandal-proof.

    Strong

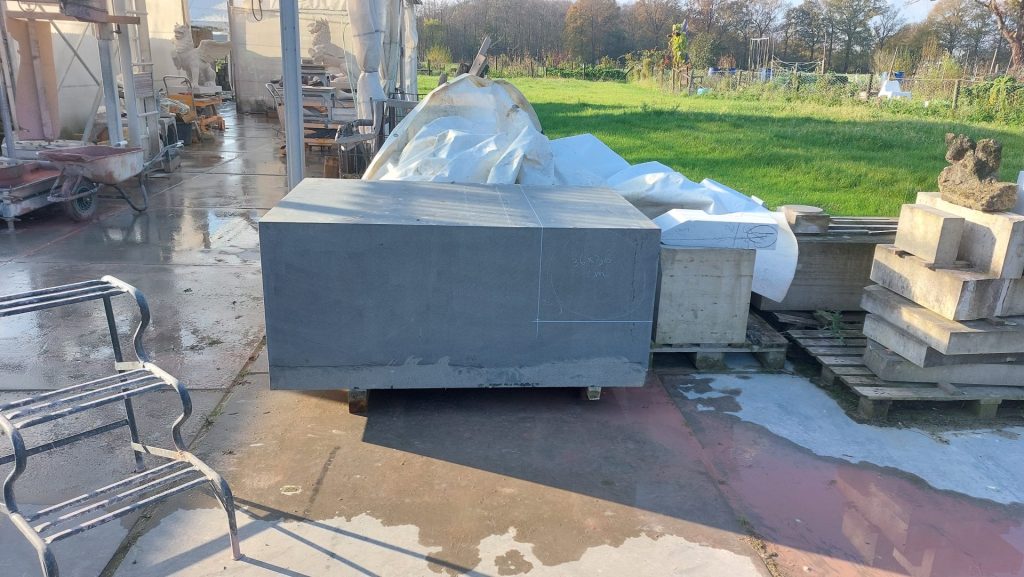
    Block of Azul Macauba quartzite for Prince Carnival statue

    Of course, when the beer is flowing freely, then people sometimes do ill-considered things, don't they? Bronze is also quite susceptible to theft these days. That's how I came up with my red statue of Pan. They liked that material. But during the quotation phase, it turned out that having such a custom block delivered was not feasible. Fortunately, I still had a rough piece of blue stone lying around, Azul Macauba. Granite, I thought, that should be doable!

    Carnival float

    clay sketch for Prince Carnival sculpture

    As we talked, ideas quickly emerged. I wanted to capture some of the fun of carnival in this sculpture, and the conversation turned to the activities of the Council of Eleven and Prince Carnival. The elements quickly came together: a carnival float in the shape of a pipe and Prince Puupenkop the First sitting on it. I immediately pictured the wheels in the shape of paper tongue whistles. The Prince's alaaf gesture, the hat and staff were all elements that came together very naturally later on in the conversations that followed.
    Then there was the question of the material. Considering the budget , strength and weather resistance, we ultimately settled on this blue quartzite. I had bought this block somewhere once and it was still waiting for me to use it for a project.

    Clay model and foam cutting.

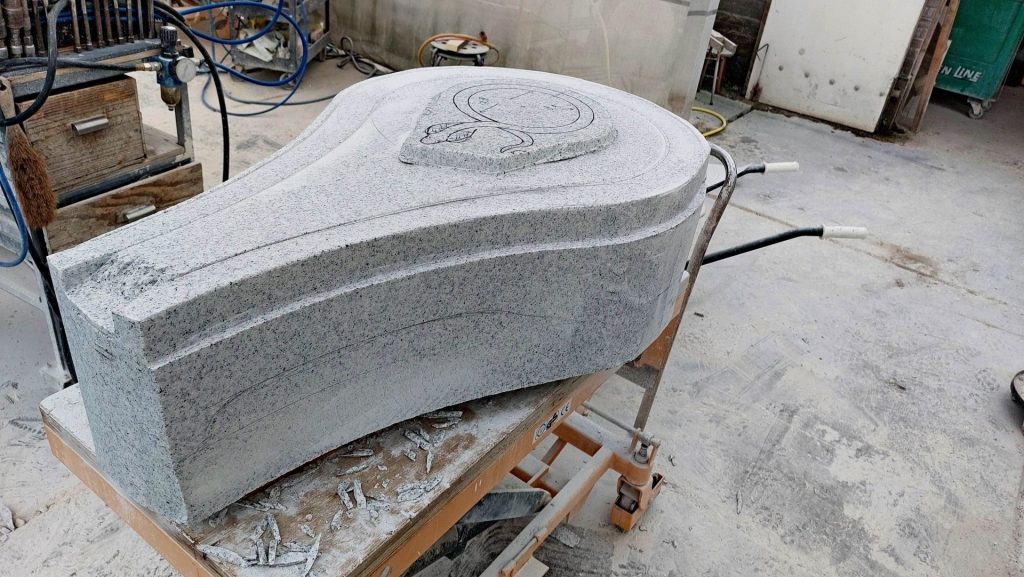
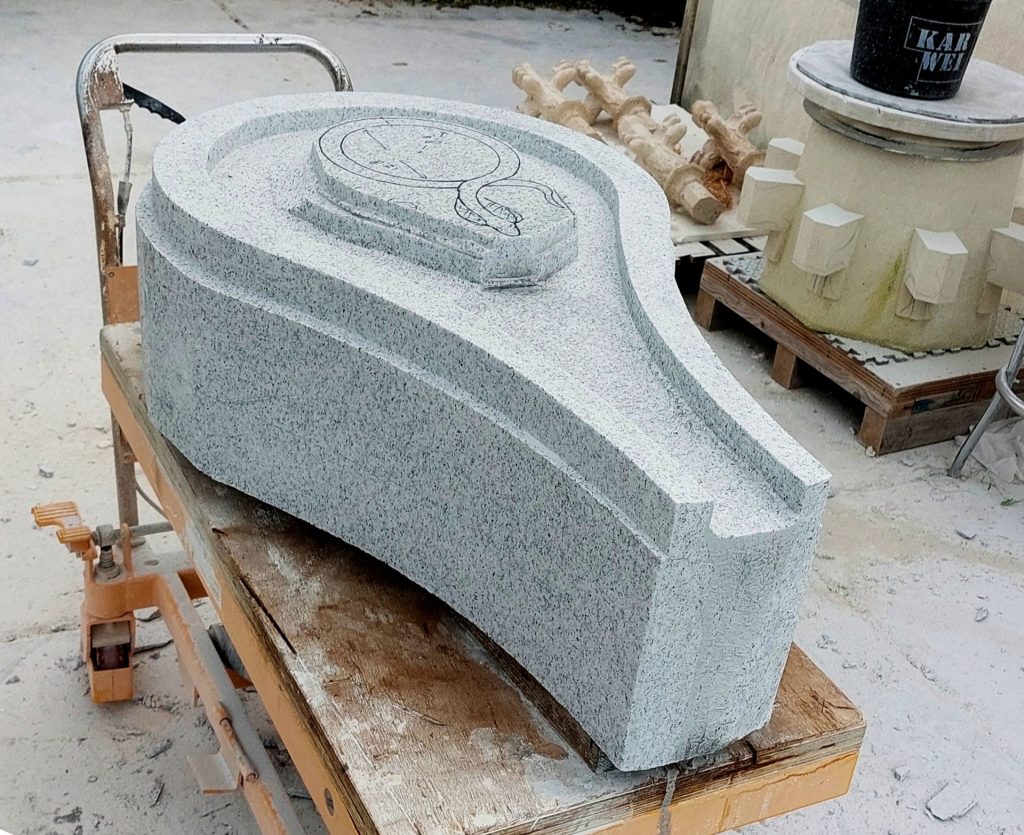
    Once I had the idea in my head, I quickly modelled a rough sketch of a Prince Carnival out of clay. Then I cut a block of foam to the same dimensions as my block of stone, and from that, I carved out my clay sketch to full size. I was abel to easily shape the foam with small rasps and scrapers. But because I wanted to use the foam model in my sculpture sawing machine for the contour sawing process, it needed to have a hard outer layer. Unfortunately, I always lose a lot of detail from my foam model whenever I put another layer over it. But at least now I know what I want, and I've been able to practice on the details. The model gives me enough guidance to carve a copy.

    Acrylic one

    foam model with layer of Acrylic One and fiberglass mat

    To make the model sturdy and hard, I covered it with Acrylic One. It can be compared to polyester, but water-based. Just apply it with a brush, add a layer of fiberglass mats and brush over it again. It hardens quite quickly and has no odour whatsoever. Ideal stuff for this kind of thing.

    Sawing contours

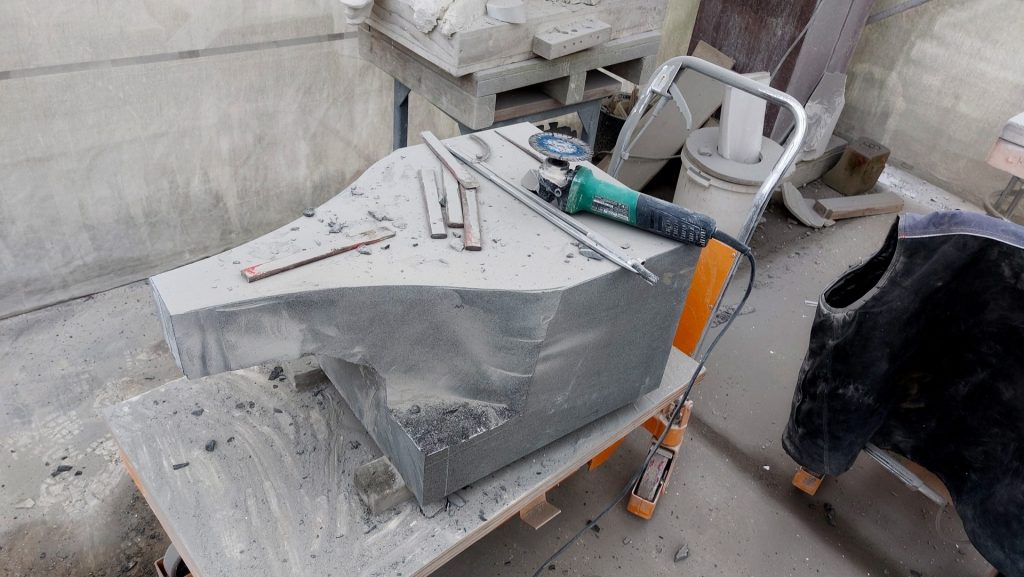
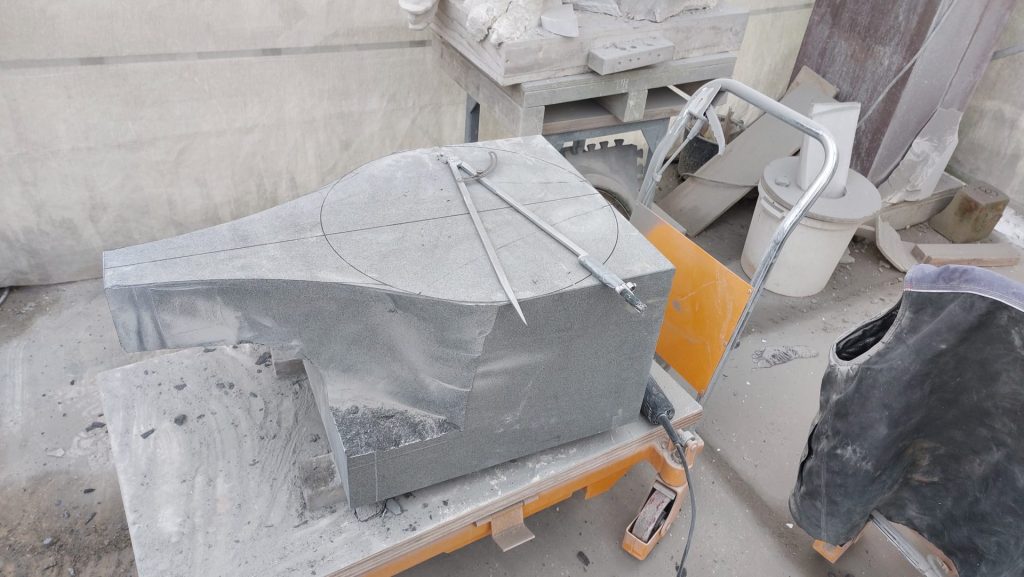
    statue contour-sawn in quartzite with the contour sawing machine

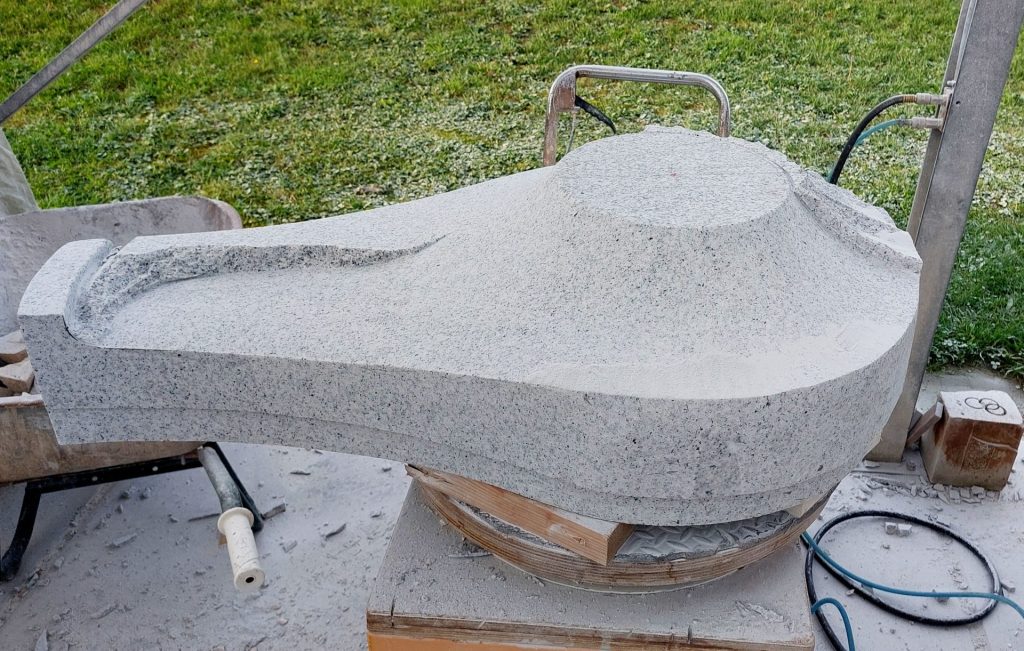
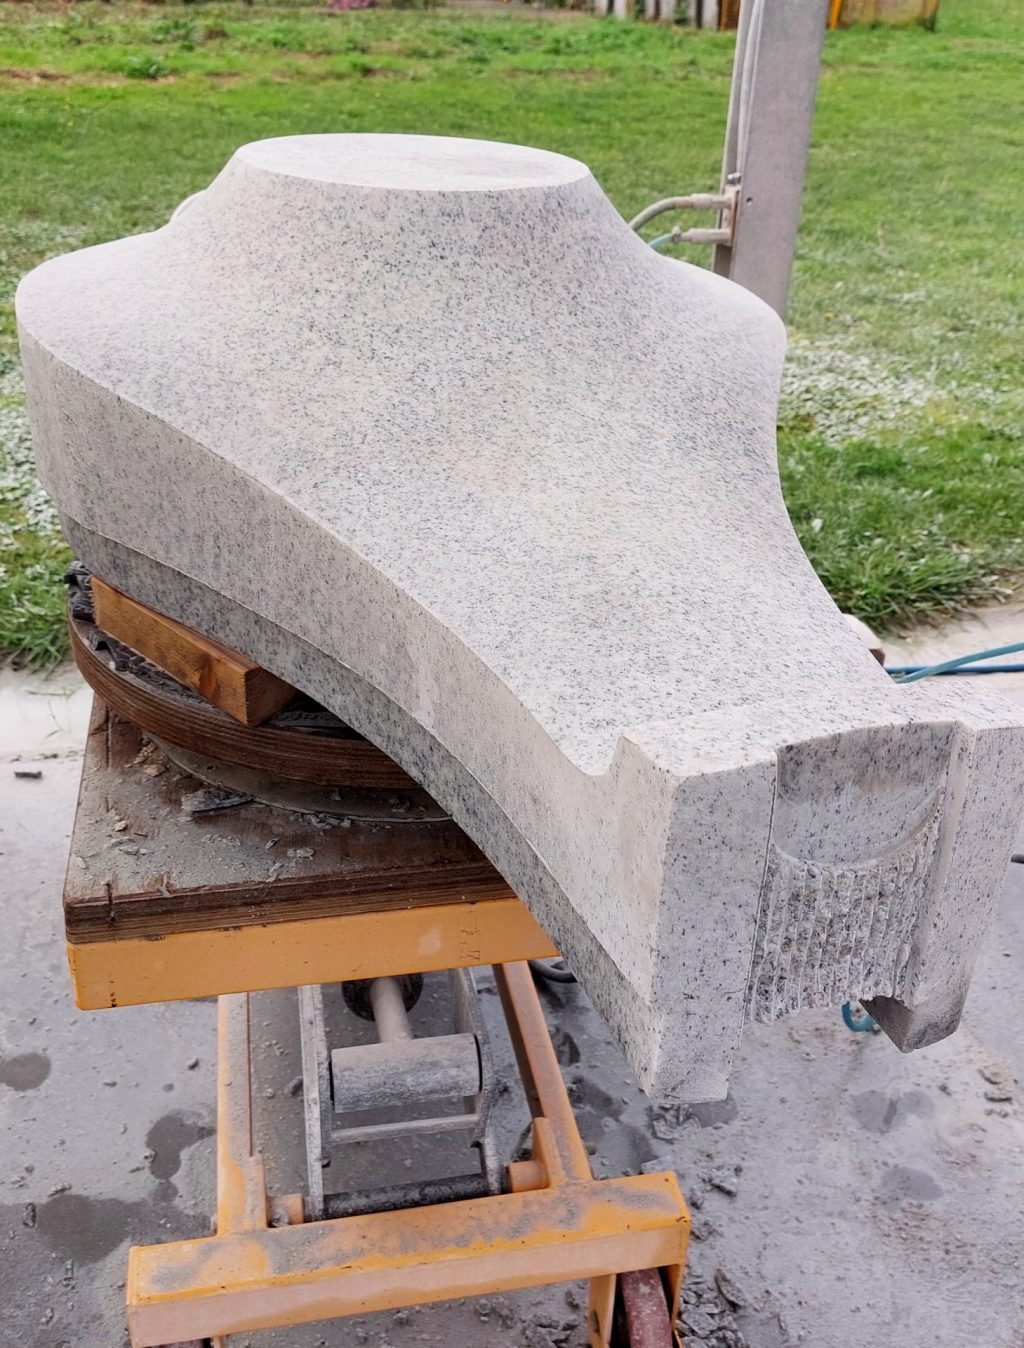
    With this white hard layer over my model I could use it as a sawing model on my sculpture sawing machine. I put the block of stone on one side, my foam model on the other side, and saw the contours with this machine while rotating, just like a locksmith copies a key. The probe disc rolls over the model, and the saw blade follows that movement in the block of stone.

    Tougher than tough

    But here came the first hiccup: the material is much harder than regular granite! When I looked up why it was all so difficult, it turned out it's not blue granite, but quartzite. And that is a lot more difficult to cut. Eventually, I learned that the trick is to use a lot of water and keep the saw blade at a low speed. Anyway, two days later the contours were finally in place.

    Sculpting in quartzite

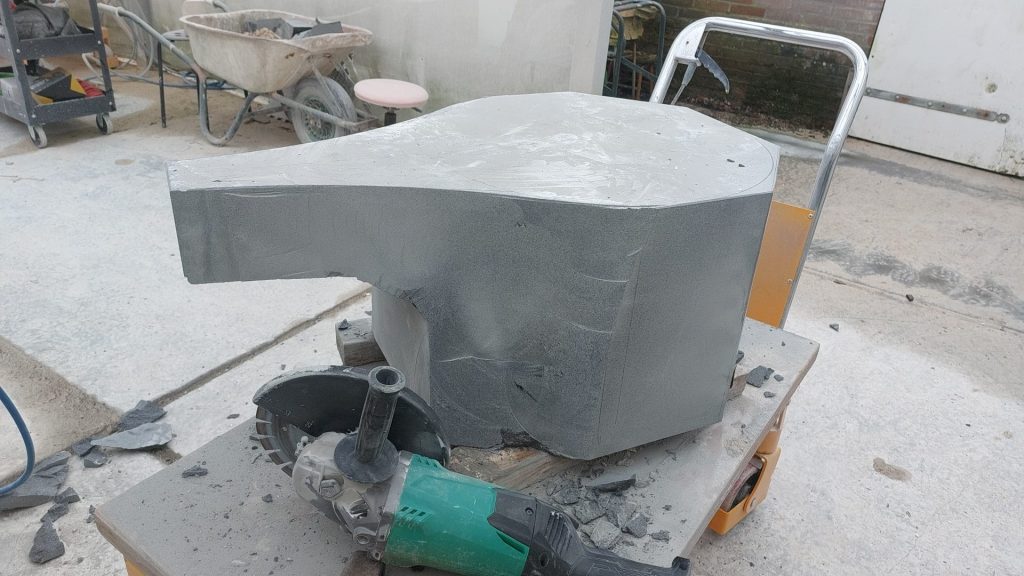
    start sculpting in stone. Next to it the foam model

    This was of course followed by the shaping phase. There's not much to explain about that: first you look for the large shapes and gradually carve them out as you go along, then it's a matter of refining. Because it has already been cut out with the contour saw, a lot of shapes are easy to find, but you could ruin a lot if you're not careful. Of course, after sawing, carving was also very difficult. I broke three chisels on it. Occupational hazard!

    Detailing

    sculpting Prince Carnival in quartzite

    But gradually it became clearer and I was able to focus more on the details: what do paper tongue whistles look like (conclusion: you have to exaggerate them a bit, otherwise they are not recognizable), how do the shapes of the hat, the cloak and the pipe run, and how does everything fit together? These are the most enjoyable moments of sculpting: the search for form and movement.

    Inspection

    Unveiling of the Prince Carnival statuette

    Naturally, the committee members kept an eye on things. The statue of Prince Carnival was a gift to the celebrating Carnival Association, and besides the fact that it all had to be kept strictly secret, it also had to look good! Fortunately, people were very satisfied. Personally, I really enjoyed being able to create something for 'my own'’ Achterveld, where my studio is located. The fact that it also sits in such a prominent place, right in front of the pub and directly opposite the church, is the icing on the cake. Well, that's Catholic village life here: the pub is opposite the church. Even though people no longer go to church, history has left its mark.

    55 and not 50 th anniversary

    Prince Carnival statue unveiled in Achterveld

    And of course different rules apply to Carnival than to normal life. It's the fool's festival, and therefore the number 11 is held in high esteem. The Council of Eleven, 11 november, and all memorable dates are at least a multiple of 11. So 55 th anniversary, and not 50.

    Anyway, this quartzite was also a new material for me; If I had known in advance that it was so incredibly hard, I would probably have suggested something else! But now that it's finished, I am very happy with how this Prince Carnival turned out, it carries exactly the atmosphere I had in mind.

  • Shivalingams and Paadas, in granite and marble

    Cosmic symbol and presence

    This blog post is about a secondary activity of mine, making Shivalingams in granite and Sri Paadas in marble.
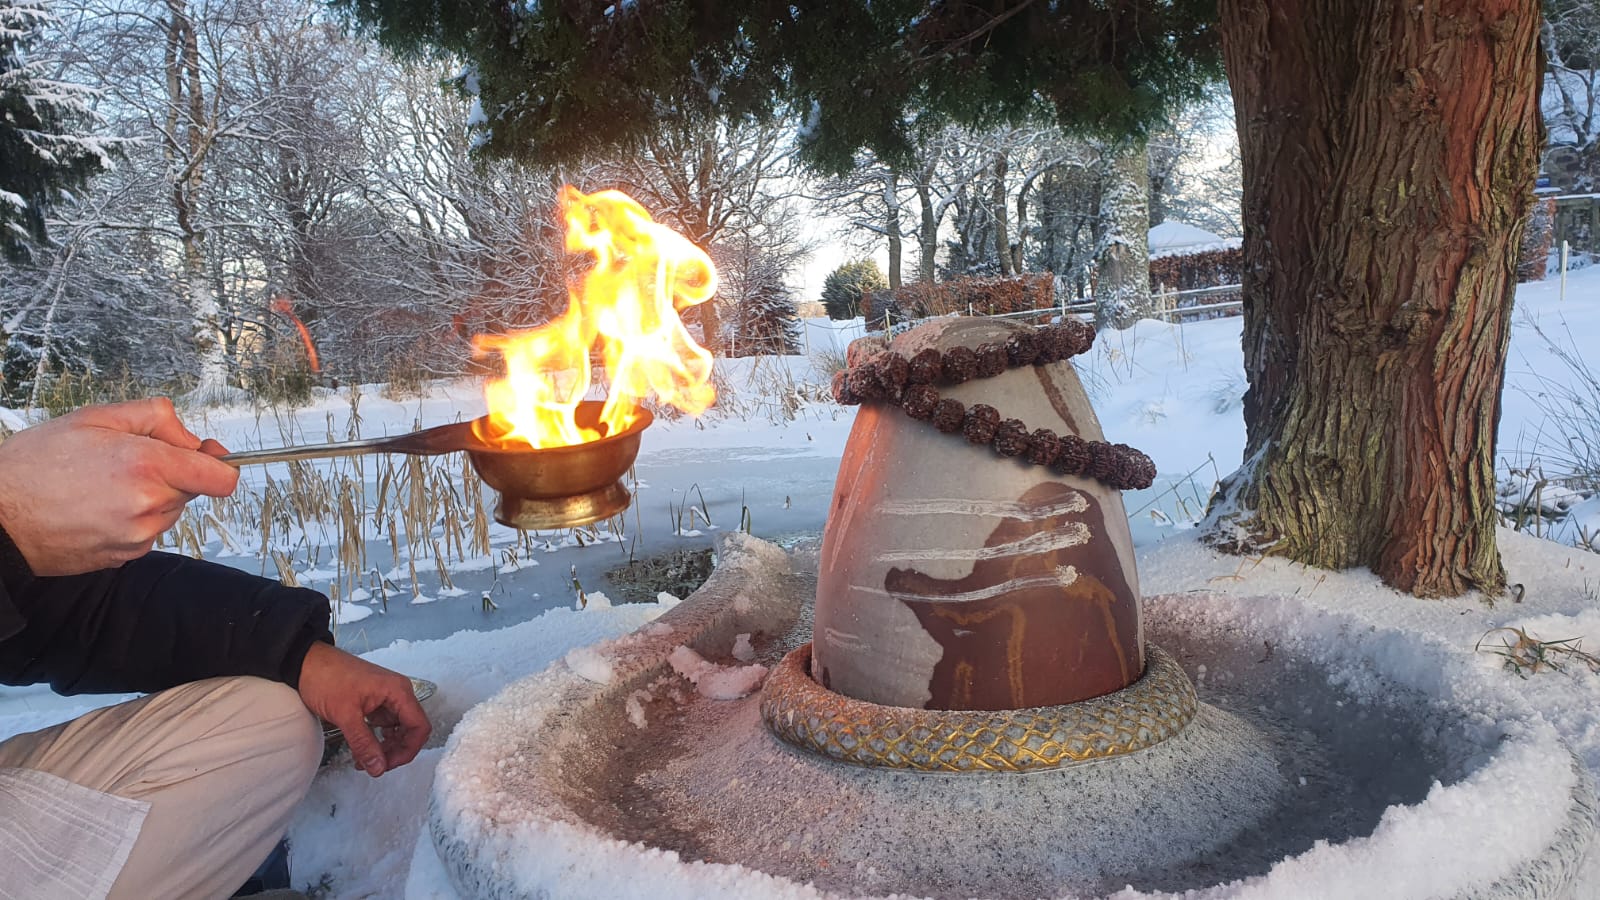
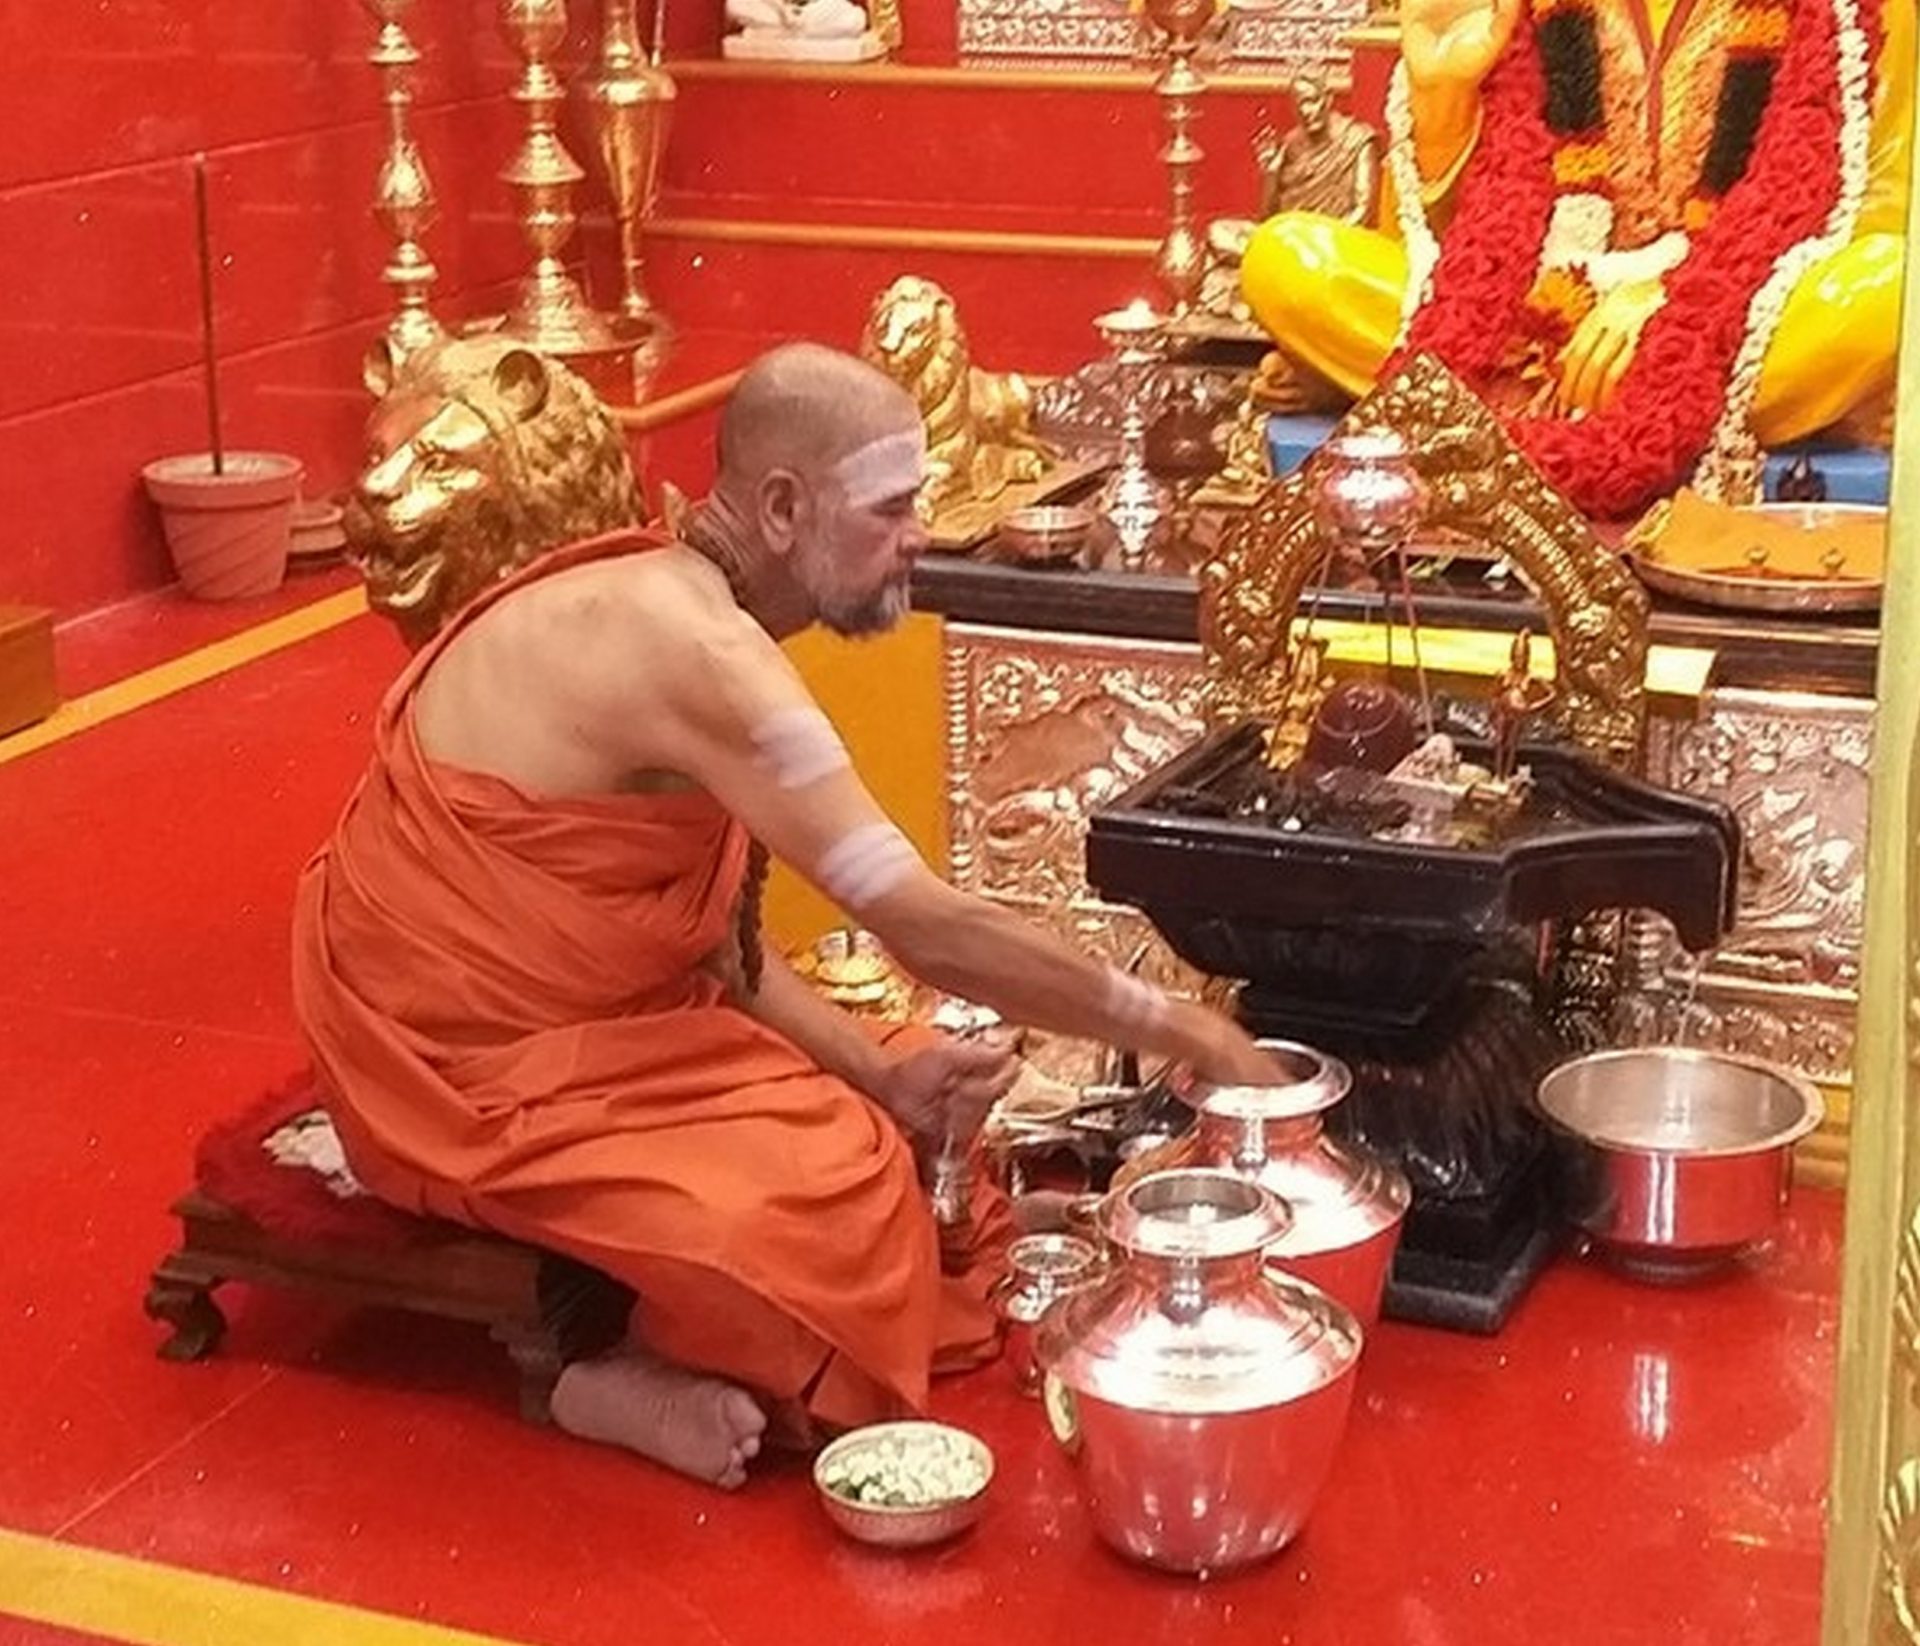
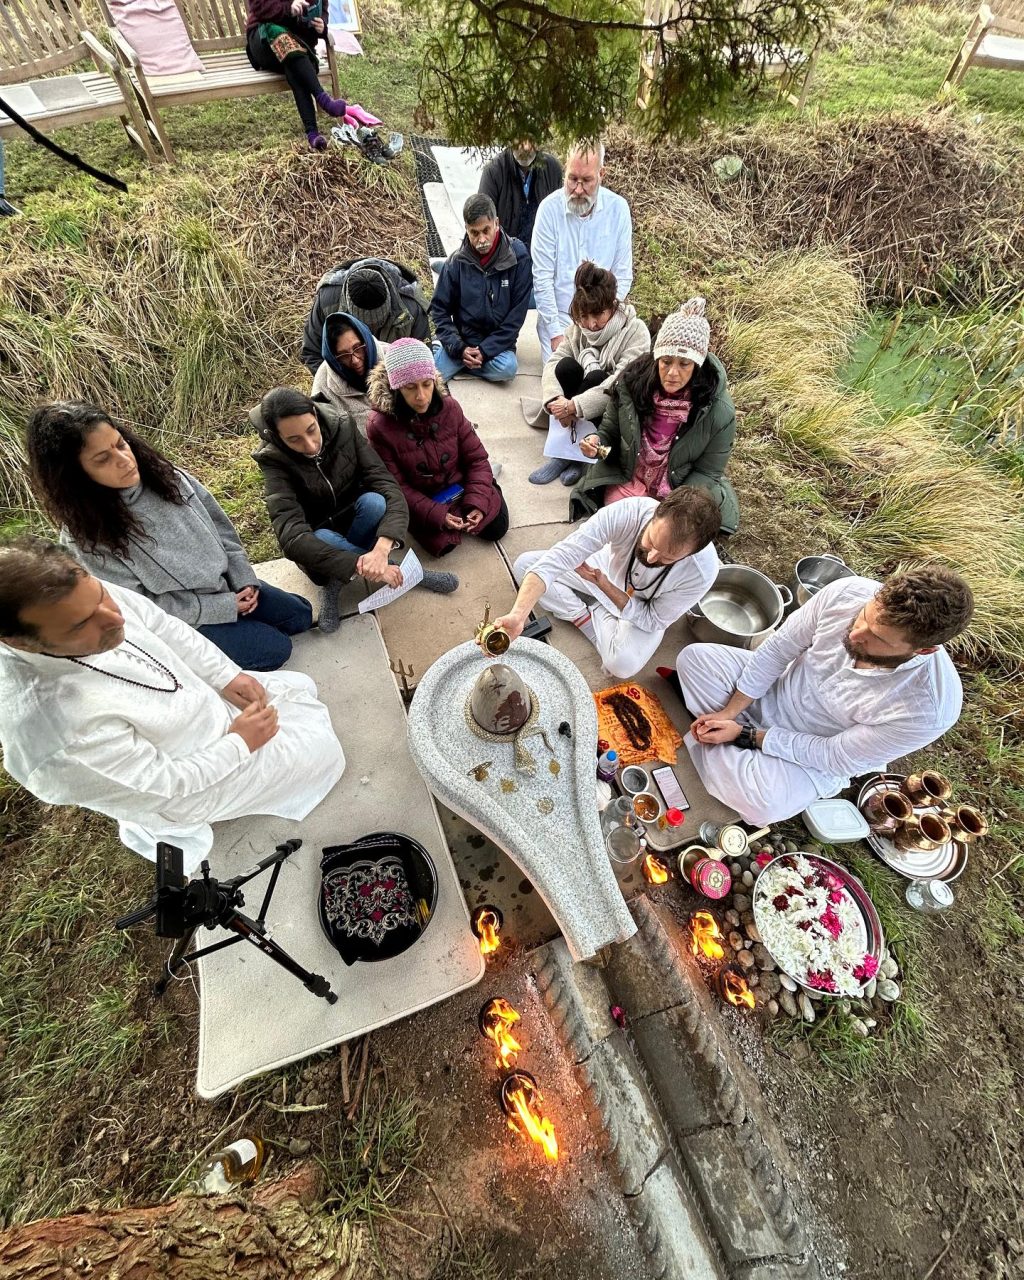
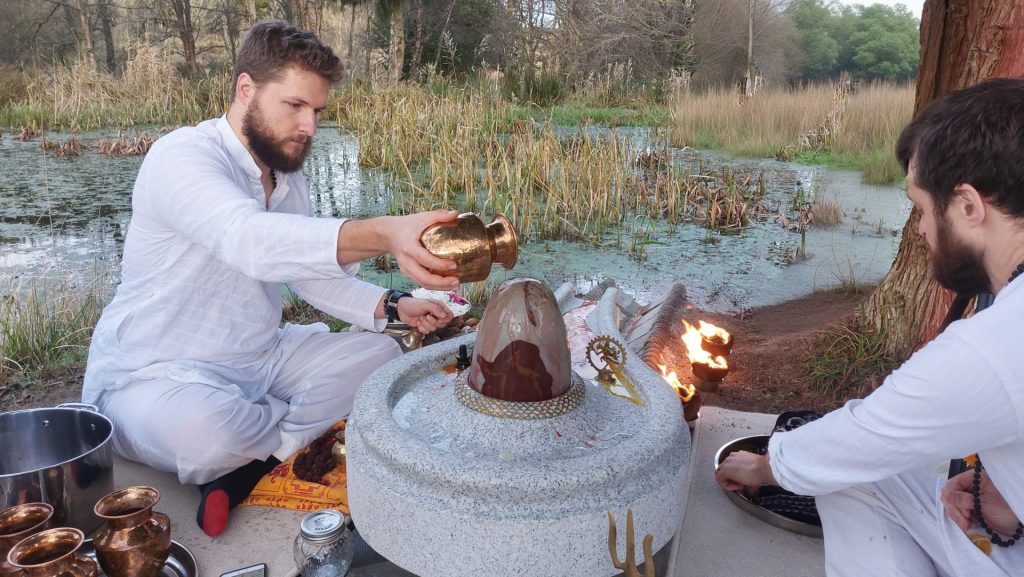
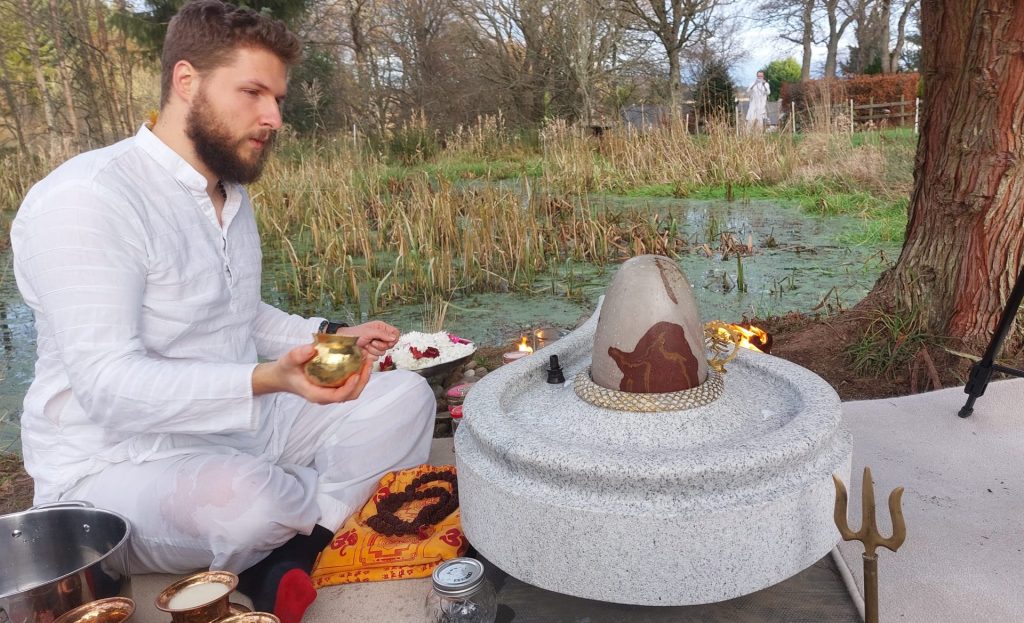
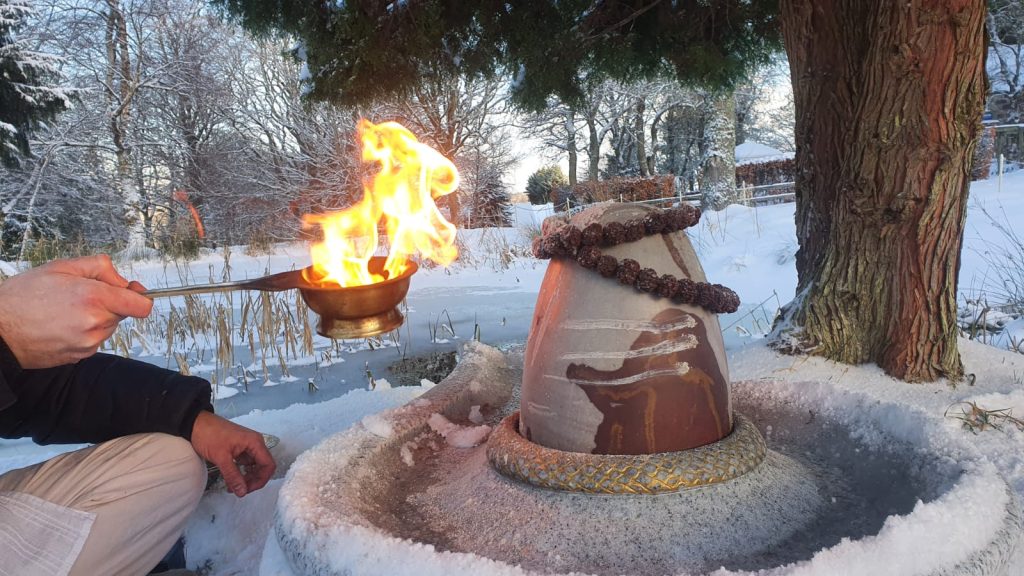
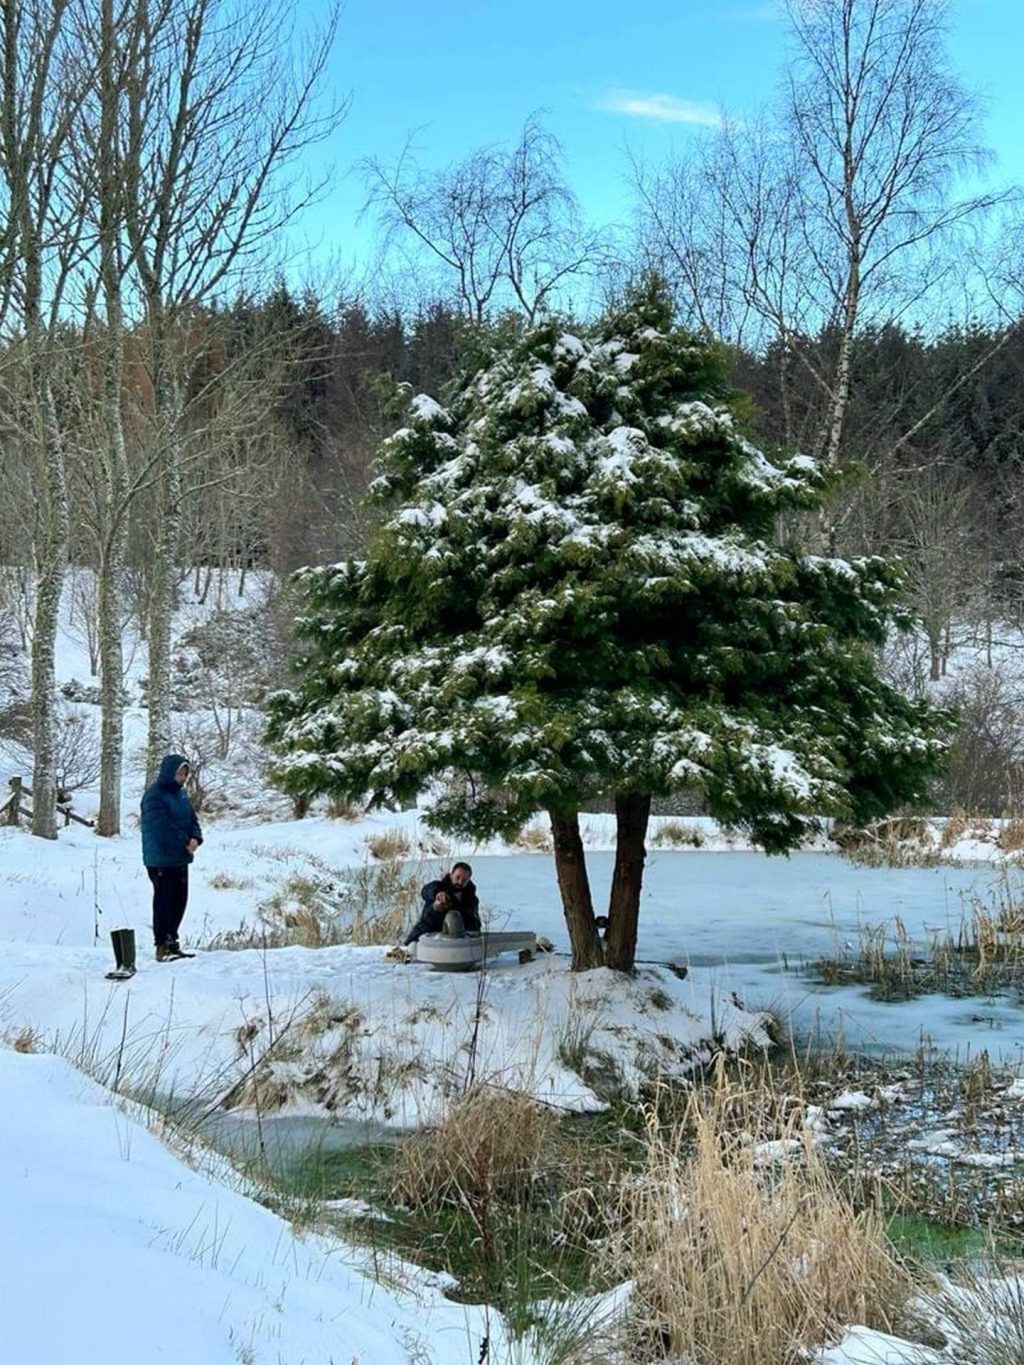
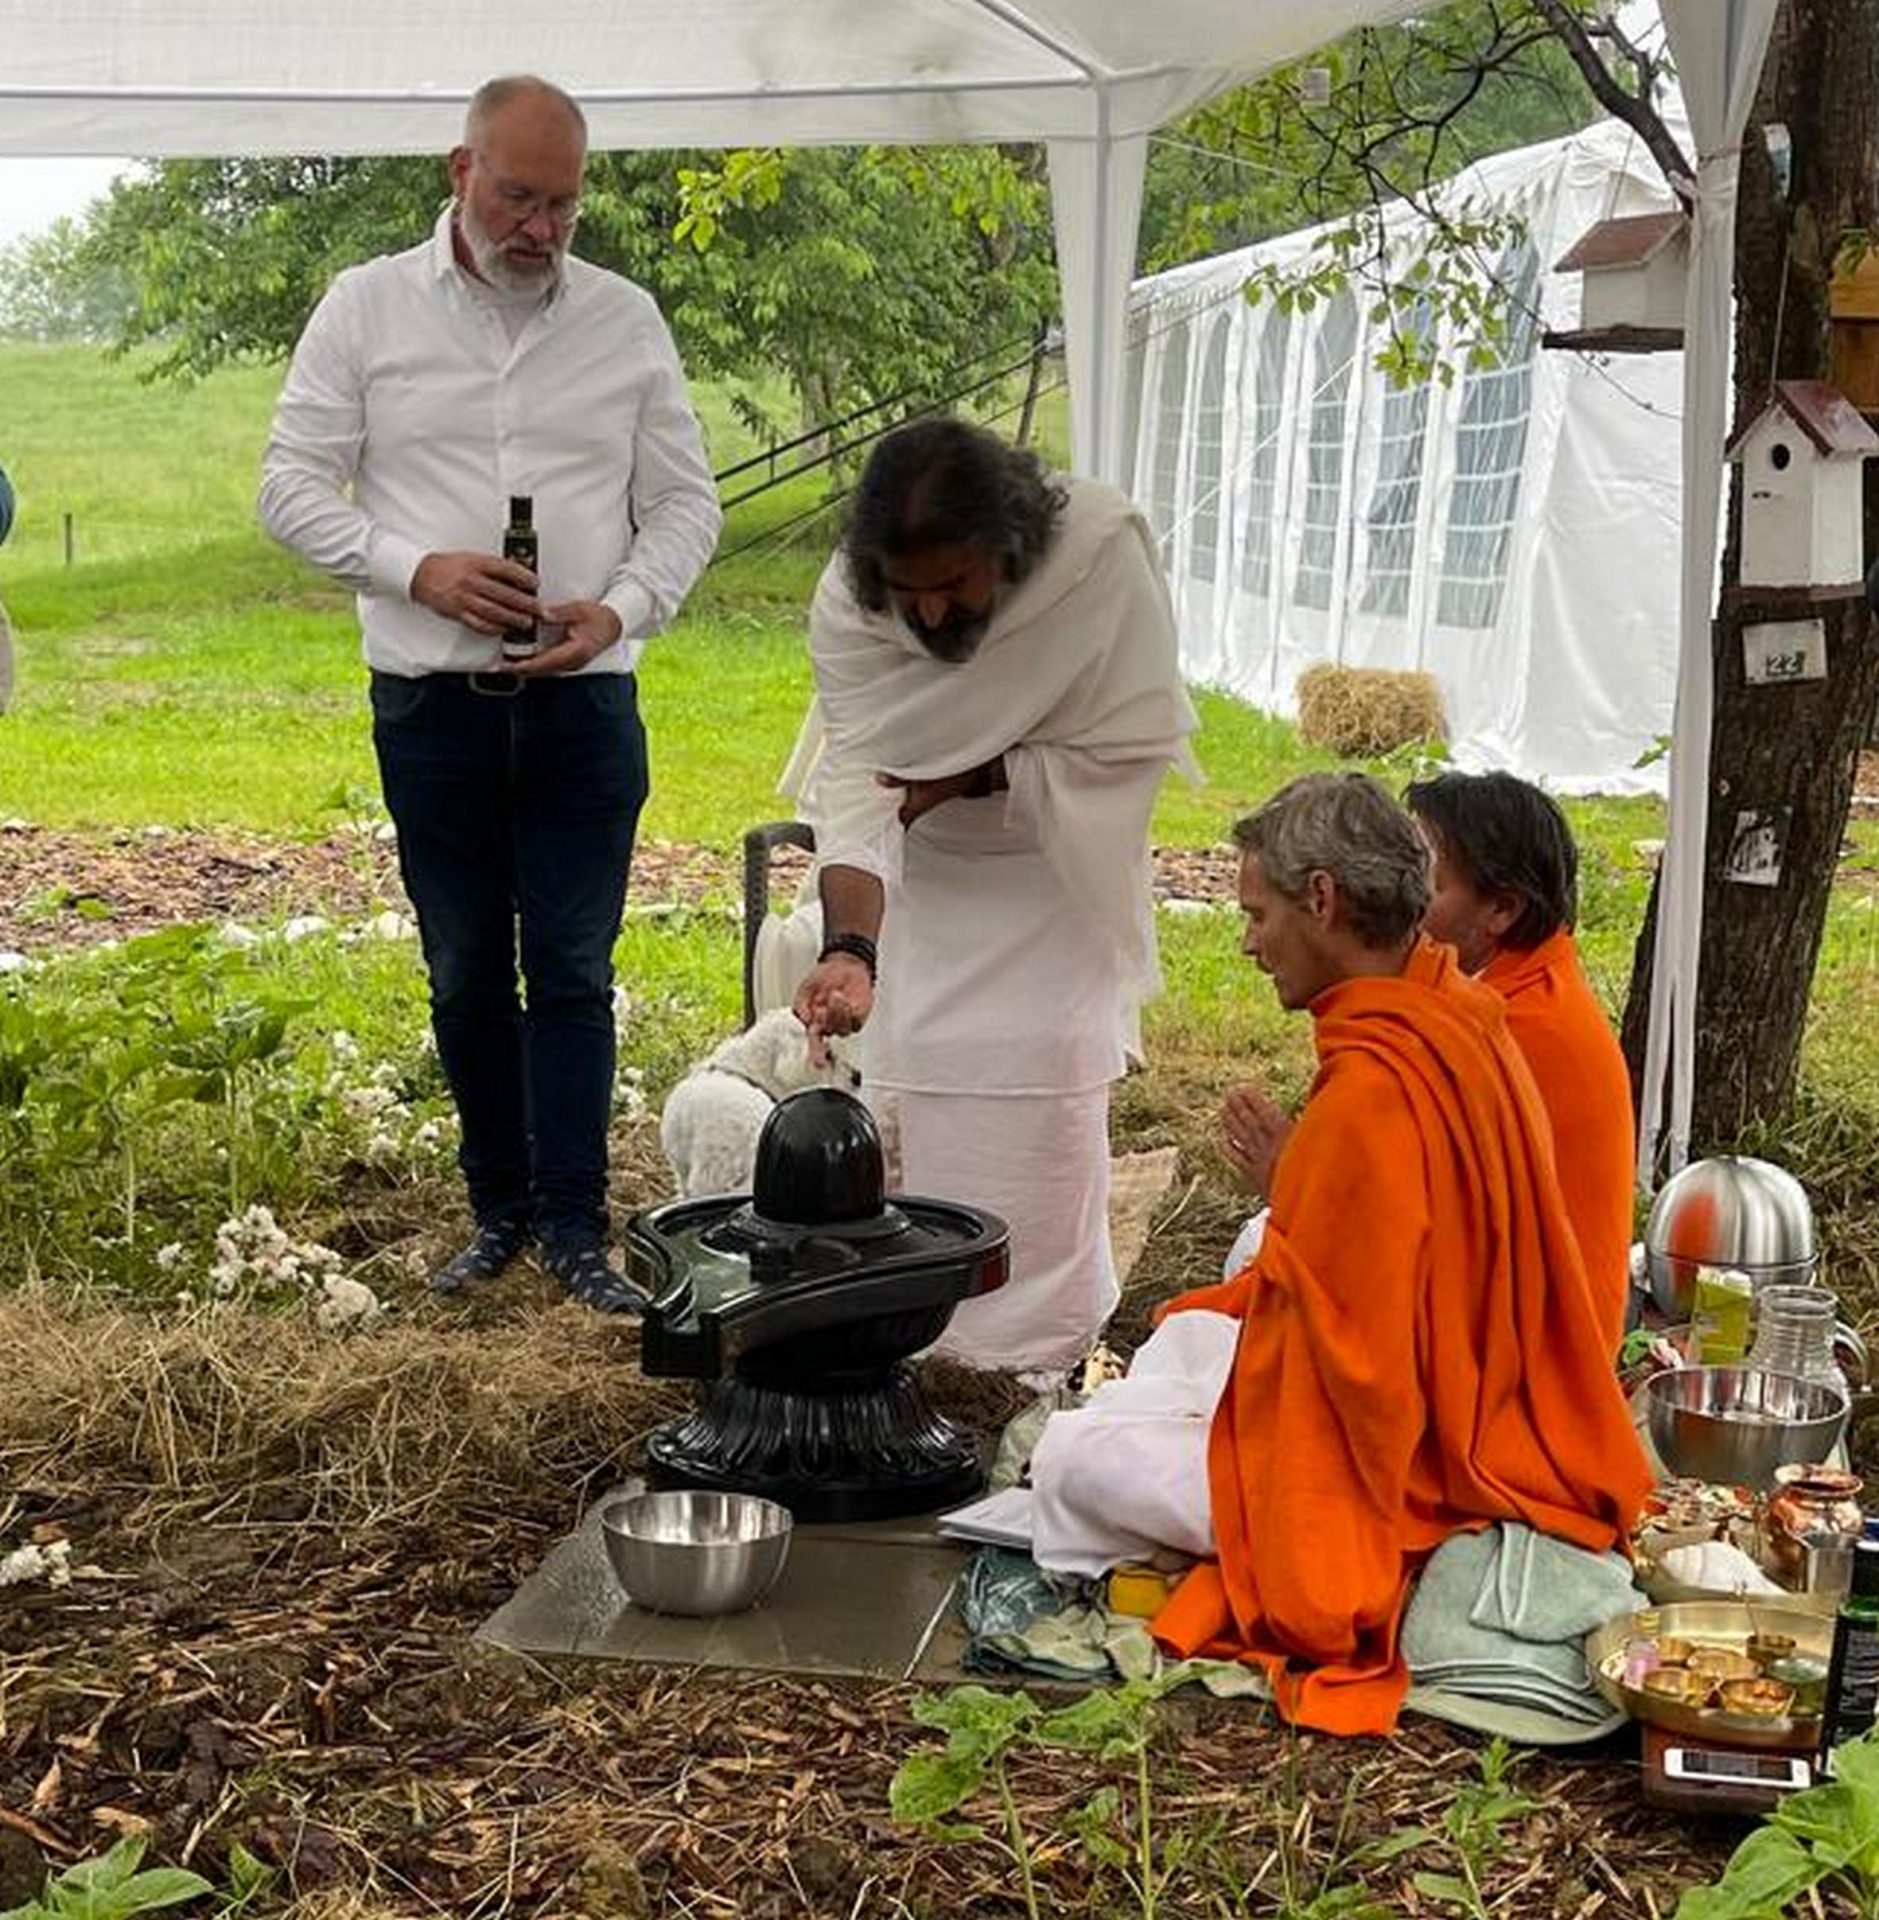
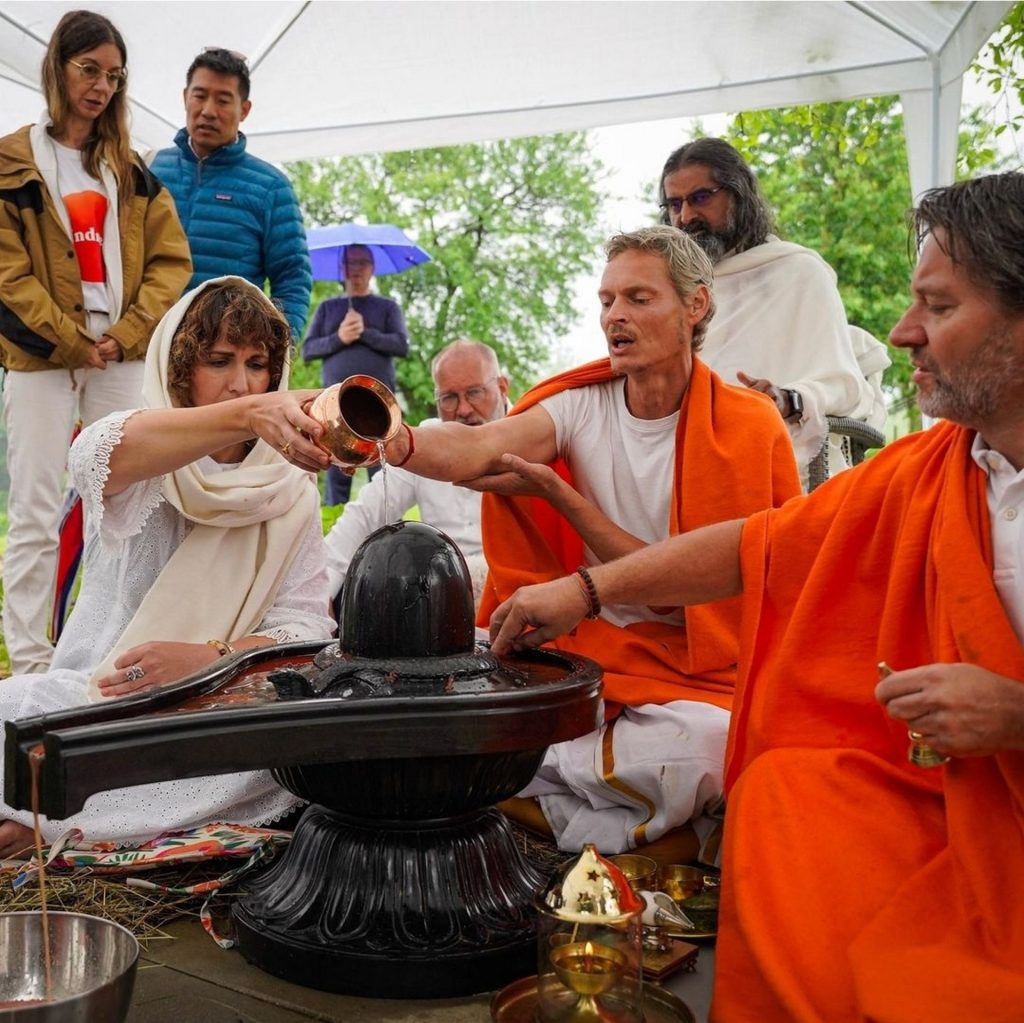
    Abhishekam Of Shivalingam In Scotland At The Mohanji Center of Benevolence

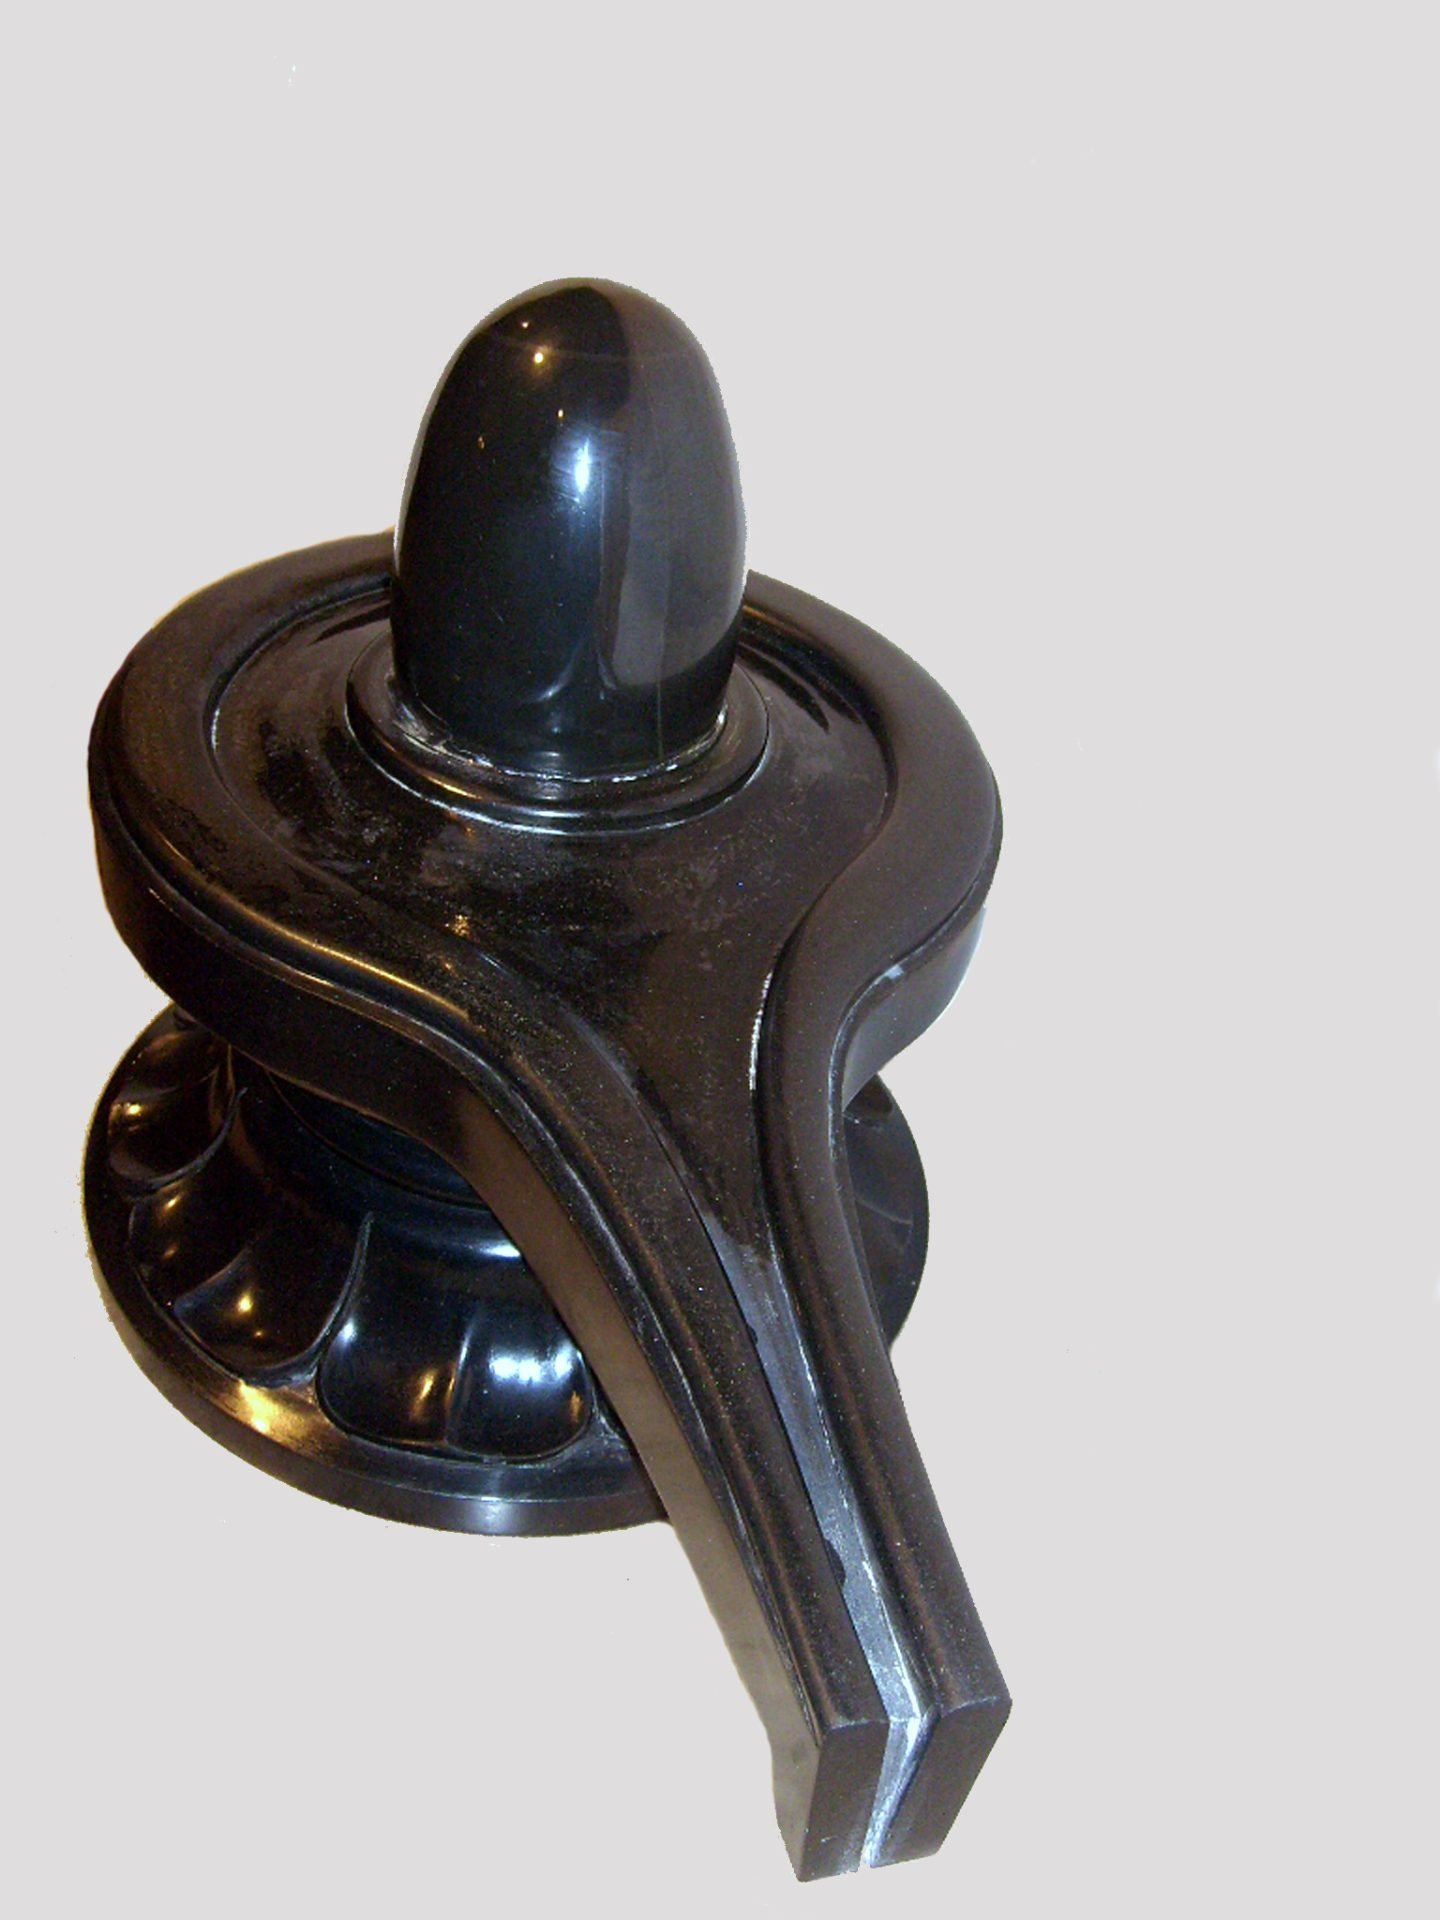
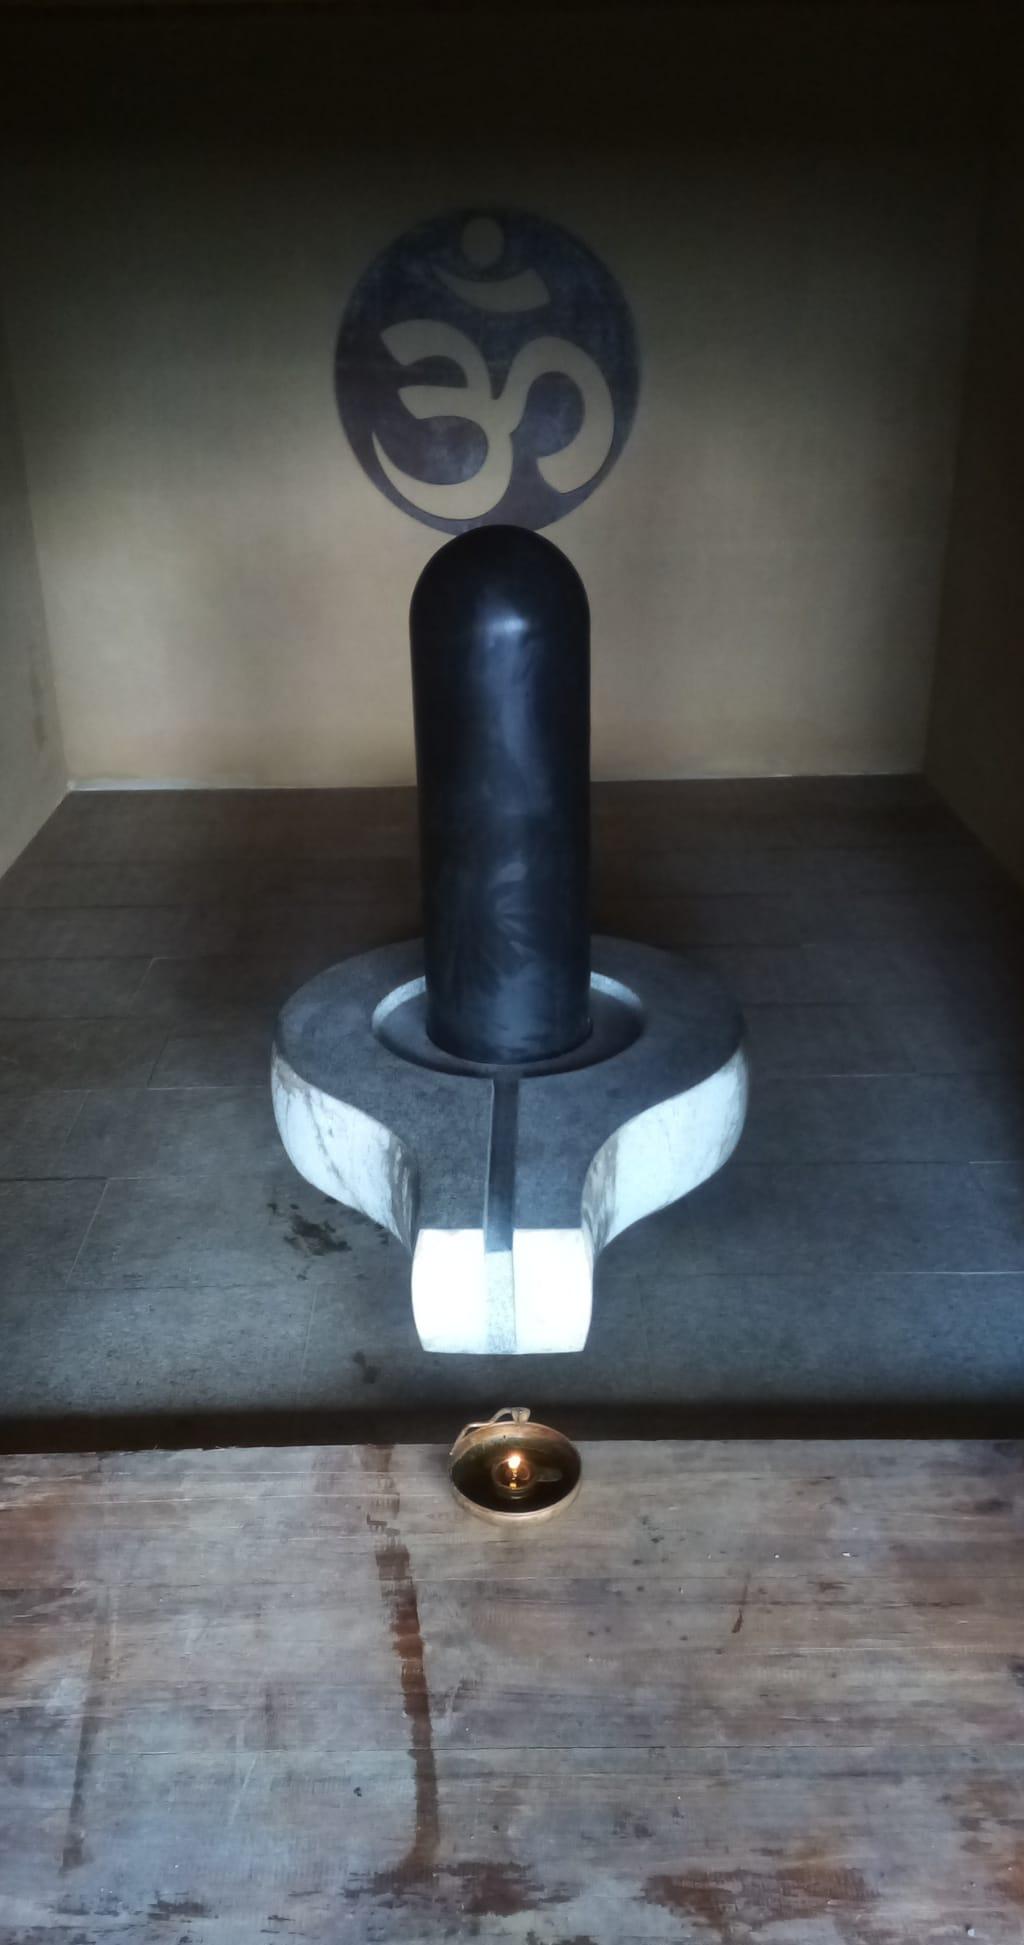
    I have made Shivalingams before and also explained about it on this blog, but in short: A Lingam is an egg-shaped stone, which represents the Cosmic Principle: the silent state of Being, which is indefinable pure consciousness and is completely filled with bliss by nature.
    Purusha, or Sat-Chit-Ananda. It is incased in a basis, the yoni of panipeetham, which represents the creative energy and the creation principle. Traditionally, these two are also referred to as masculine and feminine, primary and secondary, yet inextricably one and the same.

    So you can write entire books about this, but the lingam is not meant for that. It's a representation, an approximation of the form of pure consciousness, and needs to be experienced, not discussed rationally.

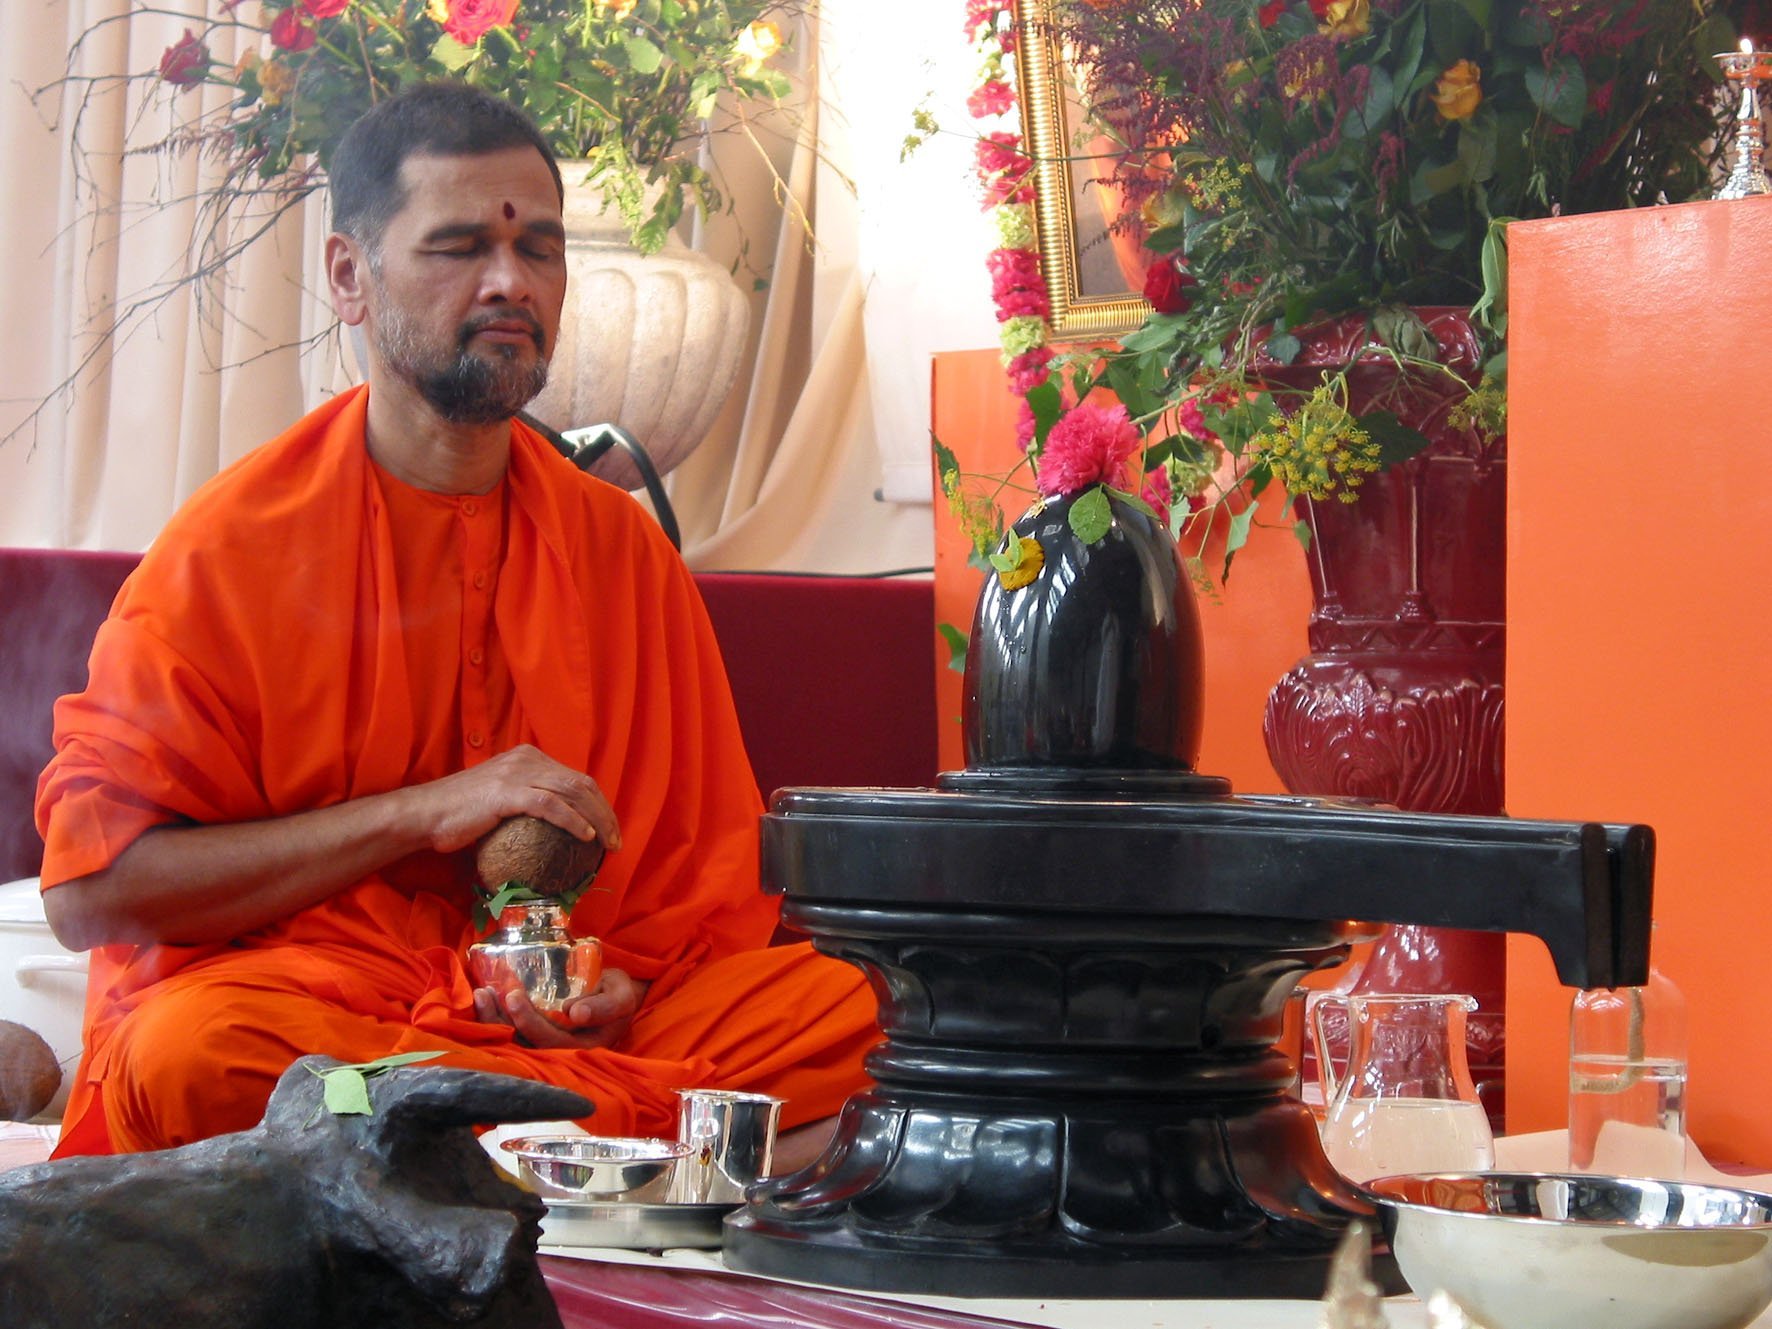
    Whenever a Shivalingam is first taken into use, a specific consecration ritual is needed for this (pranapratishtha, or, the blowing in of life's breath) to turn it from a block of stone into the living presence of cosmic consciousness. There are also rituals afterwards to guarantee and use this energy for the world's general well-being. If you are open to it, you can perceive it with clairvoyant gaze as a blue ball of moving energy.

    Design and implementation

    Oh well, that was the spiritual background of these objects. As a sculptor, I am mainly involved in the practical execution of this project: How do I make such a Shivalingam?

    I start from a design, then order a piece of stone, draw it out and start cutting and carving. After that it is primarily a matter of a lot of polishing work in 8 steps, from 50 to 10.000.

    Onderdijk 1 and 2

    The first one I made was for the Temple of Onderdijk. They already had a Shivalingam of black onyx. I made a yoni for it from black granite, in 2004.

    Then in 2012 I made a large Shivalingam and Yoni from granite that I still had lying about. I made it in five parts, because otherwise it wouldn't fit: the black lingam, the yoni out of 3 parts of pinkish granite, and an base plate of dark red Balmoral granite. This now sits in the garden of the same temple in Onderdijk.

    The Samadhi Tomb of Swami Gopala Krishna

    Then I made a black granite yoni or panipitha for the Sri Soma Sai Skanda Ashram in Nidagatta, in the state of Karnataka in India. I wondered why I was asked to do that while on almost every street corner in India there will be someone who can do this, but Swami Gopala Krishna preferred me to do this. It now resides on his tomb, the samadhi.

    A black Dhyanalinga

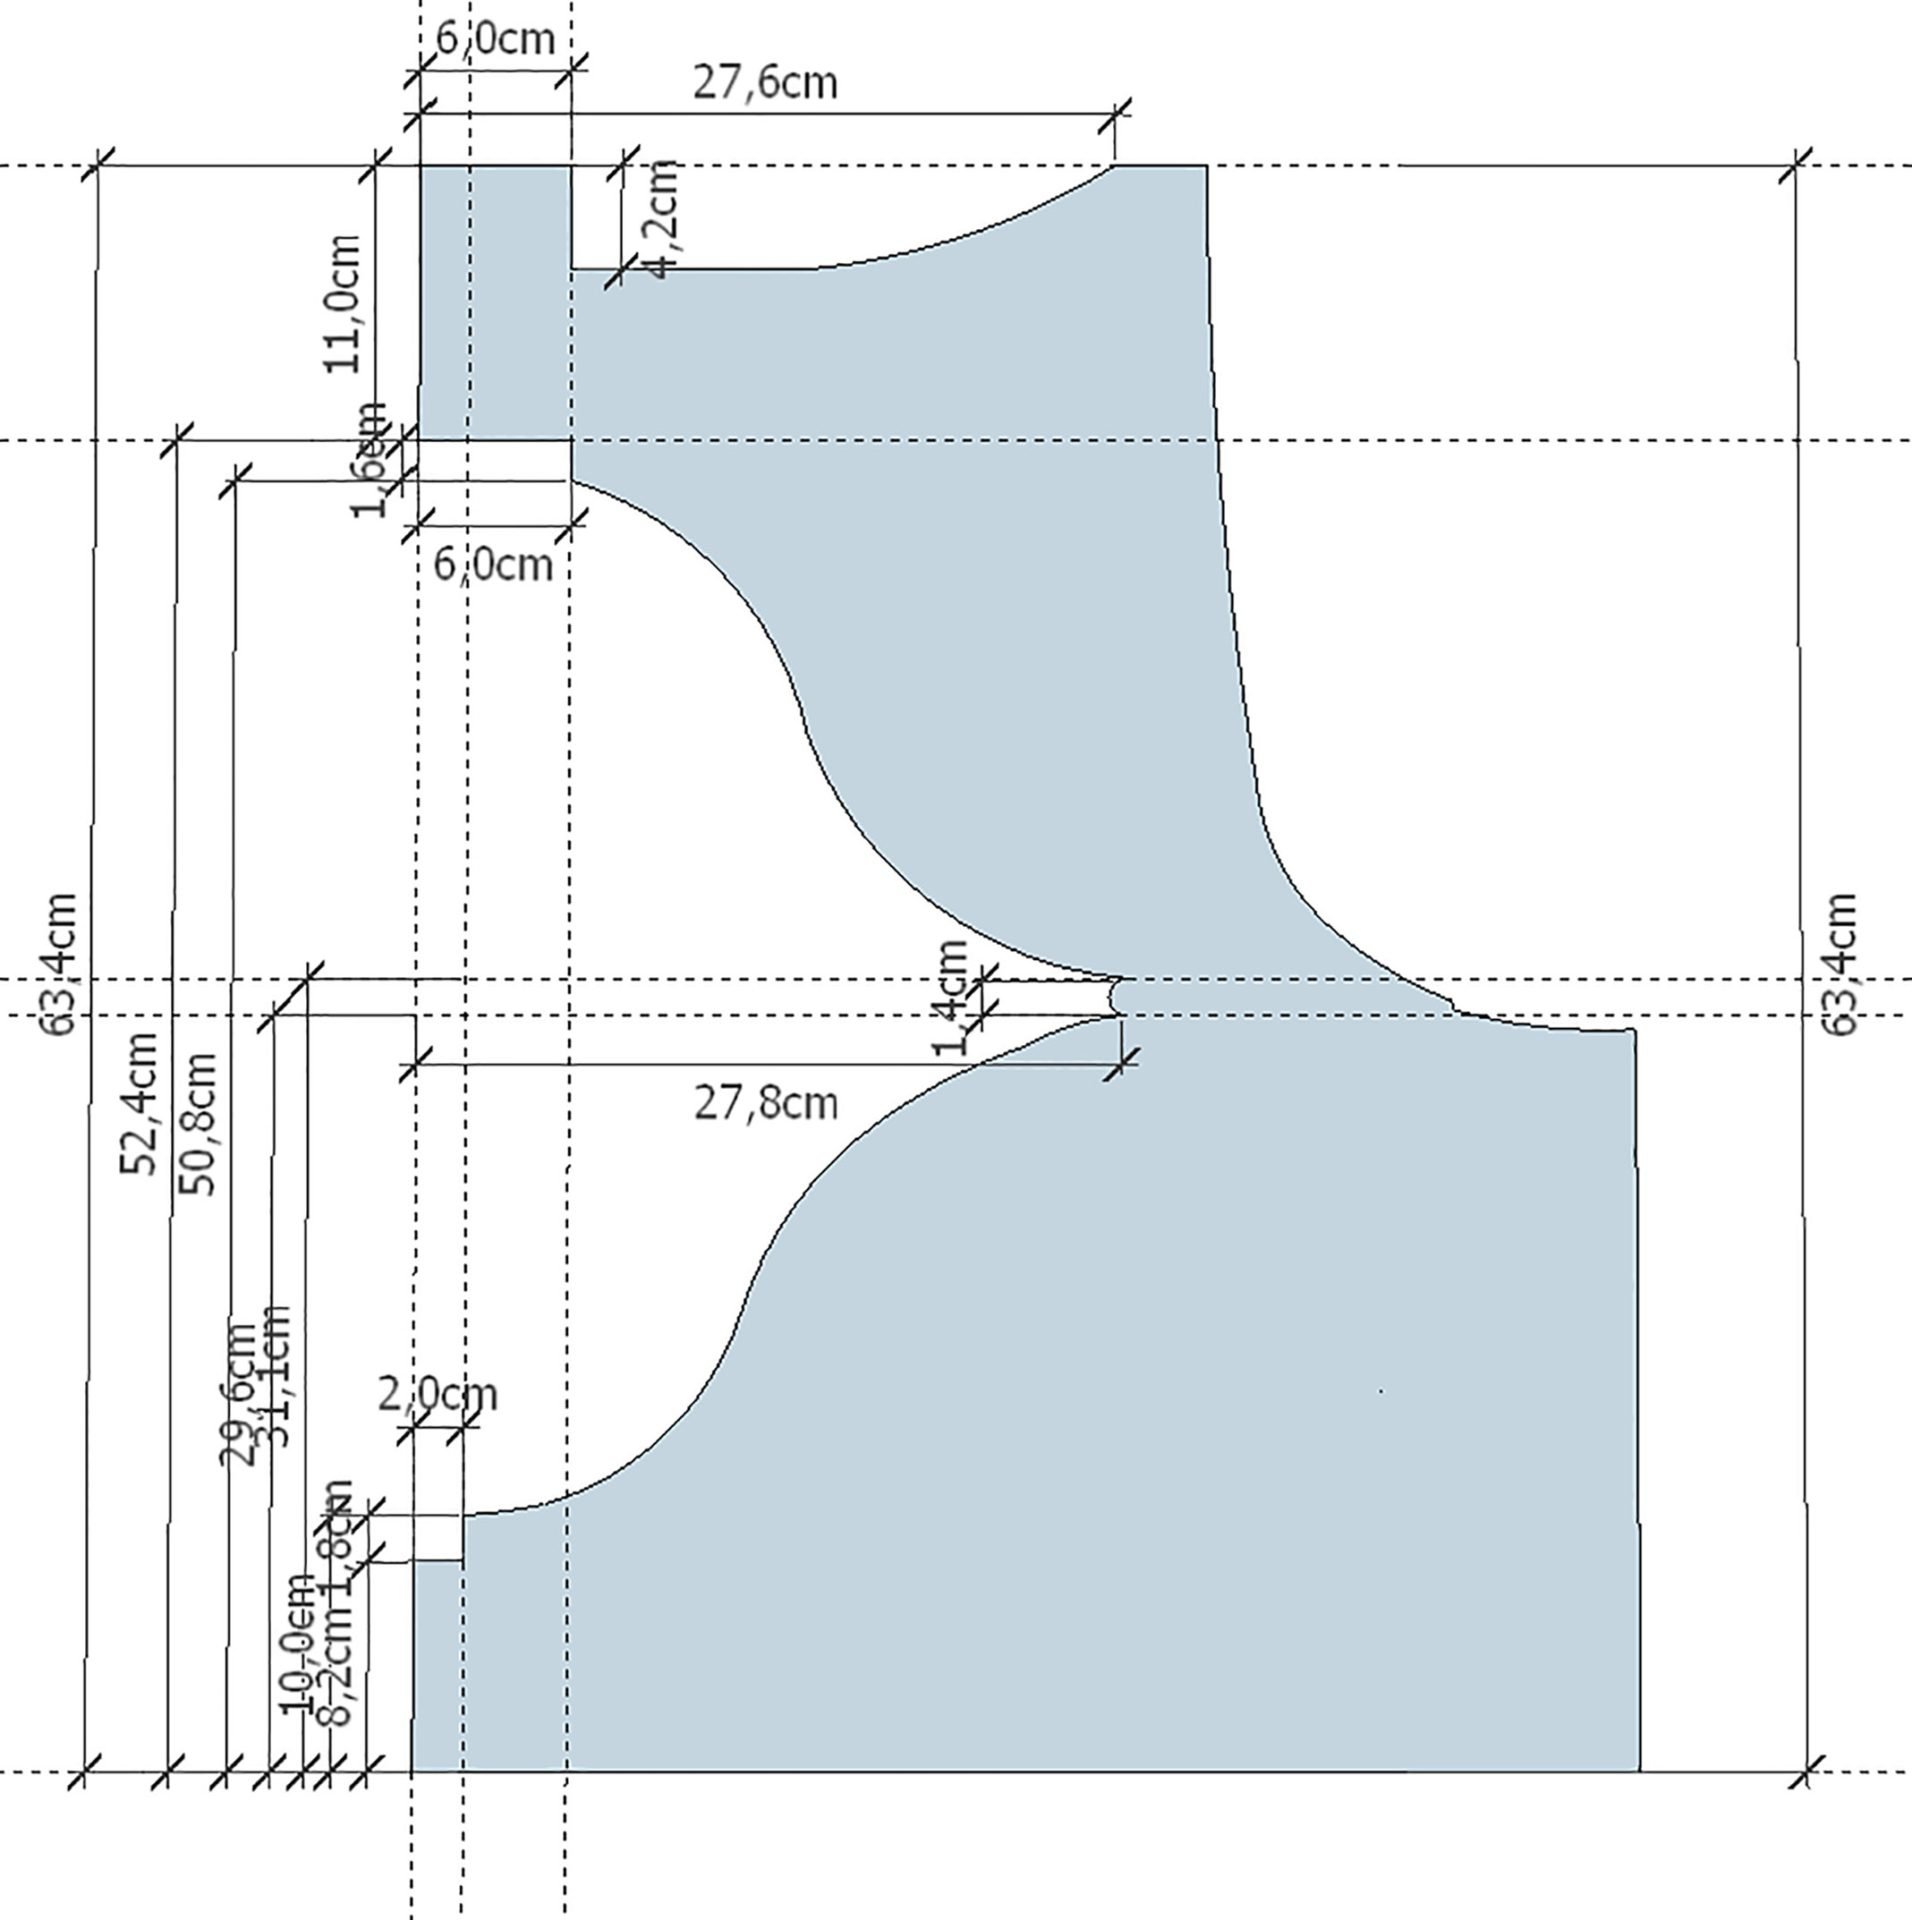
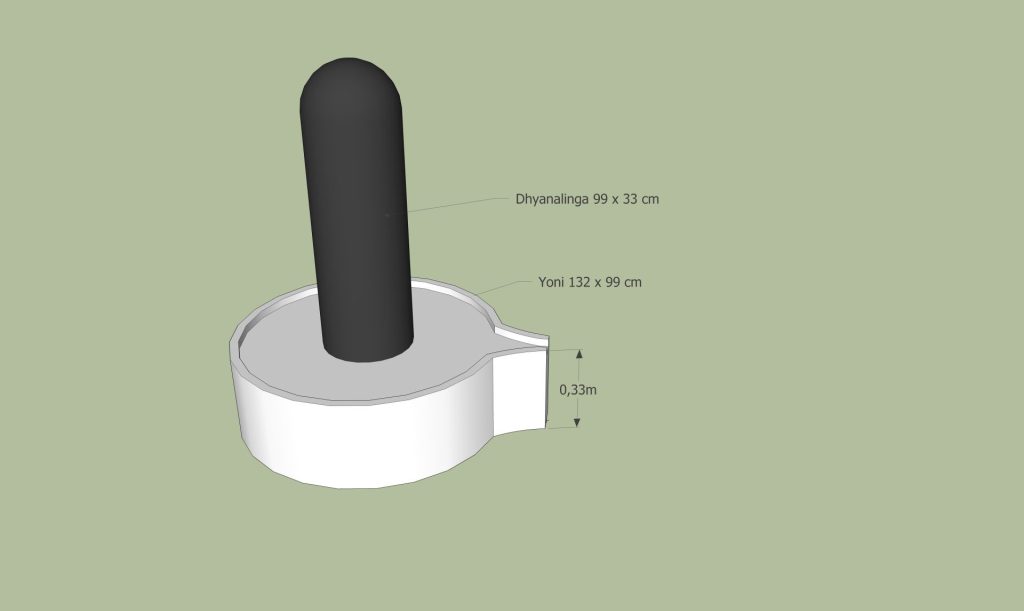
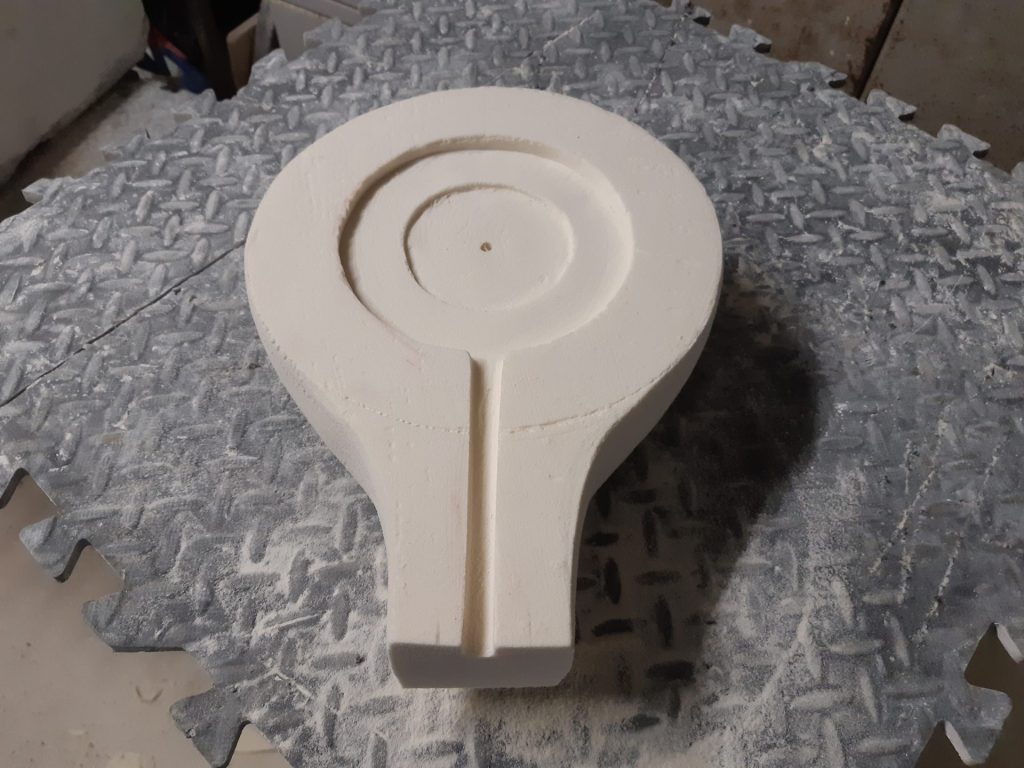
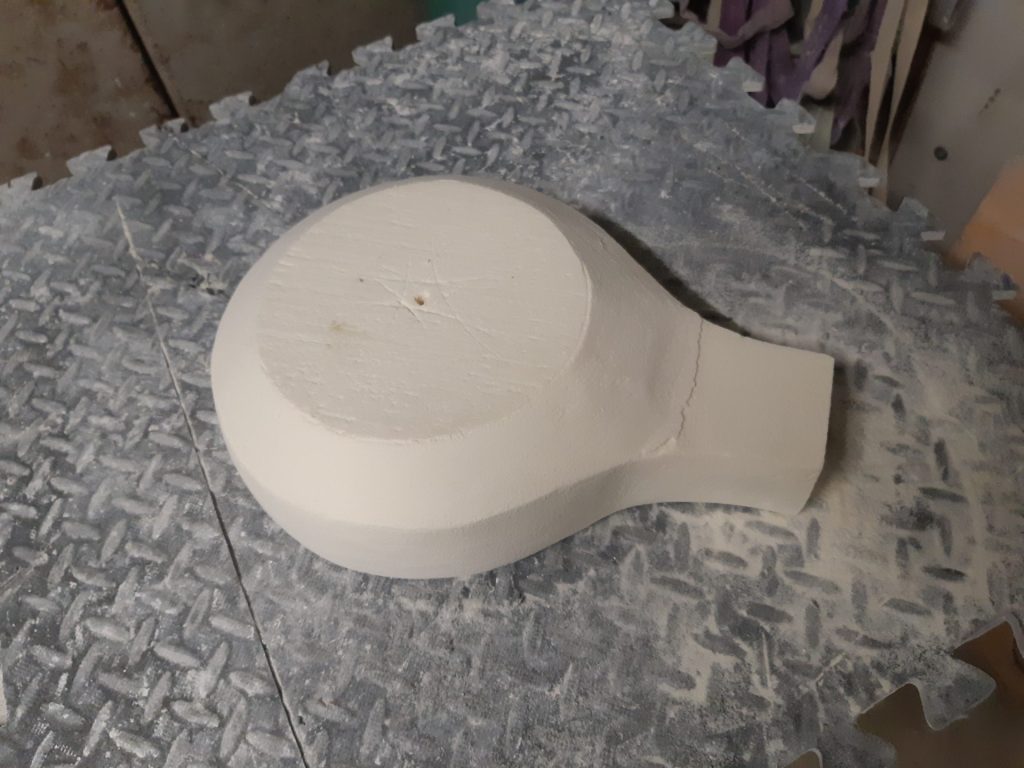
    Another Shivalingam was ordered by a customer from Germany. He wanted a meditation lingam, just like his master Sadhguru . I carved the lingam from black granite of 99 x 33 x 33 cms wide, and the yoni from white granite of 132 x 99 x 33 cms wide. The heavy lingam and yoni have been installed in his house by the customer himself, after an obstacle track with many height differences. An impressive job!

    Gallery: a black Dhyanalinga in a white granite Yoni

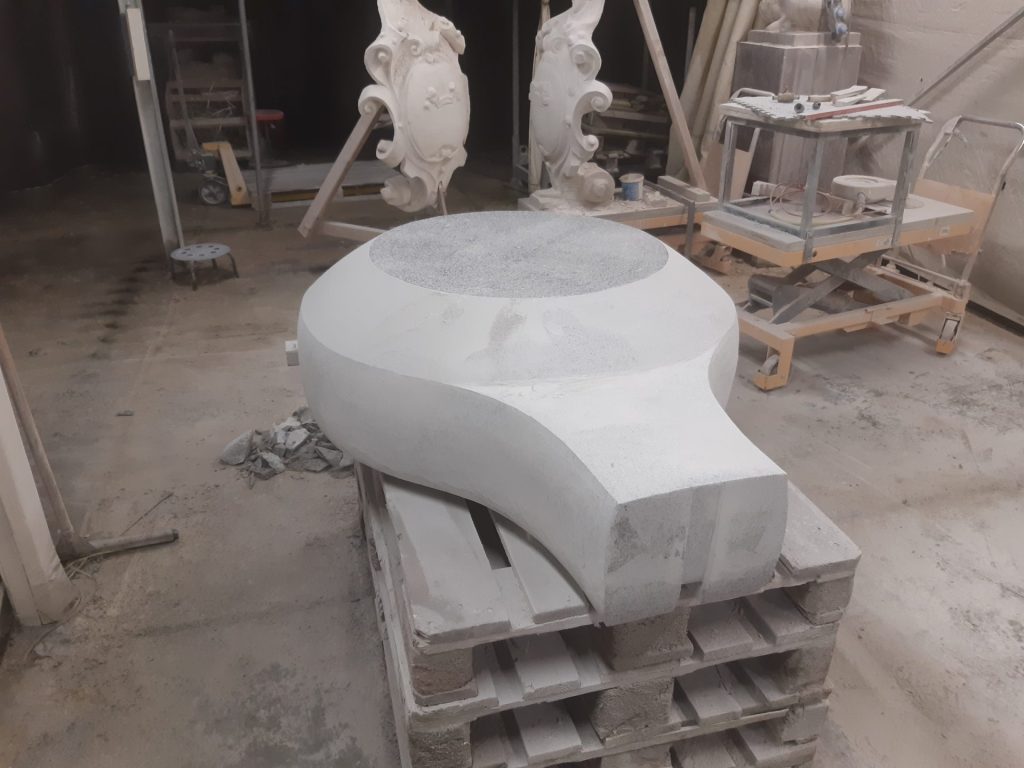
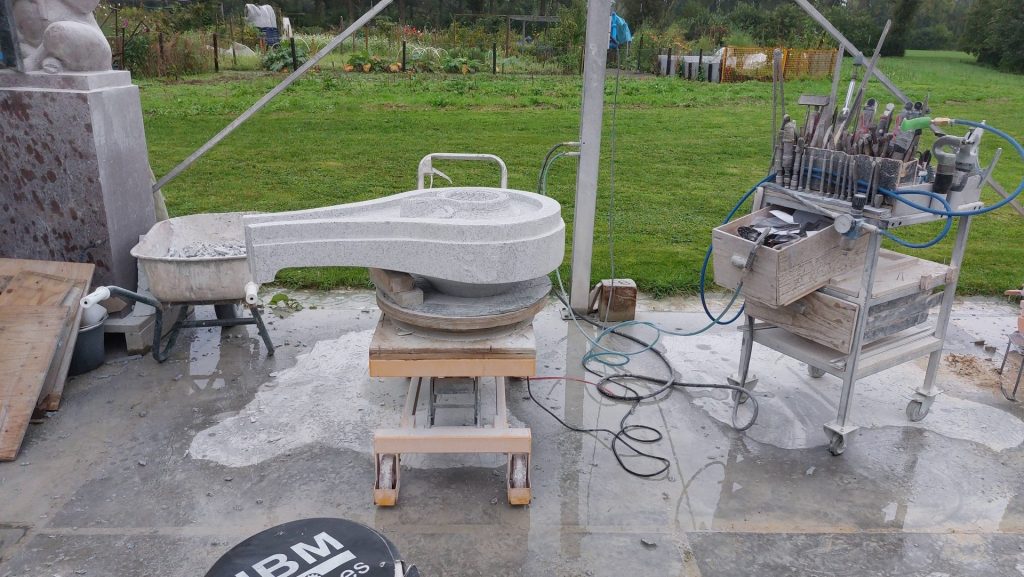
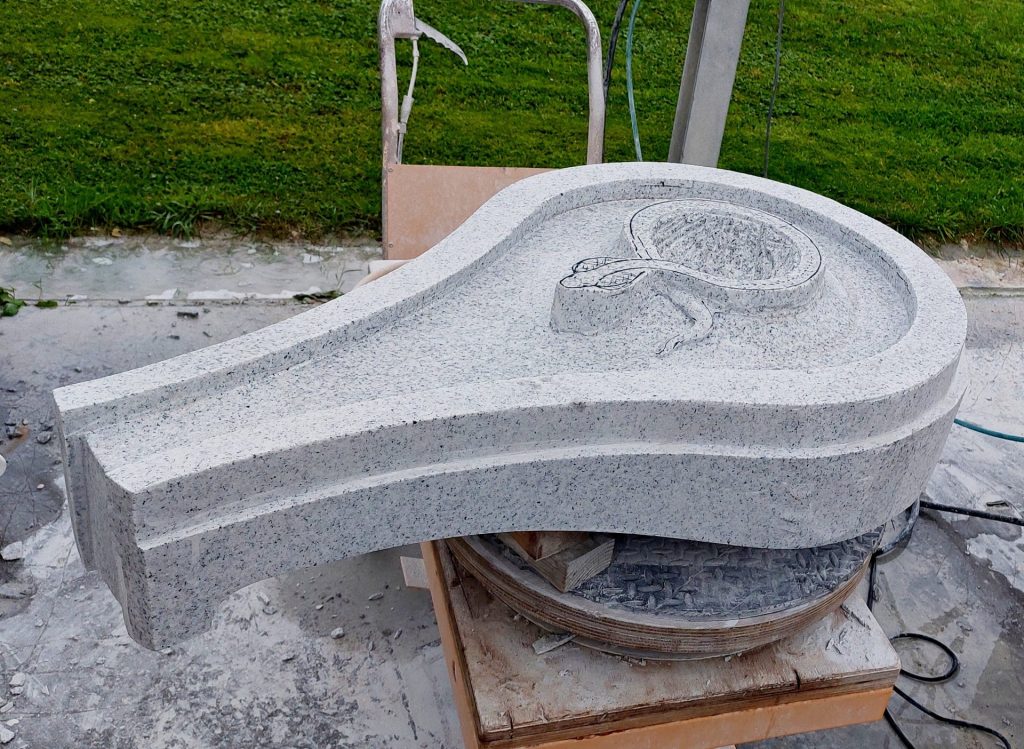
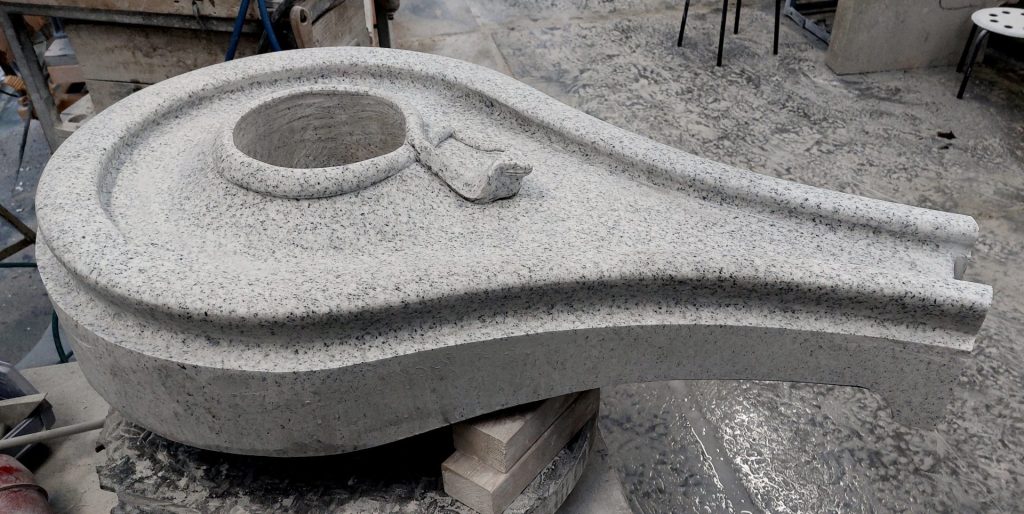
    A white Yoni for the lingam in Scotland

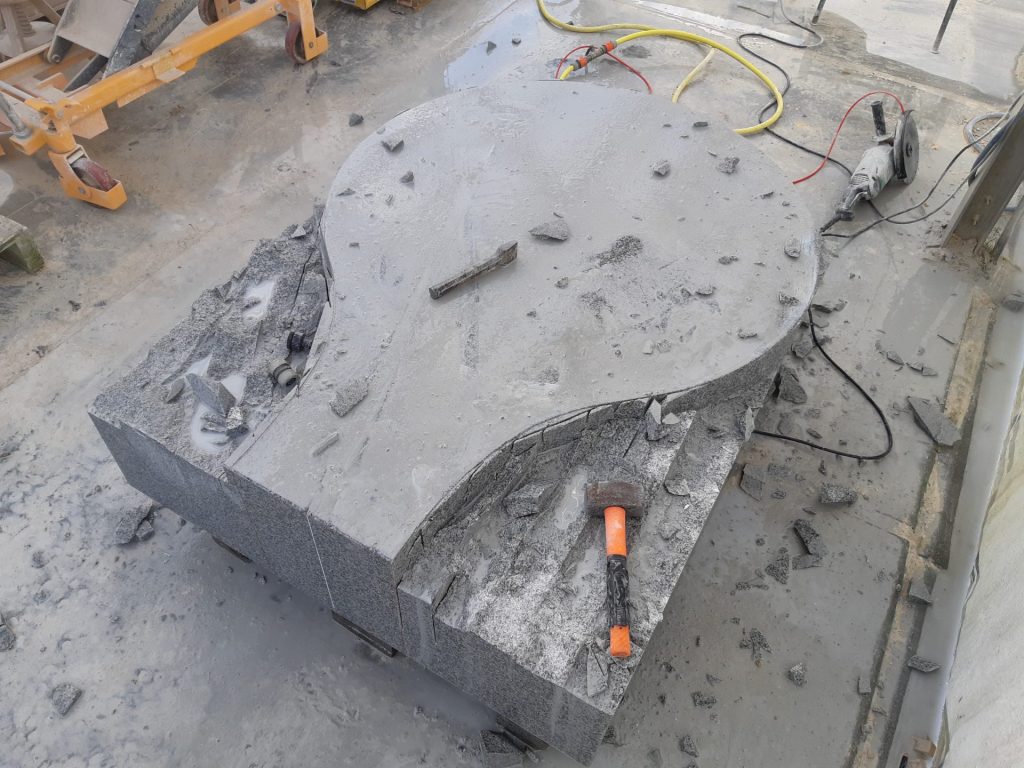
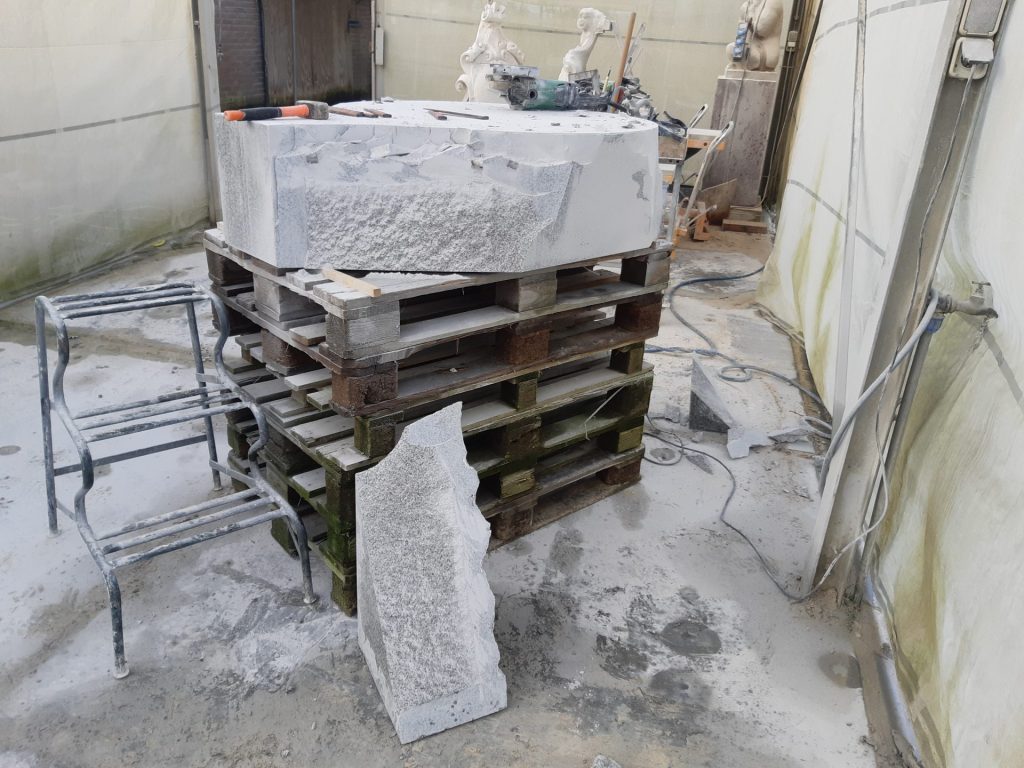
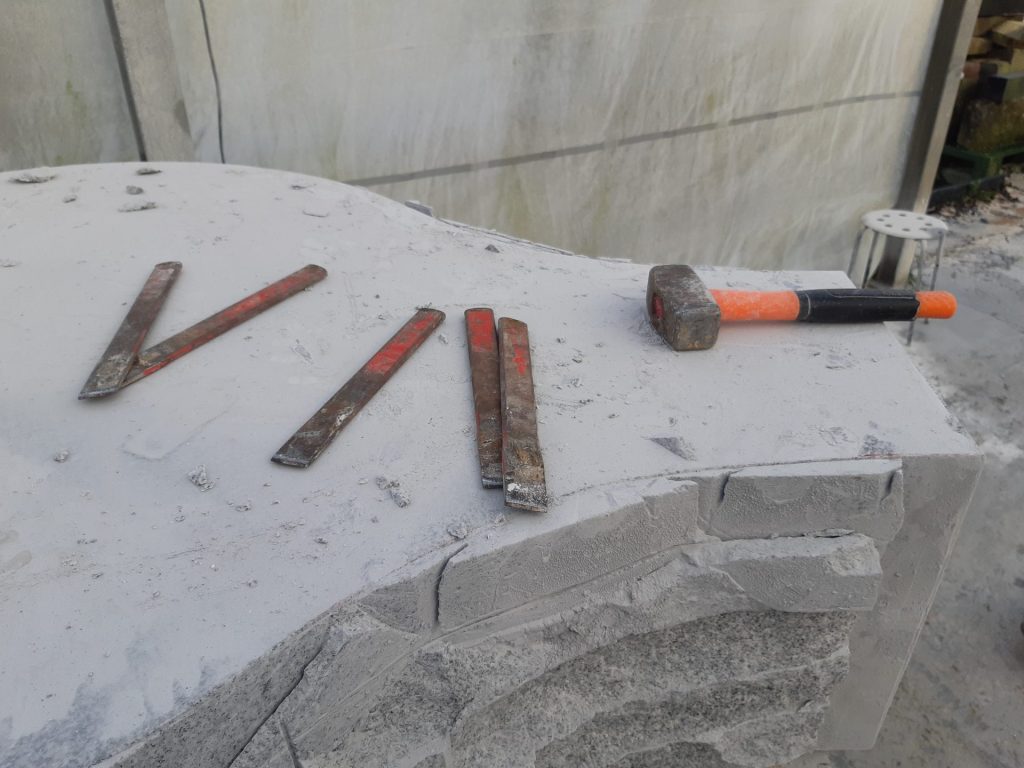
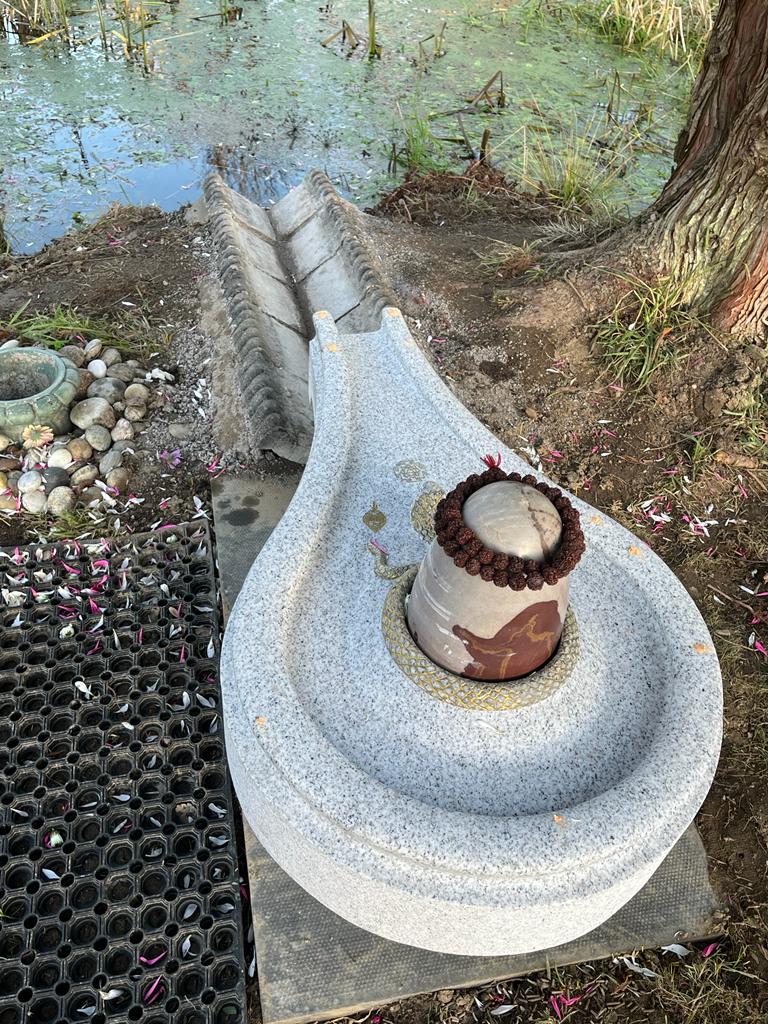
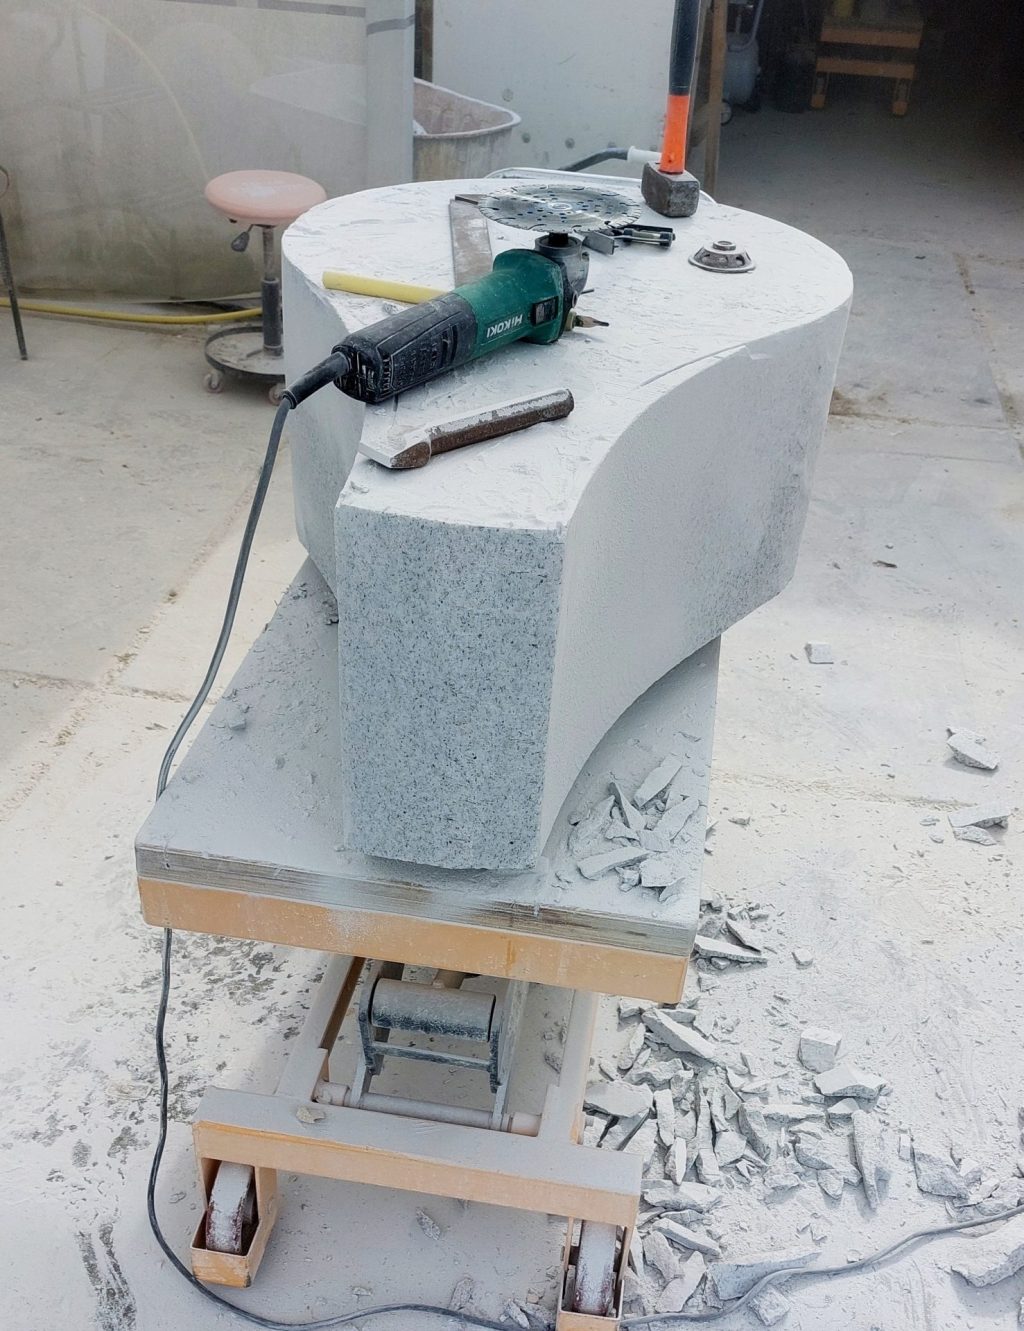
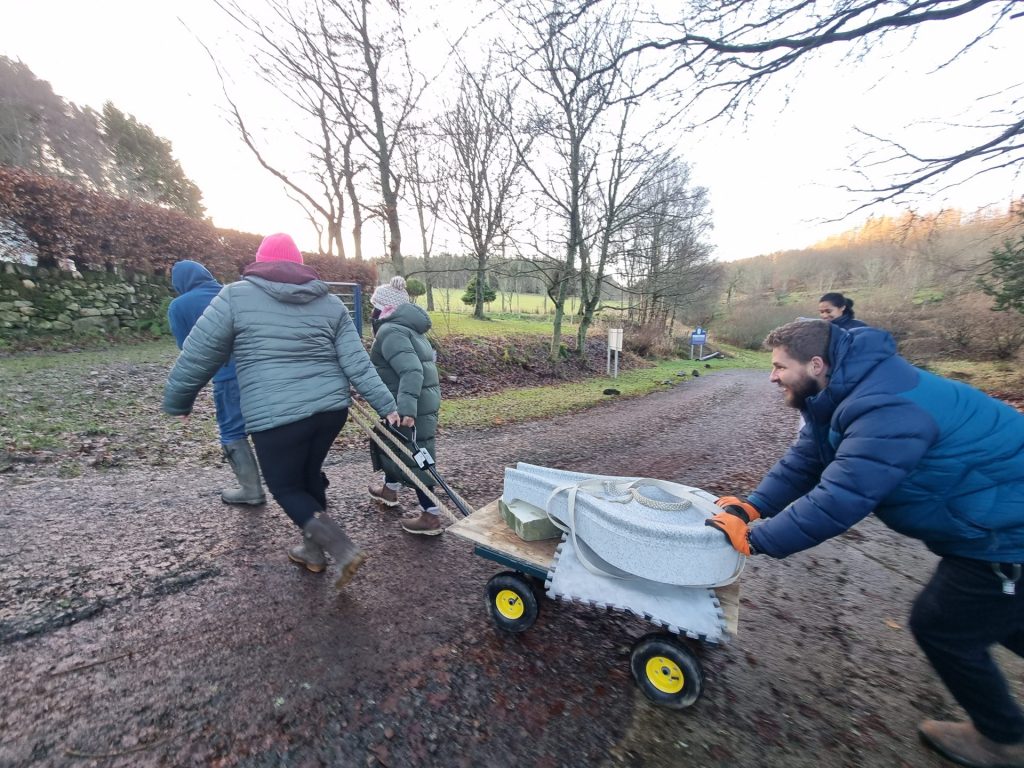
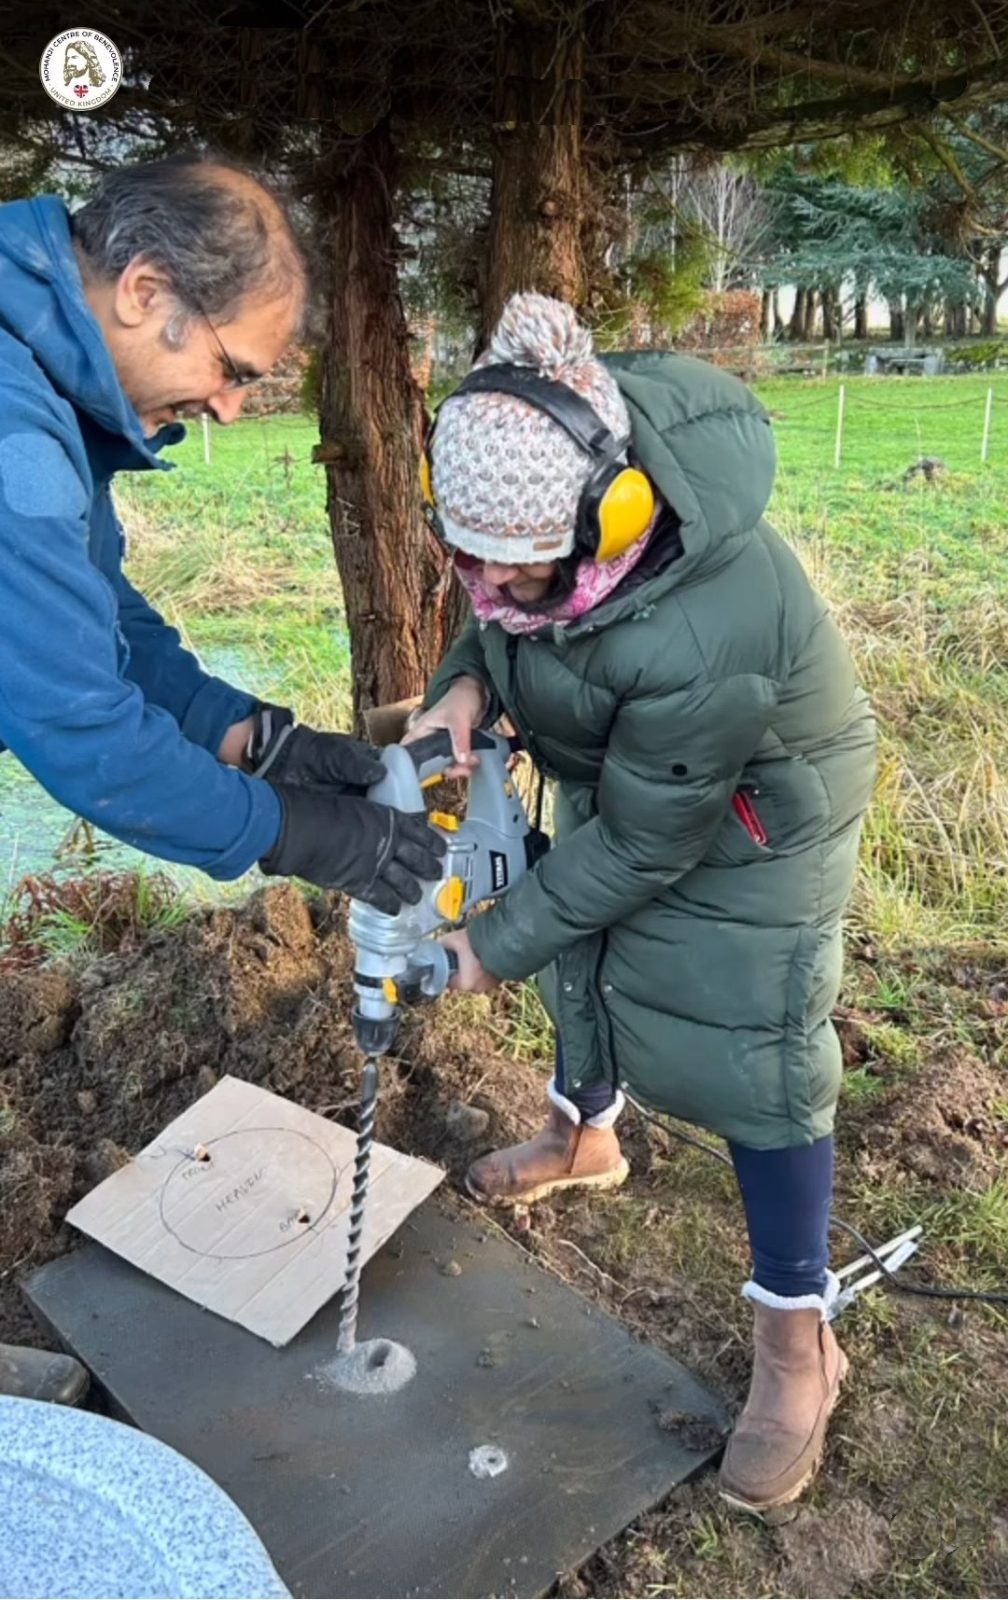
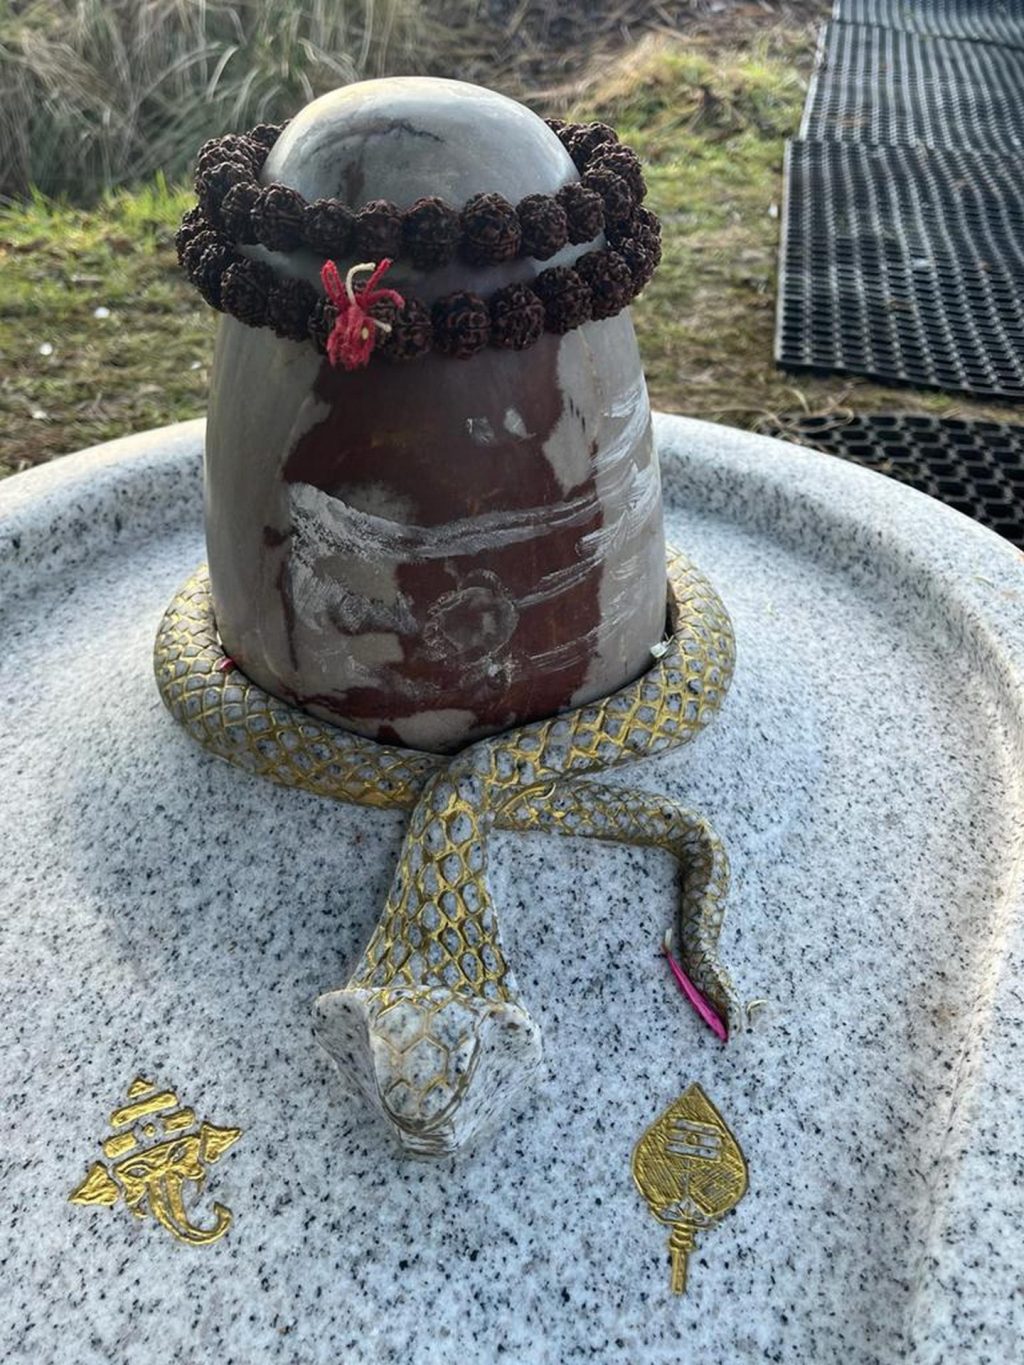
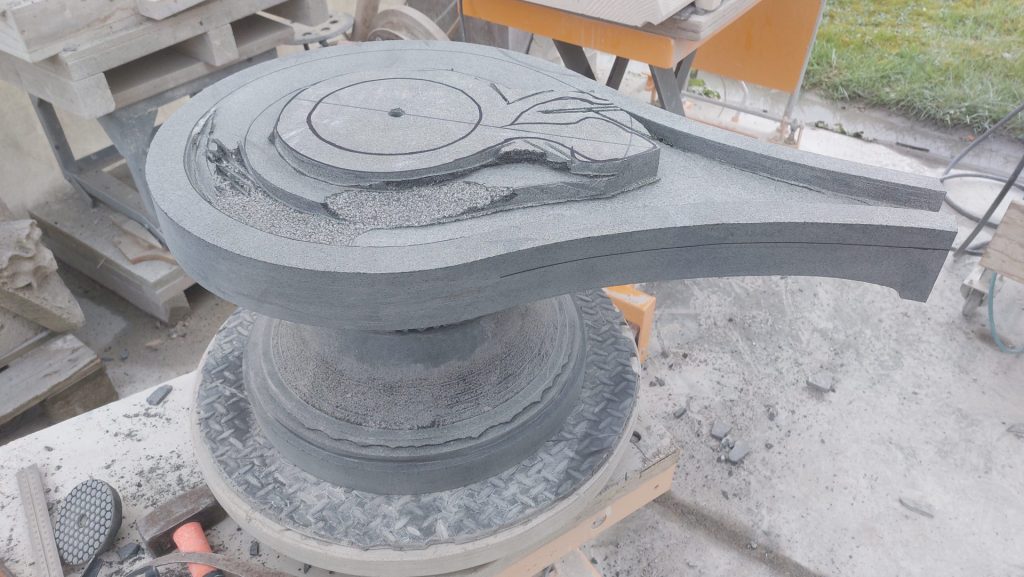
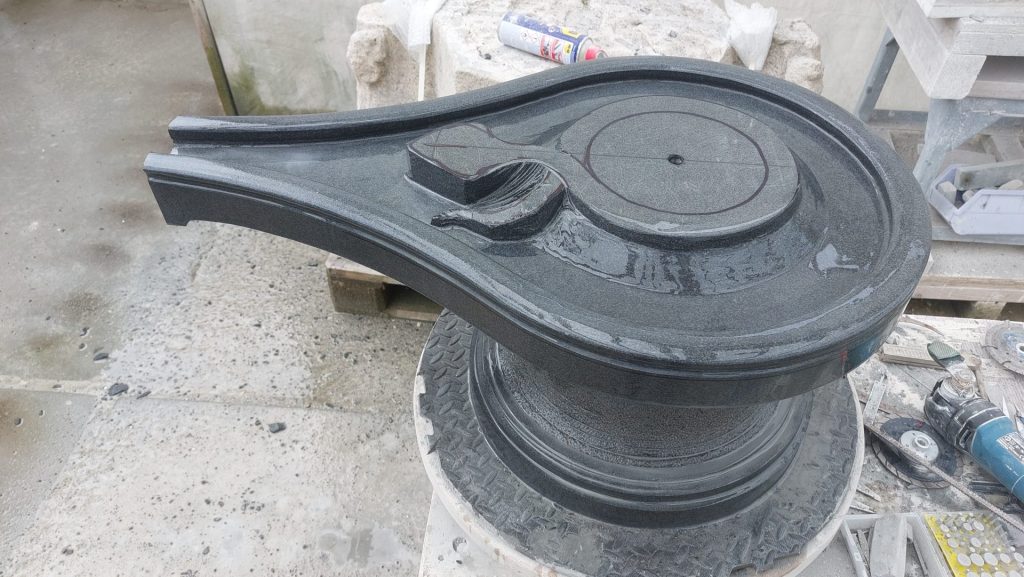
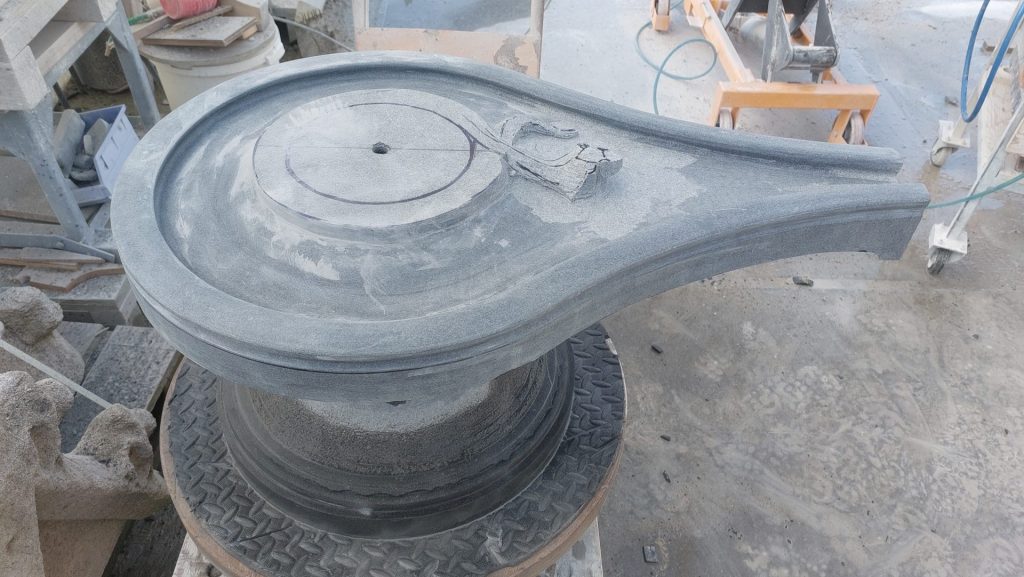
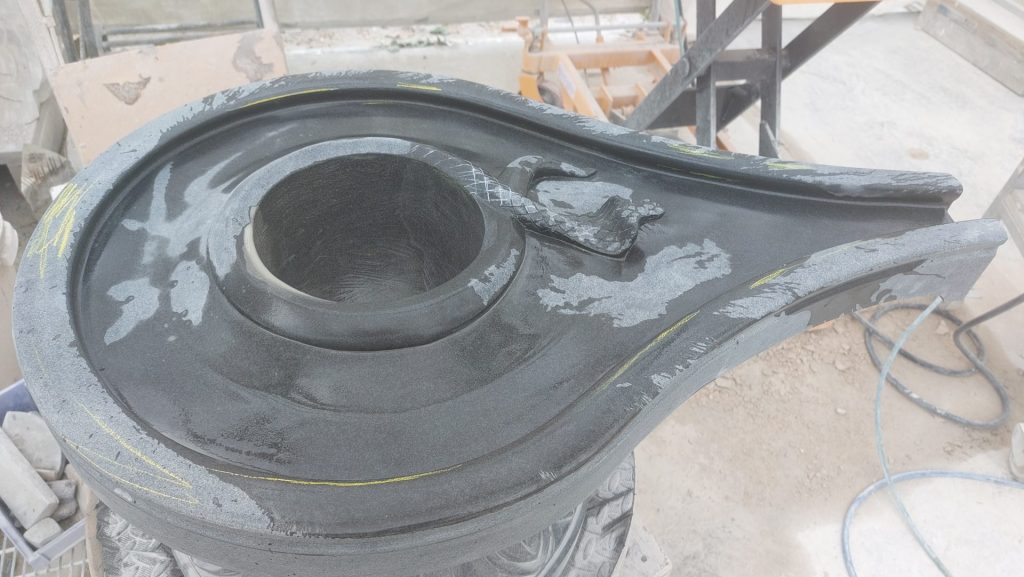
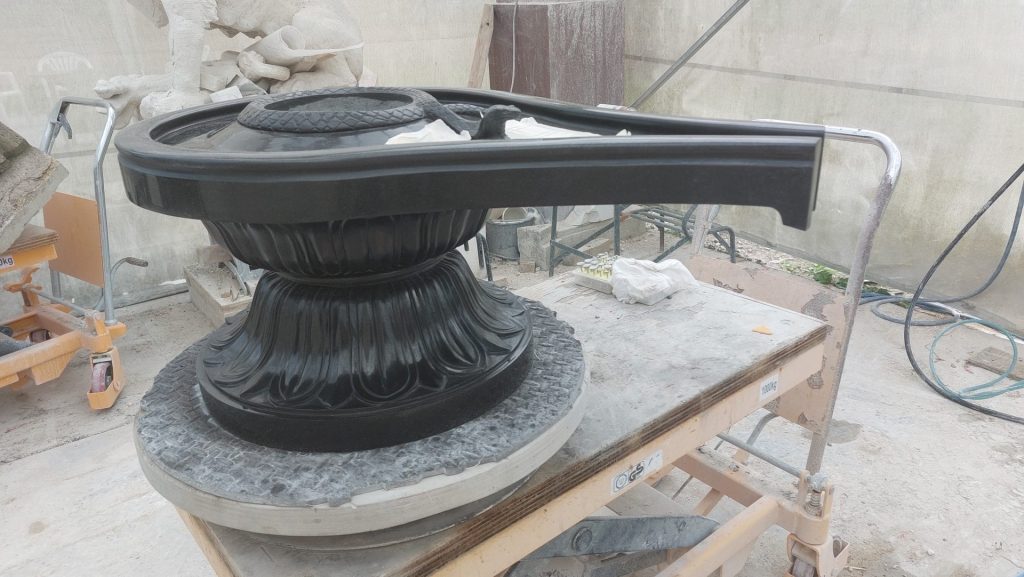
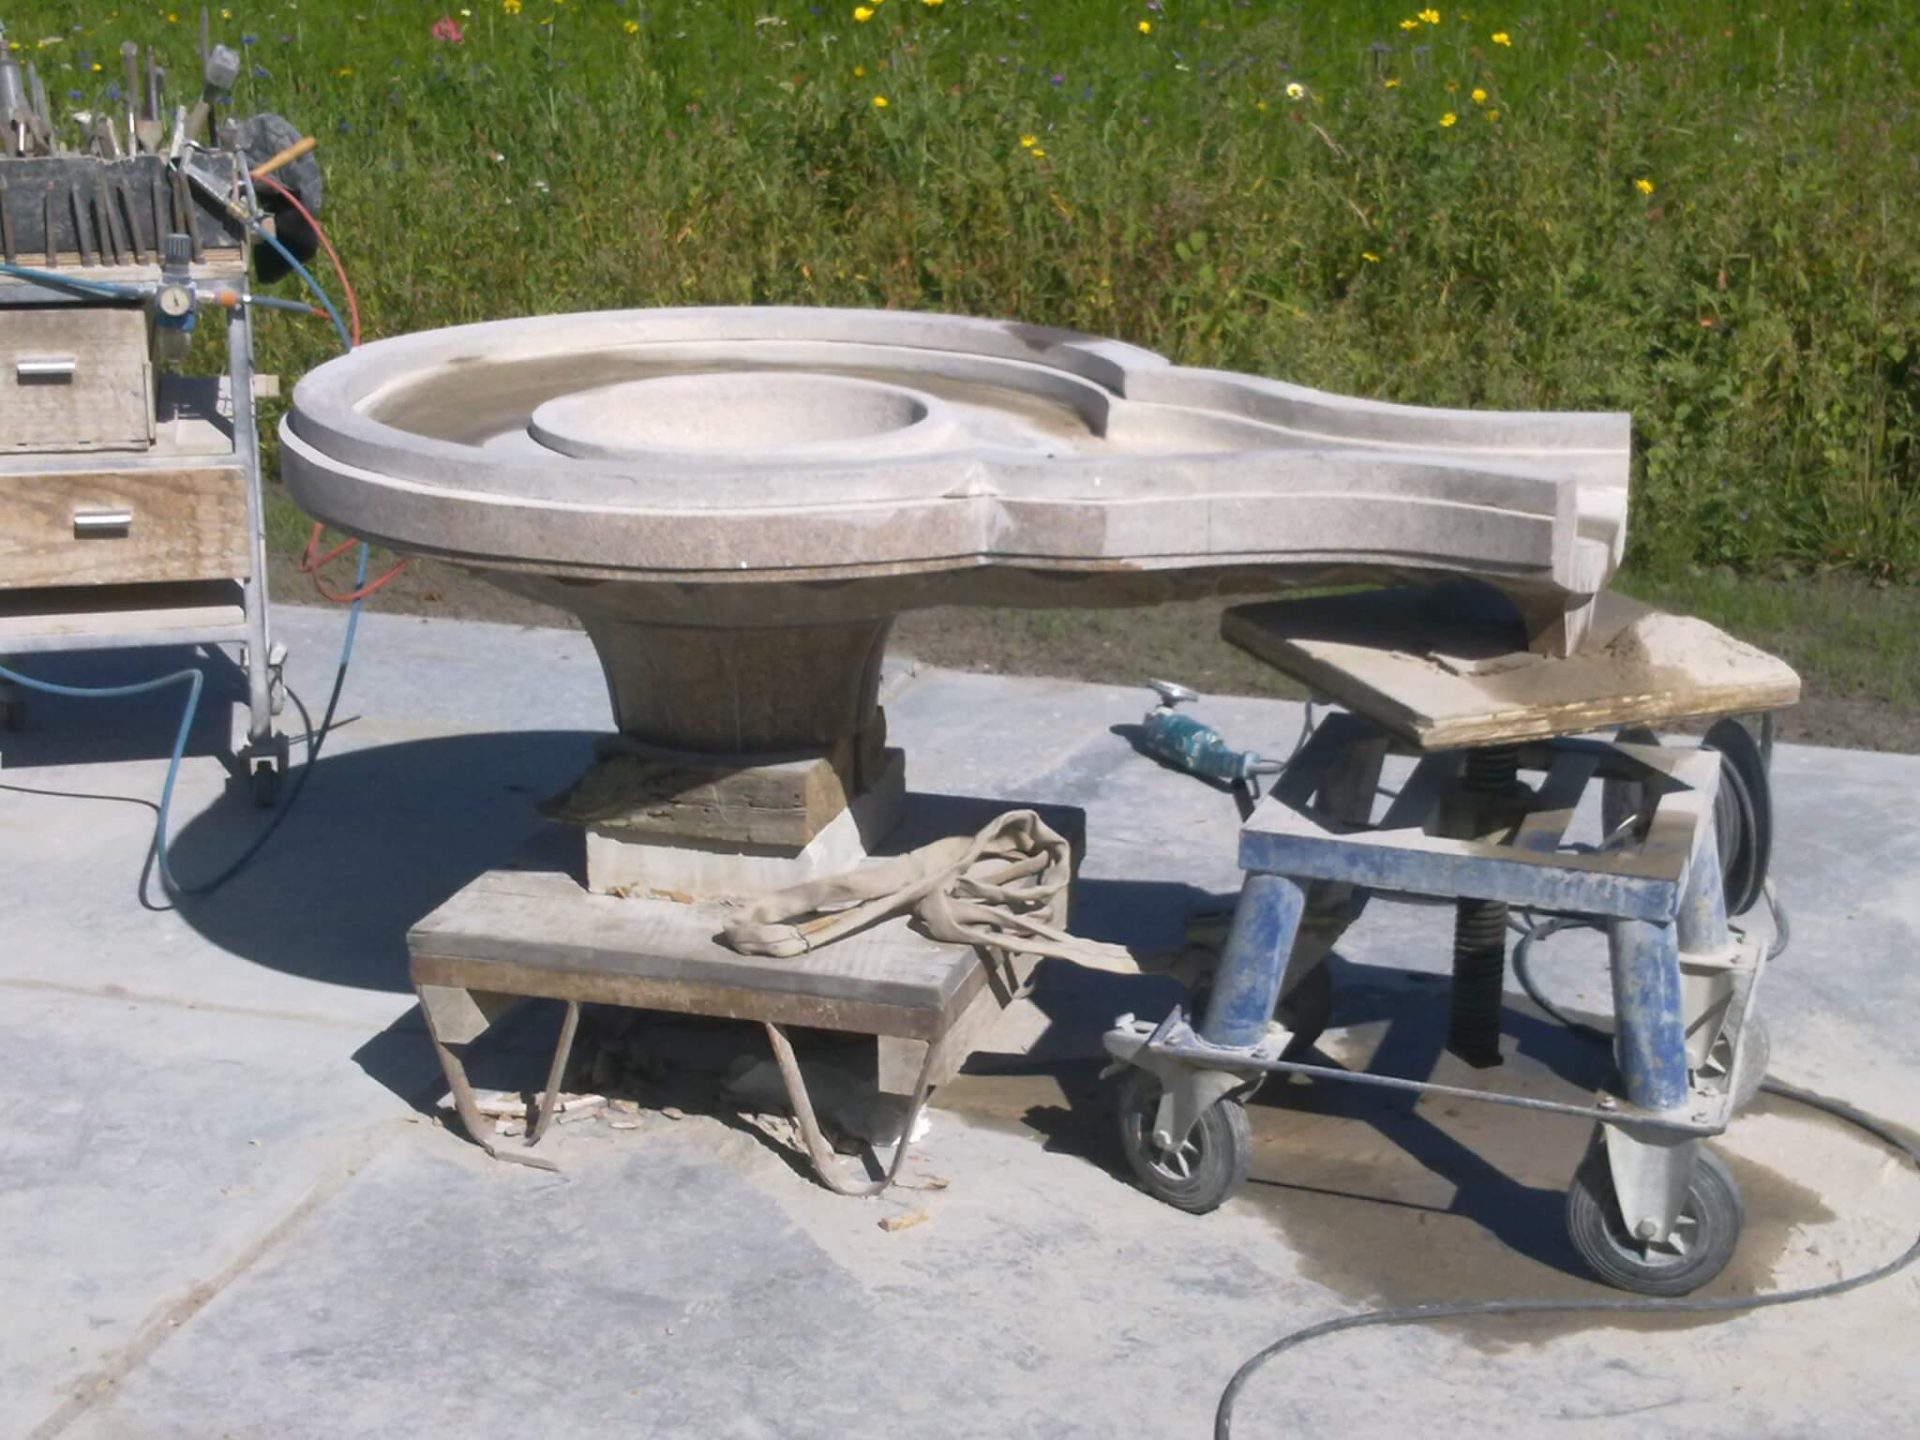
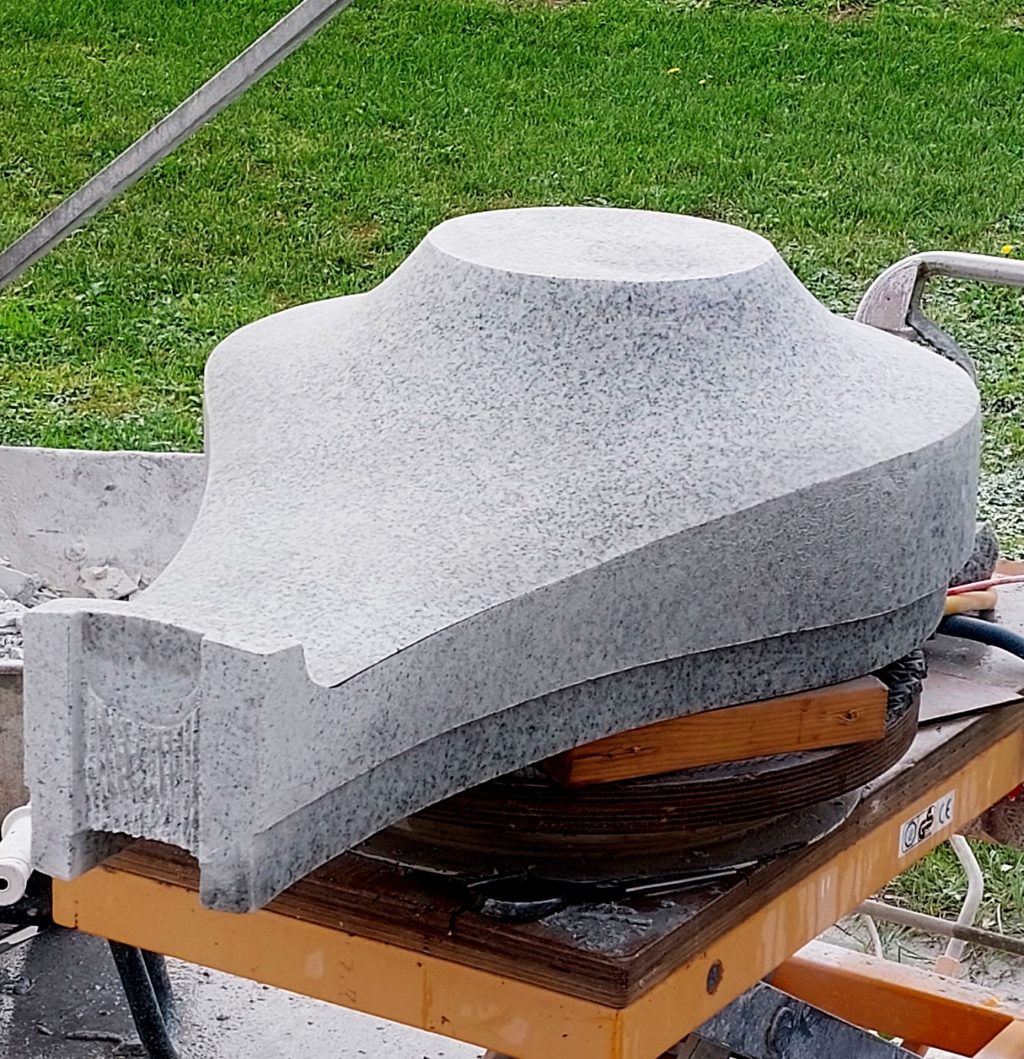
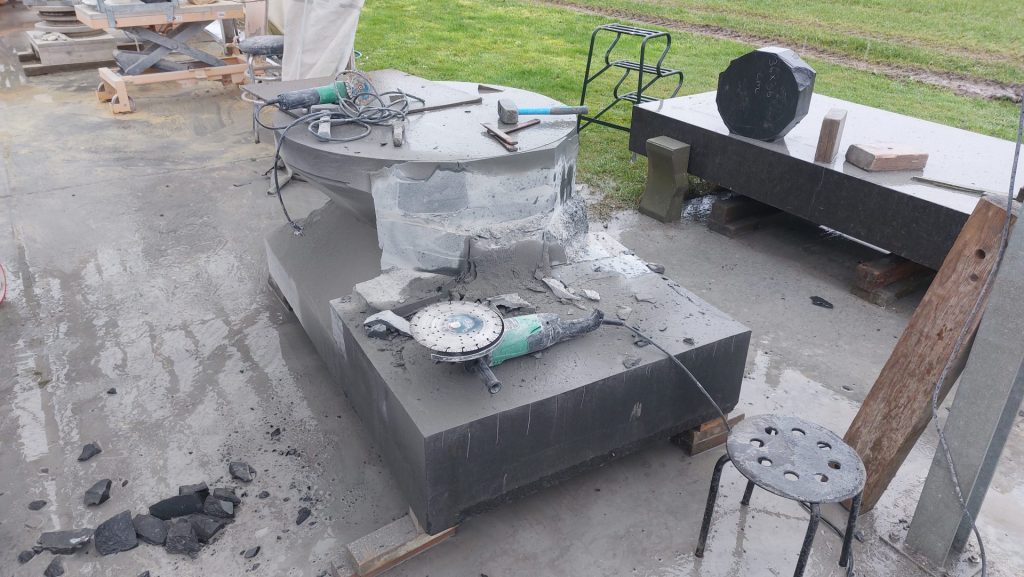
    For the Mohanji Centre in Scotland I made a panipeetham out of white granite. They already had a large Shivalingam there, and because it was light in color, the Yoni also had to be white. But marble in that climate didn't seem like a good idea to me. There was a time when I carved in granite often, but that was quite a while ago. That's why it had slipped my mind that you can split granite just fine: if you make a cut with an angle grinder, then by inserting a number of narrow chisels into that saw cut you can easily remove a big chunk. Granite breaks without unpredictable bends or leaps and bounds, because it has no layer direction.

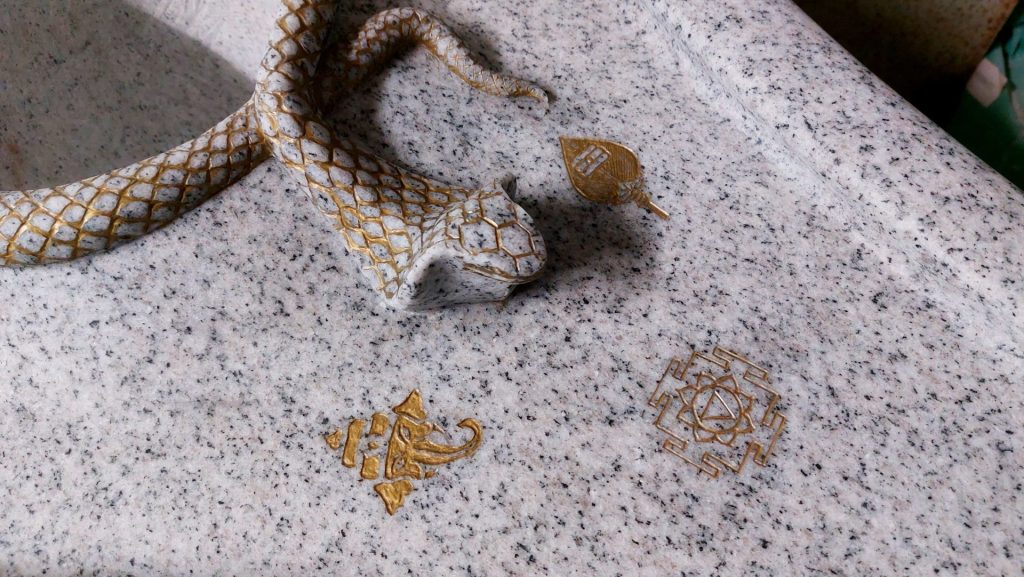
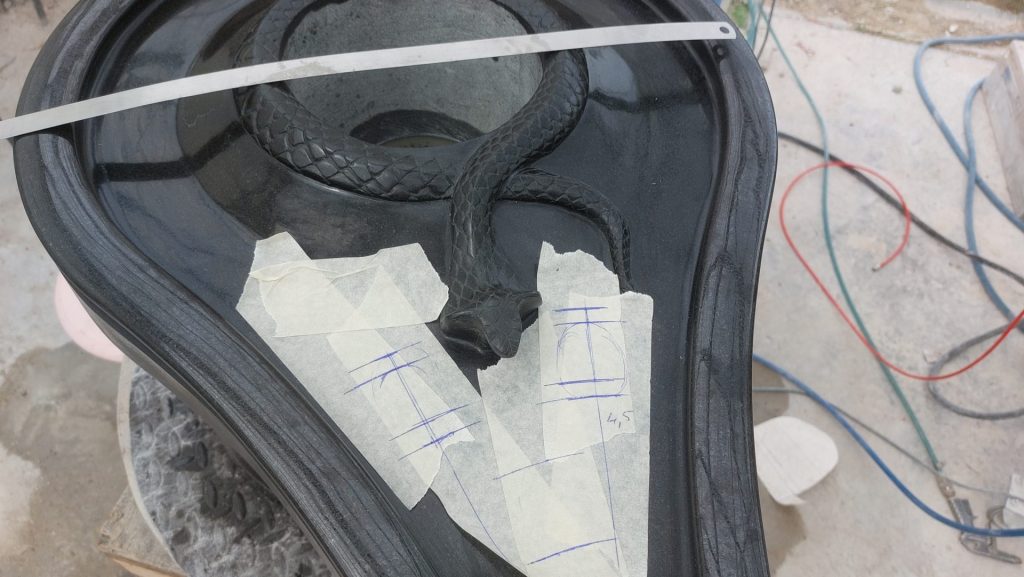
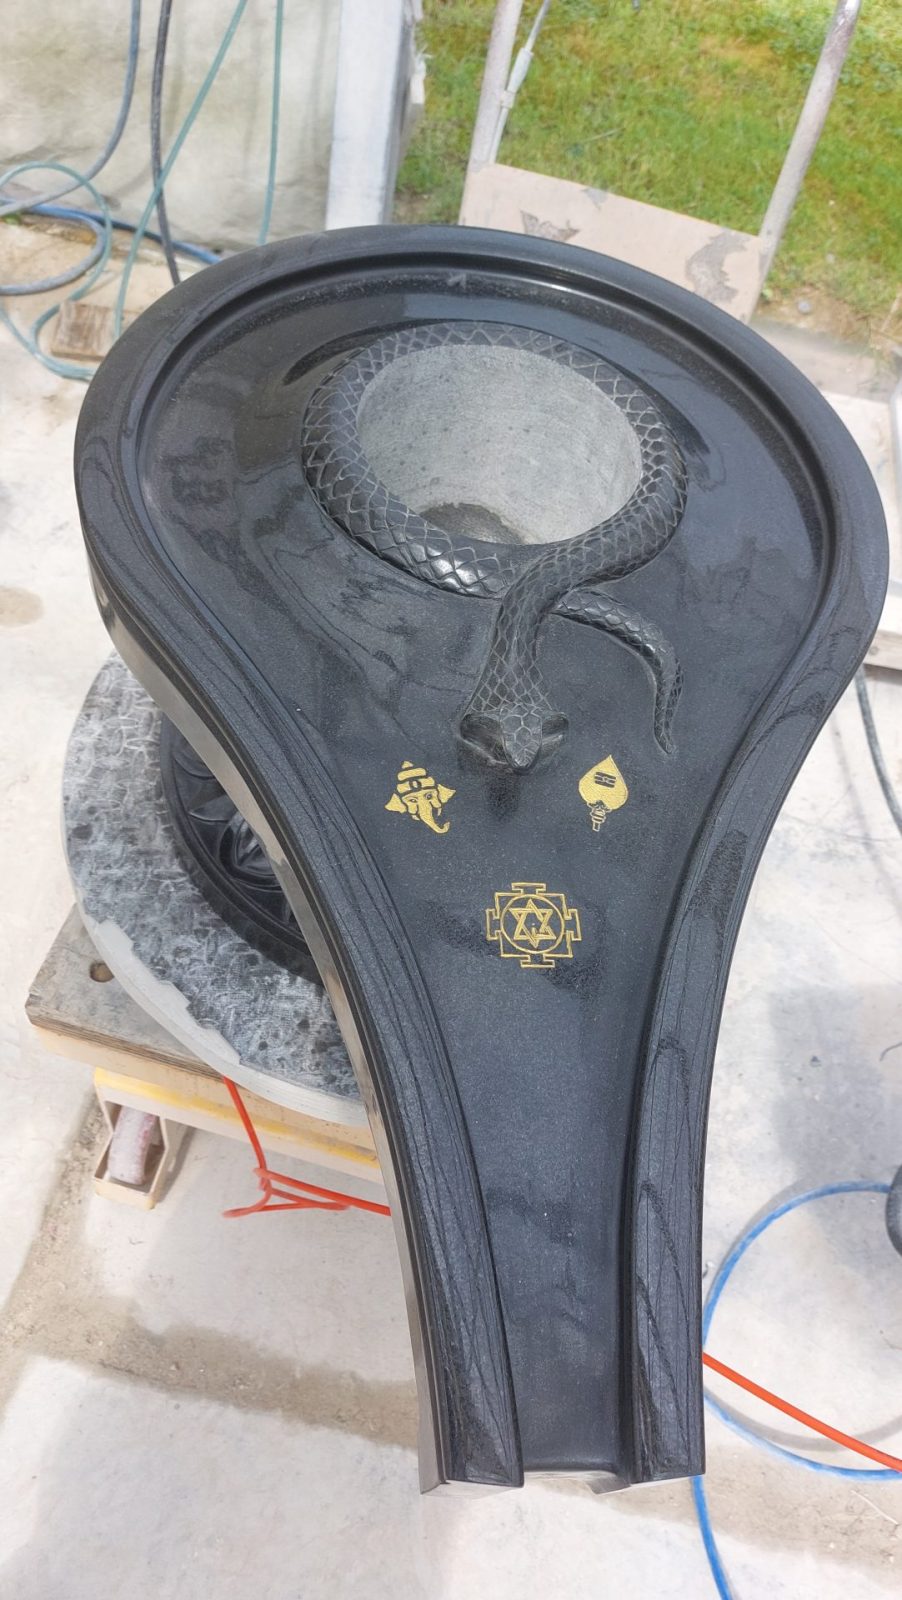
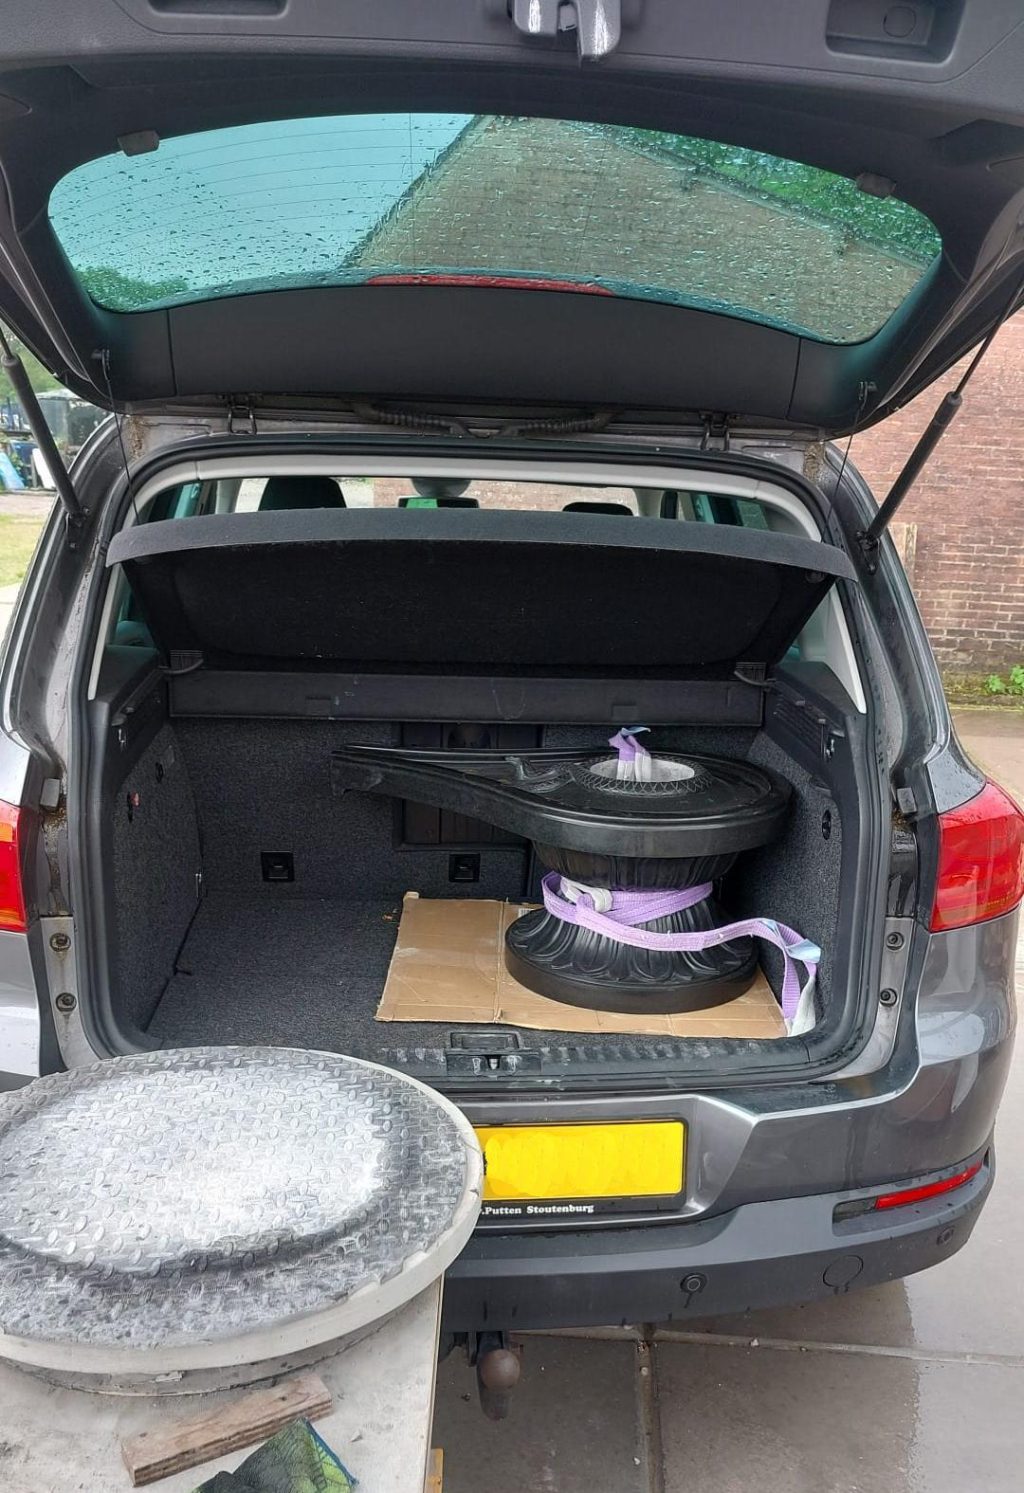
    This Yoni has a simple bush-hammered exterior on the sides, But on top and bottom it is smooth. A Cobra has been draped around the Shivalingam and three symbols have been engraved in the upper surface, of Tripura Sundari, Ganesha and Subramaniam. These were painted in with gold paint. I sent the whole thing to Scotland and flew after it myself to install it in December of 2023.

    A black Shivalingam in Slovenia

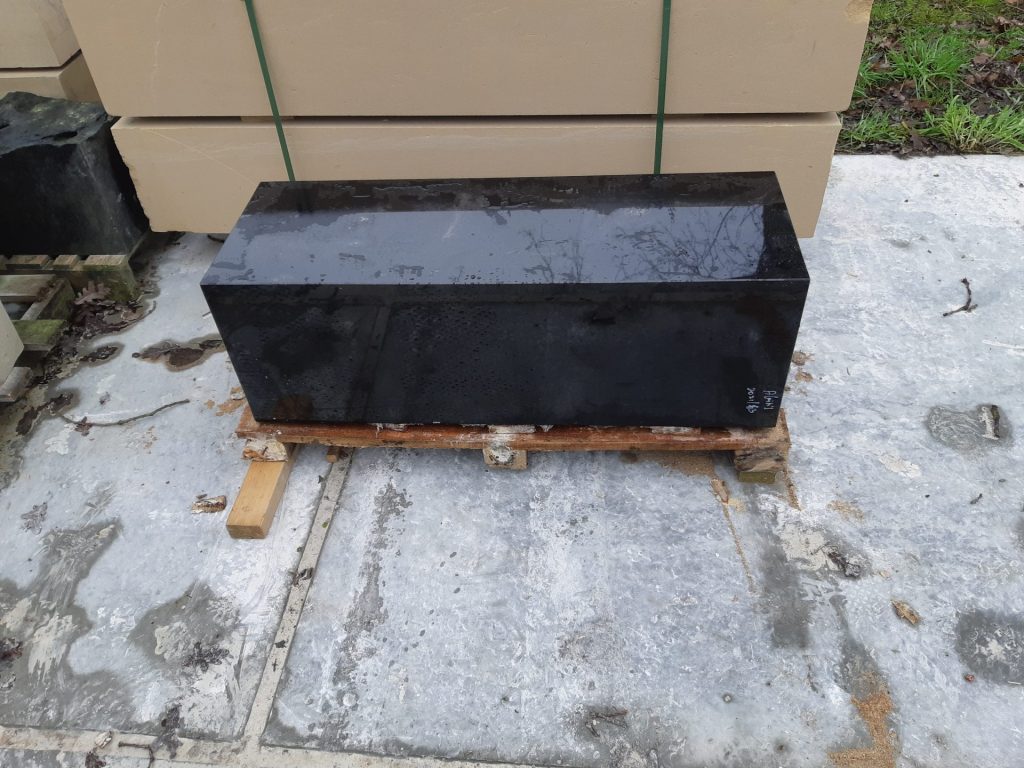
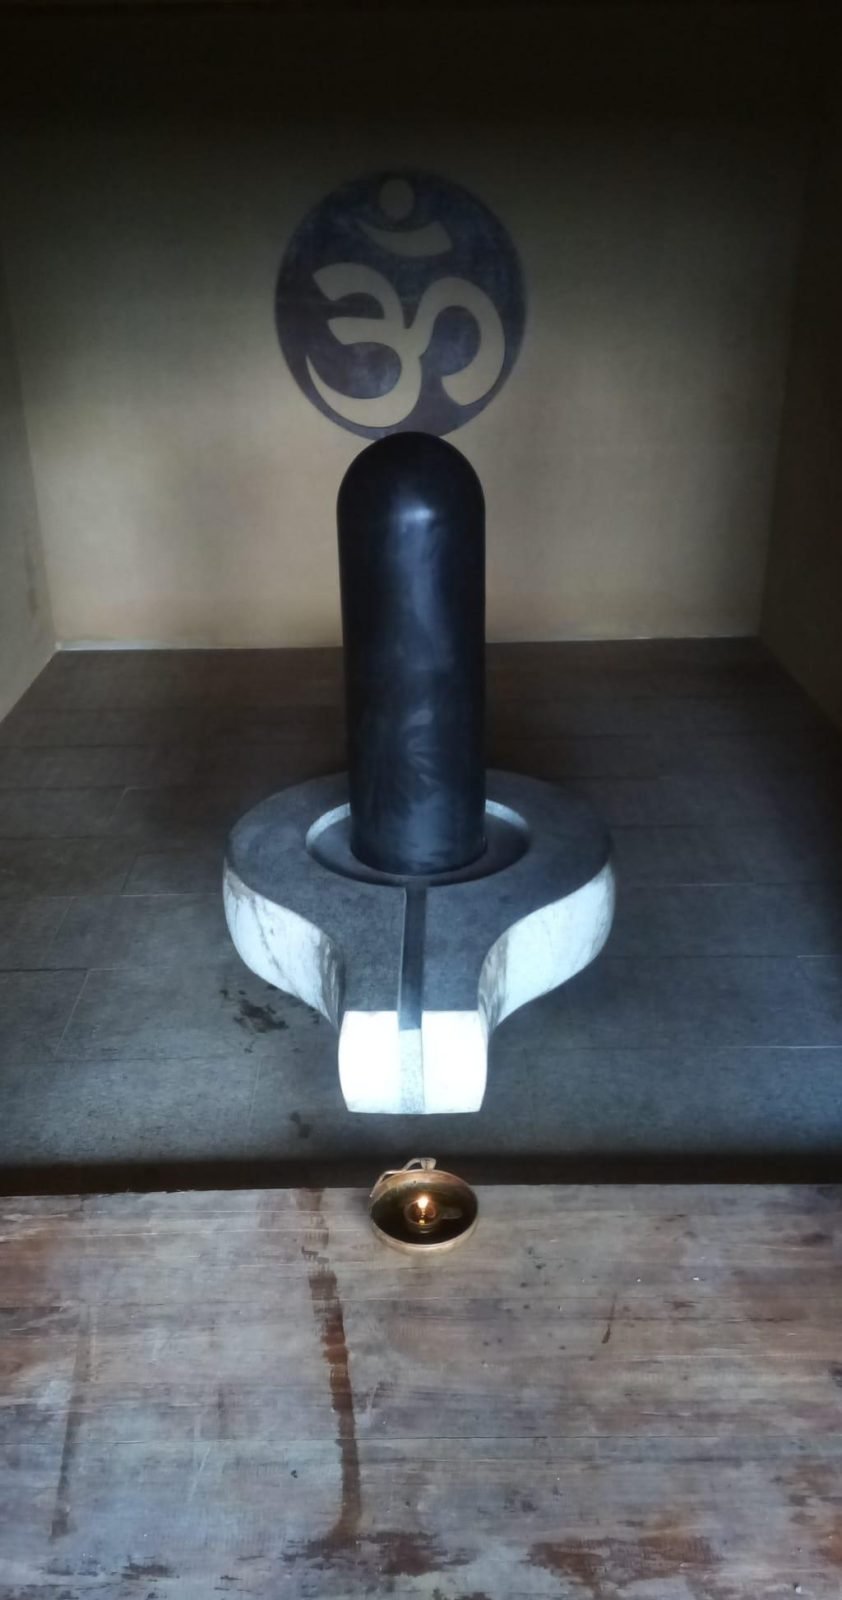
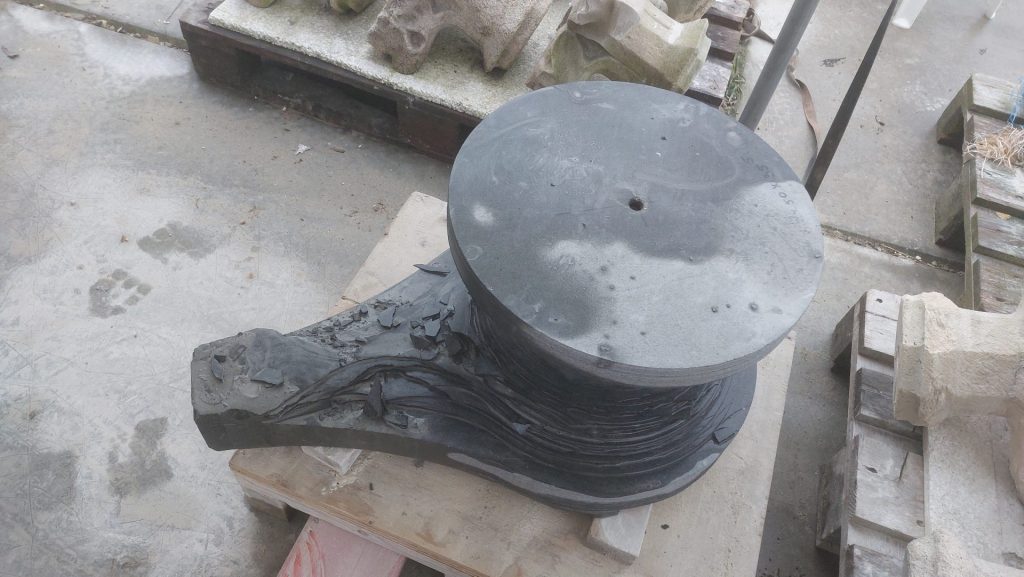
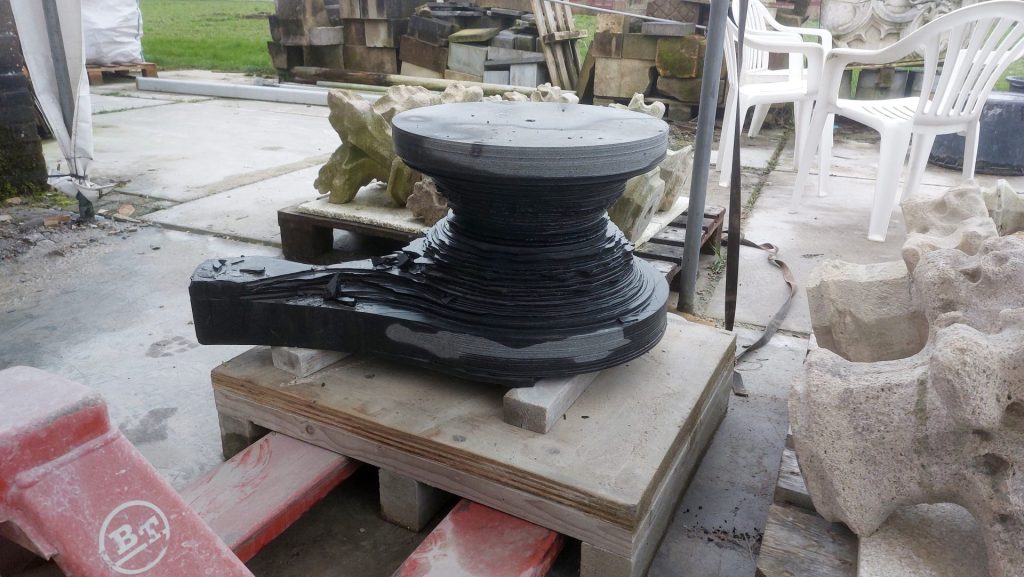
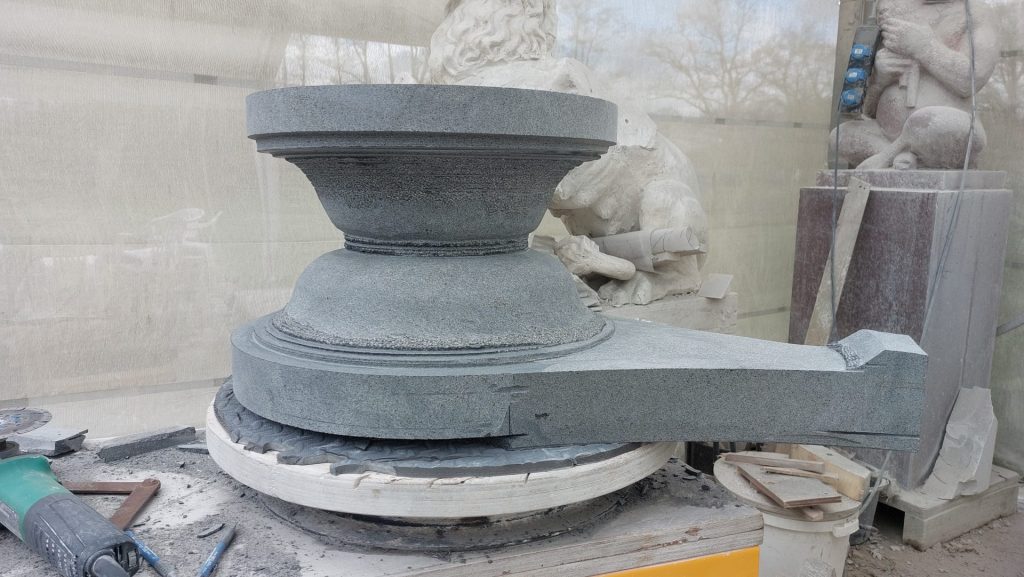
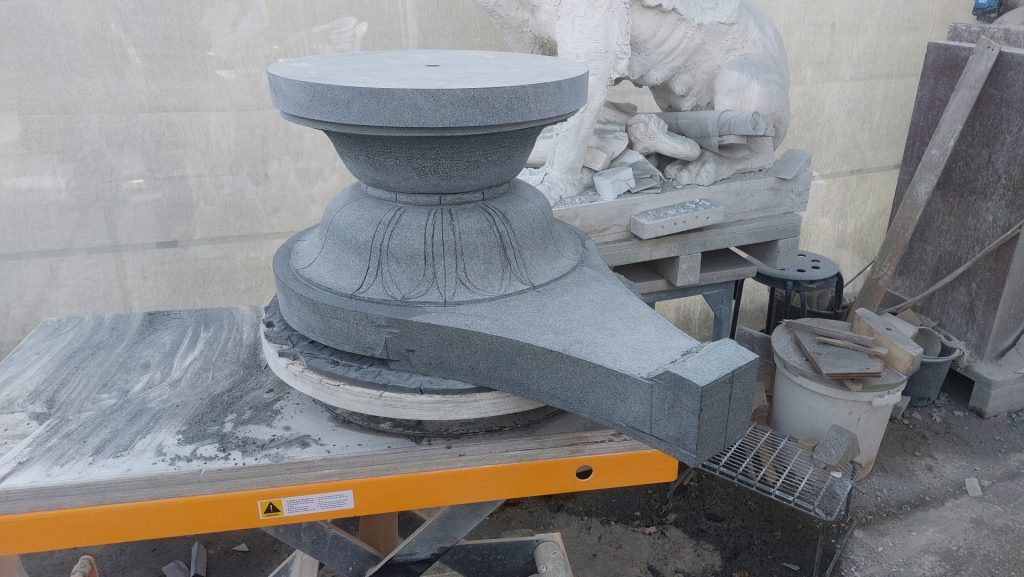
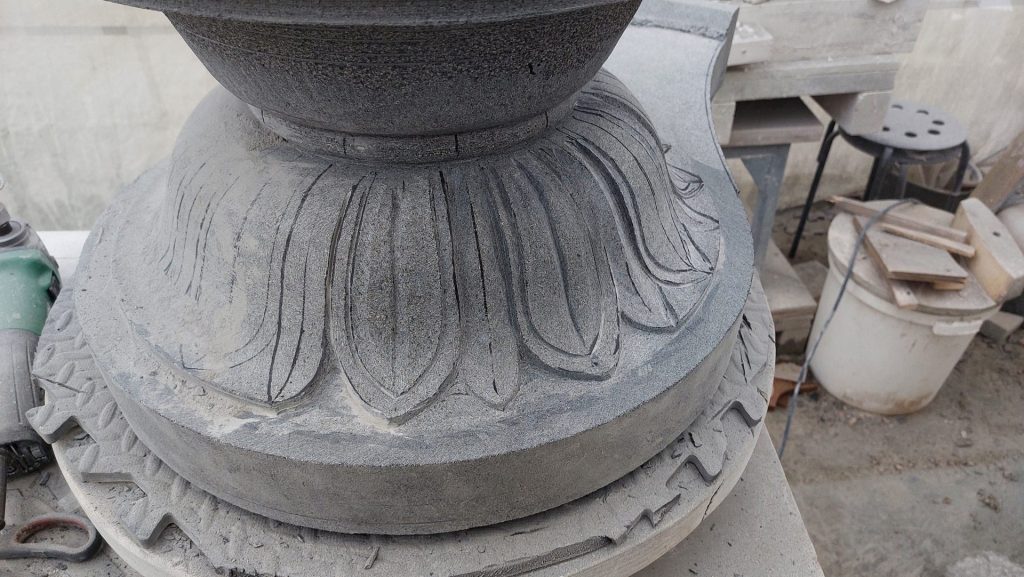
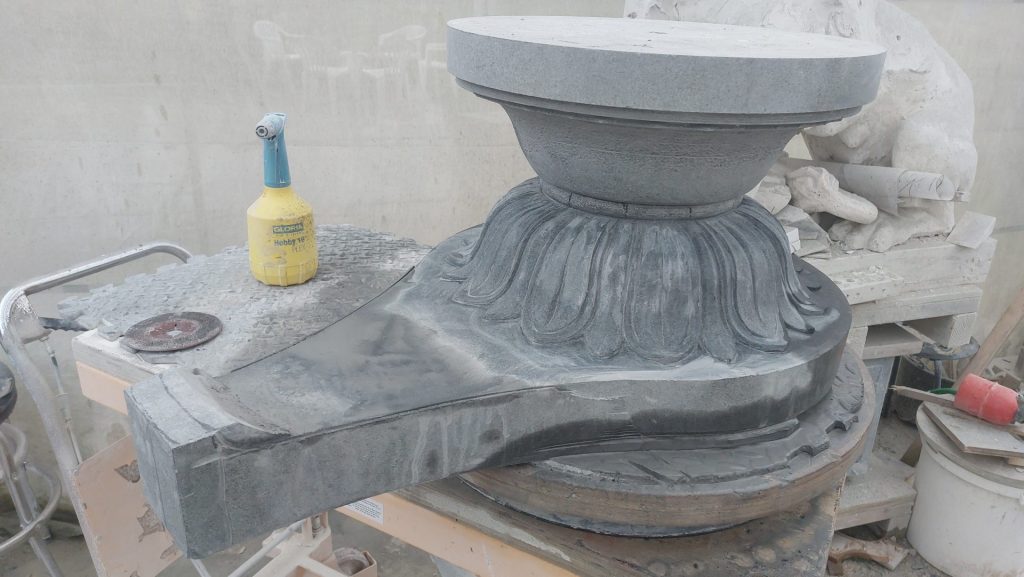
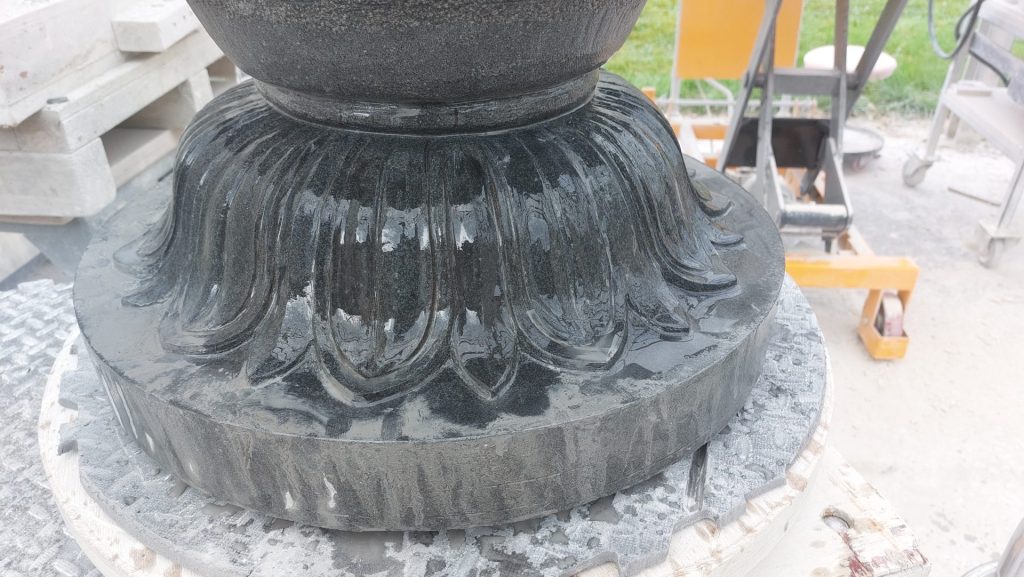
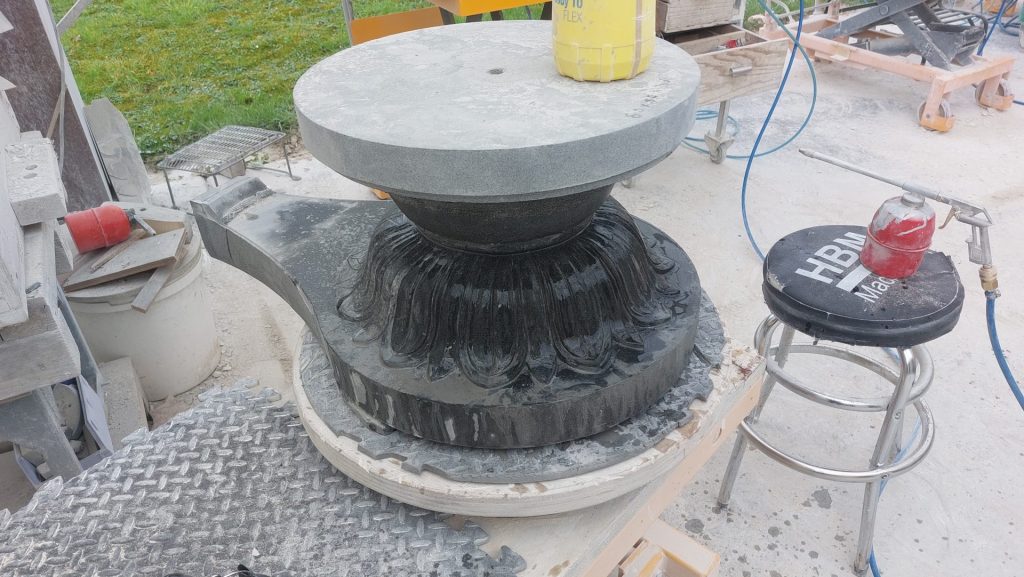
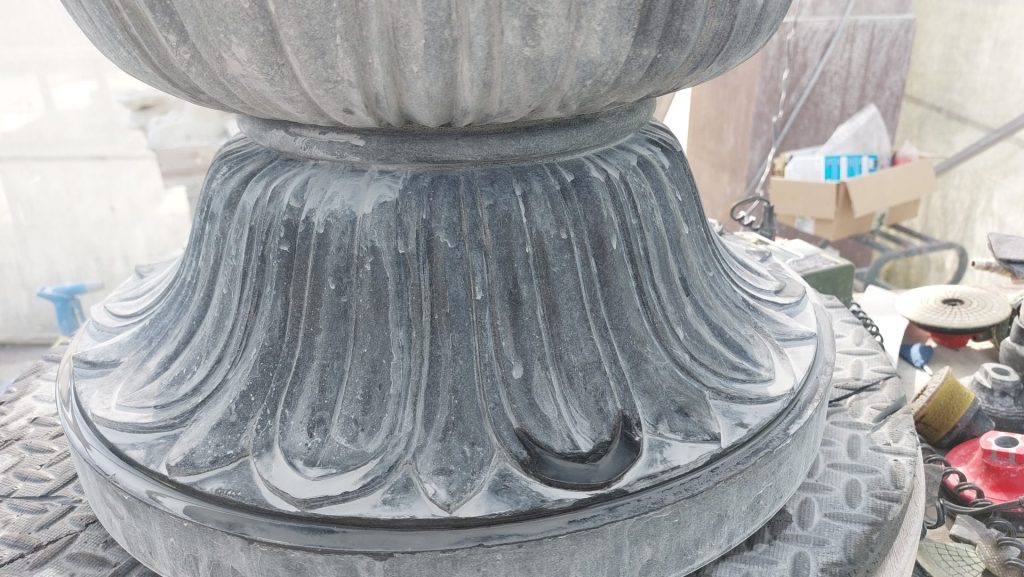
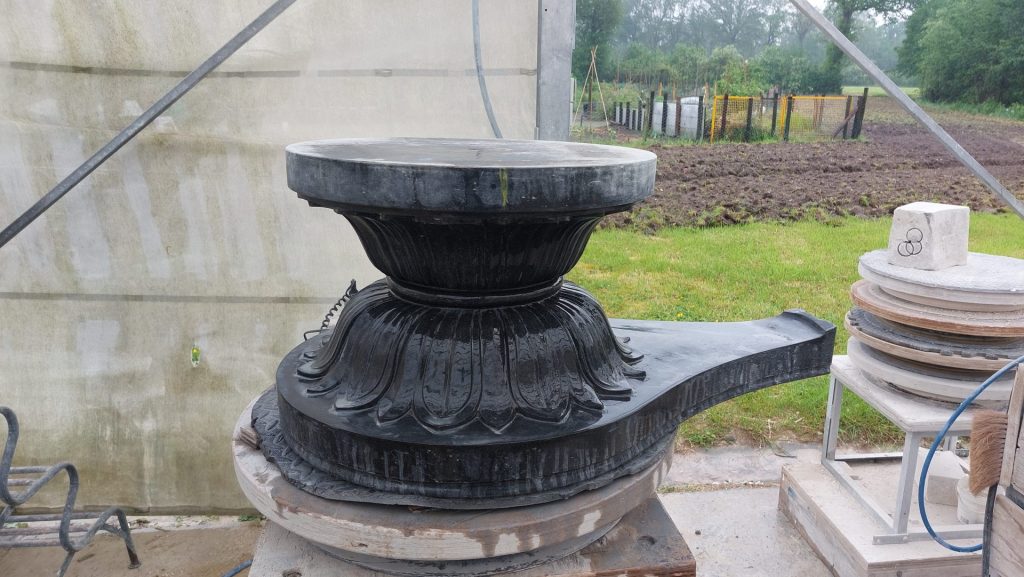
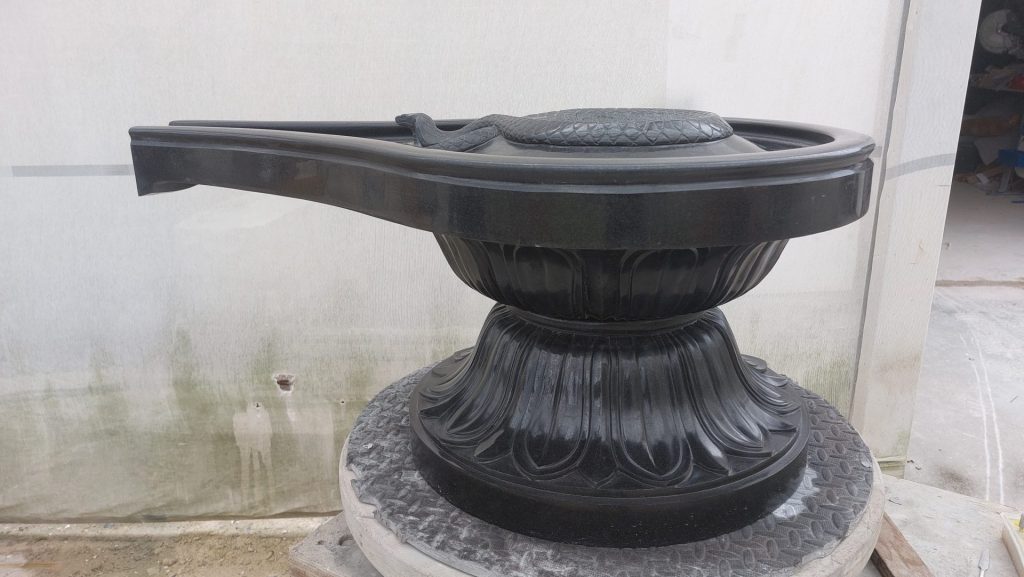
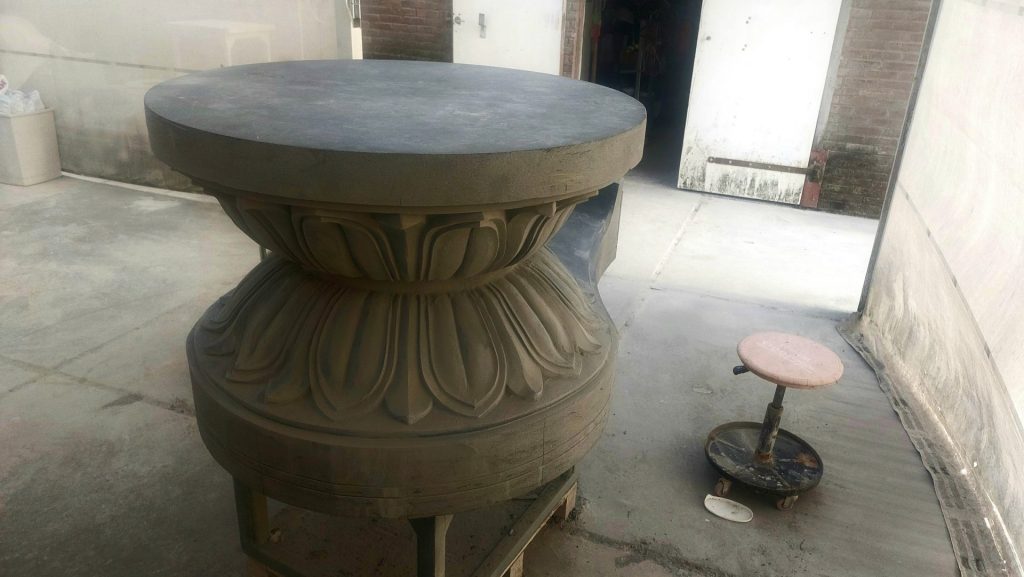
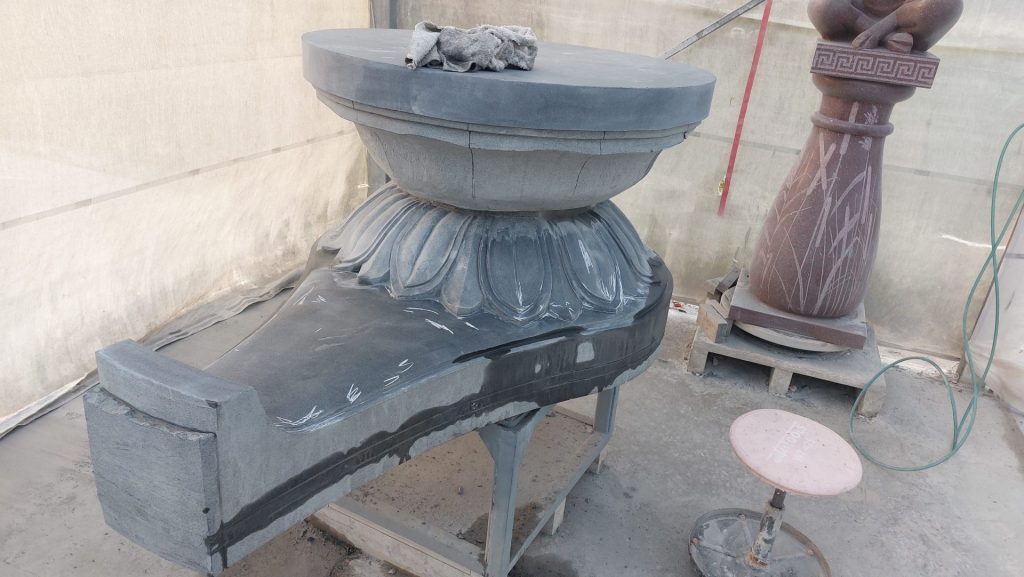
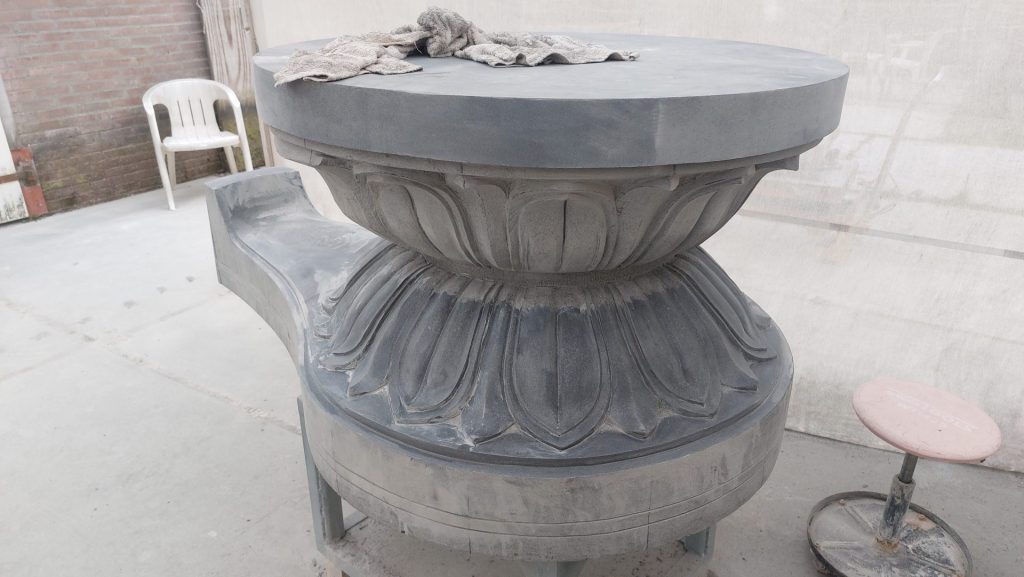
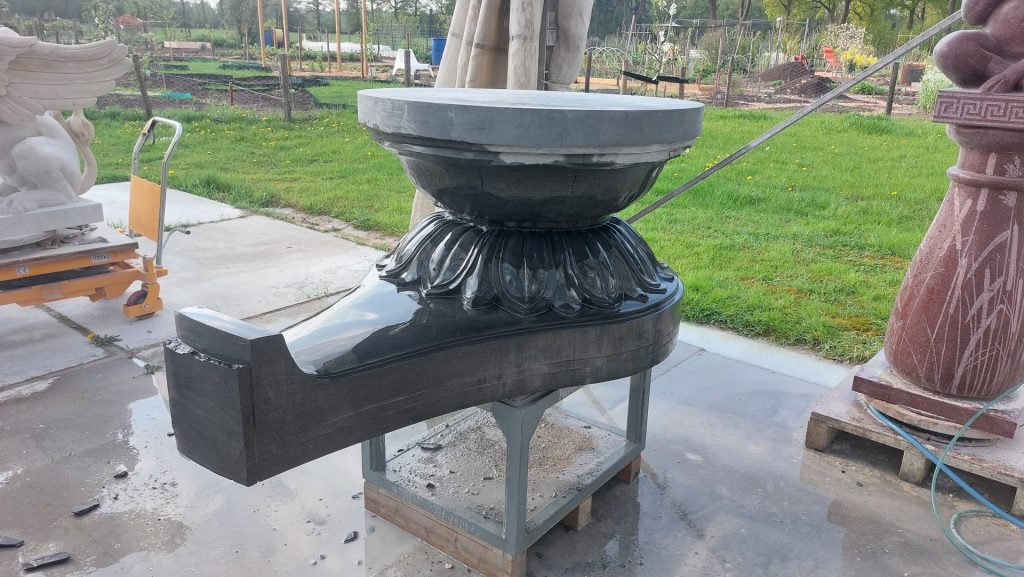
    Another Shivalingam was intended for the Mohanji Centre in Slovenia. It has the same dimensions as the Shivalingam inside the temple in Onderdijk. There are 11 wide lotus leaves on the foot of the Yoni and 11 narrow ones, and the same number on the upper part. The whole is finished 1 block of black granite , and its lingam was carved out of the block that I had cut away from under the spout.

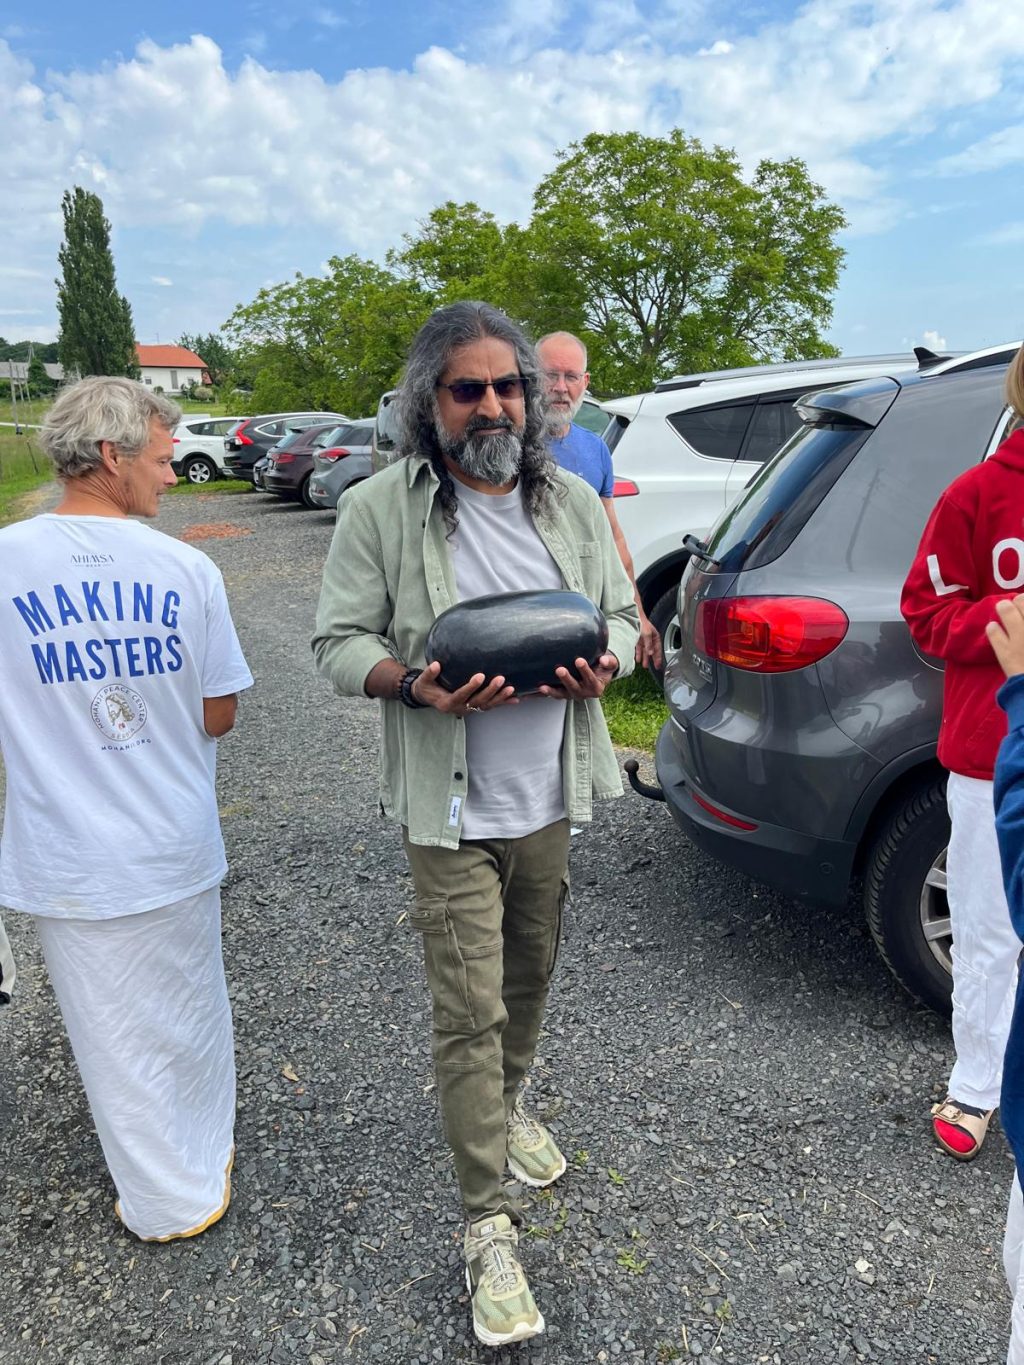
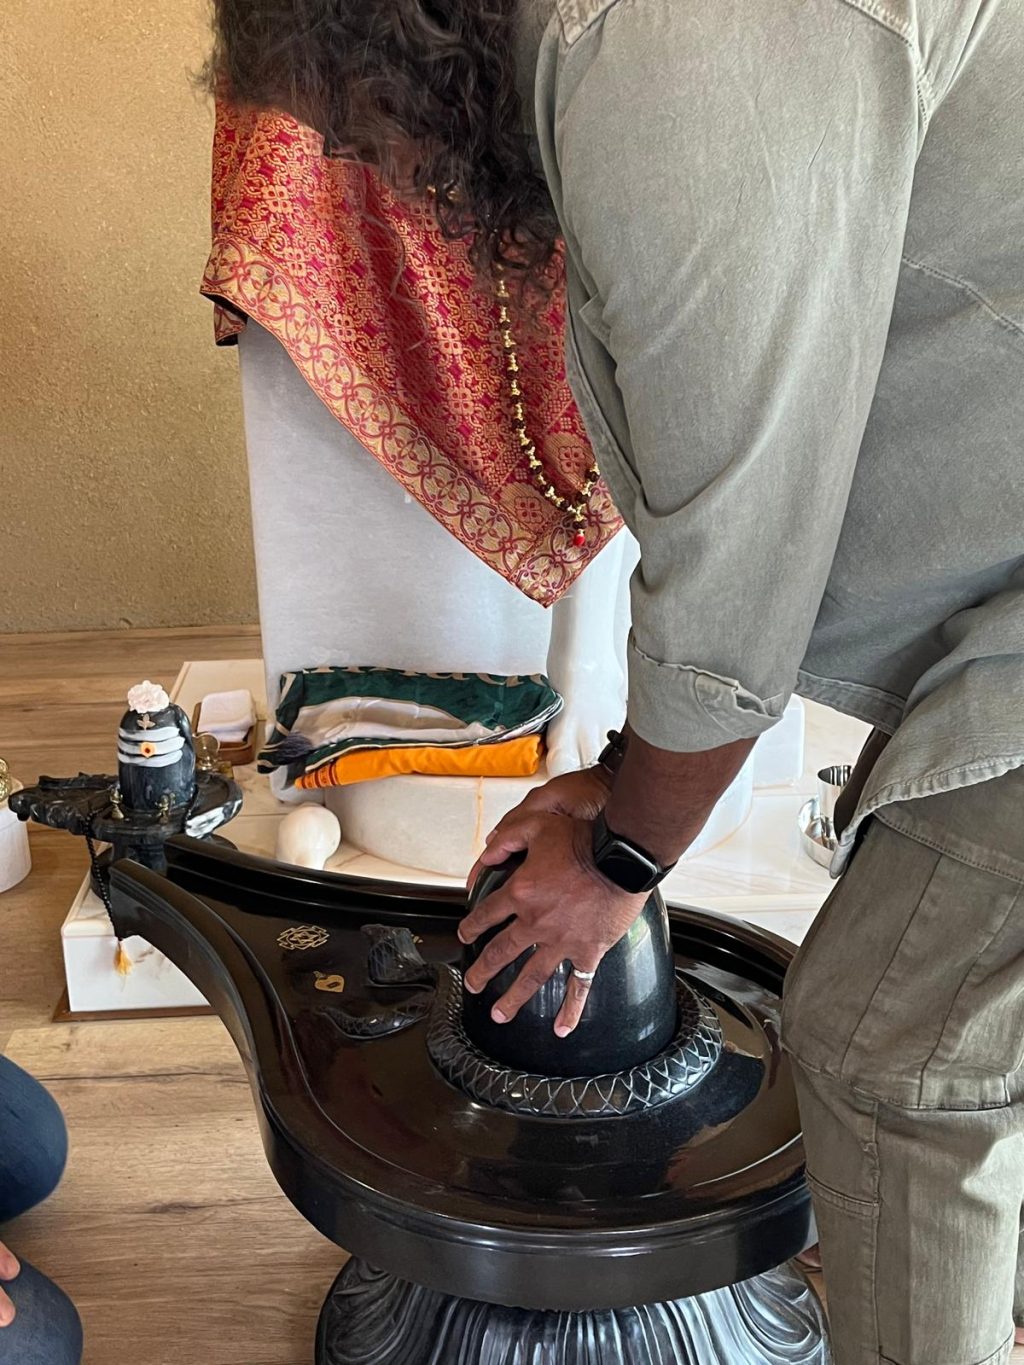
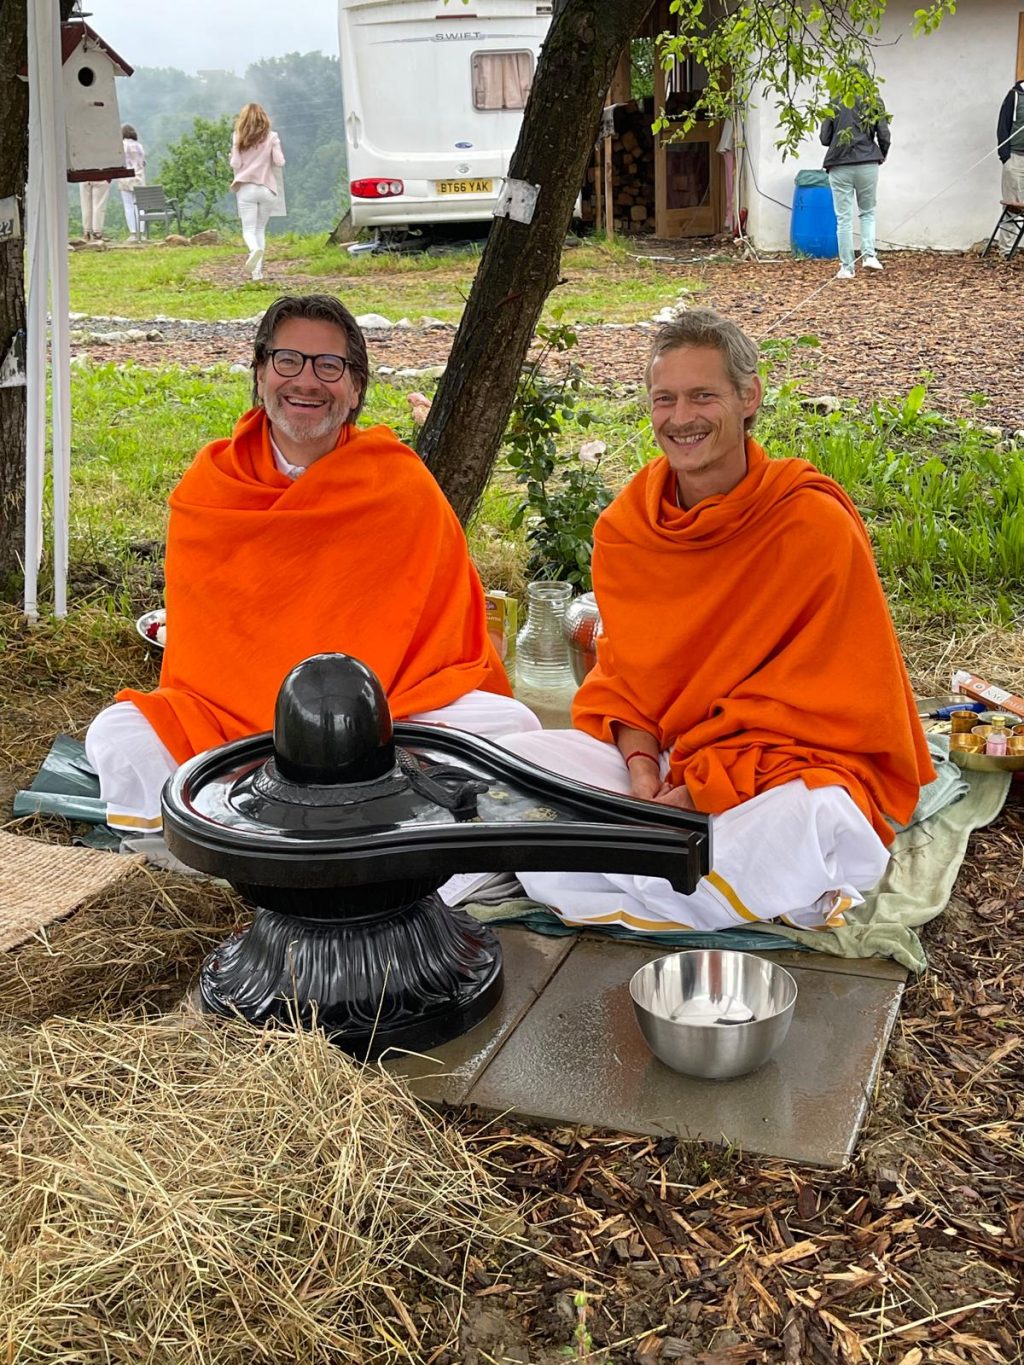
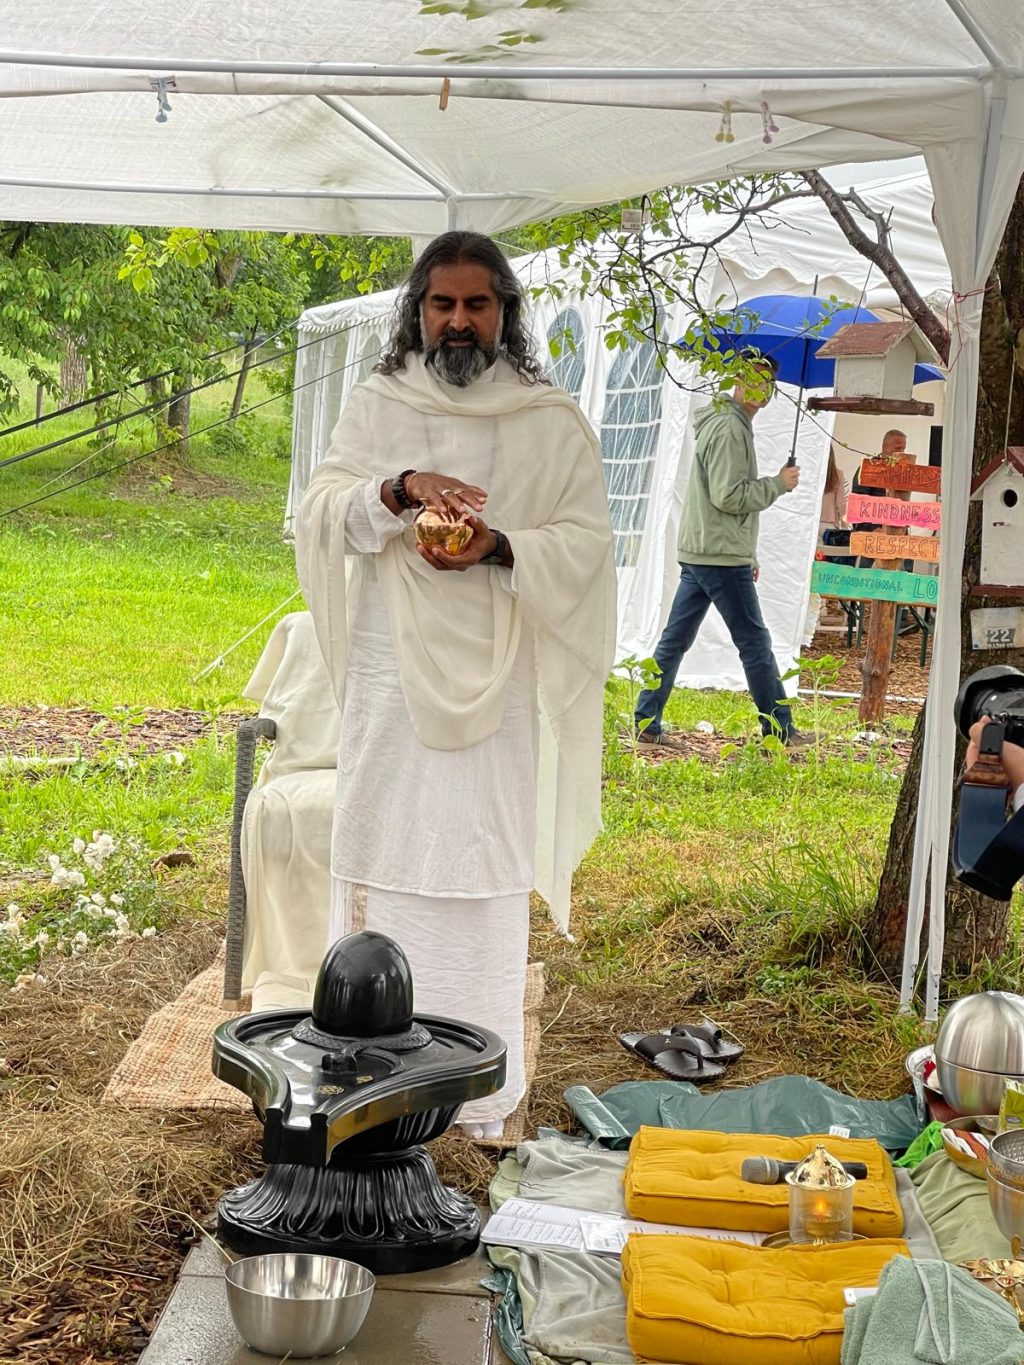
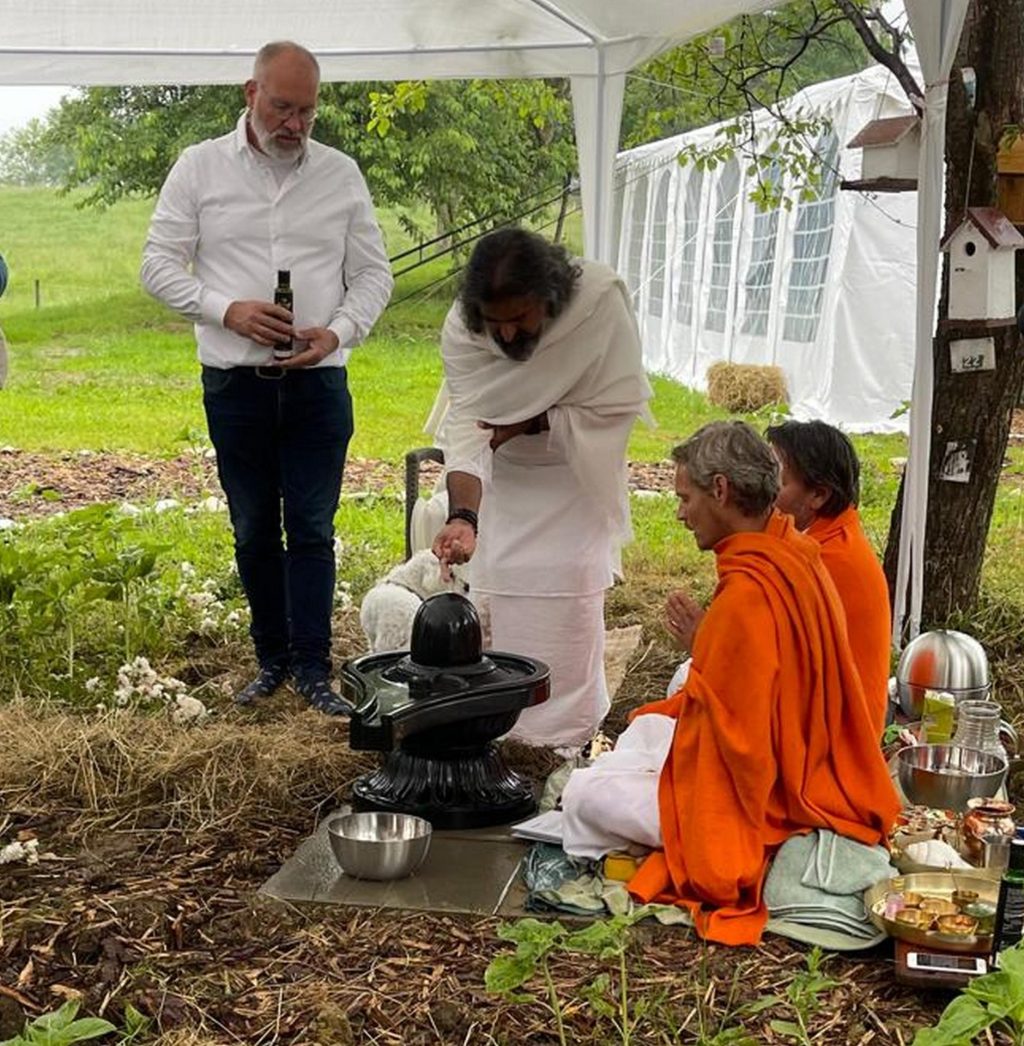
    On 31 May 2024 this Shivalingam was installed and initiated by Mohanji. It was pouring cats and dogs that day, and Mohanji said about that: "When Shiva comes, then mother Ganga, the Ganges River, also comes with him". This Yoni also has a small Cobra draped around the lingam and three symbols on its upper surface, all according to instructions from Mohanji himself.

    A very large Shivalingam for Croatia

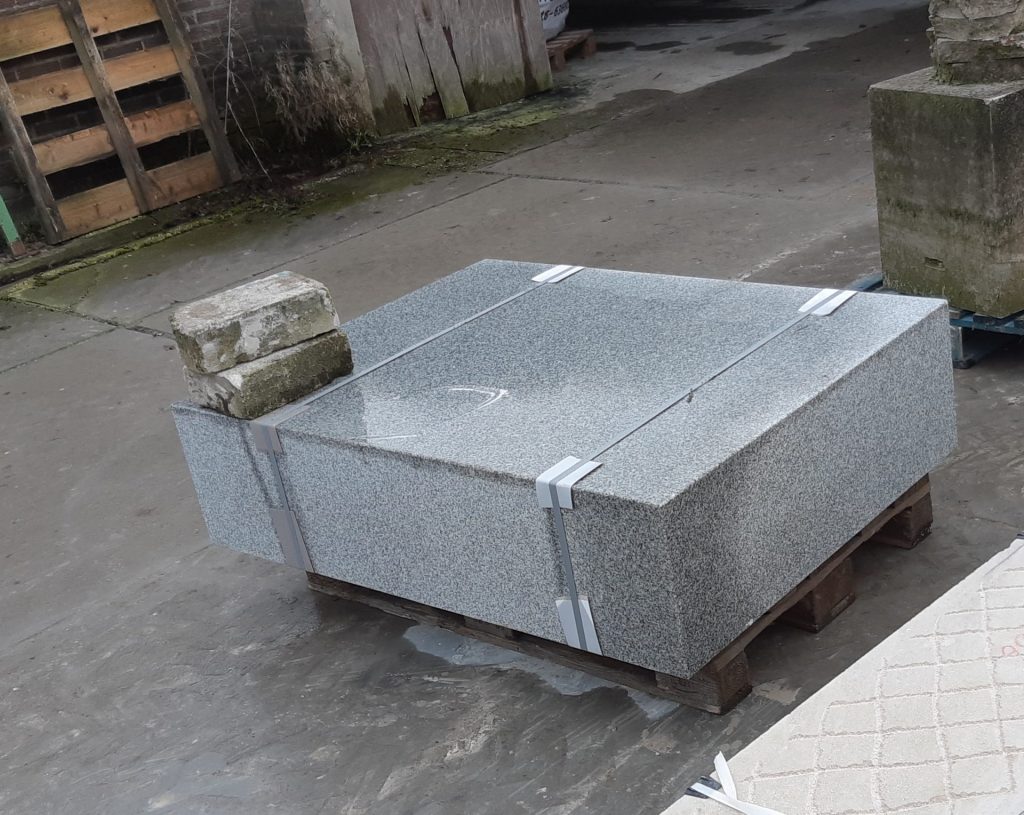
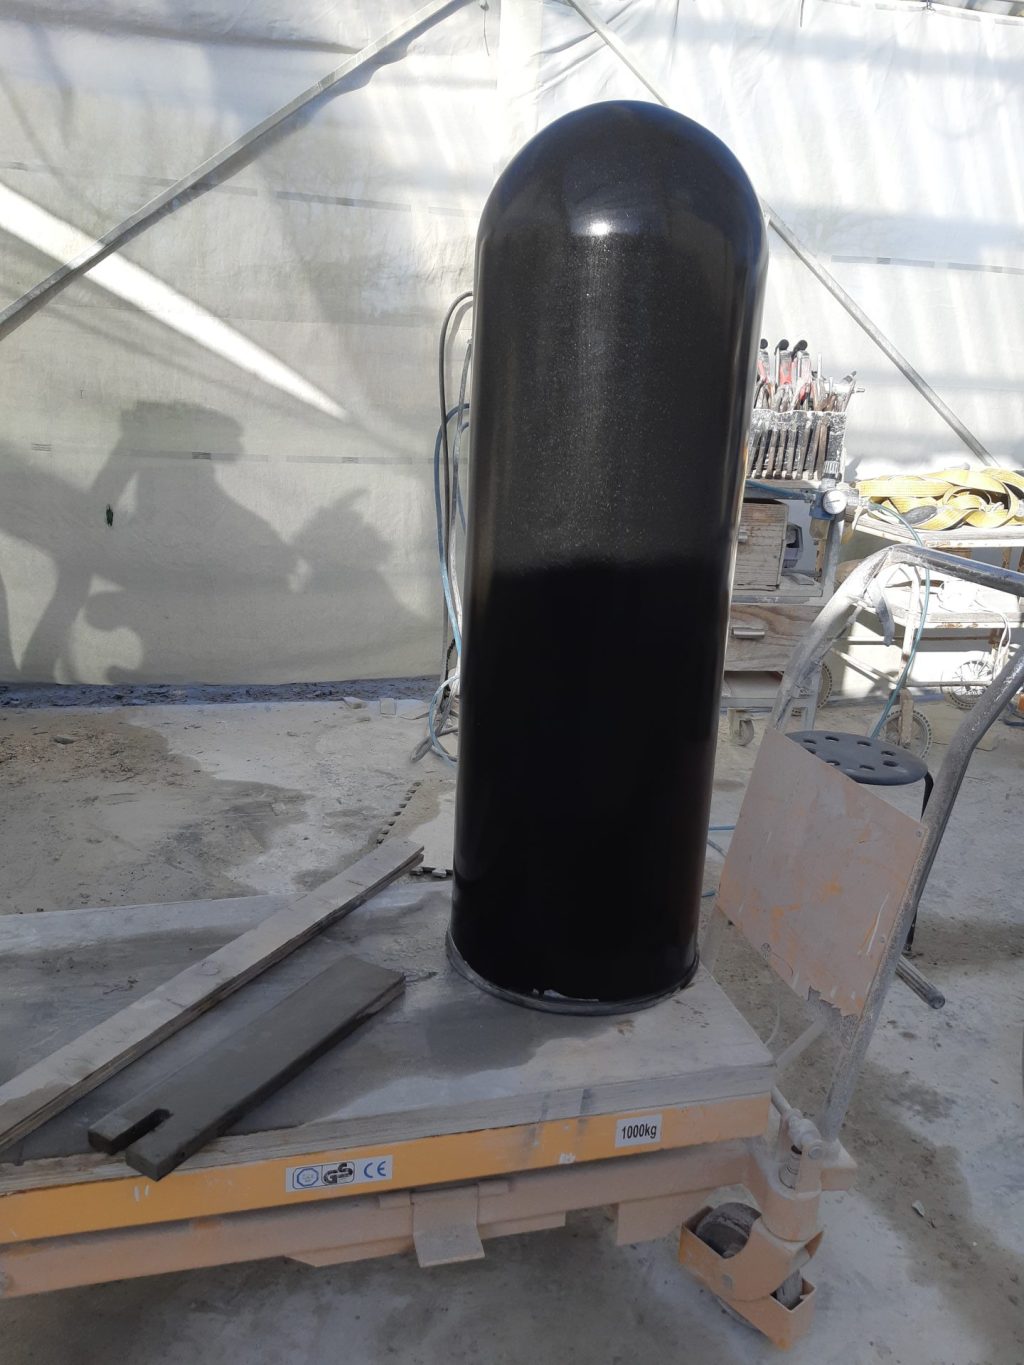
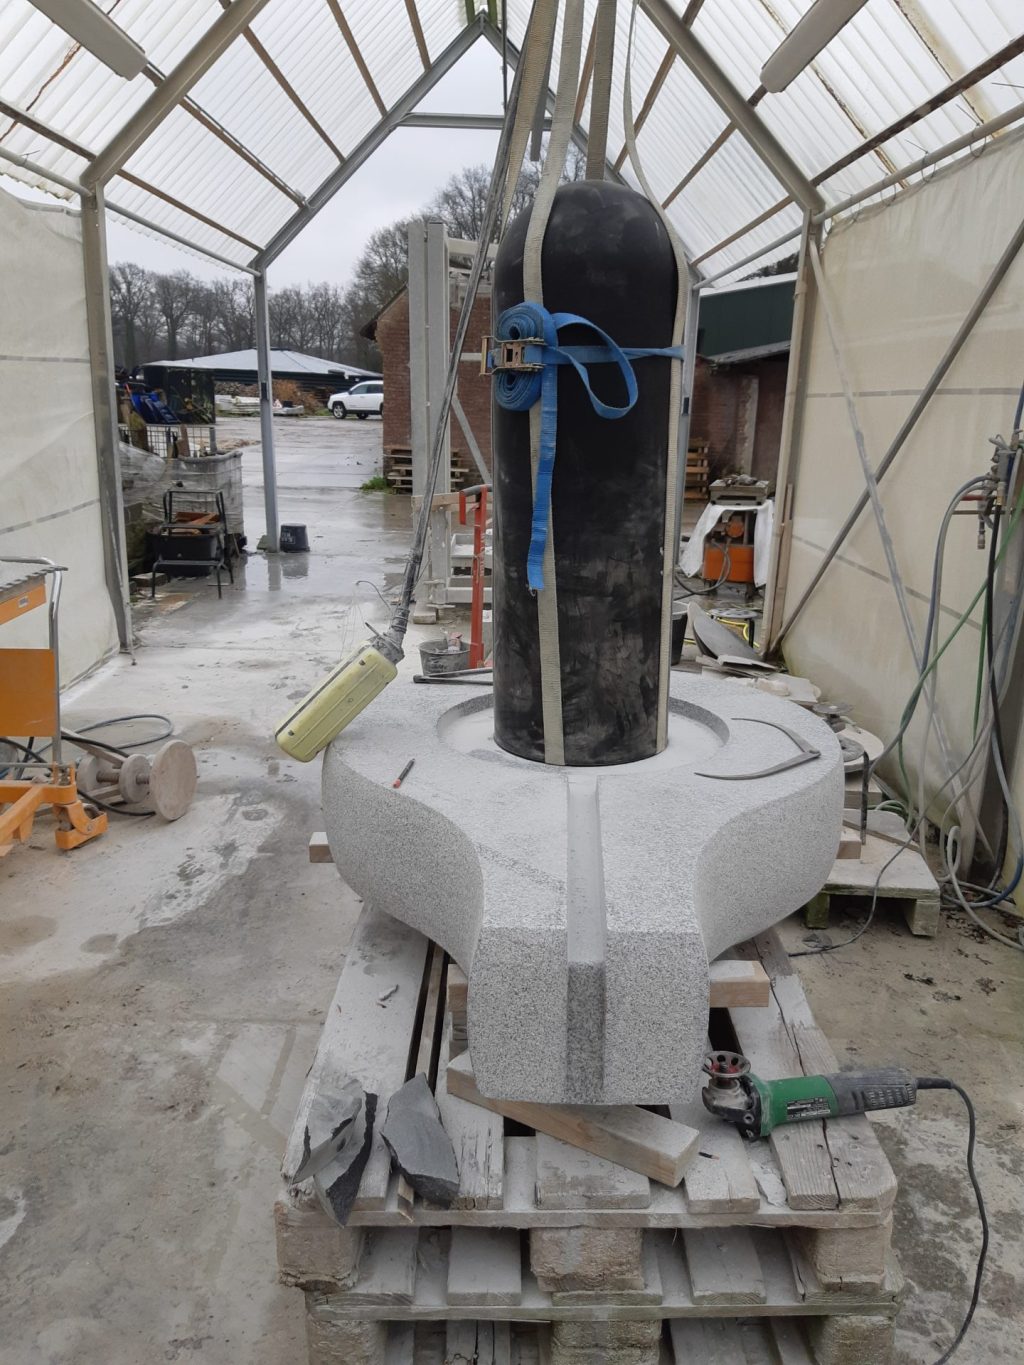
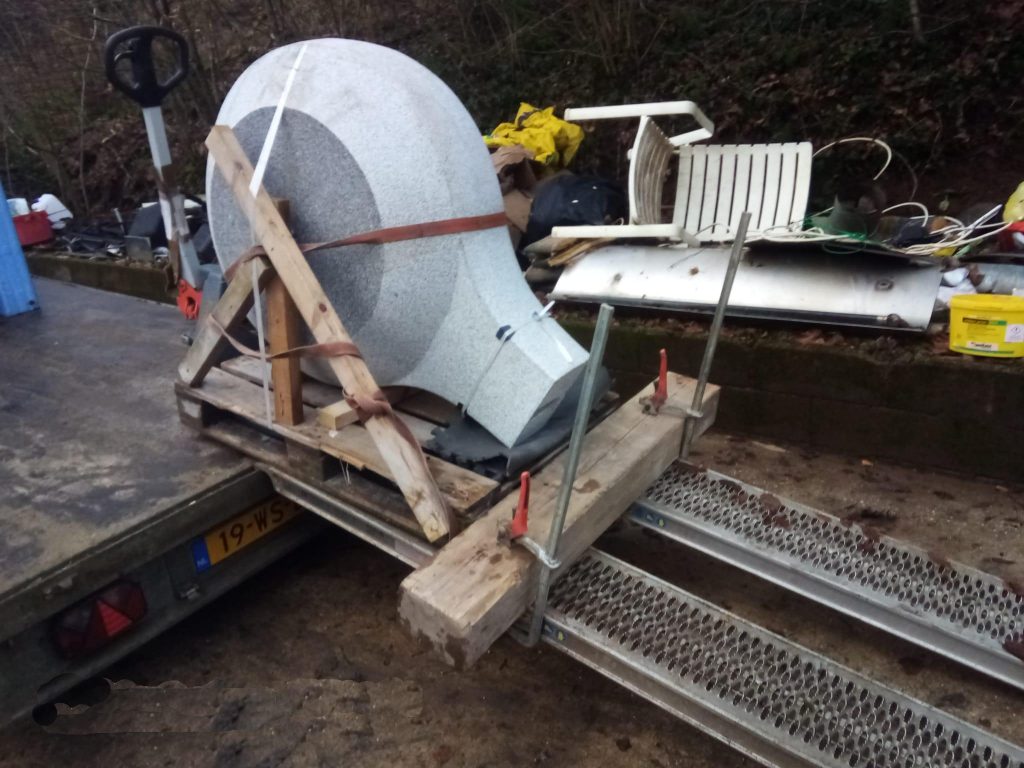
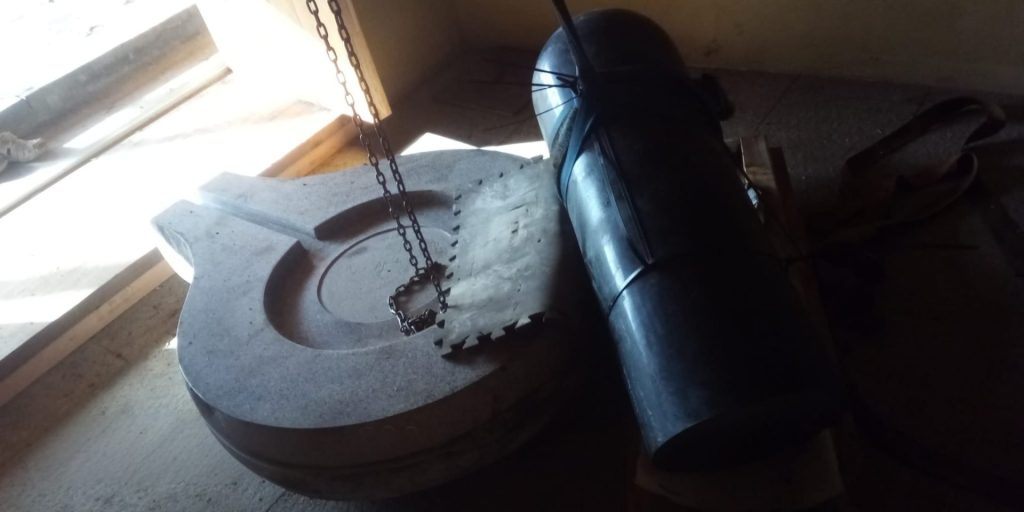
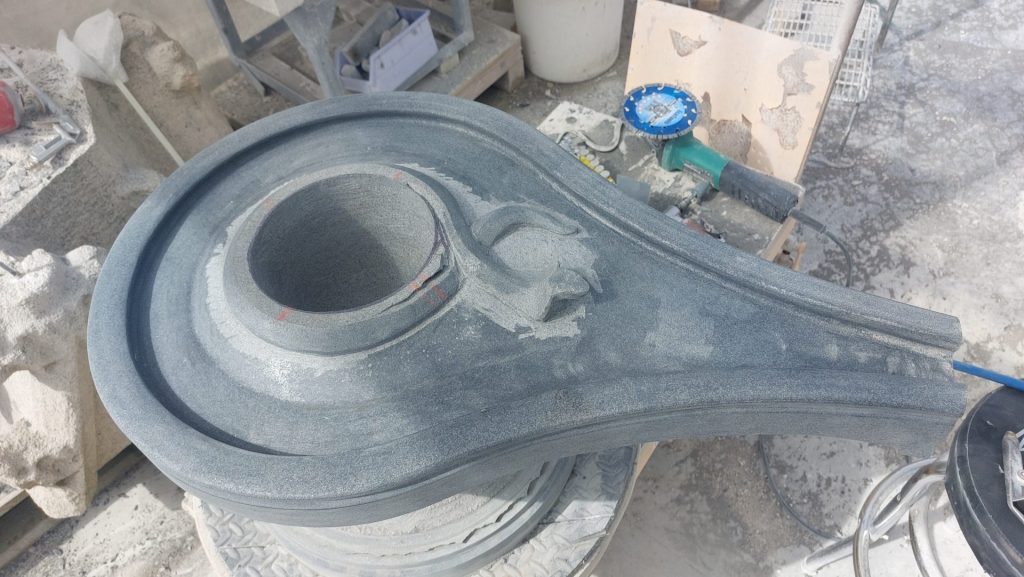
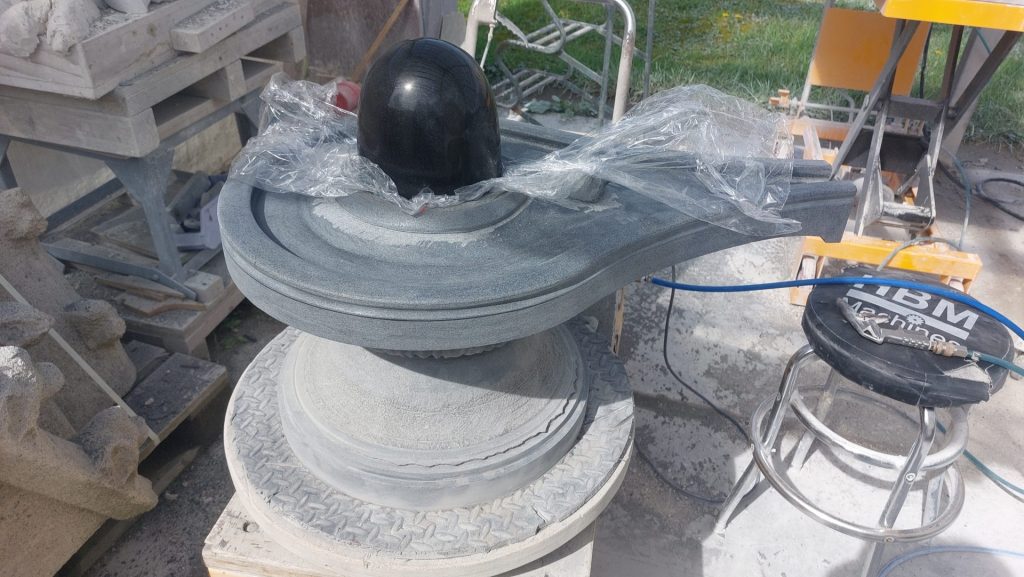
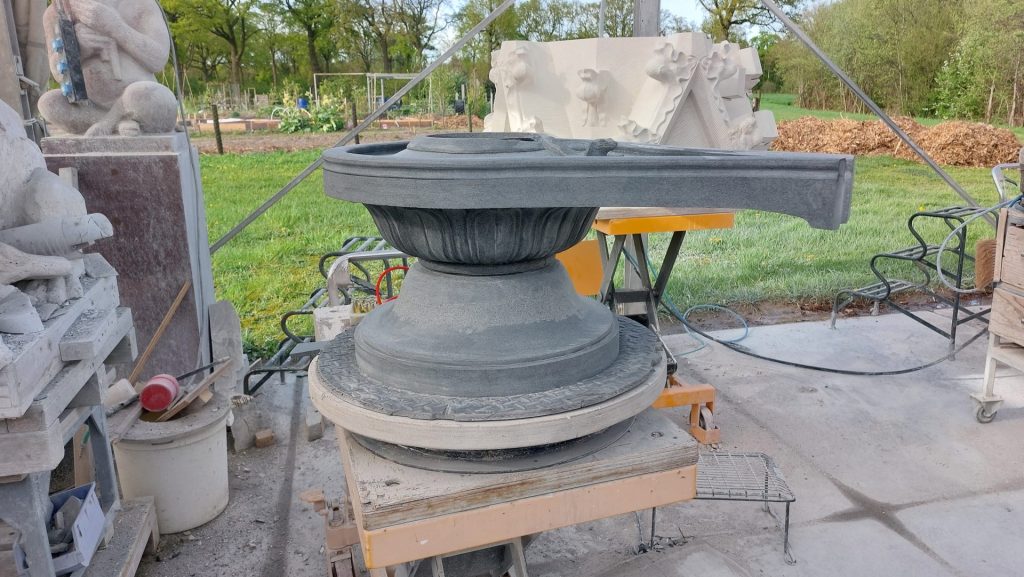
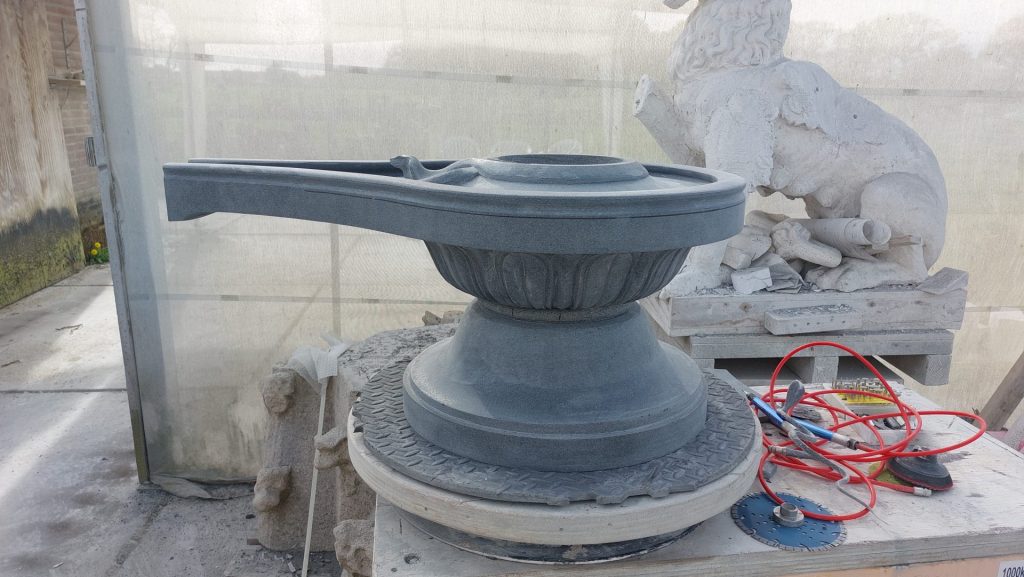
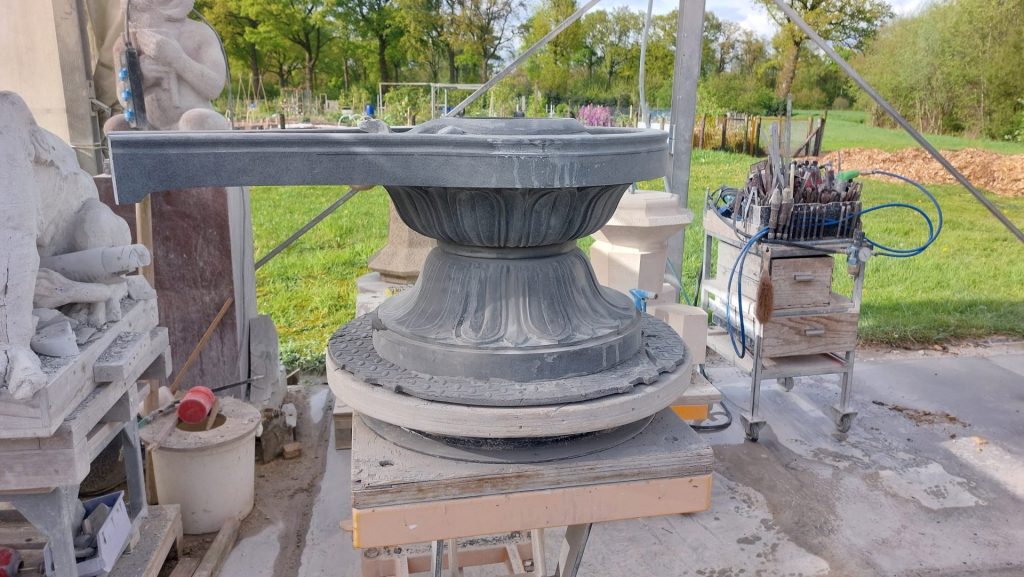
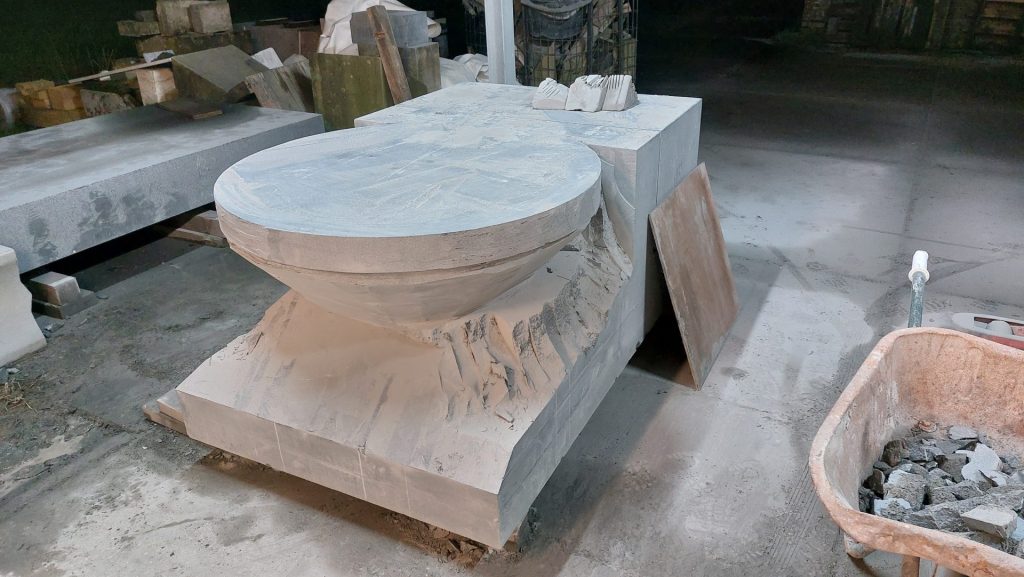
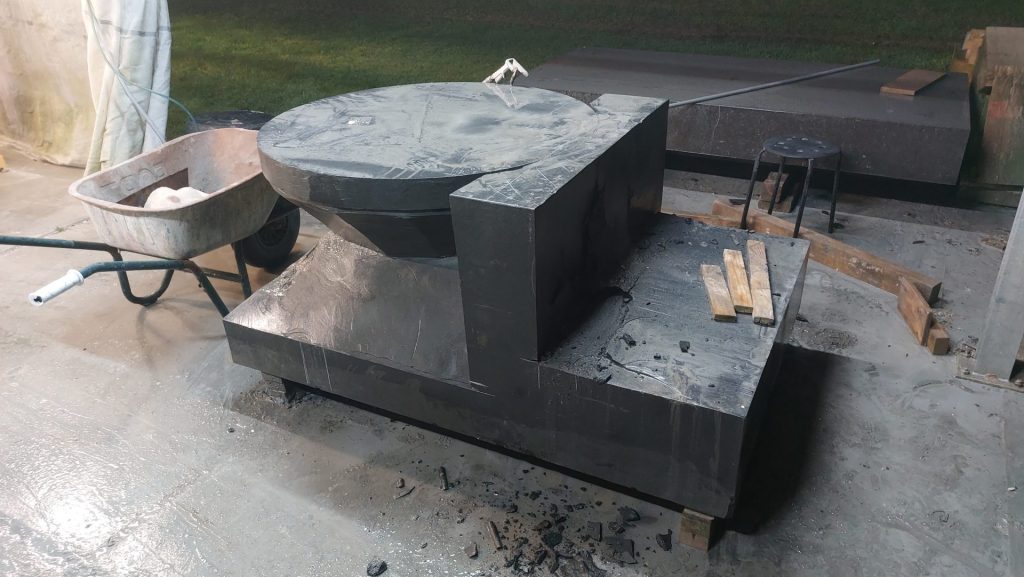
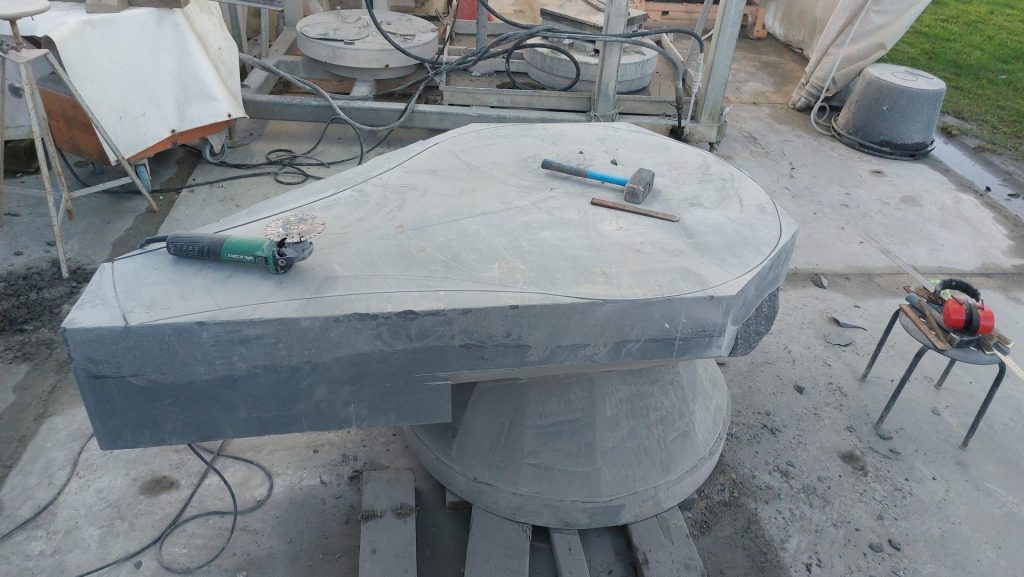
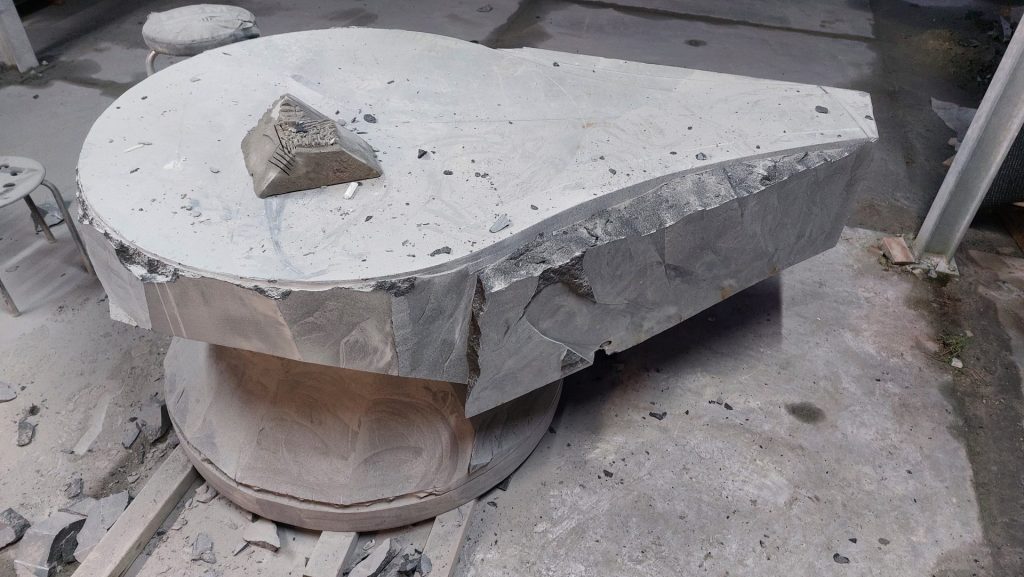
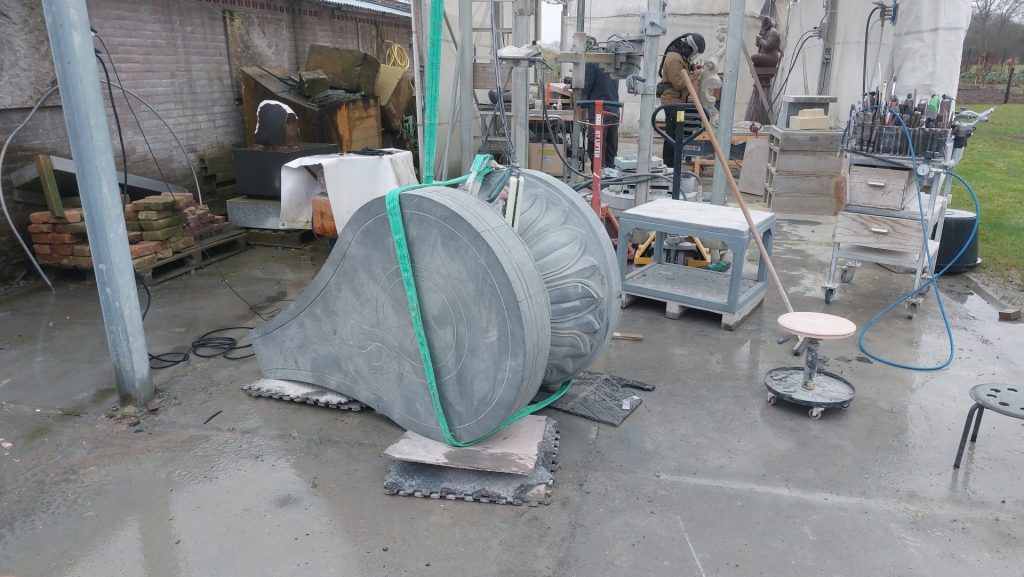
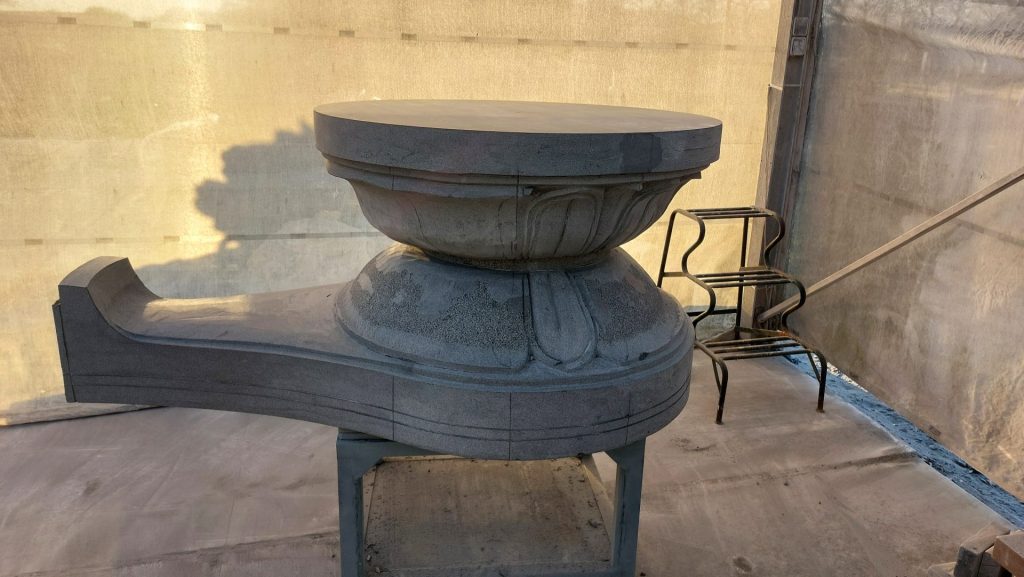
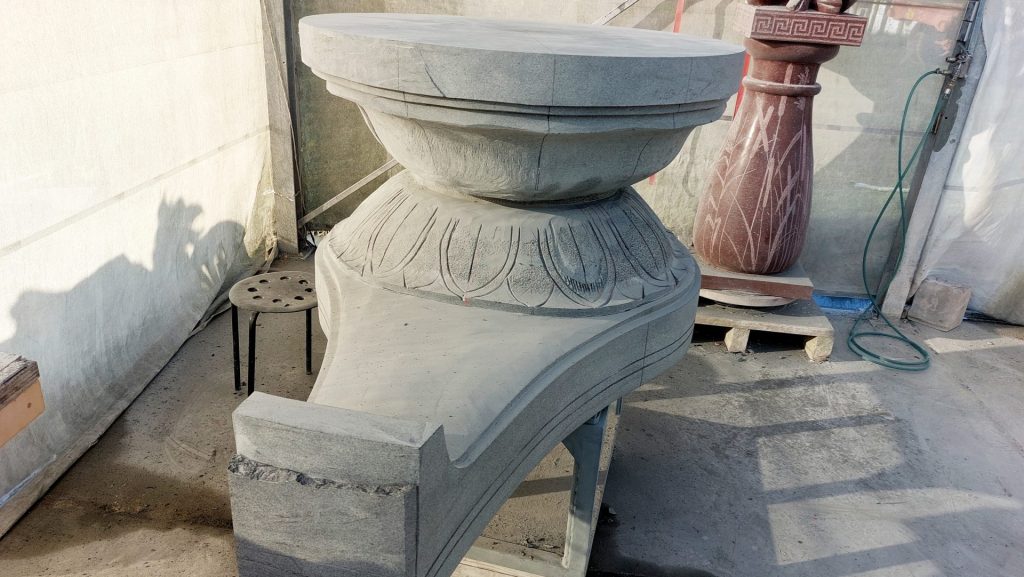
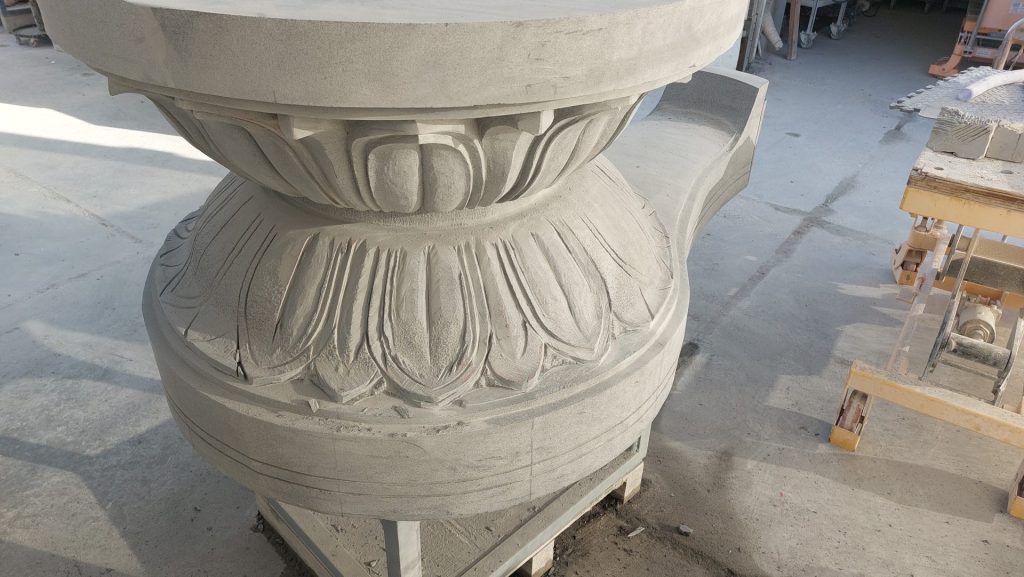
    And in Croatia as well there is a Mohanji Centre under construction. This centre has large gardens all around, that is why this Shivalingam became a bit bigger. I am currently working on it. The design was based on the design for Slovenia, that is to say, without too many frills, but 2x 11 large lotus leaves and 2x 11 narrow lotus leaves on the bottom. Here too, a Naga (cobra) and 3 symbols will be carved on the top.

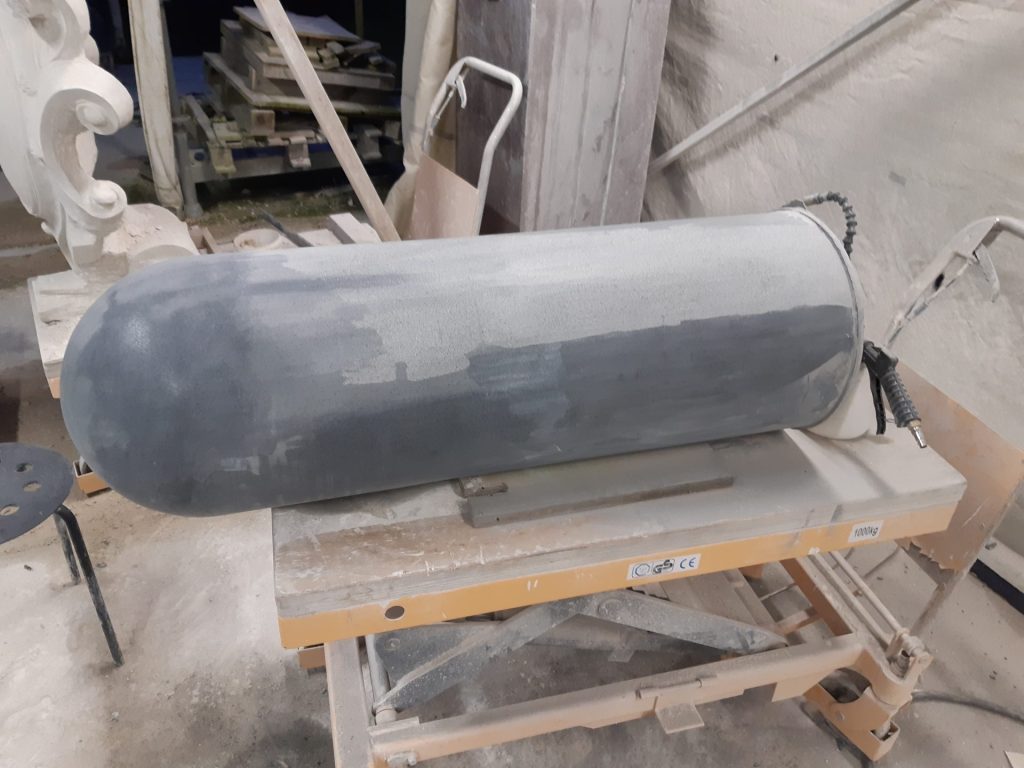
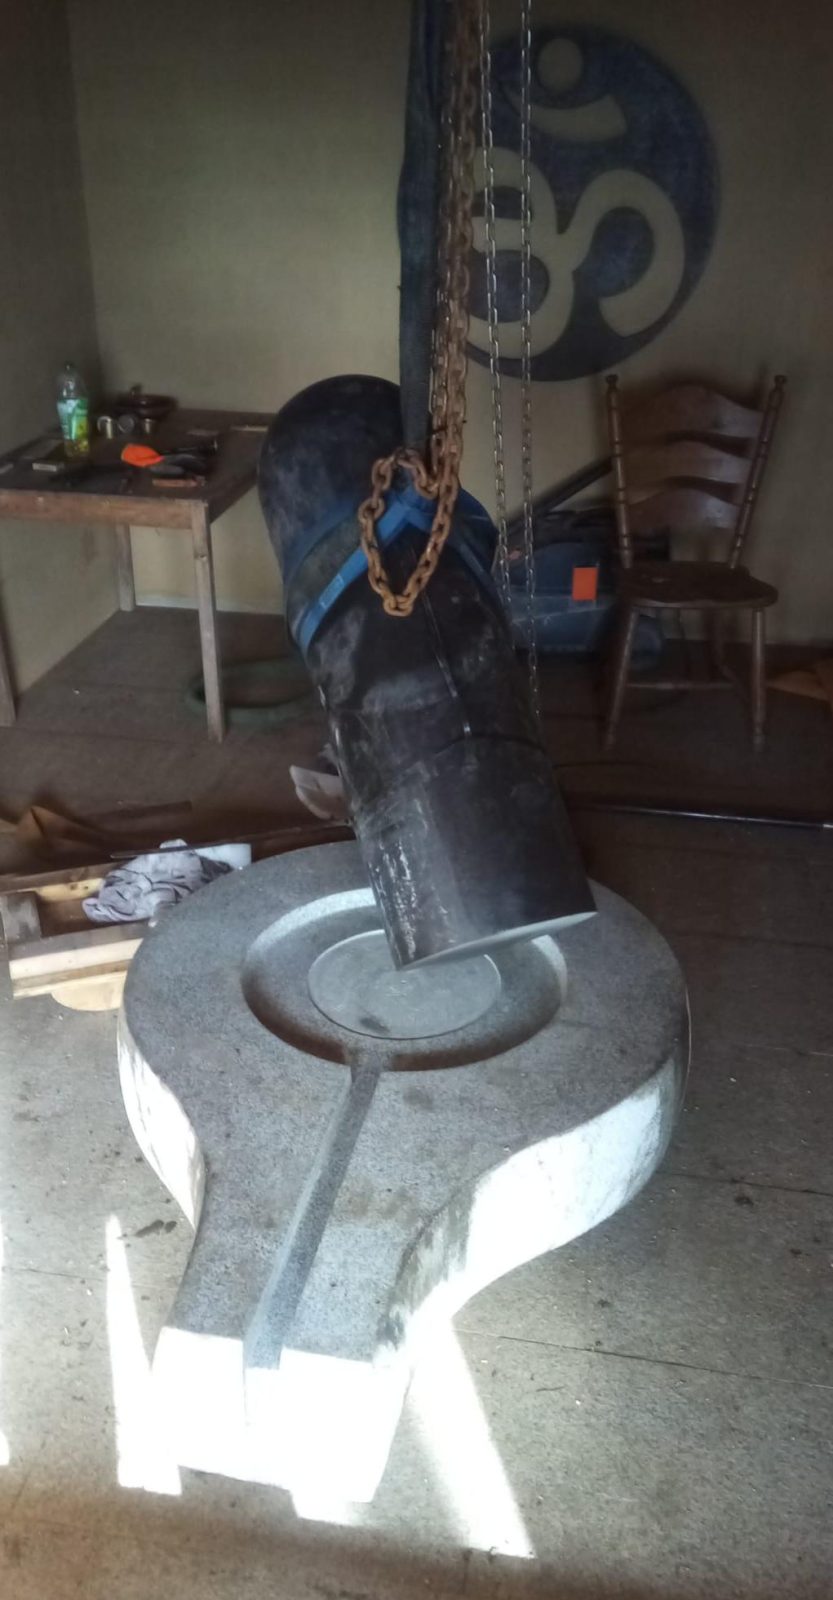
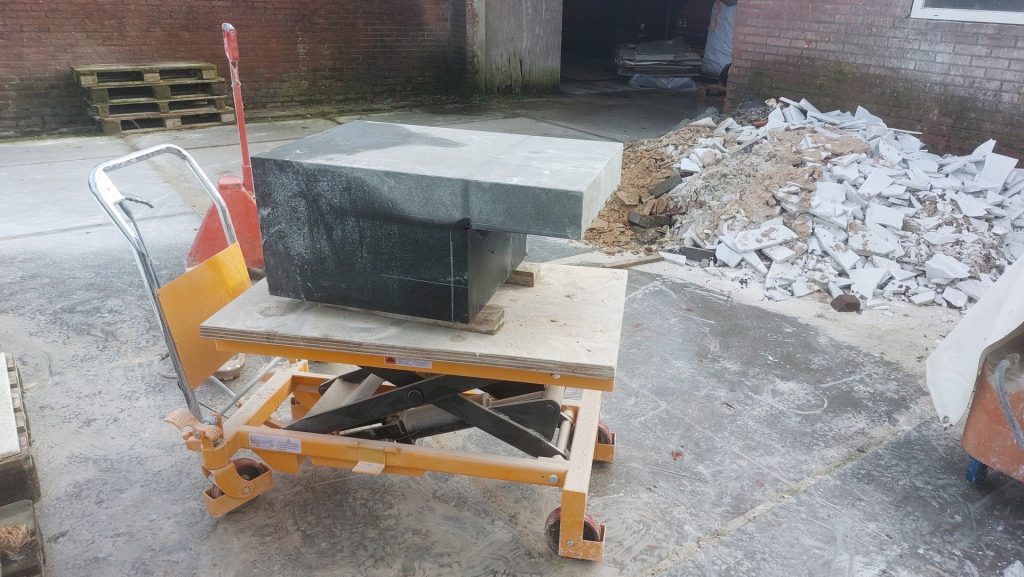
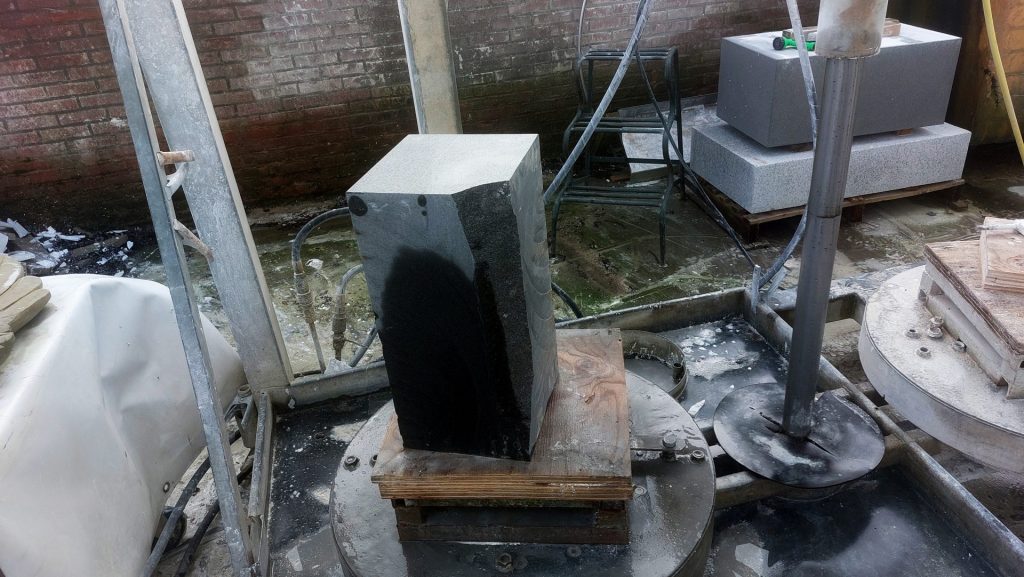
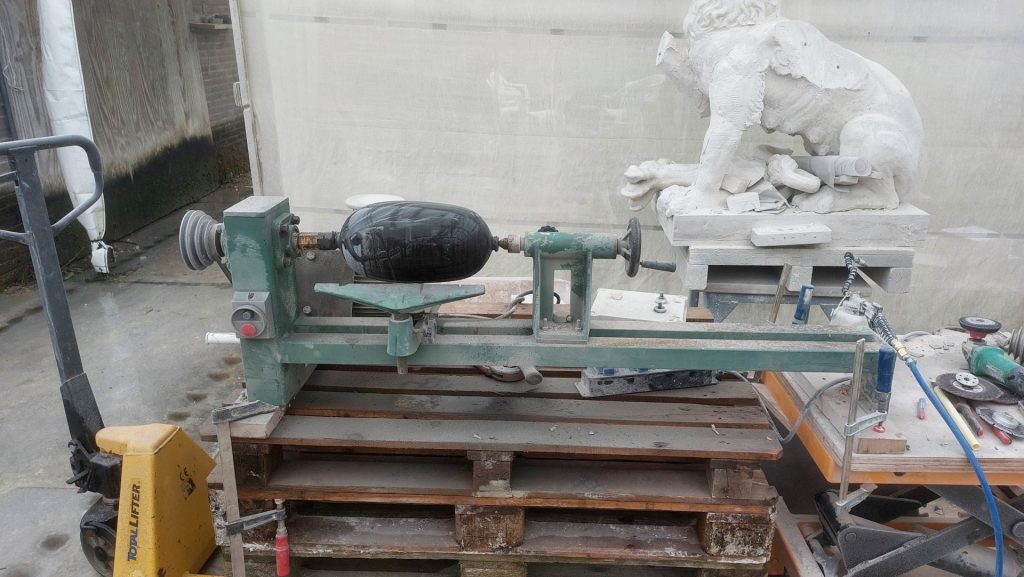
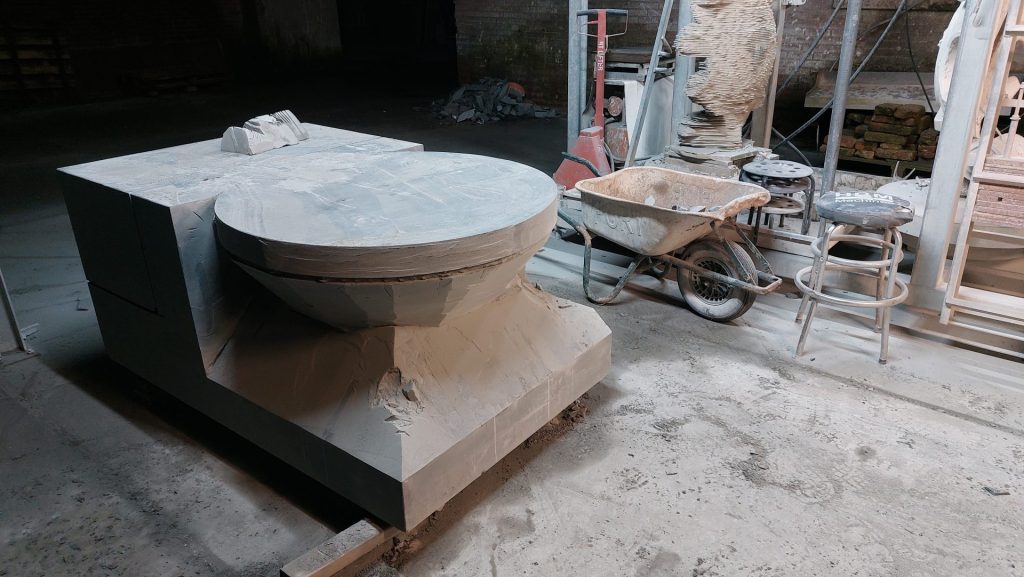
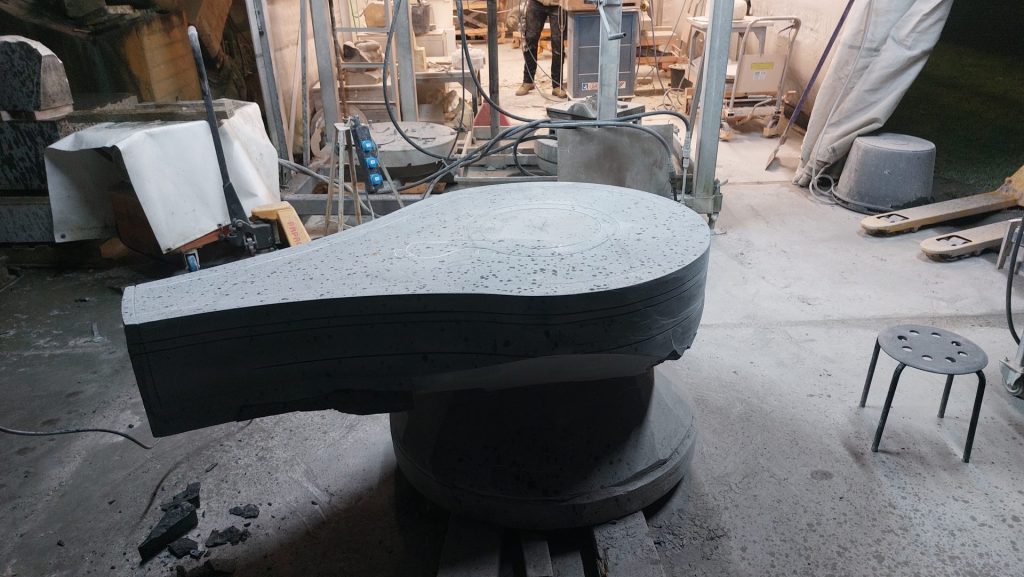
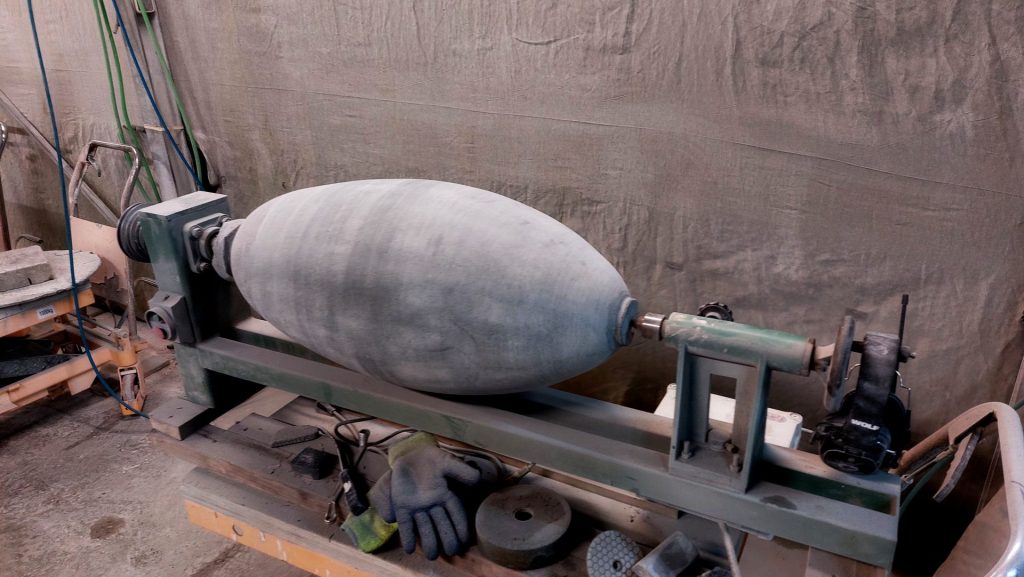
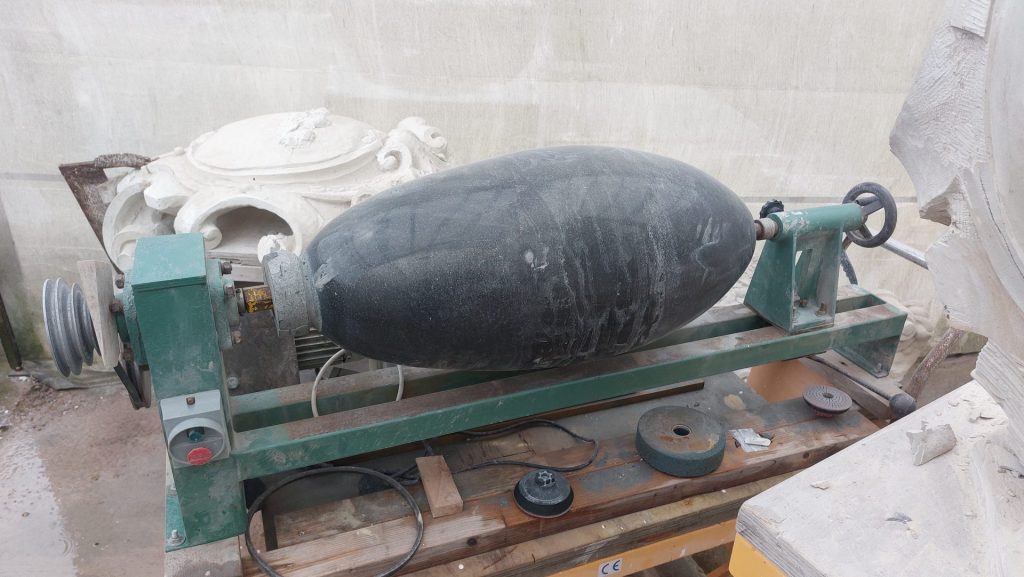
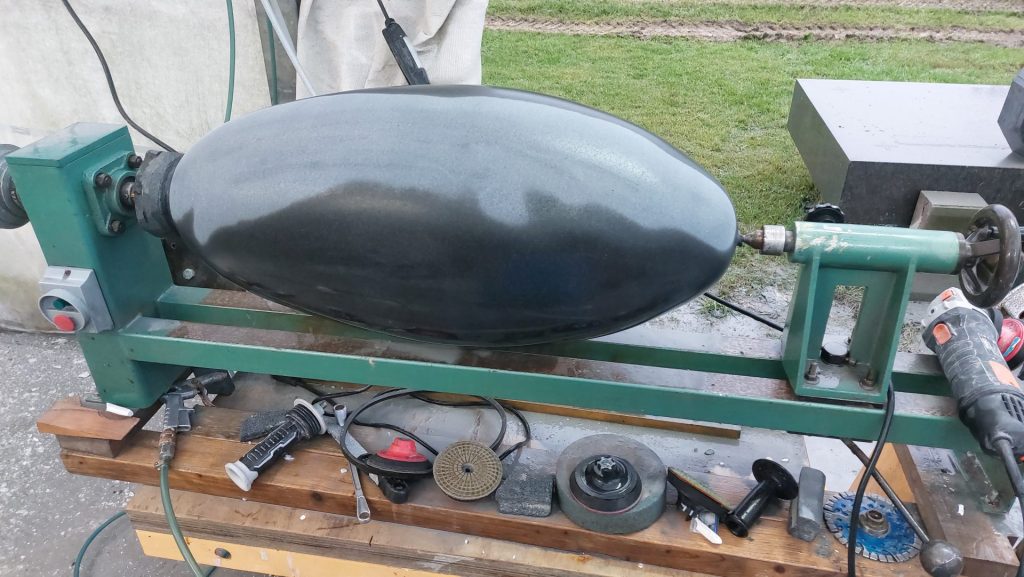
    We bought a block of deep-black granite of 3,5 Ton and I started sawing. I had some setbacks with my diamond chainsaw, because the chain tensioner broke when the saw got stuck. But I managed to get a large piece from the bottom side, from which later the Shivalingam itself was to be made on my contour saw, by using it as a vertical lathe. I was then able to polish the lingam on my converted wood lathe.

    With the angle grinder I started removing material and then I was able to split off a large piece. The block was by now 1600 kilos lighter, so that I could turn over the block and start carving the spout and the lotus leaves. Before, it was all too heavy, my shop crane said, "You do it yourself". Soon I will turn over the block again, so that I can shape the underside of the spout and the lotus leaves on the other half. Once these are polished I can put it back in the right position. Meanwhile, the 3500 kilos have been reduced to just over 1400 kilos., And I expect to end up with less than one ton.

    Padukas or Sri Paadas

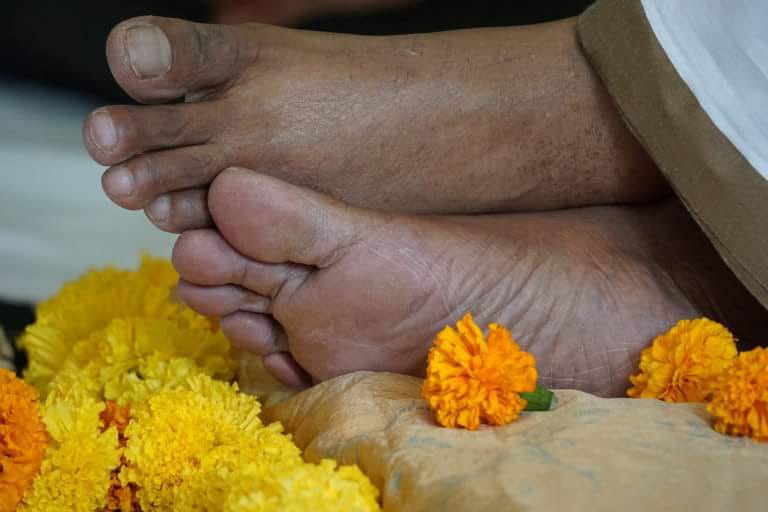
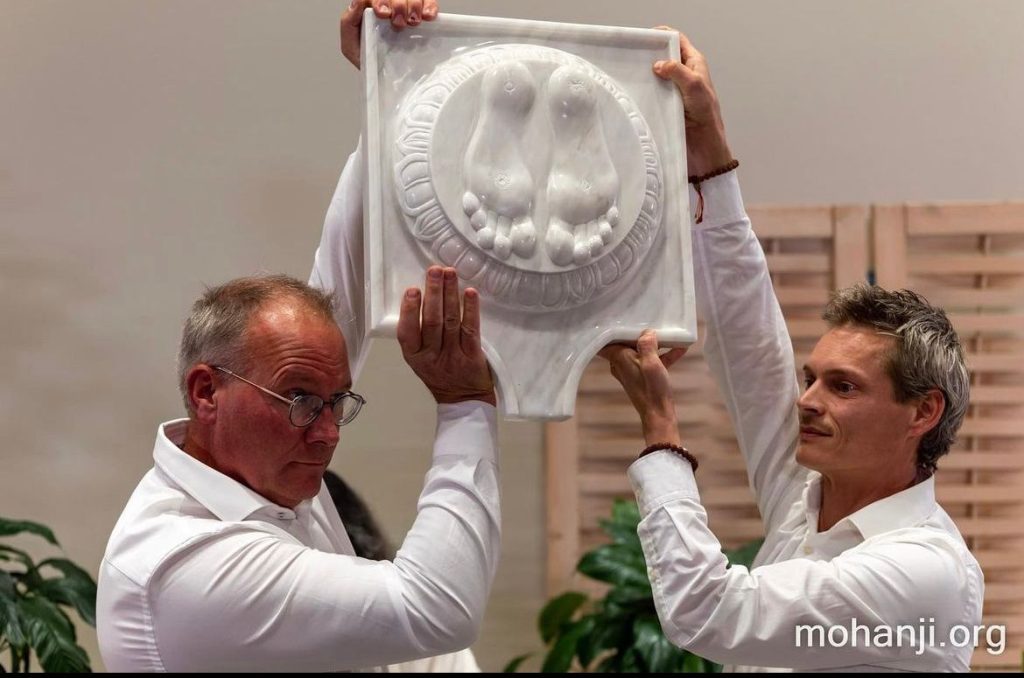
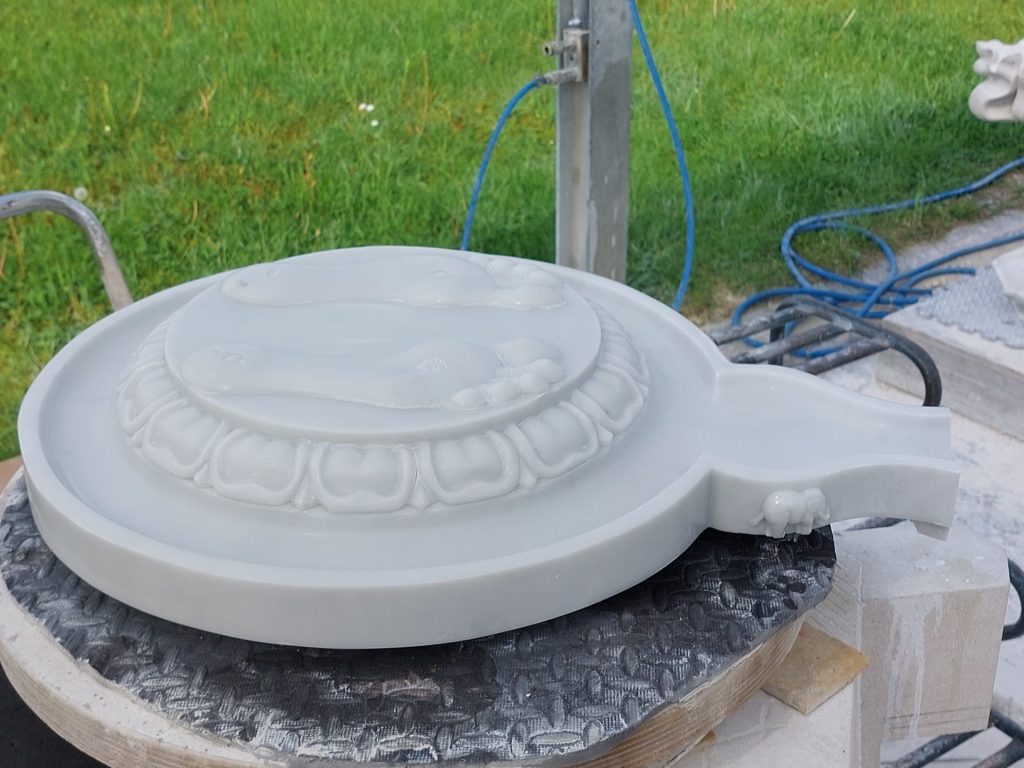
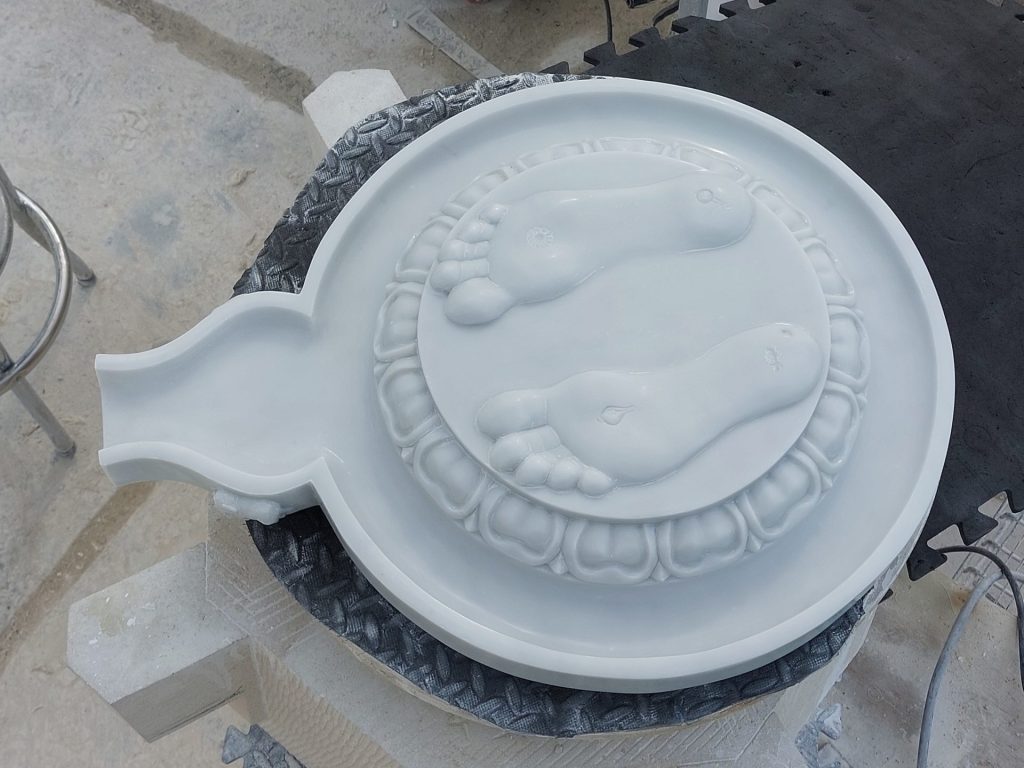
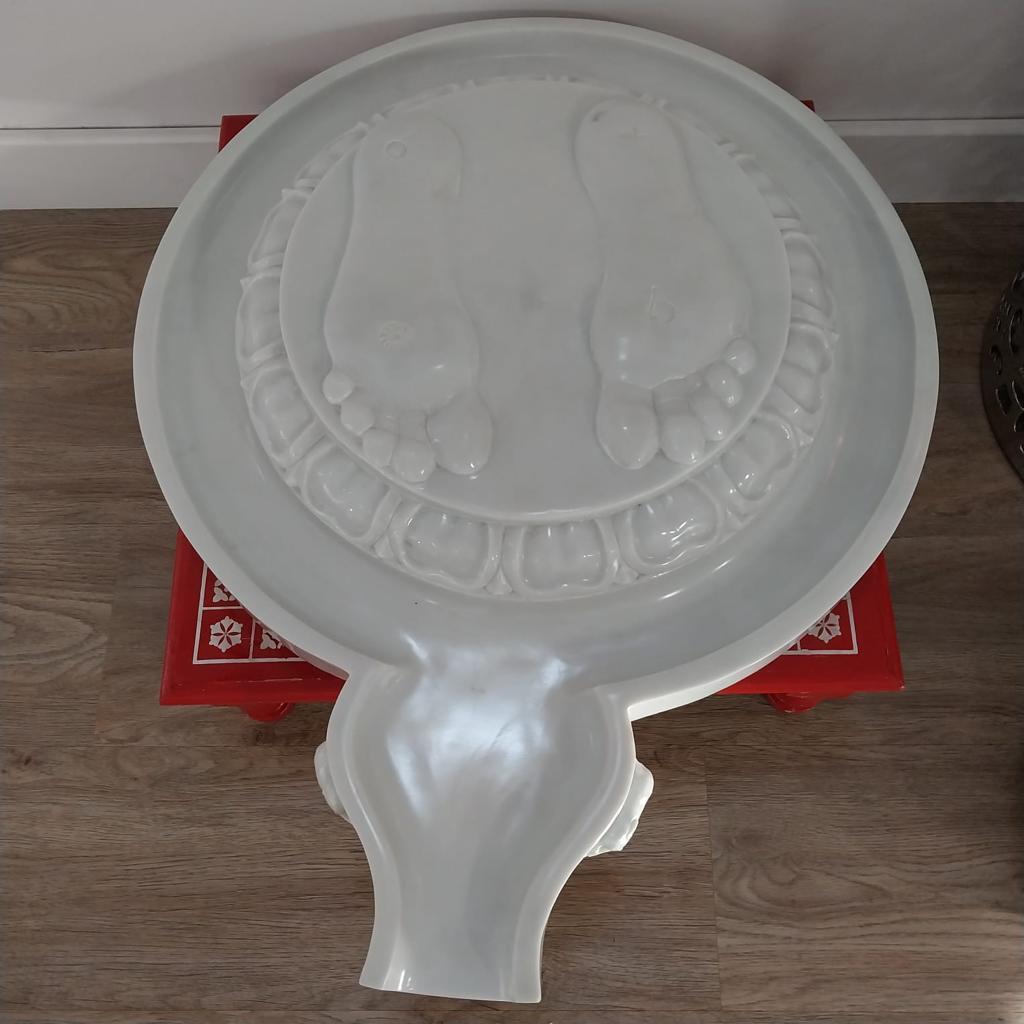
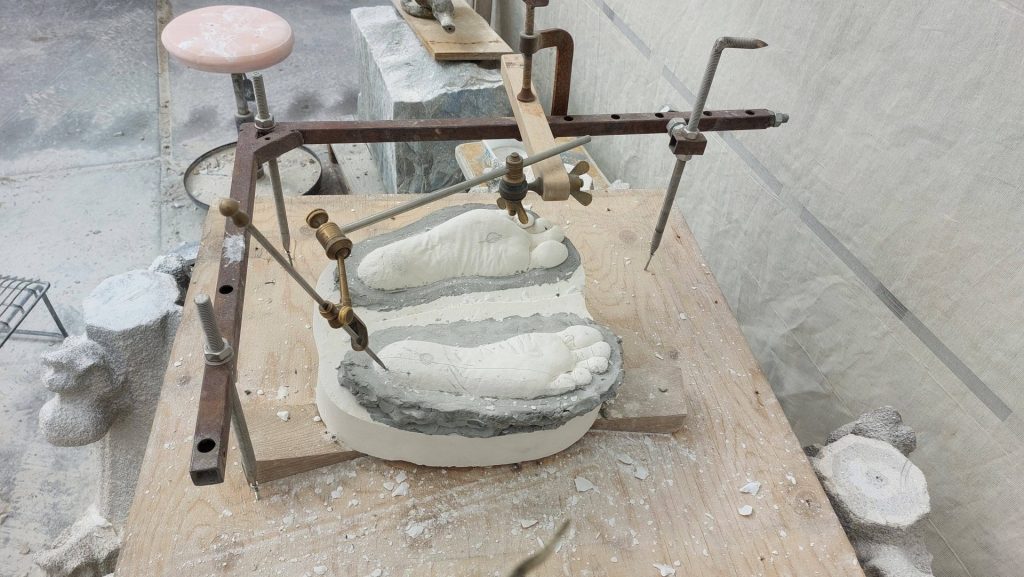
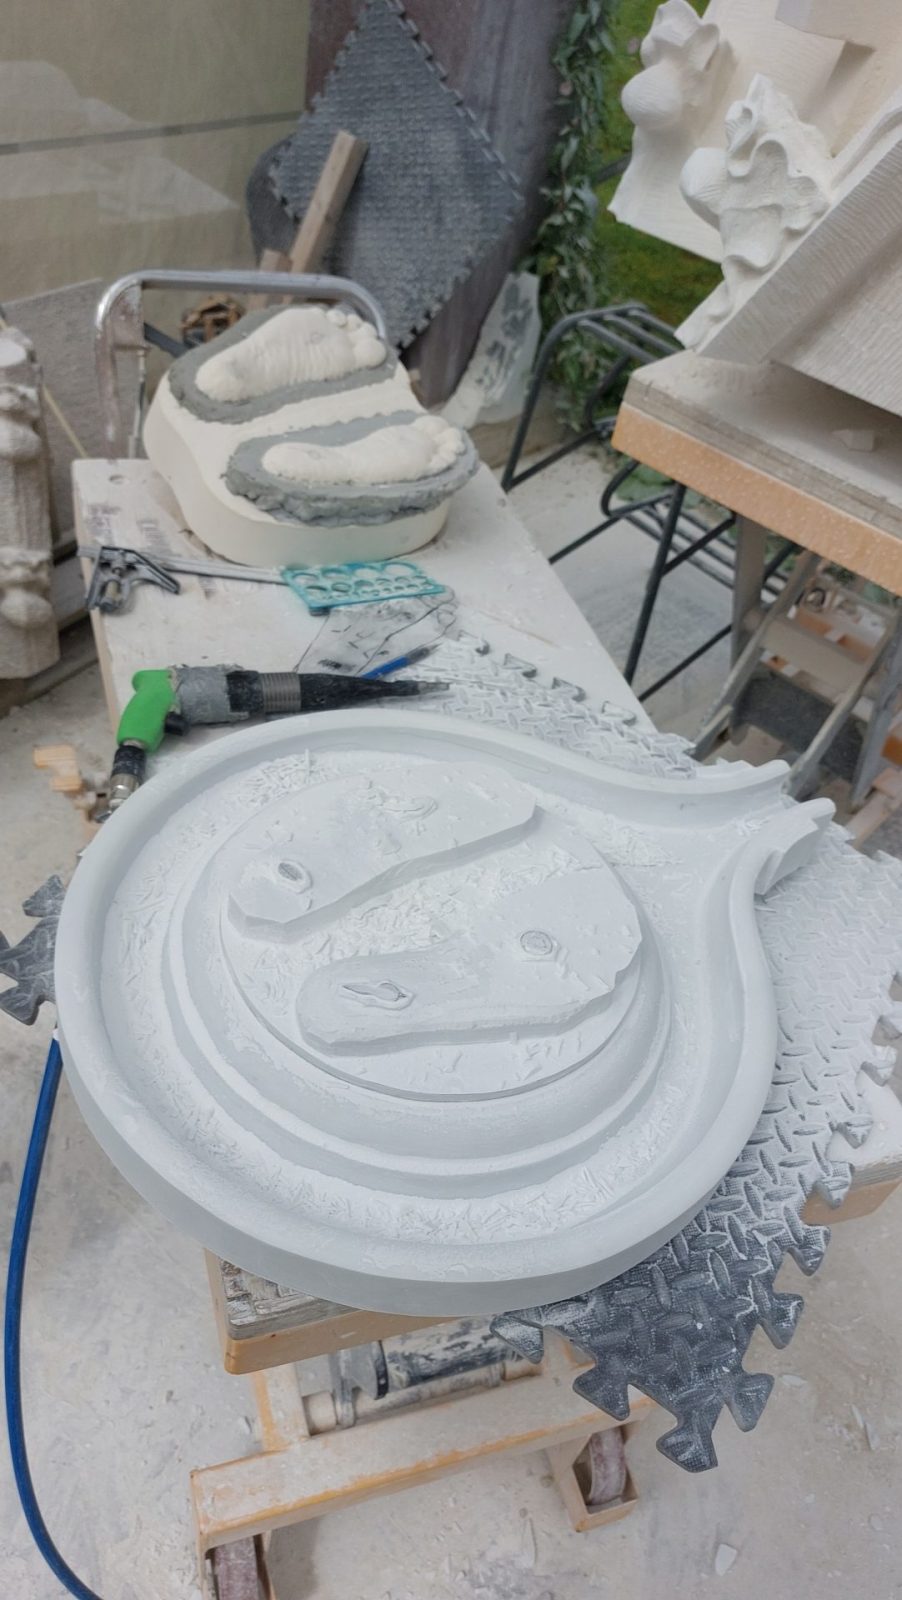
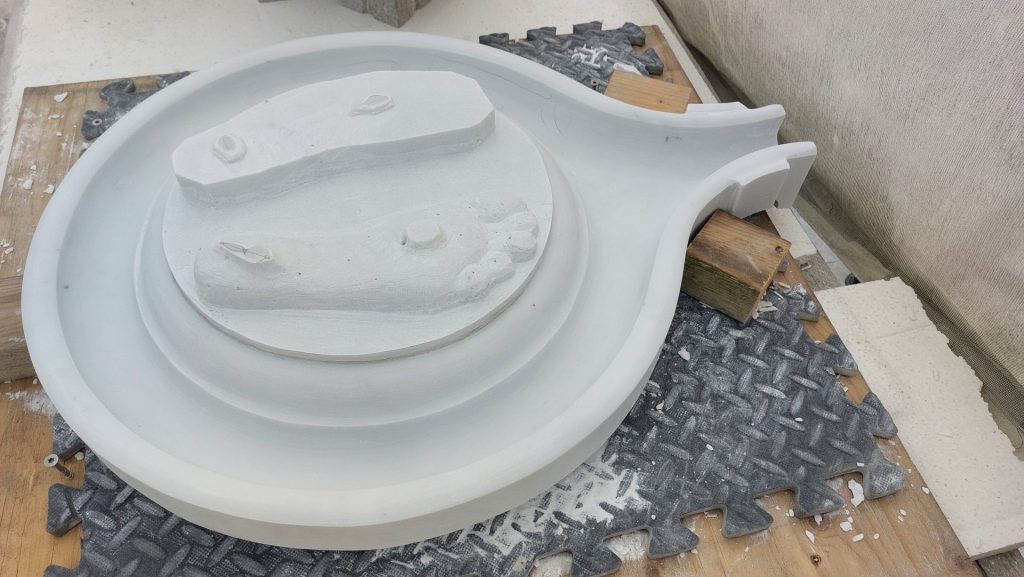
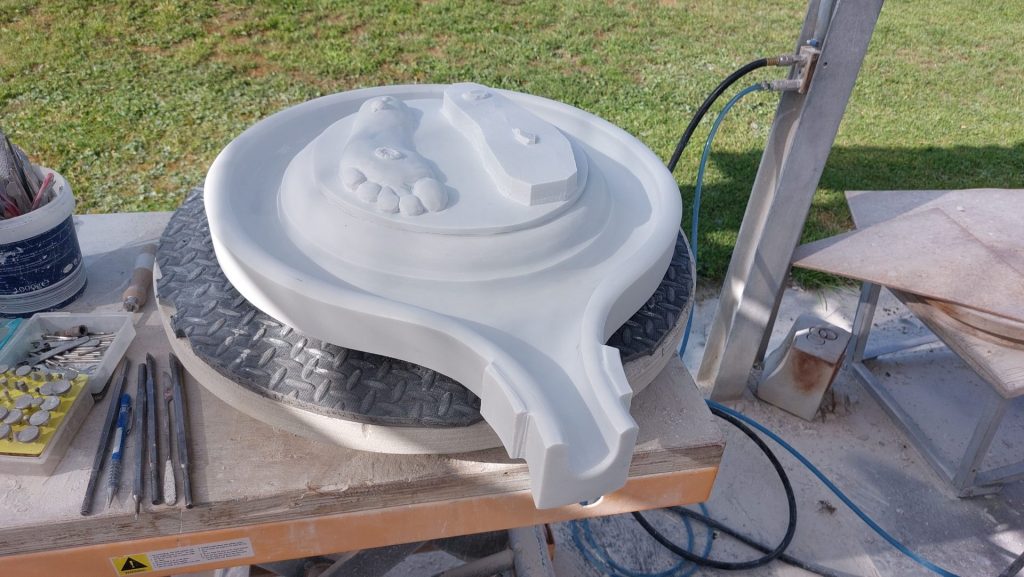
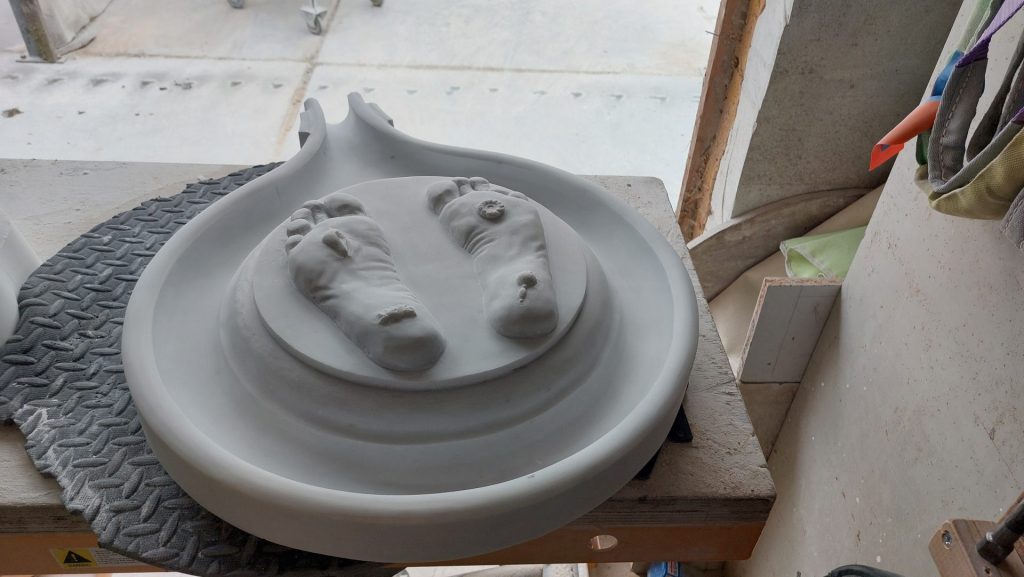
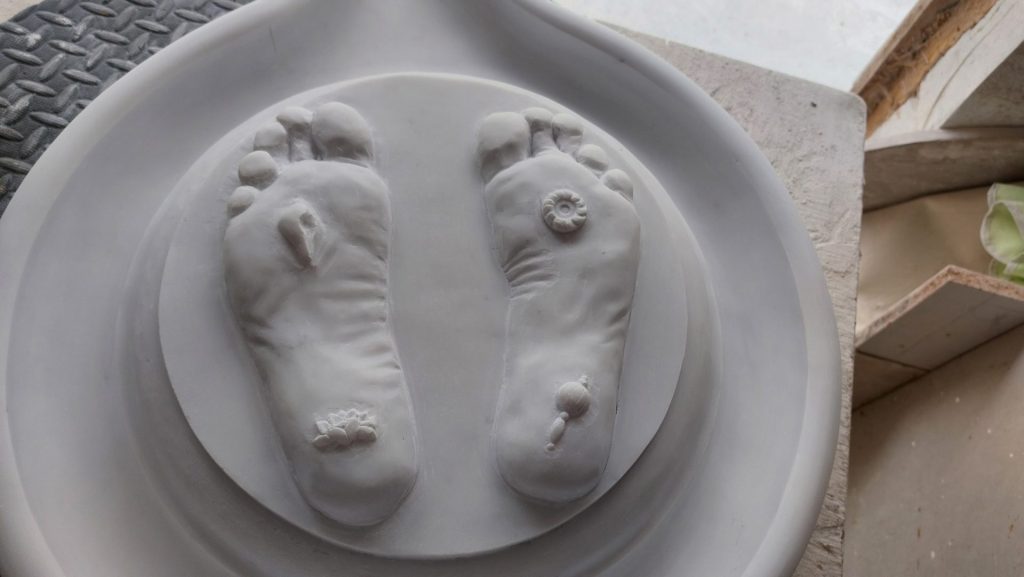
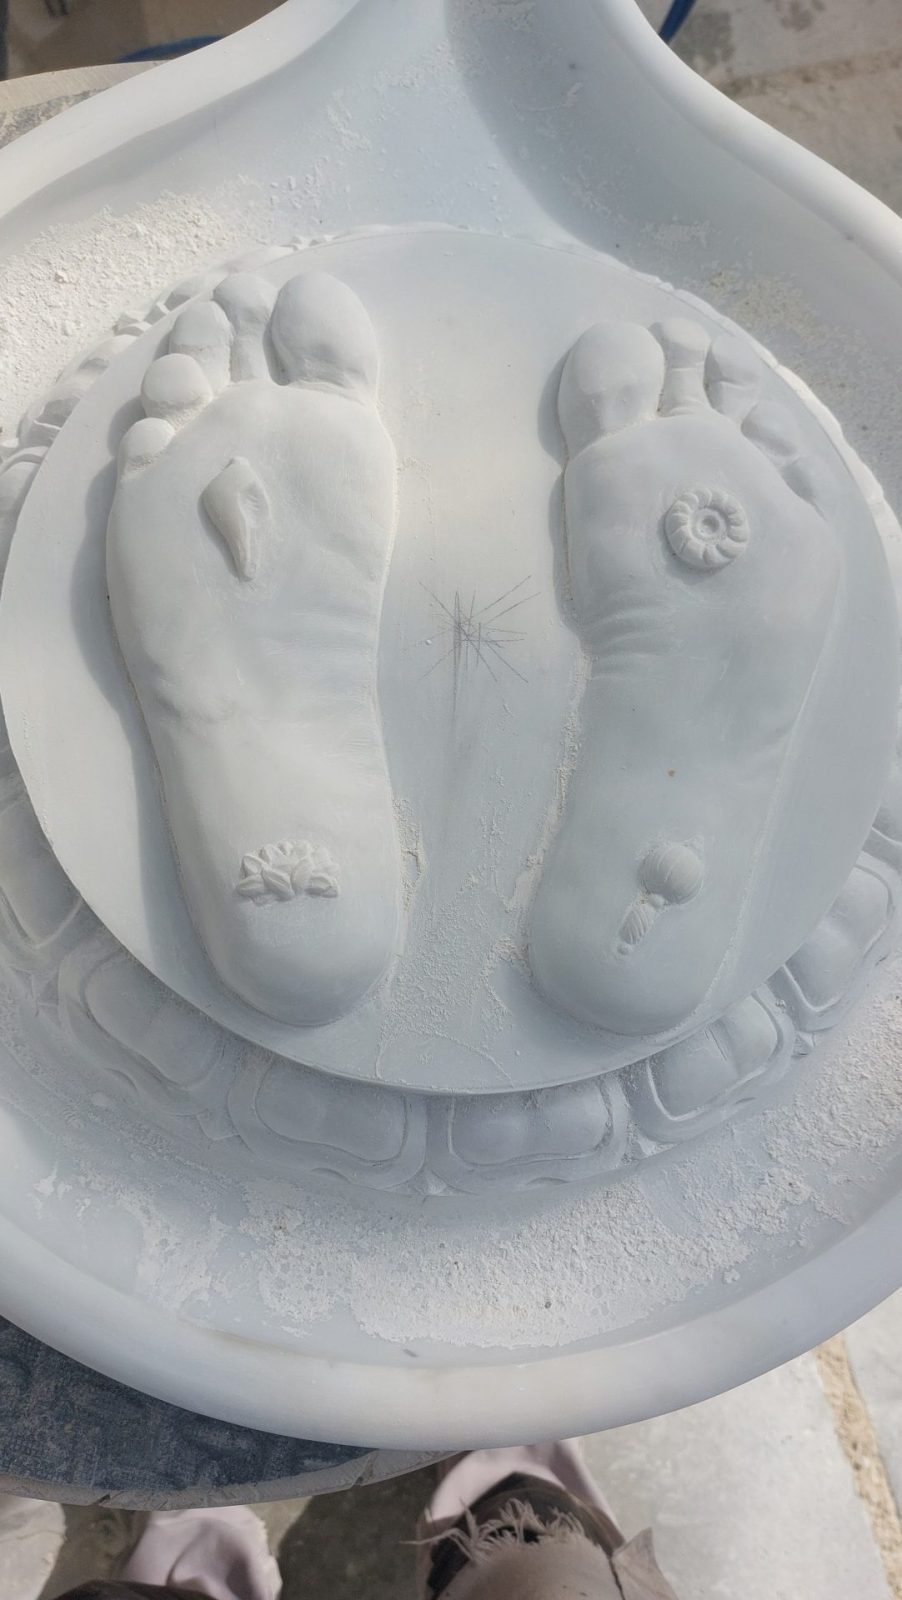
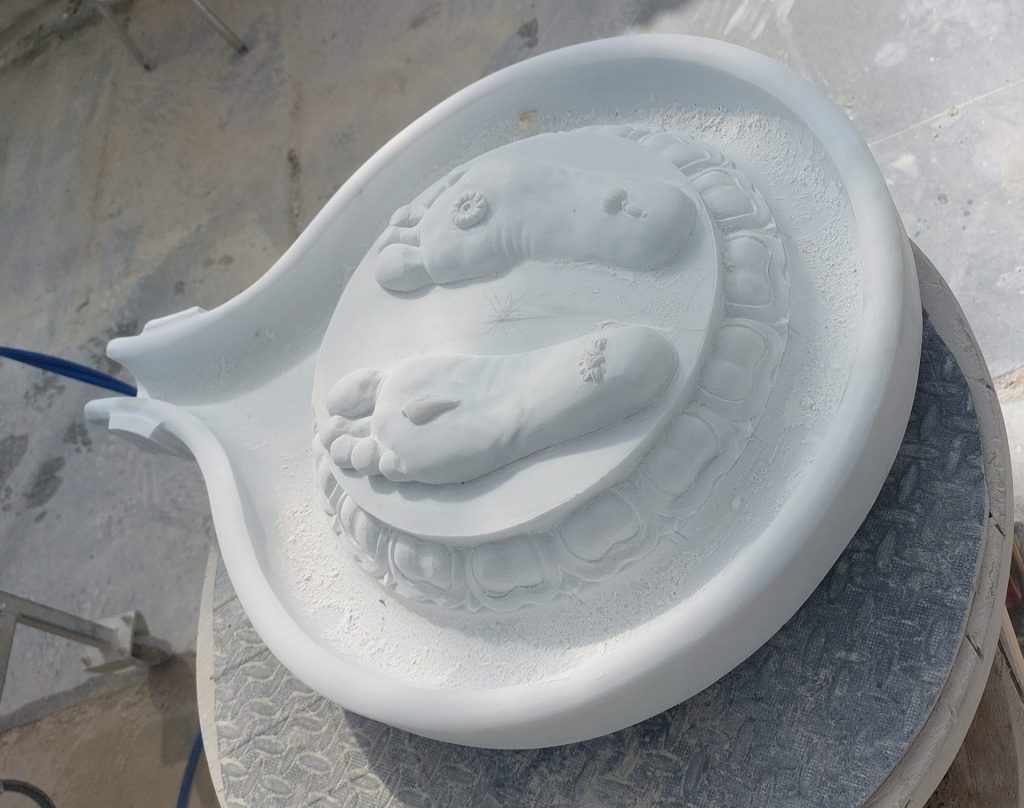
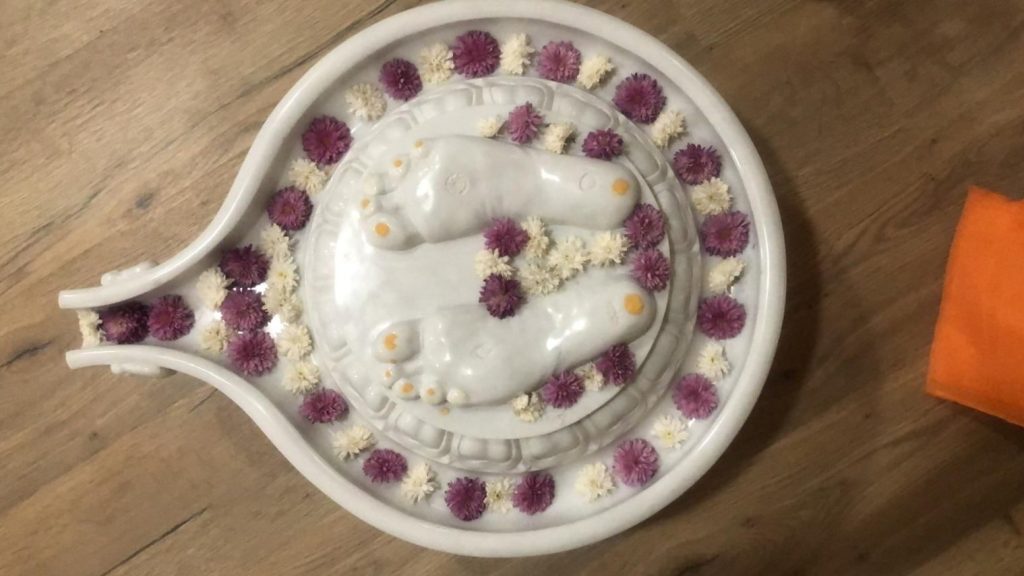
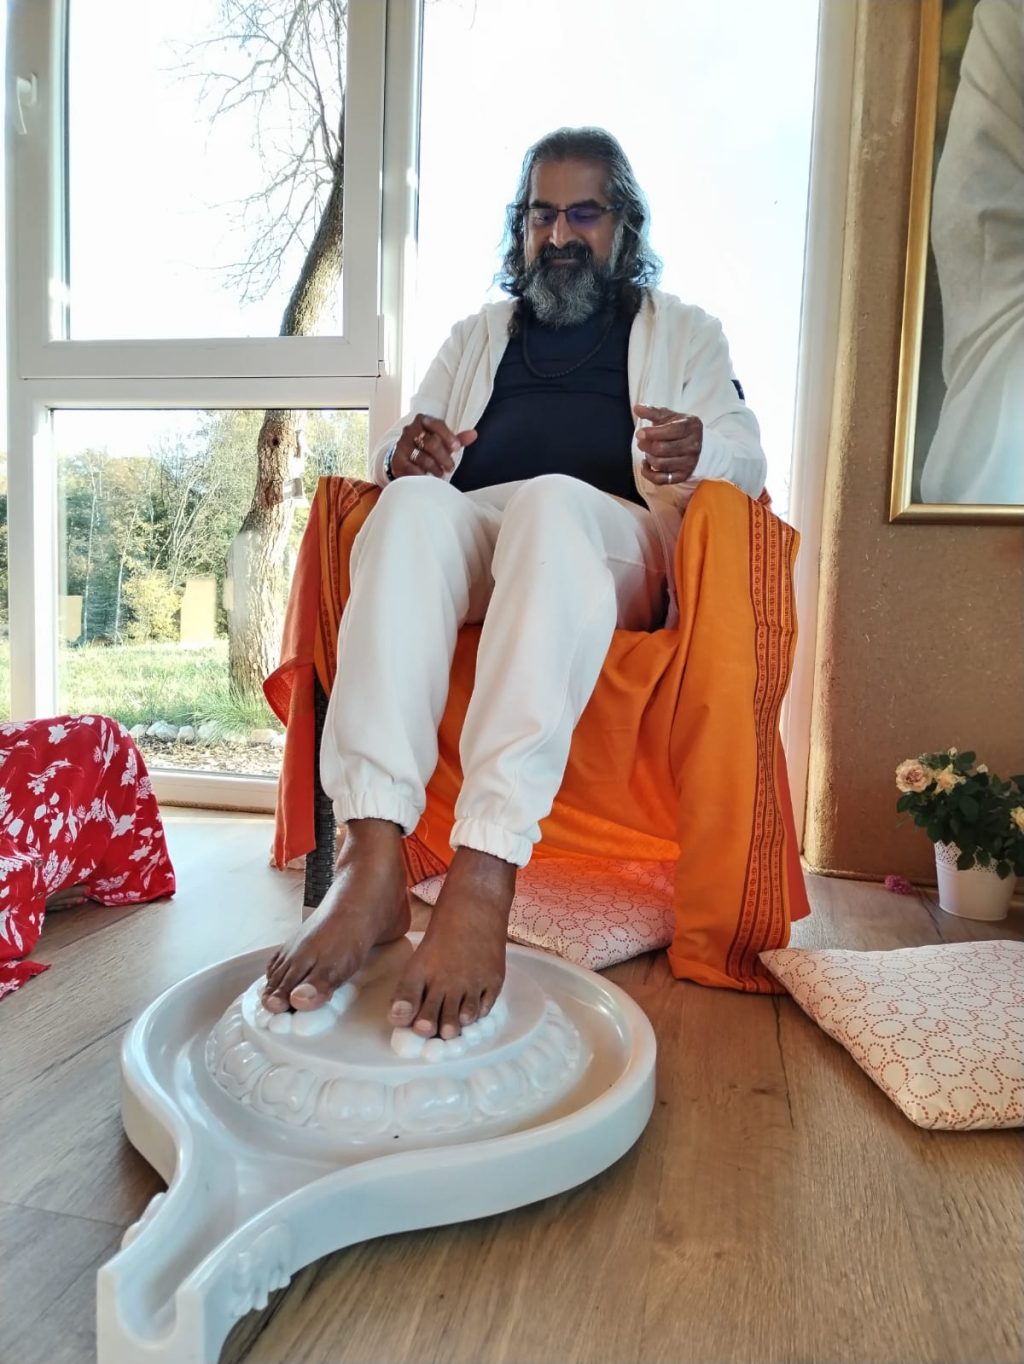
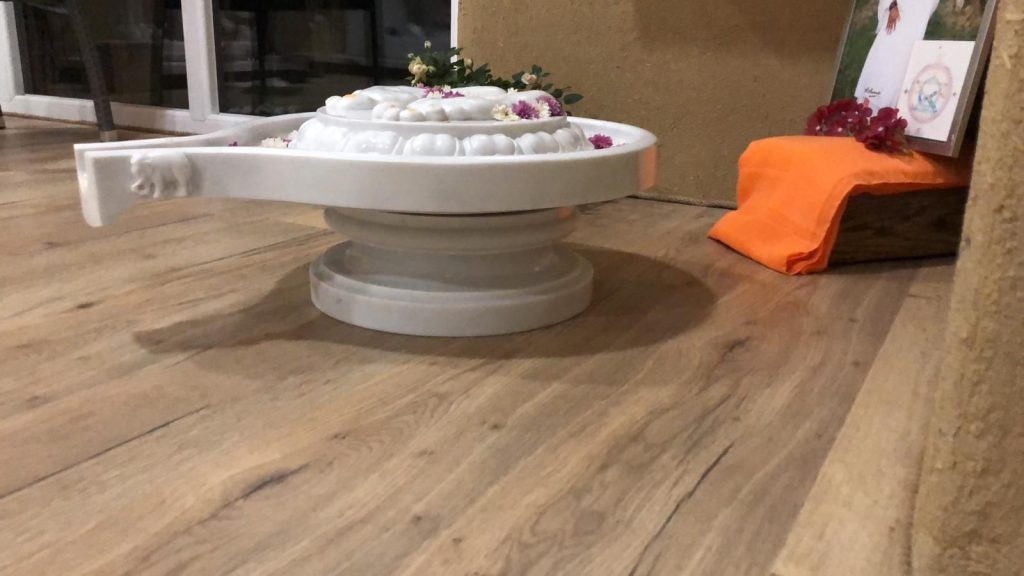
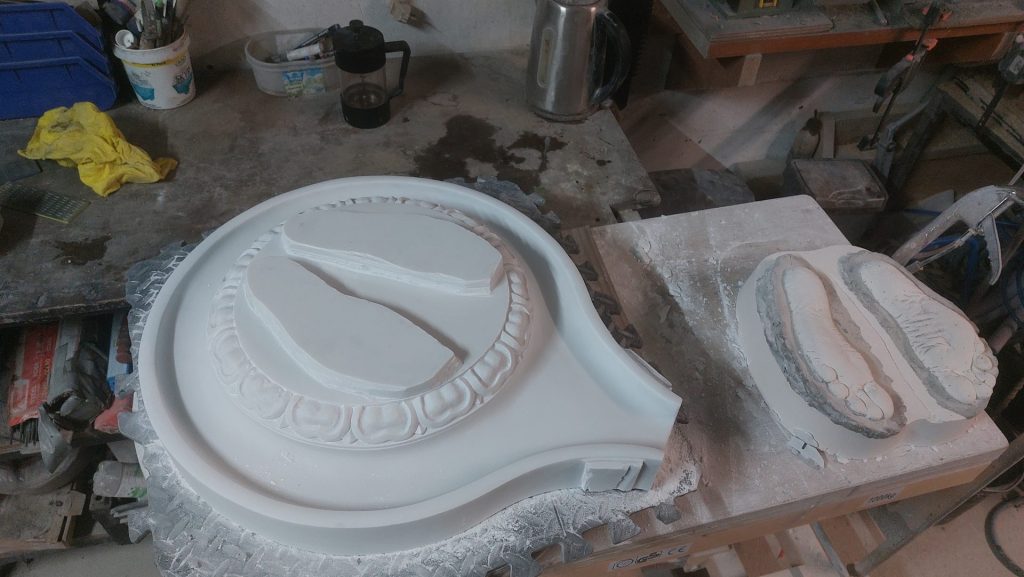
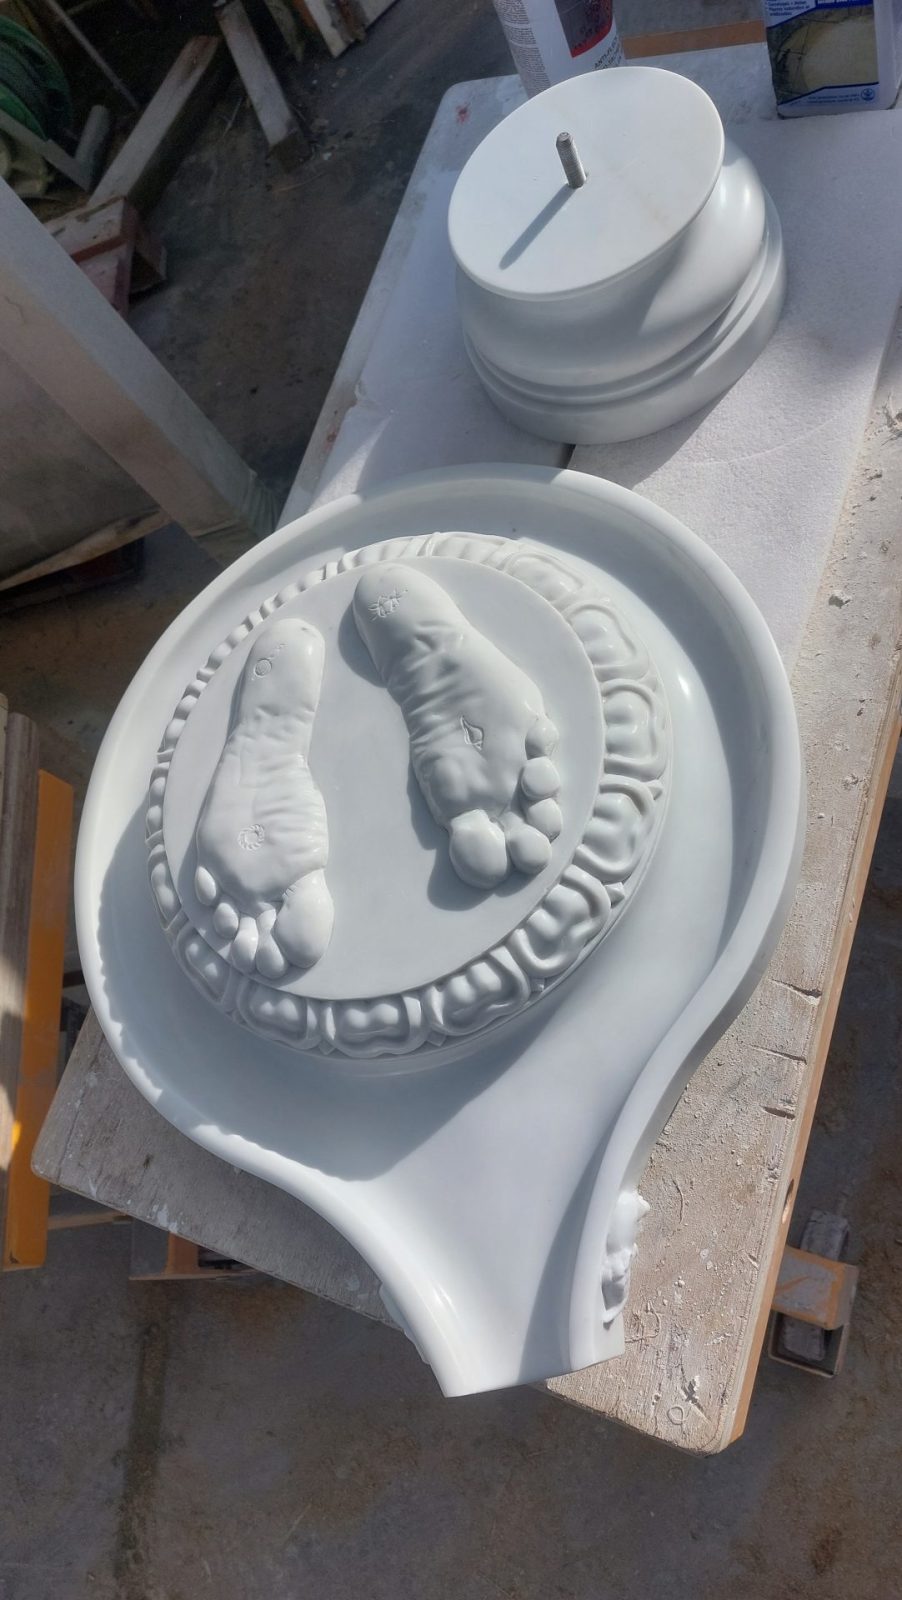
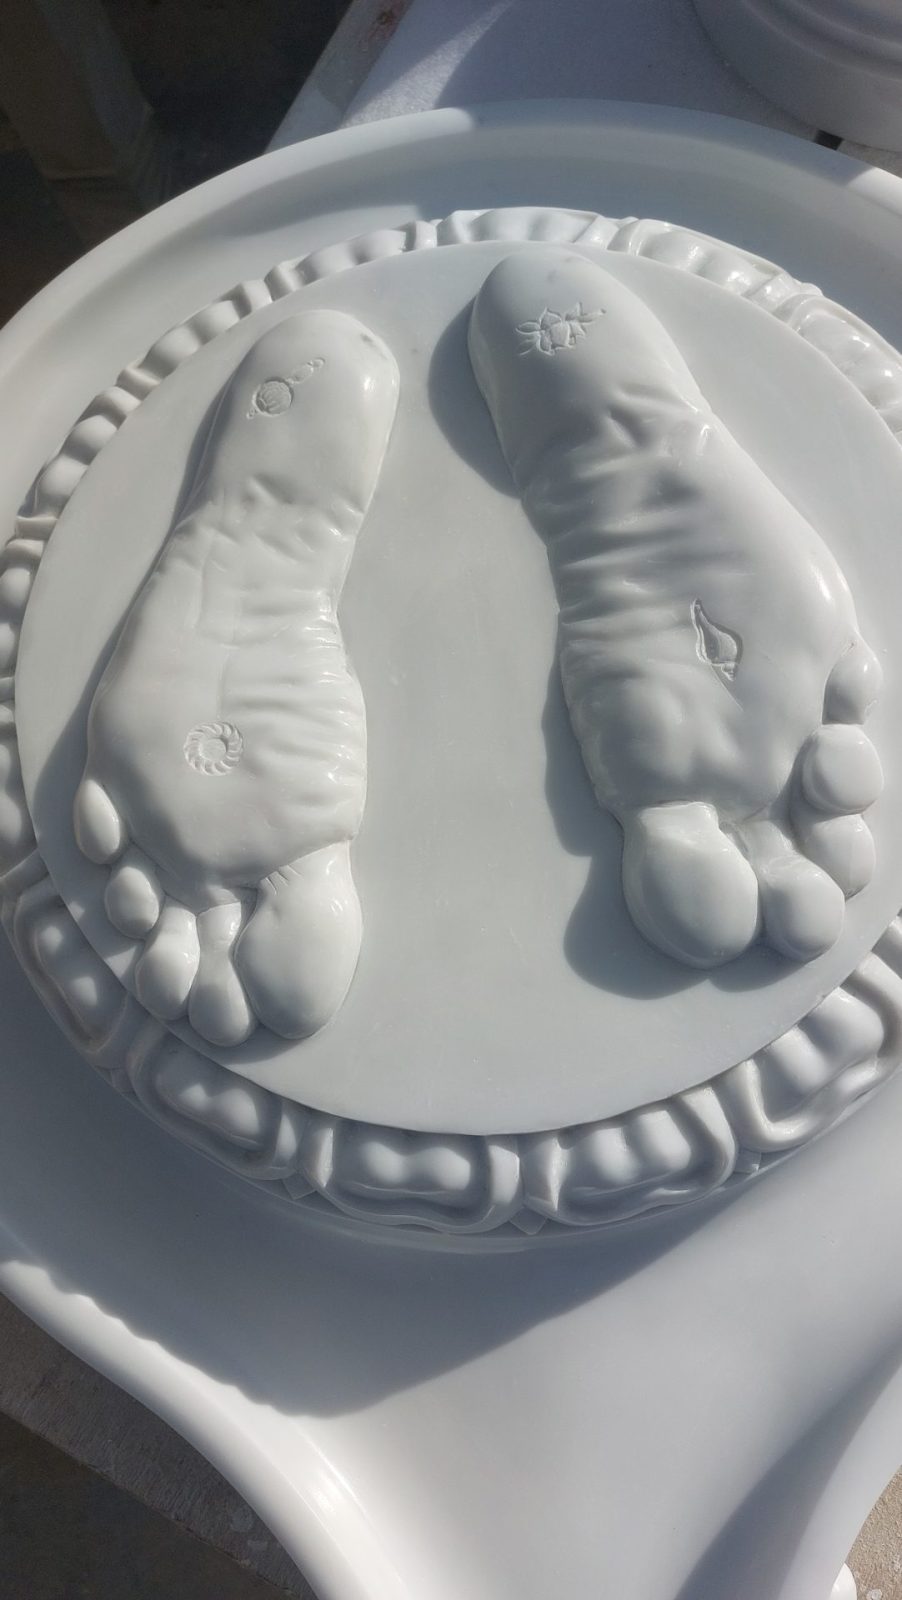
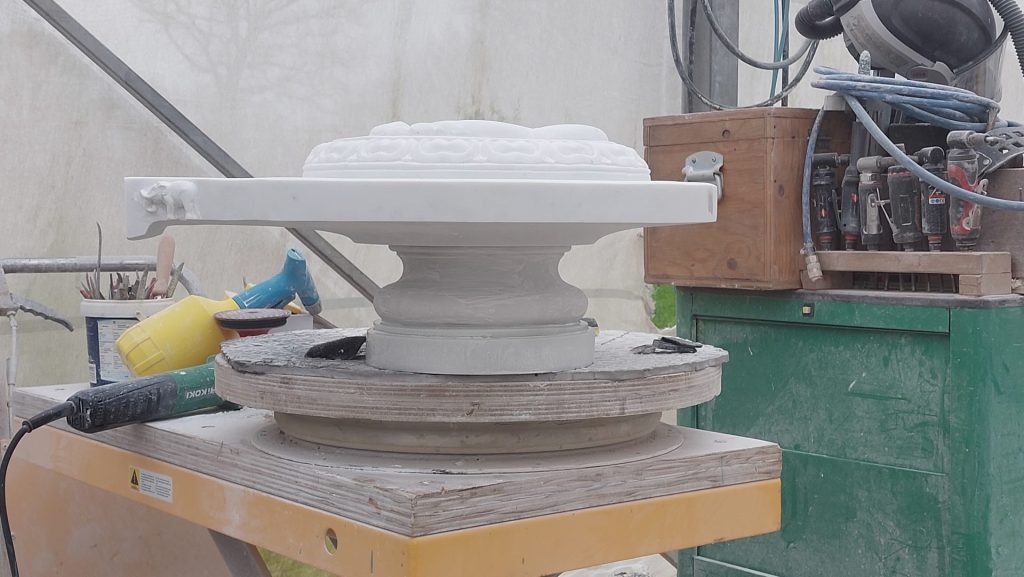
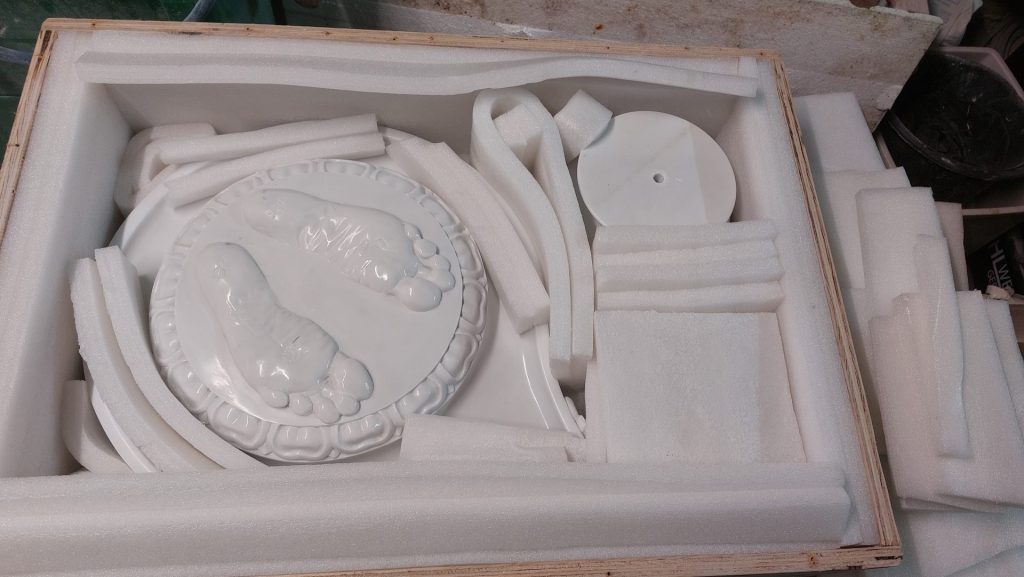
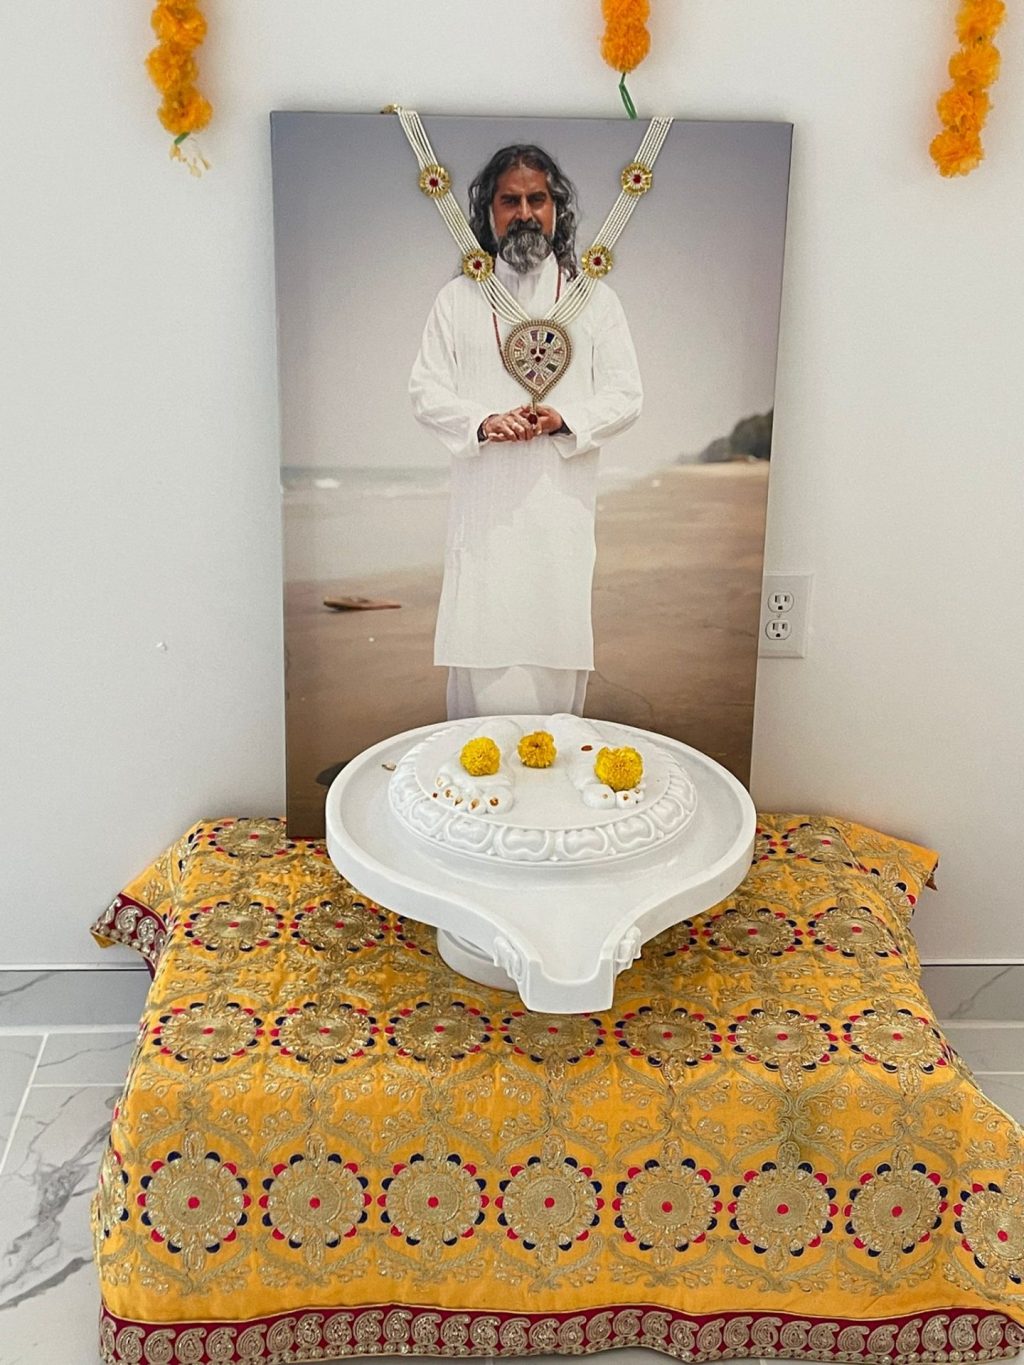
    Paadas are depictions of the feet of a saint. I'd already carved black granite padukas or paadas once before that represented the feet of Swami Gopala Krishna and later once again, but in recent years I've carved a few more, of Mohanji's feet. These are used daily in the centers in Serbia, Scotland, Slovenia and the United States to keep in connection with the Master. At the moment I am still in preparation for Australia and Croatia, and perhaps Brazil. Unlike the usual form, I also gave these Paadas a spout, so that ritual liquids (water, milk, kumkum, vibhuti etc) can be collected and spread over the land as an energetic blessing.

    Mohanji and Gopala Baba, in Nidagatta, India
    Mohanji and Gopala Baba, in Nidagatta, India

No more messages to show.

No more messages to show.