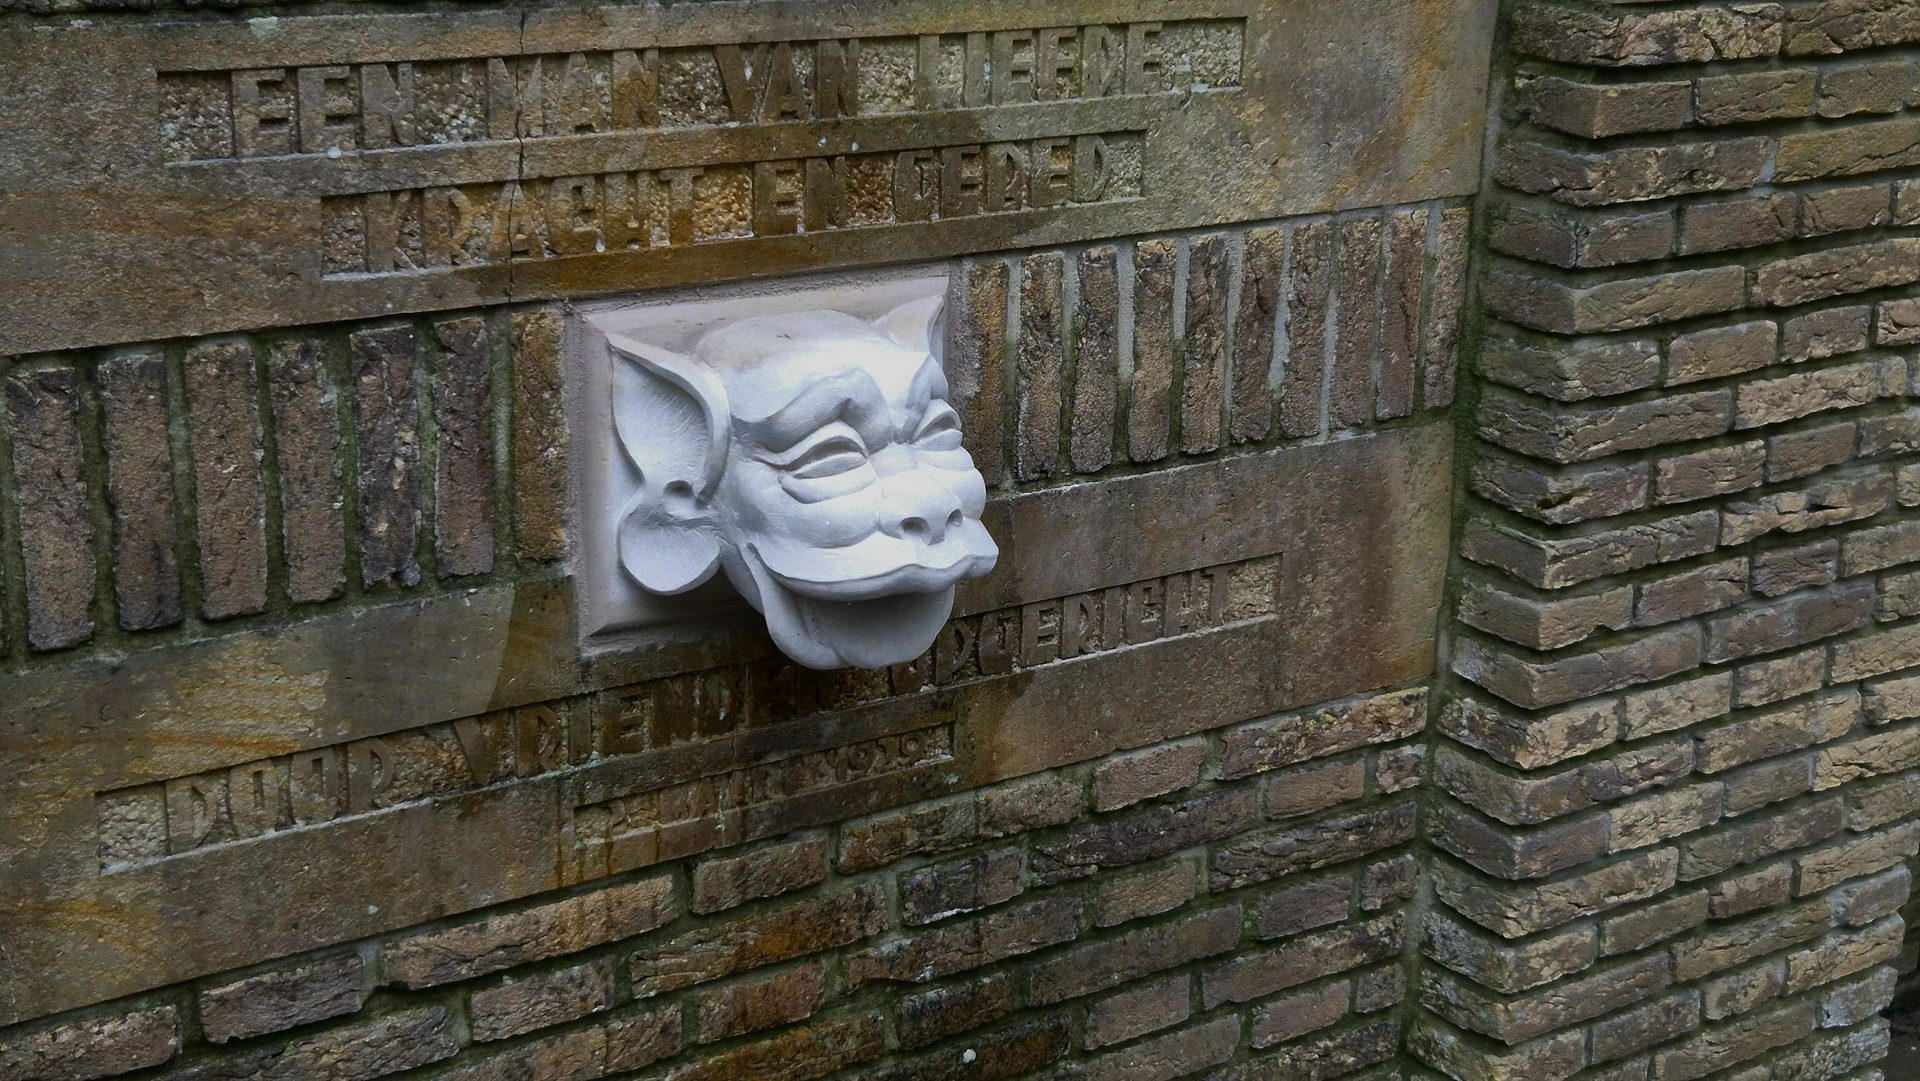
A gargoyle head for the Zegersmonument
In Heemstede on the grounds of SEIN Expertise Center for Epilepsy there is a brick monument for one of the first directors, Lambertus Zegers.
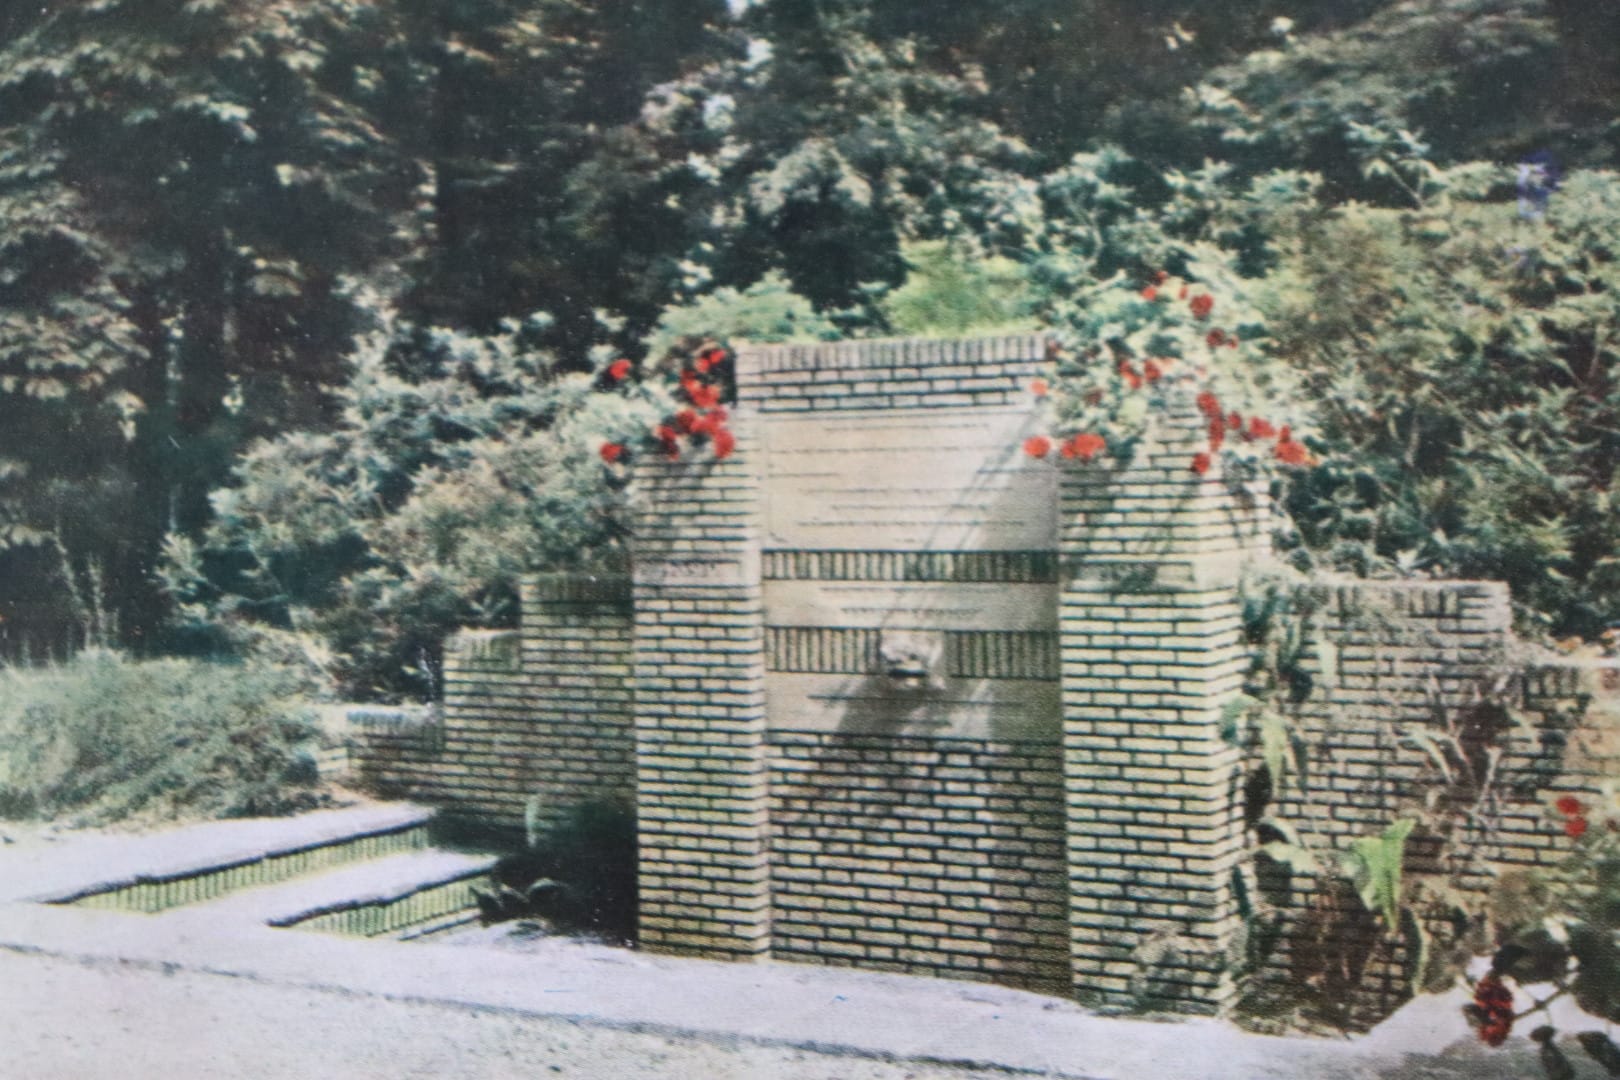
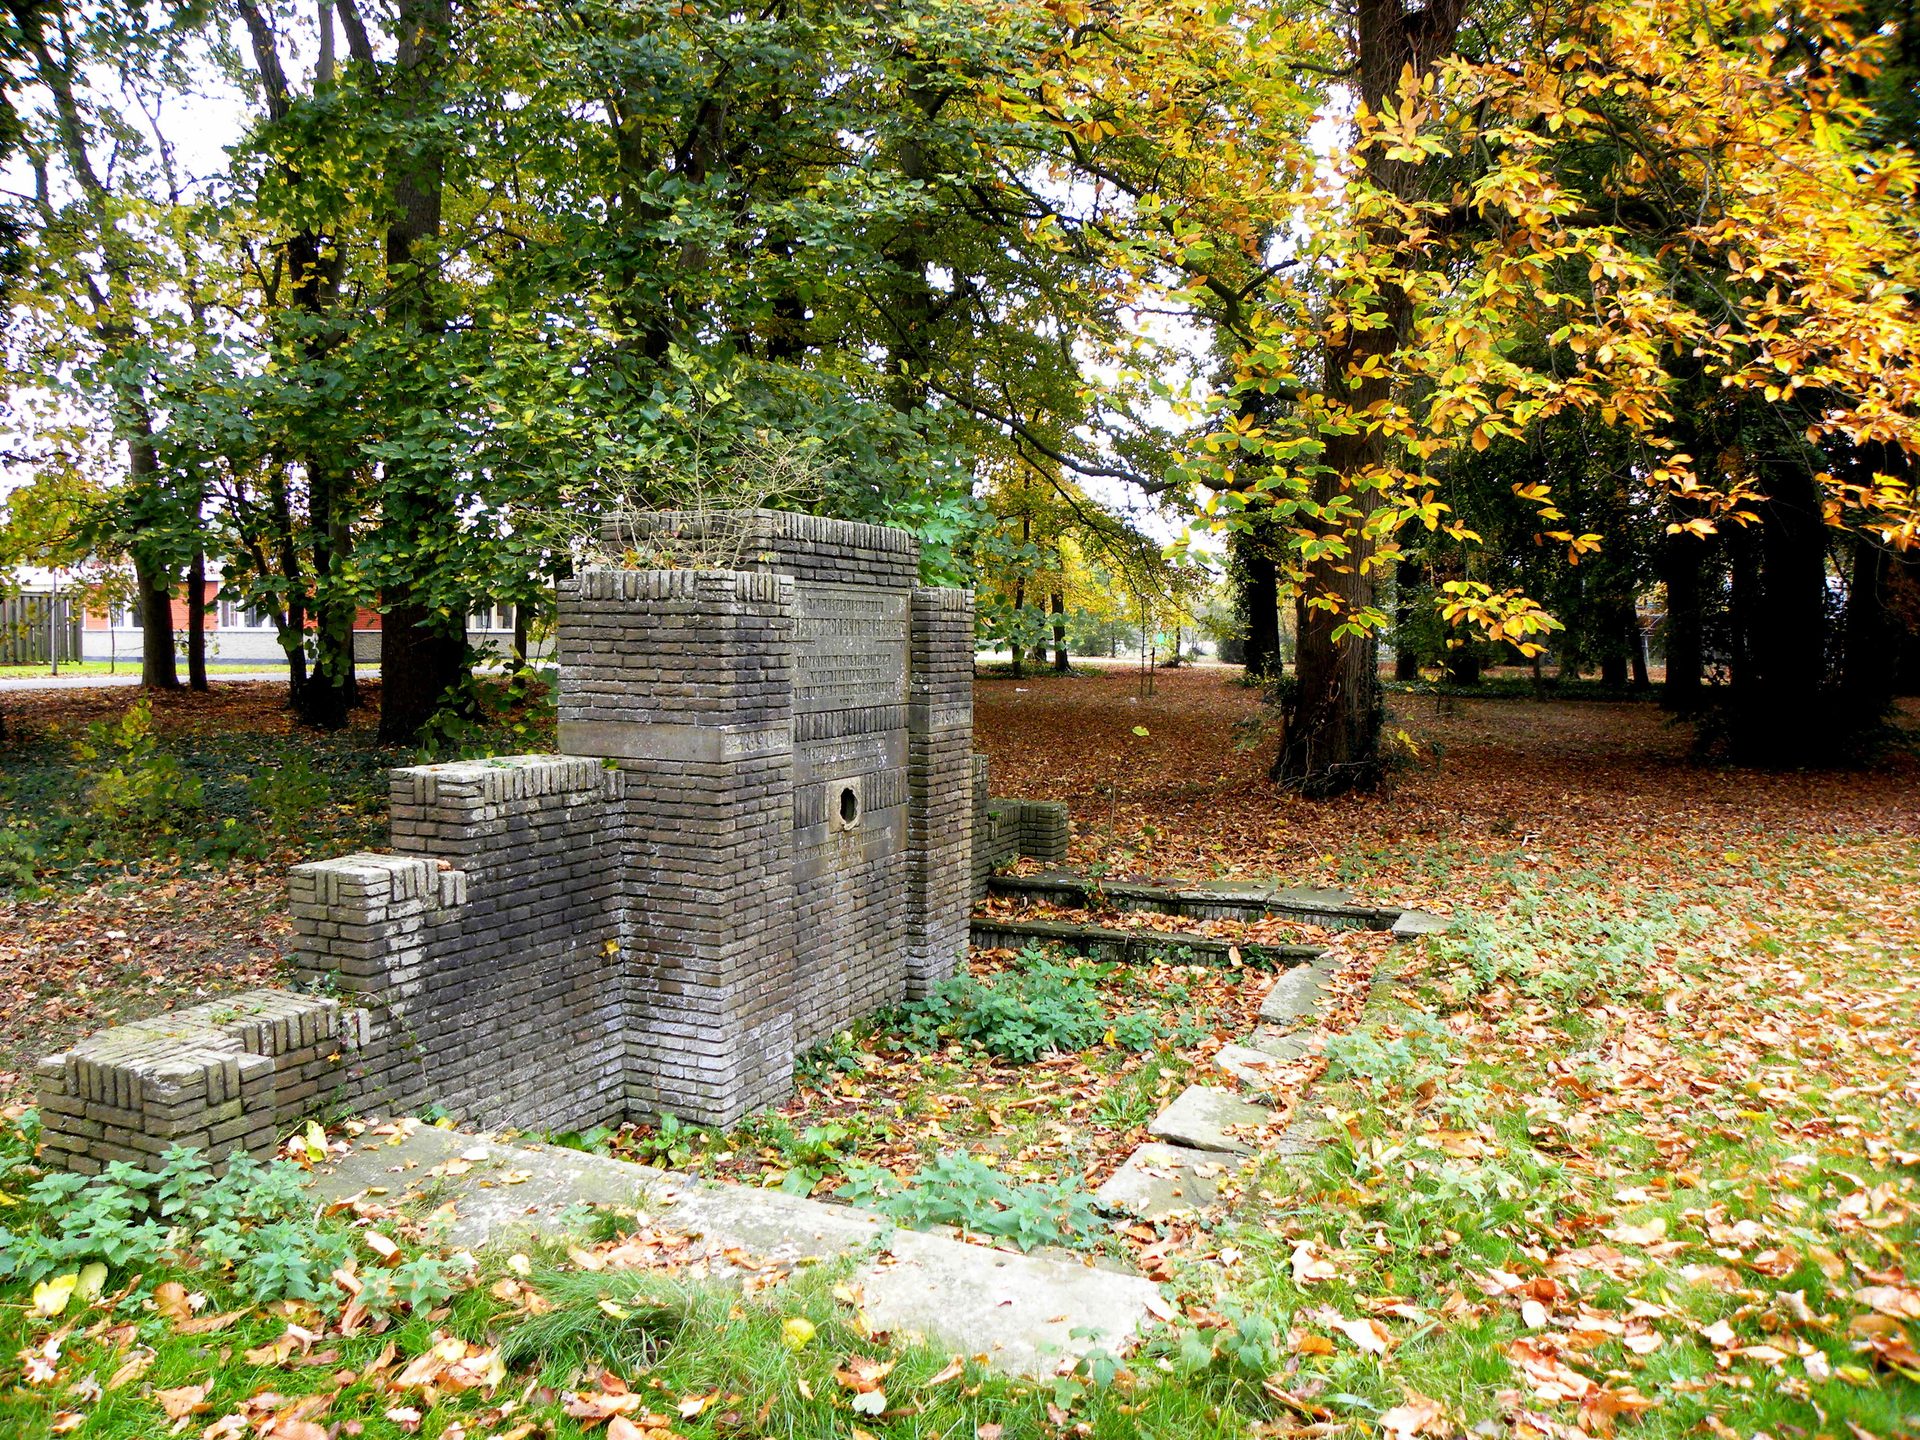
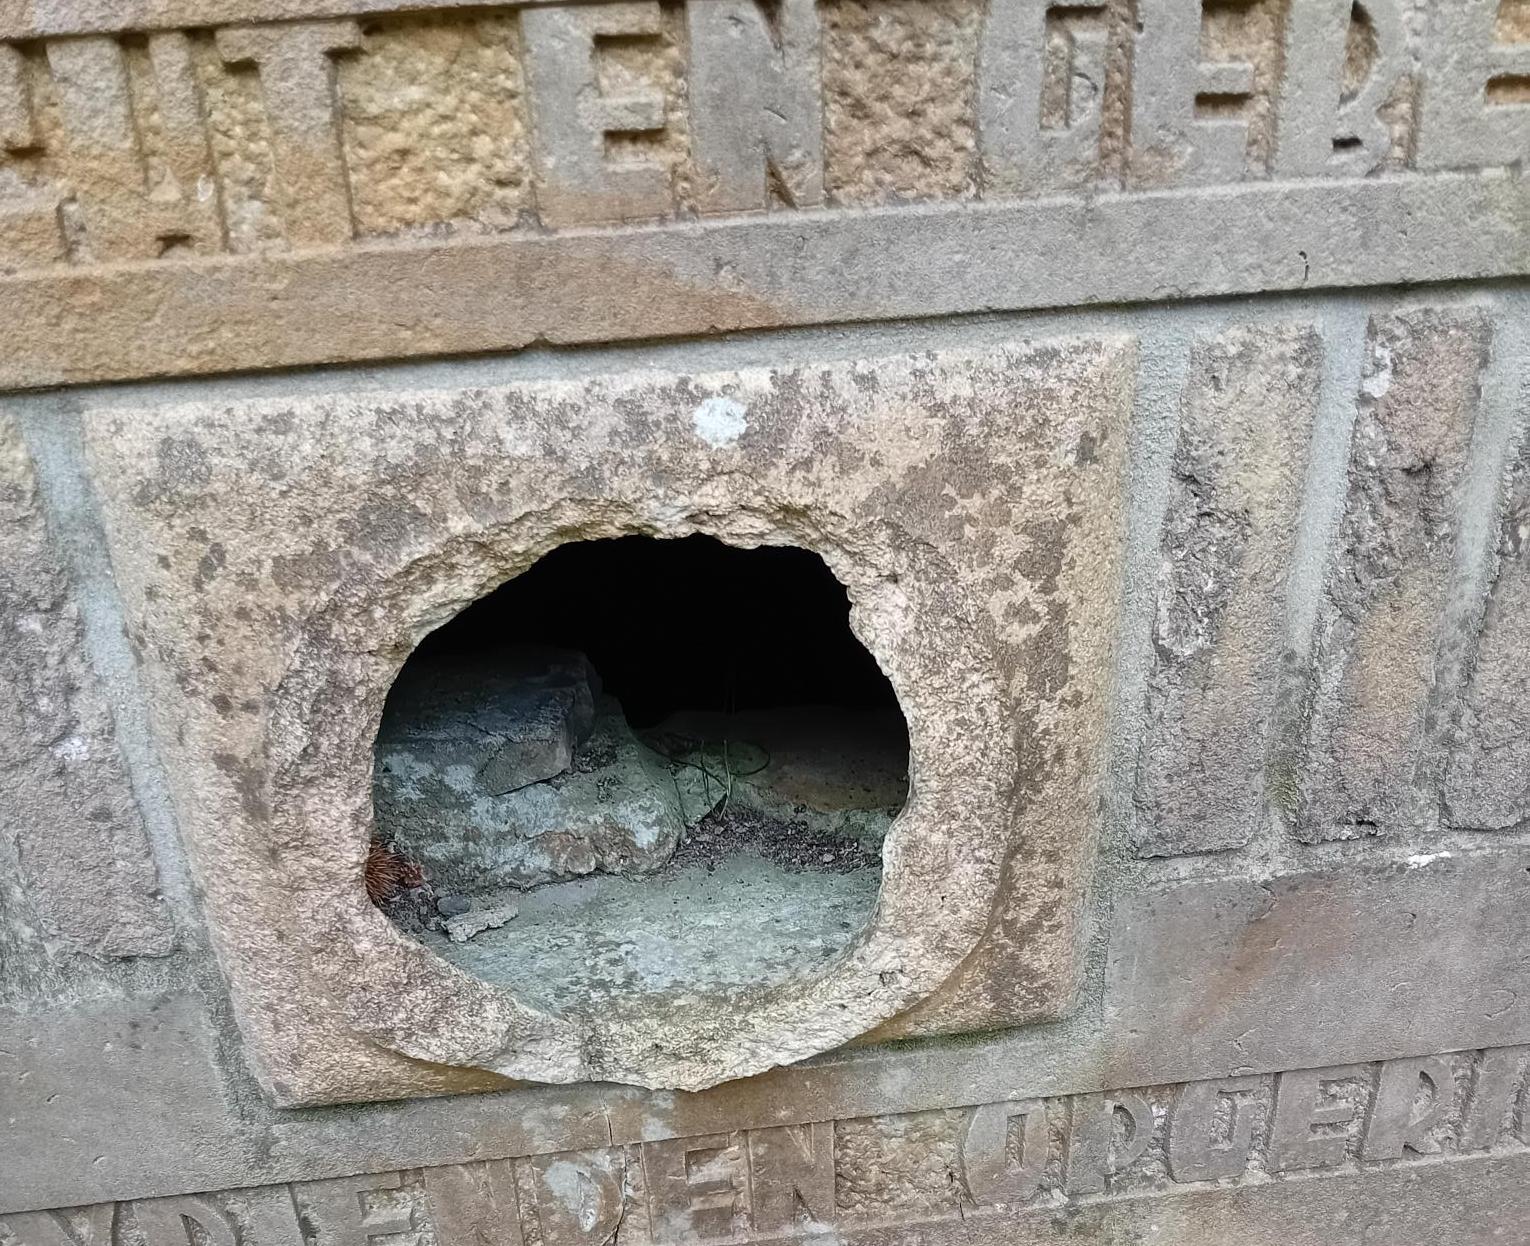
Weathered brick and missing ornament
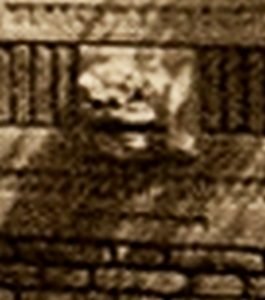
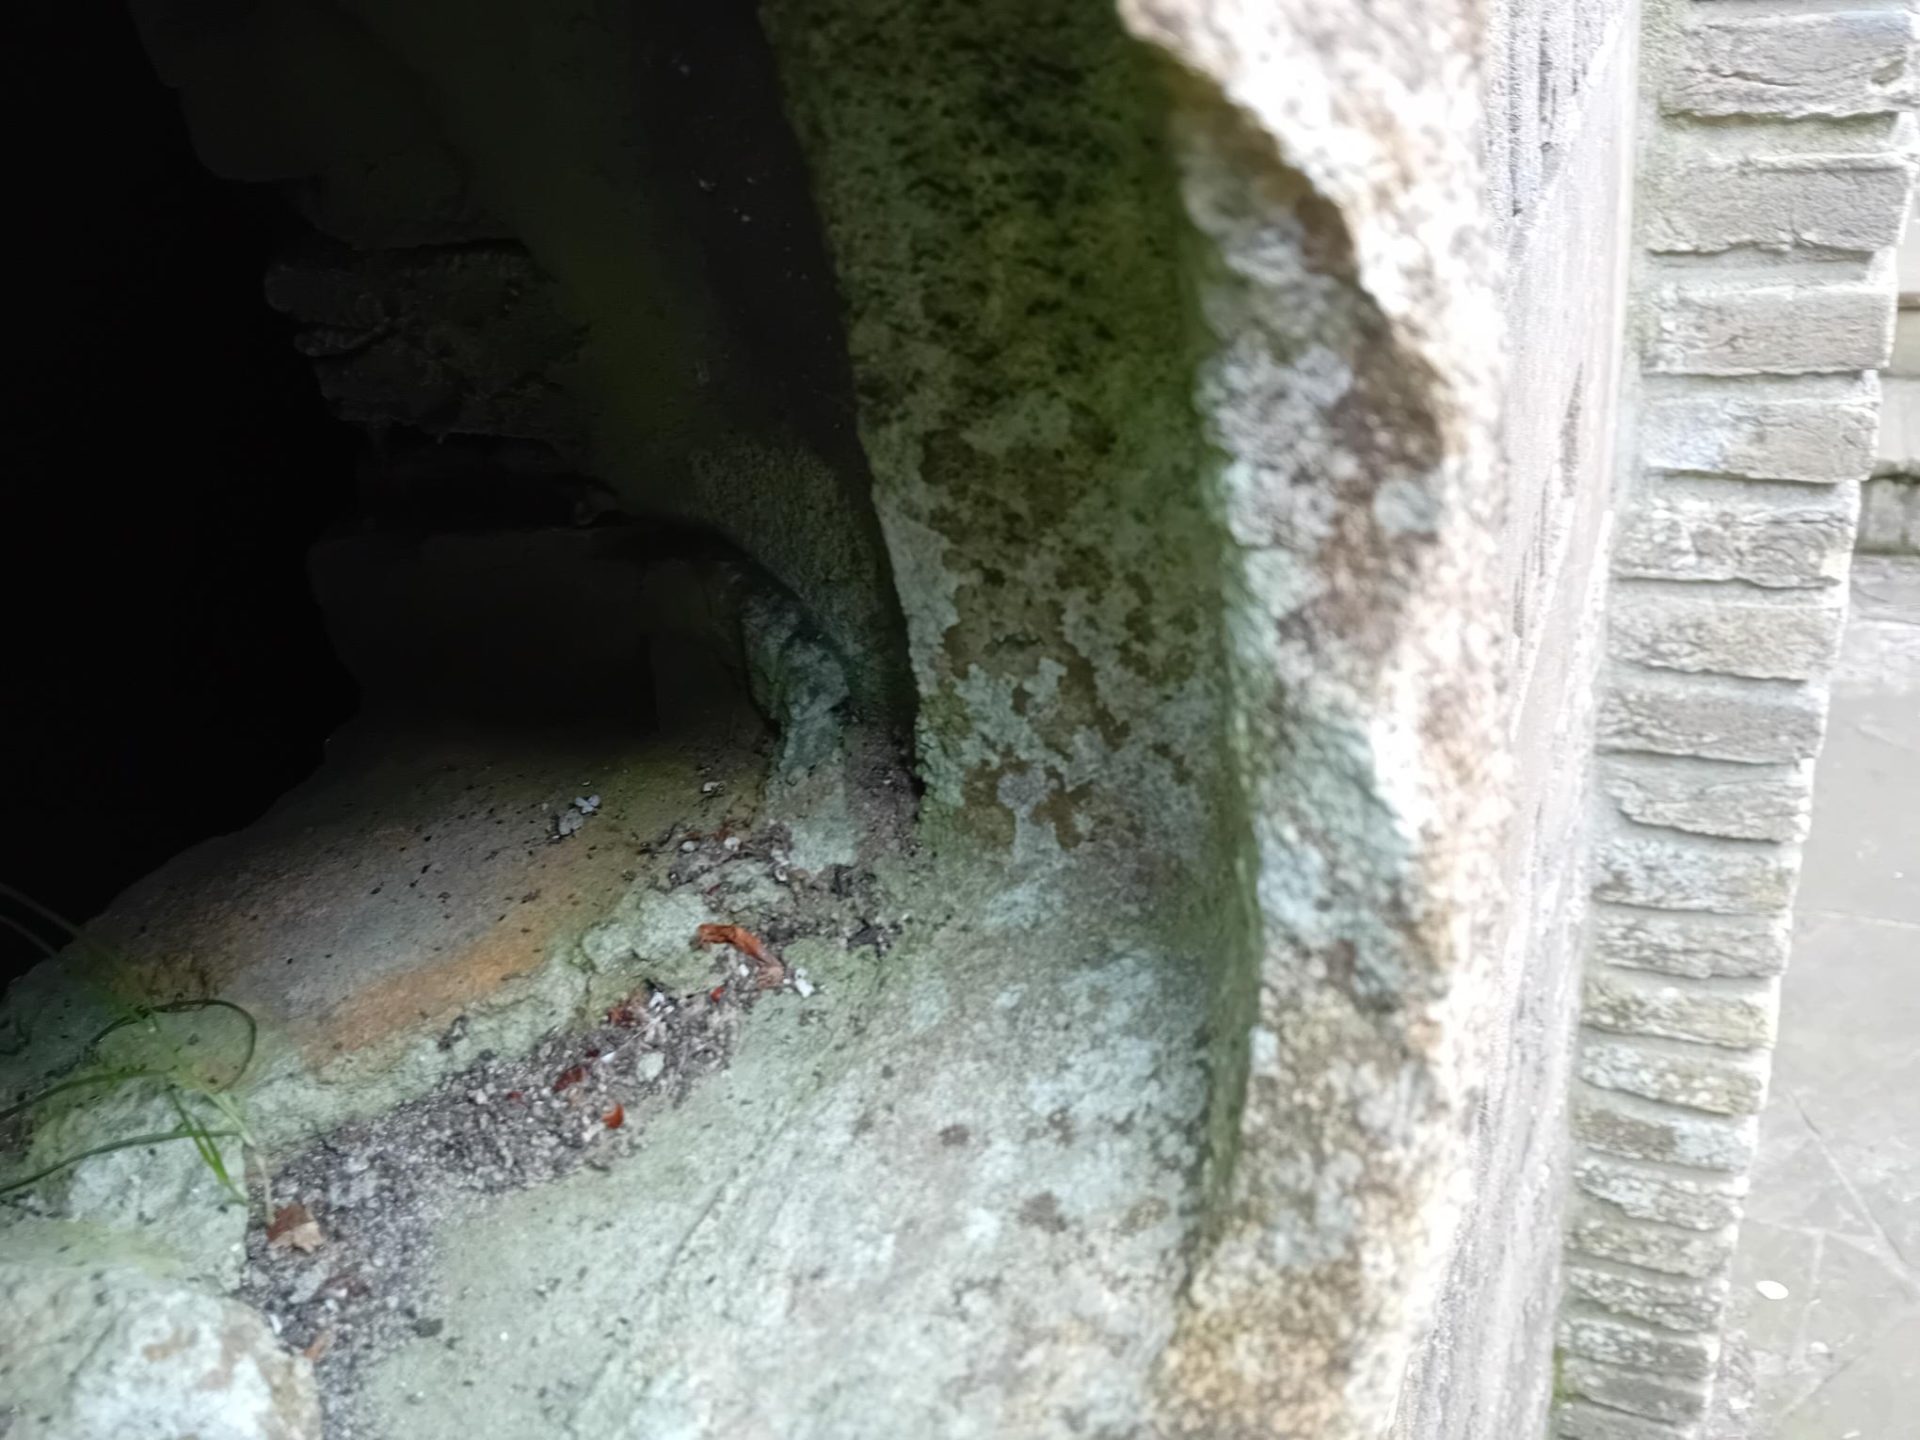
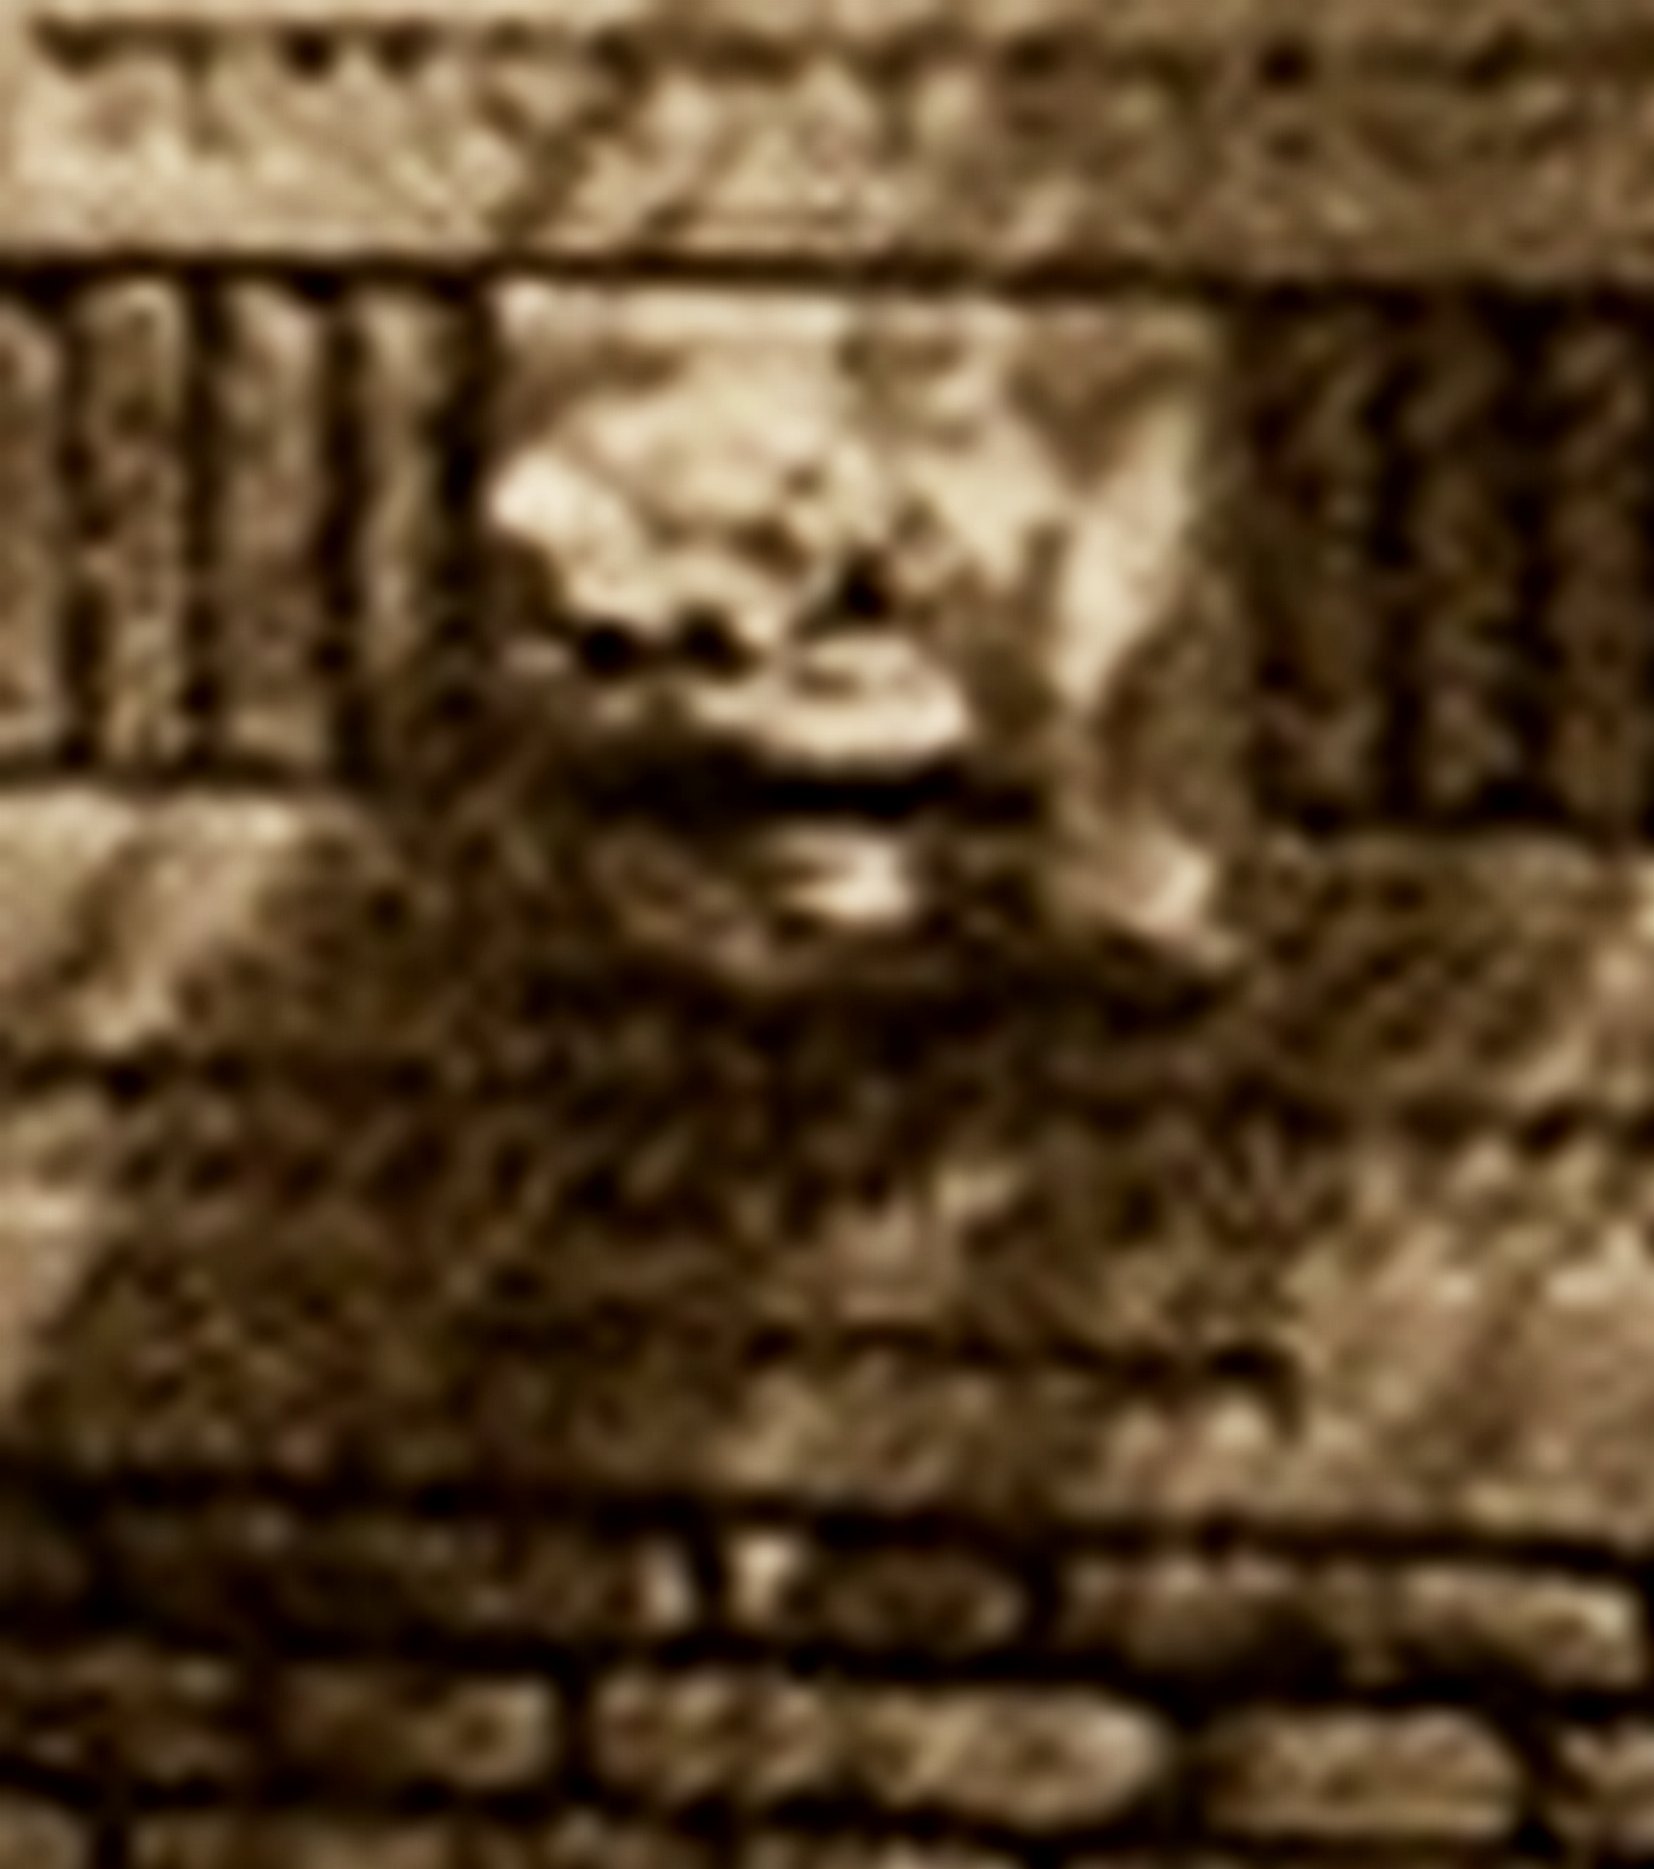
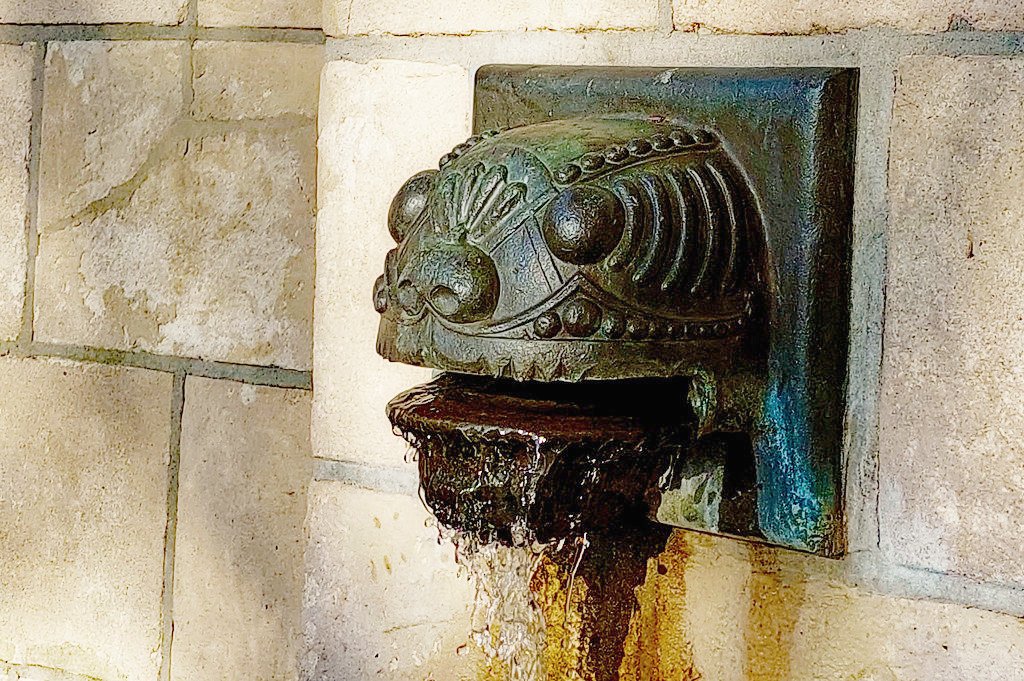
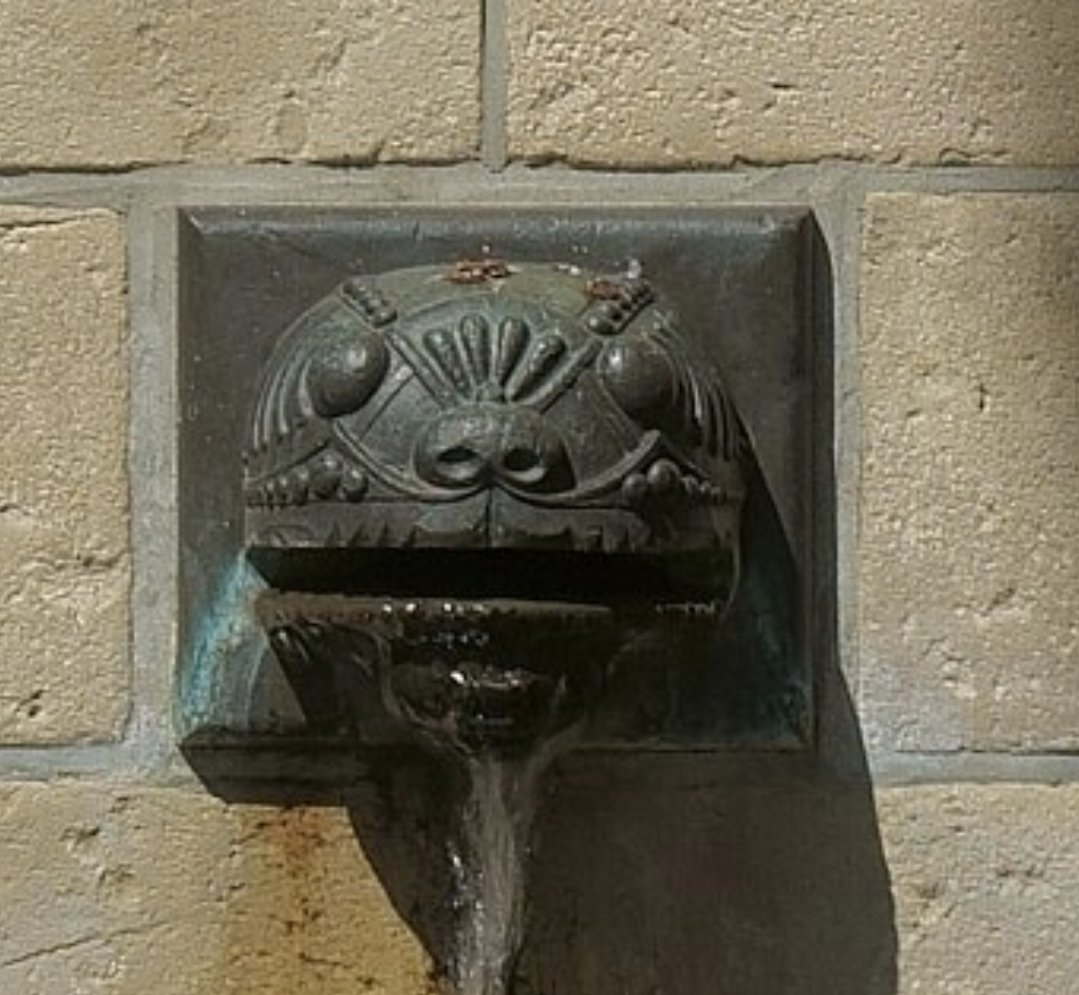
The monument was in serious disrepair. It once possessed a gargoyle, but it had lost it in the distant past and now all that remained was a hole reminiscent of a ceramic ornament. This ornament had been made by the famous ceramist Willem Coenraad Brouwer, but it was no longer possible to find out what it looked like.
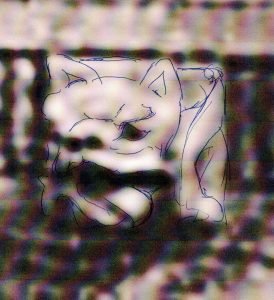
At first I thought of some kind of bulldog with two big ears, but the photo of the remains subsequently showed that this could not be correct.
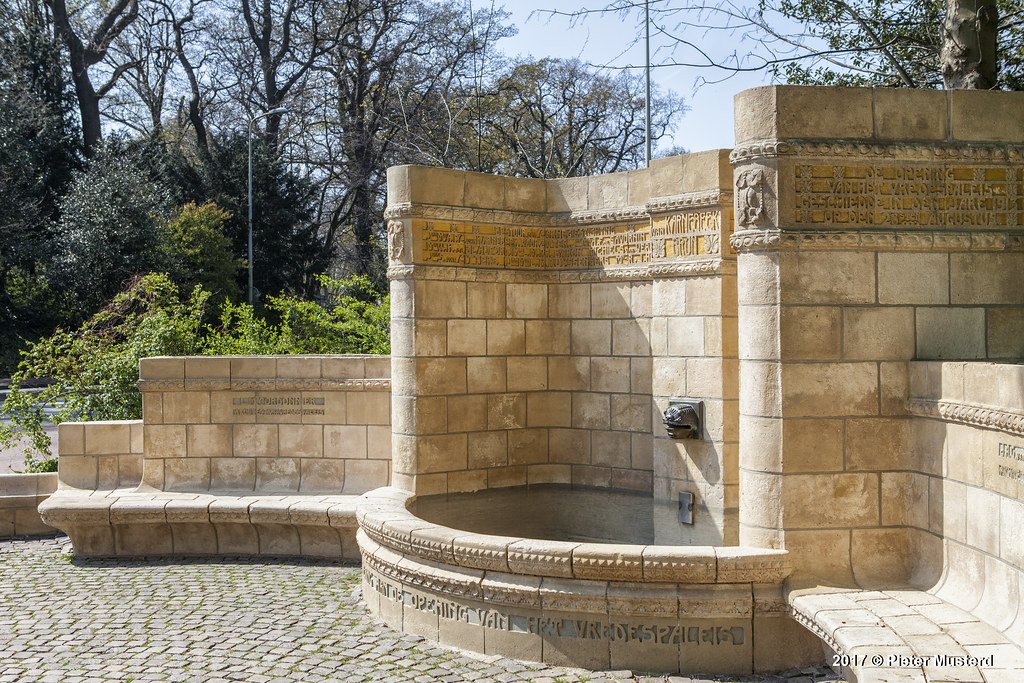
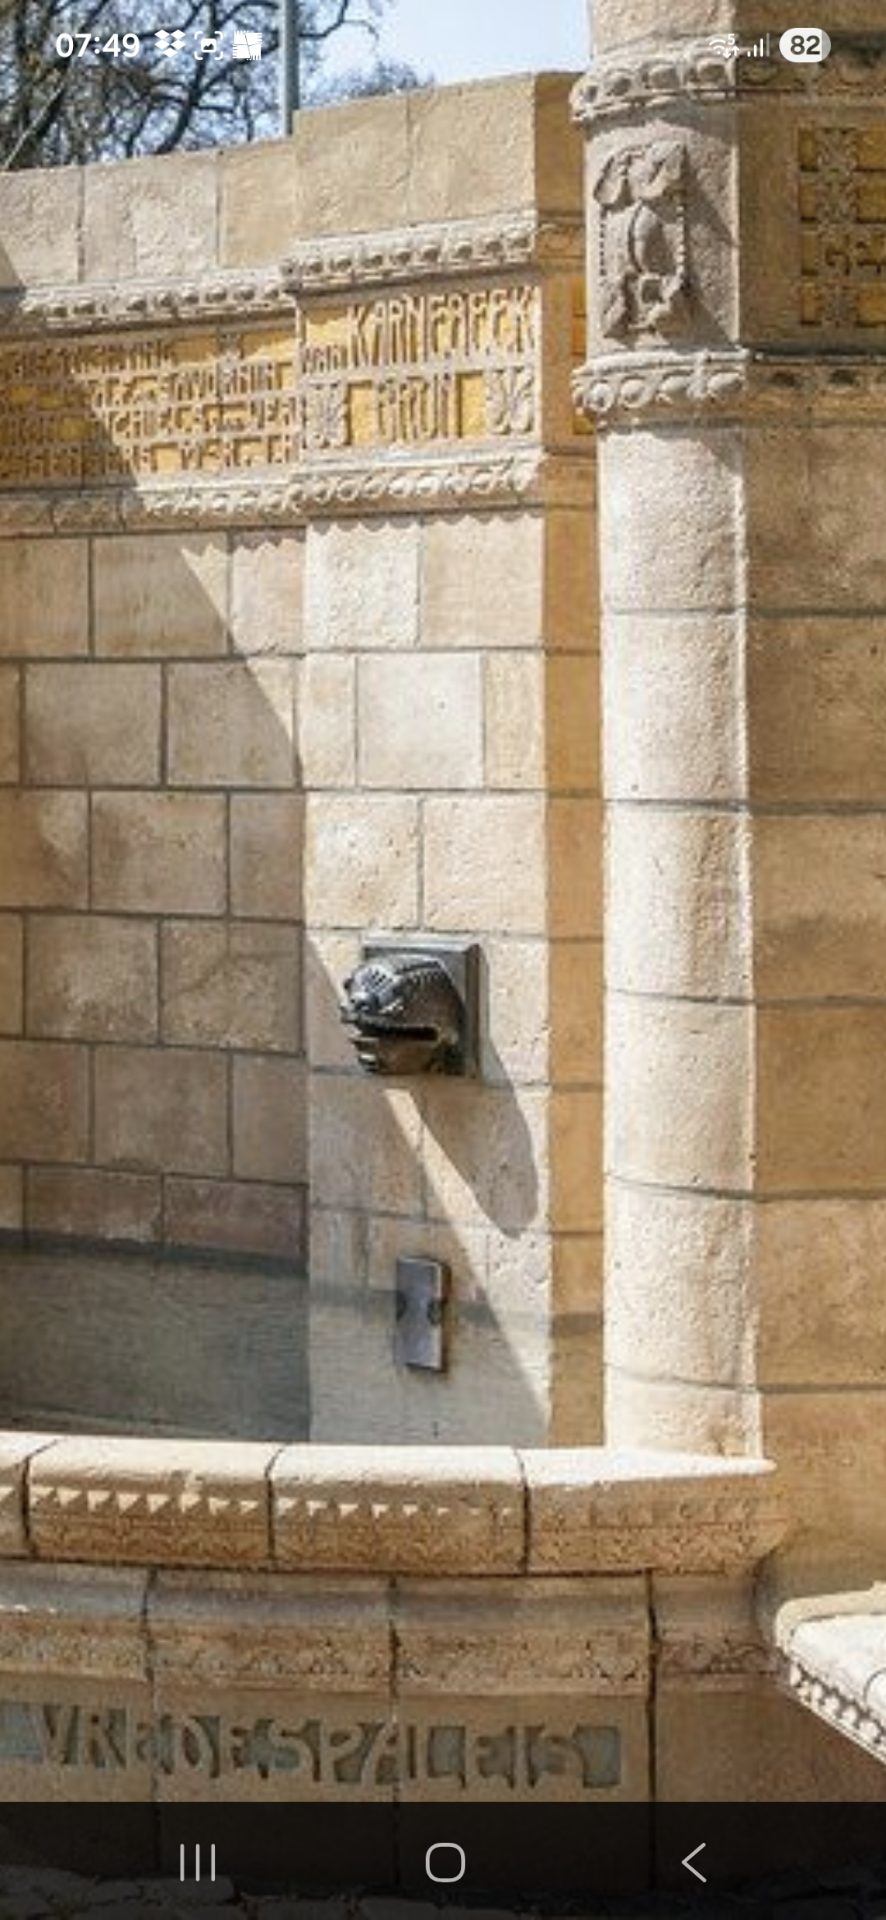
Then I thought of some kind of Indonesian dragon or snake head, with the tongue out to the side. After some searching I found a photo of a snake head that Brouwer had made for the Van Karnebeek fountain near the Peace Palace in The Hague, but this was a very stylized version. So this one didn't qualify either.
Gallery: condition before restoration and reference material
Reconstruction
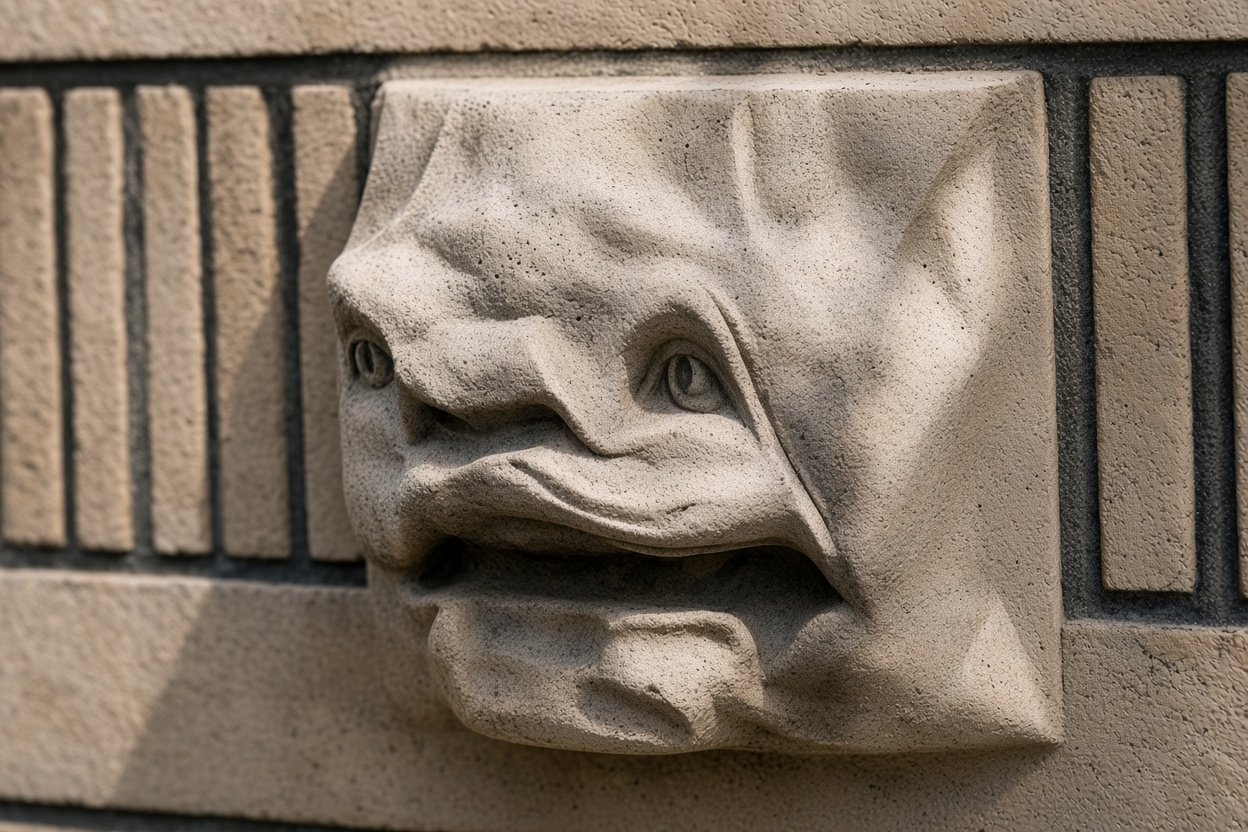
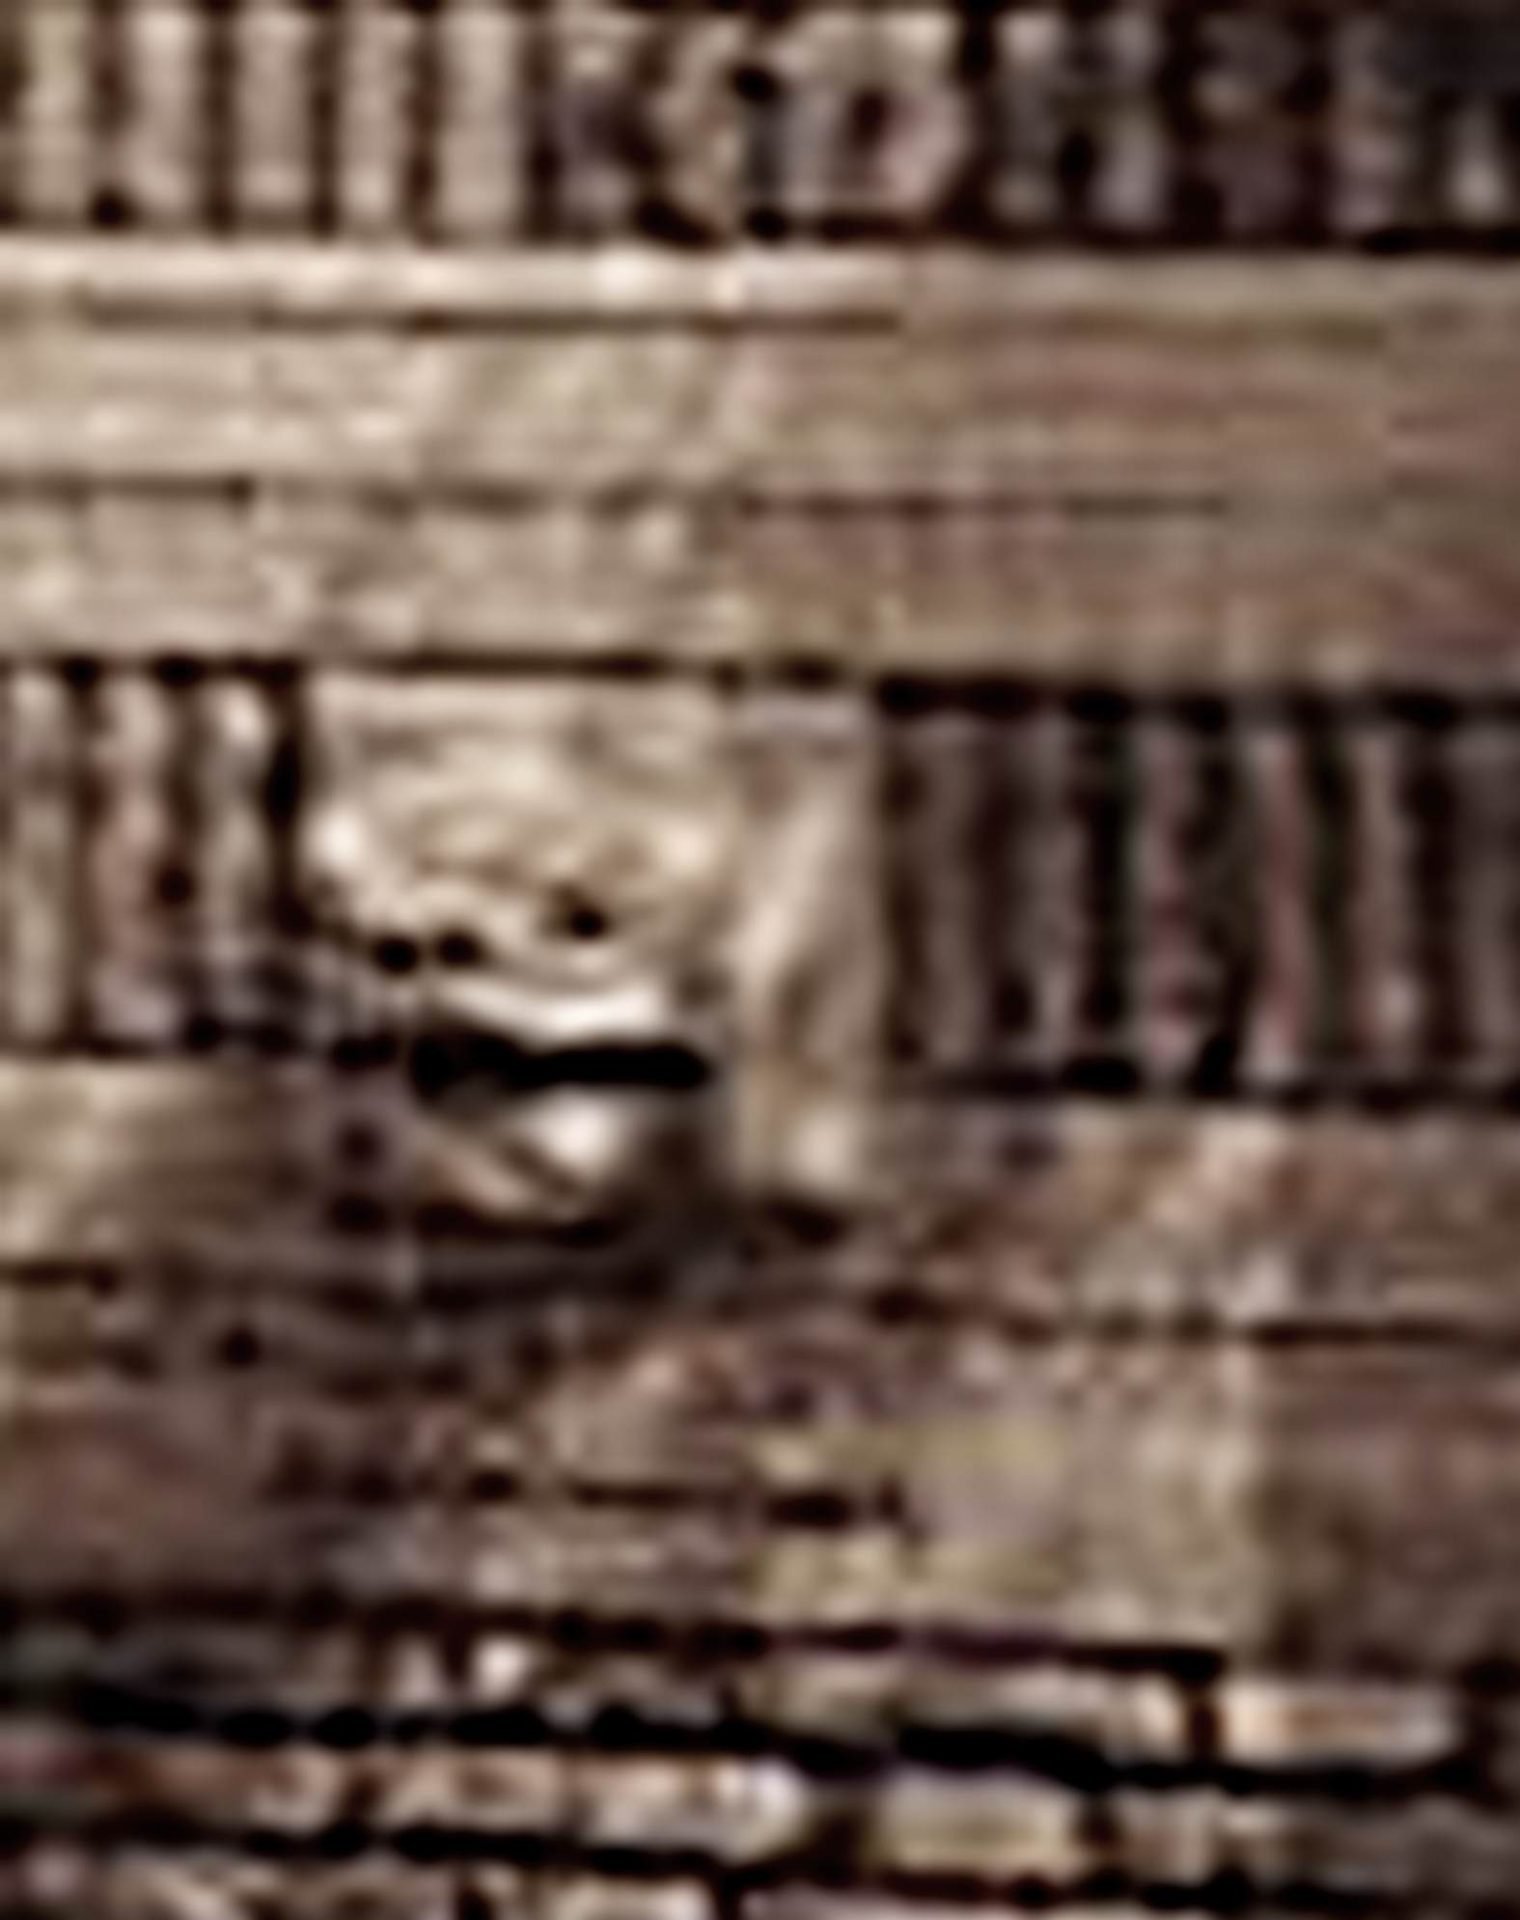
For me, reconstruction always starts with looking at and editing old photo material. But unfortunately, the one old photo was so grainy I couldn't get much information from it. I didn't get much further with enlarging and sharpening either.
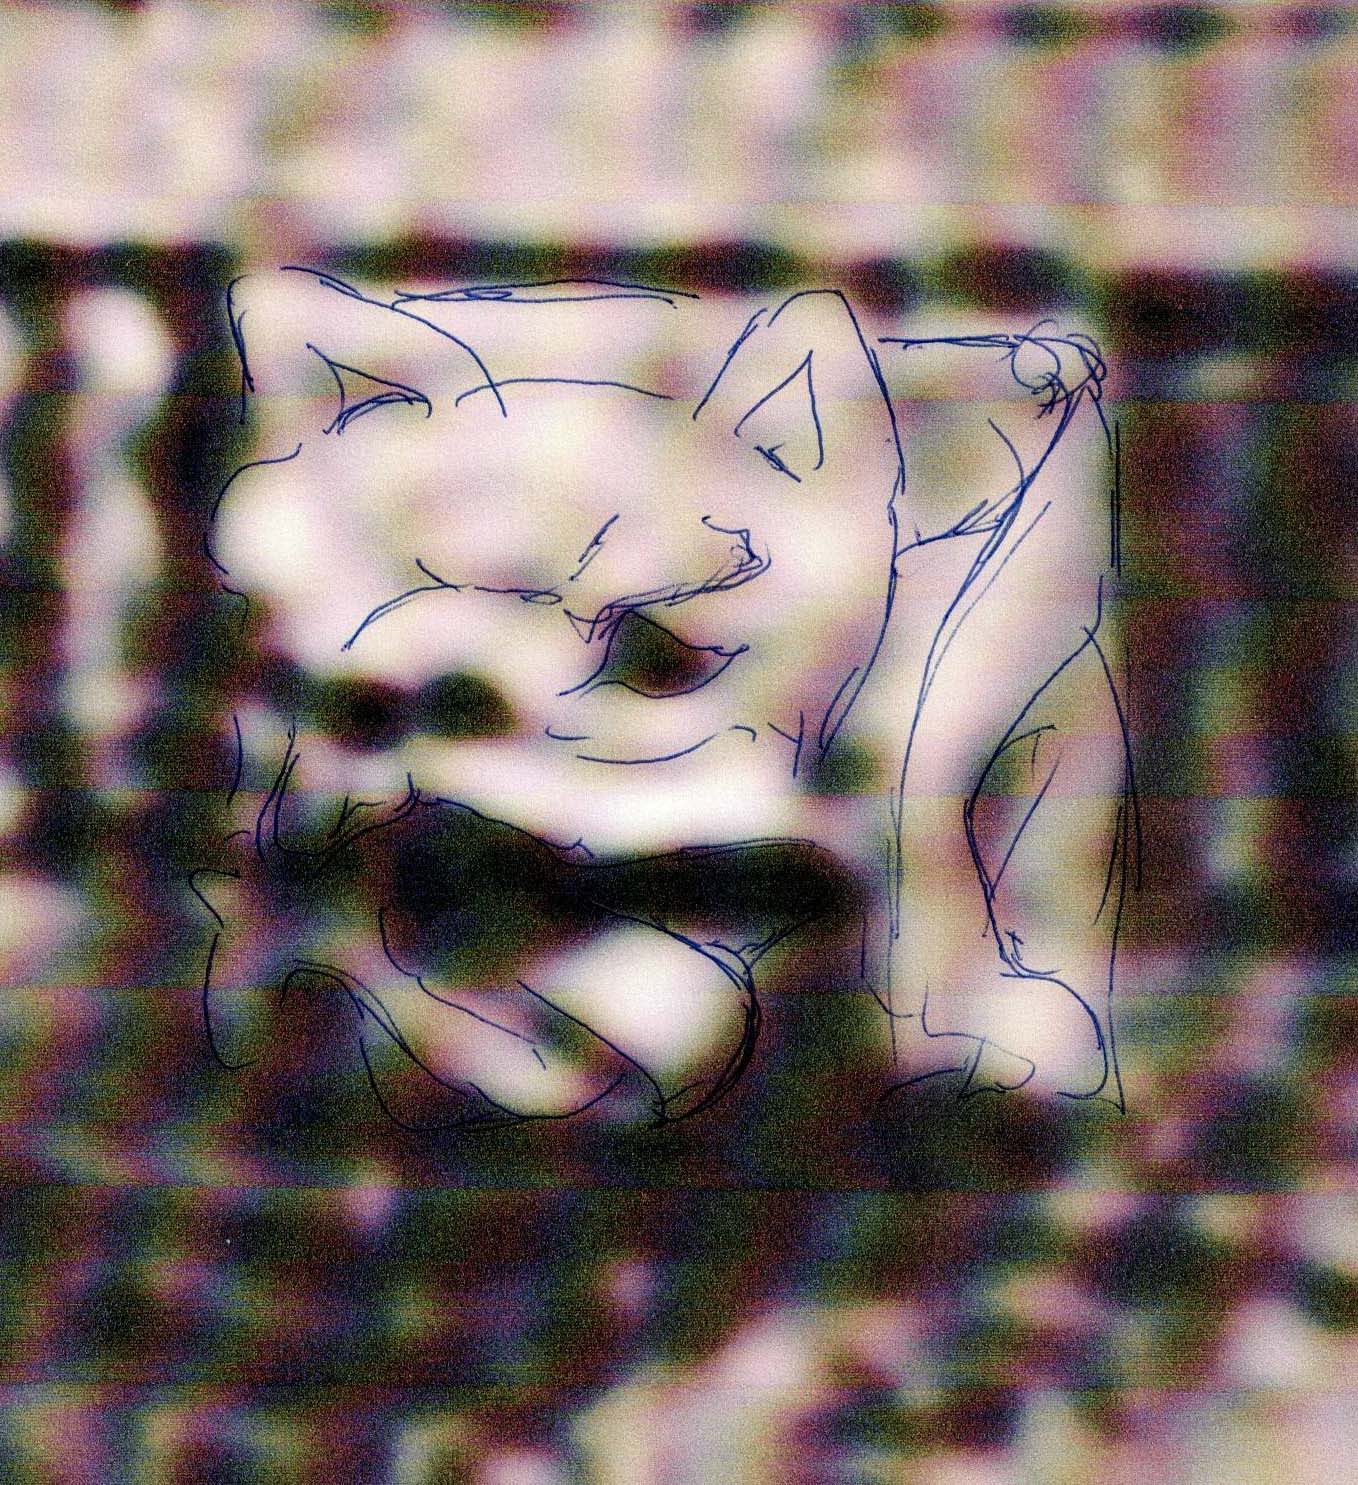
Which was funny however: I entered the old photo into Grok AI and asked it if it could make something from it. See the beautiful result below. What looks like two large ears in the old photos turns out to have been just a play of the shadows over the monument..
Modeling
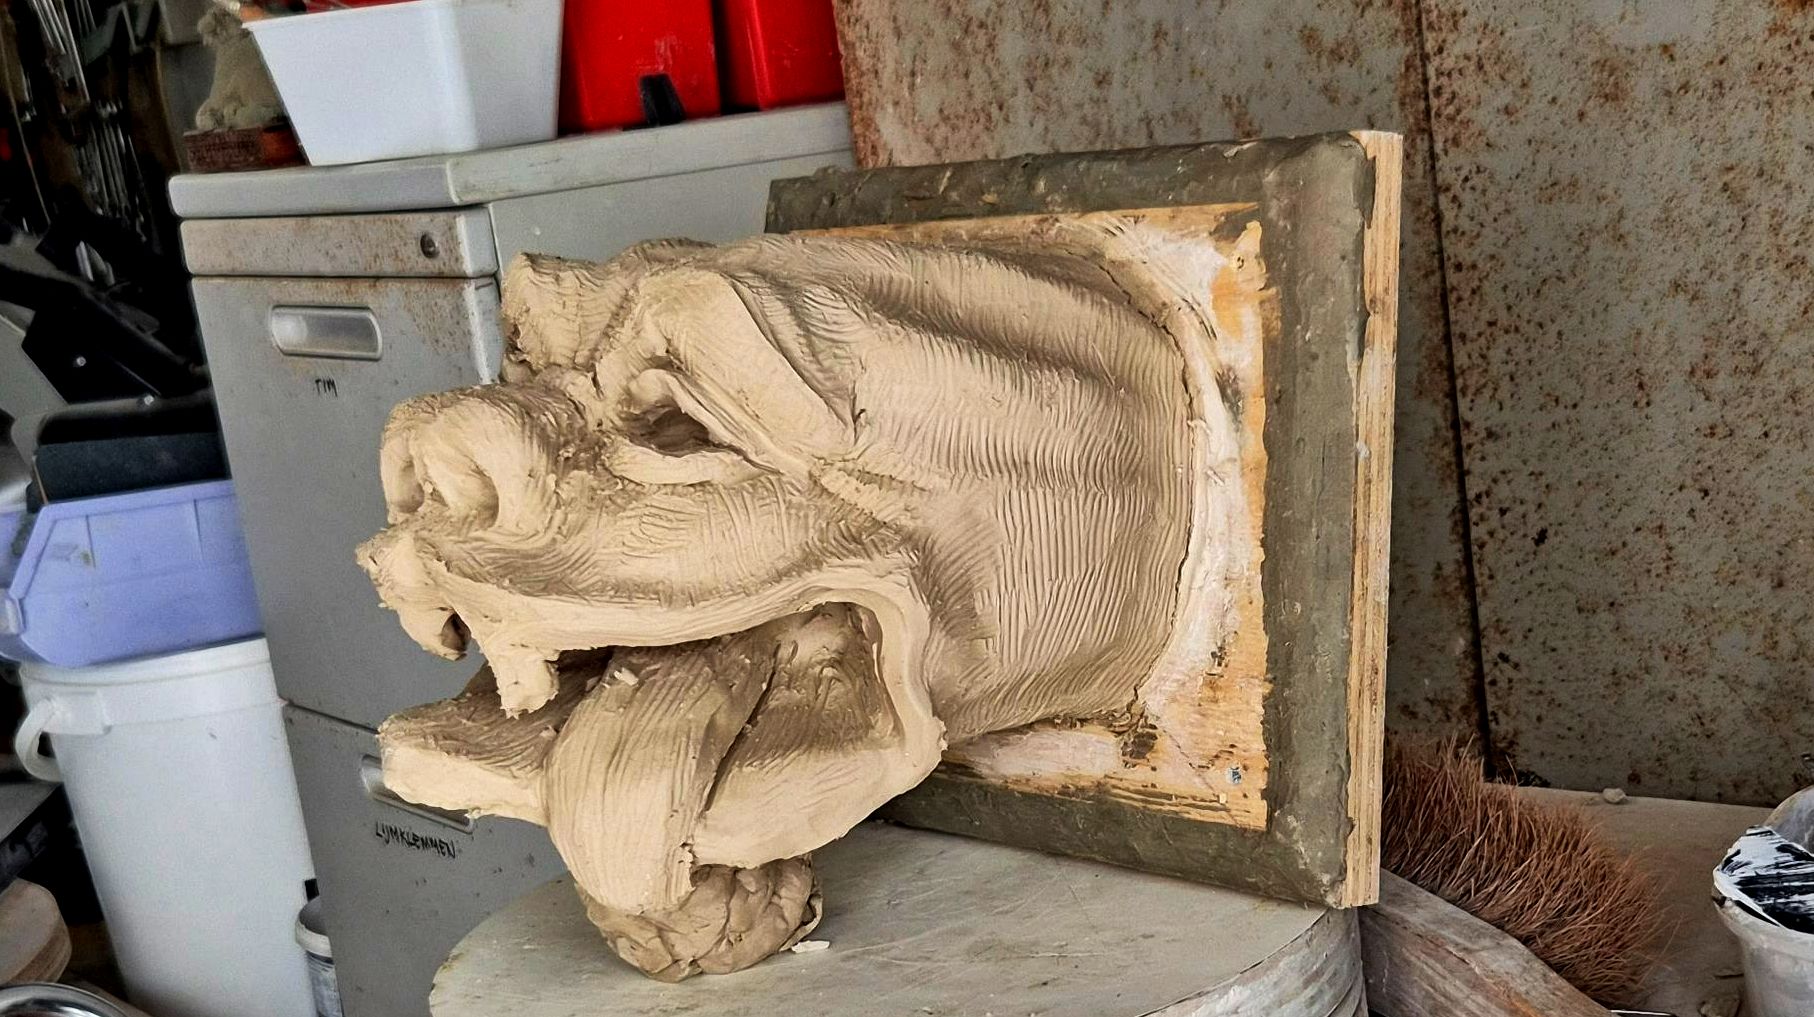
So after a lot of digital trial and error, it finally came down to modeling in clay. I had made a rough clay model and sent the photos to the customer, but the answer came back that it could be a bit lighter. Not too threatening.
Because I thought I recognized something of a dragon in the old photos, I had started out with a snake or dragon's head, but the teeth could be removed and it overall could be a little shorter and a little friendlier.
I agreed and started with a more cheerful gargoyle head, with big ears. The ears of this second version needed to be adjusted a bit. The bulge had to be removed. It was all still a bit coarse, but it was close enough. The third version was approved.
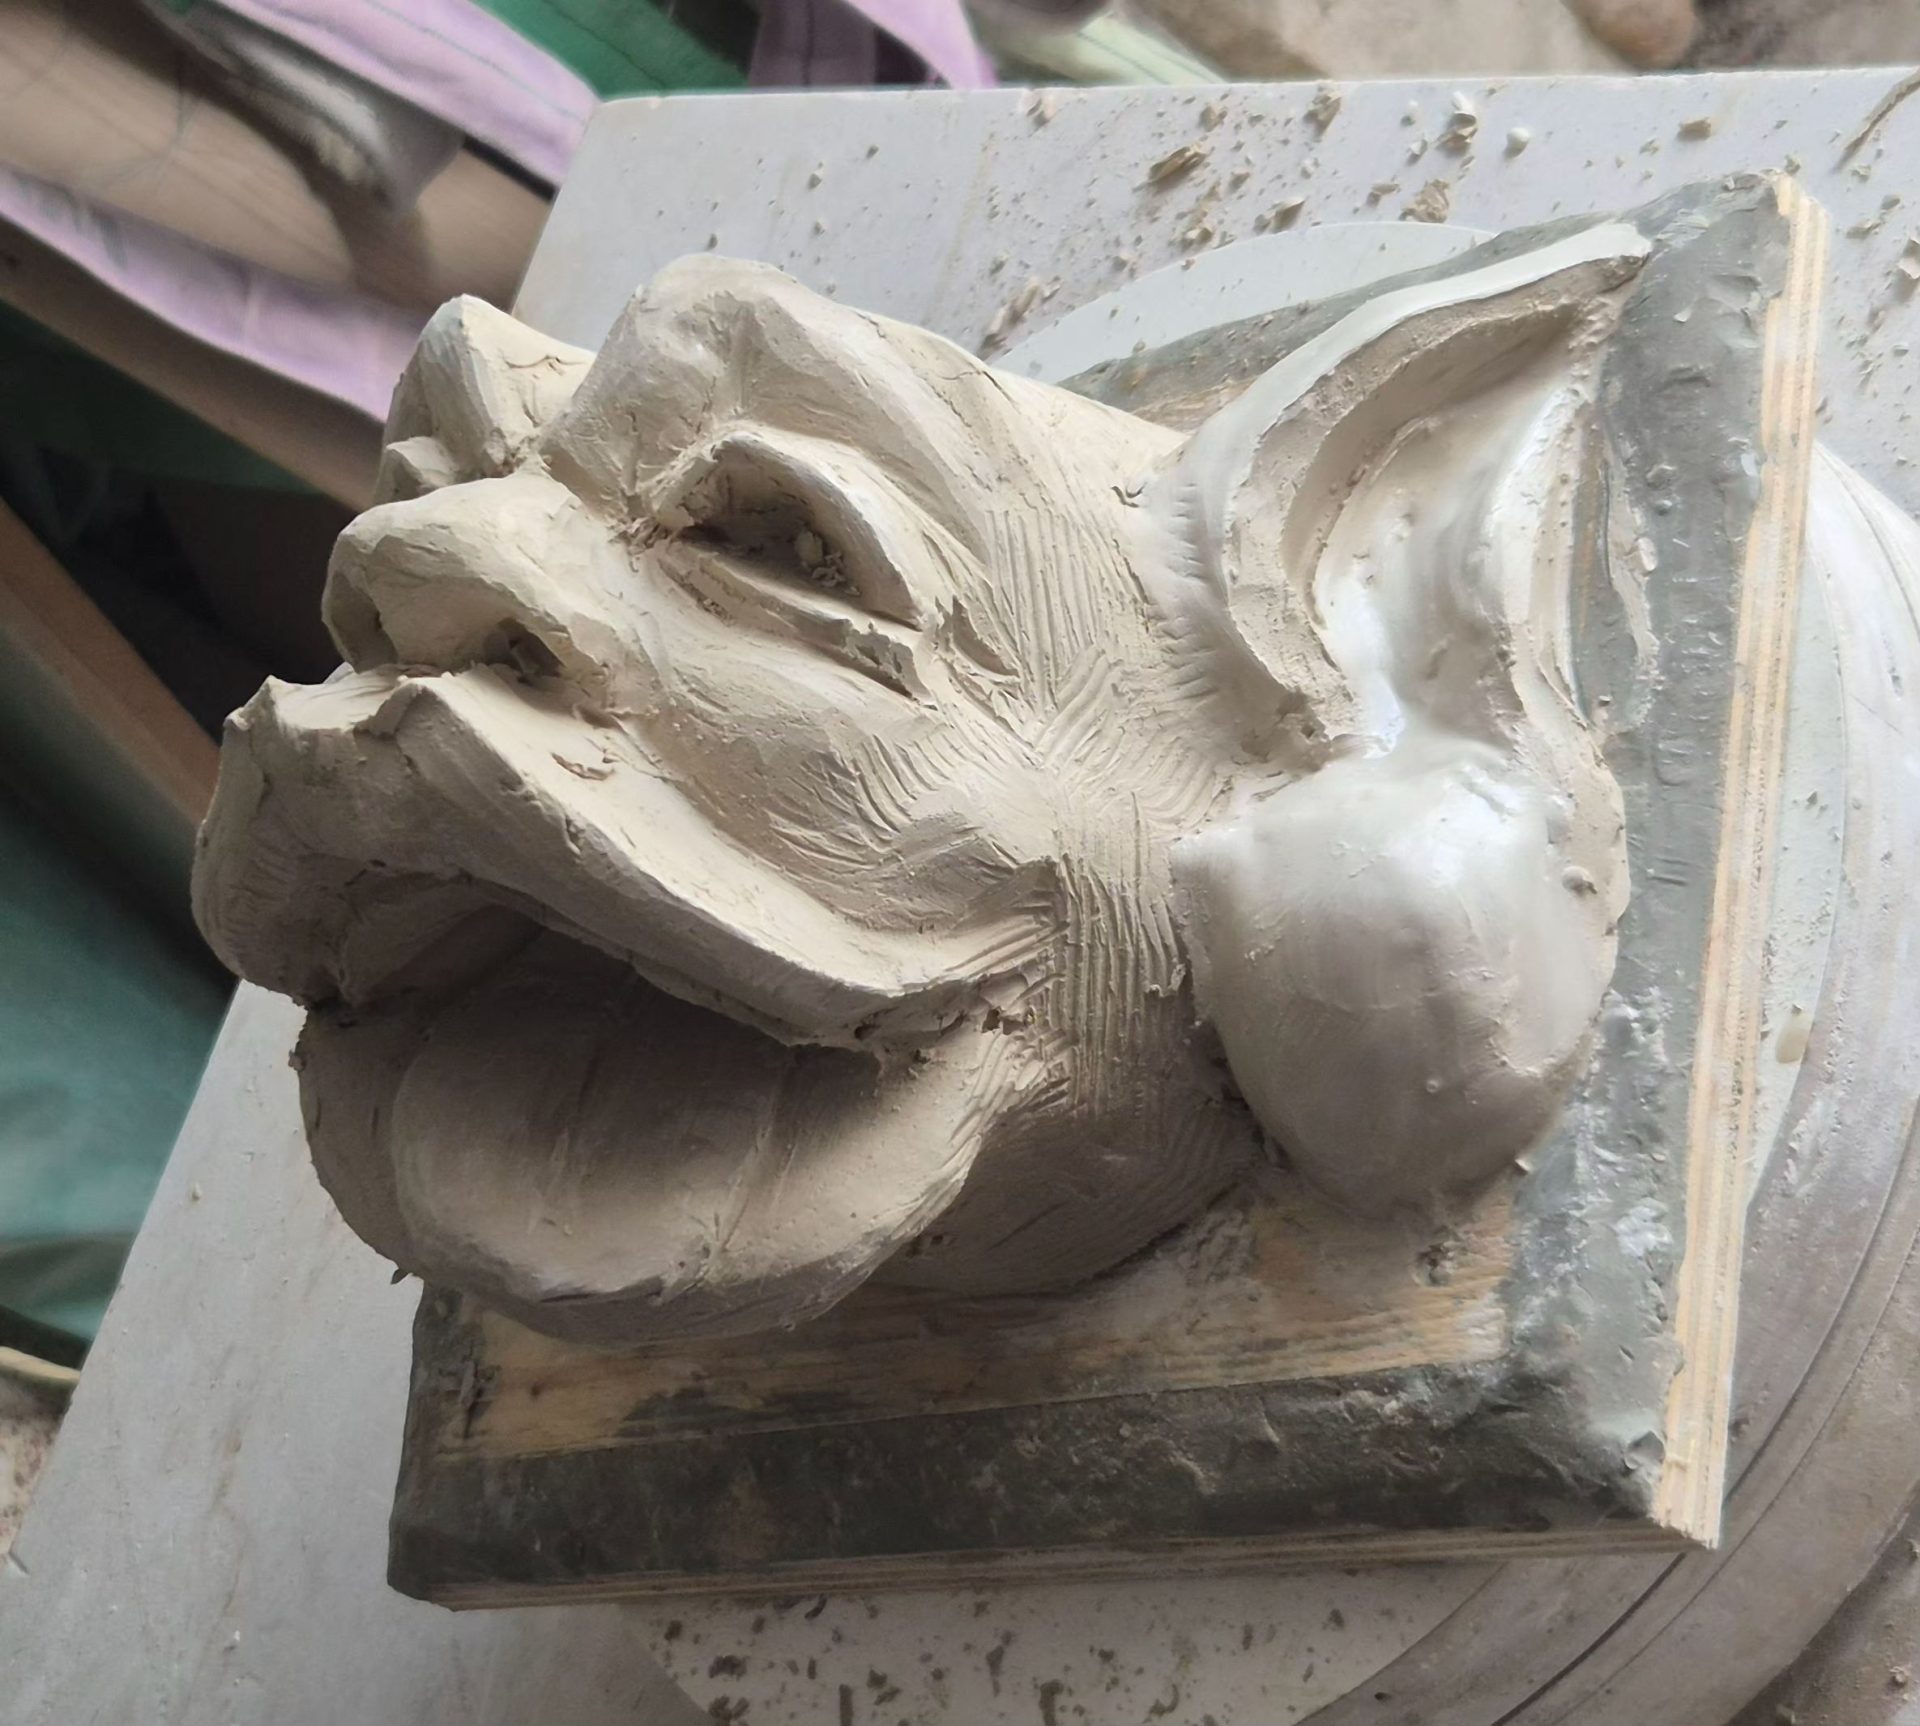
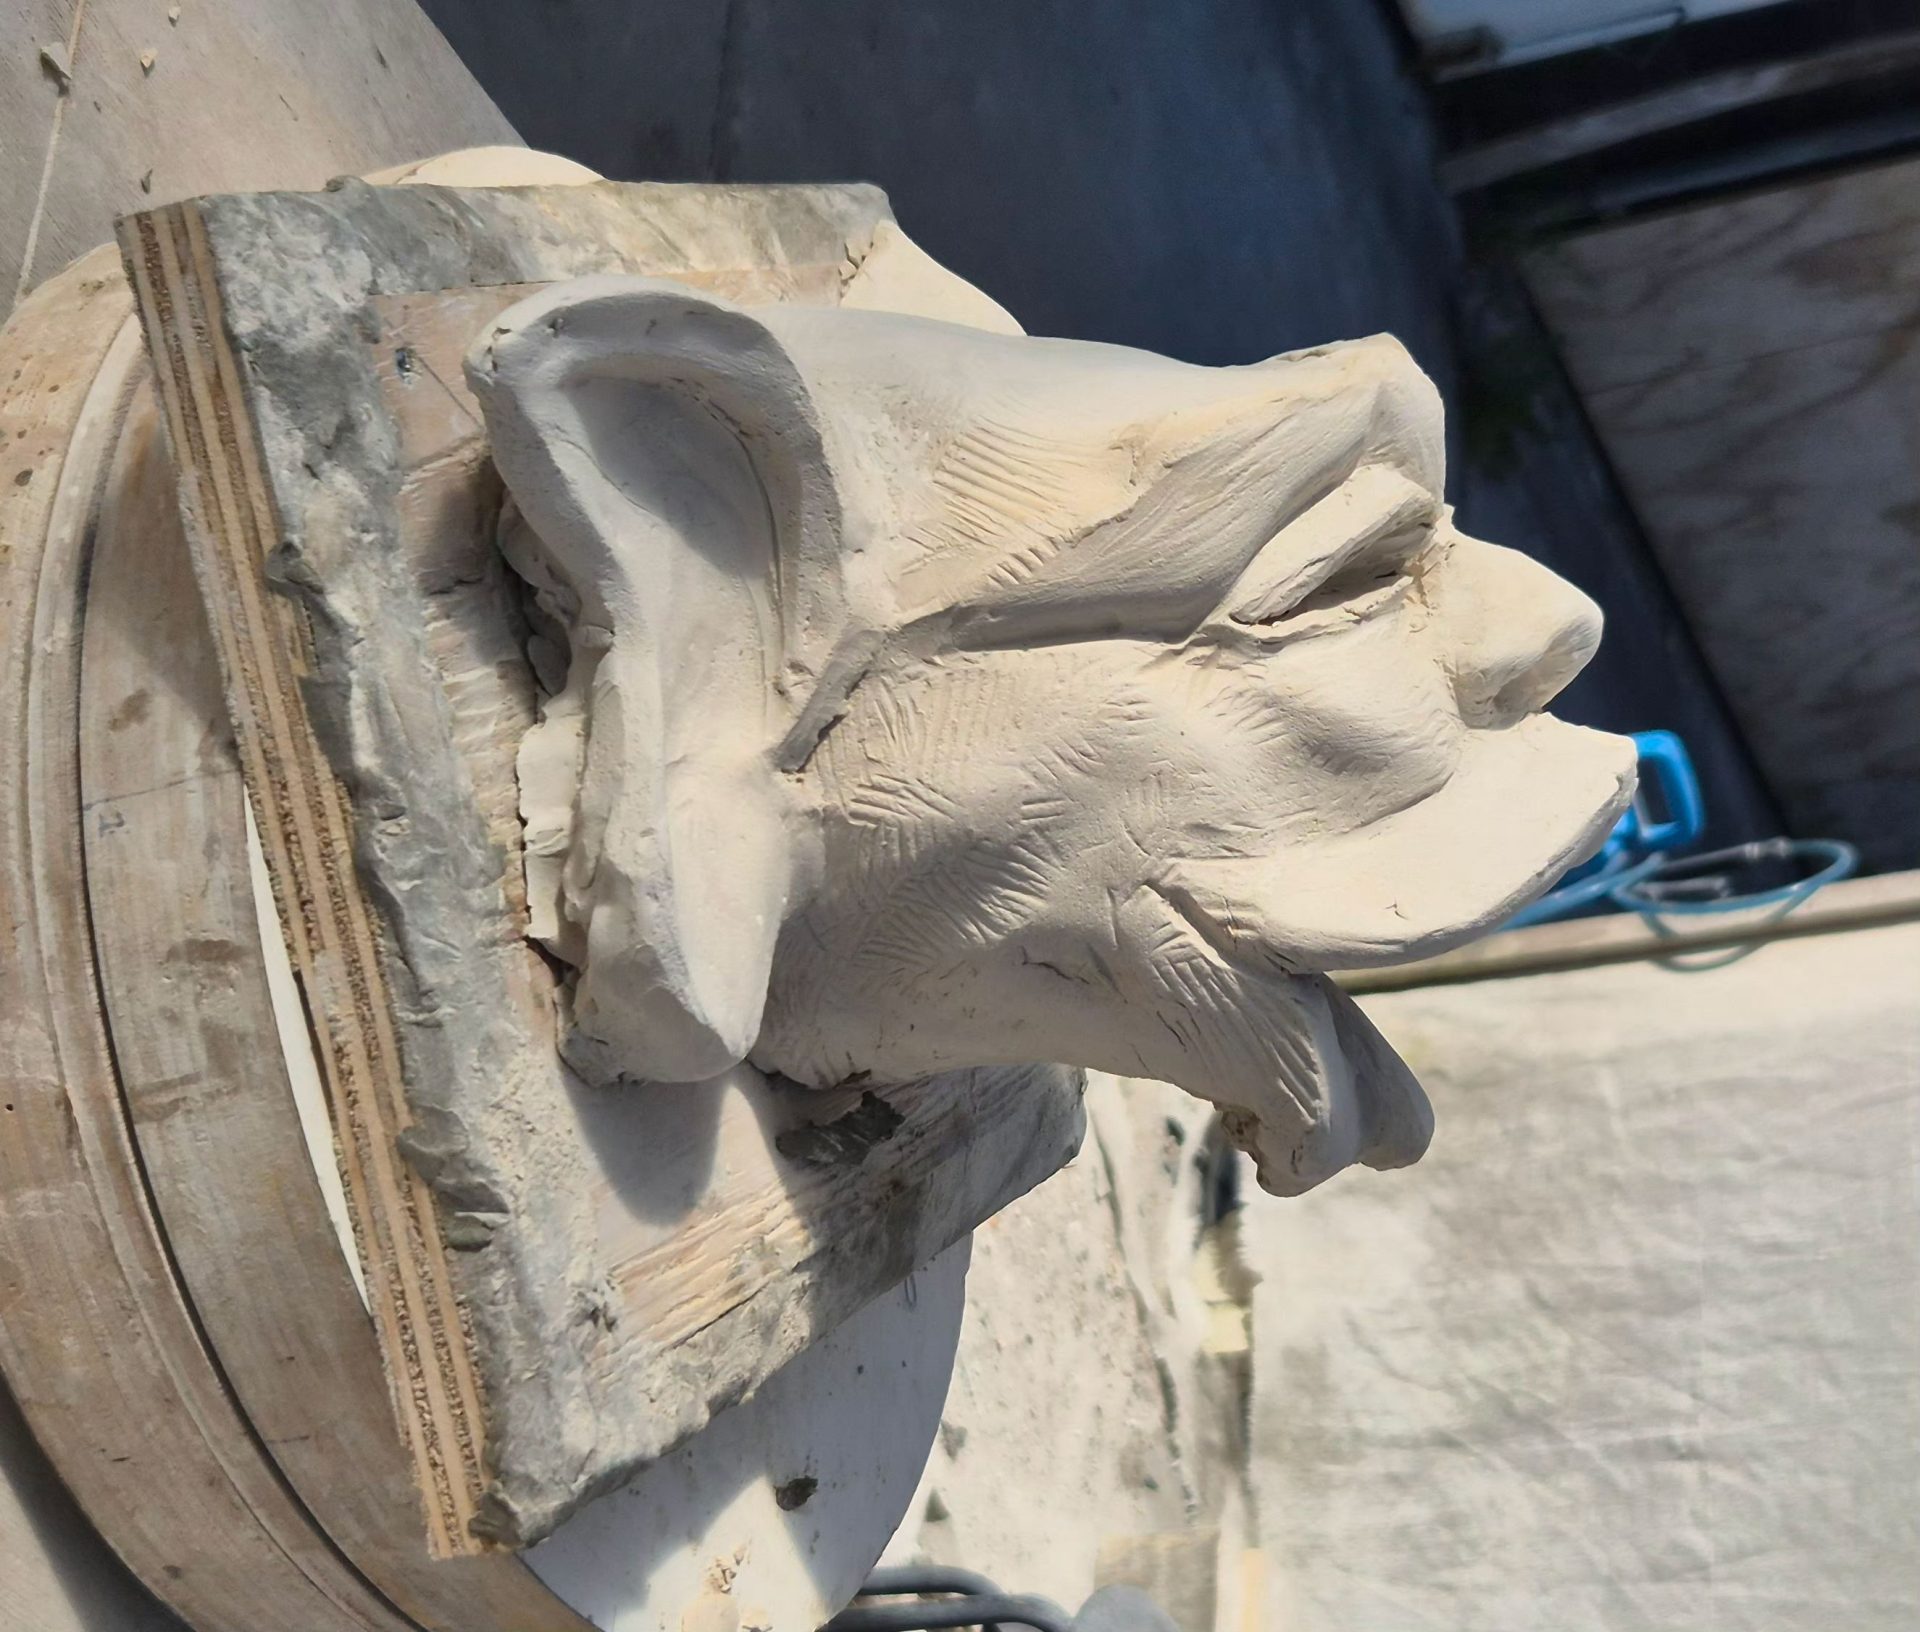
Starting with the actual sculpting part
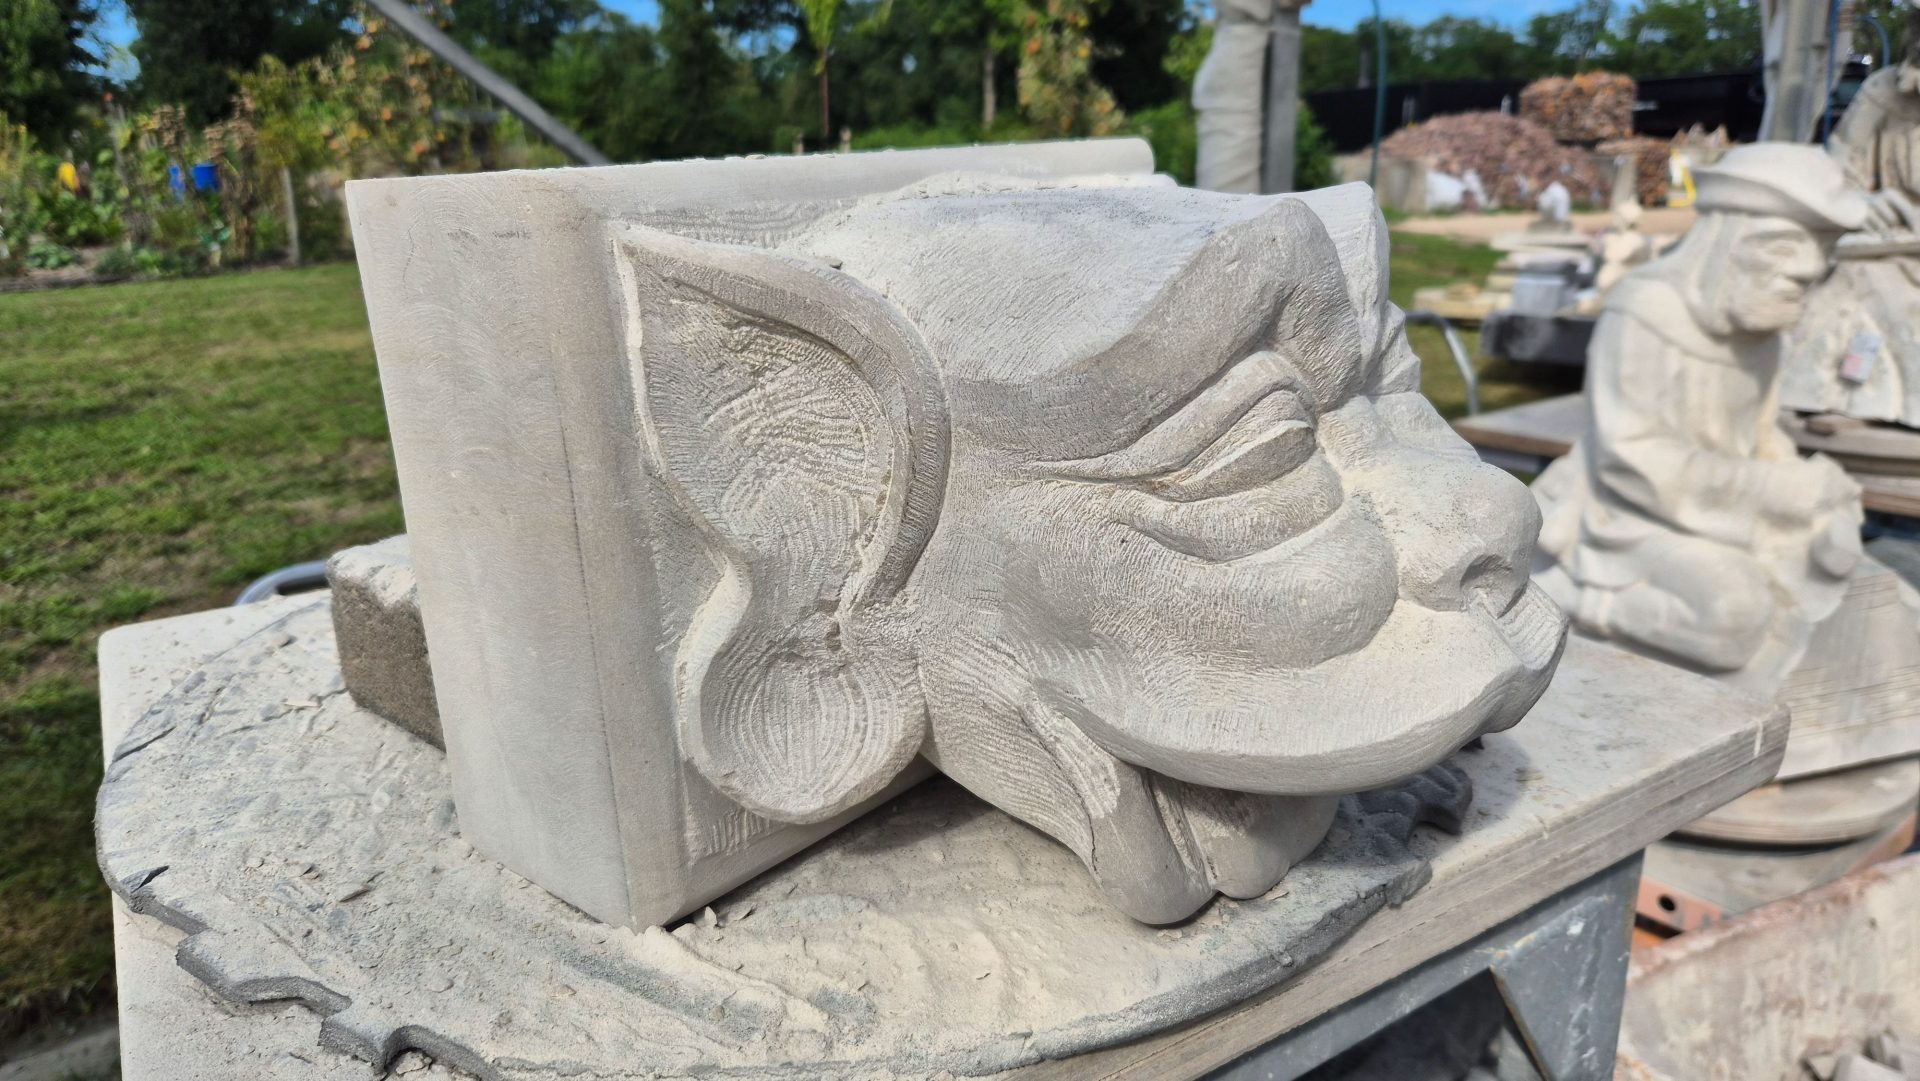
I had chosen a block of Obernkirchen sandstone, because historically this stone was used in these types of applications, it casts clear shadows well and keeps in good condition through all weathering- and is water resistant. I did not make it in ceramic like the original, because I'm less familiar with that, making sandstone much cheaper for the customer. You'd also need to take shrinkage into account and the finished work would be much more vulnerable.
Obernkirchen sandstone is a very strong material, that's why we chose it at the time our griffins. But the first block turned out to have a crack and I thought the second piece had started out too small, so that I finally made it to this stage three times!
False gargoyle
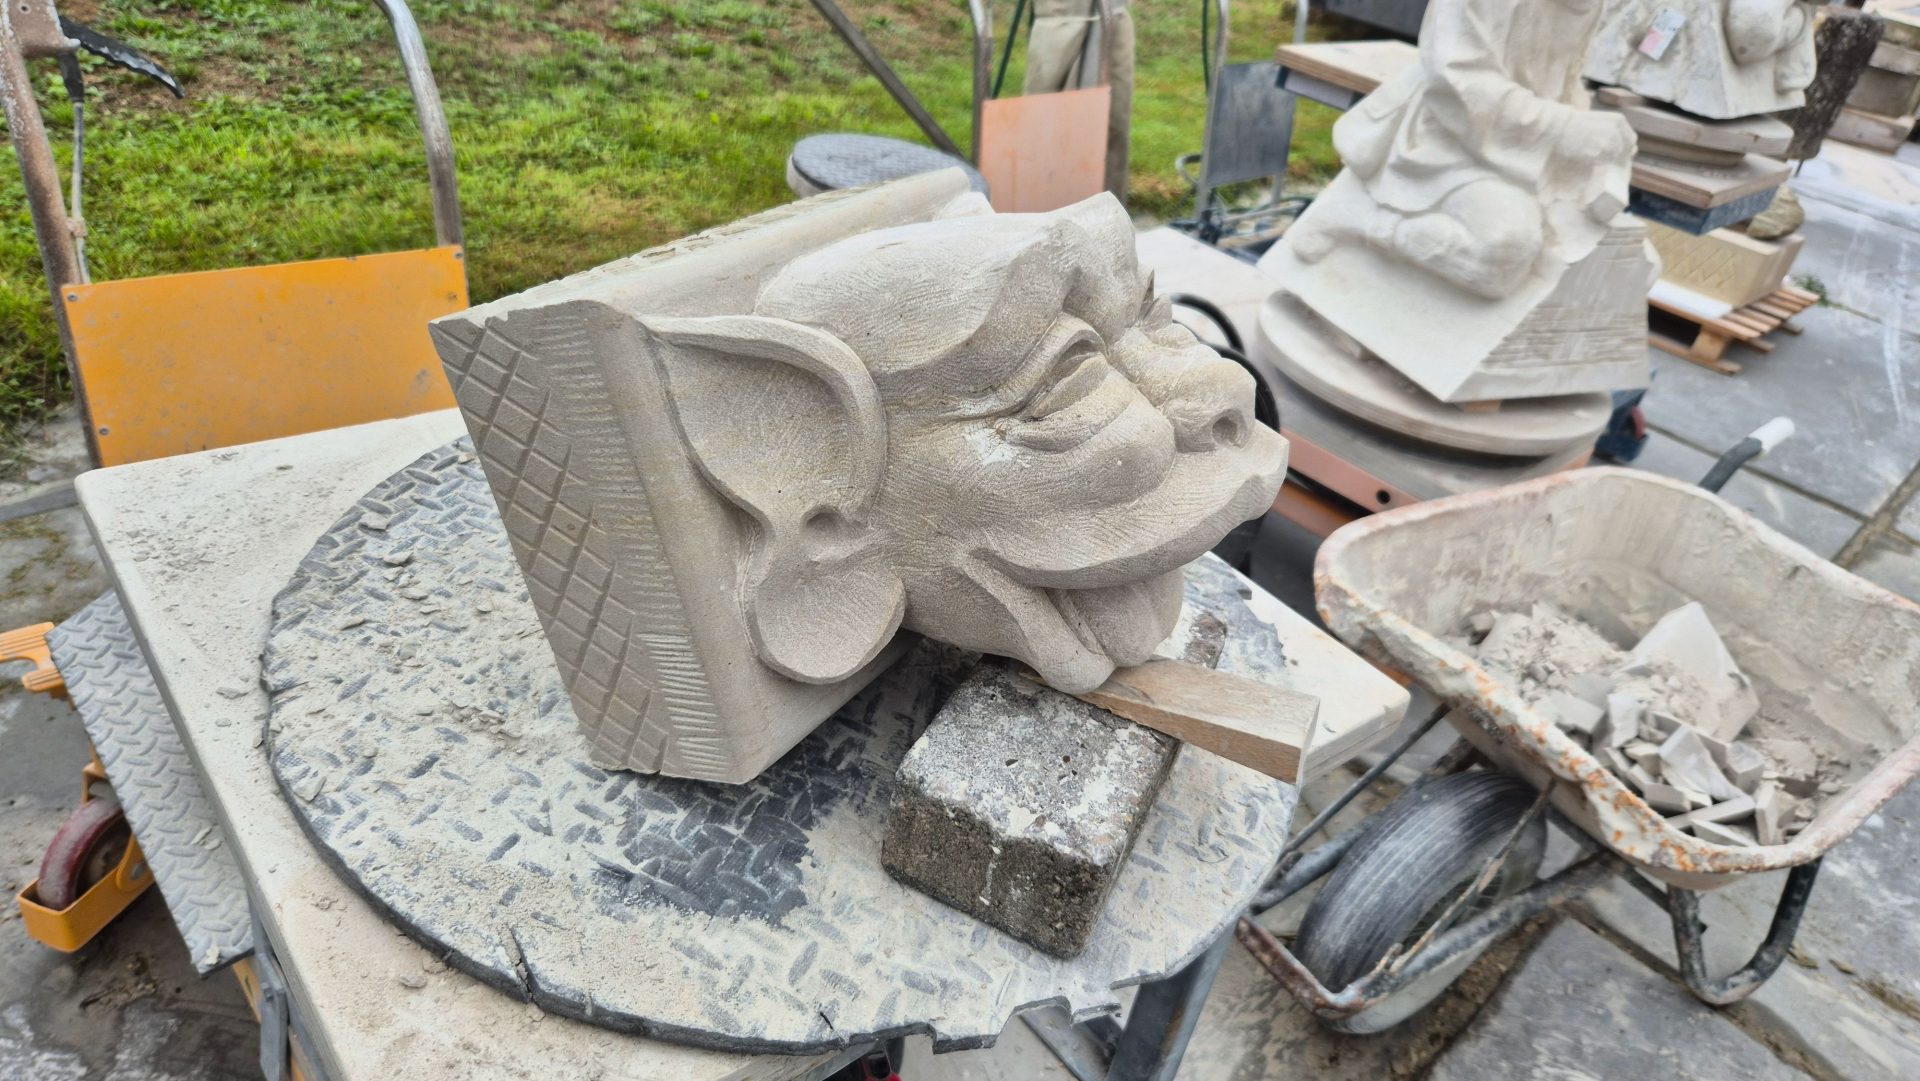
The ceramic head used to be a real gargoyle. However this time it was decided to keep the monument dry, because it places a lot of moisture on the masonry and because the tree roots of thick beech trees close to the basin would quickly crack the monument again. That is why this gargoyle is not a proper gargoyle but a fase gargoyle, just so you know.
Installing
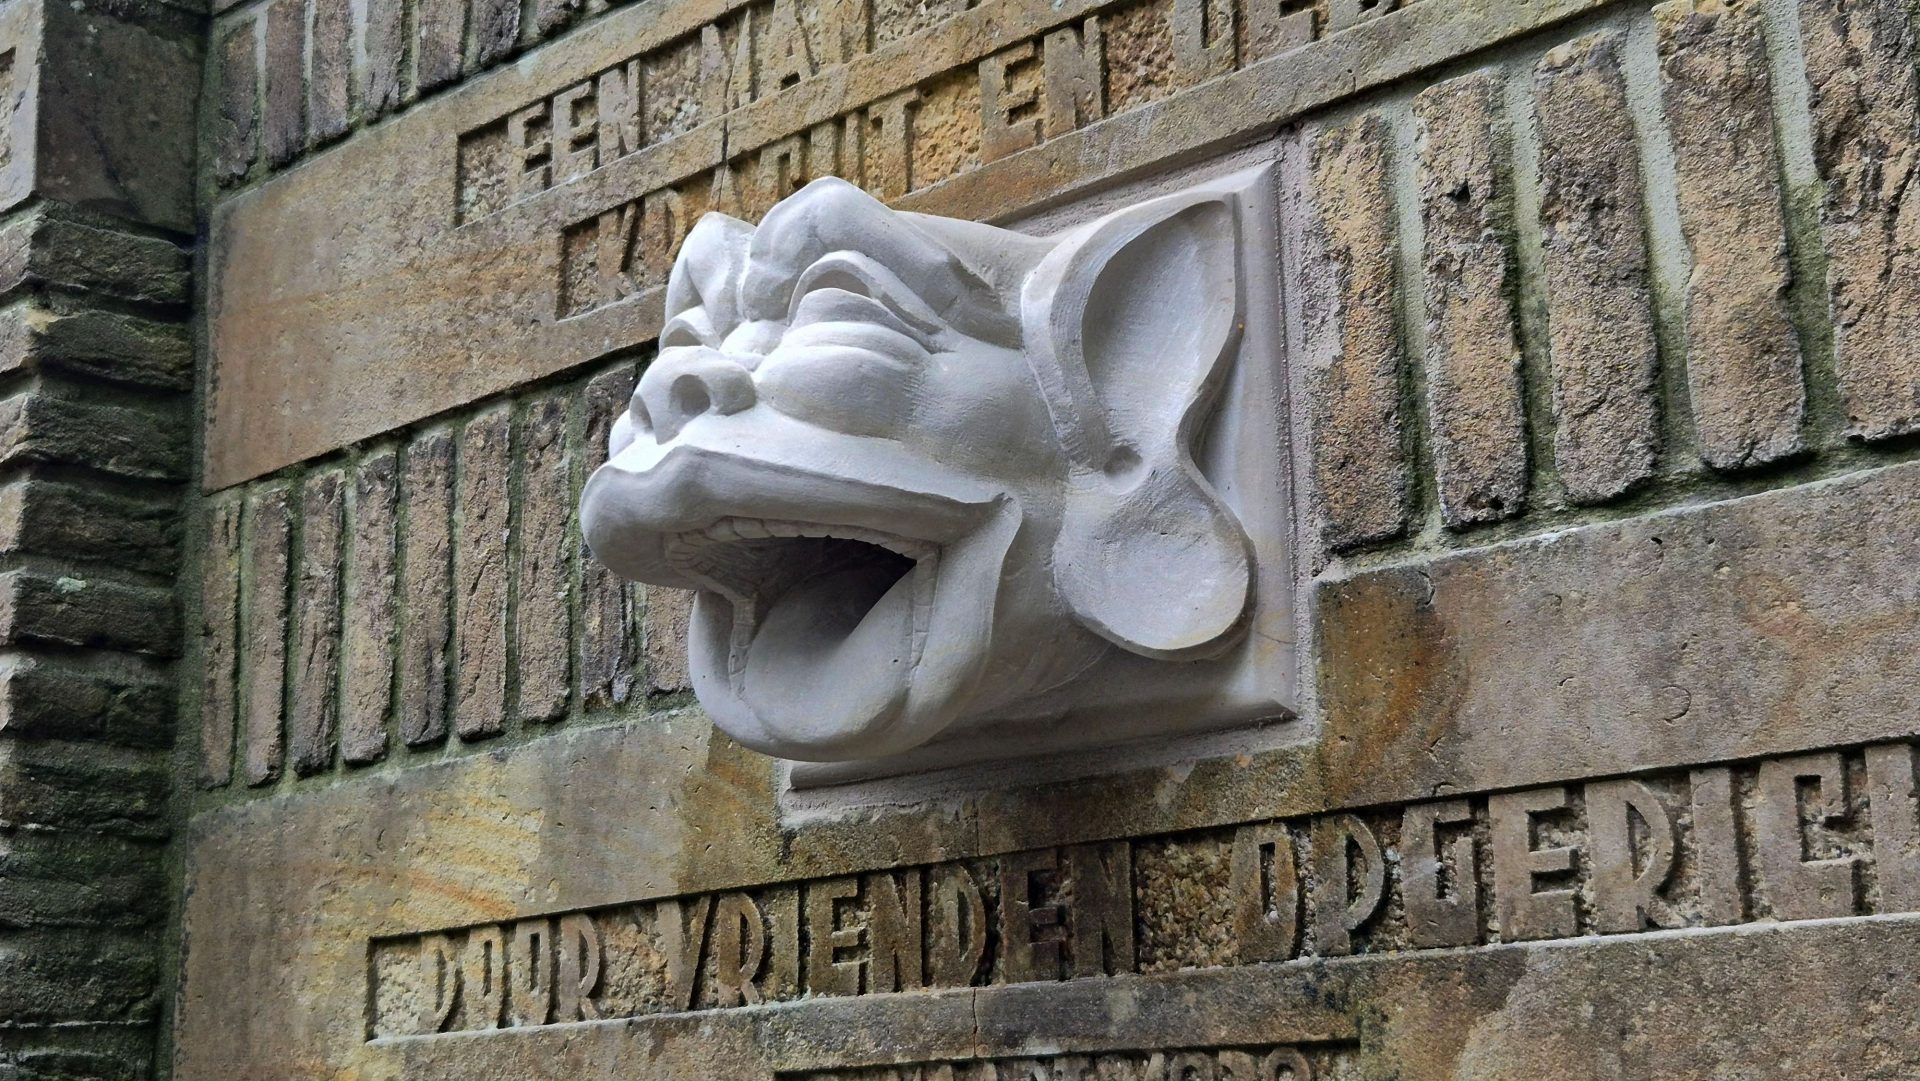
When the gargoyle head was ready I went to Heemstede. A bit of bad luck: As soon as I turned on my angle grinder the fuses blew out and the water turned out to be inaccessible too. But luckily I had water and hand tools with me and it all turned out fine. The customer had measured it for me and it was perfect, so the job was done quickly. Just pulling some weeds from the planters, sweep up, and it all looked neat again.
Weathering
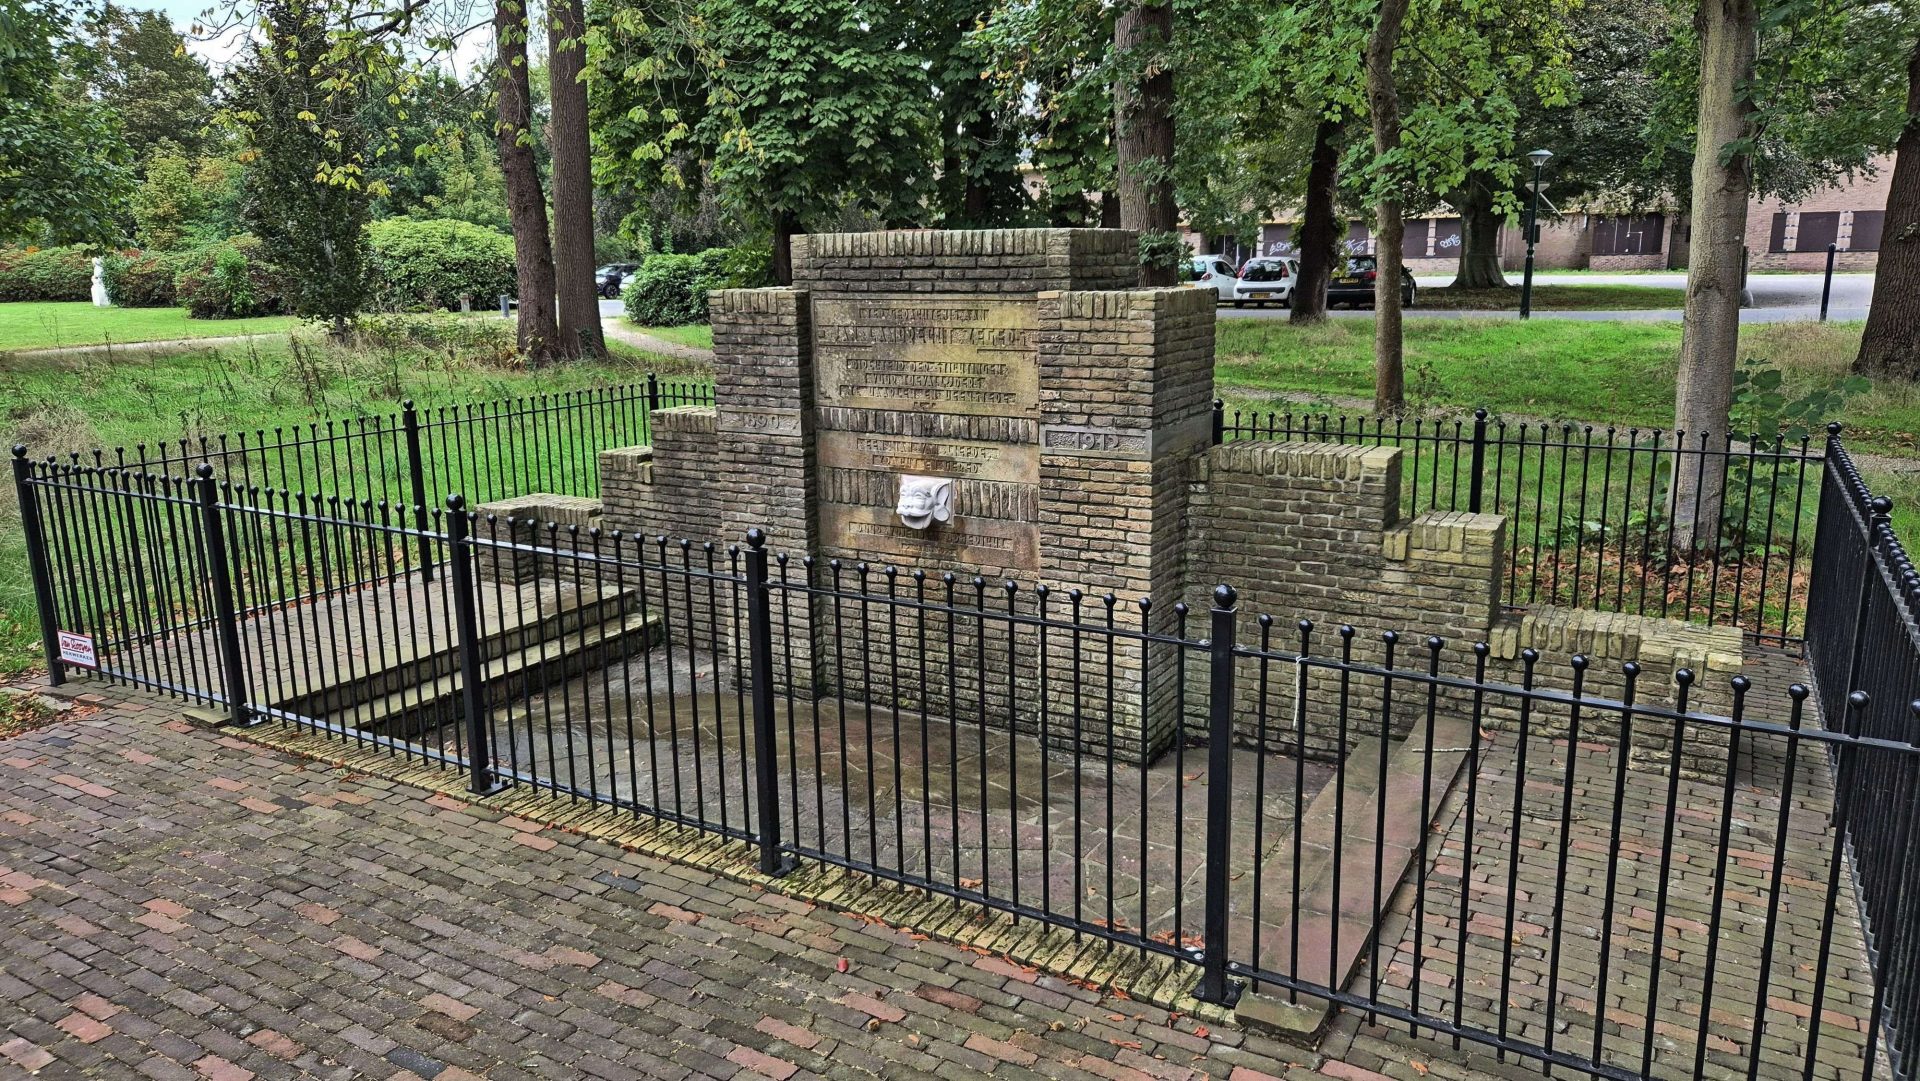
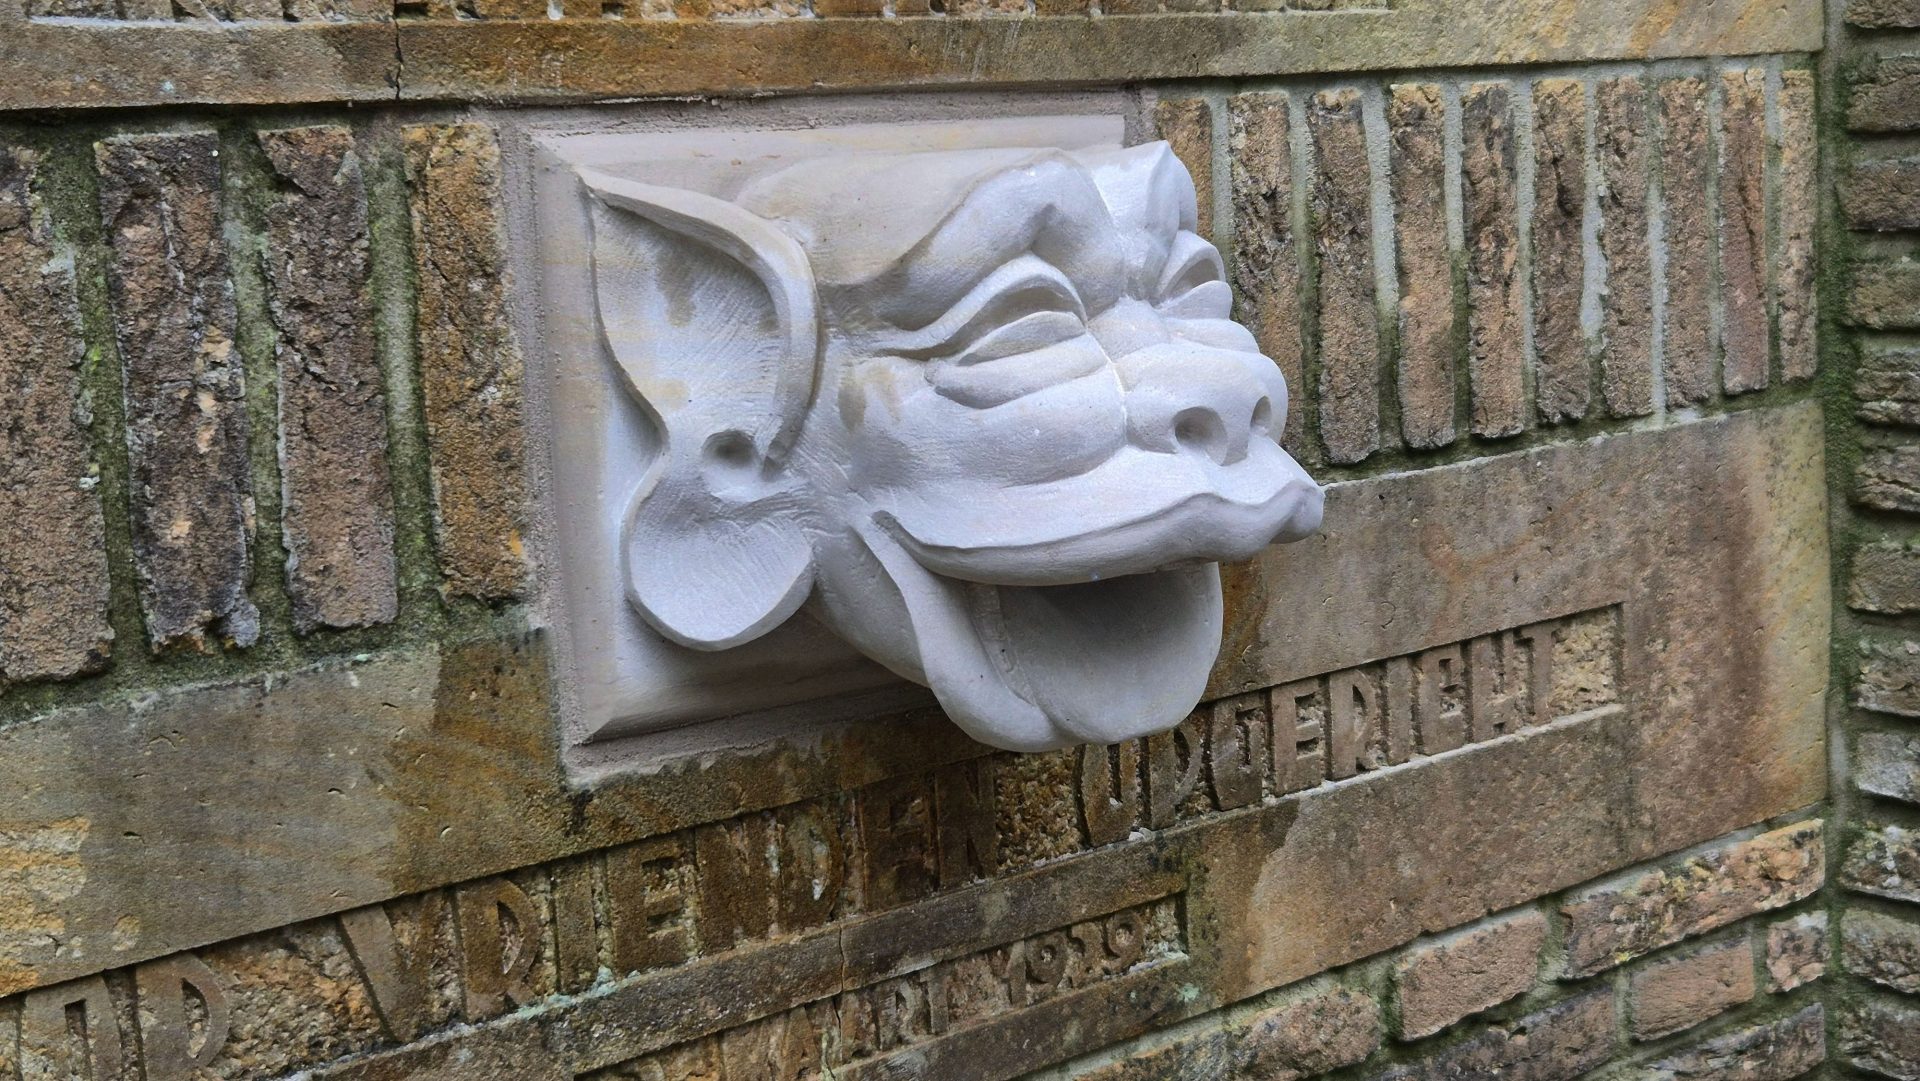
The monument is located under the trees and has become quite green again since its restoration. The restoration had already been done a few years ago, with a new flagstone floor in it, restored brickwork and a beautiful new fence around it. But the gargoyle head was missing for a long time because they were still looking for a sculptor. Apparently I need to advertise some more or be easier to find on the internet.
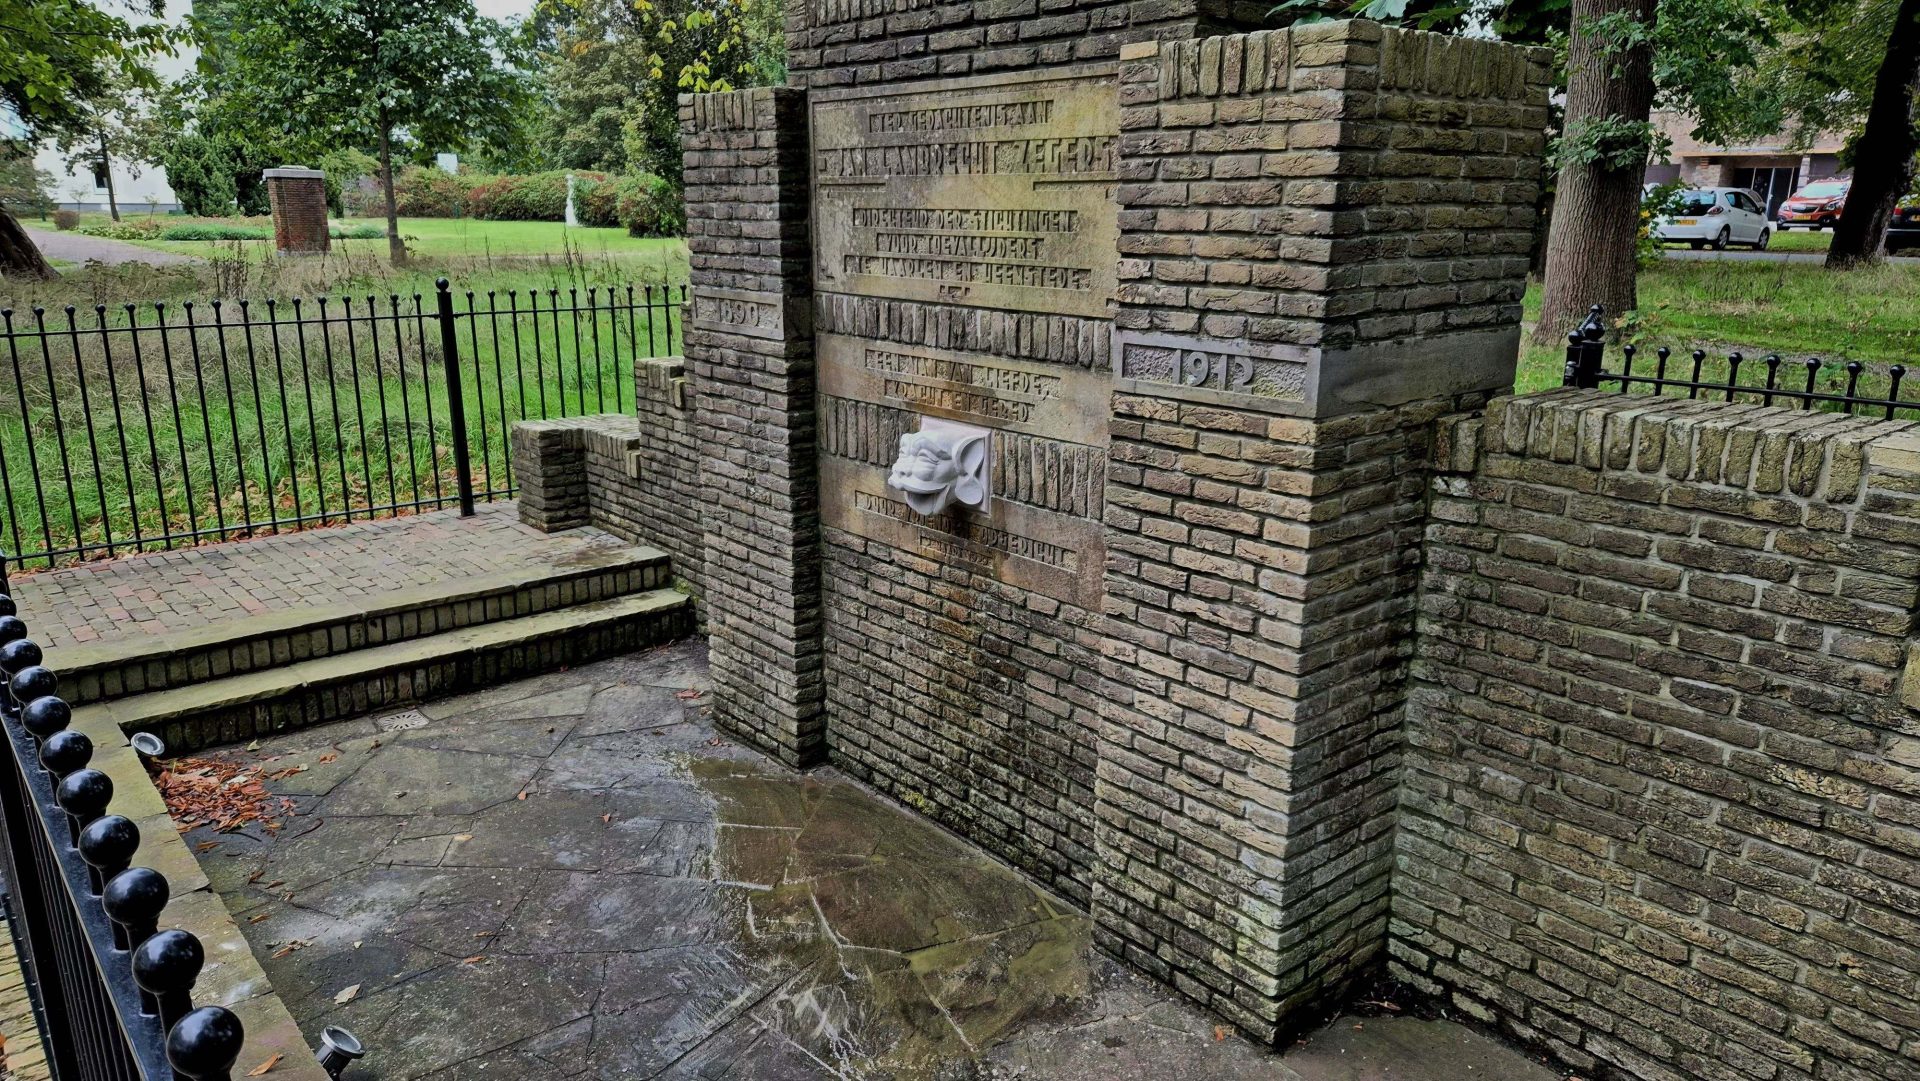
But now it's all complete. The gargoylehead still looks quite white, but it will also quickly match the rest of the monument, until it looks as if it has always been there. It also depends on how wet the monument usually is. The algae on the trees will make a significant contribution to this next autumn.
Epilepsy Centre
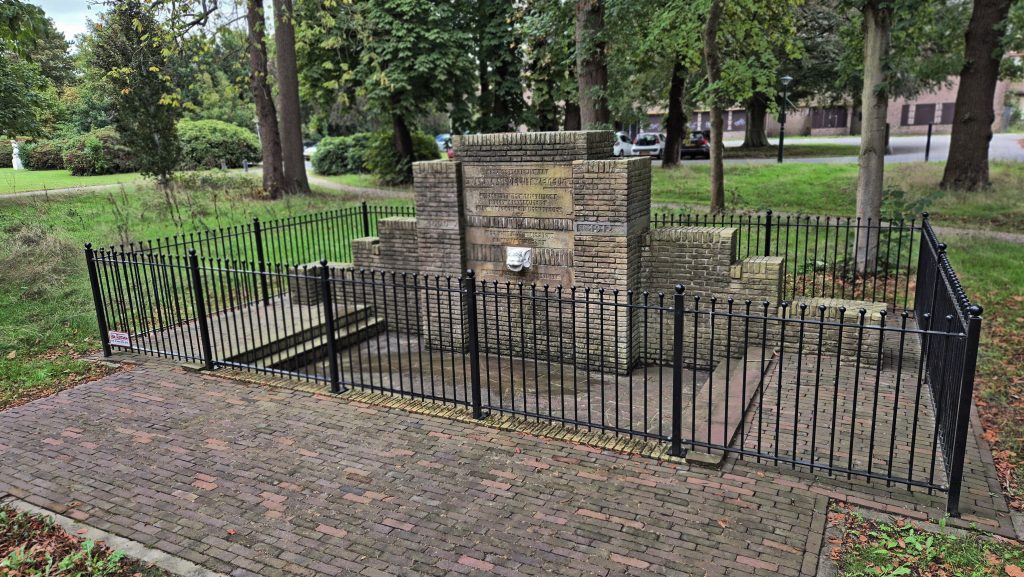
All in all a nice assignment, and a nice idea that with my addition the monument is complete again, a monument for an enthusiastic doctor 'for sufferers of falling sickness'. It was a strange idea to work there on the SEIN site. My own daughter has epilepsy and has been seeing a SEIN doctor for years. She nearly would have been admitted to this clinic for a month for research. But we didn't want to put her through a month away from home at the age of 4, so that didn't happen. Strange how those kinds of lines sometimes come together.
Now, looking back at all the worries, pain and suffering of all those people with epilepsy and their families, and also our own family, I am glad that I was able to contribute something light-hearted here at SEIN. I'm not a fan of scary devil heads myself and I can appreciate a bit of witticism in the sculpture.. There's enough seriousness everywhere.


