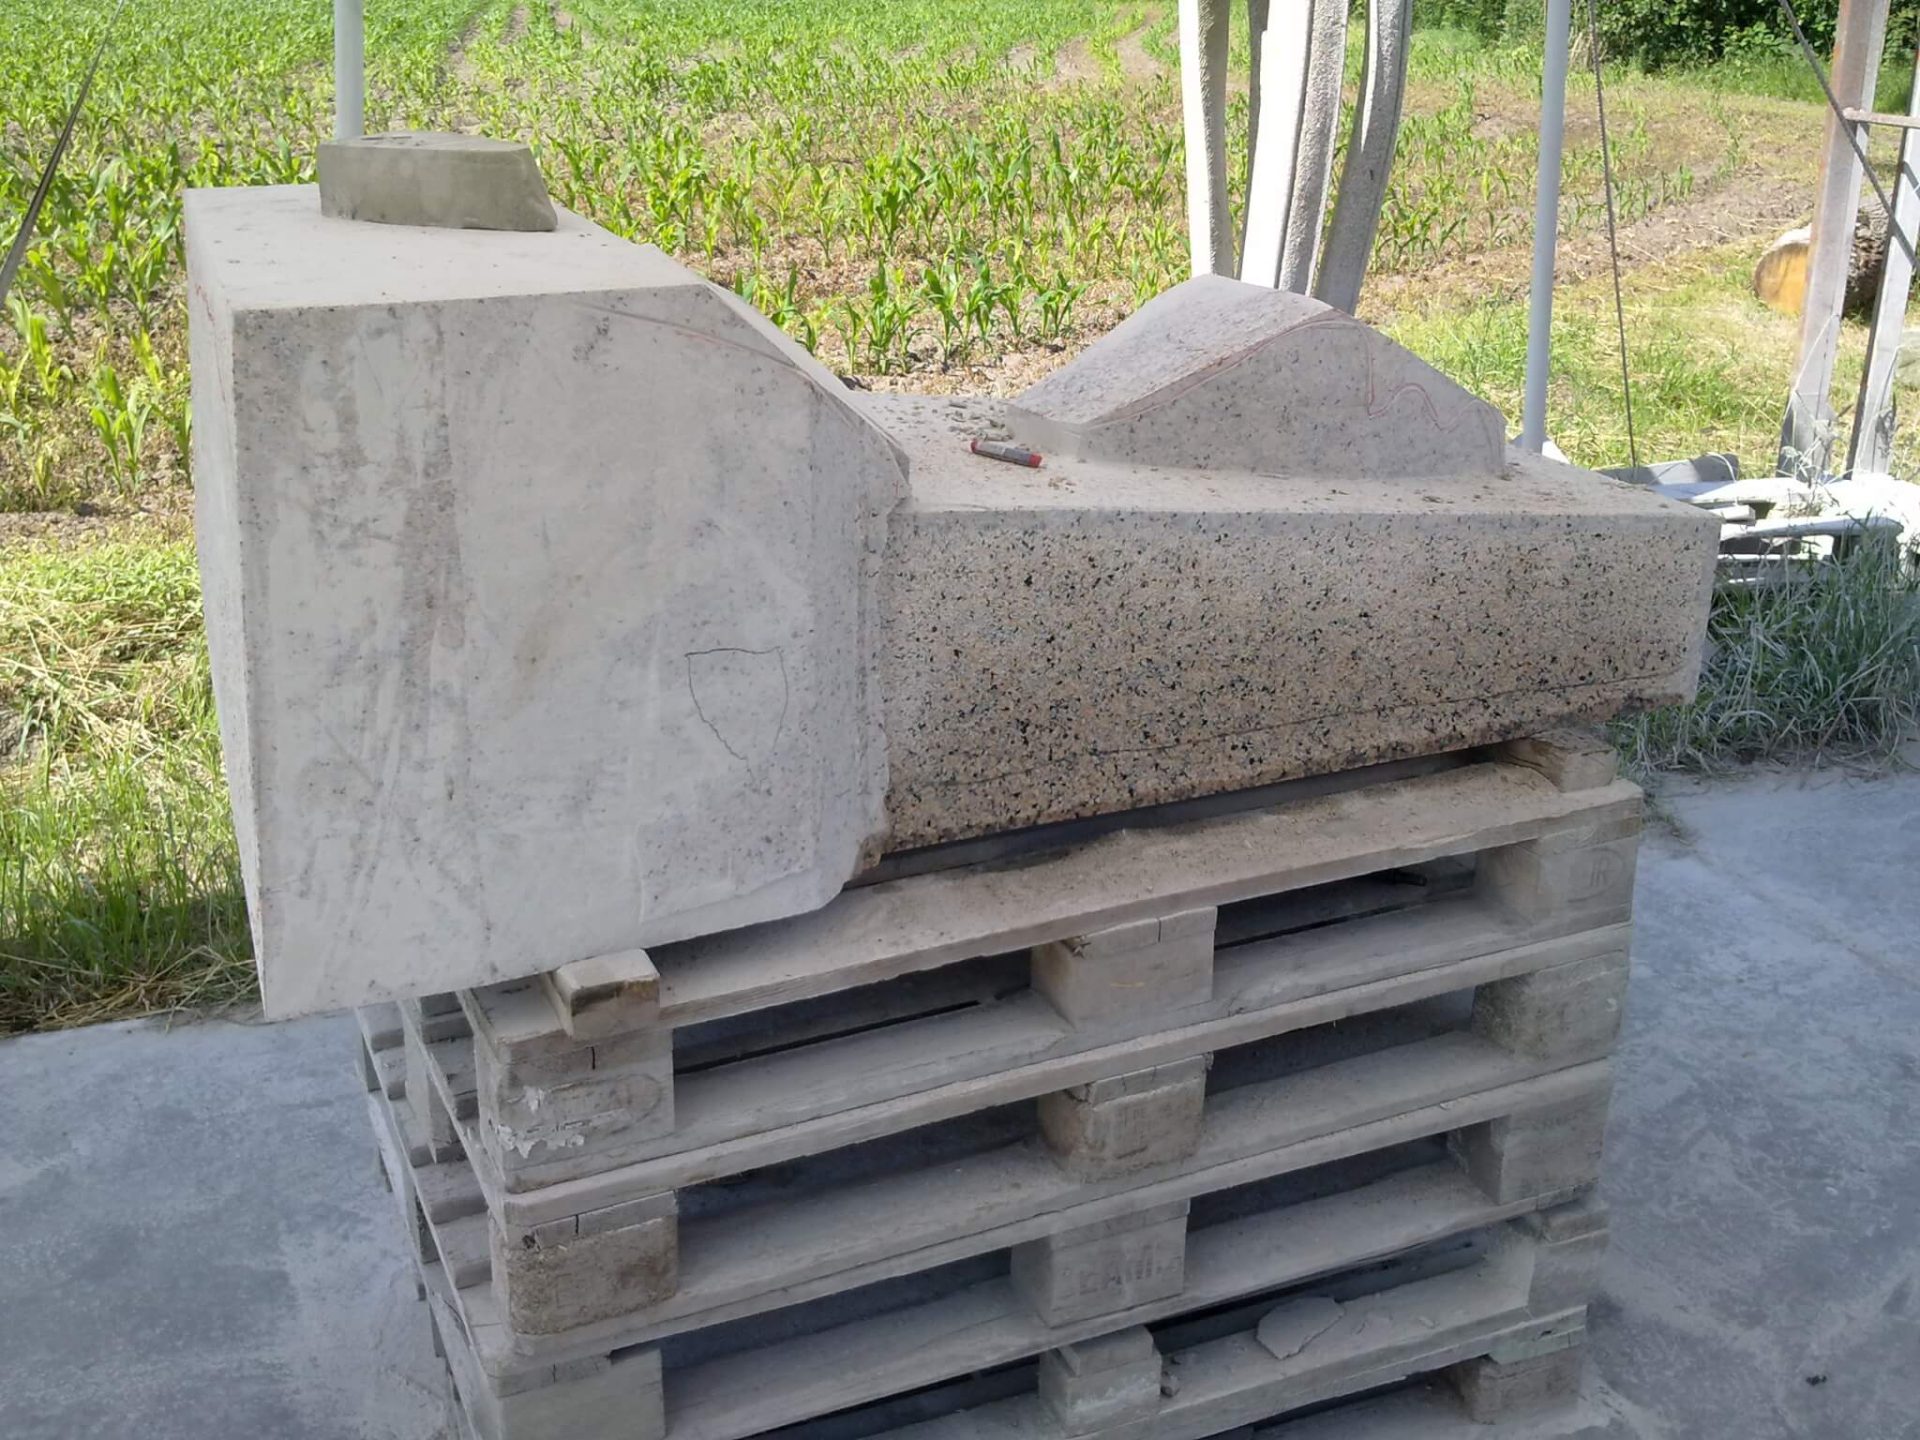
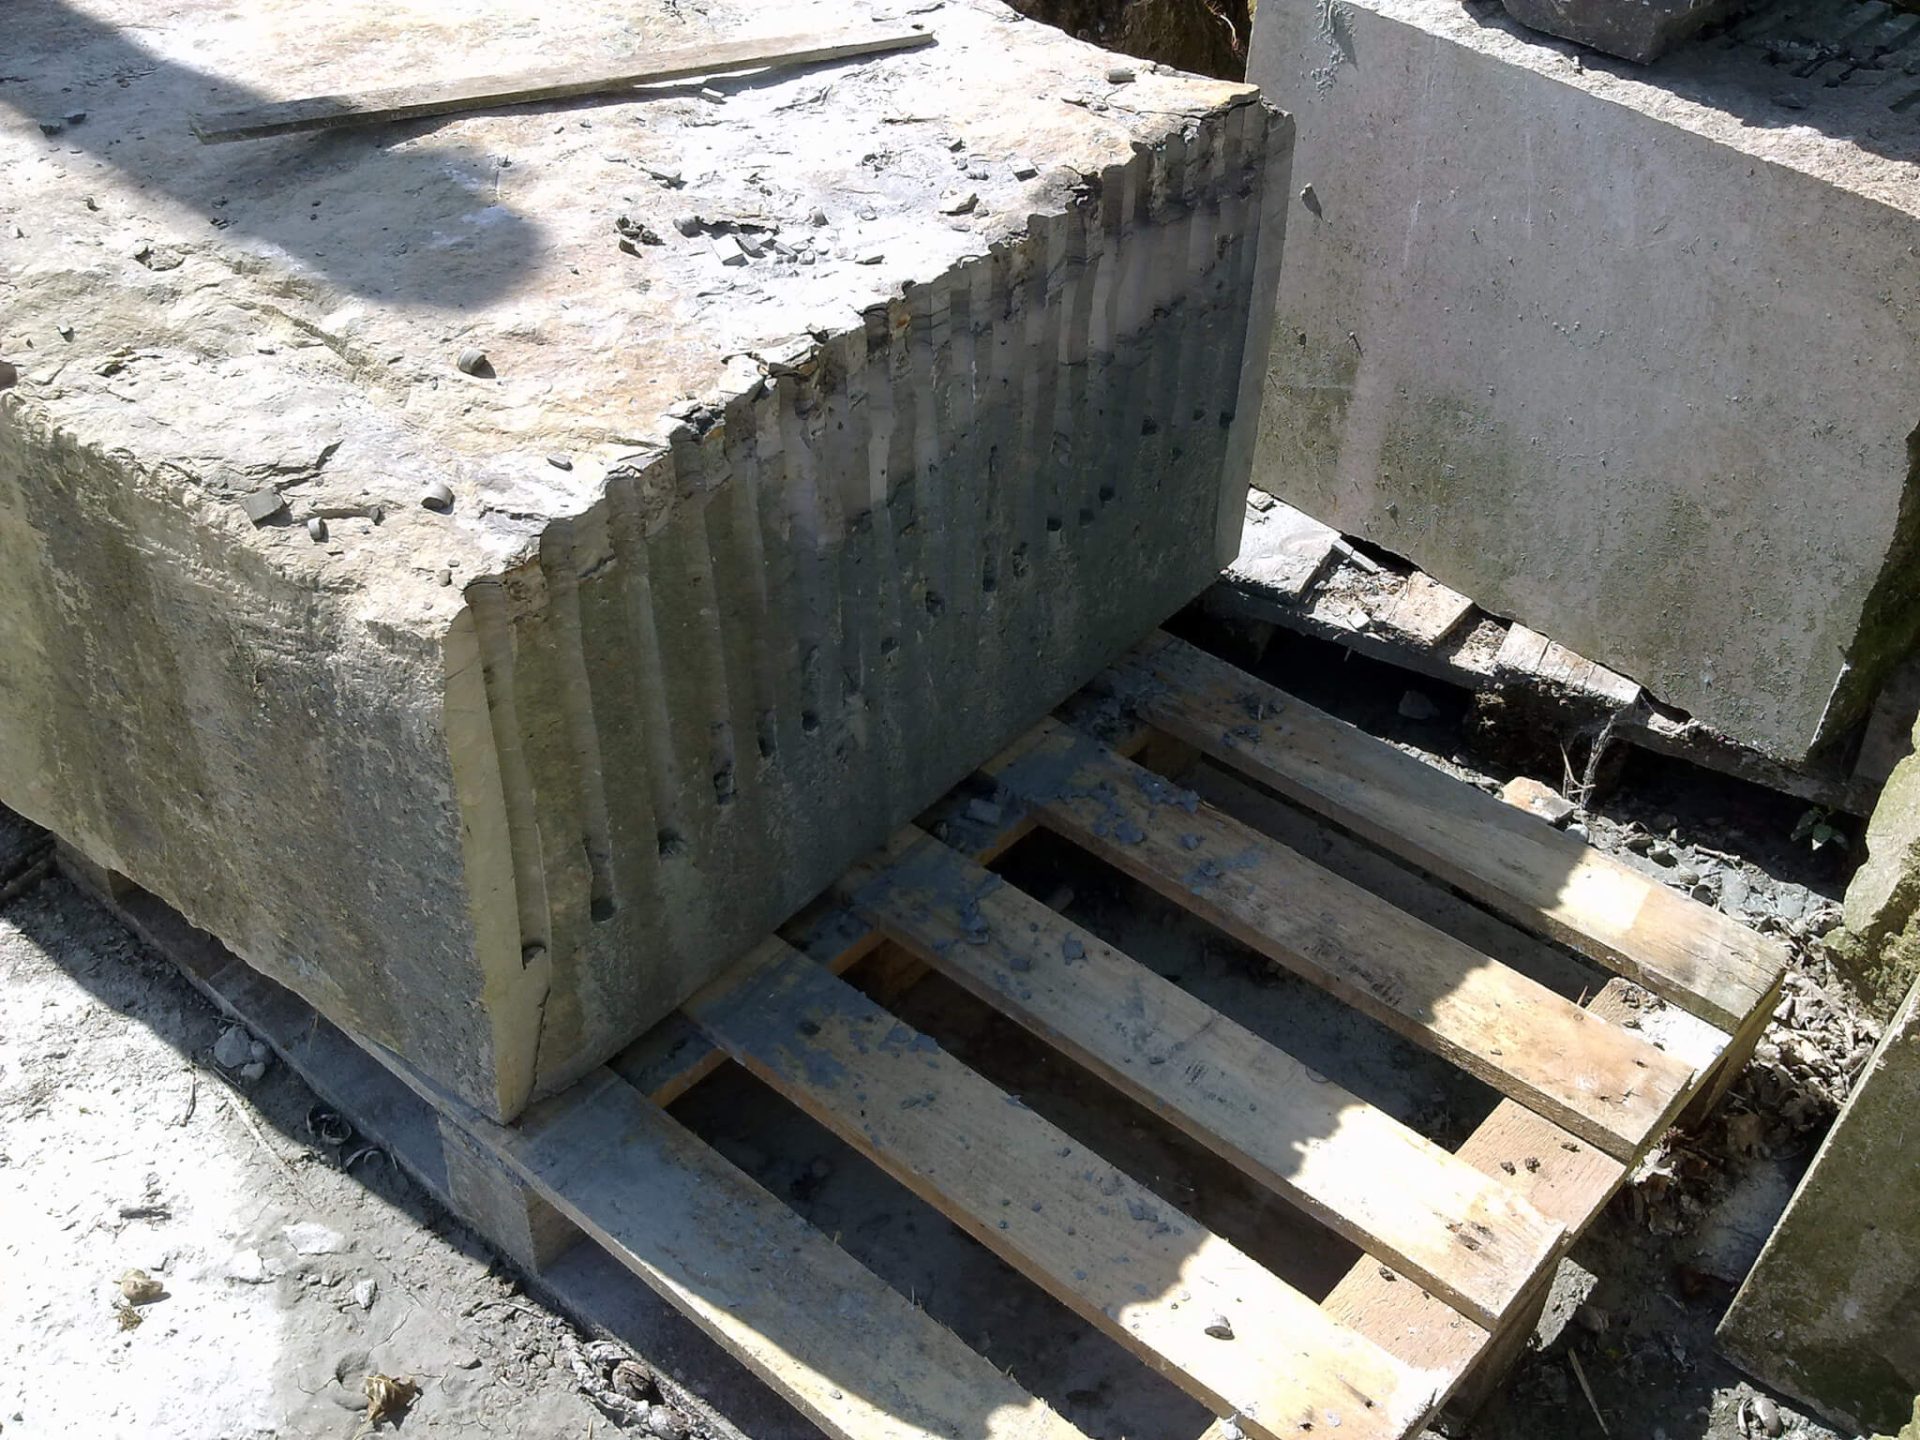
Two broken putti and a fallen Artemis
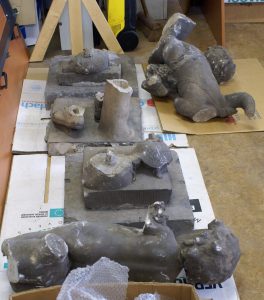
Last month I was offered an interesting challenge: two eighteenth-century putti made of Bentheimer sandstone and terracotta sculpture of Artemis. All three were seriously damaged and to me fell the task to restore them in all their splendour.
The two broken putti came originally from an estate in North-Holland, where they apparently must have stood in the open air. Whenever I get these kind of cases, the first work will be to undo the previous bad repairs, removing iron and the fitting together of all parts, to see how complete it all is.
Rusting iron
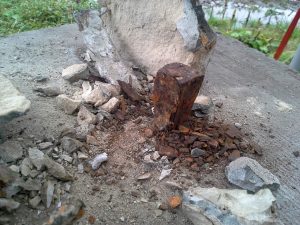
In this case it could easily be seen what the cause of the damage must have been. The putti had been fixed with a thick iron support, which was cast in lead. The flow channel for the lead was plain to see. But iron can rust, and in doing so it can cause a lot of damage(about which I wrote an article here a while ago). Even in these putti, this was the case: the iron had rusted and because of that, the angels had fallen off their base and broken into pieces. A lot of pieces, that is.

During the removal of previous cement repairs was revealed that the putti had already been repaired at least twice before, with even more iron pins and hard and impermeable cement layers as a result. While fitting and measuring, I discovered that the two boys were very nearly complete, apart from some small bits and chips, and a missing leg of the boy with the ears of corn.
Stainless steel pins

Putting such a puzzle together means a lot more work than just a little pasting with some adhesive. Each piece should retain a lasting bond with the connecting part. For that, to every break a stainless steel pin was added, to reinforce the weak spot. But this pen should be invisible bonded, so I had to drill holes in both parts, and these holes should be in line. All in all, something that's not finished in a second.
A new leg
When all the parts are back together, the reconstruction of the missing leg will come next. First, I modelled a new leg in plastiline clay. Next I will carve this out of new Bentheimer sandstone, because this is stronger than making a leg with restoration mortar. The challenge here is to make it so that the style and surface match the rest of the statuette. More on this later.
Artemis in terracotta
The statue of Artemis, a casting of the famous statue that is attributed to Praxiteles, came originally from a sculpture foundry in Berlin, according to the stamp in the foot plate. I suspect that it was cast there in parts of clay around 1880, which were then put together and then baked. This statue was easier to repair: it had simply broken off at the ankles. Maybe happened during removal ? In addition there was quite a bit of hunting damage, as if someone had tried out a hunting rifle a little bit too close to the statue. Of the drapery all kinds of shards were missing and there were lots of buckshot asterisks in the surface. There must have been something moving in the undergrowth for sure.
This statue I first bonded together again, and then reinforced the ankles with M16 threaded wire ends of stainless steel, and then I repaired the damage with restoration mortar. More on this later as well.