A bluestone coat of arms with two falcons
Bluestone stone coat of arms
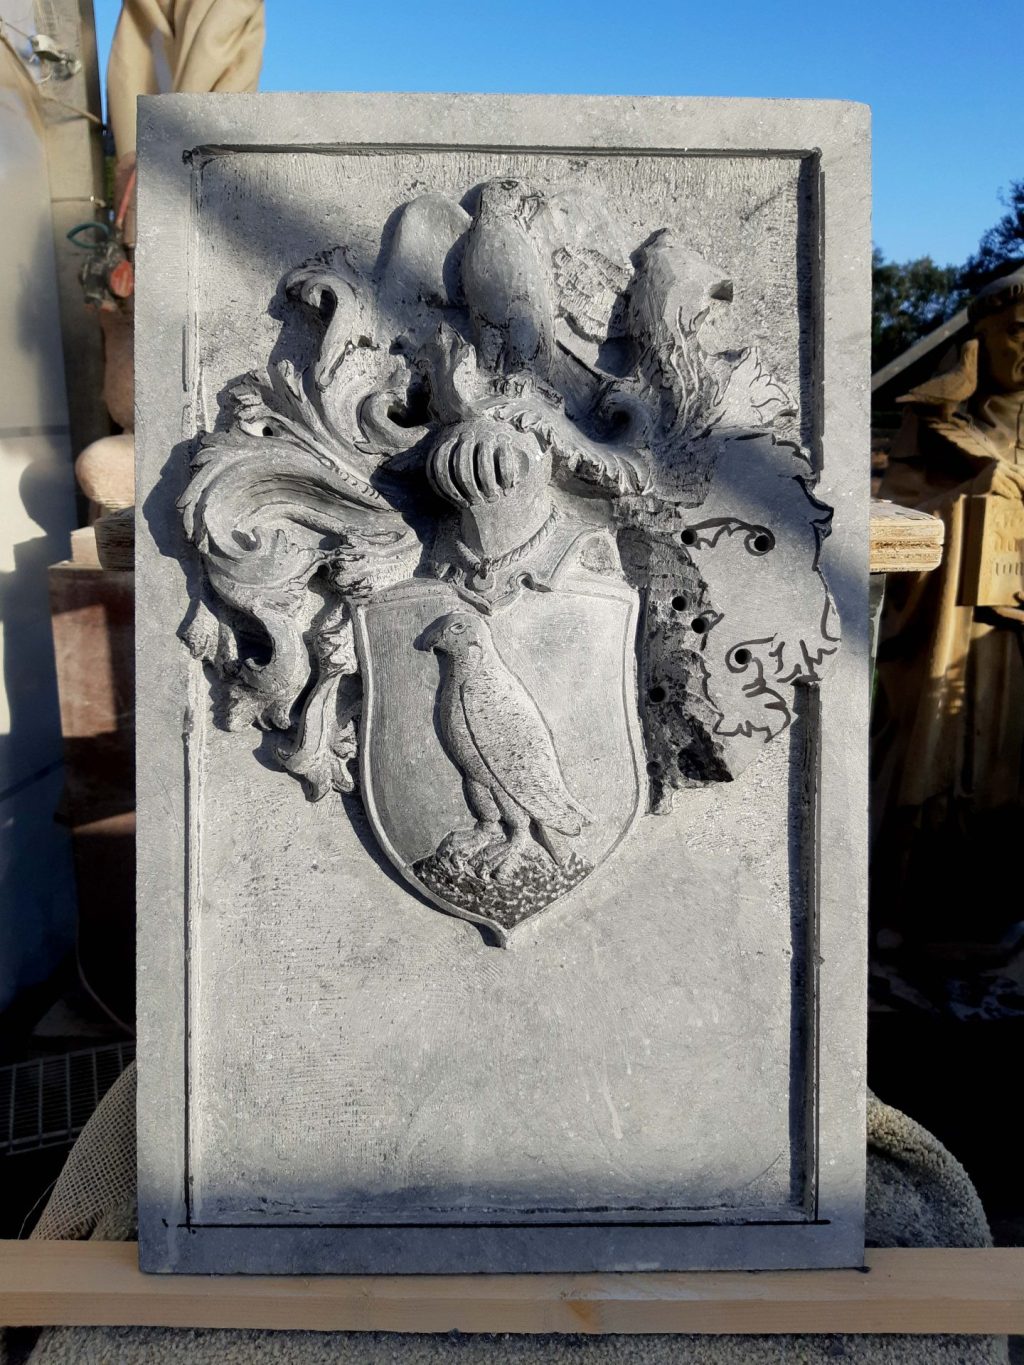
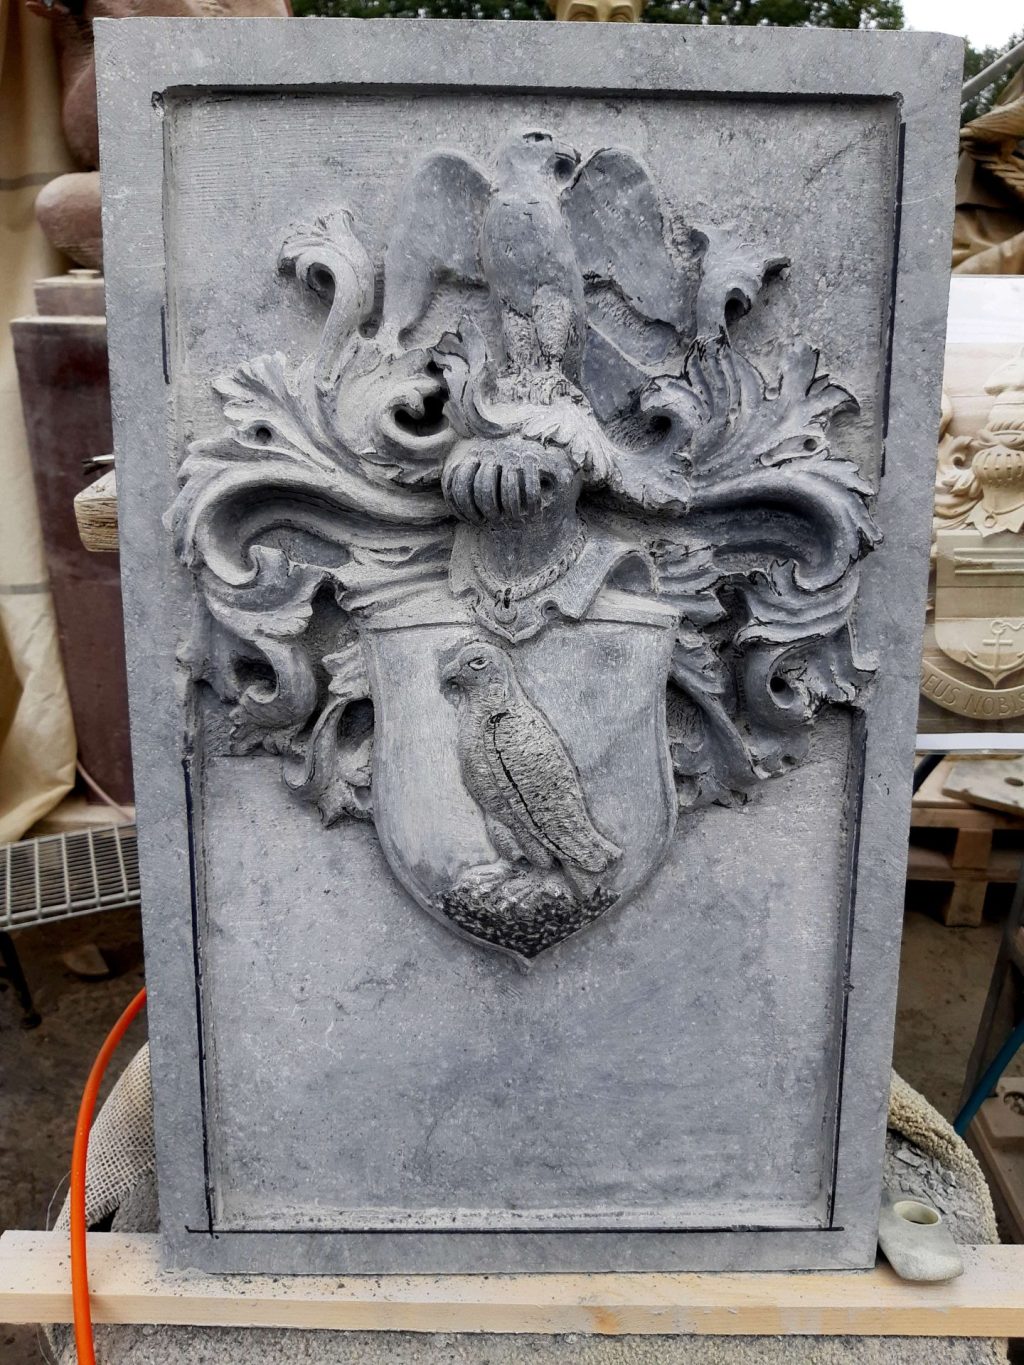
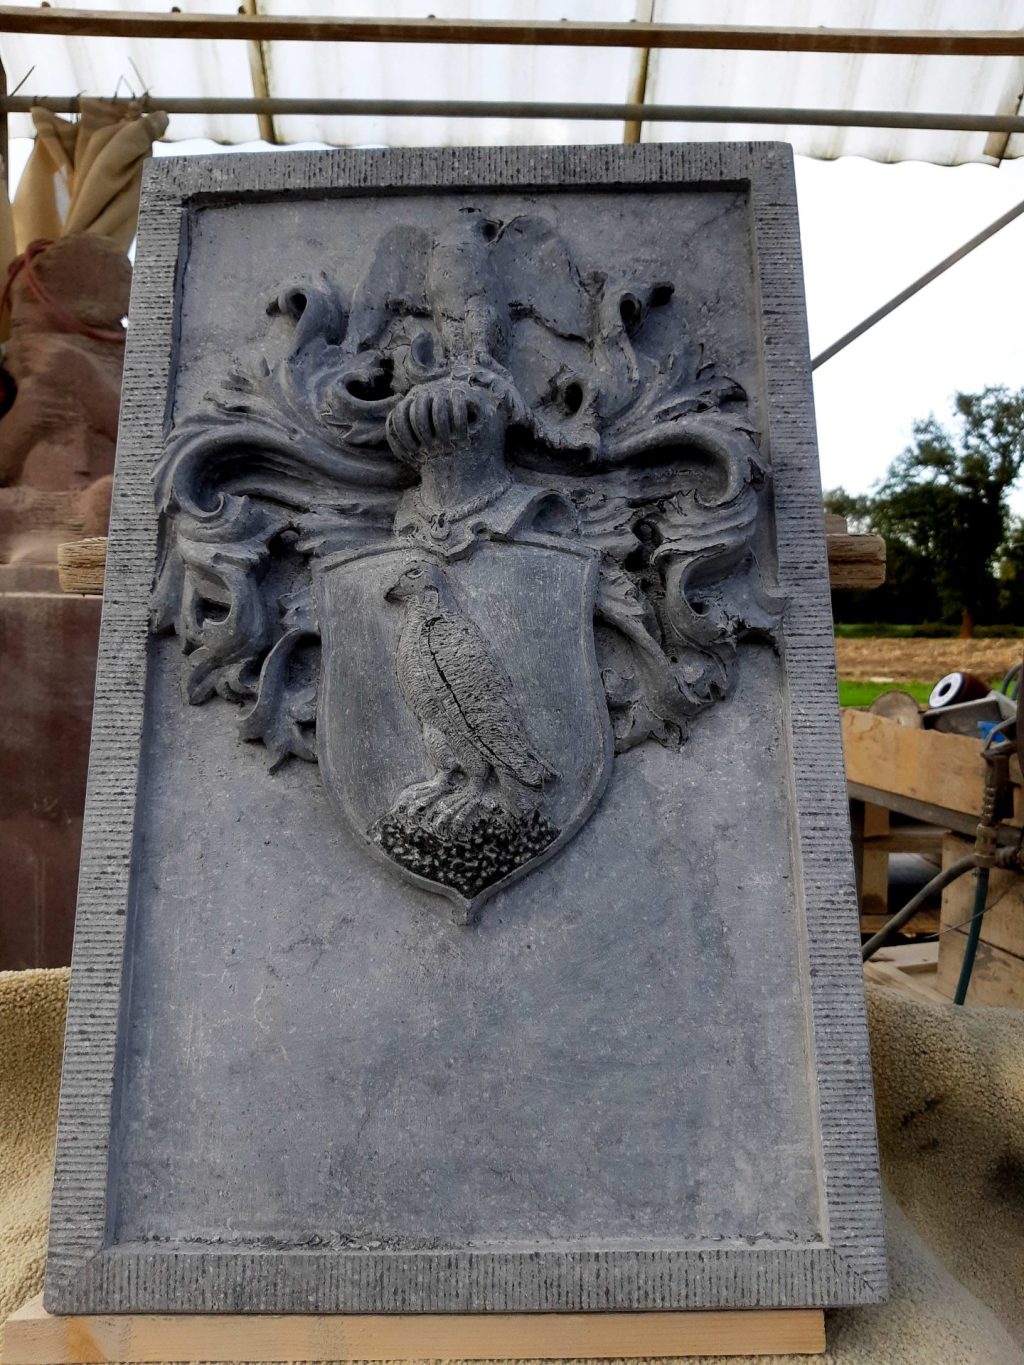
I merrily went on to the next commission, another stone coat of arms this time. The previous one was a smaller relief with only the shield. That required a little more attention to the shape of the shield, to make the design a bit more interesting. But this coat of arms is quite extensive in itself because of the helmet, the mantling and the crest. I prefer deeply carved coats of arms, and this is no exception: the total depth of the relief is eight centimeters.
The customer lives in Belgium and has renovated a house that already had a plaque of Belgian bluestone in its façade. Hence, this plaque will have the same size, 41 x 66 cm. It is of course a fairly elongated measure, whereas the actual coat of arms occupies a more or less square space. So this leaves some space for a Latin text underneath the emblem. I'll get to carve that next week.
The rough shape
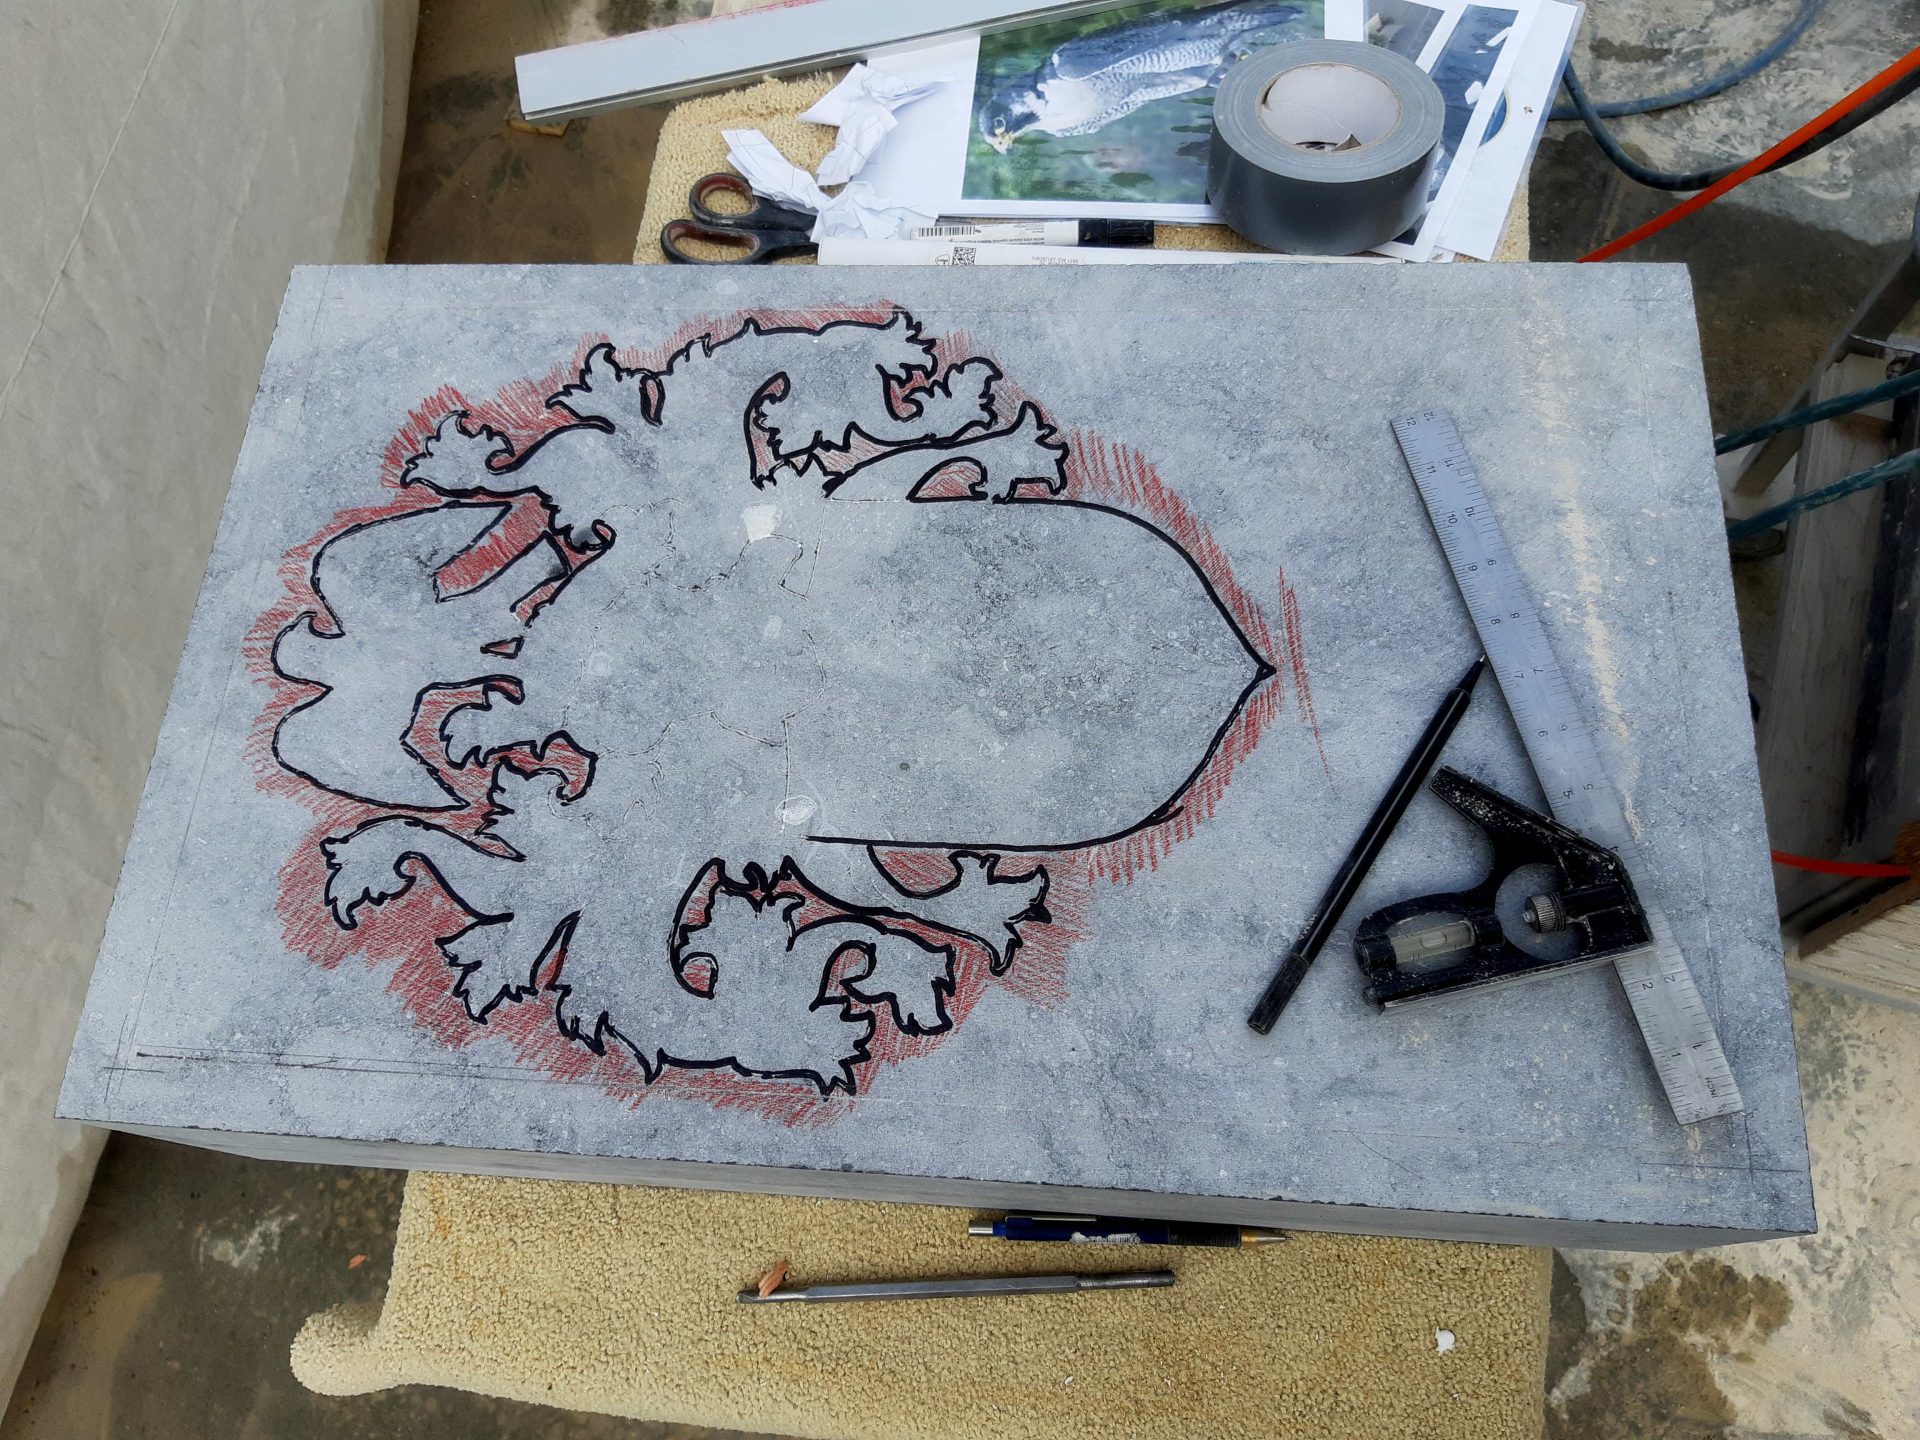
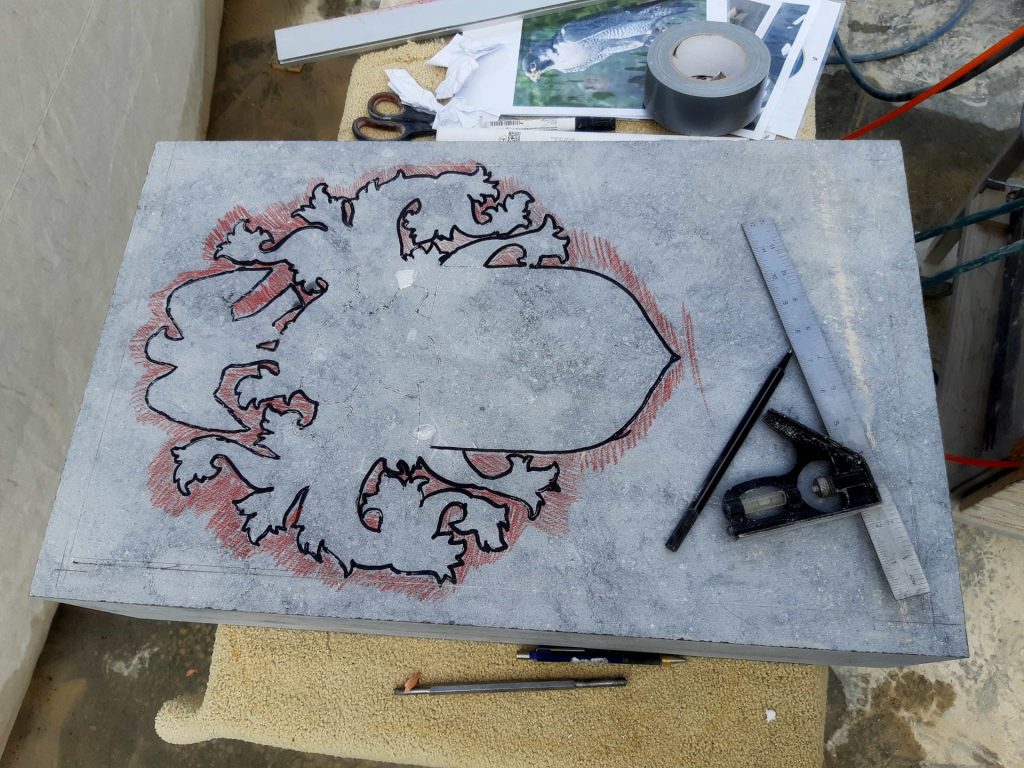
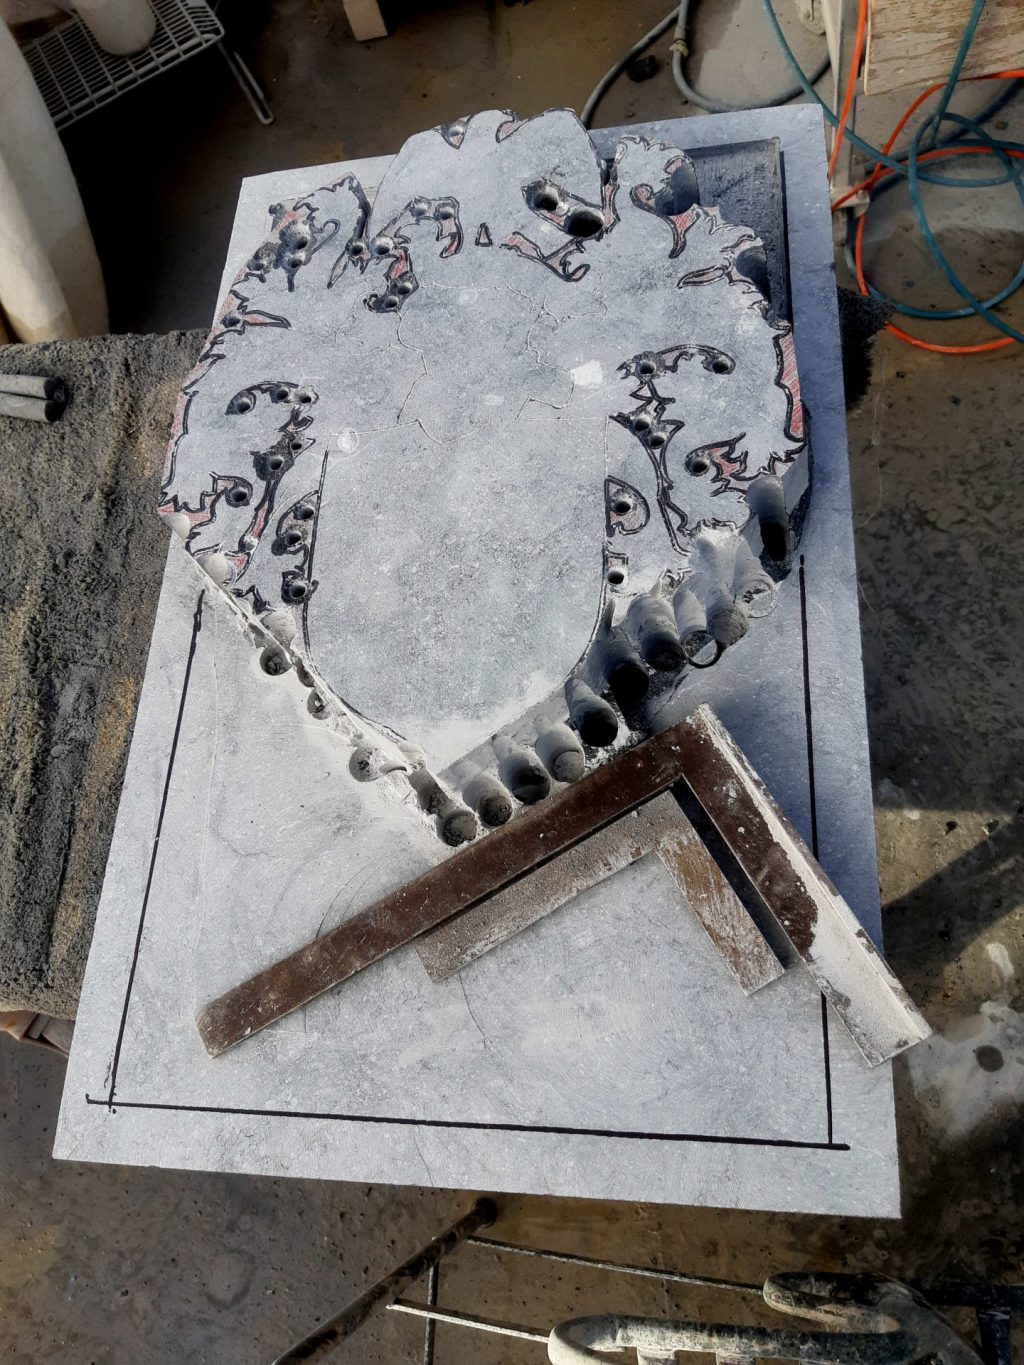
I first started with transferring the drawing onto the stone. I never fuss about that: I just stick the print onto the stone and carve the lines into the stone, right through the paper. Hoopla.
From woodcarvers I learned to first jigsaw out the contours. That way, you'll have these parts defined already and you can continue to trust in them. Now doing that in stone, and certainly in Belgian bluestone or arduin as the Flemish say, is a bit harder to do, but it remains a good plan. Using the drill, I could define the shapes and also the depth of the background plane for a number of spots (quick and easy) in one go.
To keep margin for errors, or not?
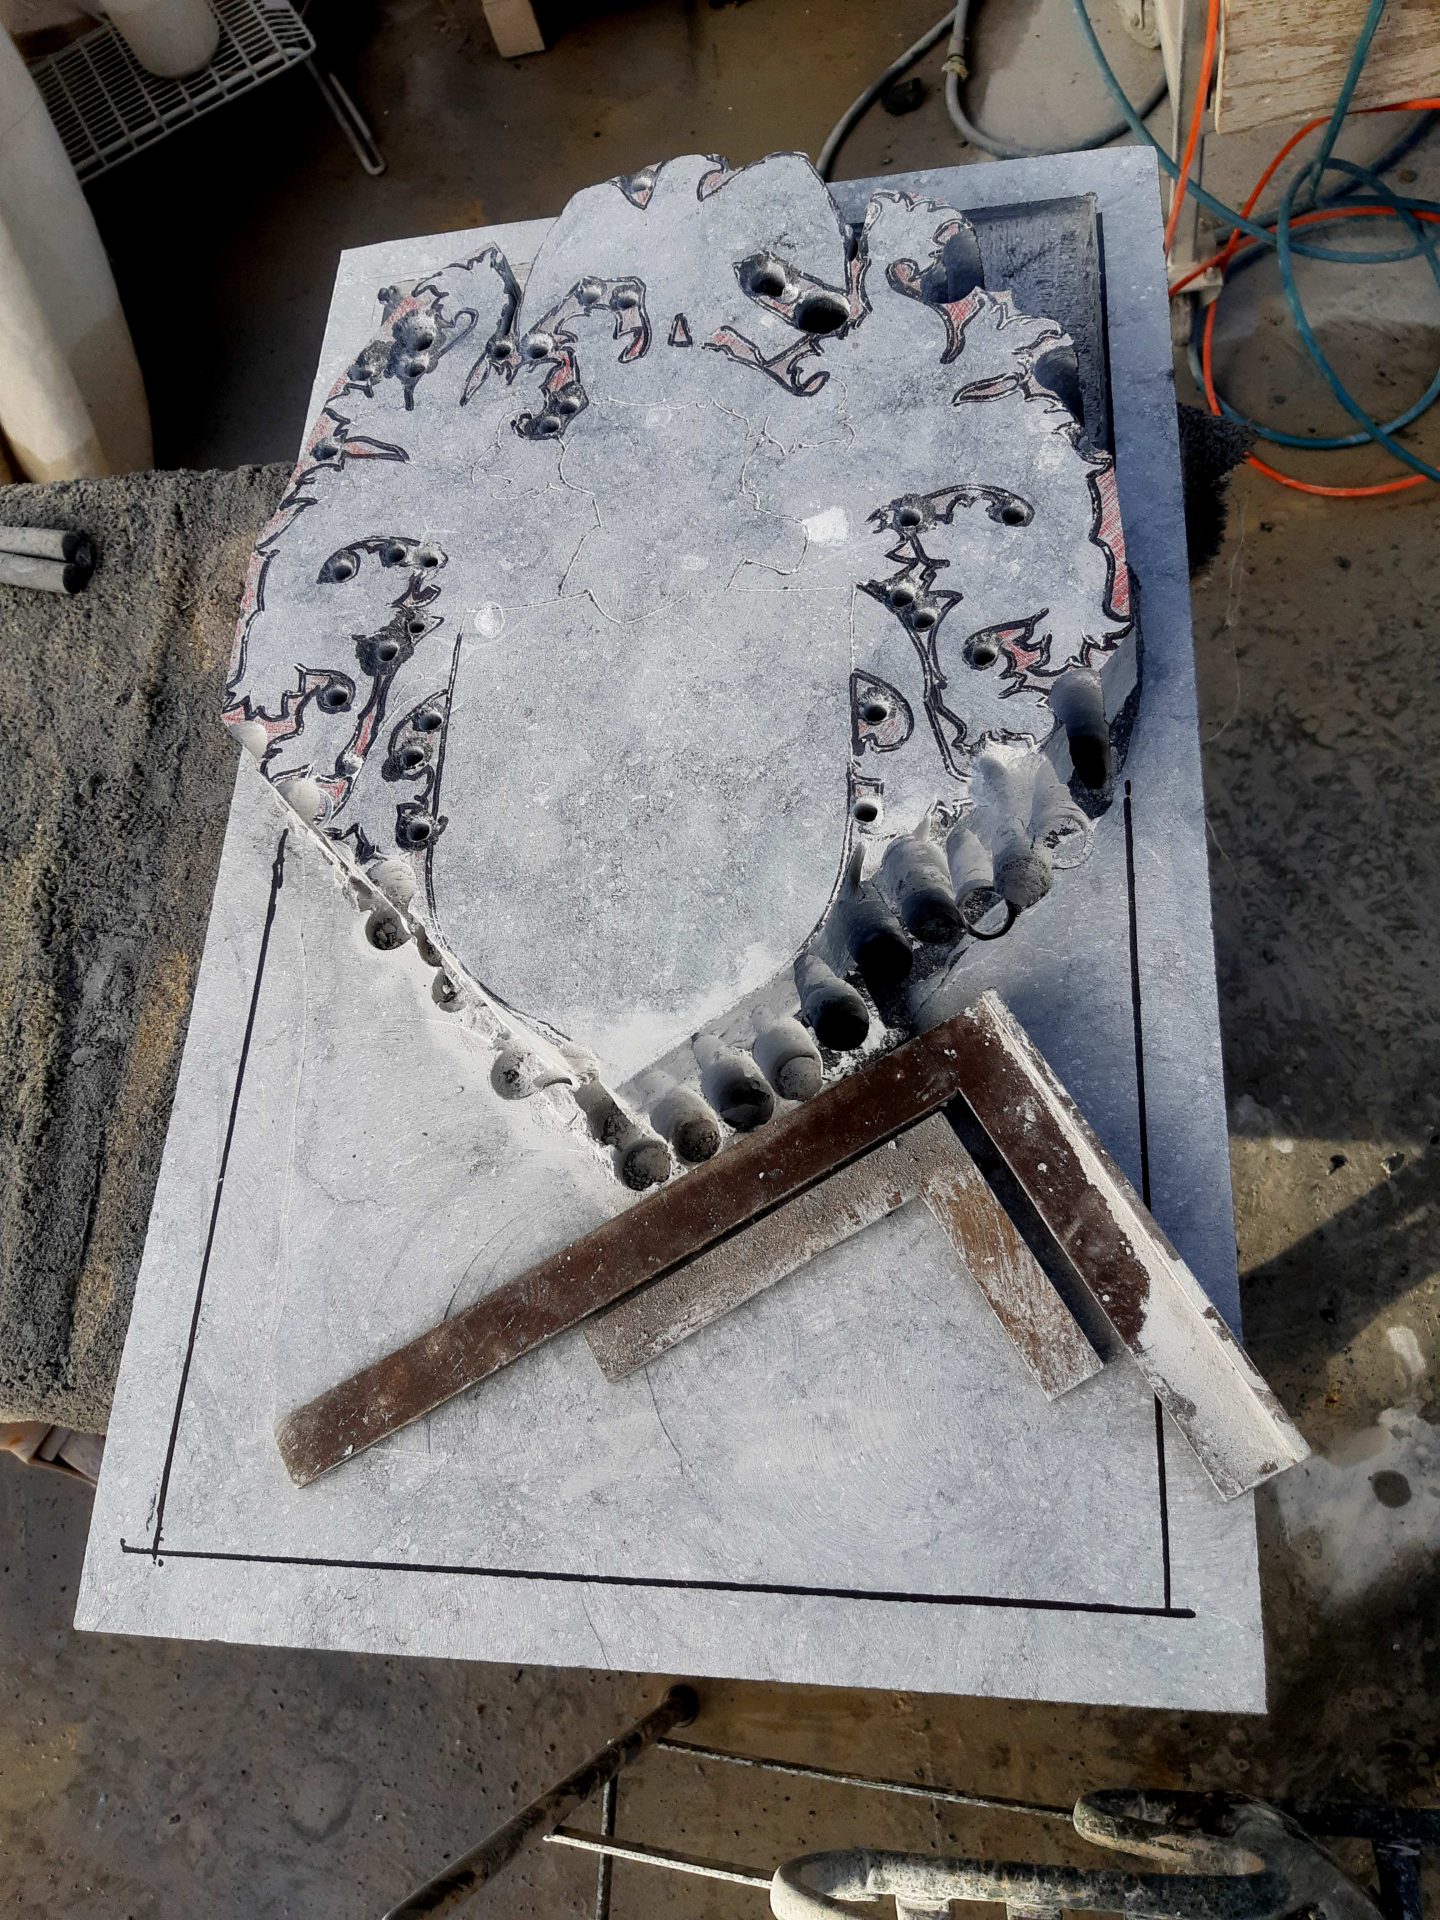
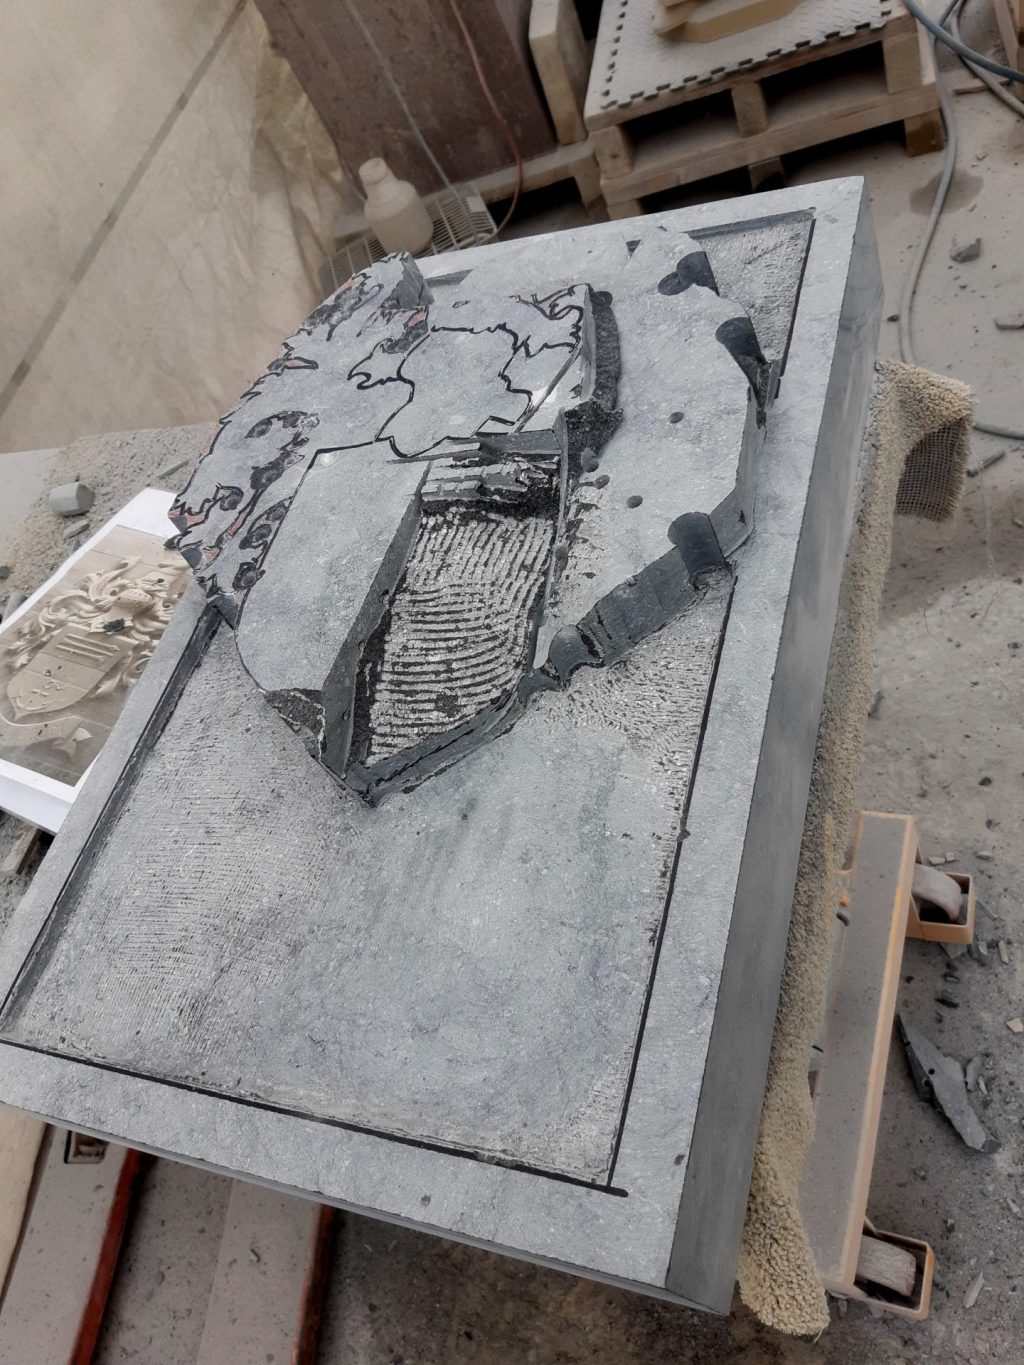
The rough carving of a relief is quite a bit different than that of a freestanding sculpture. When carving a sculpture, it'll be useful to have some margins in case you'll make a mistake. That is, you'd make sure you don't make anything definitive yet during the rough carving phase, so for example you'll still be able to move the limbs a little in case it is not quite to your liking. In relief carving that would not be convenient. You'd keep searching over and over again where all these frills should go if you wouldn't set any hard borders. By carving the parts straight down at right angles to the background plane from the beginning, the exact location of each component remains defined right up to the end, even if you start shaping its height with a coarse tooth chisel. The margins that you always need as a sculptor lie in the depth in this case. For you could always encounter a bad piece of stone, or you could make a mistake. In relief carving, parts can often be placed a bit deeper without too much damage.
Assigning the volumes
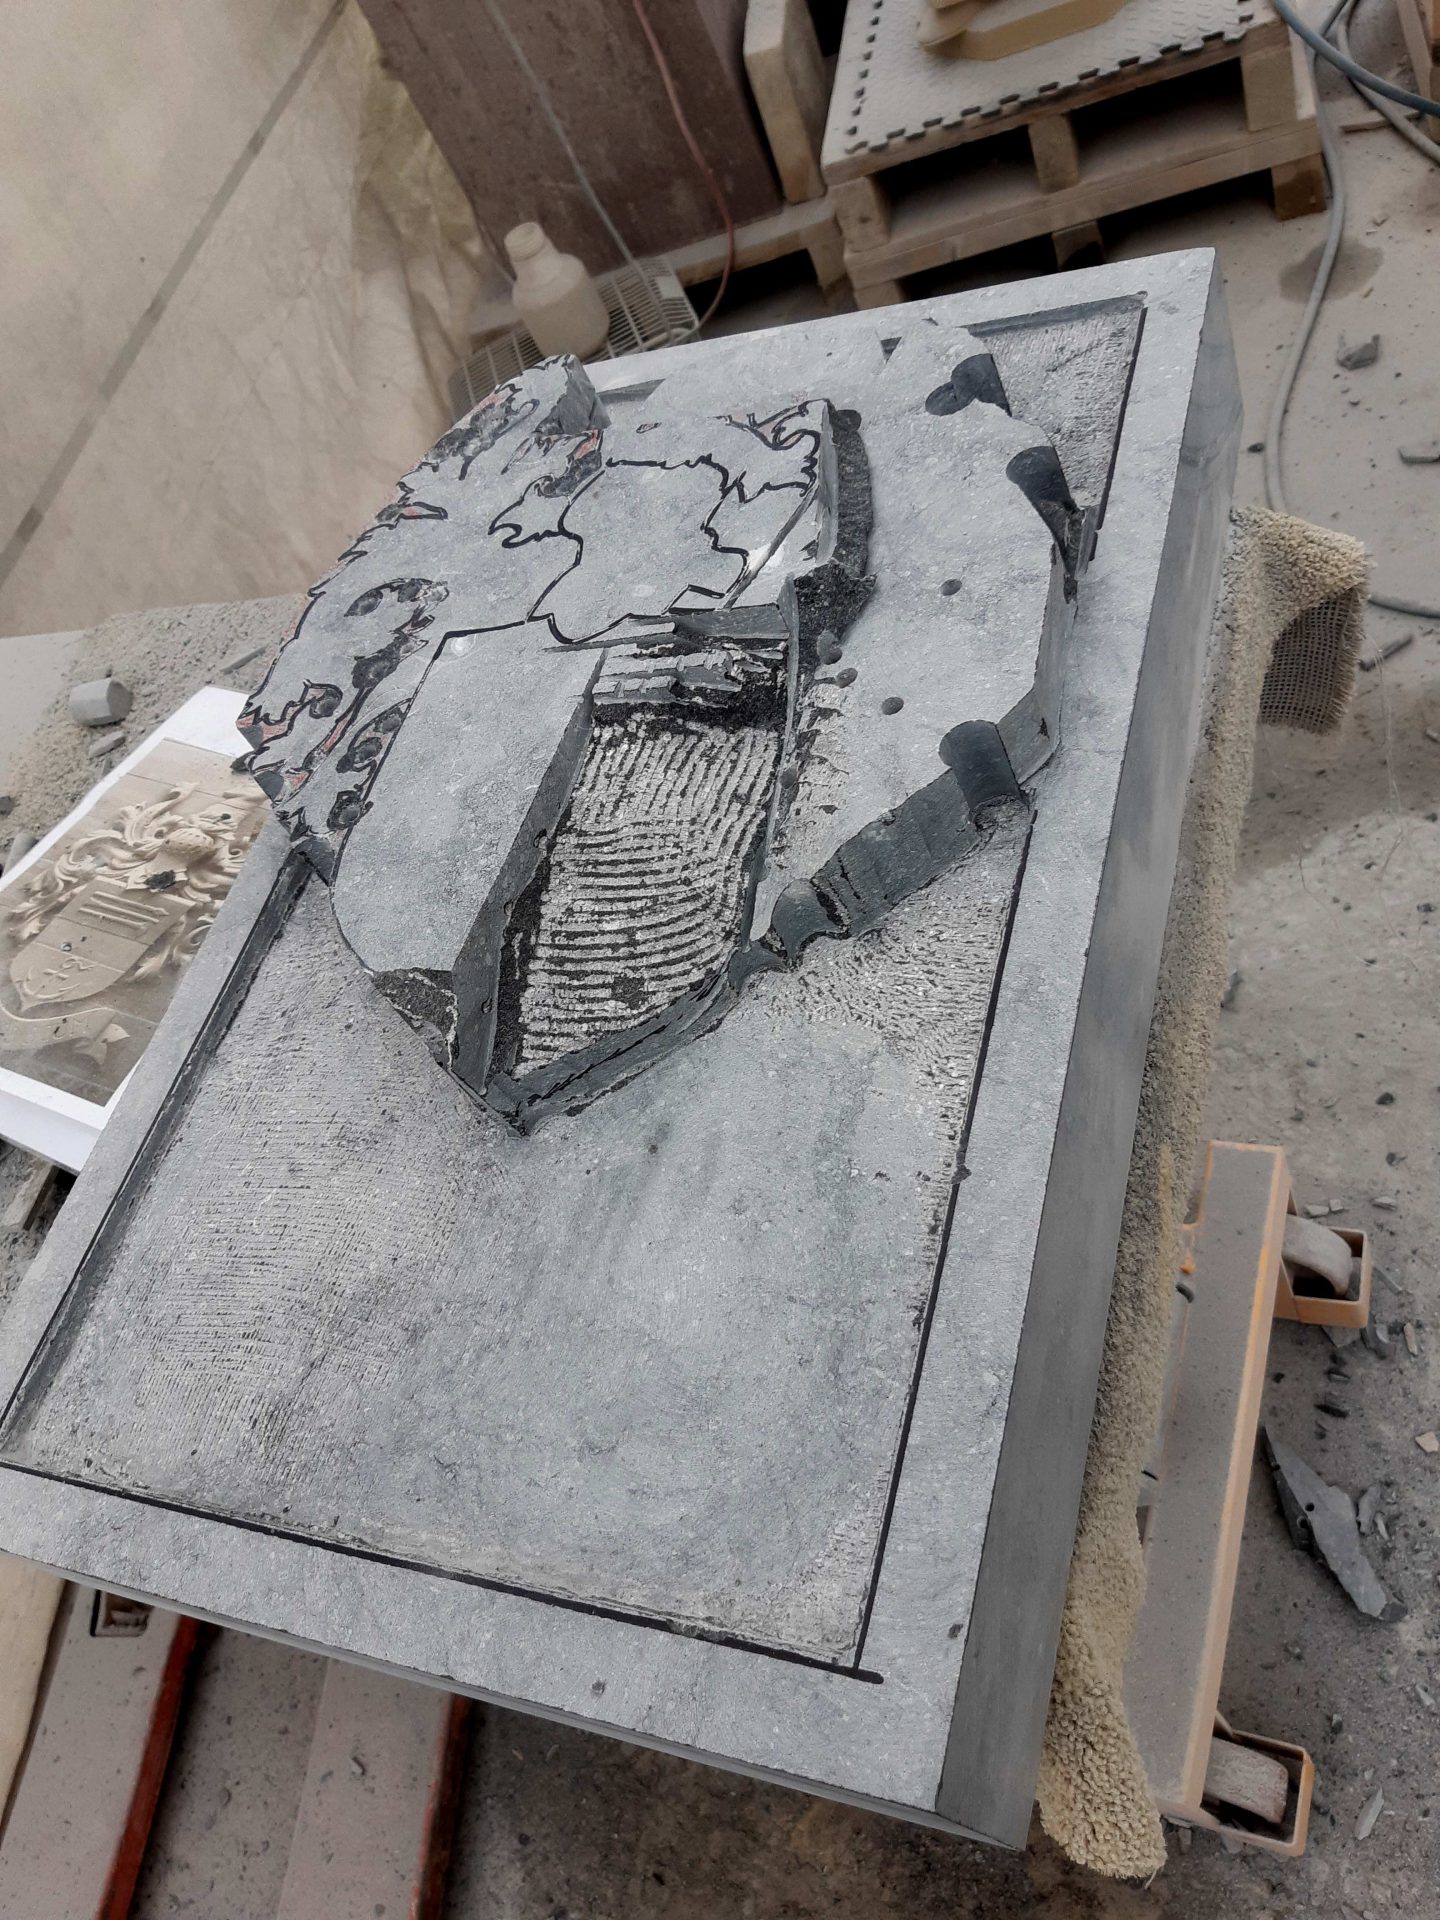
I have previously written about it: the next step is determining the heights of the various parts. In this case the helmet will be the most protruding part. I wanted to keep the mantling at the left and right below the level of the helmet, the shield should be covered by the helmet and consequently end up lower as well, and the lowest point are the tips of the mantling and especially the crest.
I just make those decisions by eye. I picked up the grinder and quickly cut down the planes of the mantling to a lower level. Then I once again drew on the lines of the shield , took into account the depiction on the shield, and carved it into the right curve.
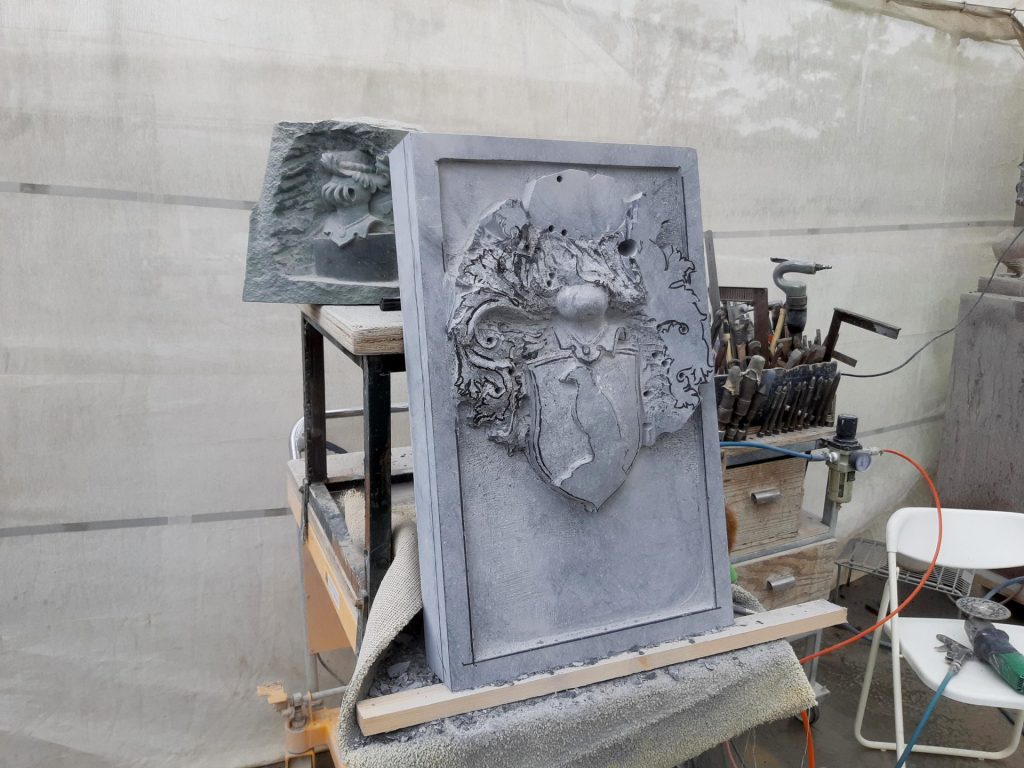
Luckily I had made just such a little helmet before, in dolomite stone, and that one was still on the wall. With that piece next to it, it was quite easy to shape the helmet.
Playing
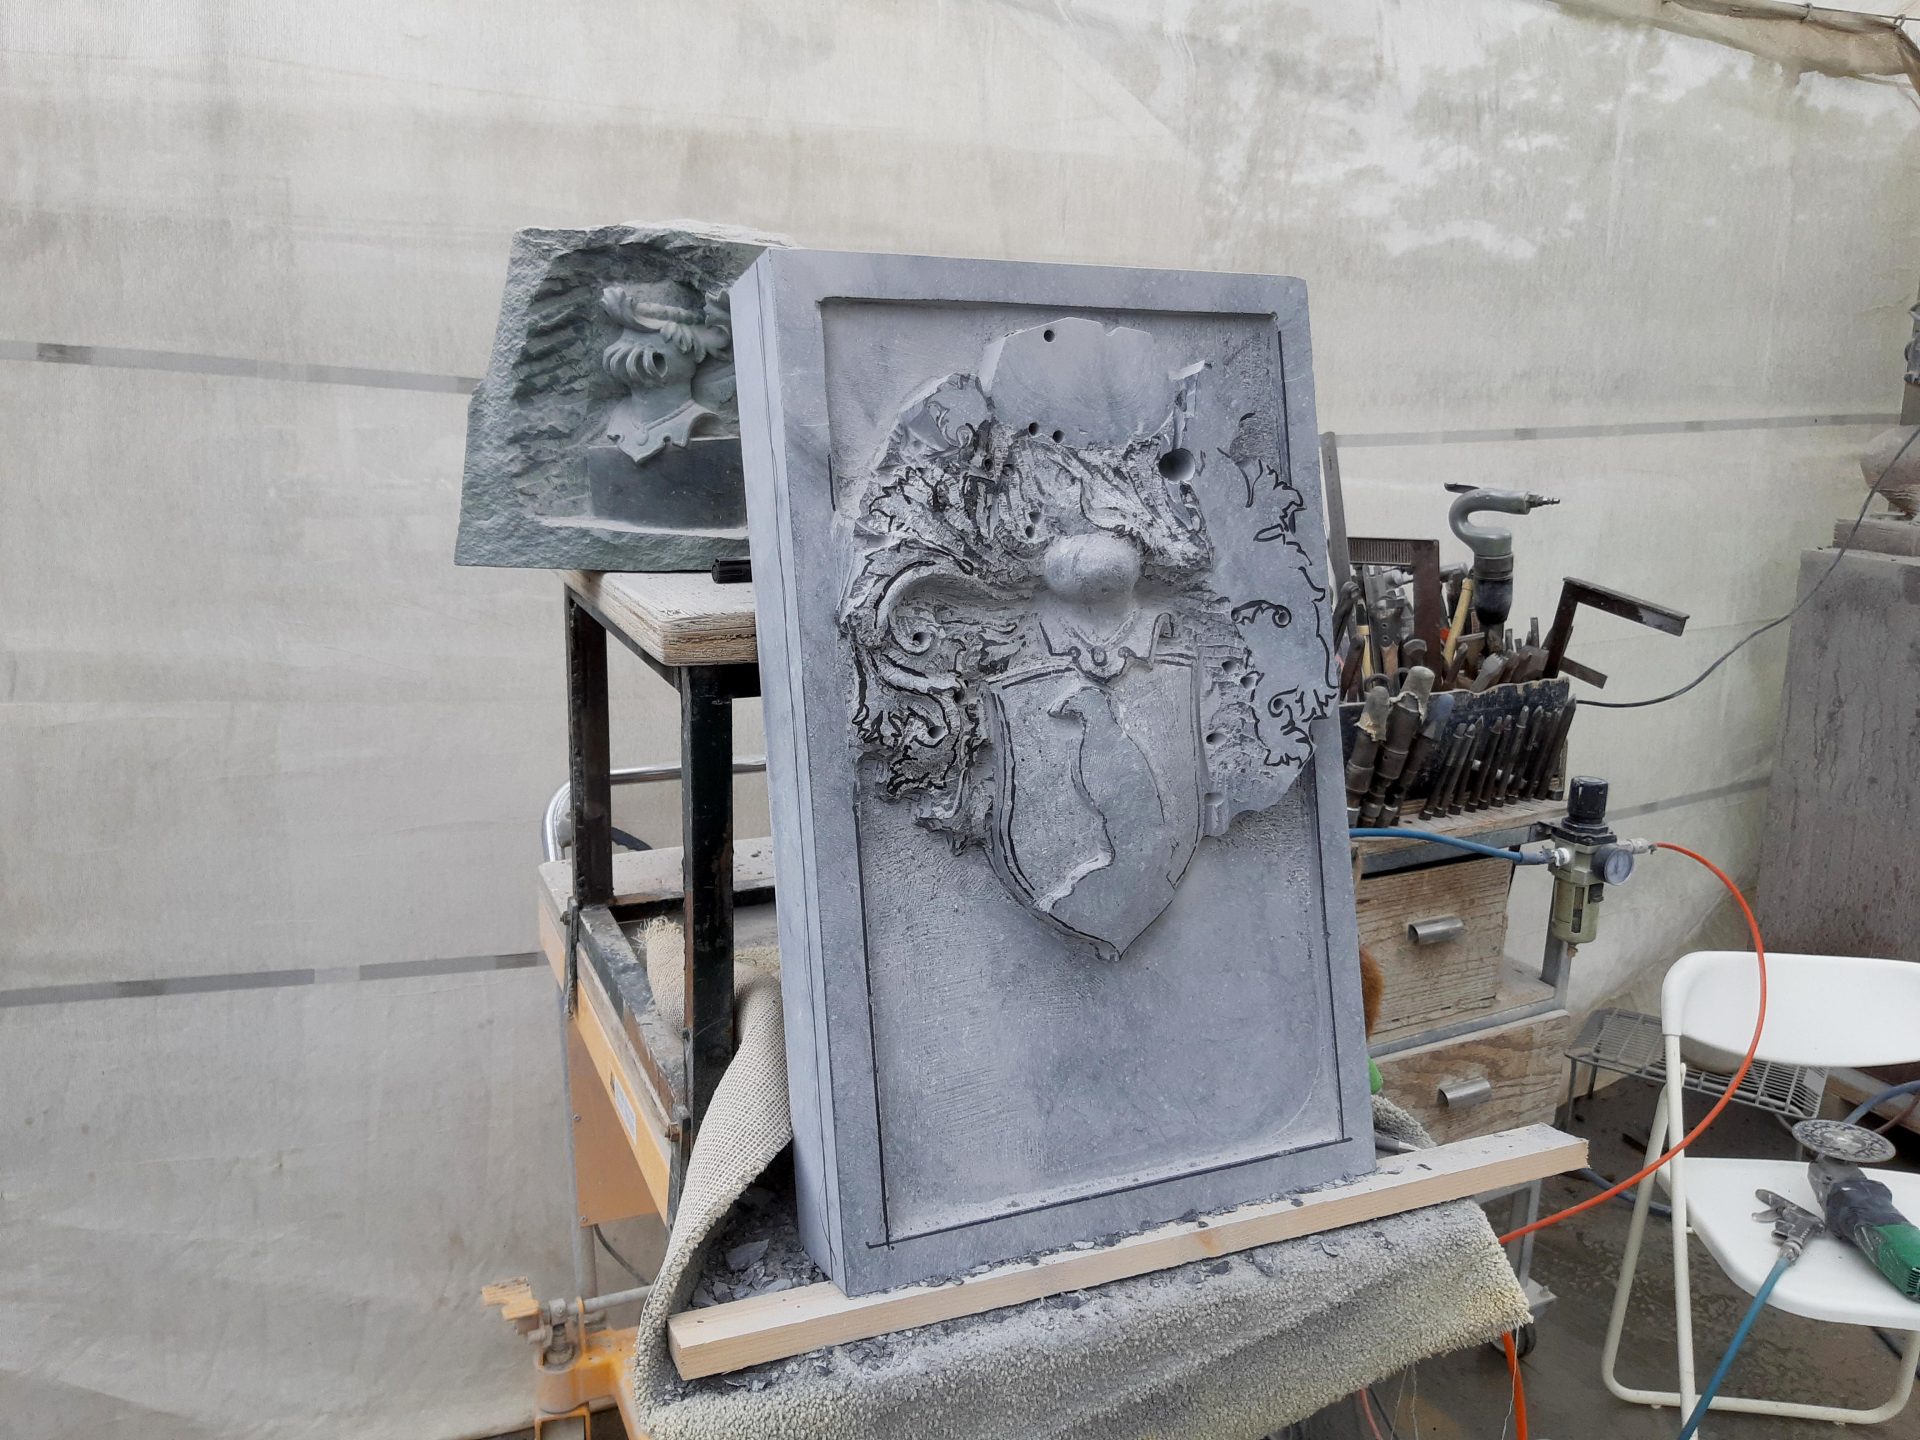
Once I had rough carved all of these parts to their proper height, the best part came. This is why I love carving coats of arms so much. I'm sorry for the customers, but I'm not really into heraldry all that much or coats of arms as such. To me, family sure is important, but I'm not so concerned with ancestors and descendants. Other than gratitude for what they have given and for what beautiful things they'll be going to bring after I'm gone, it actually doesn't go any deeper for me.
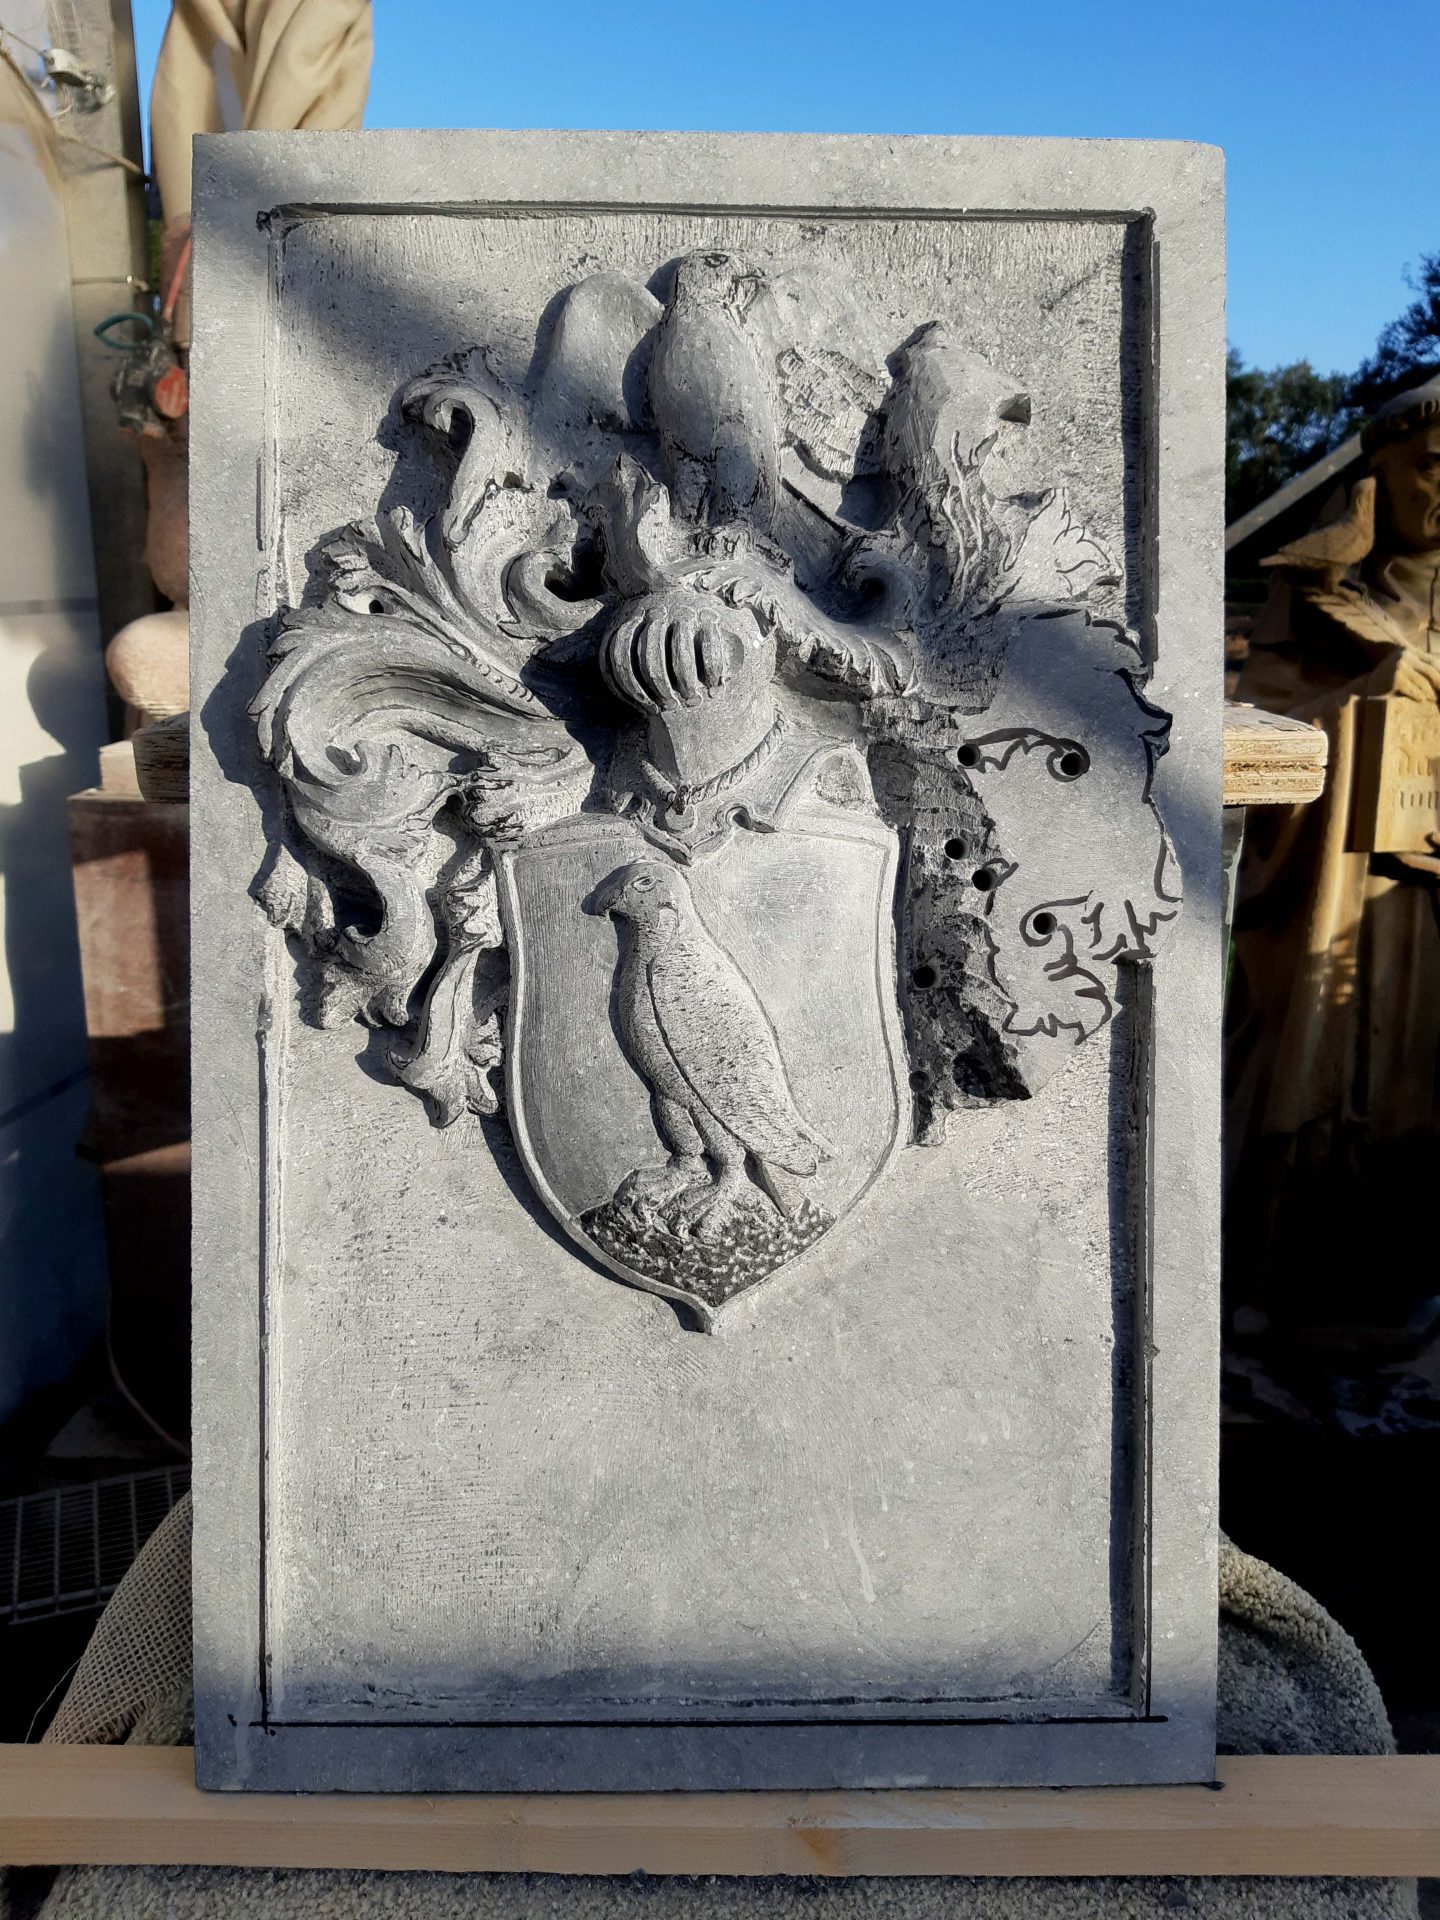
But the cárving of these crest reliefs is what I love to do! And that is because of all the lines and movement in the design. The clear shapes of the helmet and shield, in contrast to the elegant curves of the mantling… for me it's a each time again a play with lines and volumes. That's why I never make a maquette of these things. I just start, and let the lines lead me to the shape. It should of course end up looking somewhat symmetrical, so I usually first carve one side and then do the same thing mirrored on the other side.
Halfway through: finishing
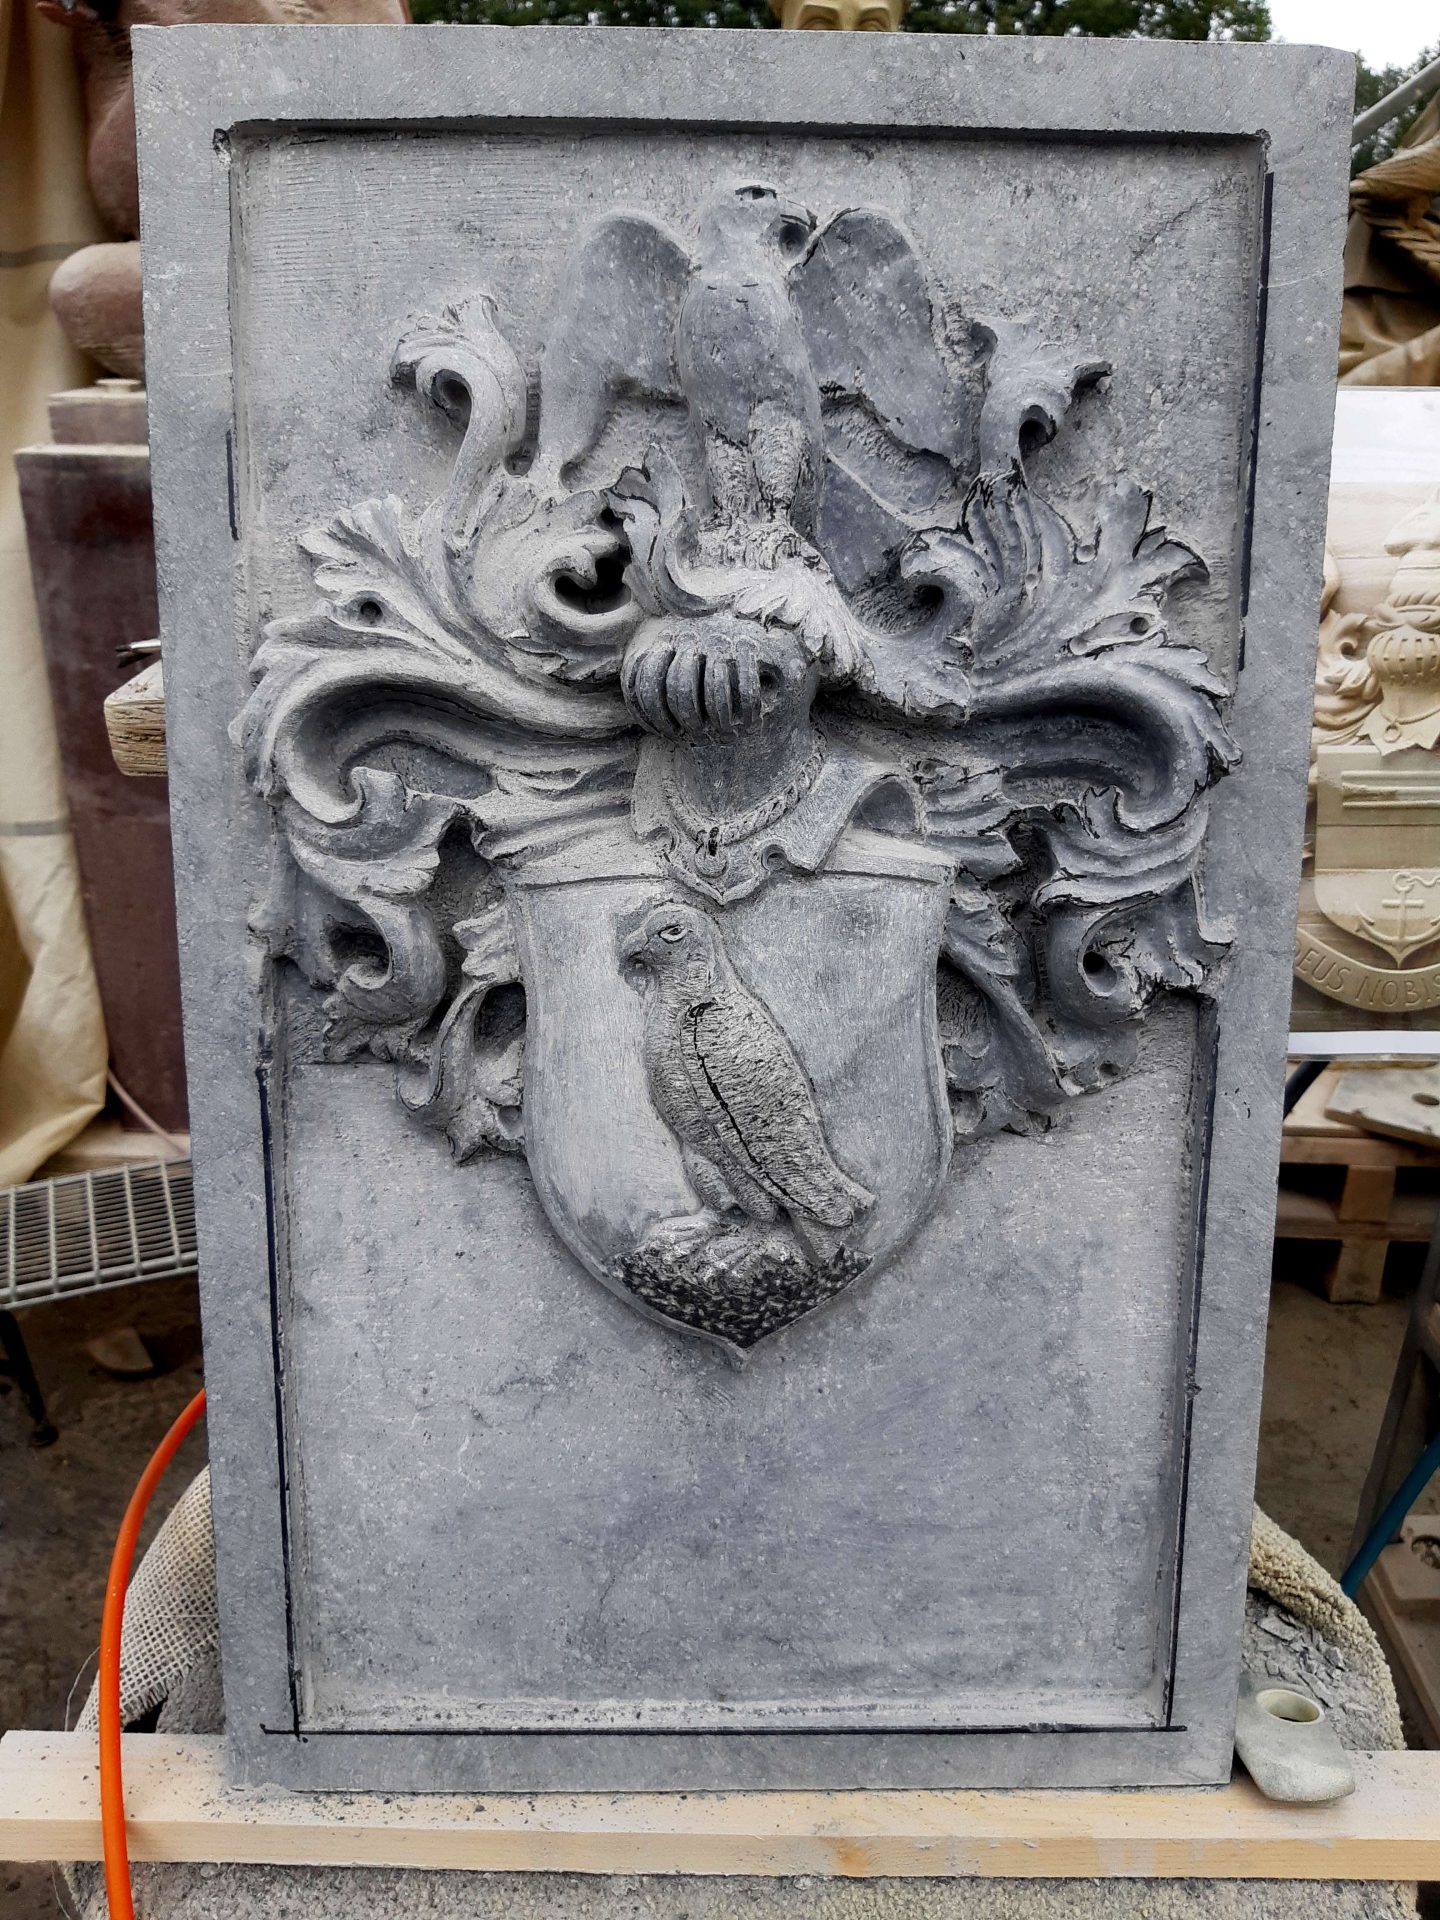
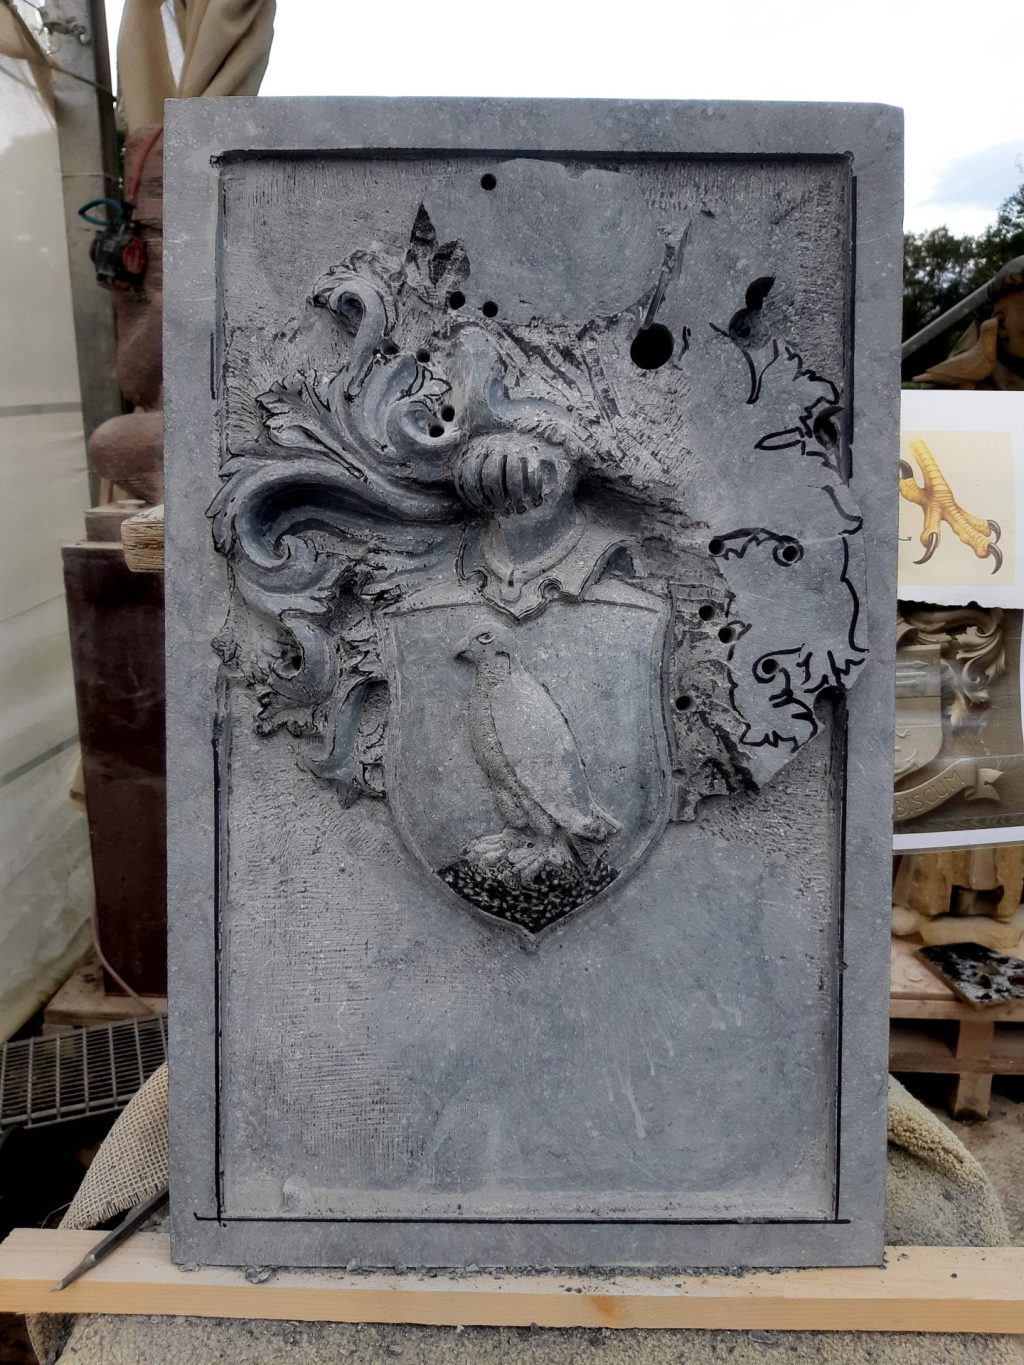
Once all the shapes are just about right, the detailing and finishing of the stone coat of arms starts. That is usually what takes the most time. I tapered the shield a little bit to make it all a bit more playful, and also gave it a good bulge, in order to give it some tension. But everything needs to be crisp in the end, otherwise it will end up as a complete mess and not easy to read. So next week I'll still be working a long time making it all crisp and sharp, and with carving the letters. And the edge still needs to be carved straight.
Timelapse in photos.
Read more in the following report ↑