Saturdays project: two Kalasams in dolomite

Strict Confidentiality!

It has been a while since I shared a project, and that's because our current project is a big one. Not only do we need to make a lot of parts for it, but also a lot of this work is new and exciting. I can say that it concerns the façade reconstructions for the church of Veghel, but the details remain a surprise as it will become a gift to the city/village. We have been busy for more than a year with the preparations, reconstructions and the sculpting itself. Meanwhile the work on installing it all is progressing quickly and we're already working on carving the final parts, but we will keep the icing on the cake a secret for a while. This is also an exciting part for us, of which we very much look forward to the result. Update: the work has now been placed and unveiled. read more under this link↑ and further messages.
Saturdays project

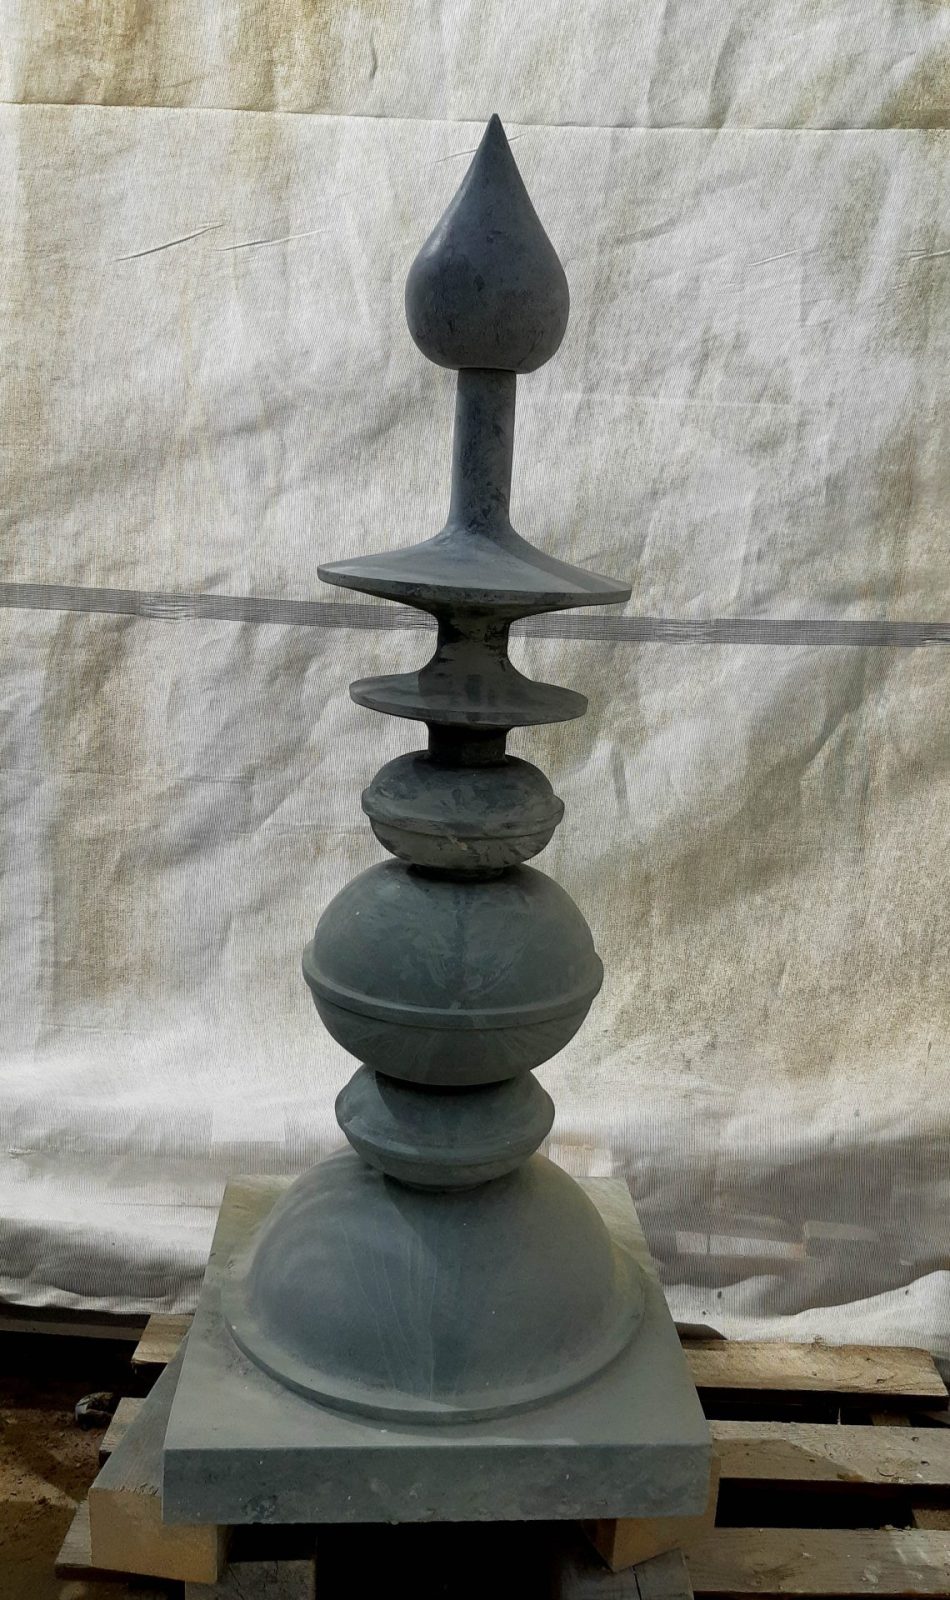
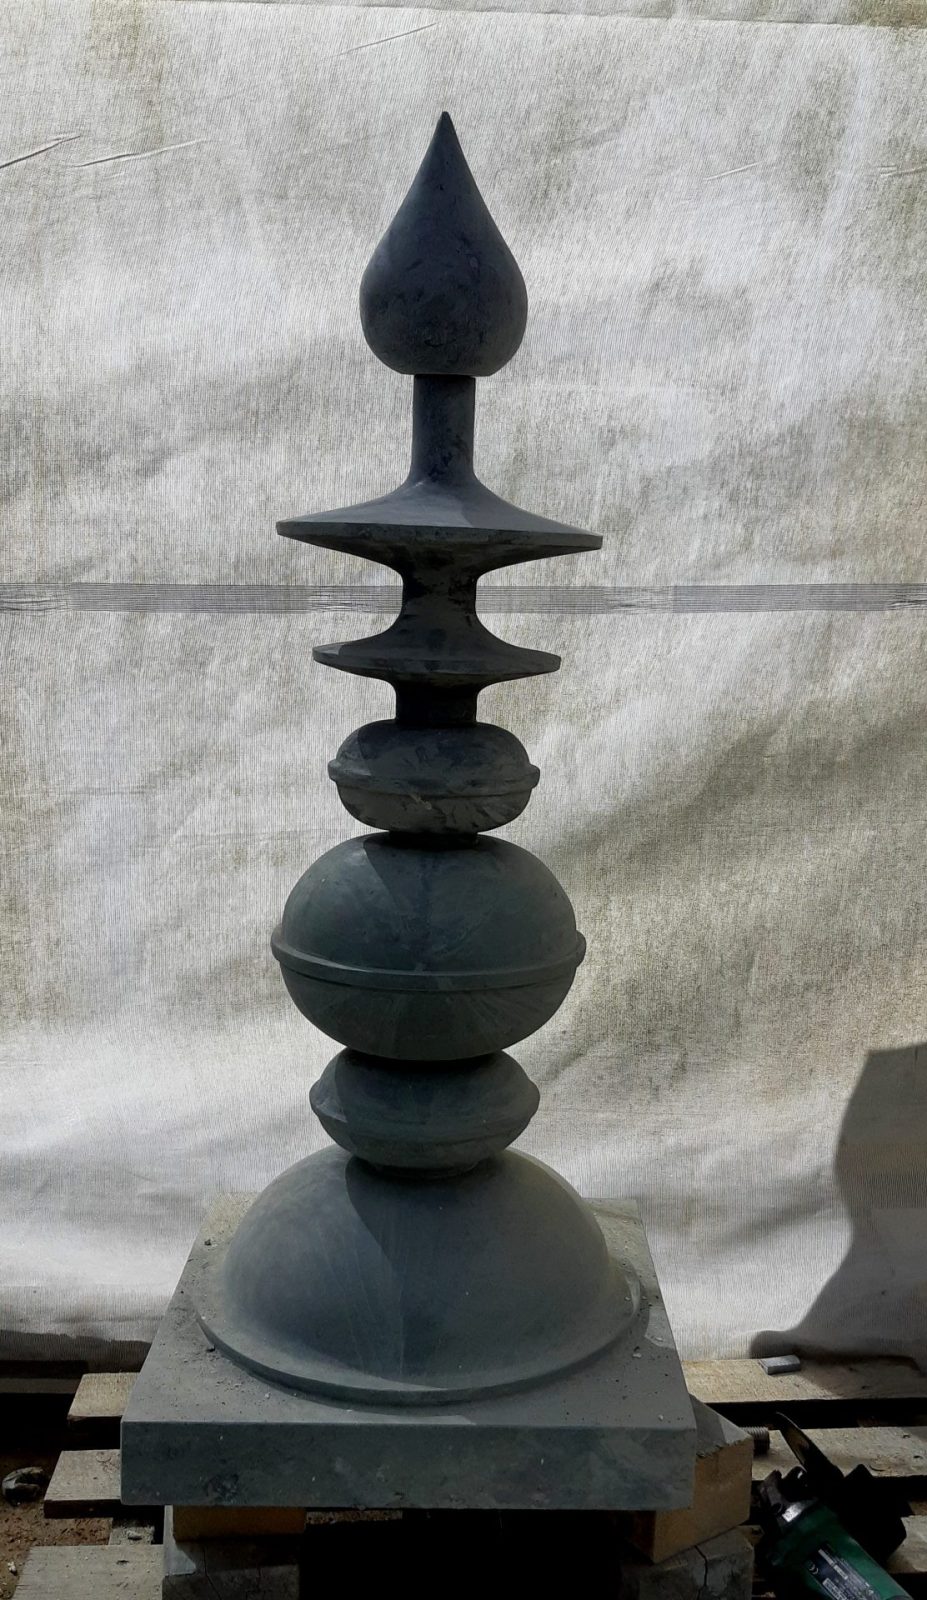
But in addition to all the hustle and bustle in Veghel, I still saw an opportunity to make good use of my Saturdays and carve two temple finials in the same green dolomite limestone from which the plinth for my father's statuette "Surrender’ was made, as well as his tombstone.
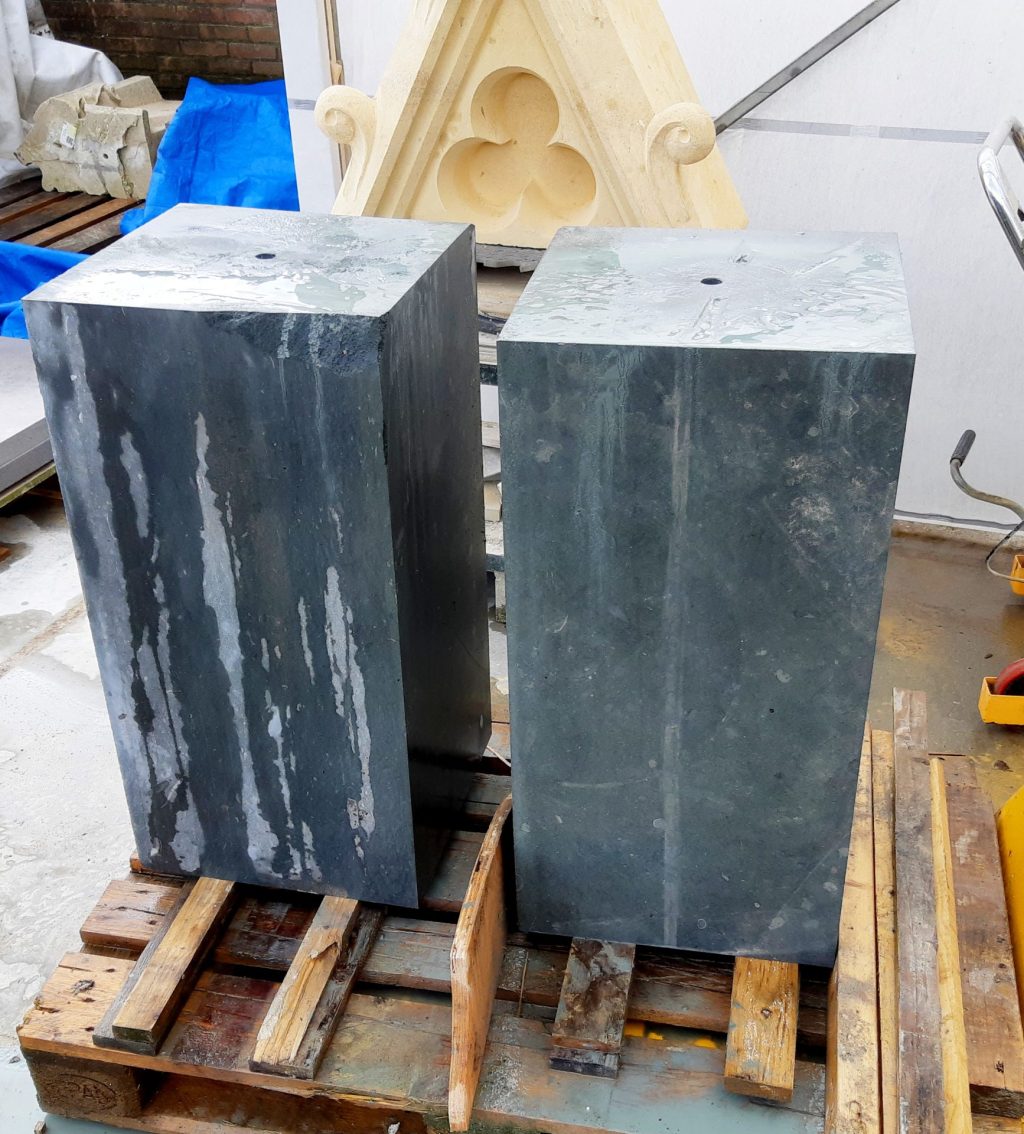
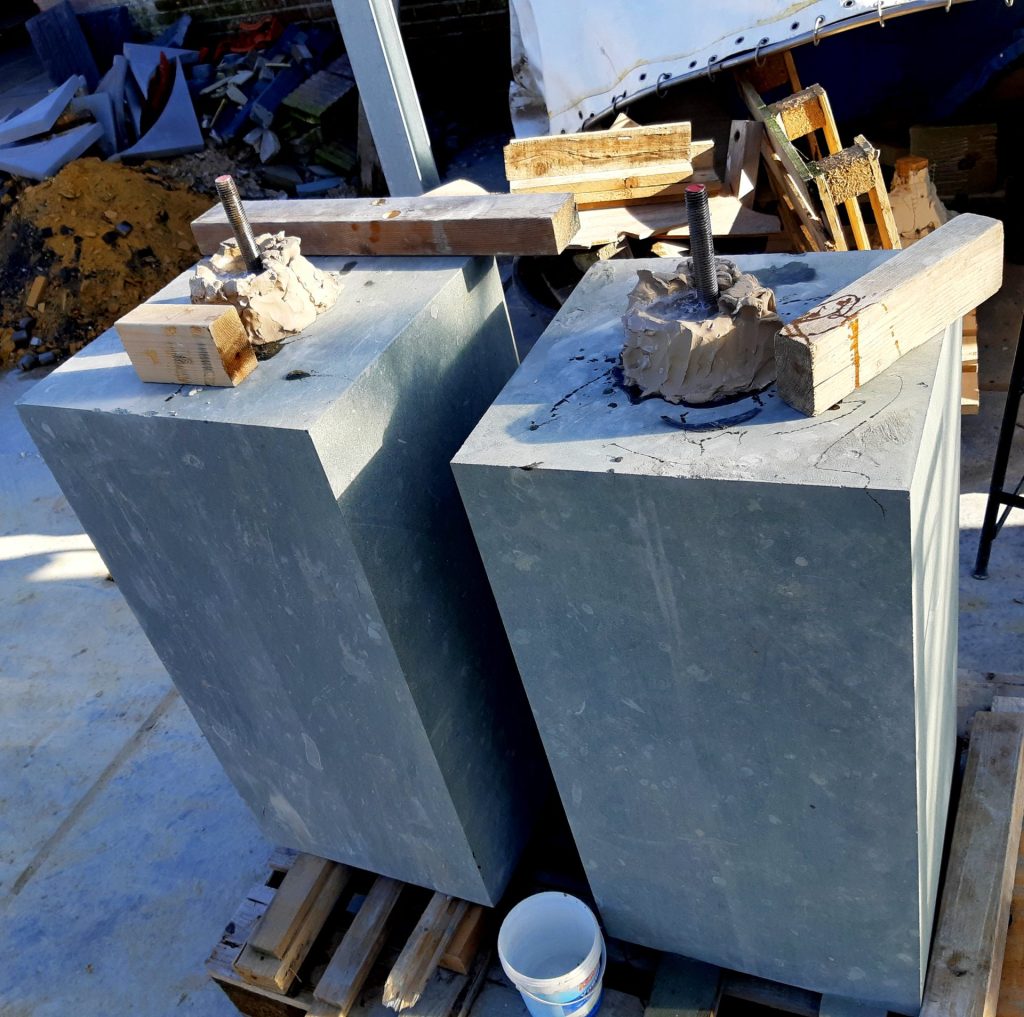
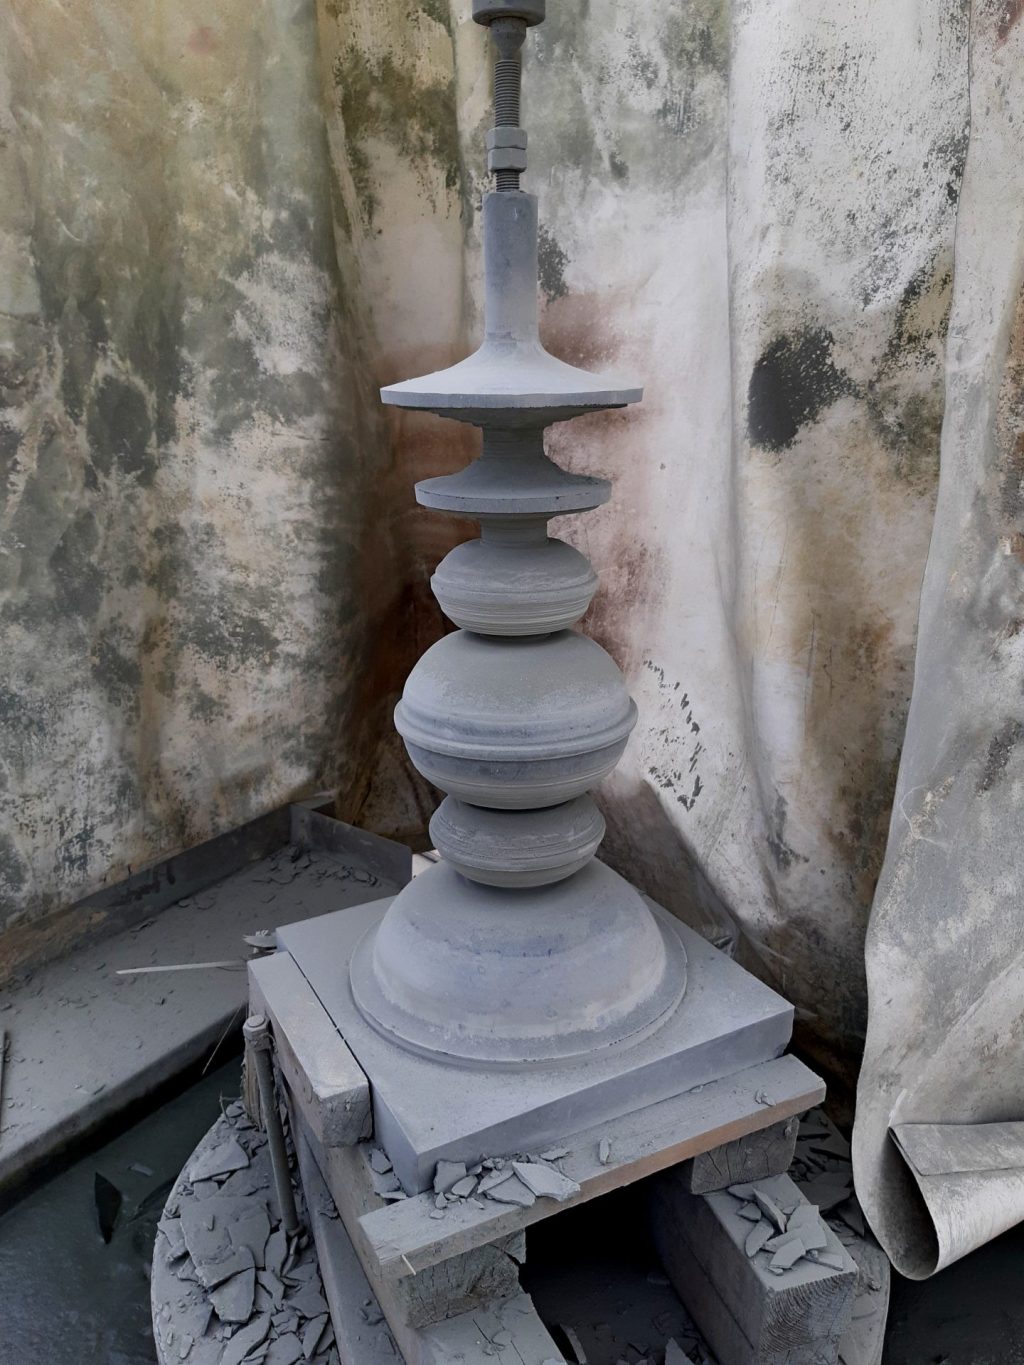
This was a venture that required some planning as it was going to be very thin and yet needed to remain strong. How did I do that? I didn't want this ornament to break in half after a few years outdoors, so I decided to glue in a stainless steel threaded rod. I drilled a hole in the middle of the 80cm tall stone with a diamond drill, well aligned, so that I would end up right about in the middle on the other side. It needed to be really sturdy right away, so I chose a threaded end of 20mm thick. This one need to stick out the bottom for 15 cm and at the top for 5 cm, so I thought to seal the stone with clay and pour some epoxy around the threaded rod. But it was still very cold outside and the epoxy would not flow properly.
Retry

The second attempt was with a much thinner cast epoxy. I poured this in from the other side, via a clay bowl, and this glue did flow all the way through. Success, I thought. But then it turned out in the following week that the epoxy wouldn't harden fully! To my disappointment, I had never read that you need to use this glue above 15 degrees Celsius, and it was only 5º Celsius. The stuff stayed a bit rubbery and although it hardened a bit more in the following month, it never really cured fully. But… actually that is better. These temple ornaments will be placed on the roof and will have to deal with considerable temperature differences. Then it is beneficial if the binding is not too rigid.
Kalasams

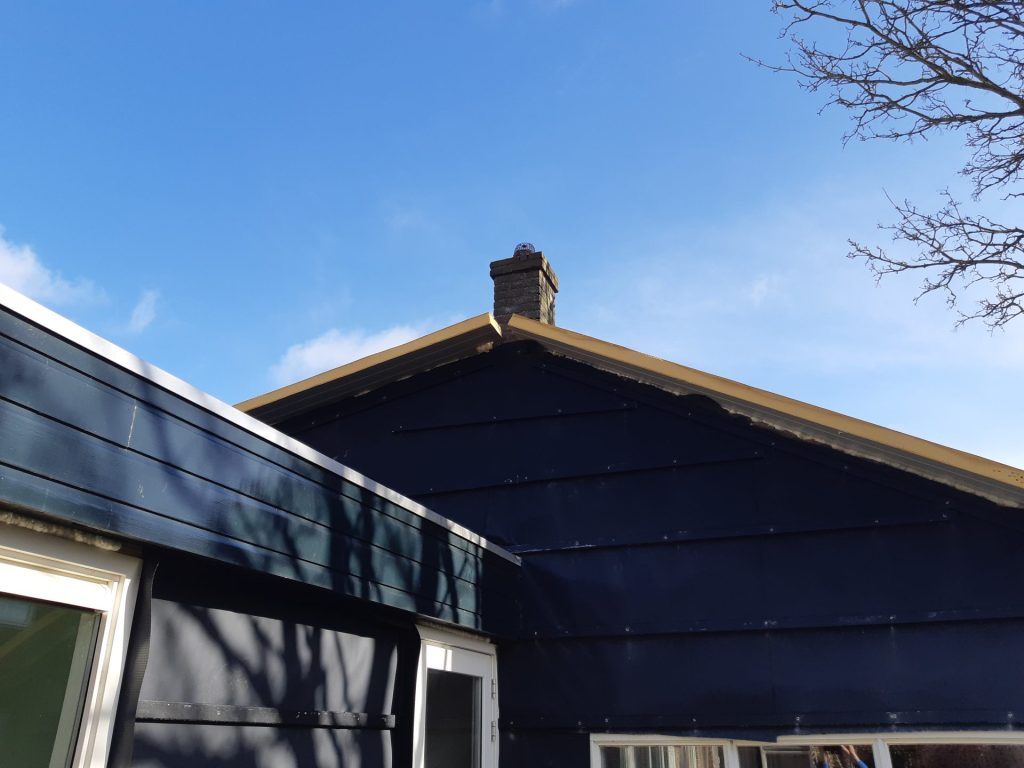
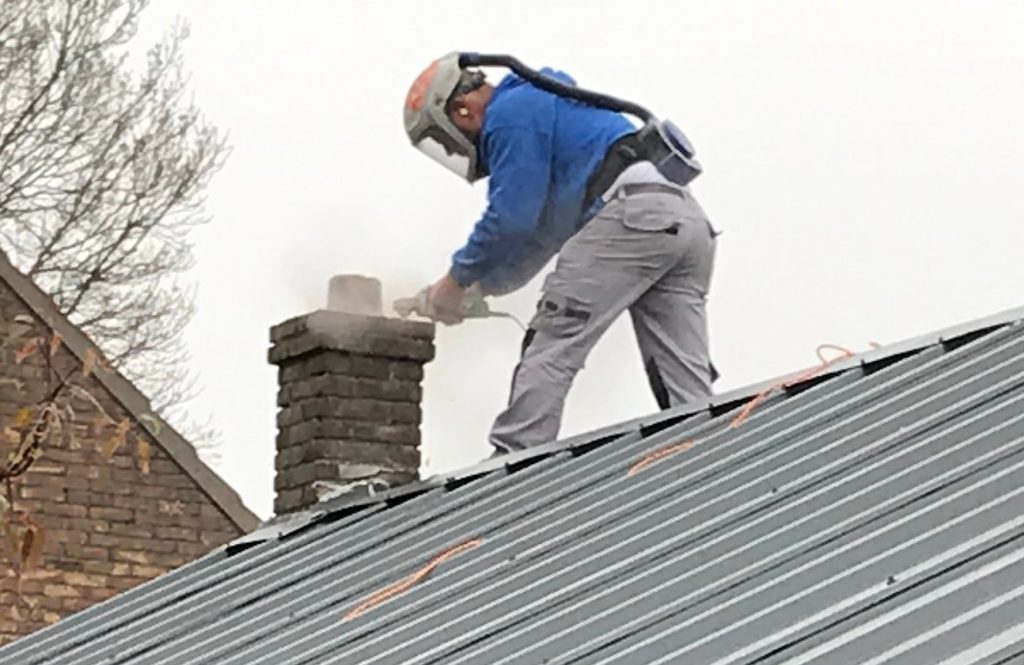
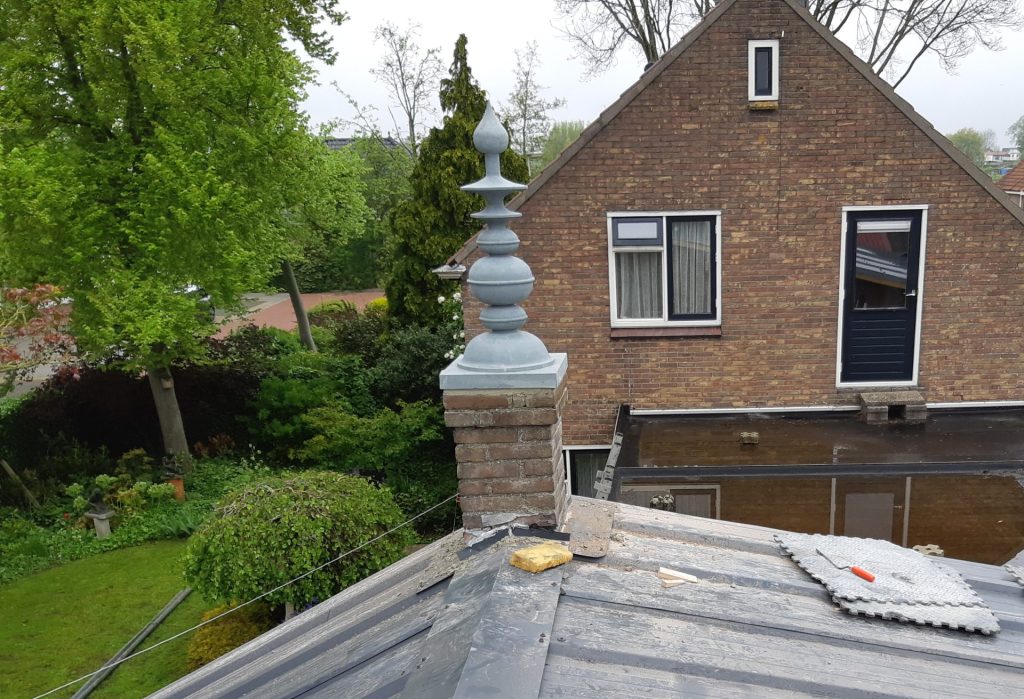
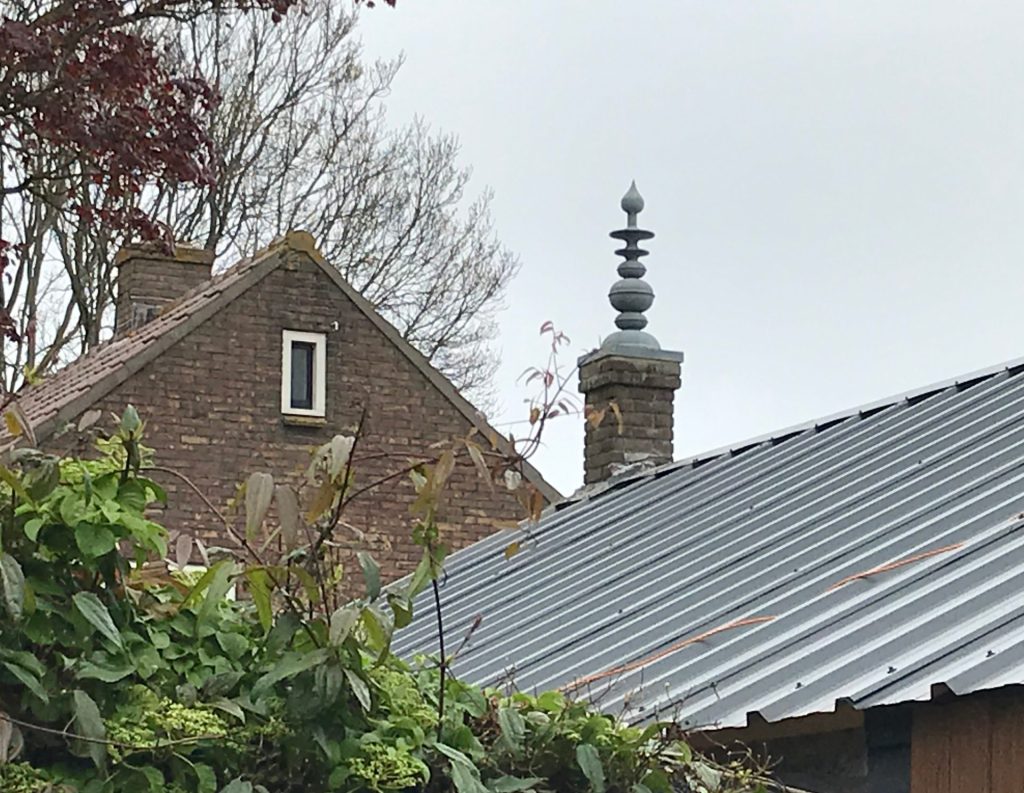
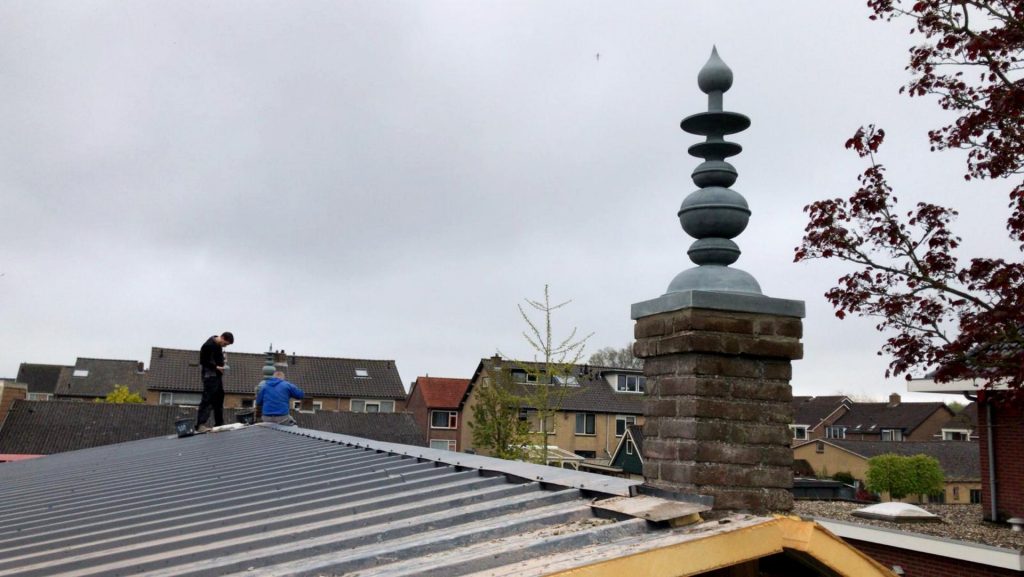
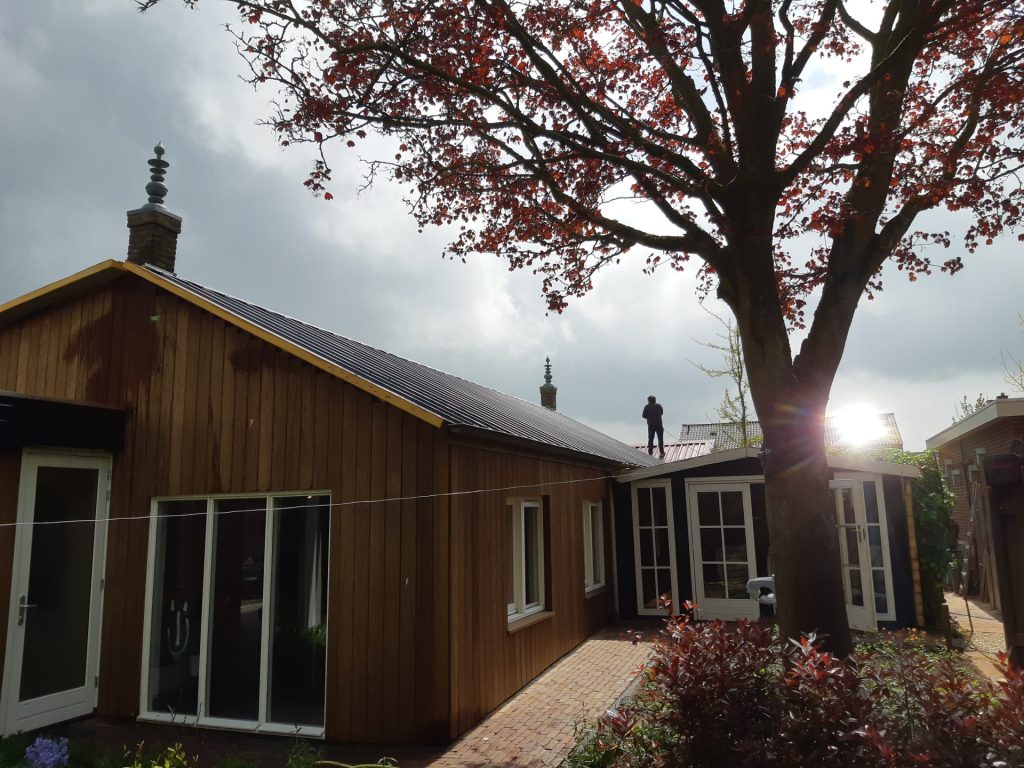
Kalasams are ornaments atop a Hindu temple, usually made out of brass but sometimes stone. Traditionally they were used to store rice, so that after a disaster it could always be resown. They are intended to protect the temple. Also see the English Wikipedia. In this case I was asked to make these Kalasams for the temple of Onderdijk. This hall got a new roof, and though first was thought of removing all three chimneys, later on was decided to keep the two little ones as a pedestal for these kalasams. They serve as the crown on top of the temple.
Drawing and sawing


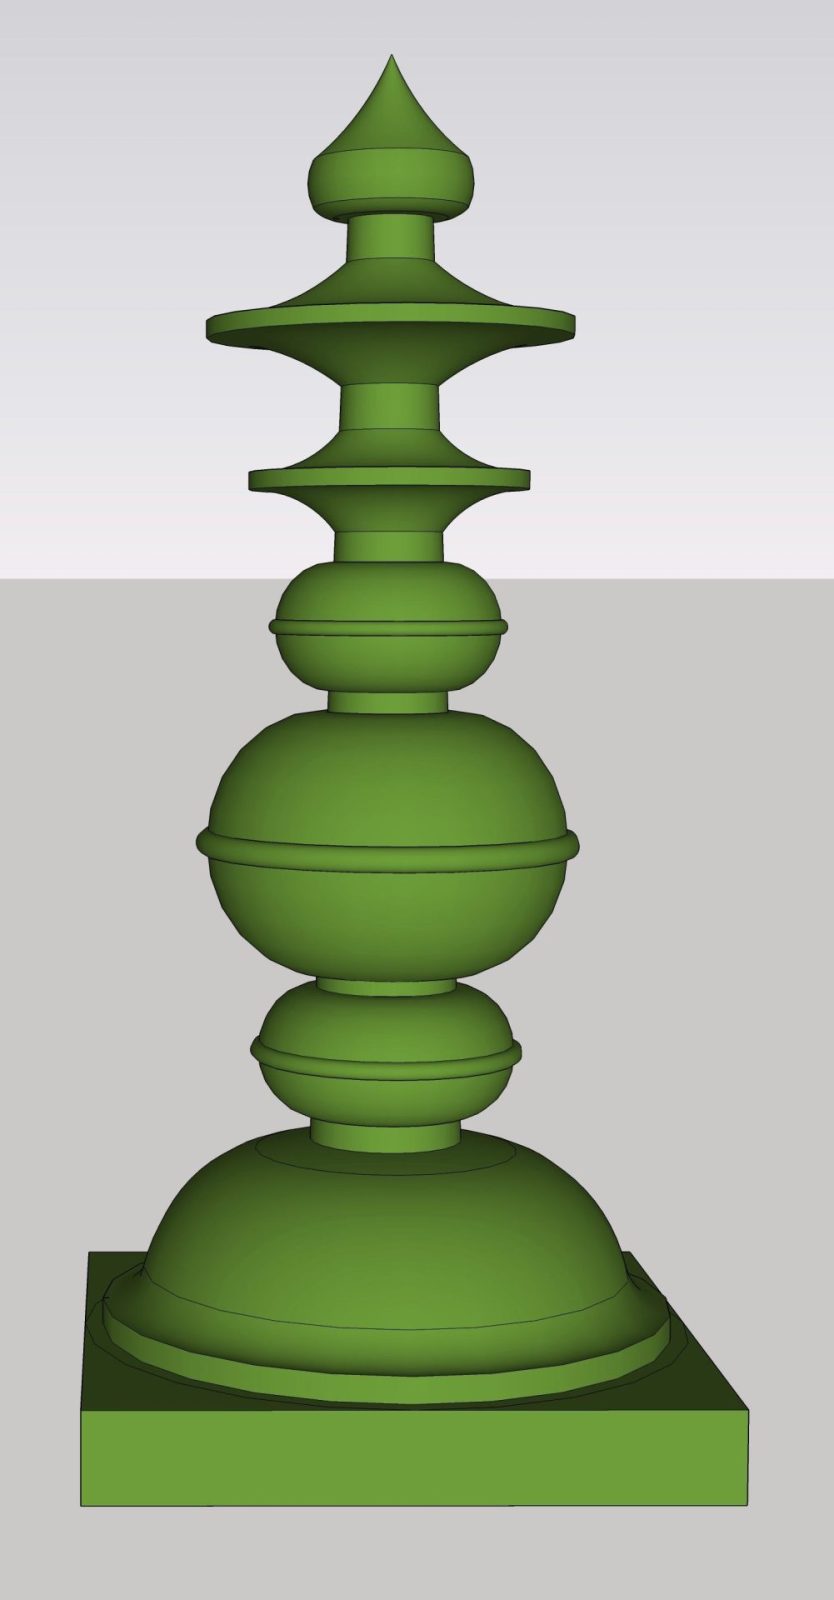
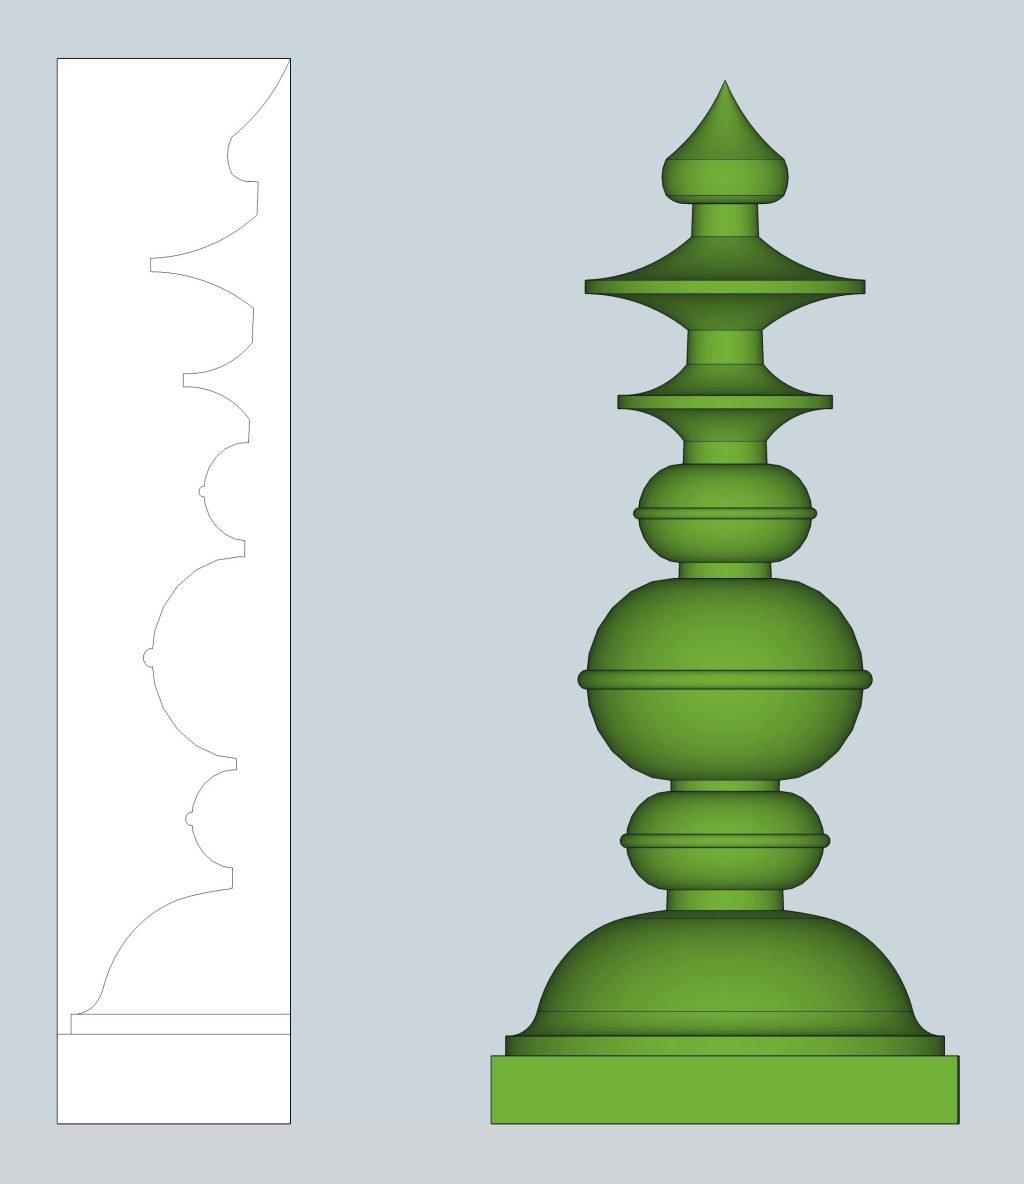
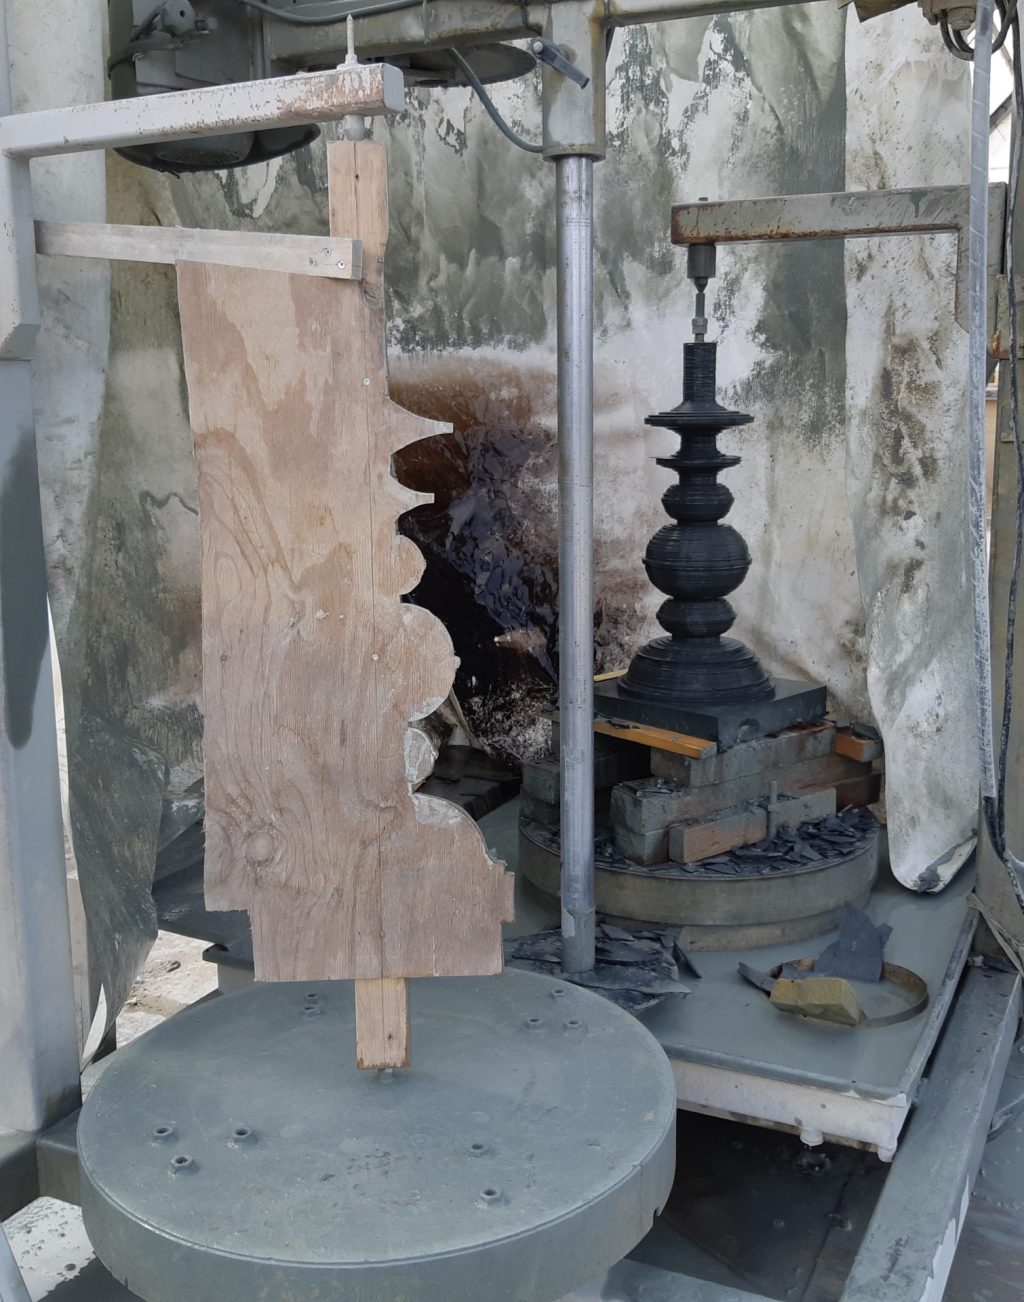
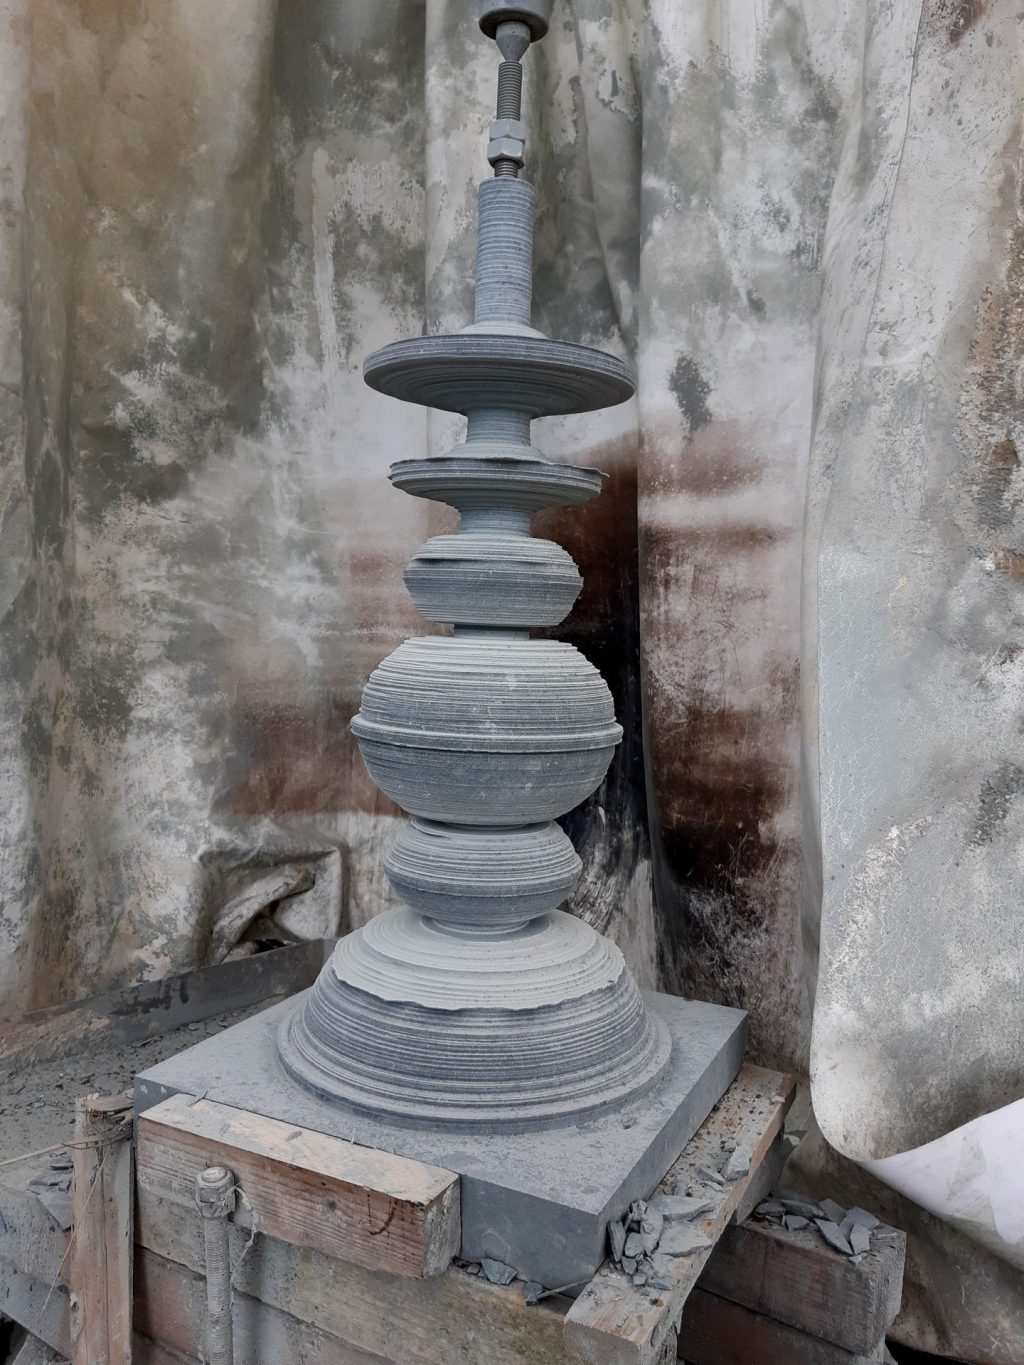
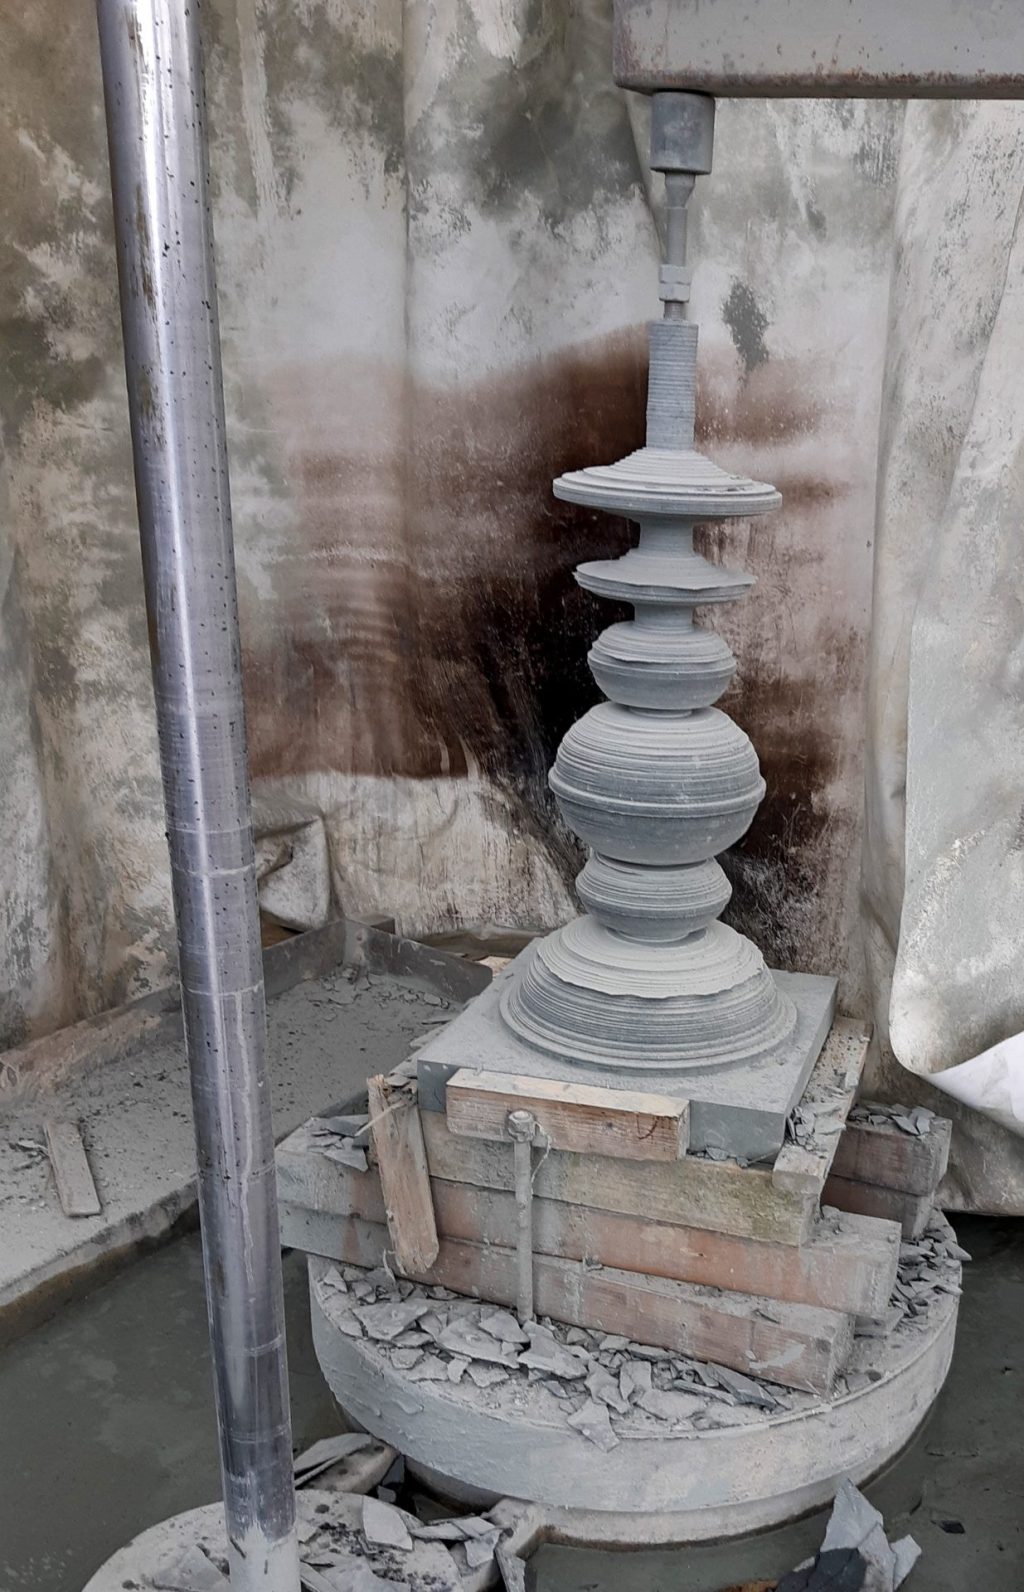
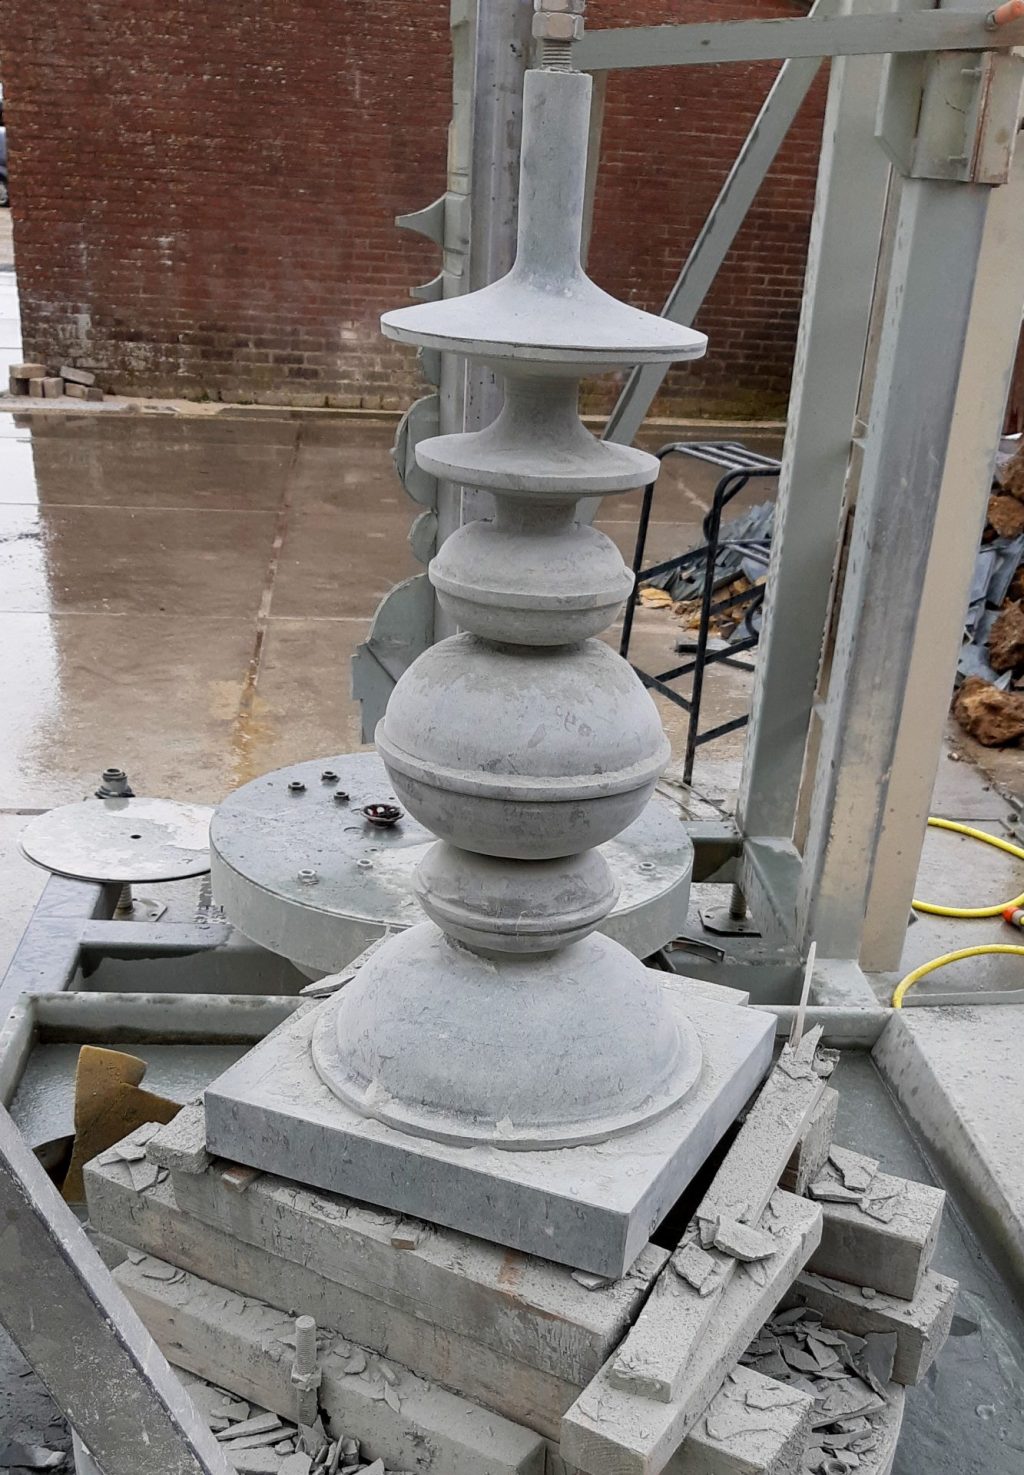
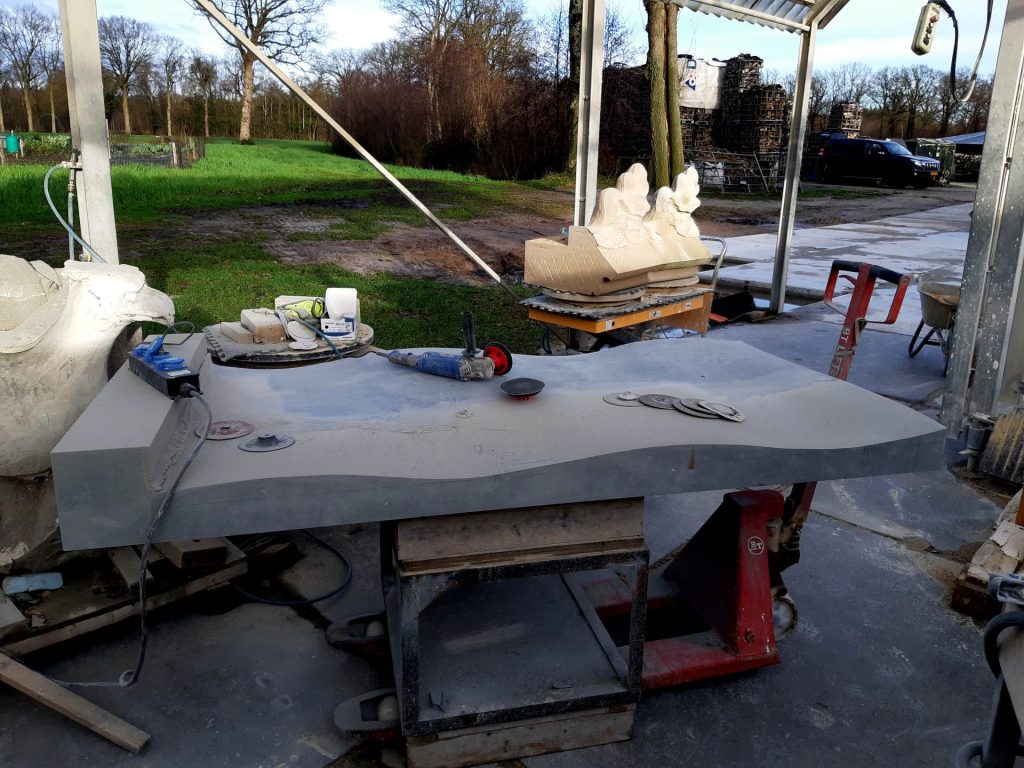
I drew a model on the computer based on photos using Sketchup, from which, after some adjustments, I printed a profile. I used that for a full-size wooden profile template, that I could use on my sculpture sawing machine. With this copying saw I was able to cut out of the stone, just like a vertical lathe, the ornaments in several steps. However, sawing in dolomite is a very slow process, so I was kept busy for a few days sawing each kalasam.
Buffing and sanding

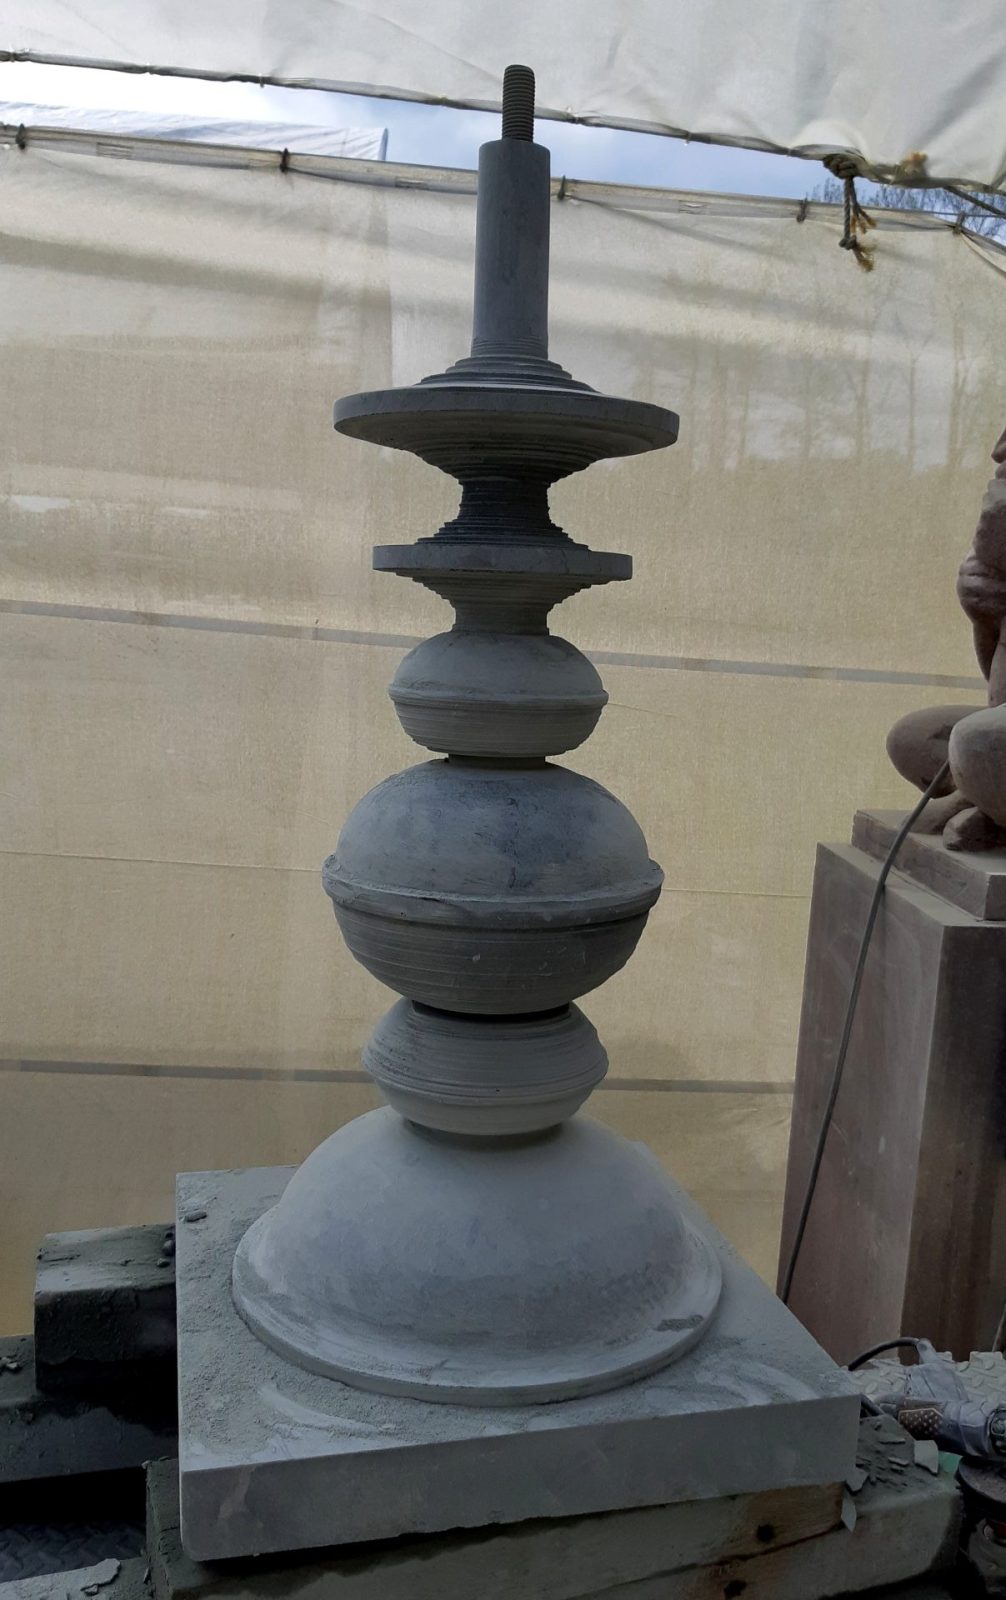
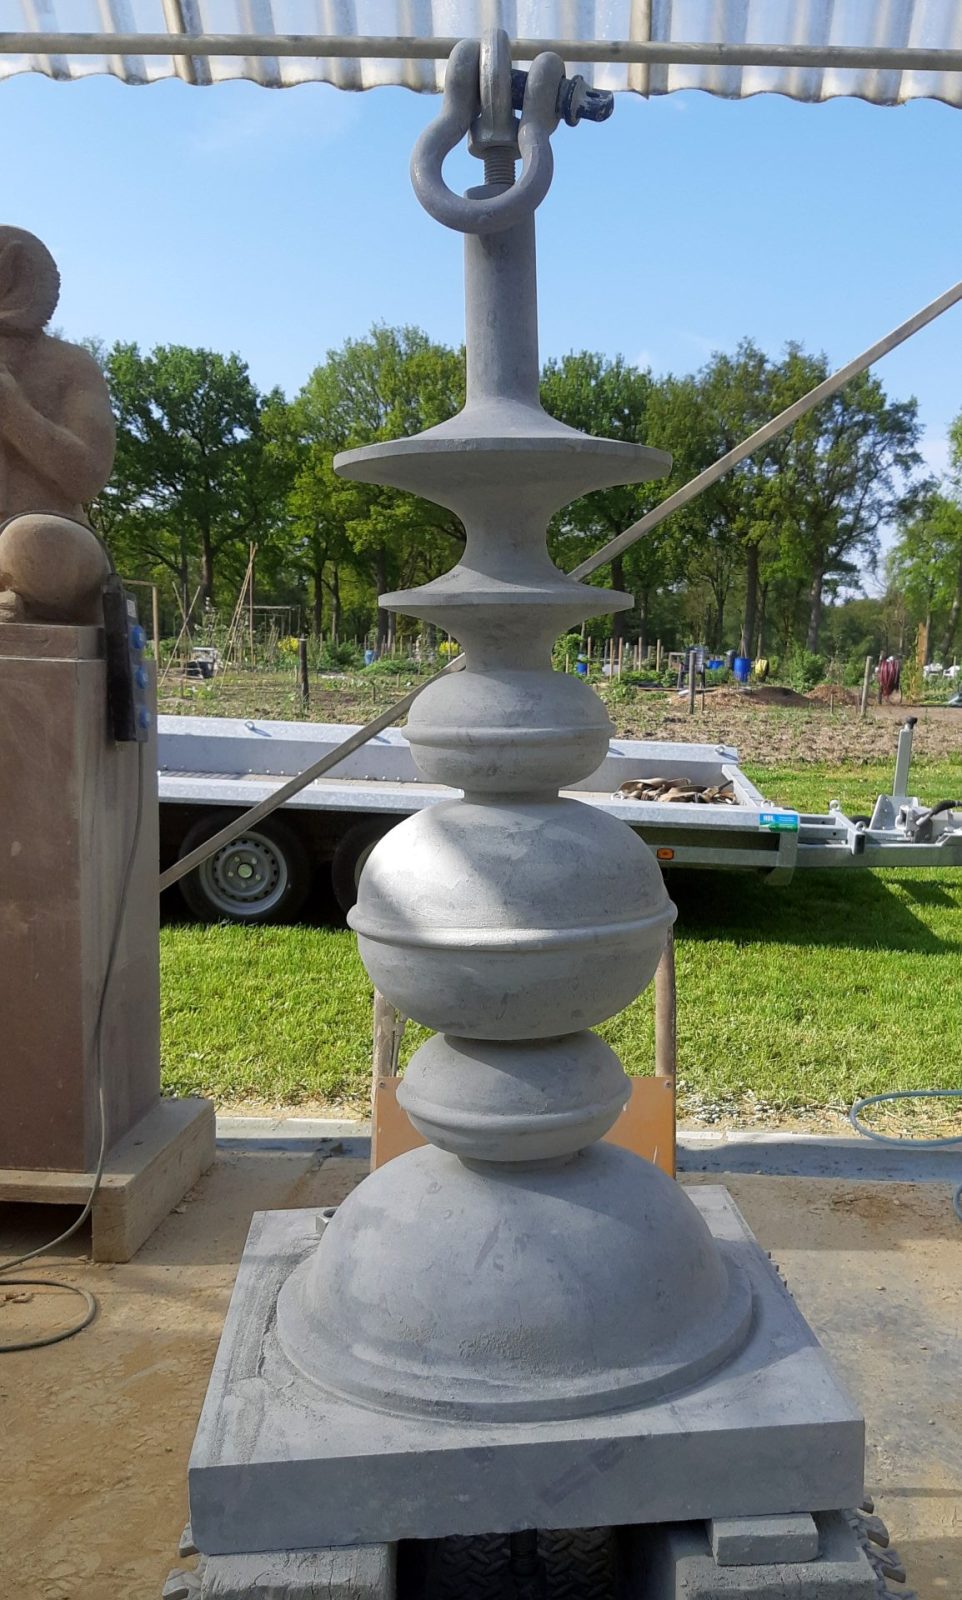
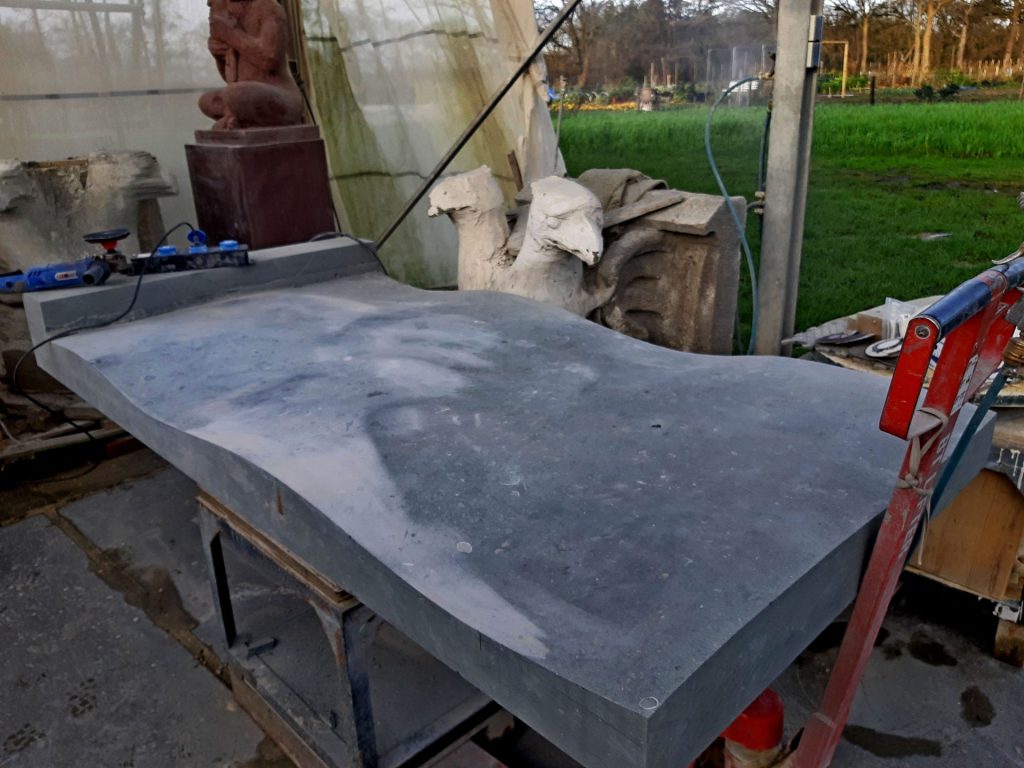
But just with this sawing work you're far from finished. The result is still not accurate enough and very striped because in fact it consists of lots of saw cuts that run horizontally around the ornament. I have been busy shaping for a few more days, sanding, grating and filing until it was to my liking. And because these are all difficult shapes, I just had to do a lot by hand. I finally sanded the two ornaments down to grain 200, so it wouldn't get too dark and shiny. A little bit matte light green, like a copper roof, seemed nice to me. Over time, this stone will weather to this color on its own.
Finial

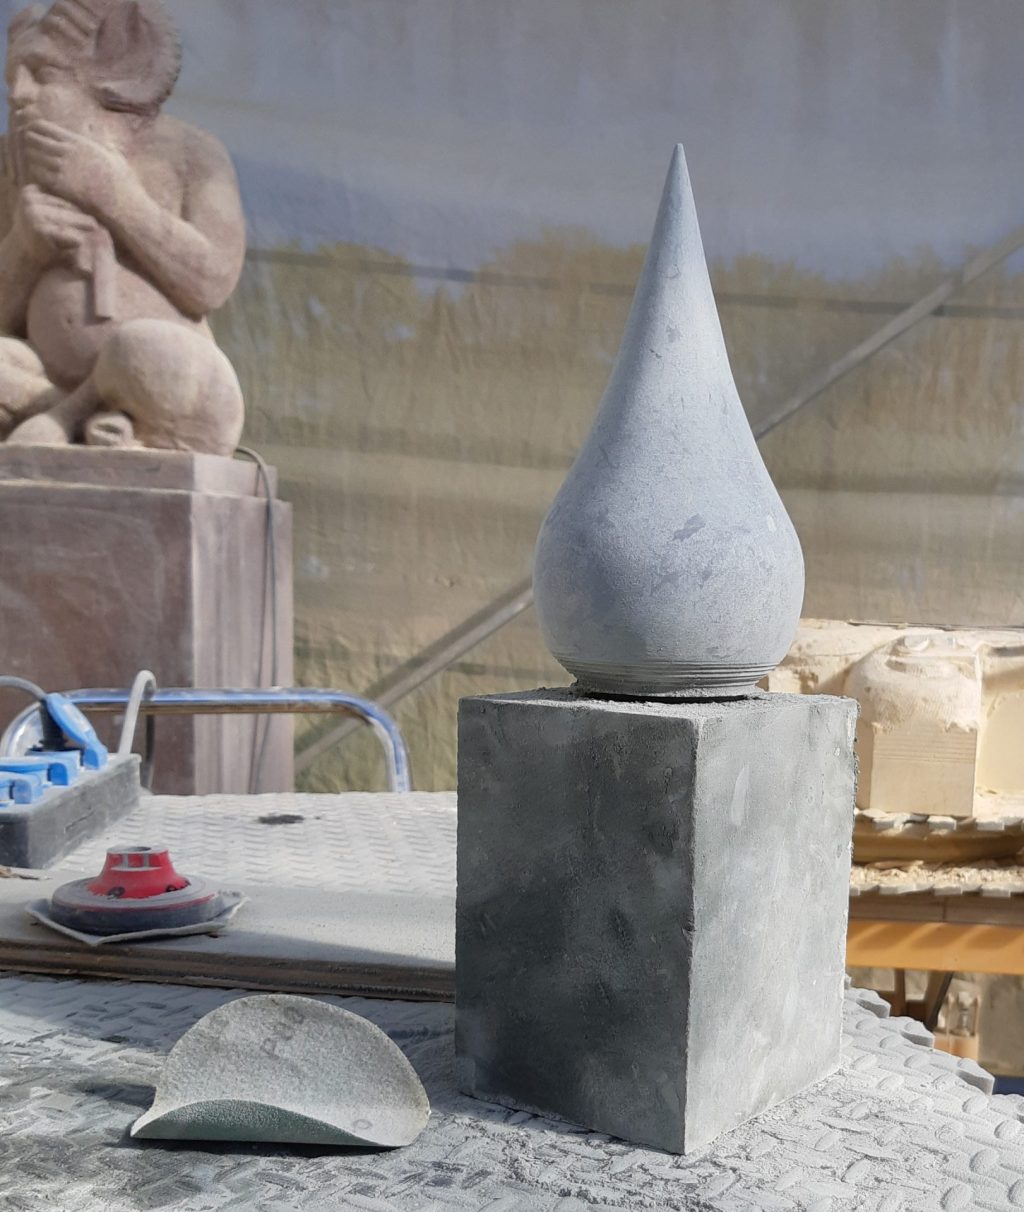
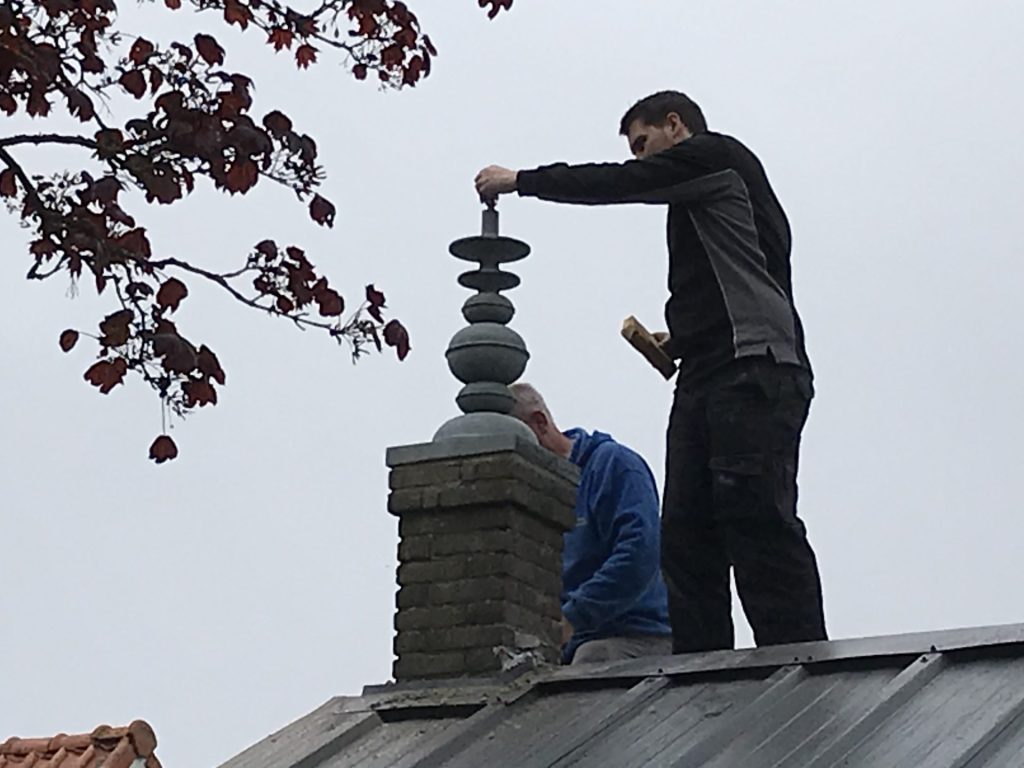
As a last part I still had to make two separate cover knobs, which I also cut out with the lathe first. I had a very slender shape in mind, but when I put the parts together it all turned out to be out of proportion. The stem was still too long and the bud was too much Efteling theme park style. After I had adjusted all that, I was happy. I made it so that the button sits like a lid over the stainless steel threaded rod and the stem. It has become quite a slender ensemble, but the reinforcement in it makes it surprisingly strong.
Installing

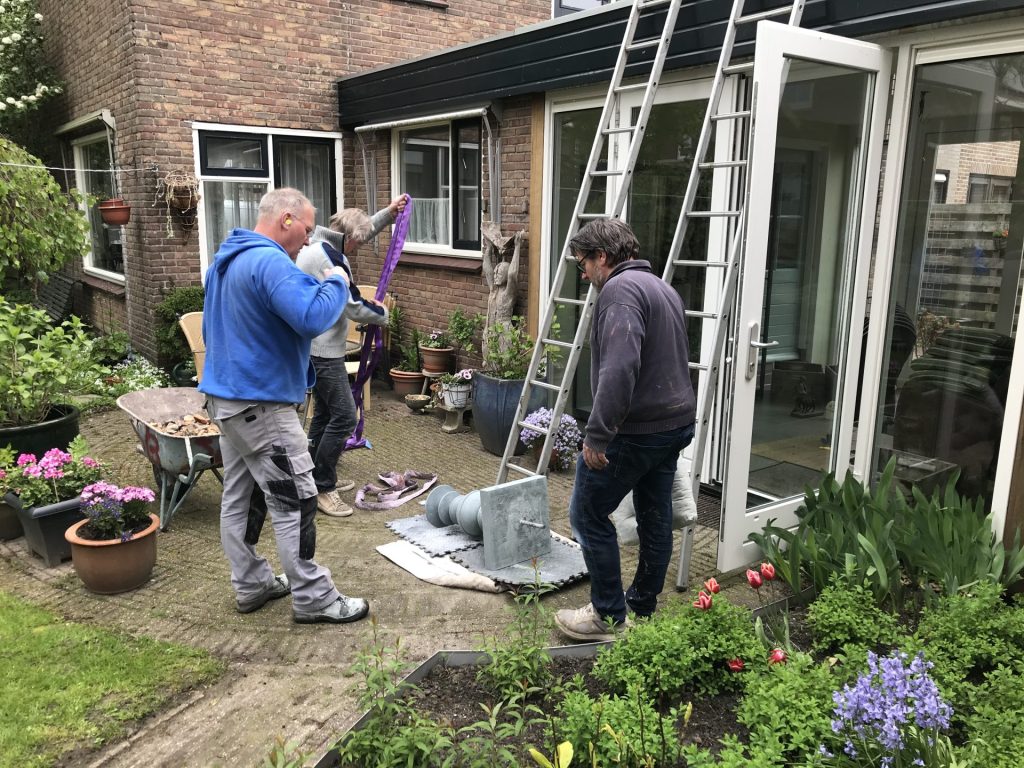
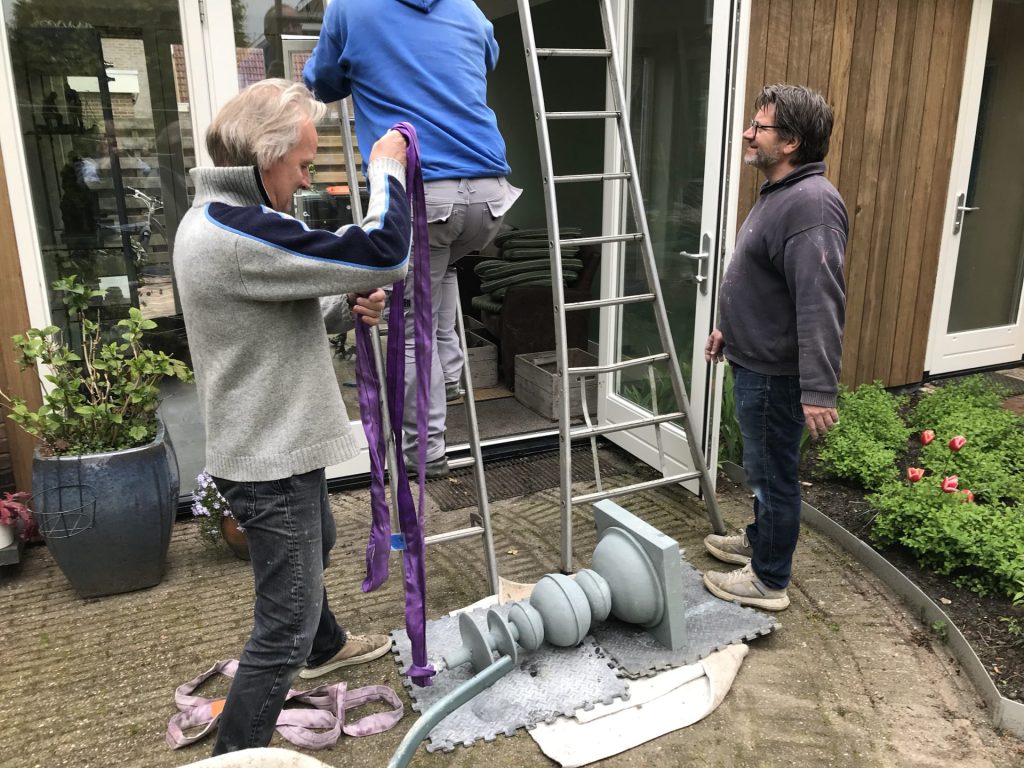
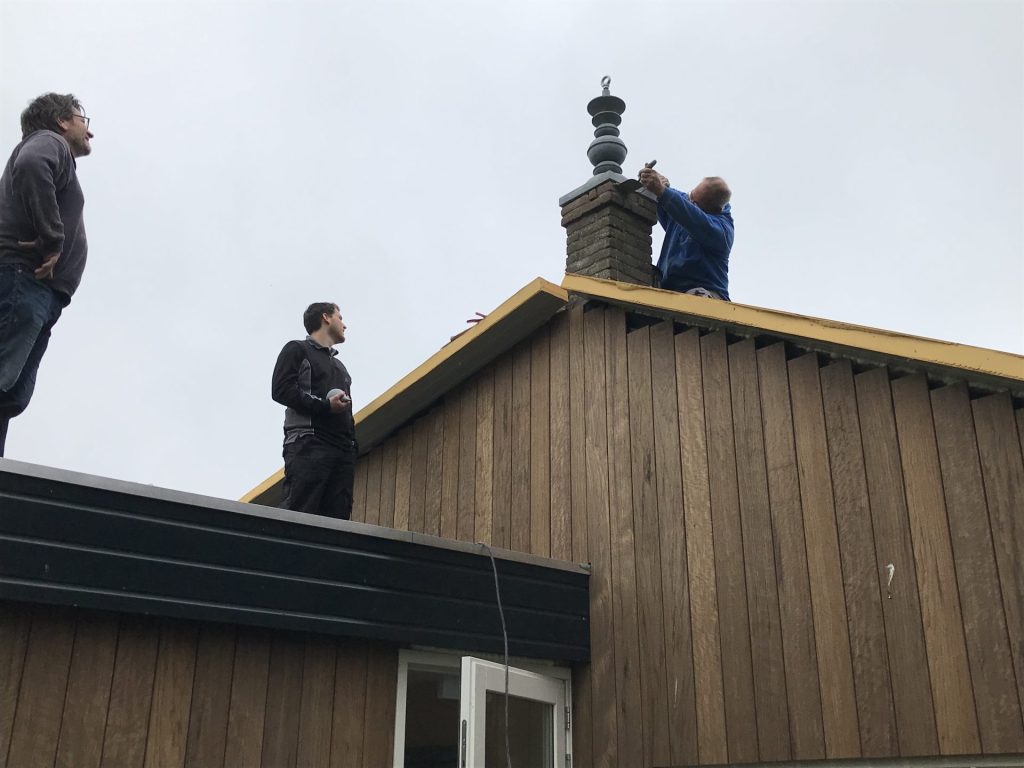
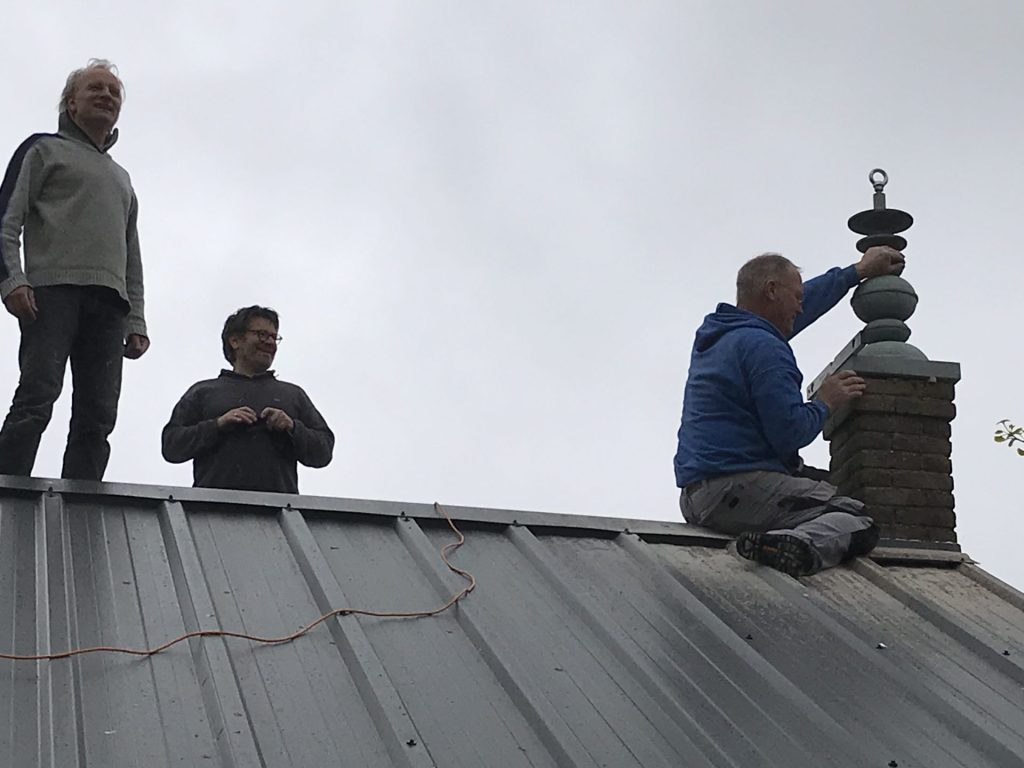
I had thought beforehand that it would be useful if the two Kalasams each consisted of two parts: the actual ornament and a loose peak. Then I could screw on an eye bolt so that I could hoist the piece in the workshop and it could also be handy on the roof.
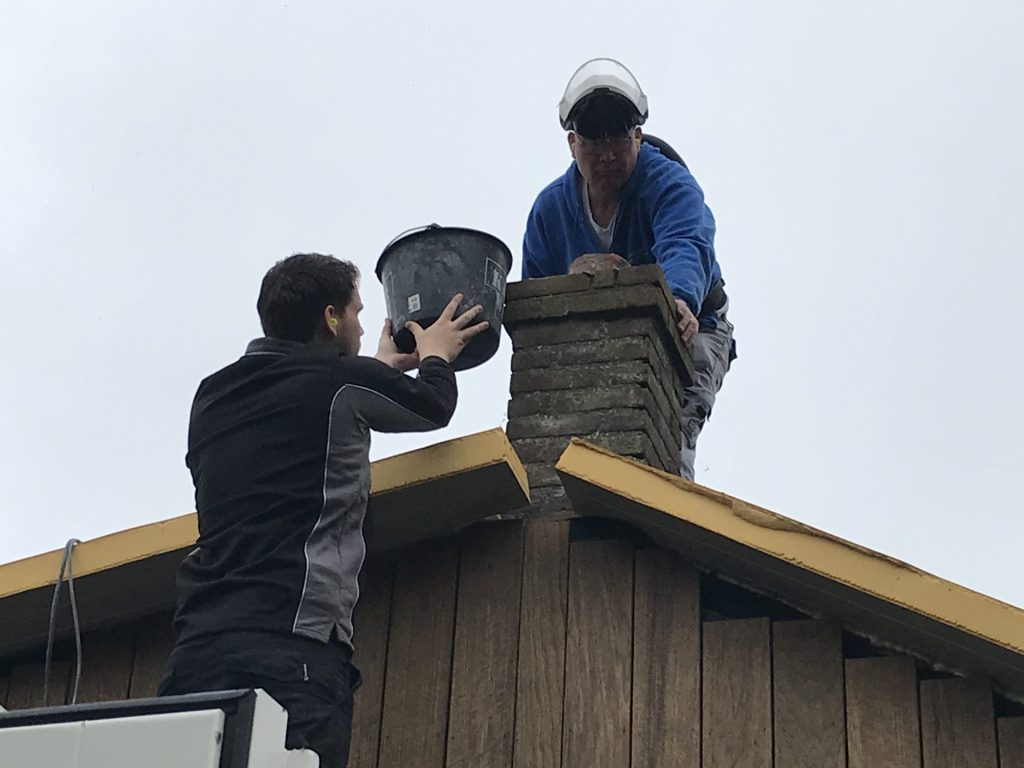
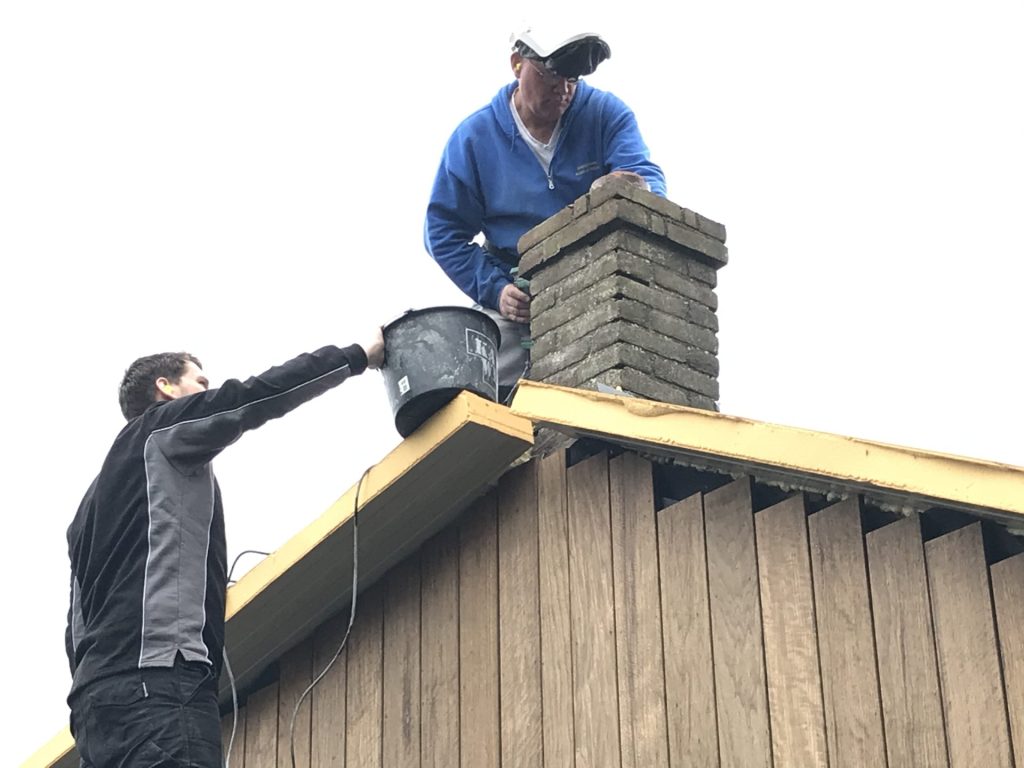
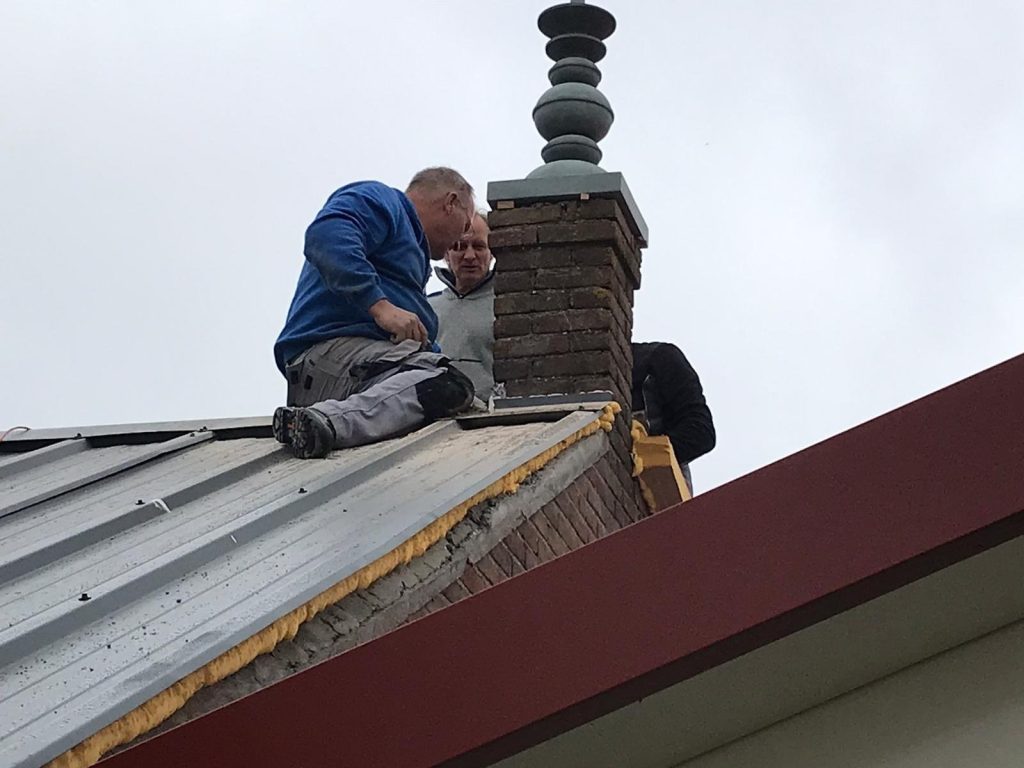
That turned out alright. I had prepared it all well and because many hands make light work, they were in their place on the chimneys in no time. With a long lifting strap onto the eye bolt, two men on top and two on the bottom, we could easily hoist them onto the roof. I suspect they weigh around 60 kilos, but it was doable this way. They are 80 x 40 x 40 cms tall. A little bit of adjusting, attaching the cap and filling the joints and it was done.