Modelling griffin in clay and plaster

Continuing with the large griffin

It's a project with long interruptions, because there's always work coming in between that seems to be much more pressing. But last summer there was a holiday period in which Jelle and I could get to work to finally shape the large mirrored griffins. In my last post on this, from more than a year earlier, I said that these two mirrored griffins will probably be cast in concrete. But I got good news from the customer: on closer inspection he preferred sandstone originals to concrete casts. We can proceed to carving them in stone! I decided that this is quite a big project for me alone and that I would like to make it together with Jelle Steendam both the modelling and the carving. With the combination of both our senses of shape and an extra pair of hands, this will become a great piece of sculpture that I am extremely enthusiastic about.
Not foam but clay

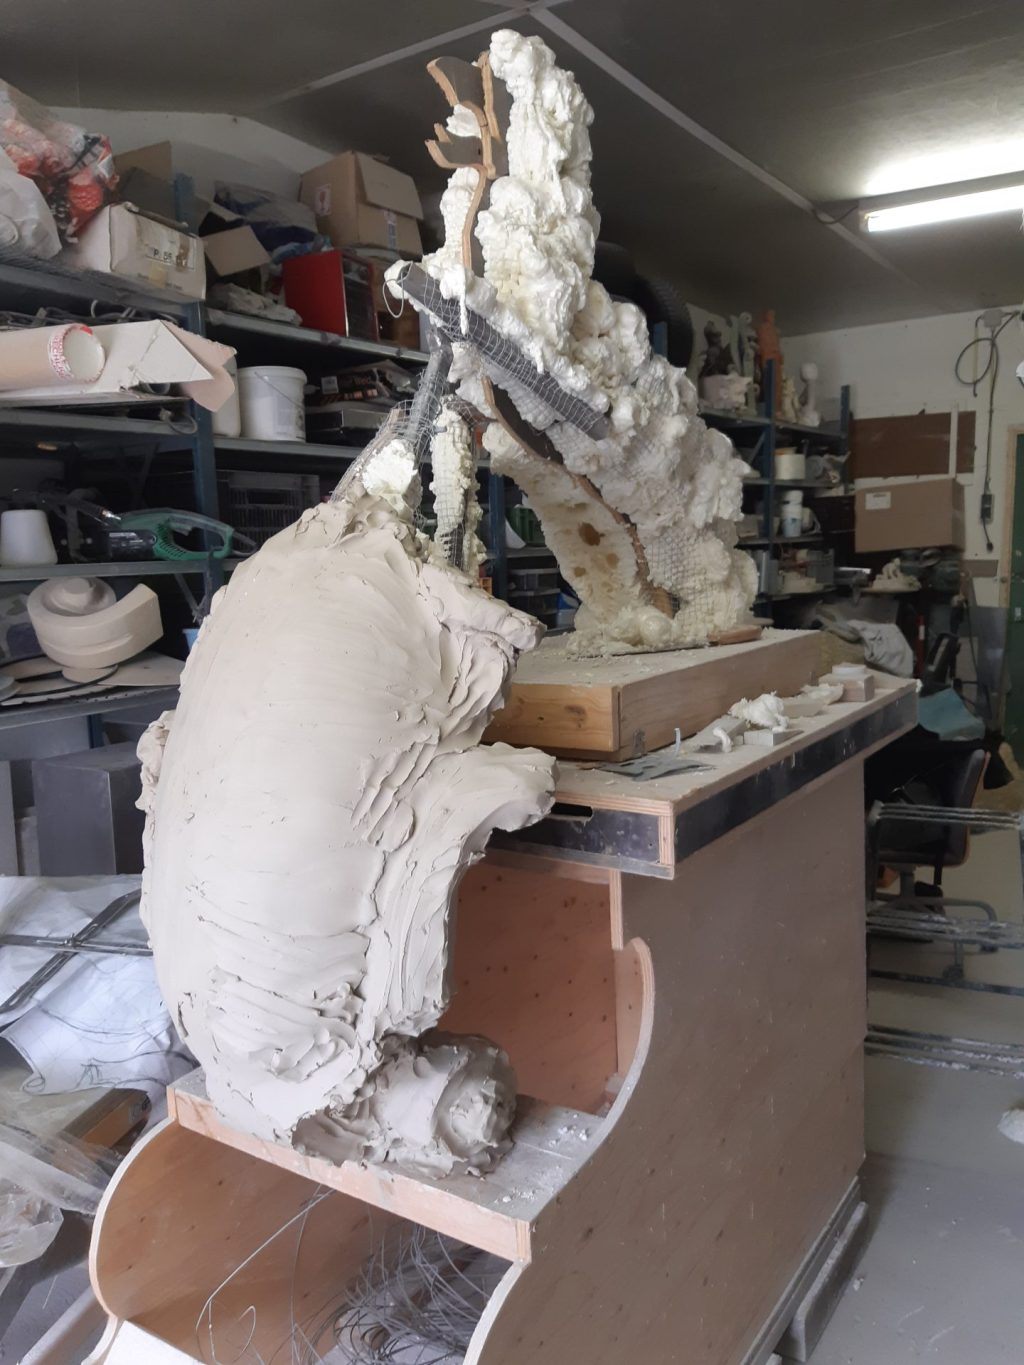
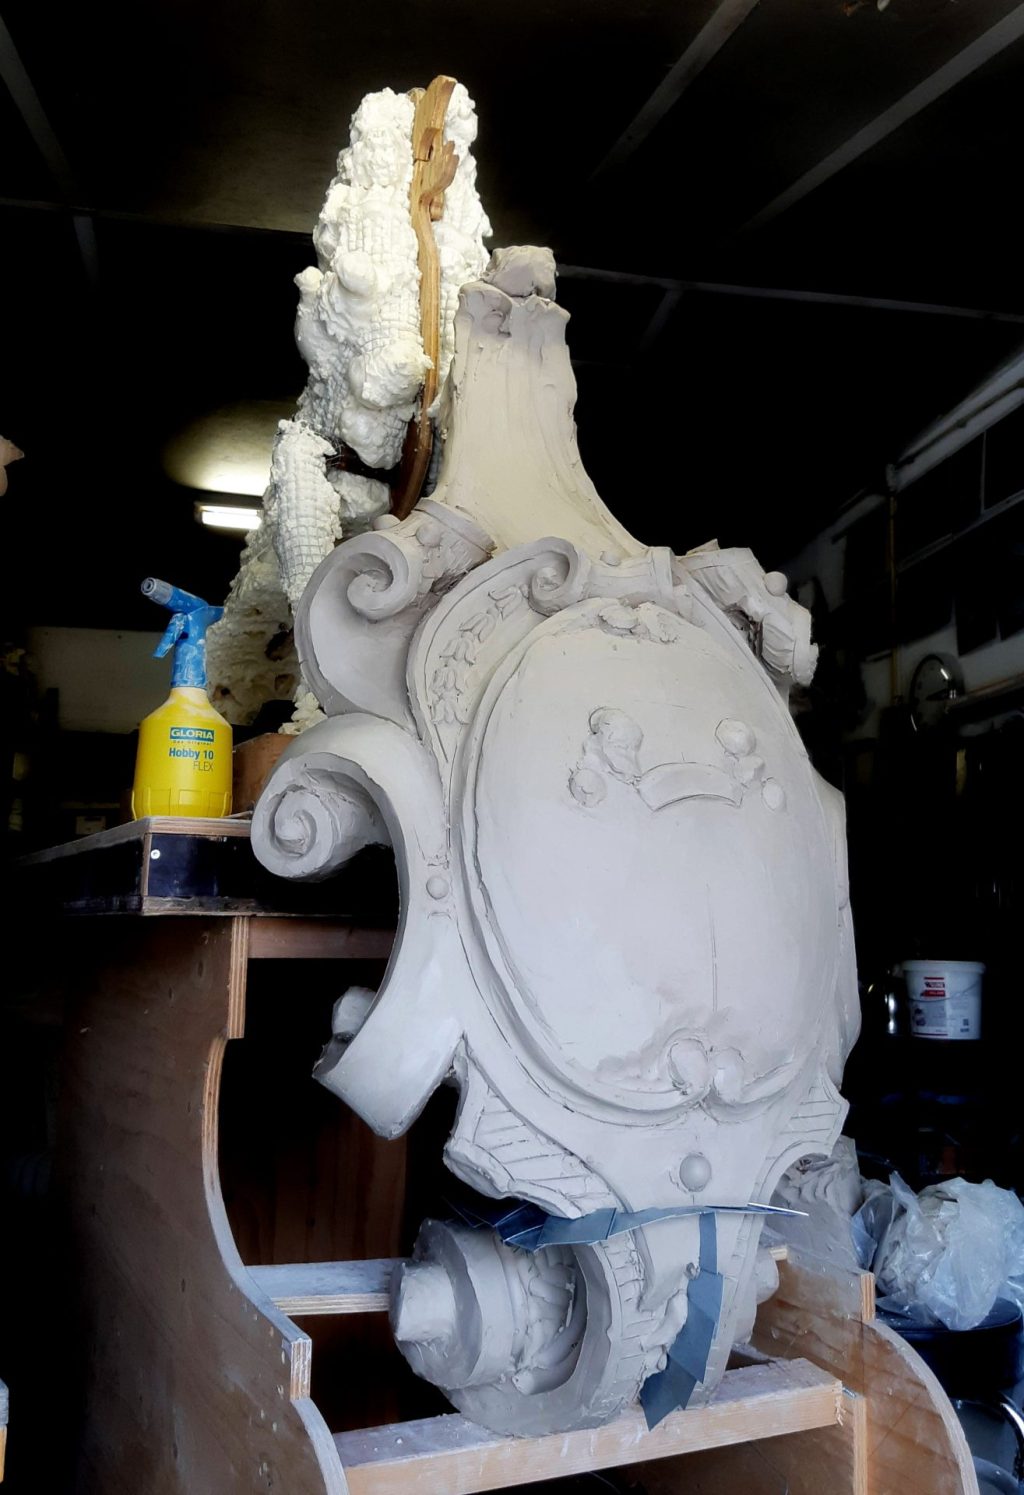
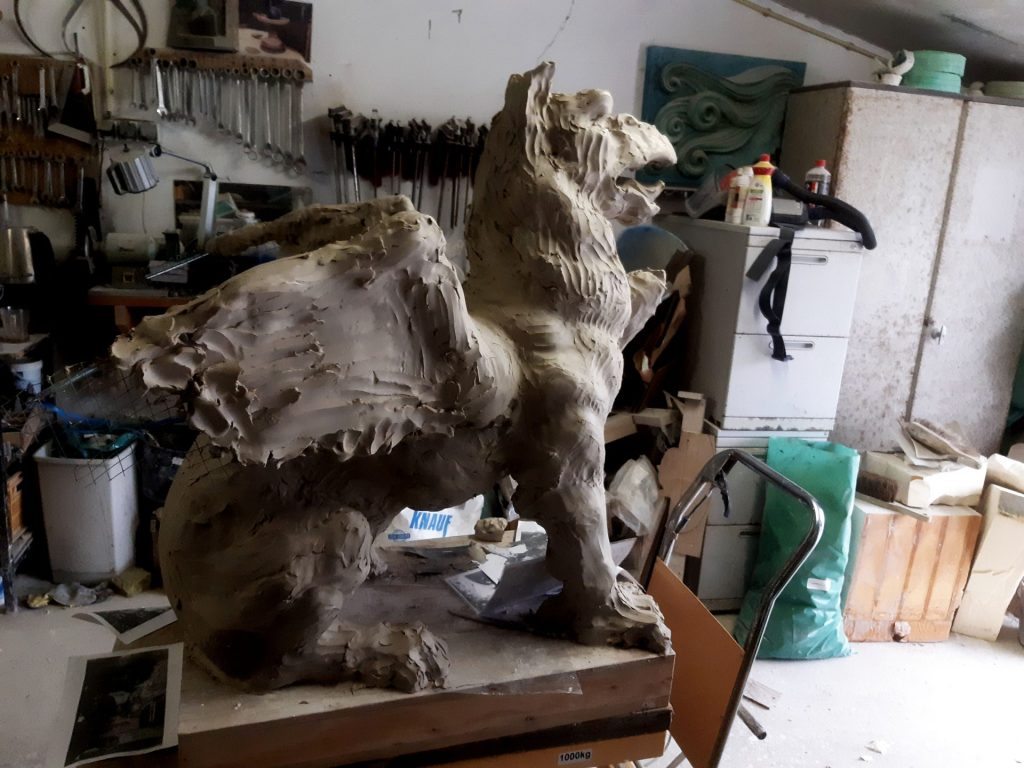
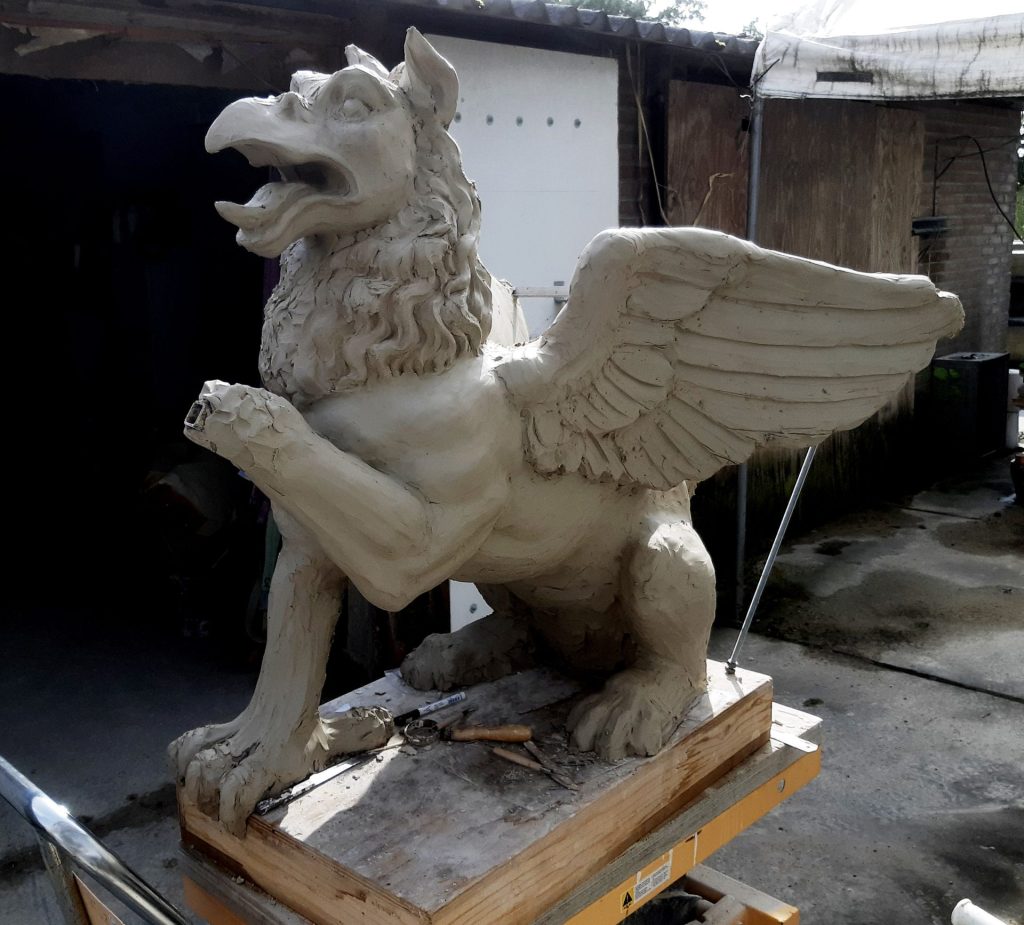
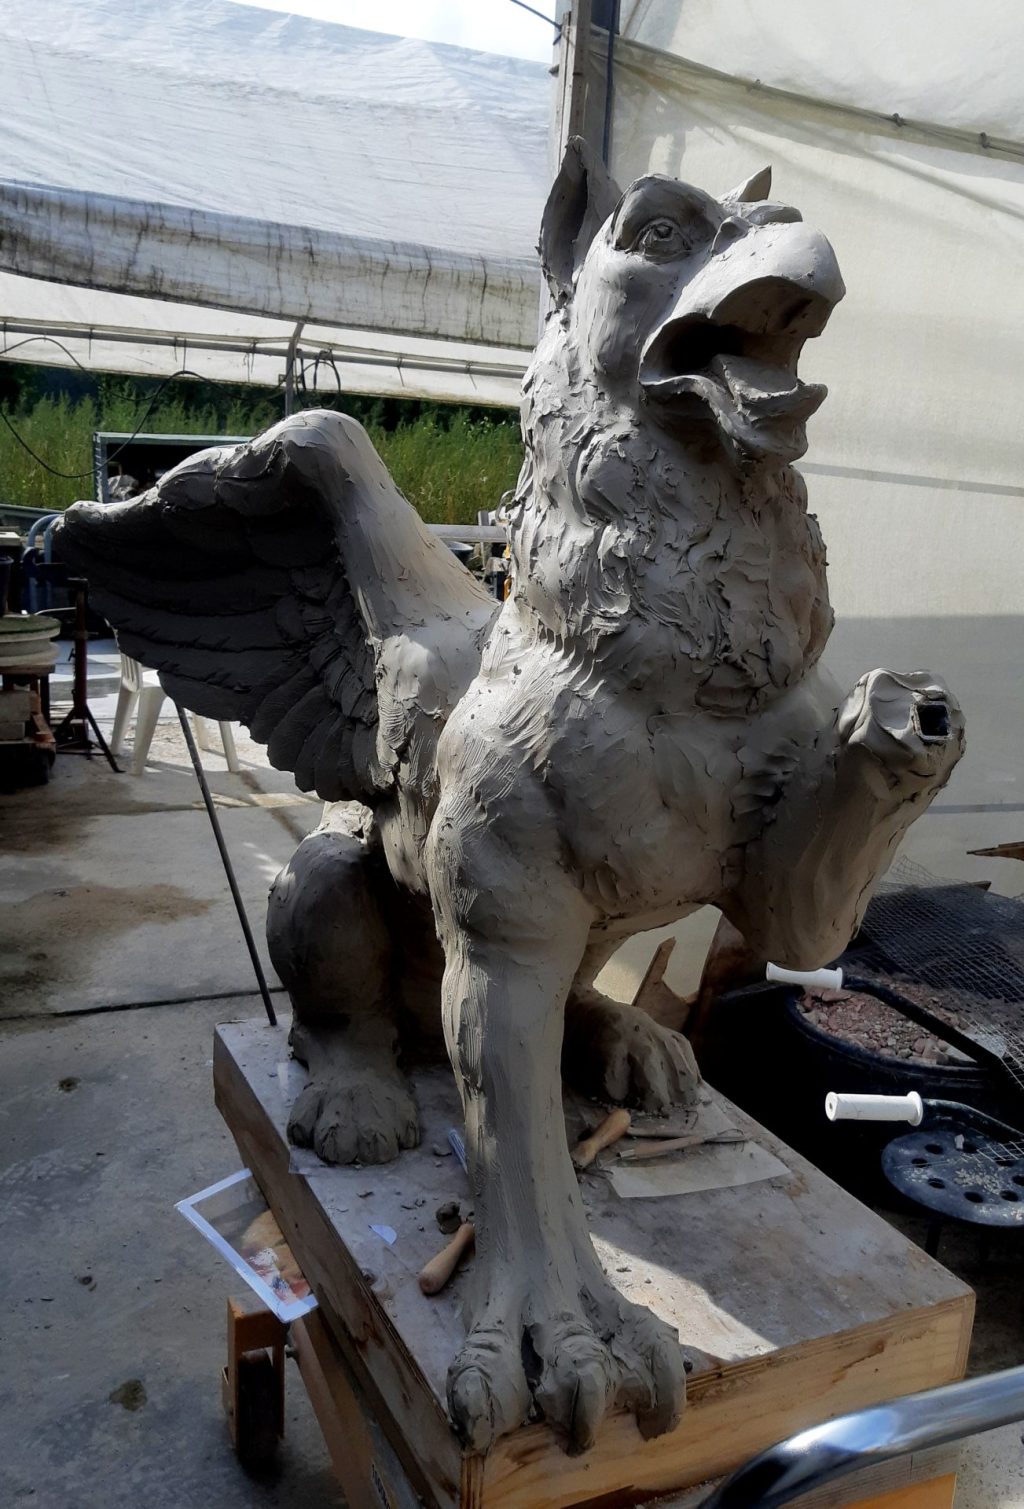
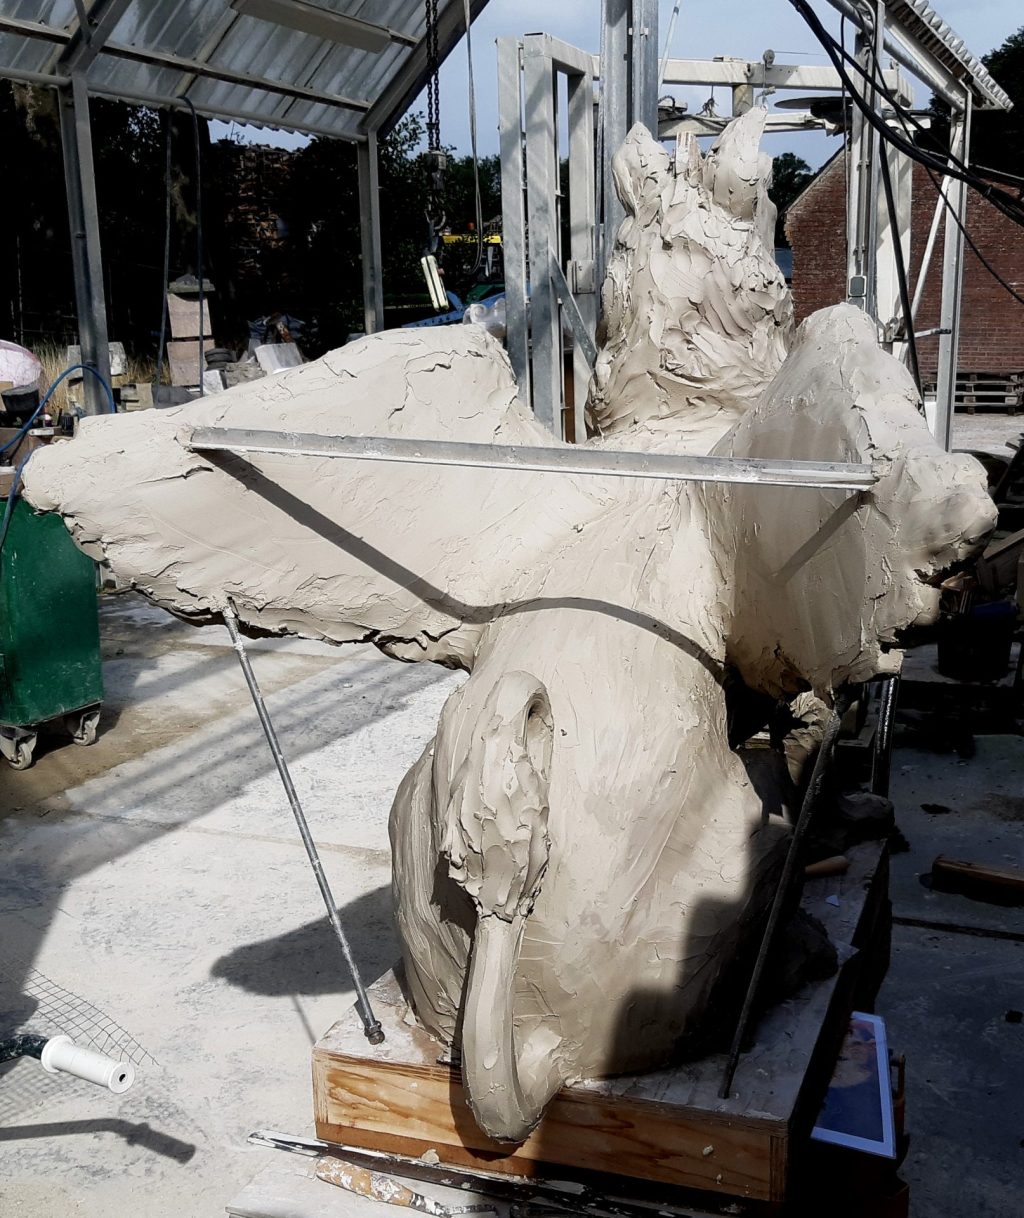
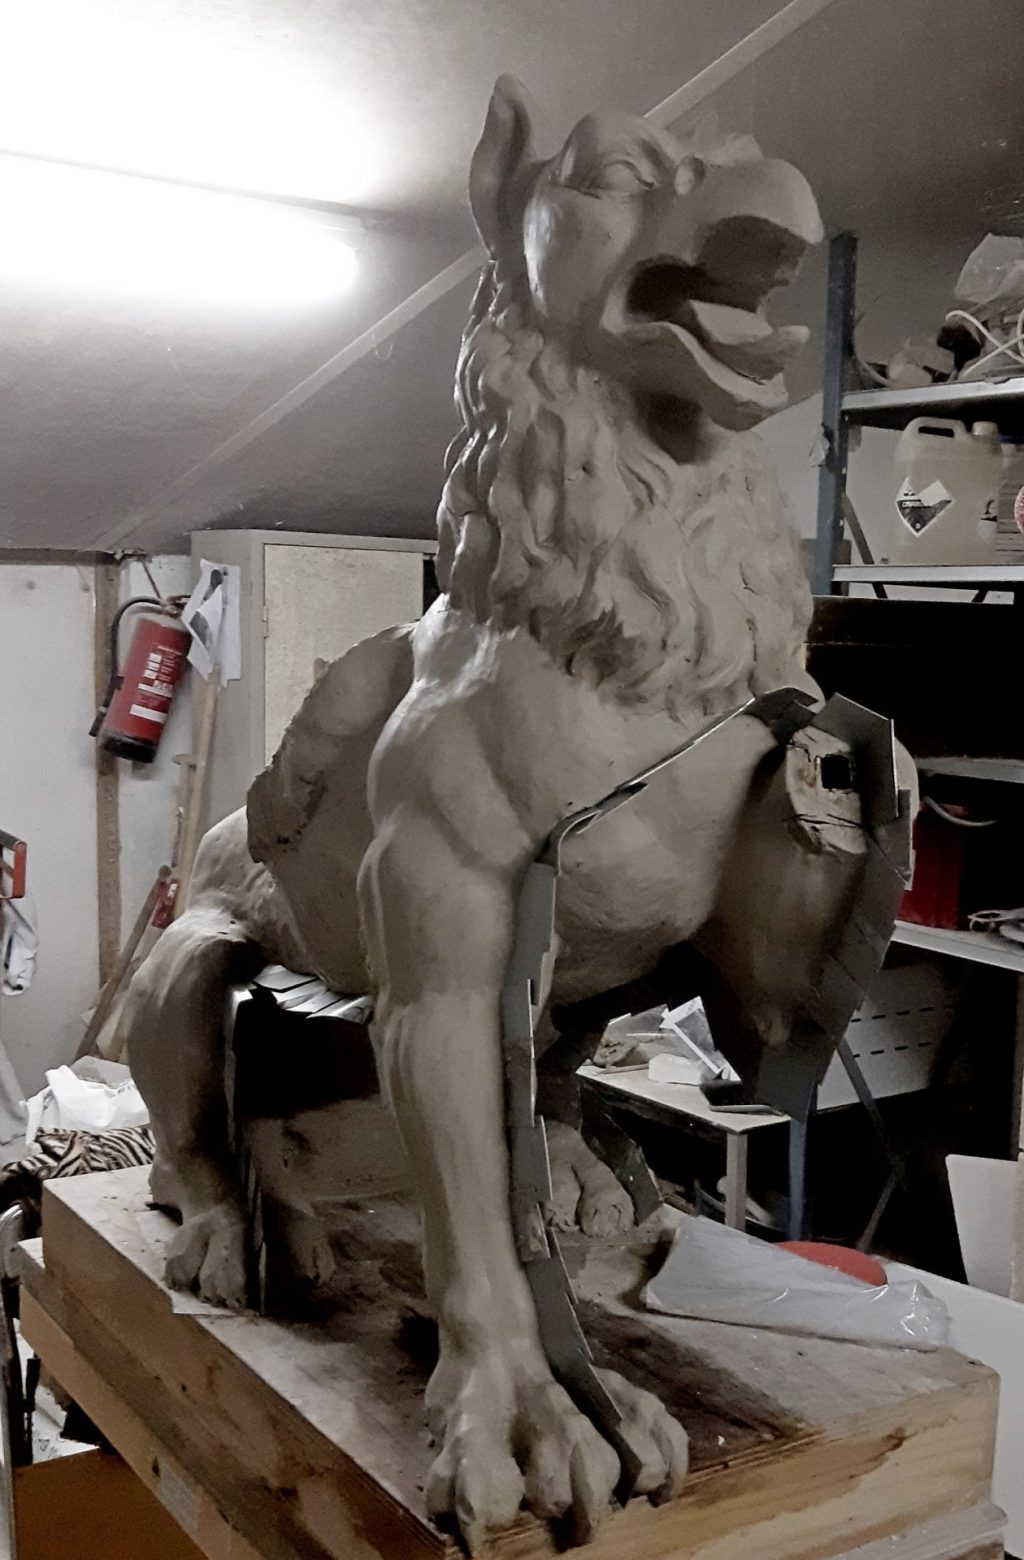
I had already started to enlarge my scale model in hard foam. But the work was not to my liking. I could not get the suppleness that I had in mind and decided to do it differently and thus, I wanted to model the griffin in clay. The first step was a sturdy frame. I drew a contour template from my scale model, enlarged this to the desired scale and sawed it out of a sheet of wood. Then I welded together a steel frame from square profile tube for the griffin. I could roughly model the body of the griffin out of wire mesh and fix it to the frame, and filled with polyurethane foam. I made the wings removable.
Shield

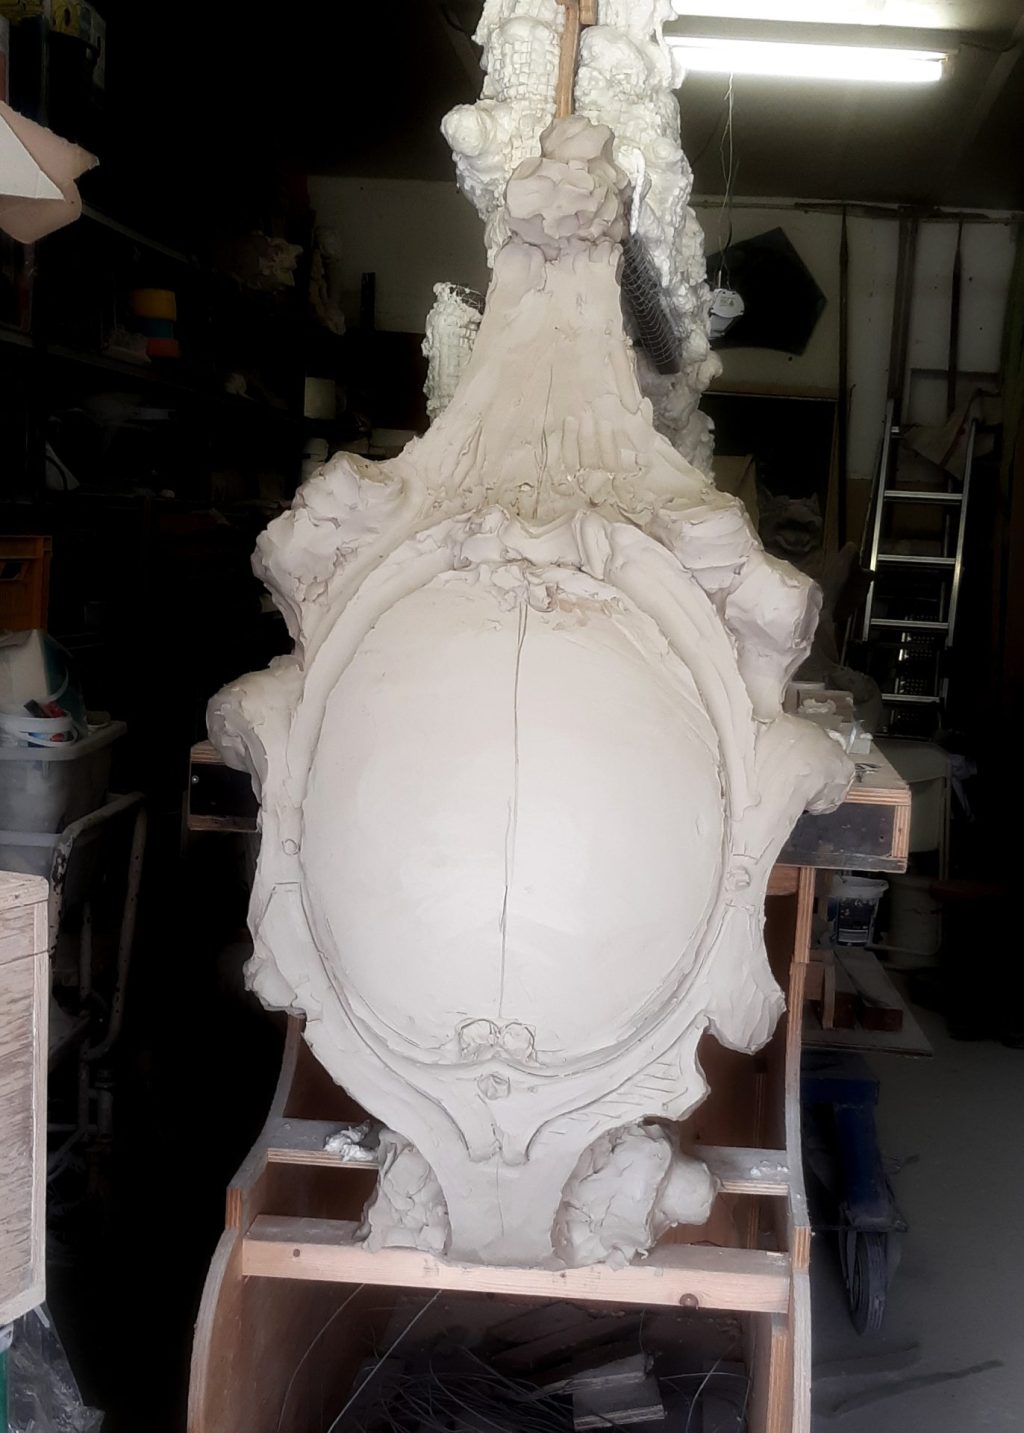
Then came the modeling of the shield. The shield is such an intricate movement of parts with all kinds of details that at first it was difficult to read from the small pictures. When we were almost done with all the casts, the client sent us a whole series of razor-sharp photos showing that I had been very close to the original. But there was also new information that we discovered on them which we will certainly incorporate in the reconstruction. I had already spent many hours in photo editing to find out what it once had looked like.

A colleague noted that he was more likely to use such old photos as a guide to make his own animals than to make an exact copy of them. There is also something to be said for that. But for myself it has been a challenge to reconstruct and approach the level of the old griffins. It has made me a better sculptor. And it is also a very educational project for Jelle. He has a lot more modeling experience than I do and is also better acquainted with making plaster caps. But doing it on this scale is new to him too! So together we learn a lot. Only when we really start carving will we be on familiar territory; we have done that many times before.
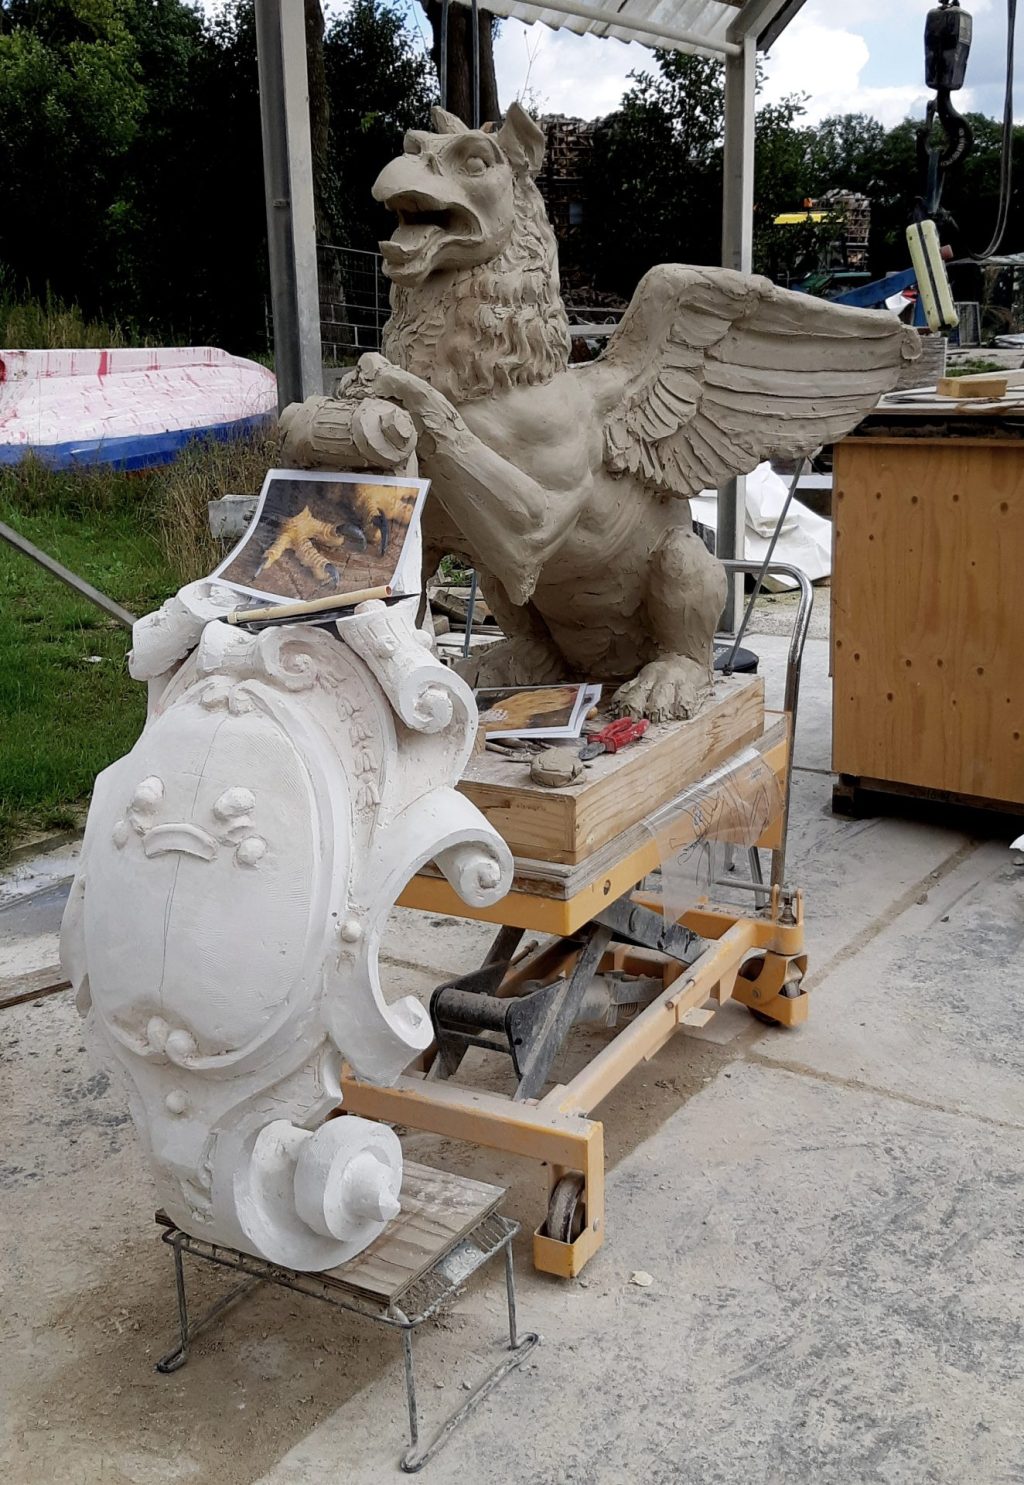
I made a one-sided cap from the shield and with the help of Jelle also a plaster cast. We could use this for further modeling work on the griffin's body.
Teeny tiny knights

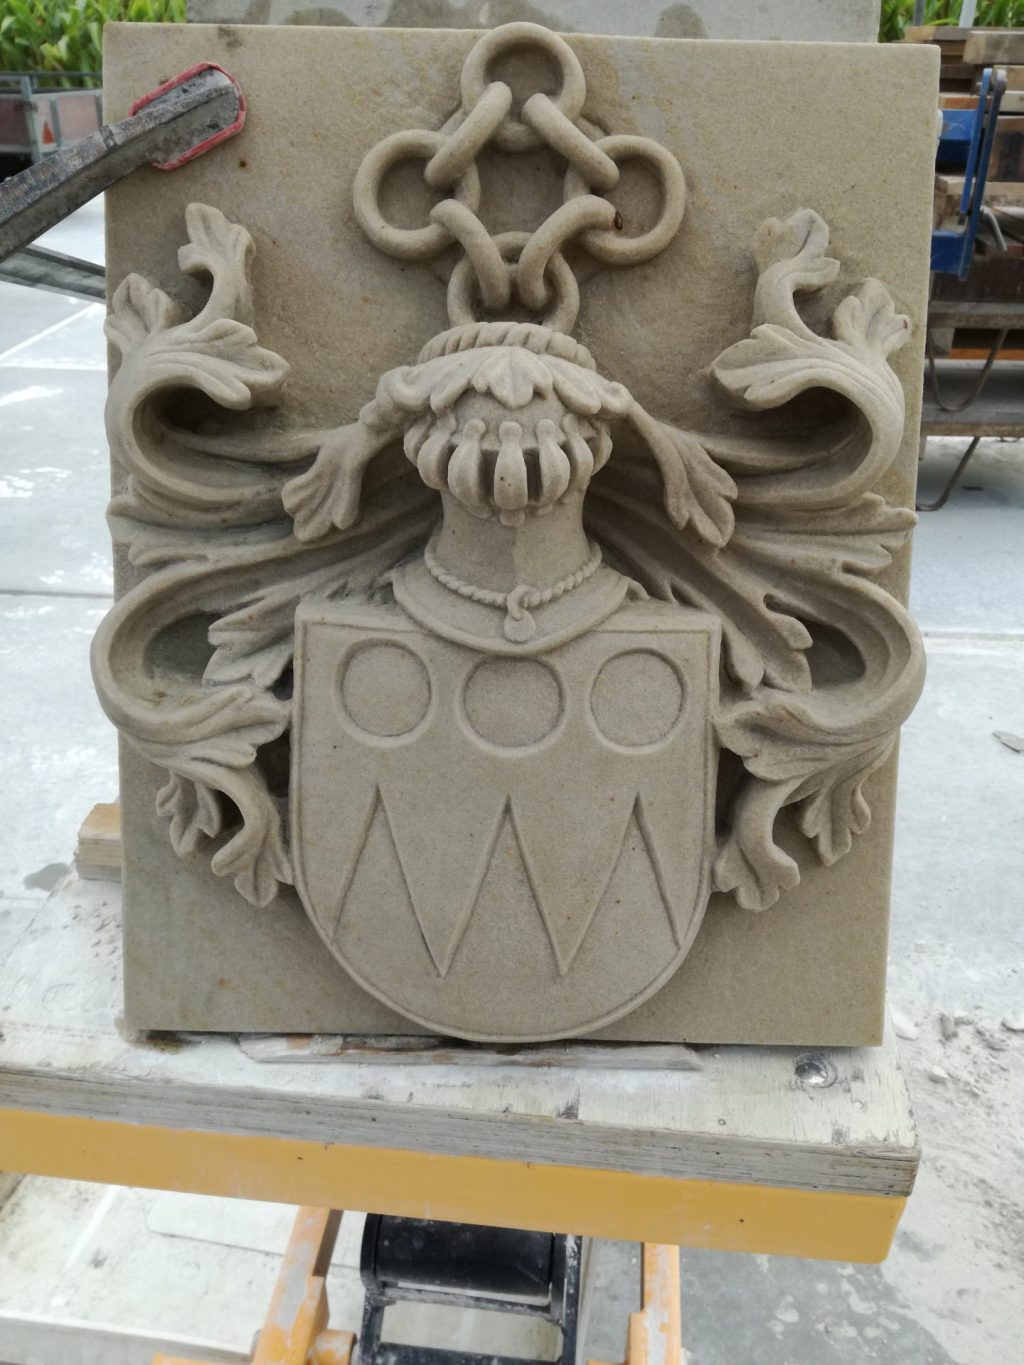
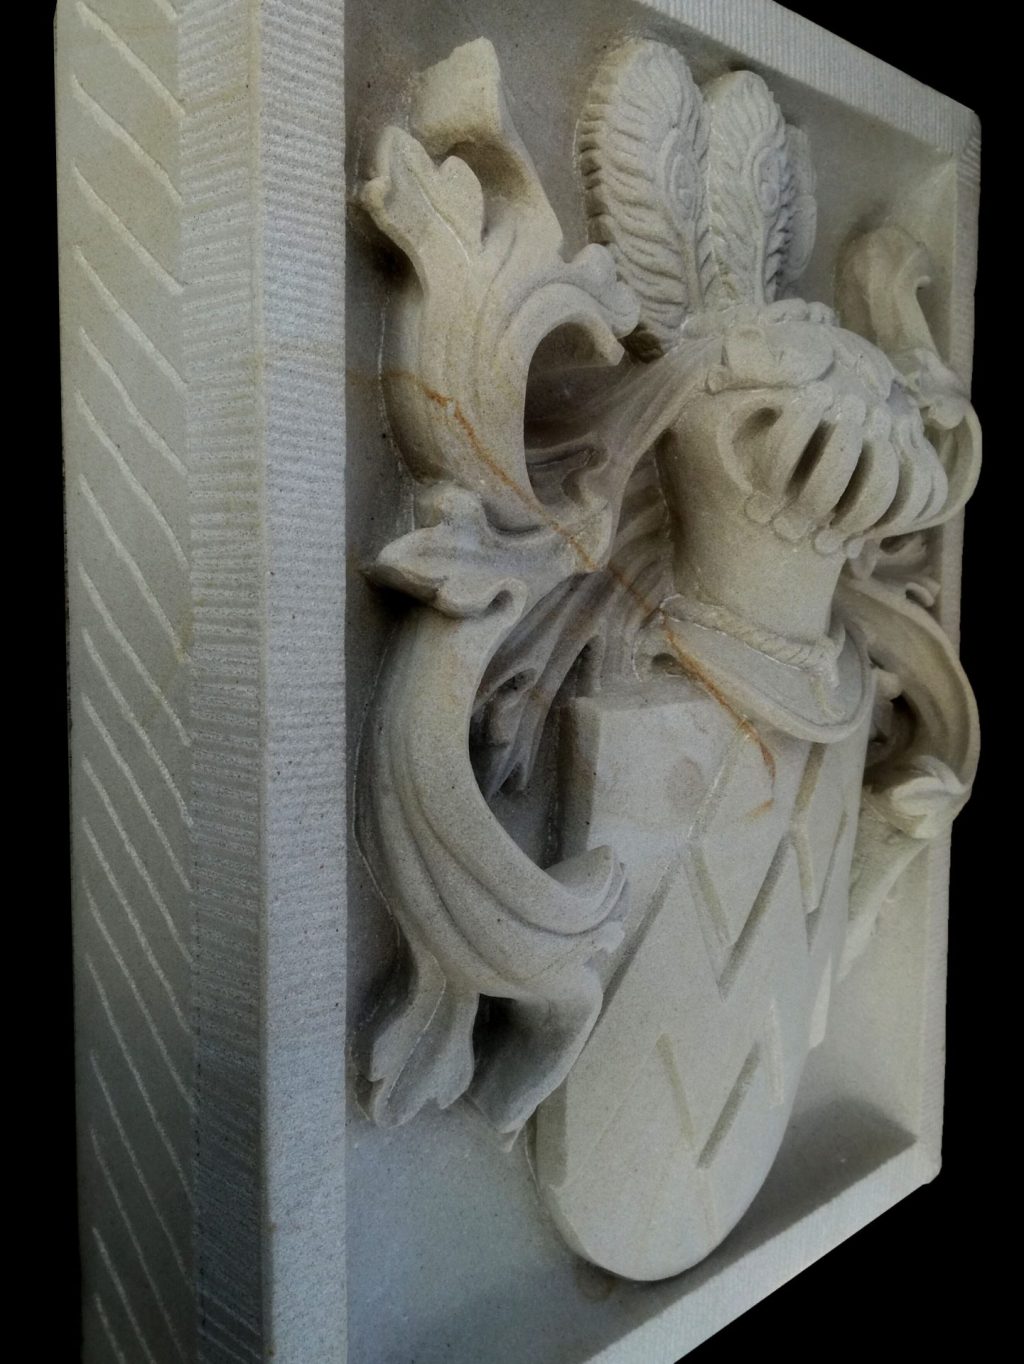
The shields are also both different. They both have a family crest on it, one is of Graf Von Klot-Trautvetter with two helmets and two knights with banners and lances and a motto, and the other of Graf Von Bohlen, with five griffins and three helmets and the weapon motto "Cave Gryphem". These family coats of arms alone are extremely laborious pieces, so this is a project we will be spending a lot of weeks on in addition to the time we needed to model it in clay.

The general shape of the shield I had also modeled n clay and cast in plaster. I did not model that whole family crest, because that is a lot of work that you cannot transfer anyway with the copying saw. I could better carve it directly into the stone, which is much faster once the drawing's transferred onto it. A good example for this is the large family crest with two griffins that I installed in 2013 in sandstone.
The body of the griffin

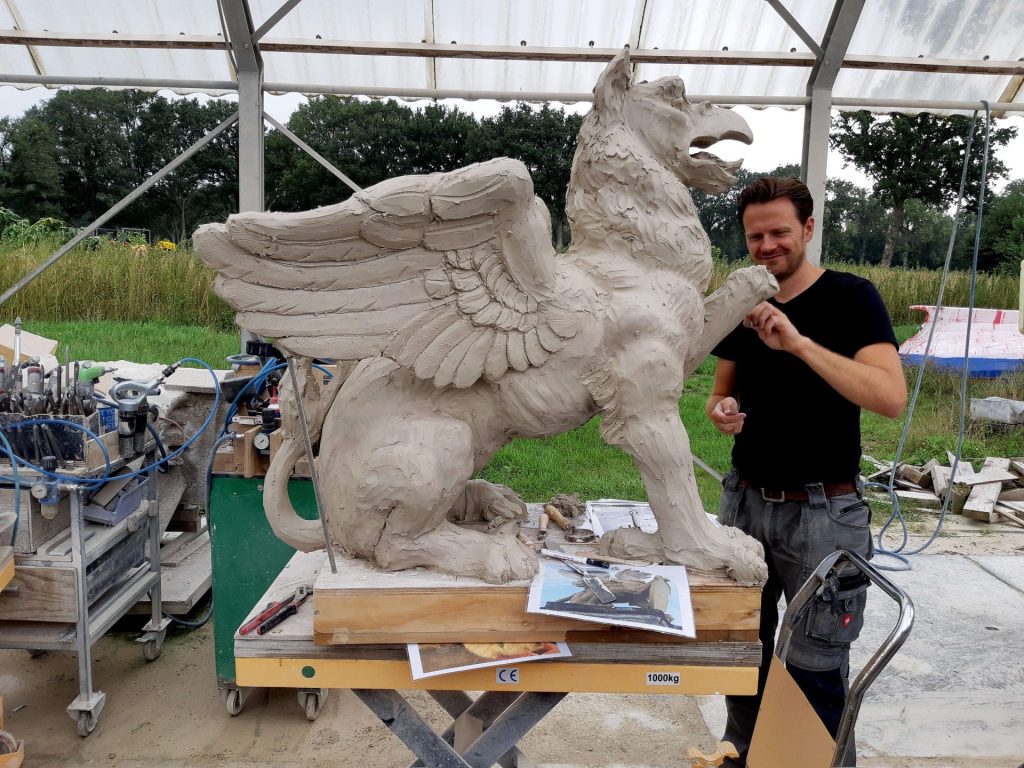
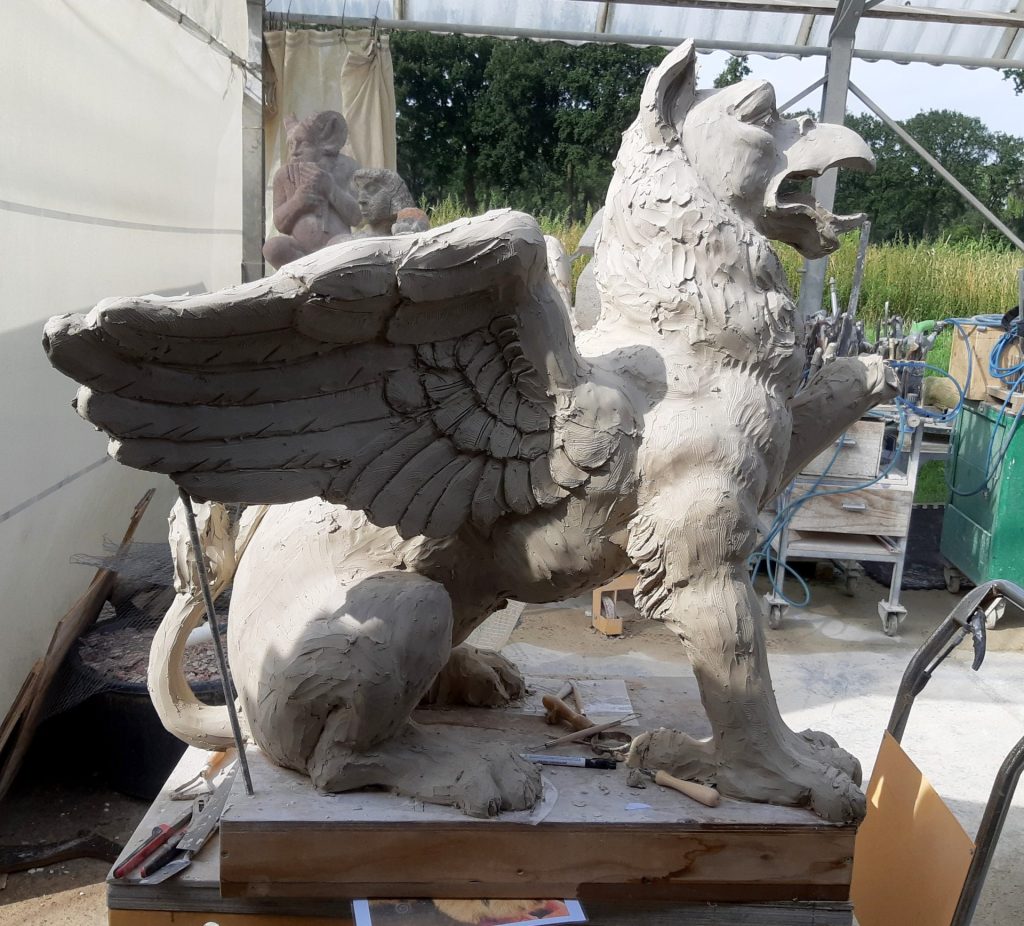
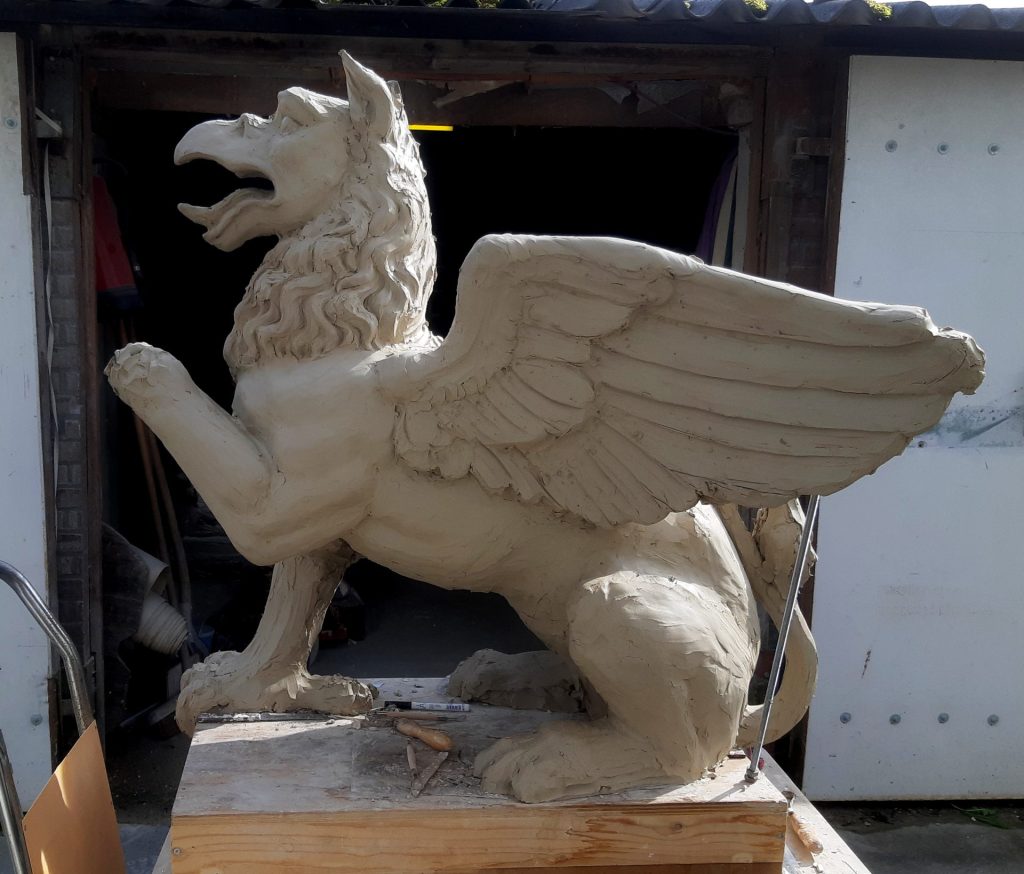
Then came step three: modeling the body, the wings and the tail. This was the point where Jelle could also come into action. Together we shaped the griffin in a number of days of intensive modeling. Clay can naturally dry out and shrink, so it was very nice that we could do this together in a shorter time. The griffin will be 115 cm tall and the shield 122 cms wide, so that was hard work.
Plaster molds

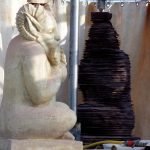
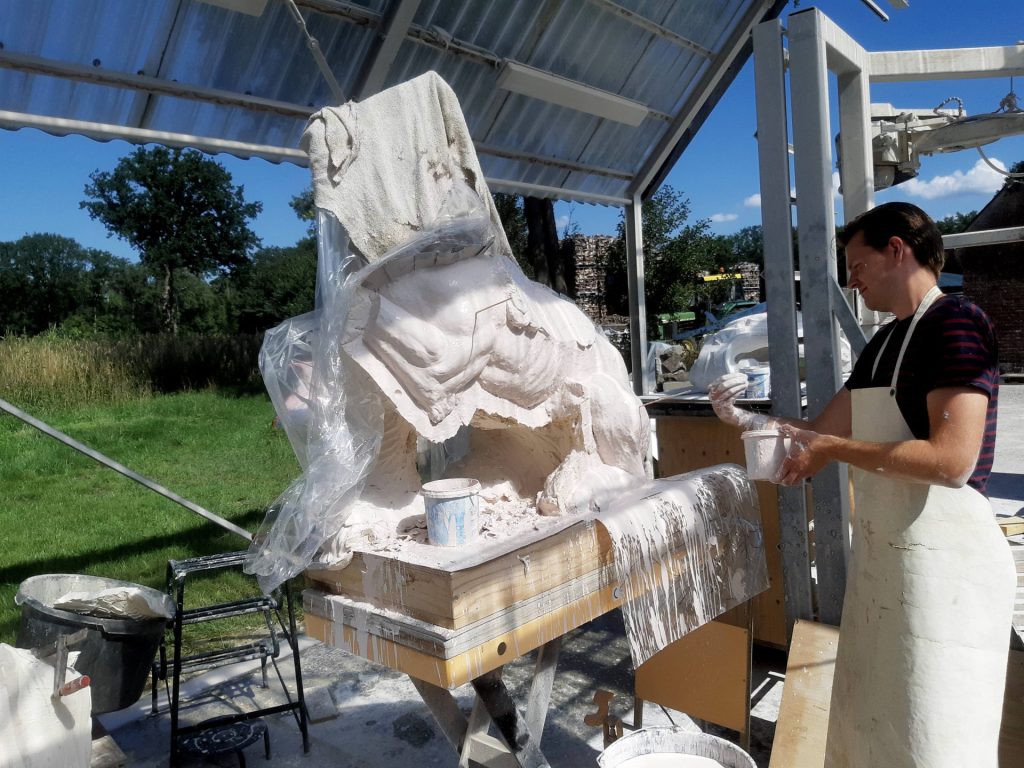
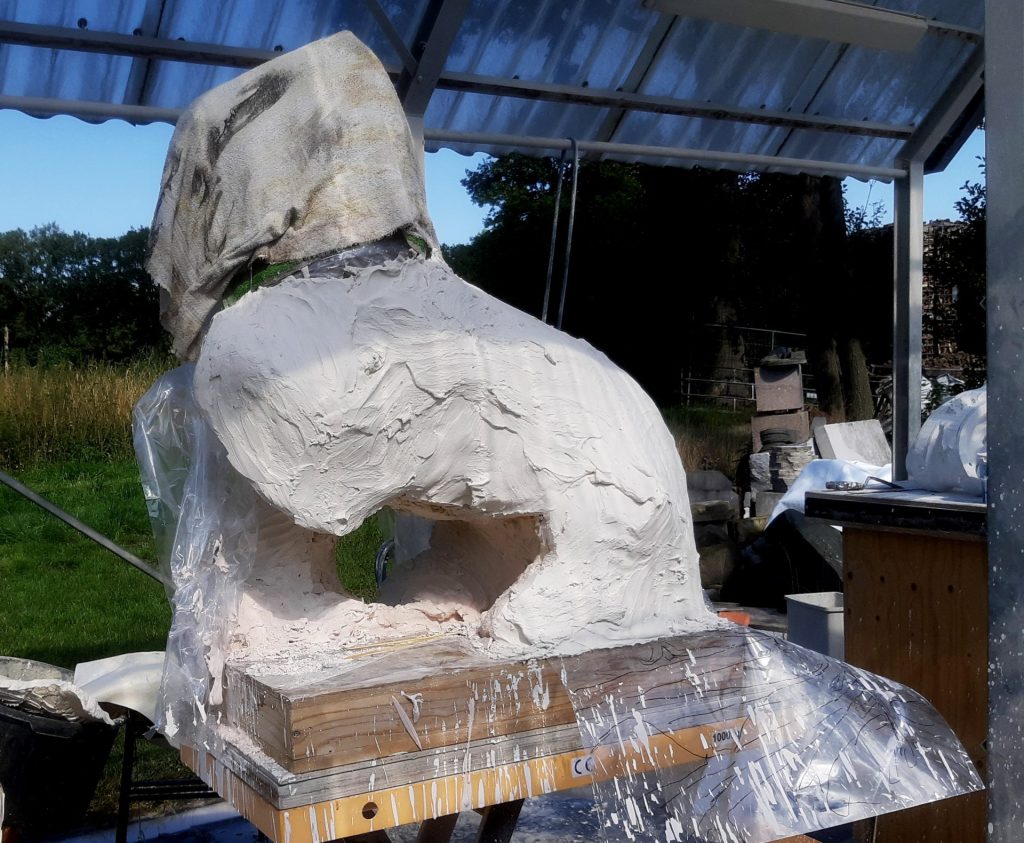
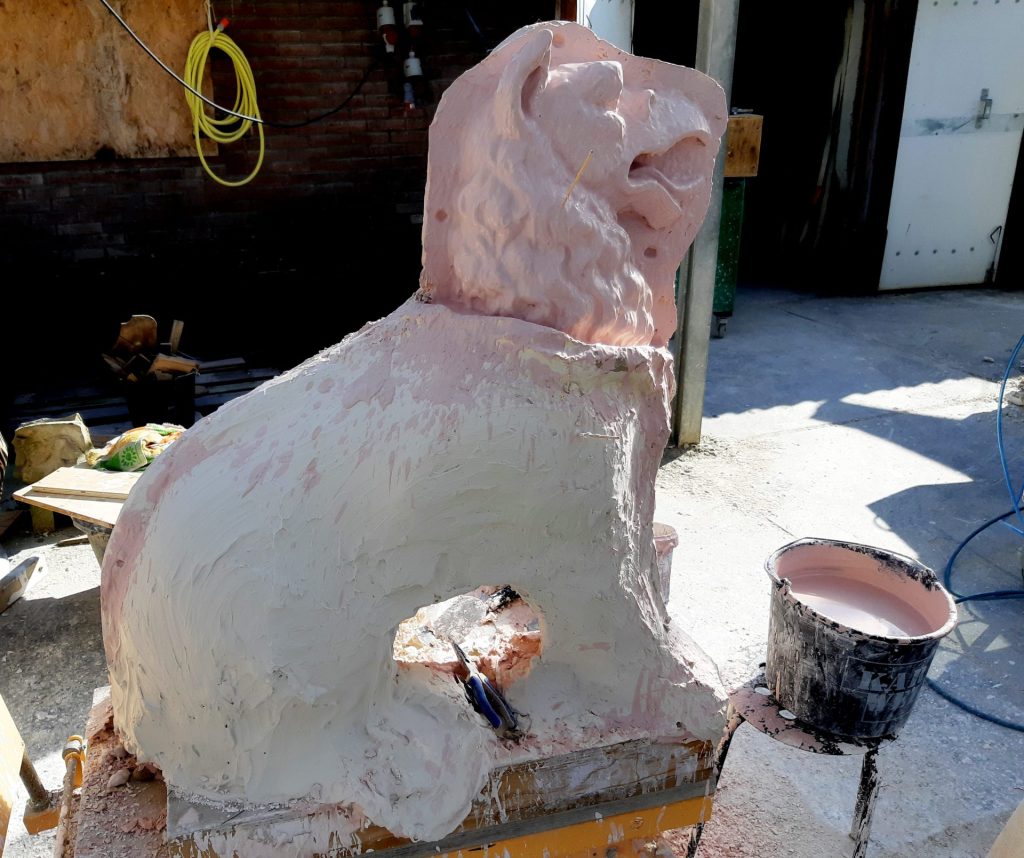
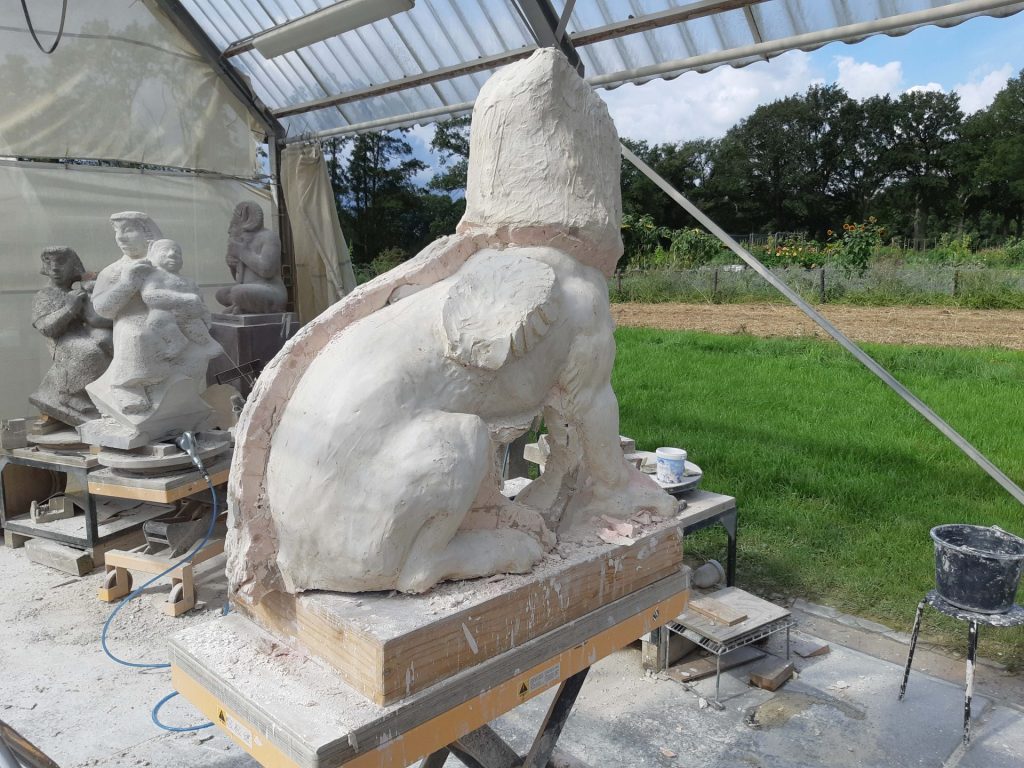
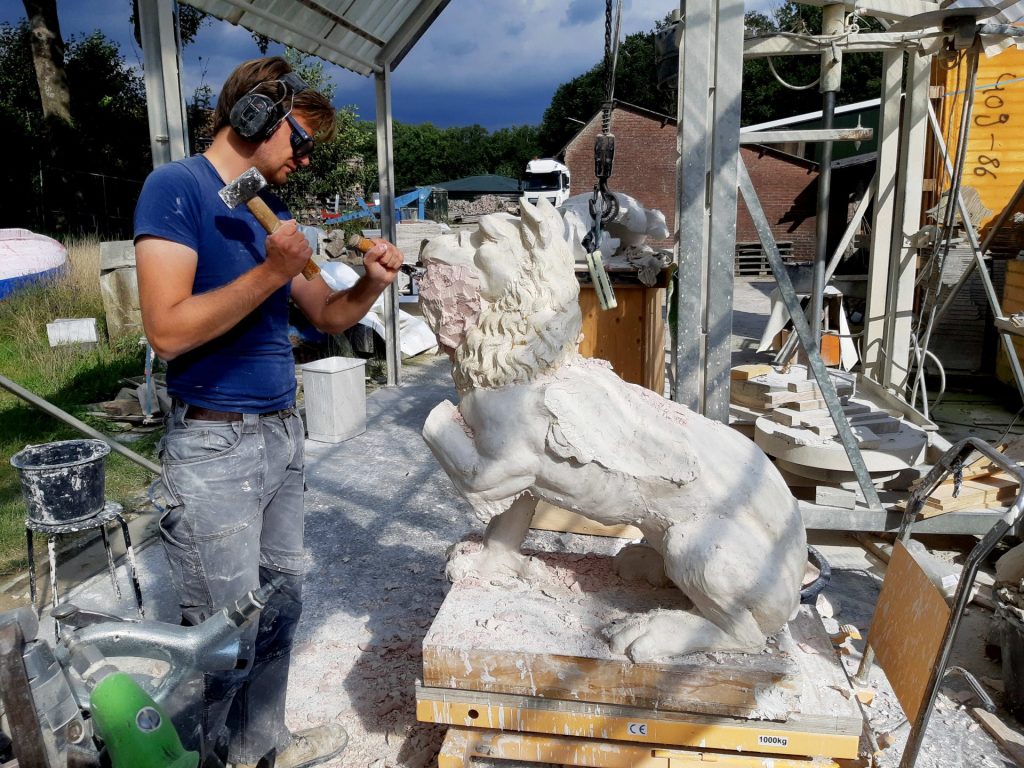
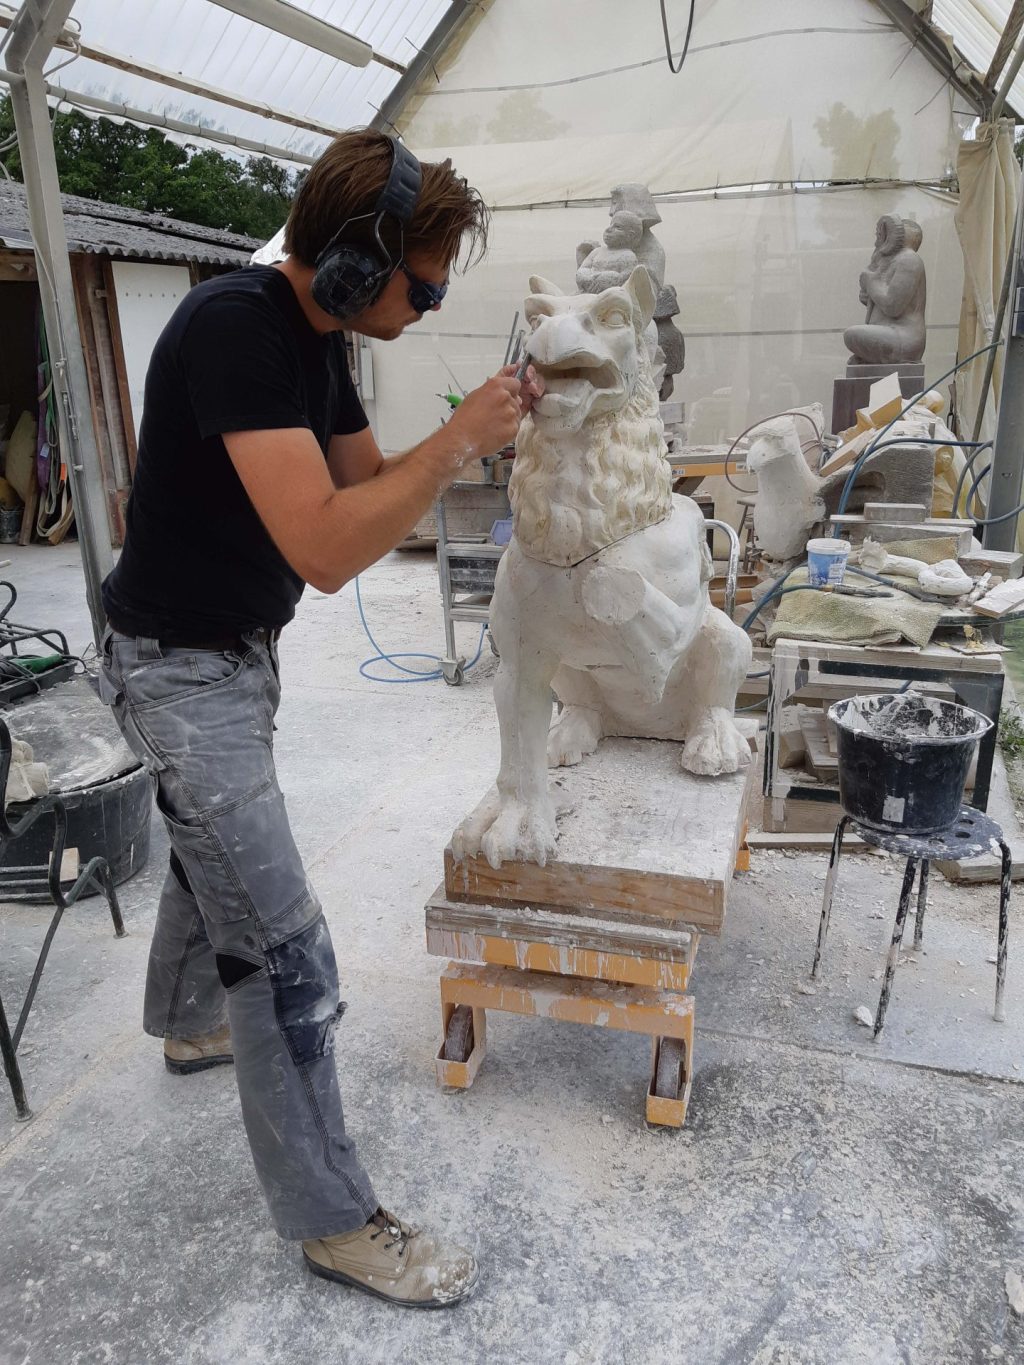
But you can't do much with a clay model. When it dries out, it will crack and disintegrate. When wet, it can sag or become damaged. That is why we have used up a gigantic load of plaster to arrive at a plaster model. We were satisfied with the expression of the clay griffin, so that we could proceed to step 3: Placing plaster molds over it.
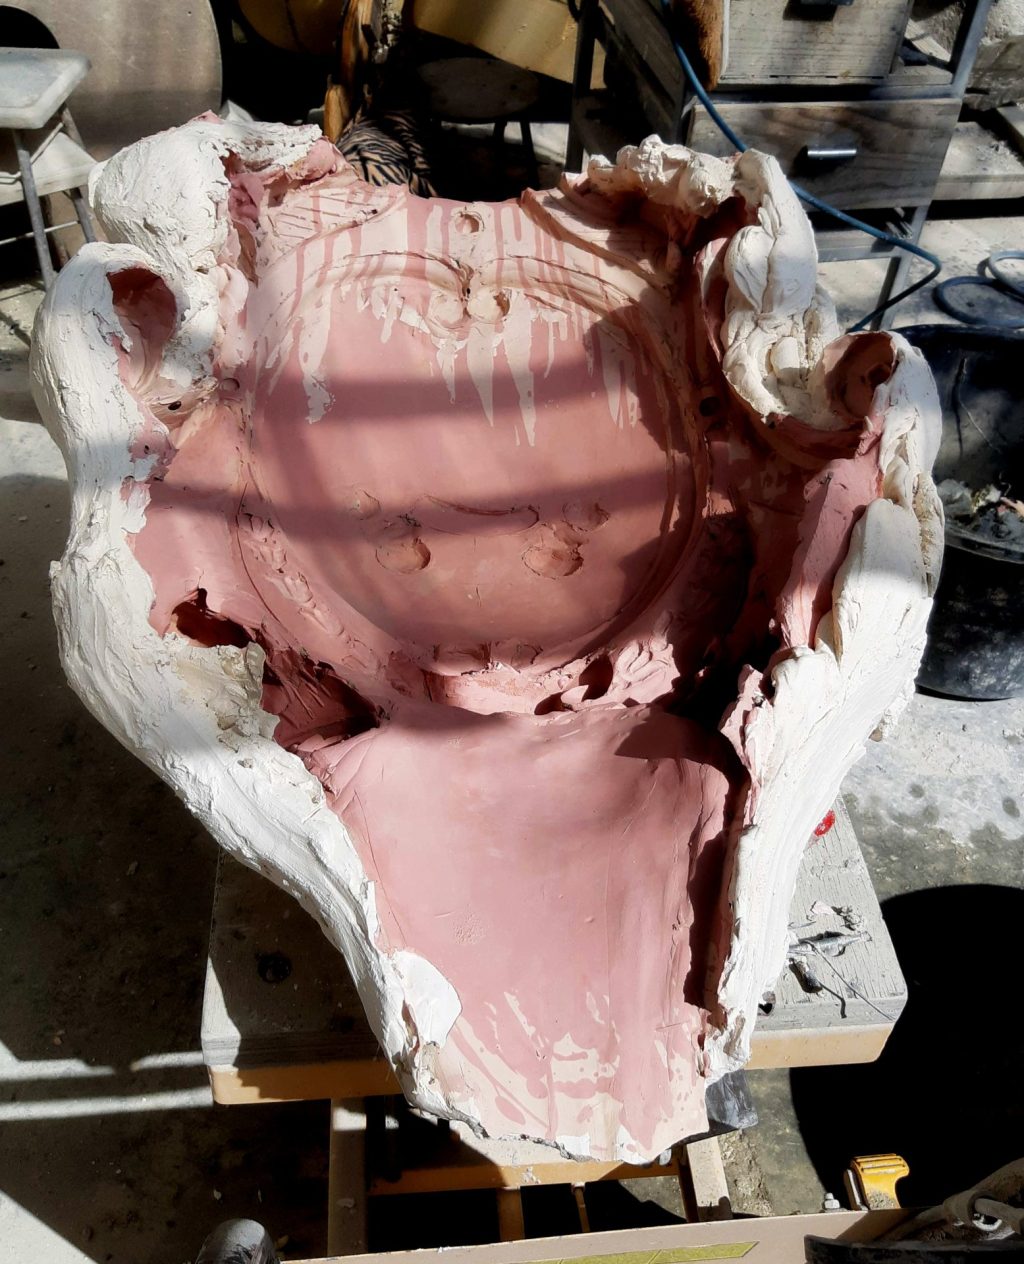
First I took off the wings and tail and made separate plaster molds for those. Then we made, in an intensive rhythm of mixing plaster, putting on a thin layer of plaster in color and applying a thicker layer over it, a plaster mold for the belly of the griffin. The last two molds were for the griffin's head. We definedthe seams with strips of metal, in this case cut from a sheet of zinc that I still had. Finally, the two molds for the left and right half of the griffin followed.
Castings

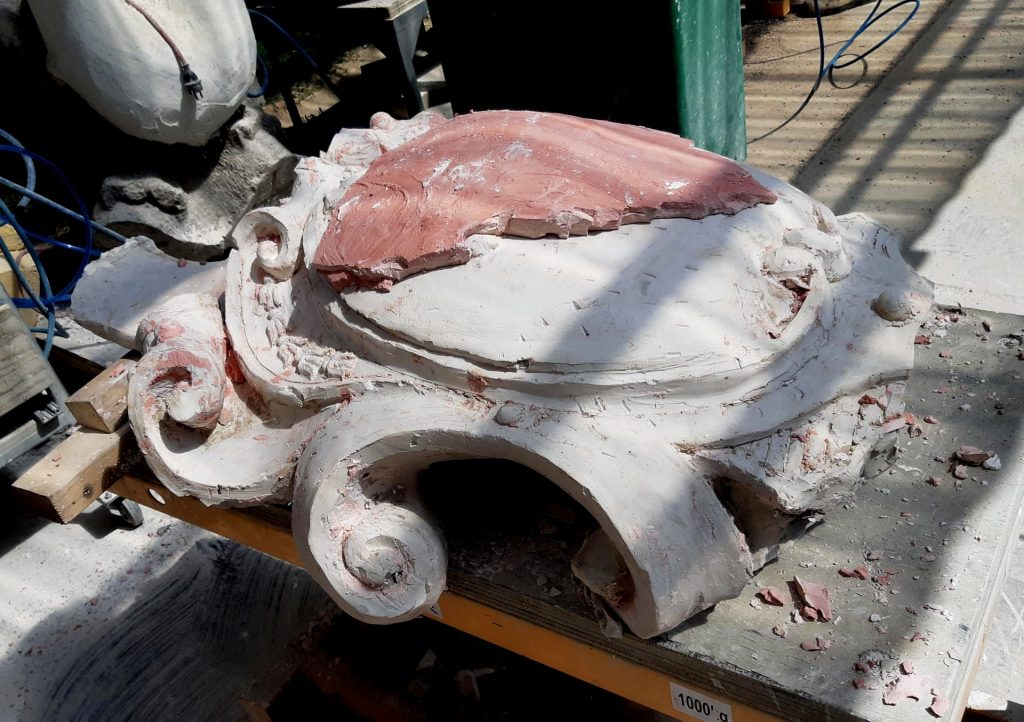
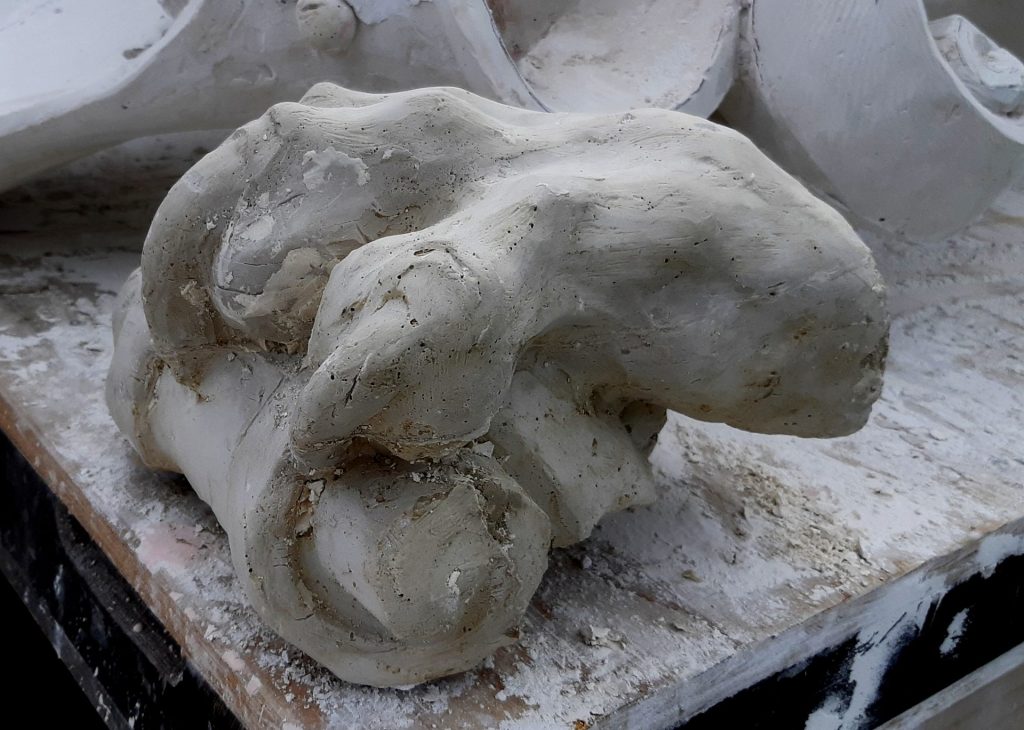
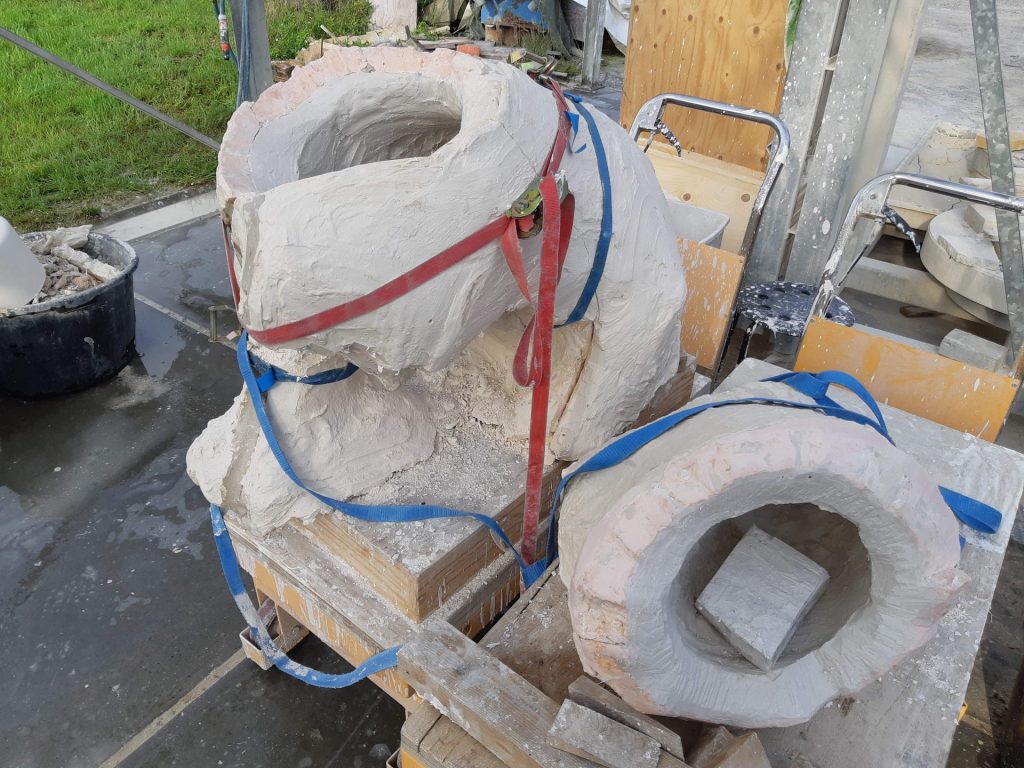
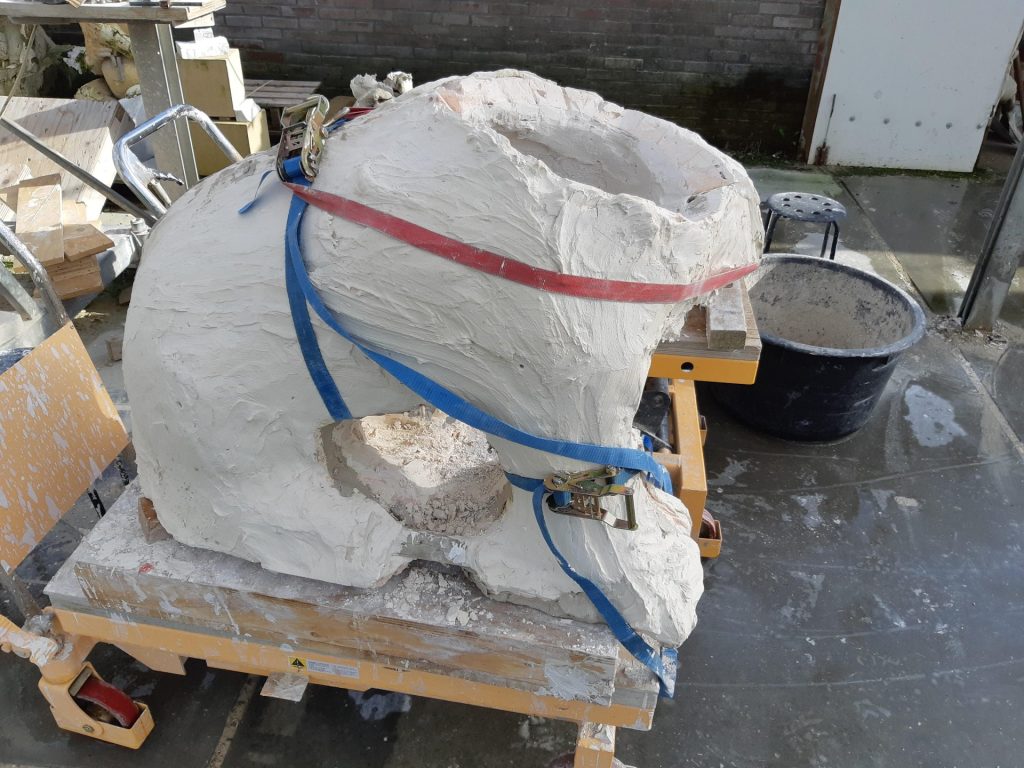
After that Jelle and I made casts of each mold part. We had mixed a good load of glass fiber through the plaster, so that the casts could remain thin. Finally, we joined the loose parts together with more plaster, which we smeared over the seams from within. Overall, we now have a hollow griffin of approx 8 cms thick, that we can still handle a bit.

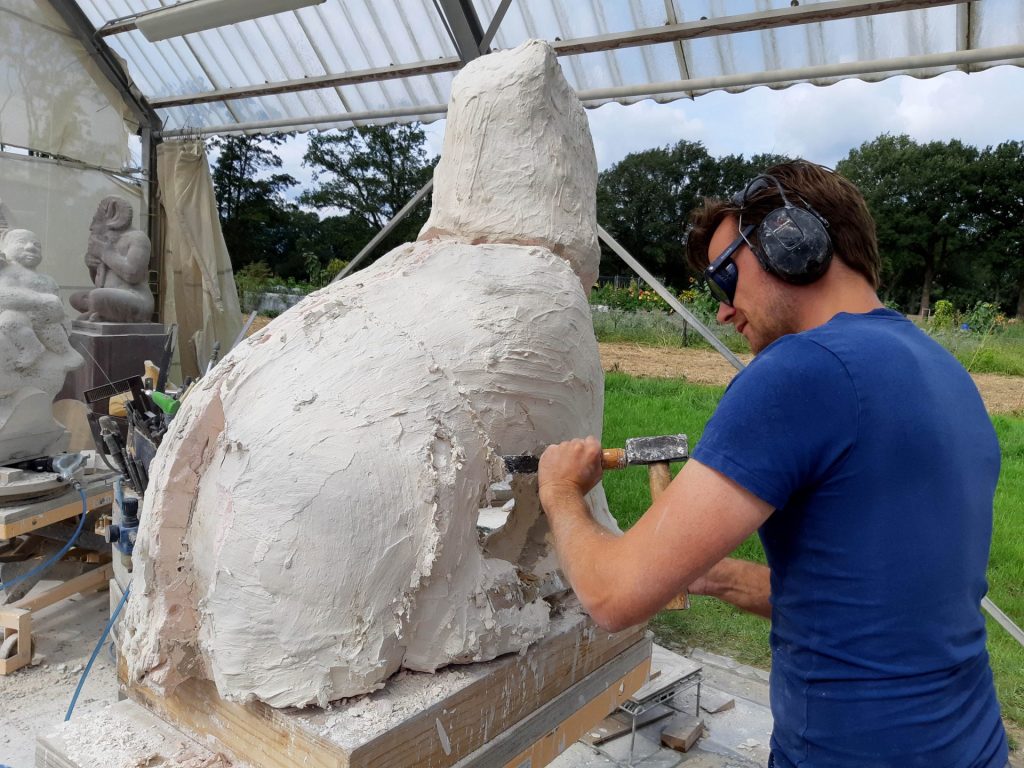
But the statue was still encased in the plaster molds! That is why we have also been busy for a few days to carve away all the molds from the plaster cast. Fortunately, we had added a little red dye to the inner layer of the plaster molds, allowing us to see when we were getting close to the final surface. We ended up with a bunch of casts, which may not have been perfect according to the views of professional mold makers, but more than sufficient quality for our copying saw and also good enough for a maquette to start sculpting from.
Mirrored

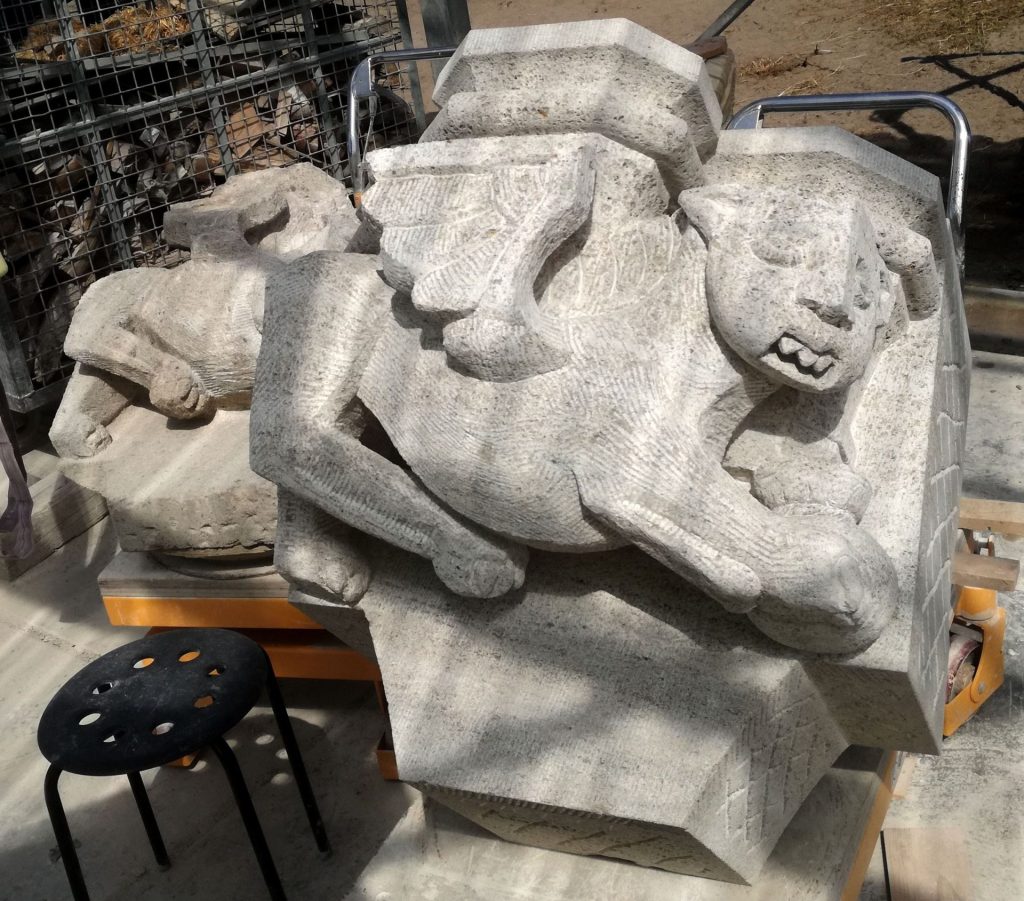
This griffin will later on be carved in stone. And just like all those flying buttress figurines of the past years, it is first sawn on the sculpture sawing machine. For this we need a sturdy model that does not depress when a follower disc rests on it. I could've also cut the beast out of foam and covered it with polyester, but with this method we were more flexible with the design. After all, you can easily remove and add clay, and with foam that becomes more difficult.
But the griffin will become two different griffins, a left version and a right one. They need to be mirrored and that means the front legs, the claws, sit differently with one version than with the other. I thought we could first cut out and sculpt one griffin, and that we will then adjust the plaster legs of the model so that the right claw holds the shield and it rests on the left.
Ordered some sandstone
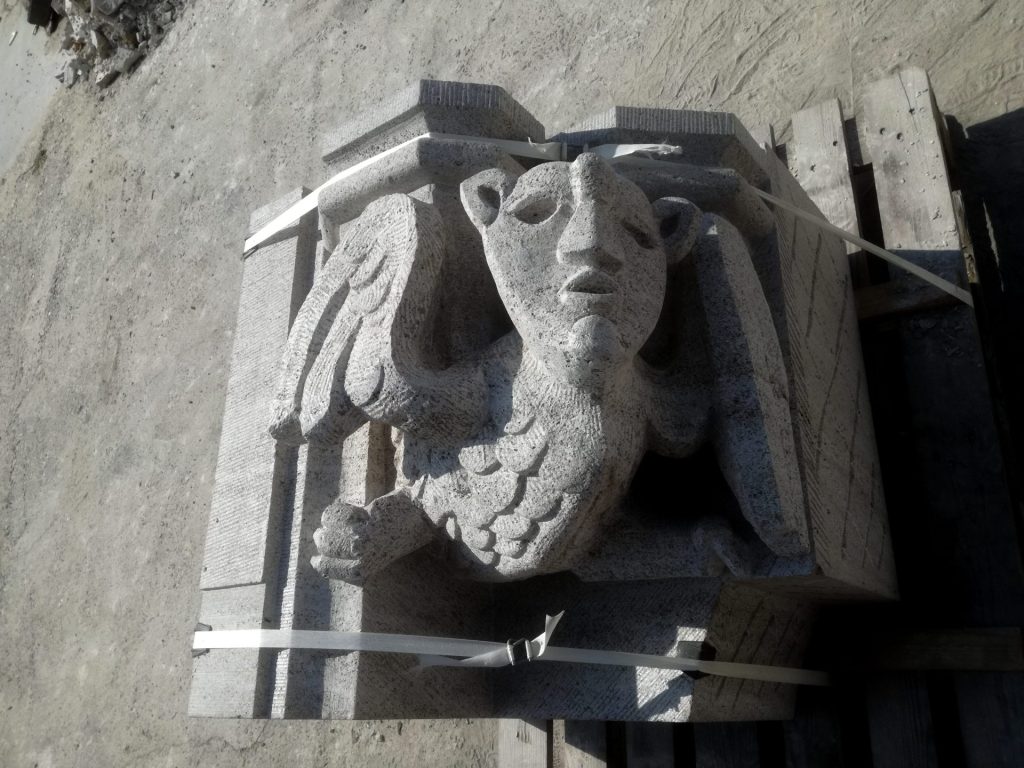
For these two griffins, the two shields, the four wings and the two tails I have now ordered a batch of Obernkirchener sandstone. The quarry informed me that it will take a while to find good blocks of such a large size for the sculptures. But I really wanted this type of stone, although it is very dense and quite difficult to carve. But it is extremely weather resistant and has a beautiful color. Above all, the material is very strong. I had cut a slice of approx 1 cm thick, about 15 x 15 cms wide, and I couldn't break it with my hands. And yet I still have quite a lot of strength in my fingers. This is a perfect property for my purposes, because these beasts will be standing on 1 front leg, and the shield, the wings and tail are not very thick either. This way they can last a few centuries.
Read more about these griffins in the following post in the next message.