• A Japanese lantern for Clingendael Estate

    An old Japanese lantern

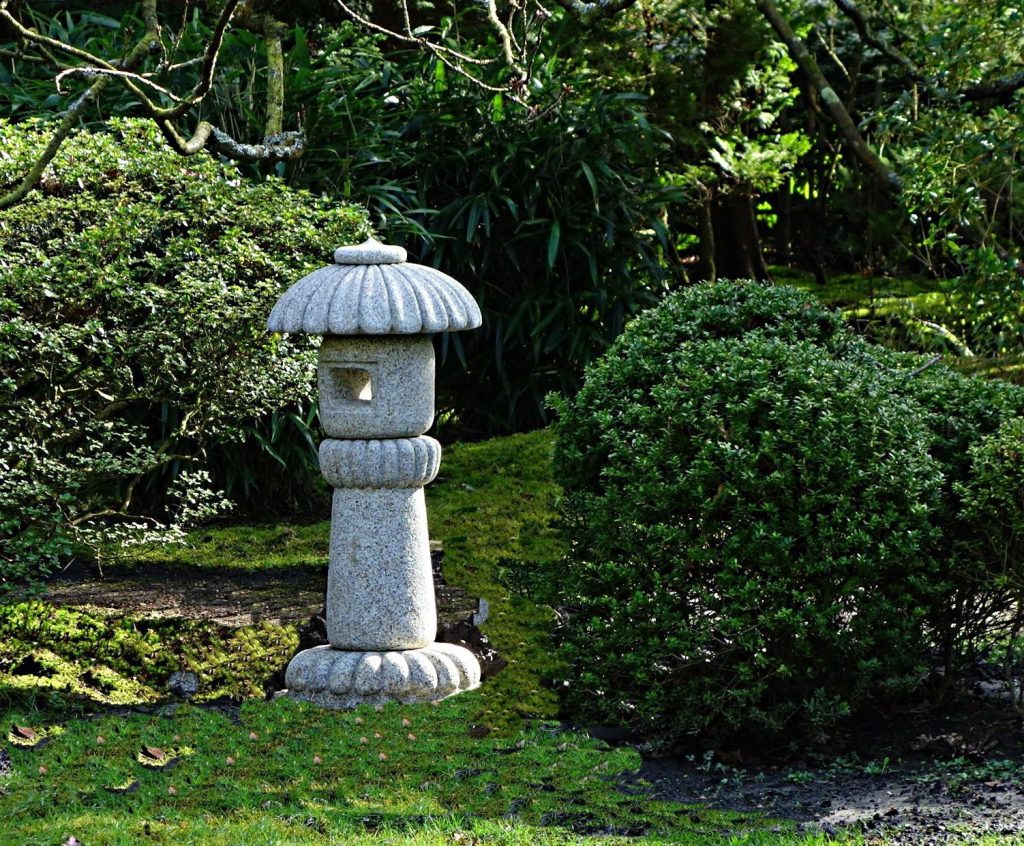
    Japanese Garden Clingendael
    Japanese Garden of Park Clingendael. Photo by Takeaway – own work, CC BY-SA 4.0

    You'll probably know them: the granite lanterns adorning Japanese gardens. I didn't know this, but even in the Netherlands, we have wonderful Japanese-styled gardens. Actually you can't really call them Japanese Gardens, because the criteria for these are apparently very strict. Rule no. 1 is as I believe that it should be located in Japan, and that just won't fit inside The Netherlands. Anyway, in The Hague, specifically in the grounds of ​​Clingendael Estate in Wassenaar, there is also a Japanese garden. A very beautiful one, that was created around 1915 and only opens for 8 weeks per year. To save the moss.

    Copying in Bavarian granite

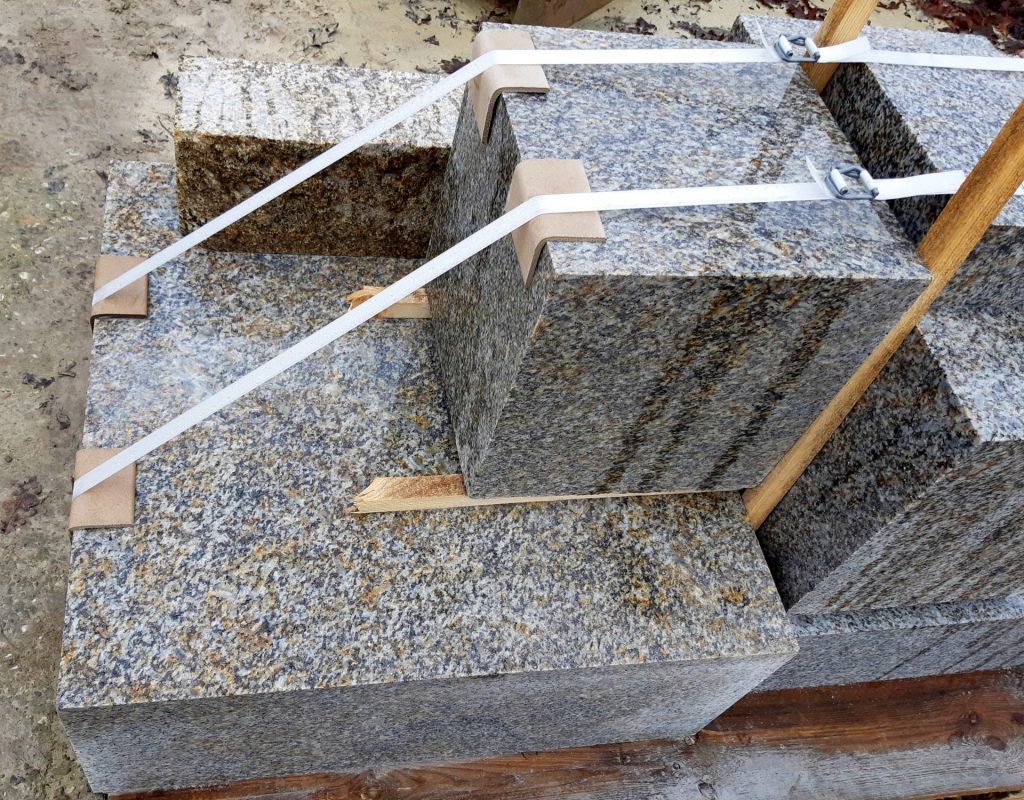
    blocks of Flossenburger granite gray-yellow

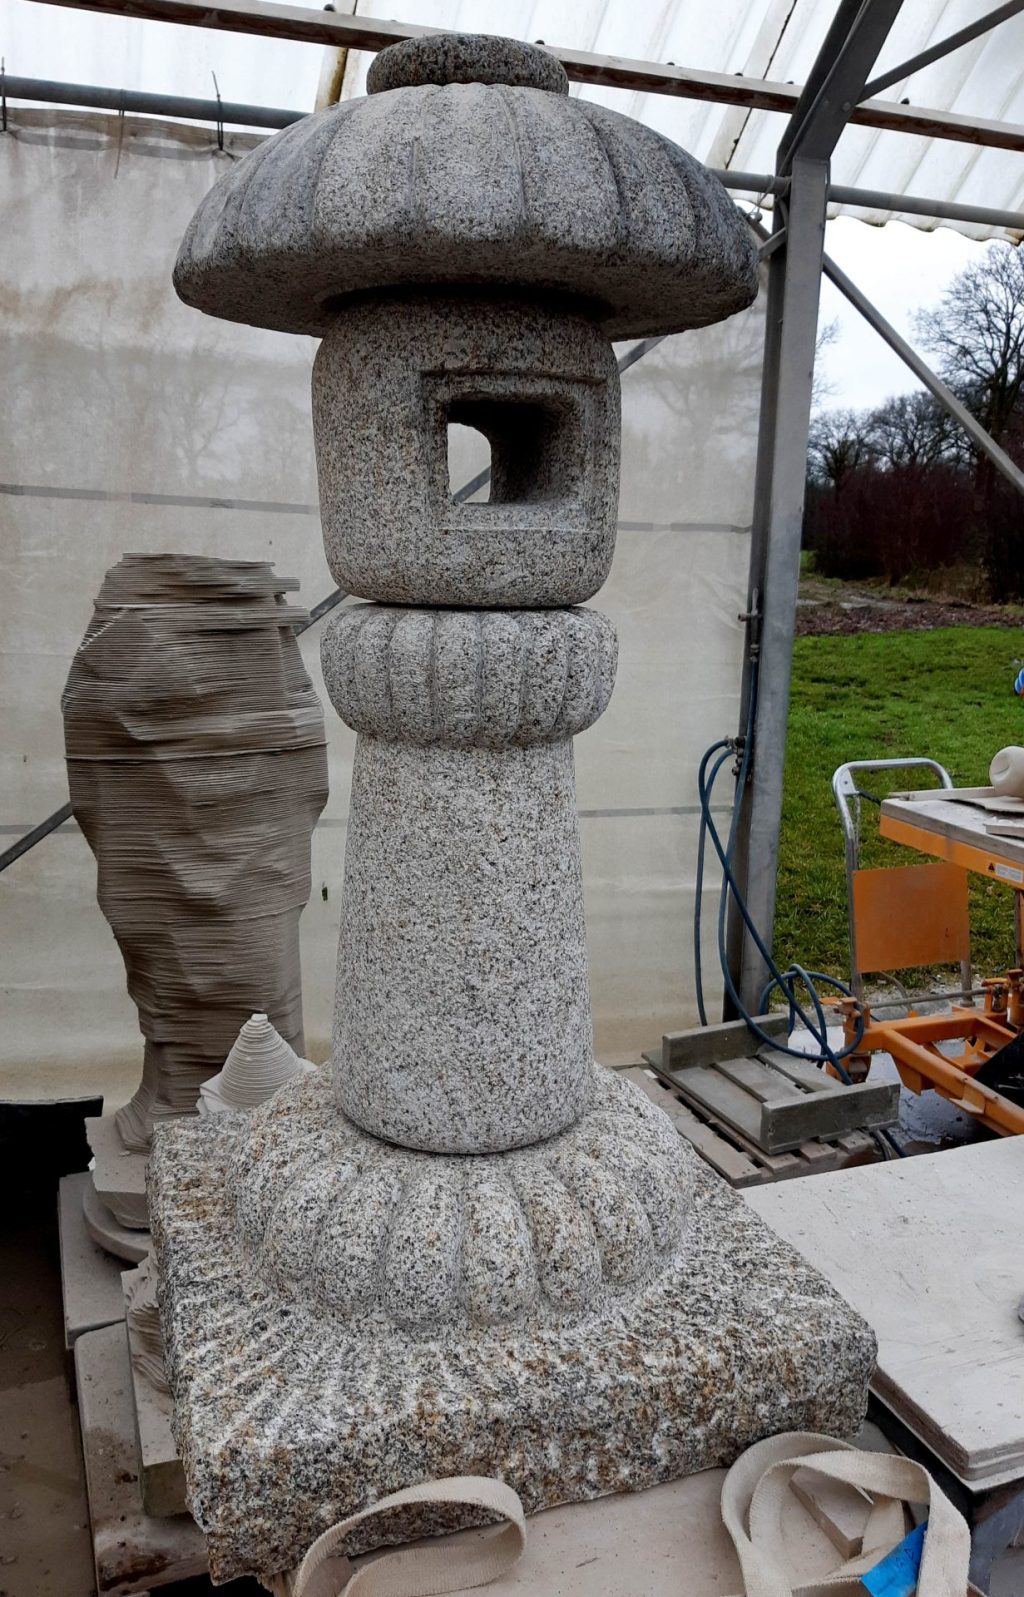
    Around the time of the construction of the garden, its owner imported a number of granite lanterns for her garden. Among them was also one

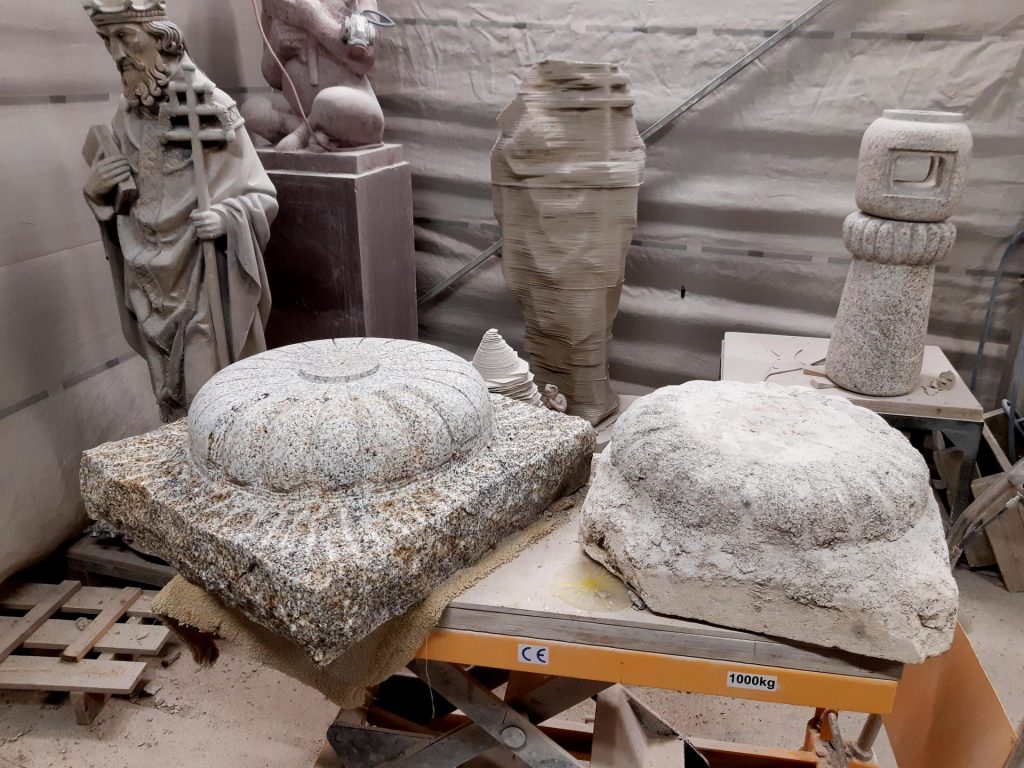
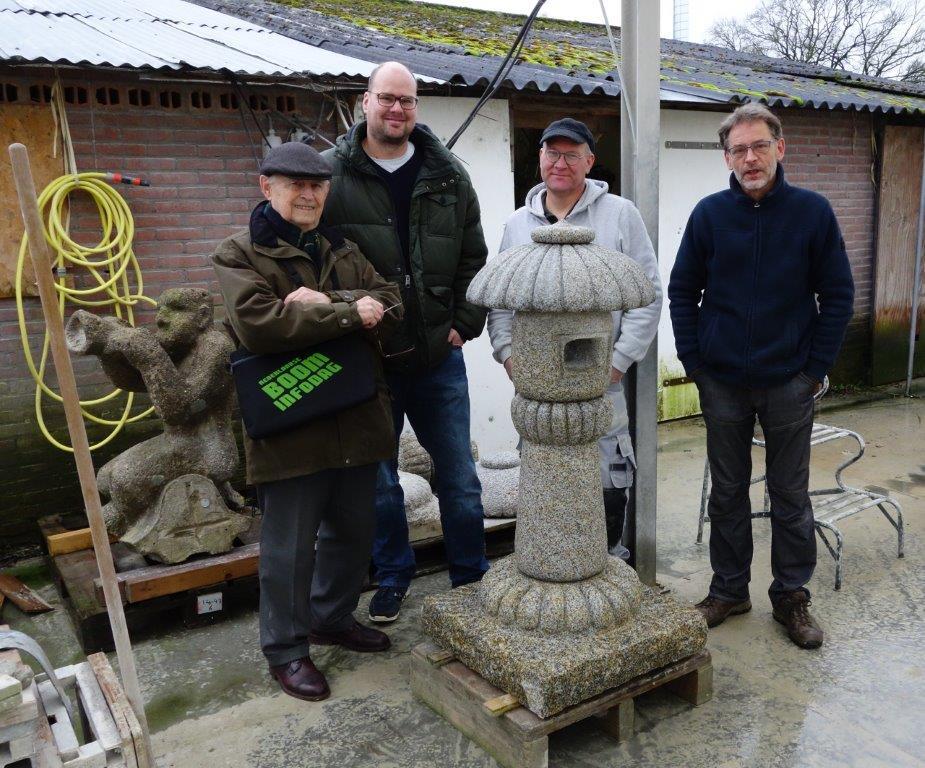
    somewhat primitive Japanese lantern made of Shirakawa granite. It weathered rather quickly however, and was restored a number of times over the years. And then in May 2017 I was approached by Raymund Bervoets of Restauratie Breda, who asked me what it would cost to have a copy carved in Bavarian granite.

    The lantern consists of five parts: the base, the shank, the fire chamber, the roof, and the cap. Typically, all the parts are loosely stacked onto each other, but in this one, because of all the repairs, several parts were glued together. Its base had gotten lost over time, perhaps it had weathered and been done away with, so at one time a composite cast piece was made.

    Chrysanthemum themed

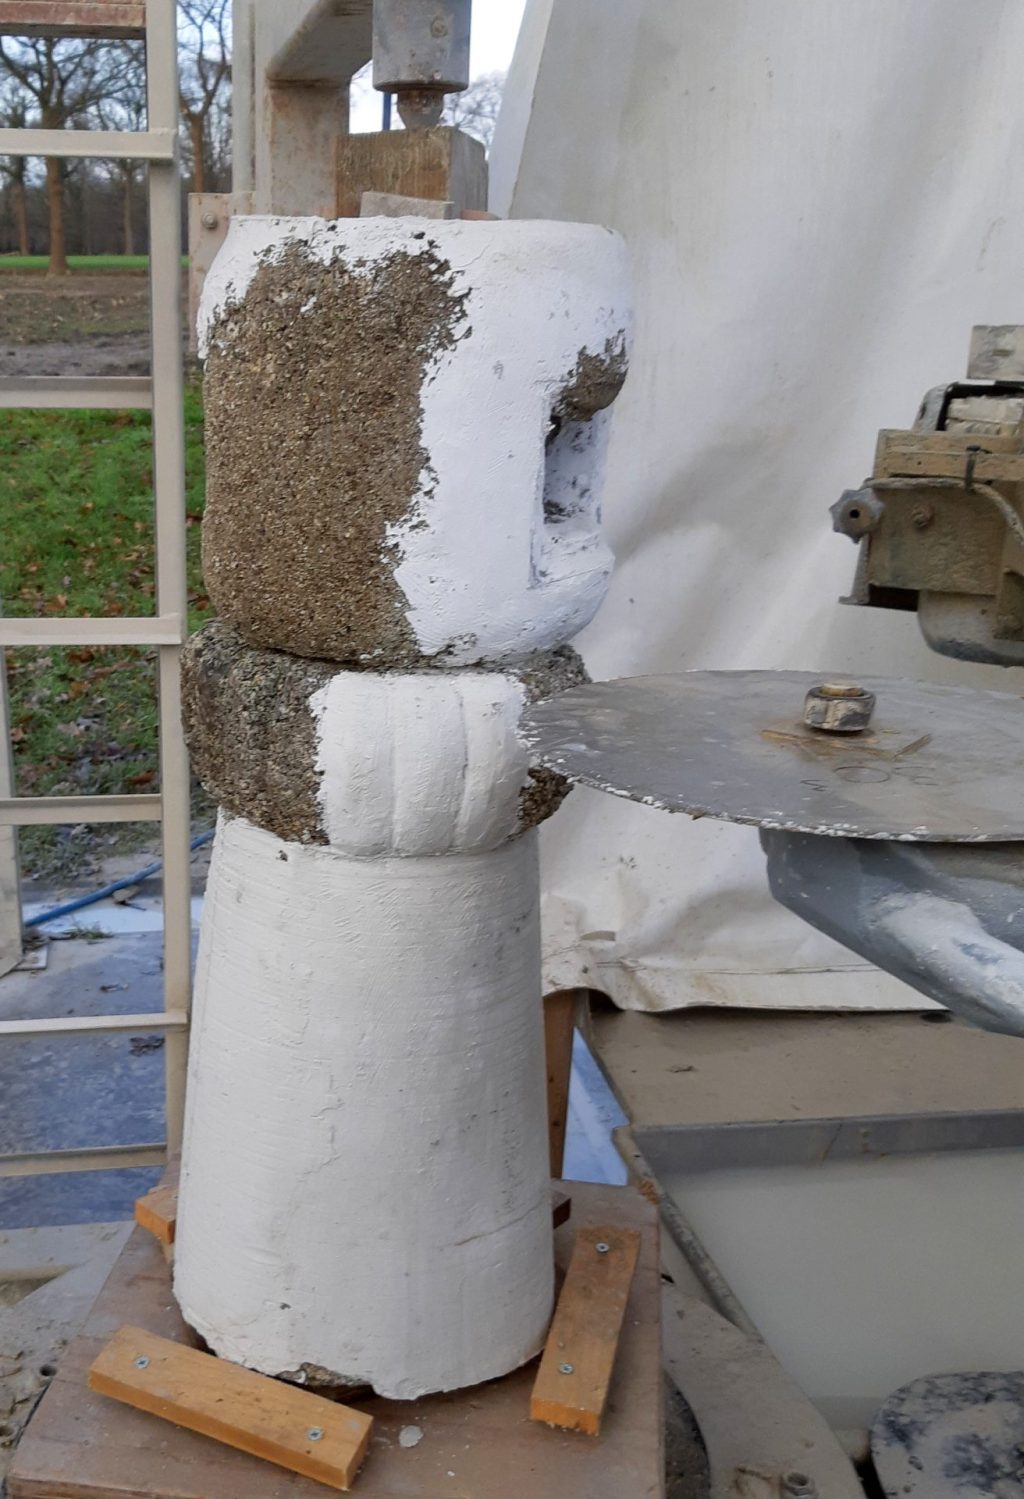
    reconstruction of the shank and fire chamber of the lantern on the sawing machine

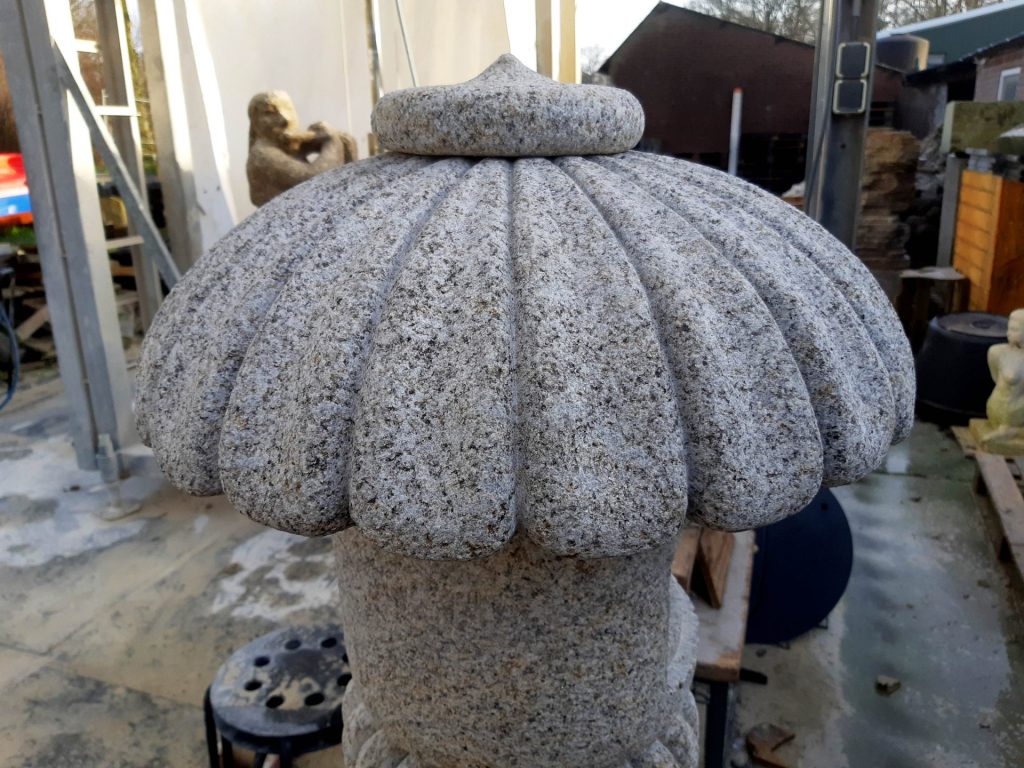
    Usually Japanese lanterns look very different. For starters they haven't got 20 but 16 lobes, and thus get to bear the title 'Imperial'. Also, base and shank will be carved much more clearly. But the common element was that the roof of the lantern consisted of chrysanthemum petals. Perhaps this was a somewhat more rustic version of an official lantern?

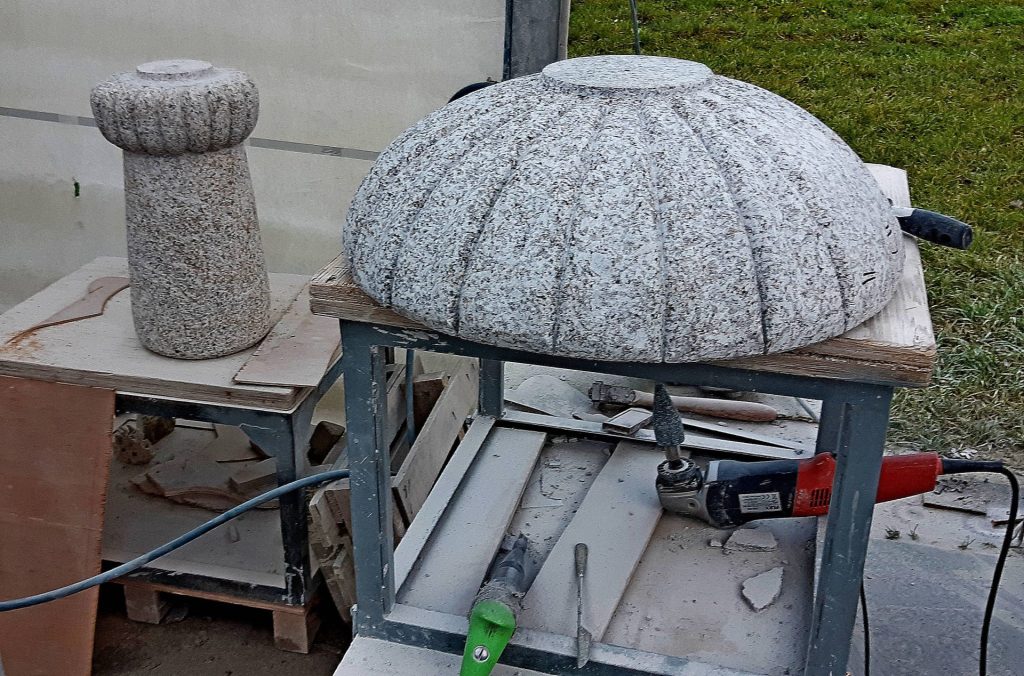
    Raymund had done a lot of research into the right shapes for this lantern. On this basis, a plan was drawn up for copying. We needed a new design for the base, with, just as the roof and the shank, has 20 lobes. The shank was supposed to get a bit of a tummy. The fire chamber had deepened 'edges’ so that a small window frame with rice paper could be put in. The roof had to get 20 chrysanthemum leaves just as the original had, but sharper and fuller, and the cap had to go get a tip. And everything was supposed to get a hand-carved character.

    Of course, no problem! You ask, we run.

    Getting to work

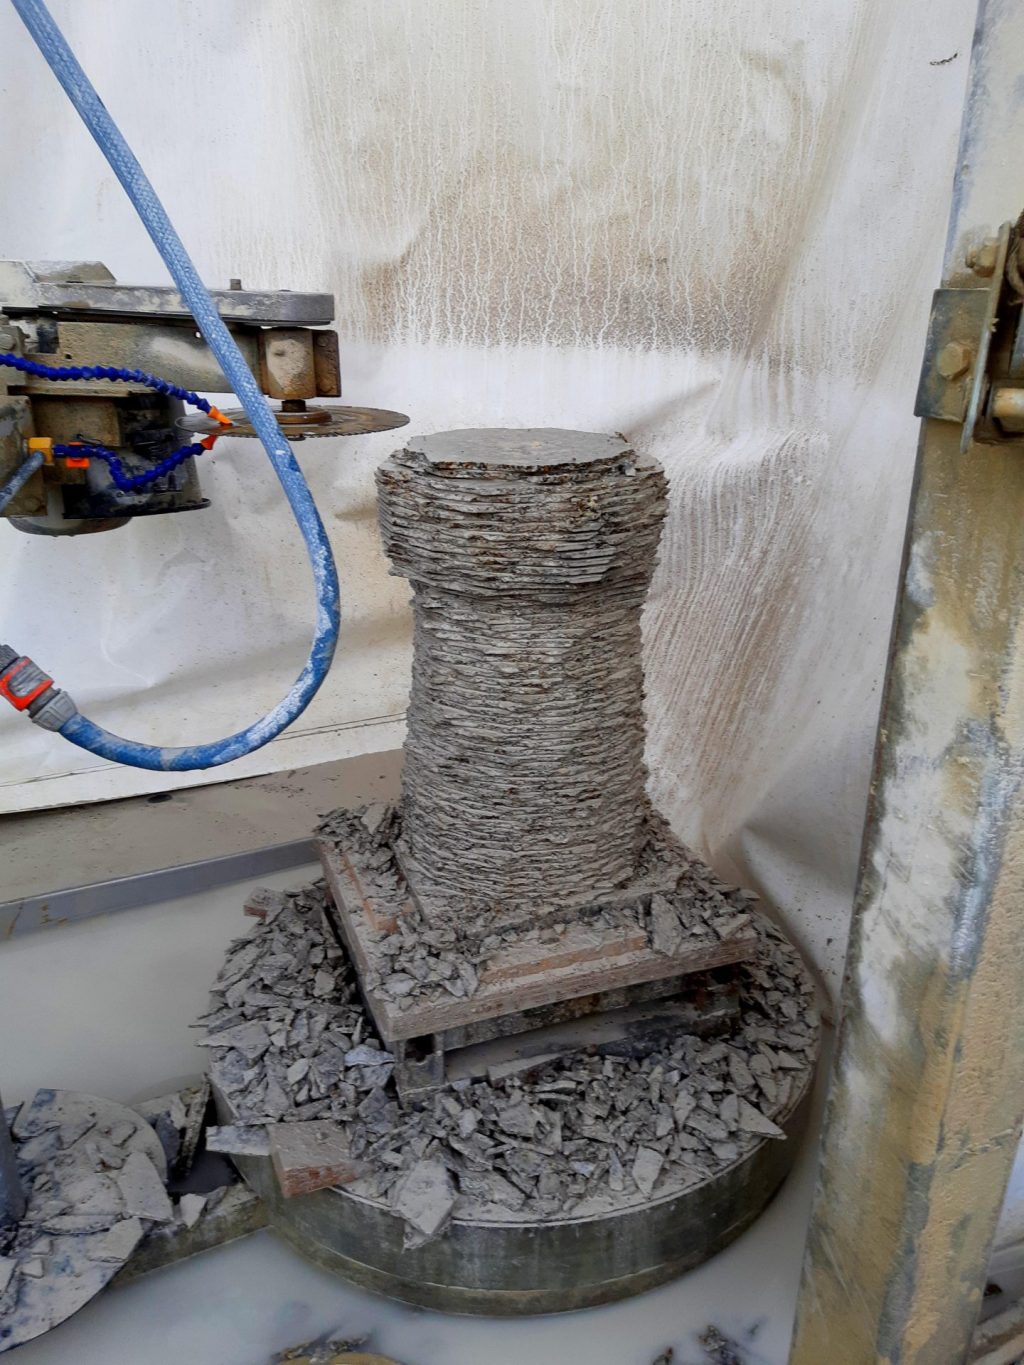
    presawing granite shank piece on sawing machine

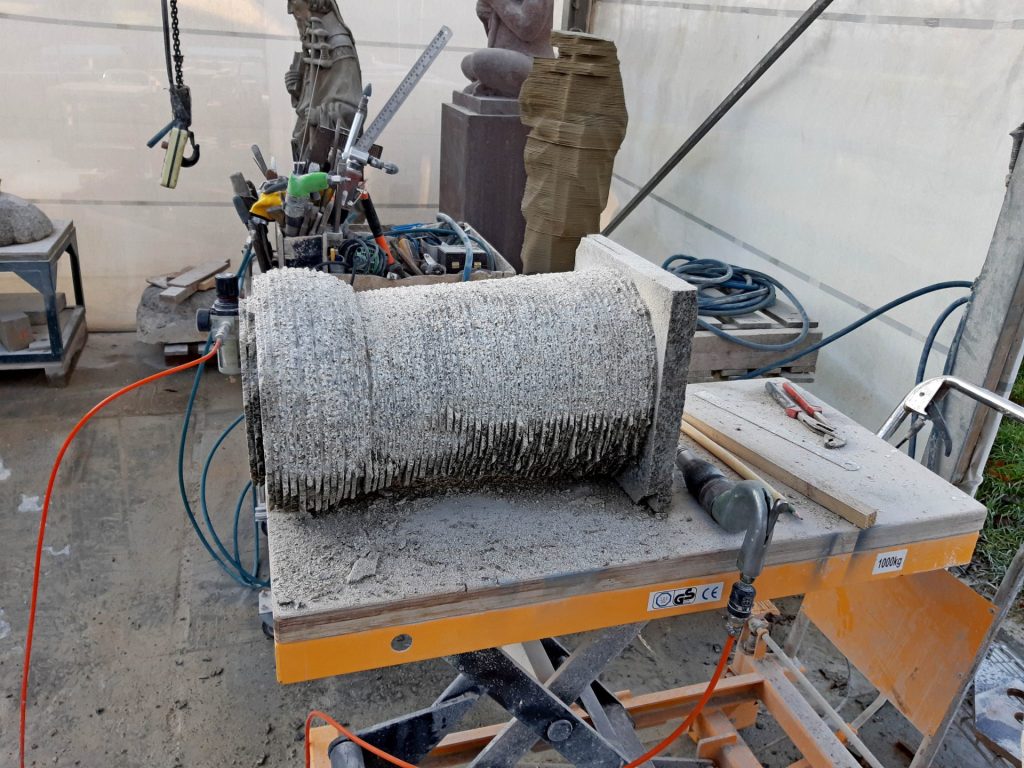
    Bureaucratic mills never grind very quickly and certainly not in The Hague, but at the end of 2019 I got the green light and I could start reconstructing the lantern and then copying it in Flossenburger yellow-gray granite. With plaster I completed the five components, cut out the major shapes on my presawing machine, and carved the copy just as irregular as its original. Many details were deteriorated quite badly, so I had to bring them back a lot sharper in the copy.

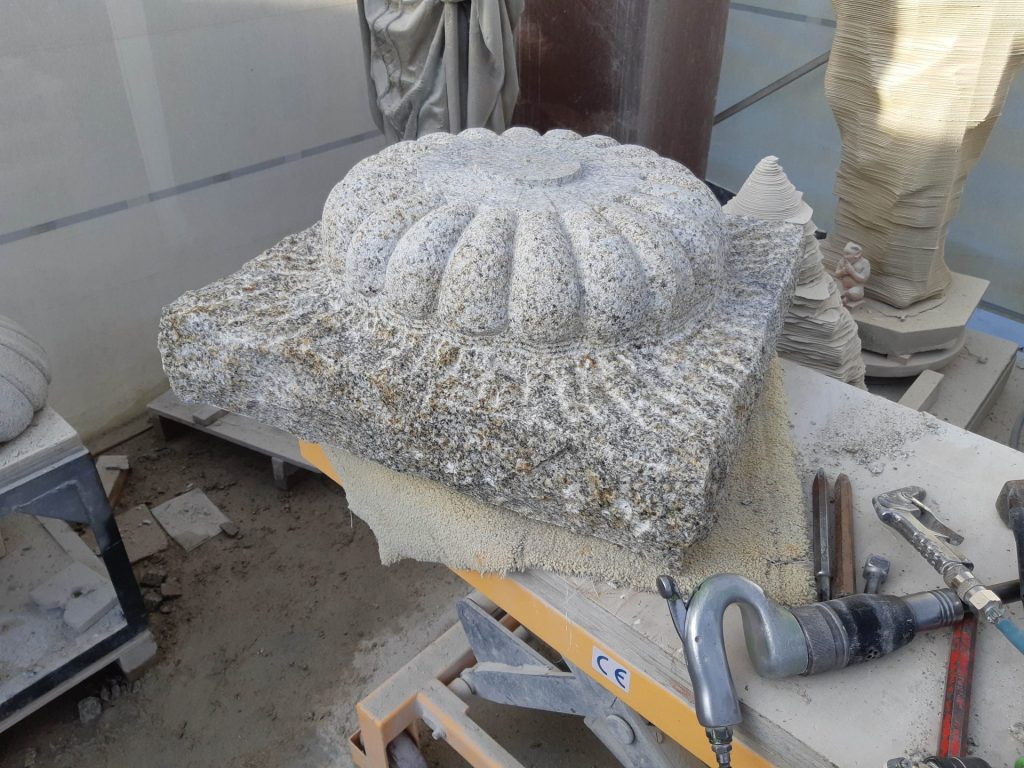
    Carving the base of the lantern

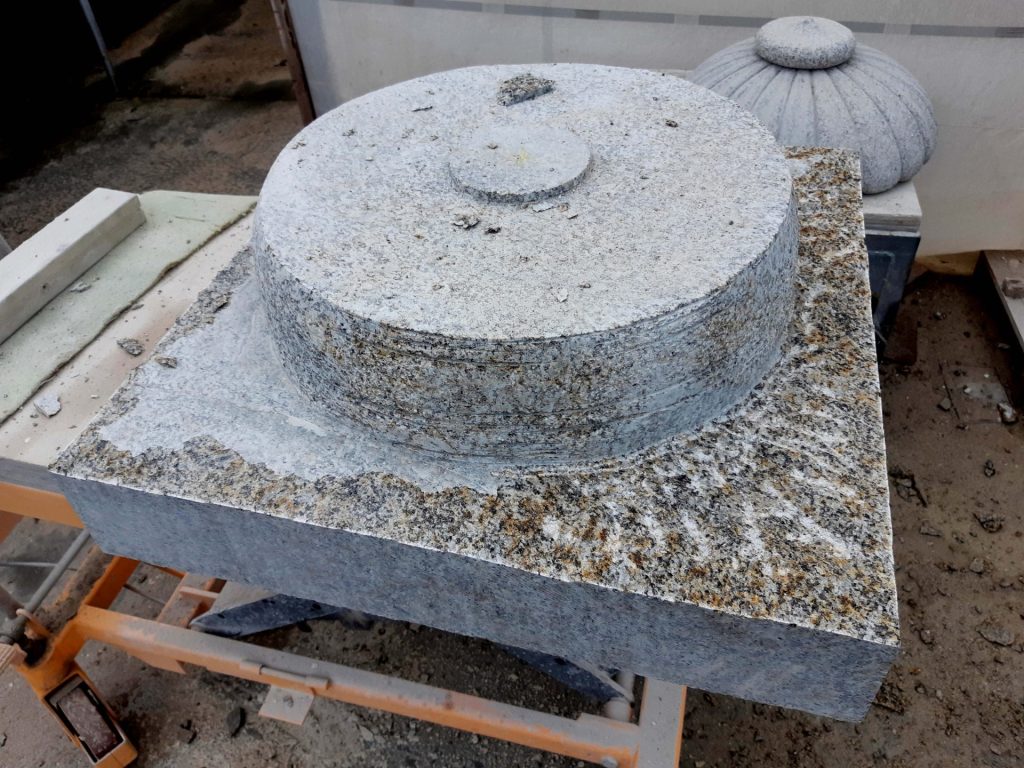
    Lantern base in granite completed

    The base was supposed to be partly covered in earth, and a layer of soil was to cover it. I thought it would be nicer to give the part that would end up underground a hand-carved finish as well. Of that, I made a short film. Carving granite with a chrome vanadium chisel is not easy! Only at the end I realized that I had a carbide (tungsten) point chisel lying around somewhere. That proved to go remarkably easier. In the first chisel, its tip was blunt after just a few hits, but with the carbide chisel, I could keep carving for a long time. I was afraid that the tip of the chisel would shatter at the first blows, but it all went without any problem.

    A special way of experiencing a Japanese lantern

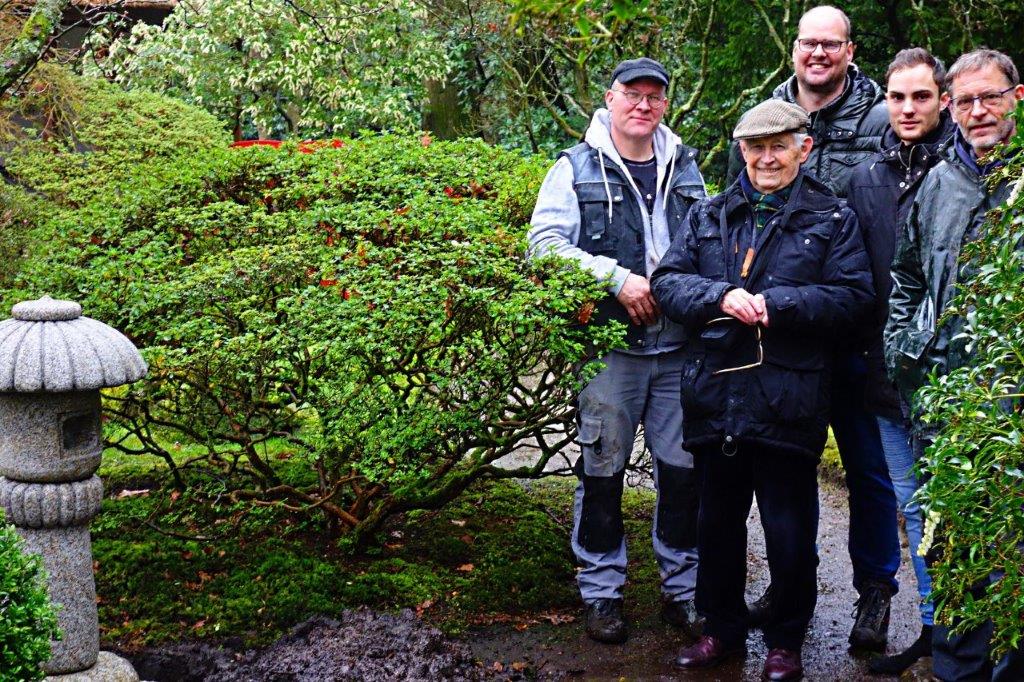
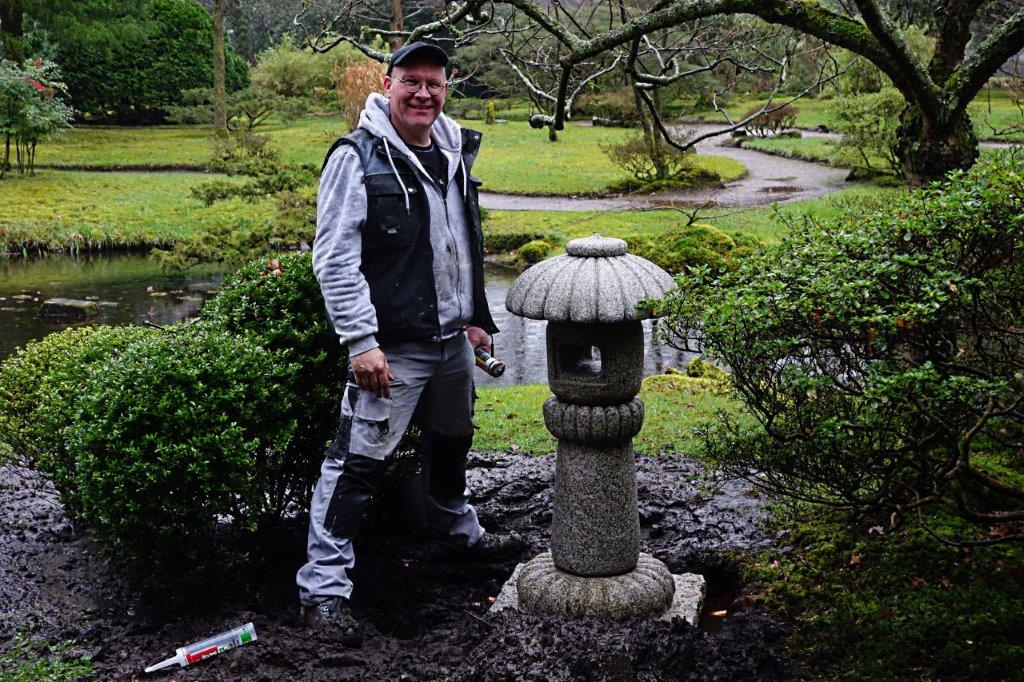
    The Japanese garden in Wassenaar is actually too popular to let everyone experience it in peace. If there would have been access to the garden all year round, the moss would not survive the many photo sessions. Therefore, it is only accessible to the public for eight weeks a year. But not everyone keeps to that rule! It has happened a number of times that uninvited visitors entered the garden at night and went frolicking about with lanterns. Since all the parts are stacked loose, several times, parts have ended up in the pond.

    Jam jar and cap

    lantern in Japanese garden

    For that reason, we discussed how we could make the copy more stable. The result was that I was to make a kind of jam jar structure for each component. On top of the lower part, I would make a raised edge, and the portion above that was to receive a cavity that just fits over the lip. Like the cap of a jar.

    As a result, the stack will no longer be easy to shift, but can still be lifted. That's why we've also applied a flexible adhesive between the parts during installation. In this way the components can always be removed someday, with some precaution, but they are anchored better in case someone wants to throw the thing over.

    Gallery

    Click on a photo for an enlarged view.
  • Copying points with a pointing machine

    pointing machine with wooden cross and brass needle

    The footprints I am to go on the black granite padukas are a great project to explain how the process of sculpting works in general. For a sculptor the process is self-evident, but from the questions I often get, I notice that many people do not know how to get from an idea to a stone statue. Often they think I'll pick up a chisel and hammer and start hammering away.

    But in this case I want an exact copy of the footprints, and not something carved in freehand. This calls for special measures.

    The model

    I rarely just start carving. I really only do that if I just want to swing my hammer and have no clear idea. Most often that doesn't work out too well. Usually I start with a small scale model in clay, a clay sketch. If it needs to be a larger sculpture, I will copy the clay sketch to a larger scale. If it needs to be a very precise statue, then the model has to be prepared very precisely as well, because that way there will be much less margin for error.  In this case I have the plaster cast with the footprints.

    Copying

    To get from a model to a stone statue I need to transfer a number of measurements. For example, I measure on the model how high up the chin is, how wide is the head is and similar things. The point is just: where do you measure from? You will need to have a fixed point somewhere. But with 1 point your measured distance could end anywhere. With two points you'll limit your possible number of distances to a much smaller area, and only if you measure something from three fixed points, there remains but one solution. For this reason, the technique of the measuring from three fixed points is very old.

    This requires you to have three identical fixed points, both on your model and on your block of stone. Any given point that's measured on your model from all three points, can always be found back on the block of stone if you look up those three measurements there. For example 5 cm from point A (to the right), 7 cm from point B (to the left) and 15 cm from point C (to the top). That way you have not only asserted horizontally and vertically, but also the depth.

    It's just a hell of a job to measure each point this way.  And certainly with a ruler. It means you have to think and remember, and that's how mistakes are made, and you sometimes have to measure hundreds of them. Isn't there another way of doing it? Early on, sculptors learned that it can be done much easier can with calipers and compasses. Other sculptors would use a grid, or a plumb line, but it remained cumbersome.

    pointing machine with needle and stop
    The needle of the Pointing machine with the stop

    Until someone came upon the clever idea to hook up a bunch of rods in those three fixed points, and the pointing machine was born. The great thing about this tool is that you can define any point on your model with a needle, you then take up the whole contraption, put it on your stone and voilĂ , it points exactly where to carve. And better yet, how deep you need to carve. For that needle can slide up to the stop. While carving, you pull it back, you drill or carve a bit, and check the depth with the needle.

    Pointing

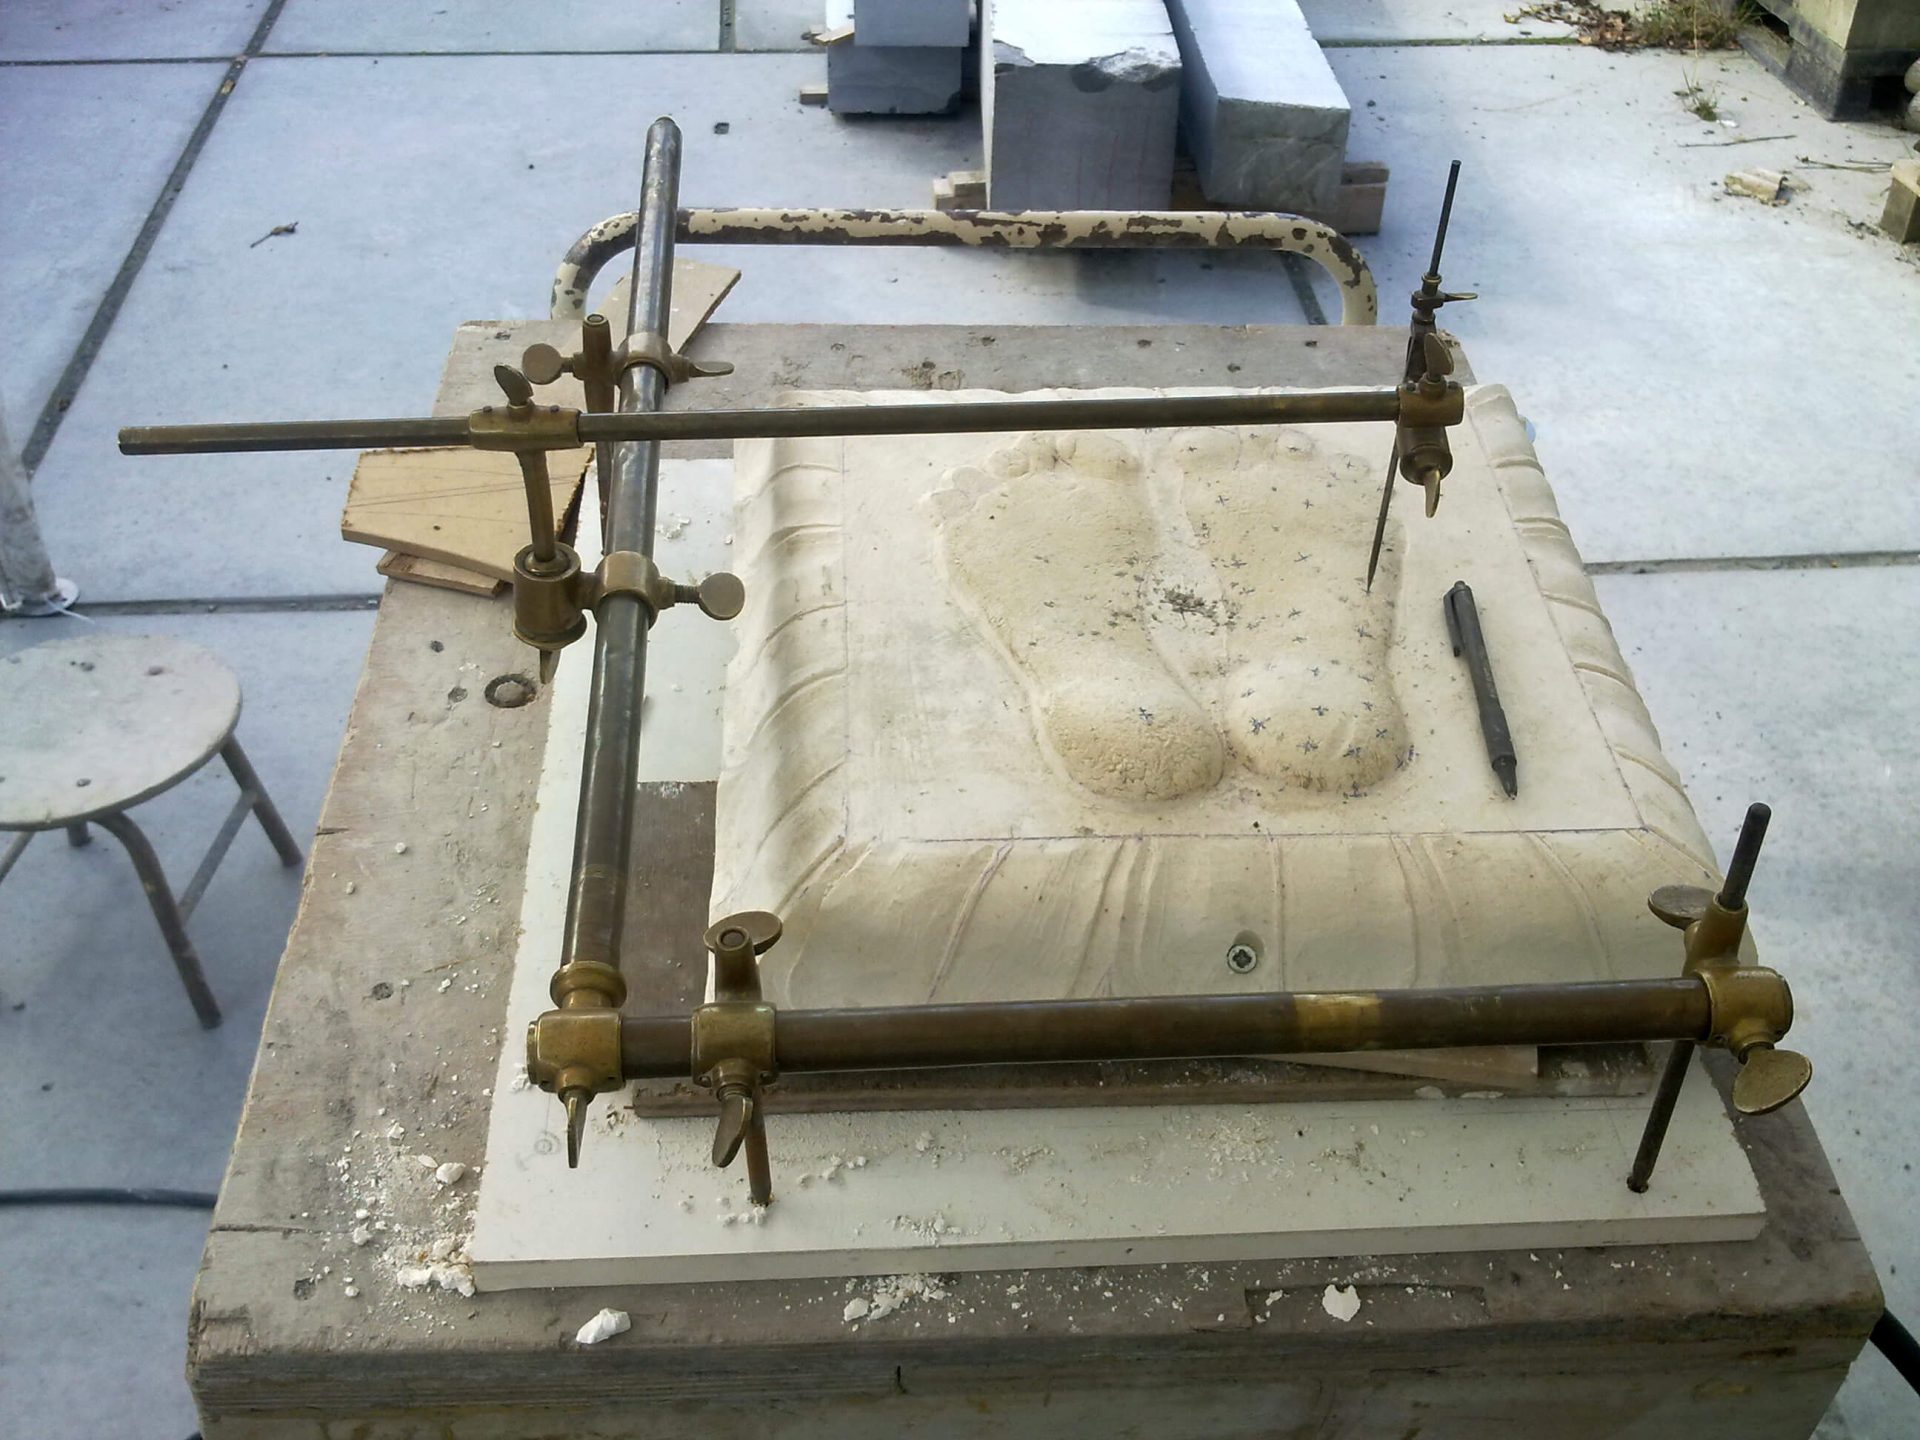
    pointing device with plaster model
    The plaster model with pointing machine

    At the moment, I'm using such a pointing machine or macchinetta per punta, to very accurately measure the feet and carve them in stone. I've been able to buy an (almost antique) device of brass this week, and the big advantage of this one is that it is very versatile. It usually has a wooden base, the so-called cross. On the cross are steel pins, which are adjusted so that they fit into the fixed points. Those three fixed points are in my case regular Phillips head screws that I screwed into the shelf, but you can also glue nuts onto your statue or something else where the pins fit into.  Such a wooden cross is a fixed base and is often annoying when measuring. But my pointing cross base consists of loose brass parts, so I could place it to the side. This way it's not in the way.

    On the pointing cross is the actual measuring device. It's a set of brass rods and joints that you can place in any position, with the needle as the main part.

    On the plaster feet you can see lots of small crosses. Those are the points I've already measured. Normally, you have to put a dot, but the plaster was too wet, so this time I put a tiny x. I will measure a point, set the needle, and slide it back slightly. The stone is in fact slightly larger than my plaster model, and the needle would move out of position if I didn't pull it back before moving the contraption.

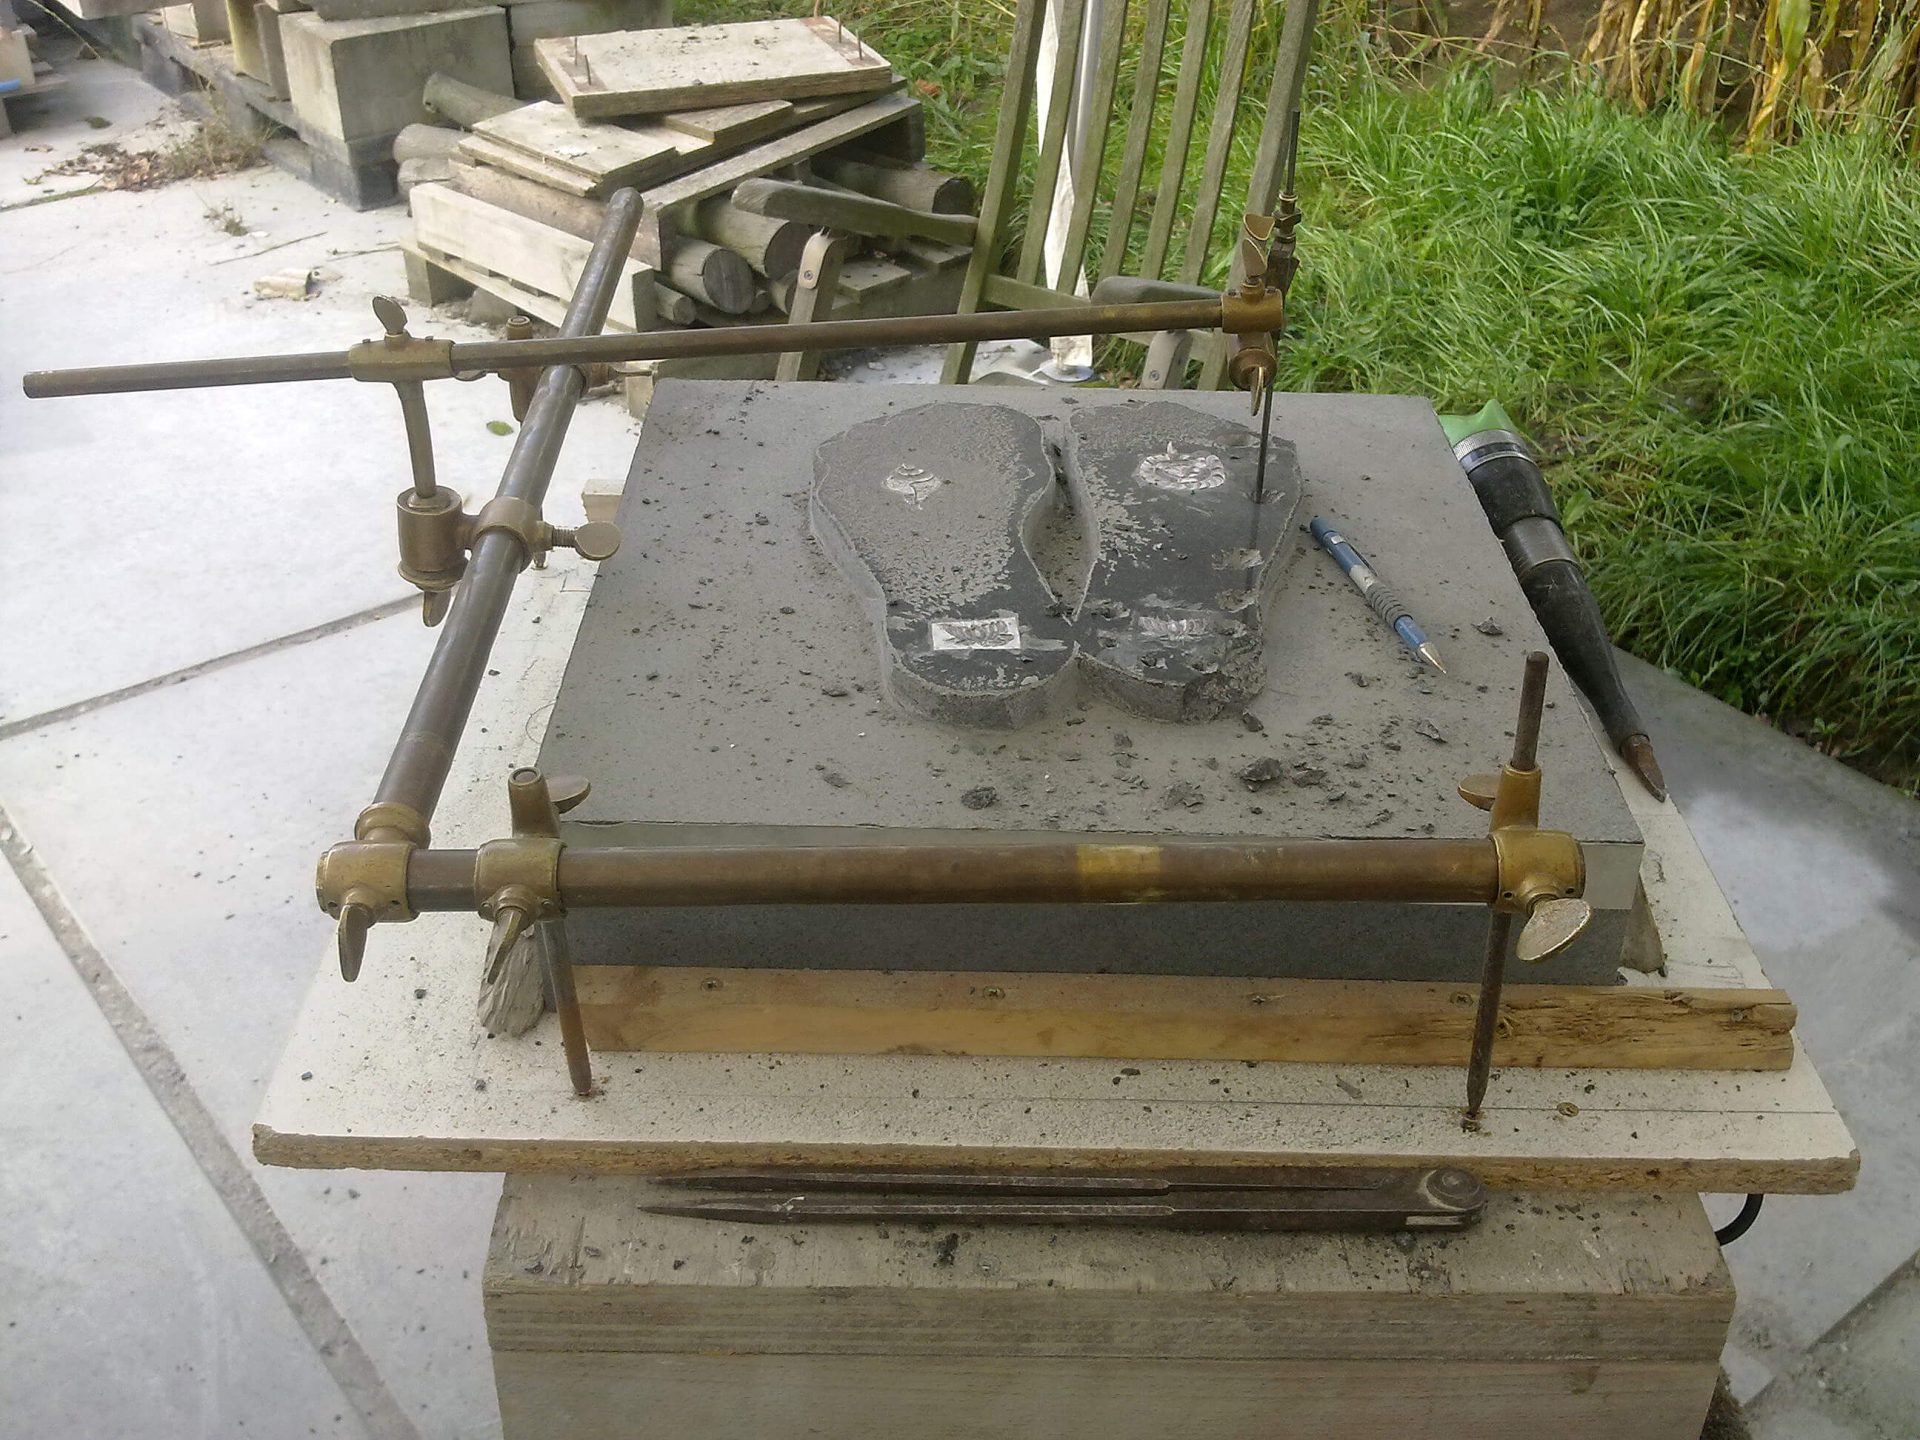
    copying with pointing machine on granite
    The pointing machine on the piece of black granite

    I then pick up the whole thing, the pointing cross with the measuring needle and all, and lift it over to my stone. There, I've also put three Phillips screws in exactly the right place in the wood, and I hook up the device in those. Now the needle points to where I need to drill or carve.

    By carefully cutting and regularly checking I can transfer the points in granite to the millimeter. Then it's a matter of connecting the points into surfaces, and only then the artistic process comes in motion: the real shaping.

    In all those years as a sculptor I've only had to use the pointing machine a few times. That's because I have another device: a sawing macine that takes a lot of measuring work off my hands. Often enough I will just need another few measurements with a compass and I can carve half the statue in direct carving mode. That will affect the accuracy and depends heavily on the sense of shape of the sculptor, but it is a lot faster, although it leads to slightly more risk of errors. That's something you can never rule out completely, but with a pointing machine that risk would be considerably smaller.

    To the first post about this project.

    Trying it out for yourself

    The complete book of sculpting

    If you want to work with this tool for yourself, then I suggest you'd try to find The Complete Book of Sculpture by CamĂ­ Santamera. In this book is explained step by step with photos how it works.

    Want to buy a pointing machine somewhere? Then buy one without a wooden cross. Those things are already quite expensive and without the cross it becomes a lot more affordable. That cross you can just make yourself for each sculpture, with a couple of pieces of wood and a few threaded rods that you grind to sharp ends. That way, you'll always have the pointing cross at the right size. Just be sure the connections are really tight: immovable. The pointing machine itself can be connected to it with a glue clamp.

    Read more about this project in the next post.
    Read more about punting machine in this post.

No more messages to show.

No more messages to show.