• Installing: A garden bench for Castle Twickel
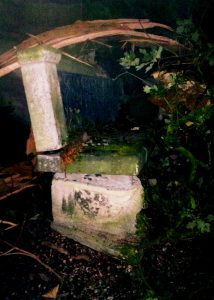
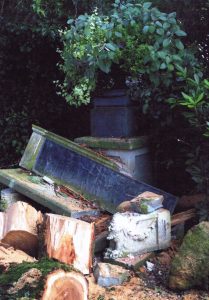
    During dead quiet weather, a very thick branch of a tree fell down.
    During dead quiet weather, a very thick branch of a tree fell down.
    During dead quiet weather, a very thick branch of a tree fell down.
    The concrete backrest with lead relief and the seat were the most damaged parts.

    Today, it was a hot sunny day. With a little power shovel machine and lifting straps we lifted the components of the garden bench and assembled them on site.

    To the first post about this project.
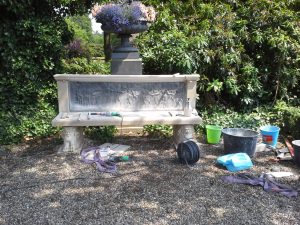
    tool with the new bench for Castle Twickel
    trowels, mortar, glue, hoisting straps… a car full of stuff

    The puzzle of course fit, because I had tested that beforehand.

    All stone parts of the bench were weathered and damaged, and have been replaced with new sandstone. Especially the legs are quite elaborately carved.

    Garden bench with lead relief and new sandstone elements
    The sandstone spheres are there as a temporary solution

    The lead relief will probably soon again be patinated. It's possible to use a special patinating oil to quickly turn the lead grey or black, something that has obvious been done to this relief before. I've not done so beforehand on my own account, because such a thing, of course, is usually done in consultation.
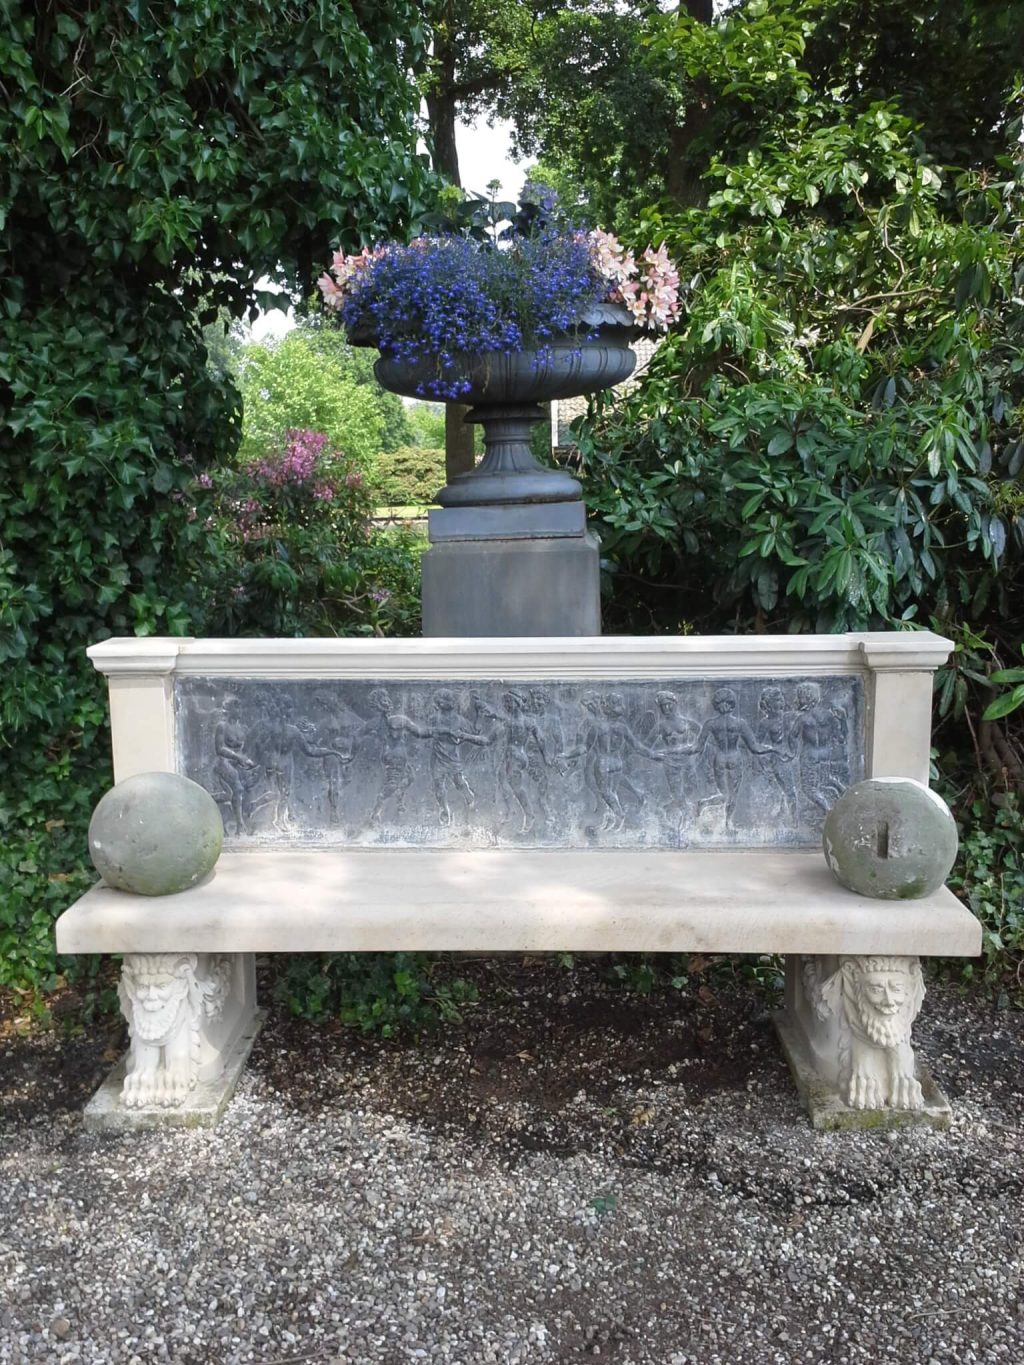
    Garden bench with lead relief and new sandstone elements
    Dancing nymphs and fauns on the backrest

    Temporarily I've put the old sandstone spheres back on the seat. The right hand sphere had received such a blow that it broke into twenty pieces. I've pasted it roughly back together, quite a puzzle. The best thing would of course be if someday in the future those little music-making fauns on the corners could be put back again (read more on that in this post), but for the protection of the sculpted sandstone legs, for now the spheres will do.

    I thought for a moment that it might be a solution to carve two small little fauns from the beginning. The originals were made of lead and were stolen, and carving new ones out of sandstone is much too fragile with such a dangling leg. But sitting, from granite, that's technically possible. It's just not up to me to decide.

    This is how a damaged garden bench looks fresh and sharp again, perhaps even a little too sharp. With the greenish haze which the bench will automatically get because of its place under an oak tree, it will fit in more with the rest of the garden over the years.

    We have also talked about tactics to get something green rapidly. Buttermilk is often mentioned, and so is yogurt. I once saw a lady on the BBC who managed to get even plastic flower pots in a thick coat of moss by mixing in a blender some yoghurt, moss and (cheap!) latex paint (and maybe some loam and manure, but that I don't remember) and brushing that onto those pots. I think I'll experiment a bit myself someday. Just need an old blender.

    Update 2 September 2015:

    Always on the lookout for other insights I started using Stumble Upon. Apparently it works, because here I came across a fine recipe for moss : how to make moss graffiti. In short: indeed moss in the blender, add lukewarm water, add water-retention gel (perhaps from a diaper??), add buttermilk, pulsate in the blender until it congeals, pour it into a bucket and paint with it whatever you want, and if you spray it a bit wet every week, in no time you will have moss growing on your desired surface.
  • Patching up and replacing new blocks

    Stevenskerk jointing 2
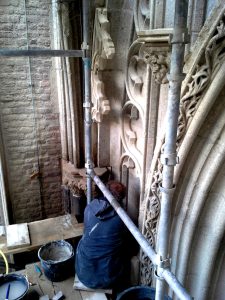
    On a scaffolding often means working in quite tight corners

    'Patching up’ was originally a fishing term for repairing fishing nets, from a time when these still had to be painfully repaired by manual labour with a spool of wire. Nowadays the term is used in all sorts of professions as designation for the re-filling of holes in work previously done.

    I encountered the term before when I worked in parks maintenance, during the filling in of holes in hedges and other plantings, and this time around in the world of stonemasonry.

    To the first post about this project.

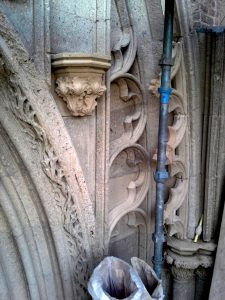
    In this case, we are 'patching up' parts of stone sculpture’ in the South Portal of St. Stephen's Church in Nijmegen. We're putting in new pieces of stone in the existing facade, to replace weathered pieces. There is not that much to tell about; it is simply a matter of filling in the holes that we made previously (because we have removed the old blocks there) with new stone again.

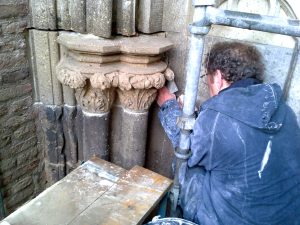
    Stide is doing a capital I have hewn to fill around with leveling mortar. After this is the filling in with cast mortar, so the hell block around all stuck
    Stide is busy filling the joints of a capital that I'd previously carved with set mortar all around. After this is the filling in with cast mortar, ensuring that the whole block is tightly joined to the surrounding masonry

    But of course it is no ordinary piece of stone, these are as I said before 20 trefoils (crets, my colleagues say, after the French word crête), 20 crockets (a form of reclining crockets), 7 consoles, two 'caps’ or upper parts of consoles and three capitals.

    It is actually quite a tricky job. If we have made the drawings just right, then the pieces will fit into the holes and then we can add the mortar around the joints. But usually such a block has to come out once again for knocking off a piece of old grout somewhere, and when in very bad luck, a couple of times more, until it fits. Once the block is placed right and the grout has hardened, then through a hole at the top the liquid mortar can be poured behind the block , to fill the area below, next to it, behind it and above it.

    from the outside to the inside: hangen er al drie peaks (trefoils), you see a console, and a crude tire which will soon come lace flowers
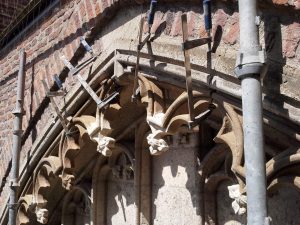
    From the outside in: to the far right there are already three crêtes (trefoils), you can see a new console at the top , and from the upper left to the lower-middle a rough band which is where the side crockets will come

    But those are the easy blocks: the capitals and the consoles. The hardest bits are the trefoils. These are very open pieces that will hang from the inside of the pointed arch, from a small contact area. For each trefoil there will be two anchors of stainless steel, which should provide for extra security.

    Finally on the inner one of the pointed arches a whole range of side crockets will be placed. Side crockets are crockets on its side. There are ordinary crockets, water leaf crockets, finials, crockets, suspended flowers, and a few more types of flowers in the Gothic ornamentation, but these are all variations on a theme.

    Next week we'll continue mounting the crêtes (trefoils), and when everything is done, we will accord. A new term to look forward to, but in any case it has nothing to do with accordion music.

    Update 22 april 2015:

    It's coming along nicely with the mounting of the blocks. Today we have suspended the last trefoils inside the arch. These 'crêtes’ have been carved by my colleague Jan Tolboom, so this is a three man's project: We divided the carving work into three parts , Stide and I take care of dismantling and placement and Jan supports us with his advice and insights. A good team, with a hundred years of experience put together.

    The narrow pieces are hung on the inside of the arch with anchors. During curing, we can secure it with glue clamps
    The narrow pieces are hung on the inside of the arch with anchors. During curing, we can secure it with glue clamps
    All trefoils are suspended now, here still supported with glue clamps, until the glue and the mortar has set.
    All trefoils are suspended now, here still supported with glue clamps, until the glue and the mortar has set.

    Read more…

No more messages to show.

No more messages to show.