• Flying Buttress figurines for St. Eusebius' Church Arnhem

    Restoration St. Eusebius' Church gets going again

    Good news! There is a budget again for the restoration of the St. Eusebius's Church in Arnhem (the Netherlands). Today a press release came out that the municipality and province have provided funding for a transitional period of a few months, and the expectation is that the rest of the restoration project will in time be provided for as well. As a result, I can now report that the next few months I will be busy carving a whole batch of new statuettes for the flying buttresses of this church. Below is an account of the first two that Stide and I made.

    Read the first message about this restoration here.

    Flying buttress sculptures for St. Eusebius's

    precutting flying buttres figurine1
    the precutting of a flying buttress statuette

    The St. John's Cathedral in 's-Hertogenbosch is known to many people in the Netherlands. Quite recently, that church has also received a lot of attention flying buttress figurines as well: on account of the Jerome Bosch year, a scaffolding was built into the roof gutter, providing access so that everyone can view the famous flying buttress figurines with their own eyes, under the title ‘a Wonderful Climb‘.
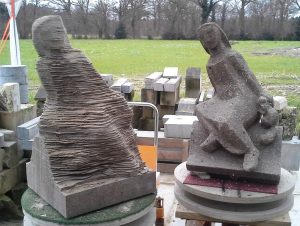
    Flying buttres figurine ES1

    However, less known is that there is another church in the Netherlands whose flying buttresses used to be covered in flying buttress figurines: the St. Eusebius's Church in Arnhem (the Netherlands). This church currently is mainly in the news because its restoration has met with financial difficulties. But I am hopeful of a positive course of the further restoration.

    Much of the church and tower was heavily damaged by bombing and shelling in World War II, so after the war an enormous amount of new work had to be carved.

    copying flying buttress figurine1
    Stide Vos copying a flying buttress statuette

    There have always been figurines on the flying buttresses of Eusebius, but after the war there was so little left to be found and so much had to be made in a short time, that the sculptors were given a lot of freedom to invent and carve new figures in their own style. So now the spirit of the fifties and sixties can easily be read from the figurines.

    Weathered tuff replaced by Muschelkalk
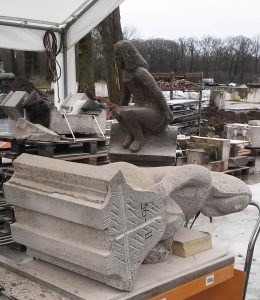
    stonemasonry Eusebius Church
    the work also includes the stonemasonry work on the profiles

    As I already explained in described previously in this article on my blog, Ettringer tuff was the material of choice in the after-war reconstruction period . Regrettably, this proved to be an unfortunate choice over the years: the Ettringer tuff responds poorly to changes in humidity and temperature and begins to fall apart a few decades.

    To preserve the unique character of the Church it was decided to copy the figurines in new stone. In the past it was tried to preserve the sculptures by means of conservation, but that too has unfortunately not worked out well: the tuff continued to disintegrate. That would endanger bystanders. So they'd rather replace them altogether.

    Copying
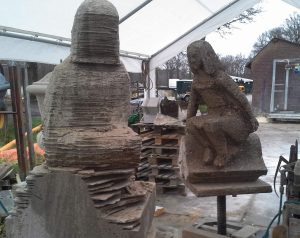
    precut flying buttress figurine2

    Now my colleague Stide Vos and I started carving the first figurines in Muschelkalksteen, a coarse limestone that matches the design and finish of the old sculptures. The figurines we started with were still in fairly good condition; only the big yellow sandy spots had washed out. Should funding for more statues arrive in the future, then there will also be some among these that will need complete repairs and reconstructing before we can copy them, and there are even a few that have disappeared altogether.
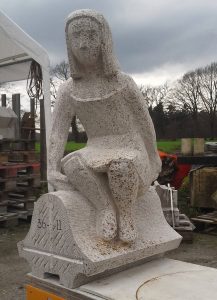
    flying buttress figurine 2
    the flying buttresses extend at an angle towards the church, hence the sculptures are portrayed leaning forward a bit

    With the copying saw machine I own we can precut the figurines and then carve them, detailing and adding toolmarks after that. On the pictures the original in Tuff can be seen, next to the emerging copy in the new Muschelkalk limestone. By adressing it this way, we can work quickly and efficiently, and even a lot cheaper than a computer scan in conjunction with a CNC milling cutter.

    I've already had the opportunity to make some sculptural works in connection with the restoration of this church: Read here the archives of articles about this on this blog.

    To the next one 7 flying buttress figurines as well.
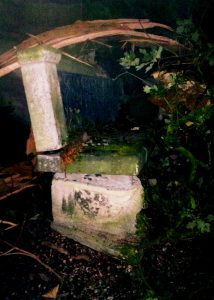
  • Installing: A garden bench for Castle Twickel

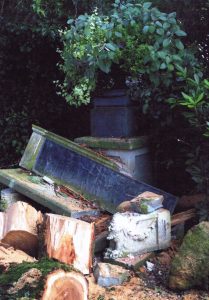
    During dead quiet weather, a very thick branch of a tree fell down.
    During dead quiet weather, a very thick branch of a tree fell down.
    During dead quiet weather, a very thick branch of a tree fell down.
    The concrete backrest with lead relief and the seat were the most damaged parts.

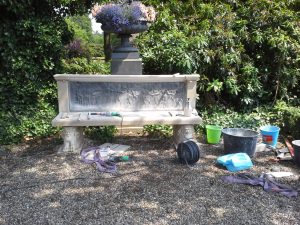
    Today, it was a hot sunny day. With a little power shovel machine and lifting straps we lifted the components of the garden bench and assembled them on site.

    To the first post about this project.

    tool with the new bench for Castle Twickel
    trowels, mortar, glue, hoisting straps… a car full of stuff

    The puzzle of course fit, because I had tested that beforehand.

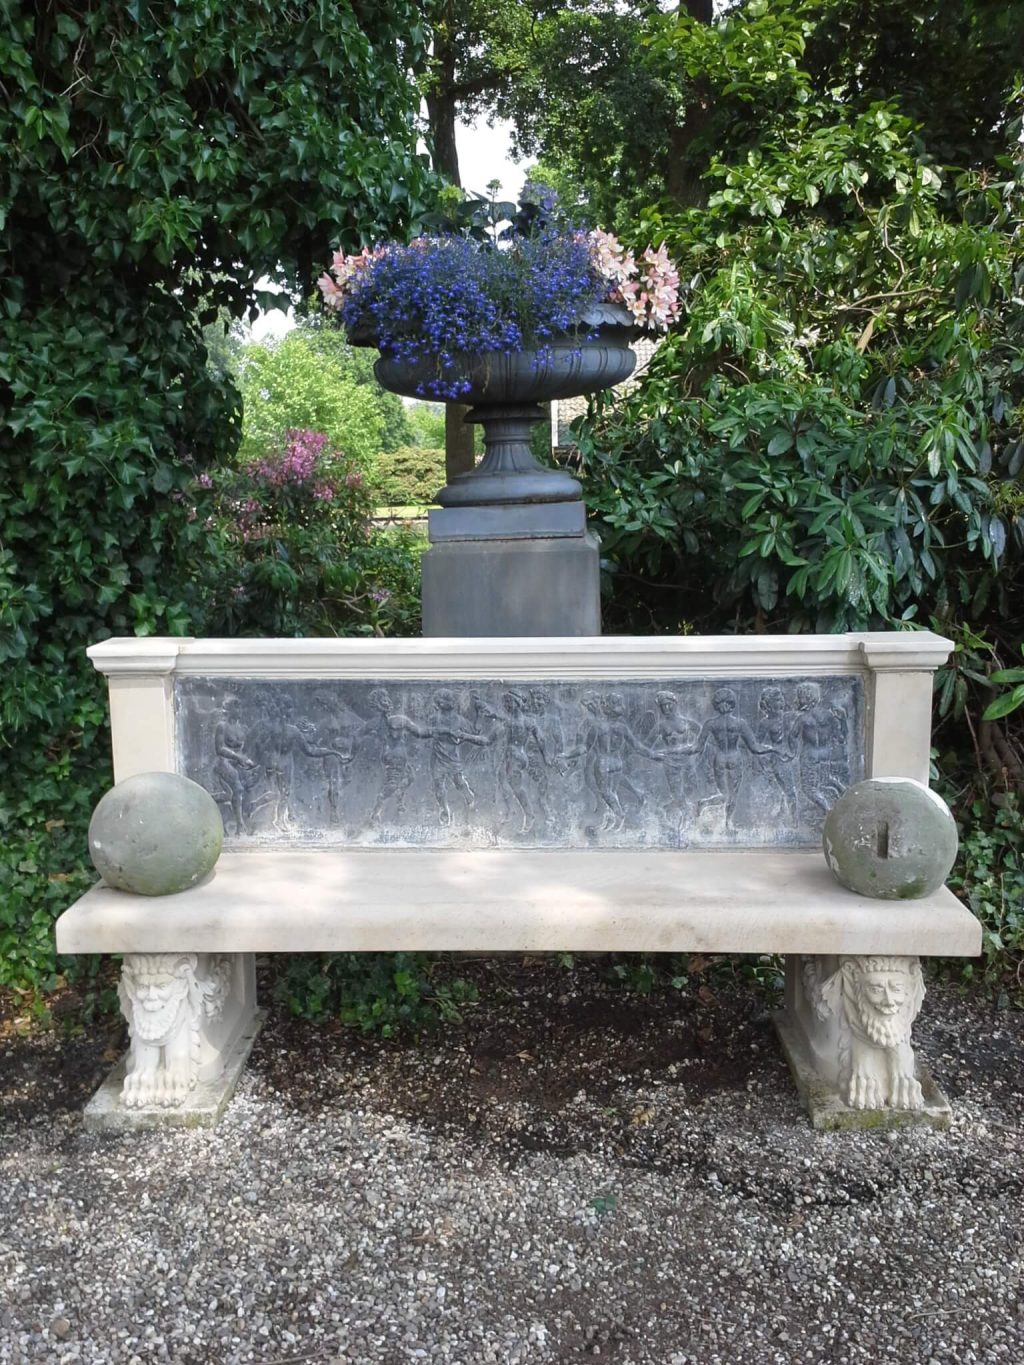
    All stone parts of the bench were weathered and damaged, and have been replaced with new sandstone. Especially the legs are quite elaborately carved.

    Garden bench with lead relief and new sandstone elements
    The sandstone spheres are there as a temporary solution

    The lead relief will probably soon again be patinated. It's possible to use a special patinating oil to quickly turn the lead grey or black, something that has obvious been done to this relief before. I've not done so beforehand on my own account, because such a thing, of course, is usually done in consultation.

    Garden bench with lead relief and new sandstone elements
    Dancing nymphs and fauns on the backrest

    Temporarily I've put the old sandstone spheres back on the seat. The right hand sphere had received such a blow that it broke into twenty pieces. I've pasted it roughly back together, quite a puzzle. The best thing would of course be if someday in the future those little music-making fauns on the corners could be put back again (read more on that in this post), but for the protection of the sculpted sandstone legs, for now the spheres will do.

    I thought for a moment that it might be a solution to carve two small little fauns from the beginning. The originals were made of lead and were stolen, and carving new ones out of sandstone is much too fragile with such a dangling leg. But sitting, from granite, that's technically possible. It's just not up to me to decide.

    This is how a damaged garden bench looks fresh and sharp again, perhaps even a little too sharp. With the greenish haze which the bench will automatically get because of its place under an oak tree, it will fit in more with the rest of the garden over the years.

    We have also talked about tactics to get something green rapidly. Buttermilk is often mentioned, and so is yogurt. I once saw a lady on the BBC who managed to get even plastic flower pots in a thick coat of moss by mixing in a blender some yoghurt, moss and (cheap!) latex paint (and maybe some loam and manure, but that I don't remember) and brushing that onto those pots. I think I'll experiment a bit myself someday. Just need an old blender.

    Update 2 September 2015:

    Always on the lookout for other insights I started using Stumble Upon. Apparently it works, because here I came across a fine recipe for moss : how to make moss graffiti. In short: indeed moss in the blender, add lukewarm water, add water-retention gel (perhaps from a diaper??), add buttermilk, pulsate in the blender until it congeals, pour it into a bucket and paint with it whatever you want, and if you spray it a bit wet every week, in no time you will have moss growing on your desired surface.

No more messages to show.

No more messages to show.