• A boulder with house numbers

    I recently received a request if it was possible to make a boulder with house numbers. Of course that's possible! So I went to a garden materials center and bought a heavy boulder of about a meter wide. It could just fit in the back of my little van, because it weighs over 400 kilos. Having a collision would become a problem at that weight. Had it been any heavier, I would have transported it by truck.

    boulder with house number- rough stone

    I would carve the house numbers 1-3-5 in it, for a group home for young people with a minor intellectual disability. Therefore, I chose a lively font. The boulder consists of red granite, probably a kind of Multicolour Red. But a boulder is not the same quality as found in the natural stone trade. You always need to find out if there aren't any cracks deeper inside.

    boulder with house number- polished the surface of the numbers

    Polishing

    I started polishing the place where the numbers will will come. Once I'll lower the surface of the stone surrounding them, I will end up with raised letters or numbers. If I just carve the house numbers into the stone, then they will become recessed letters/numbers.

    The tricky part here is the surface of the stone. It was formed by nature, so it's irregular. If it's wet, then it will be darker and when the weather is dry lighter. That means that in wet weather the polished surface of the figures disappears against the background. In dry weather it's easily readable.

    boulder with house number- paper figures pasted onto it

    Pasting and carving

    The group home has the house numbers 1, 3 and 5. They share one common entrance. The stone will be located at the entrance and so will have all three house numbers. Now the house numbers are still on a sheet of paper behind a window, but because the group home is situated in boulder puller's town Amersfoort, it's a much better idea represent them on a boulder.

    boulder with house number- started carving the husinummers

    I had printed out the figures at 21 cm tall on paper and pasted them onto the stone. Now I could carve the numbers right through the paper into the stone . After that I just had to bring the surrounding stone down until the numbers protruded almost 2 cm above it. Red granite is quite hard, but it all went pretty easily; the stone had almost no faults.
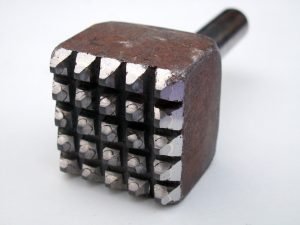
    Bushhammering chisel for natural stone

    Lowering the background

    When all the contours were carved, the stone in between them had to be lowered still. That's easily done with a bush hammer, a kind of blocky chisel with pyramid-shaped points. This crushes the stone surface, leaving behind a rough skin.
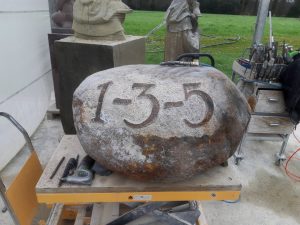
    boulder with house number- bushhammered the surface

    After several years of weathering you will notice that the stone has become one a single entity, with its letters clearly contrasting. Now the bush hammered spots are still a bit lighter, but that will, over time, merge into one another seamlessly.

    To finish it closer to the original surface of the stone I then followed with a rotating wire brush and brushed off all sharp bits.

    boulder with house number- house numbers finished

    Gilding or not?

    Unfortunately, it appears that in wet weather everything gets the same color. So was thinking of a solution for this. I thought of painting or gilding. Once the polished surface of the figures is gold plated, even during rain or dusk they will clearly stand out. But we are not yet certain whether that fits in with the informal nature of the group home. I will soon install the boulder and then we'll see whether one day an alteration should be made.

    This was a small (pro Deo-) job in between other things. Now I've learnt something new: how to make a boulder with house numbers. It's not a sculpture and letter carving's not something I do very often, but this was certainly just fun to do. I like working in granite, it's a robust material. I'll post pictures of installing it next week, and an update about the final finish and, still, painting.

  • Sculpture 'The Night’ for St. Eusebius Church Tower

    Last phase of the tower

    Day and Night

    Work on the tower of St. Eusebius's Church is nearing completion. Actually, the sculptres of The Day and The Night are the last two pieces that the builders are urgently waiting for. So I think a deep sigh of relief must have come from the scaffolds of the church when I completed The Night this week.

    For the tower, and part of the church, need to be free of scaffolding when a commemoration of the Battle of Arnhem is held this autumn, looking back to, 75 years ago. But this sculpture was not the only thing that still needed to be done. I've been carving away for St. John's Cathedral in Den Bosch, for the the Utrecht cathedral, again for Saint John's Cathedral, and flying buttress figurines for St. Eusebius' Church itself should be ready in time as well.

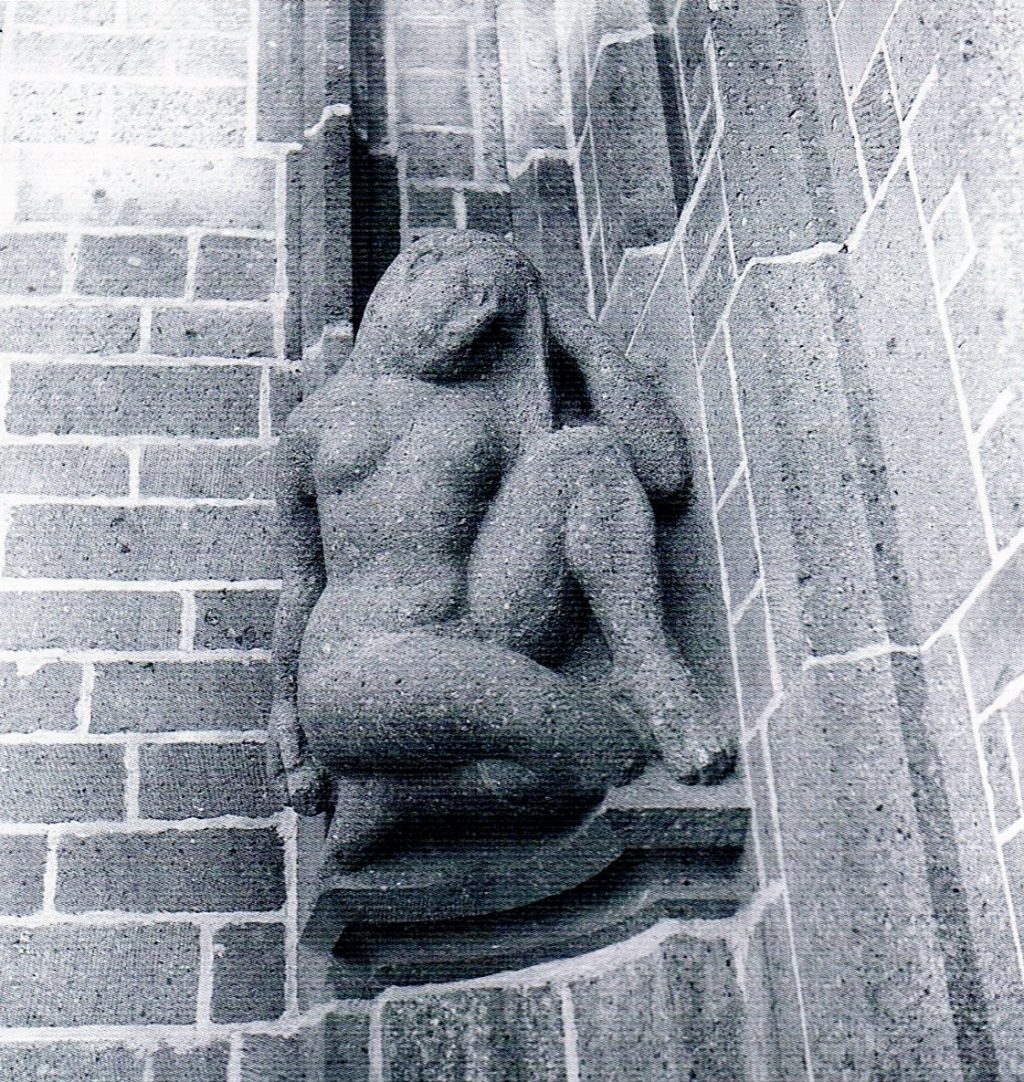
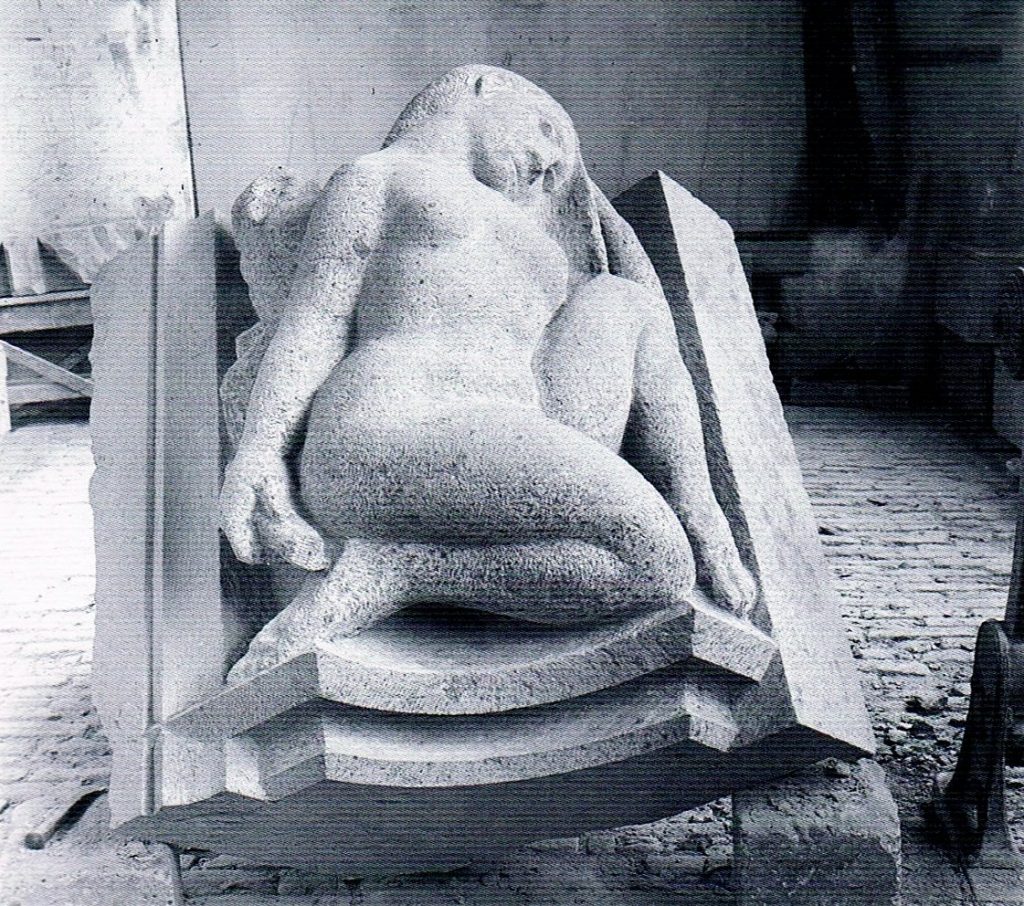
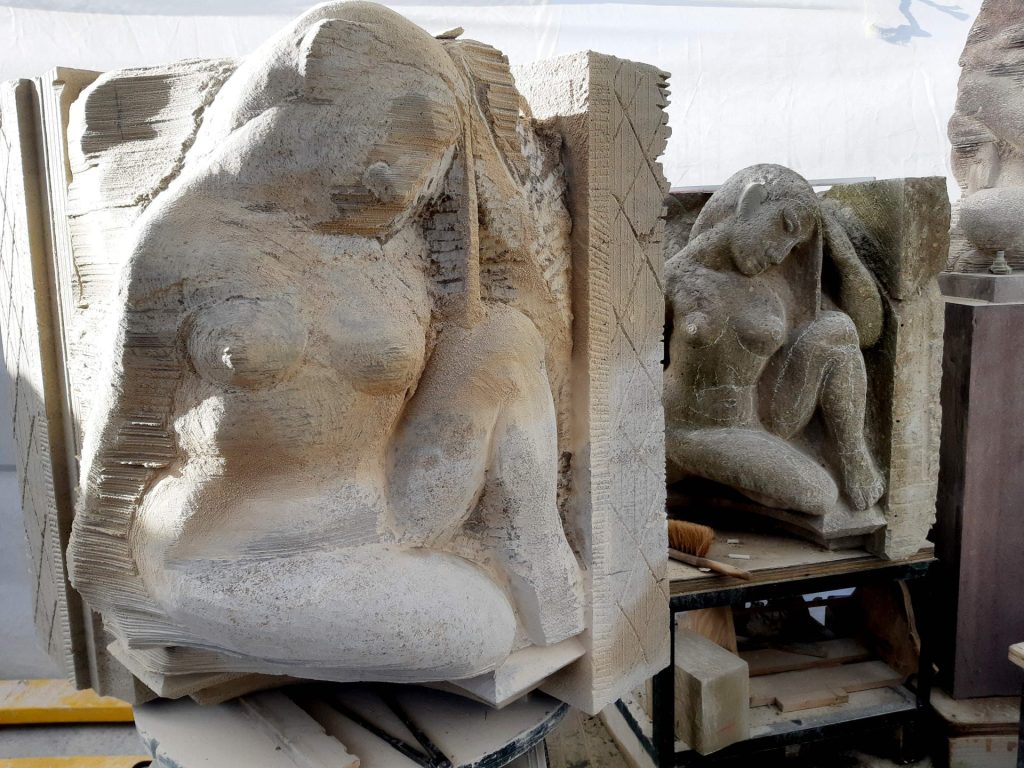
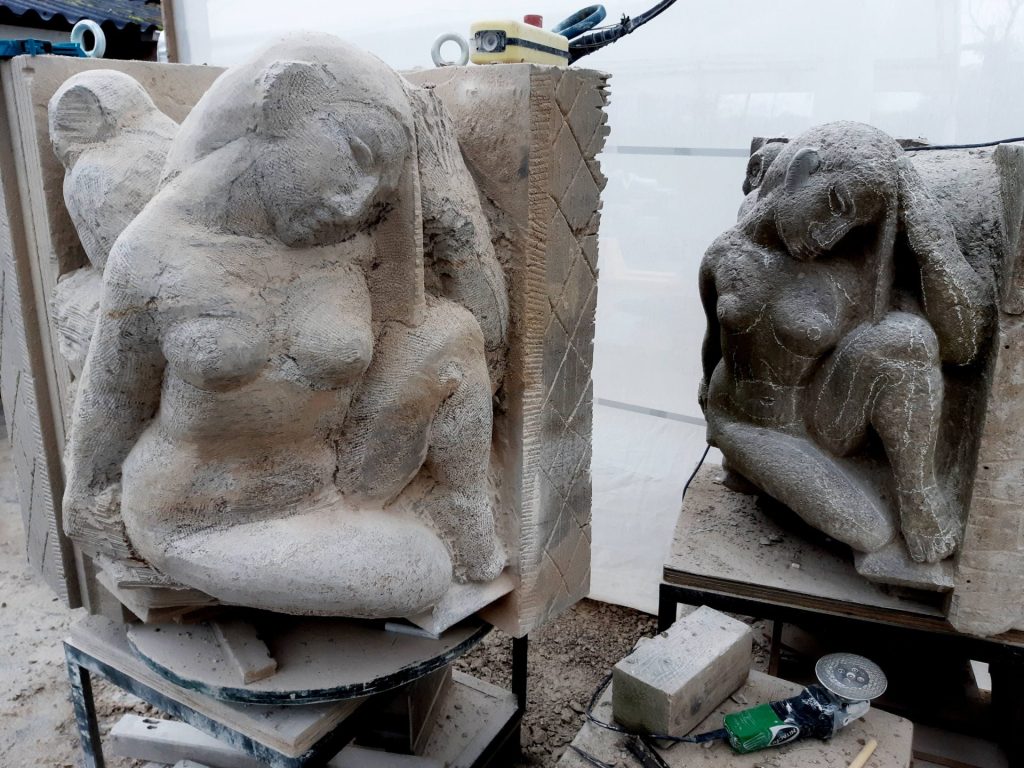
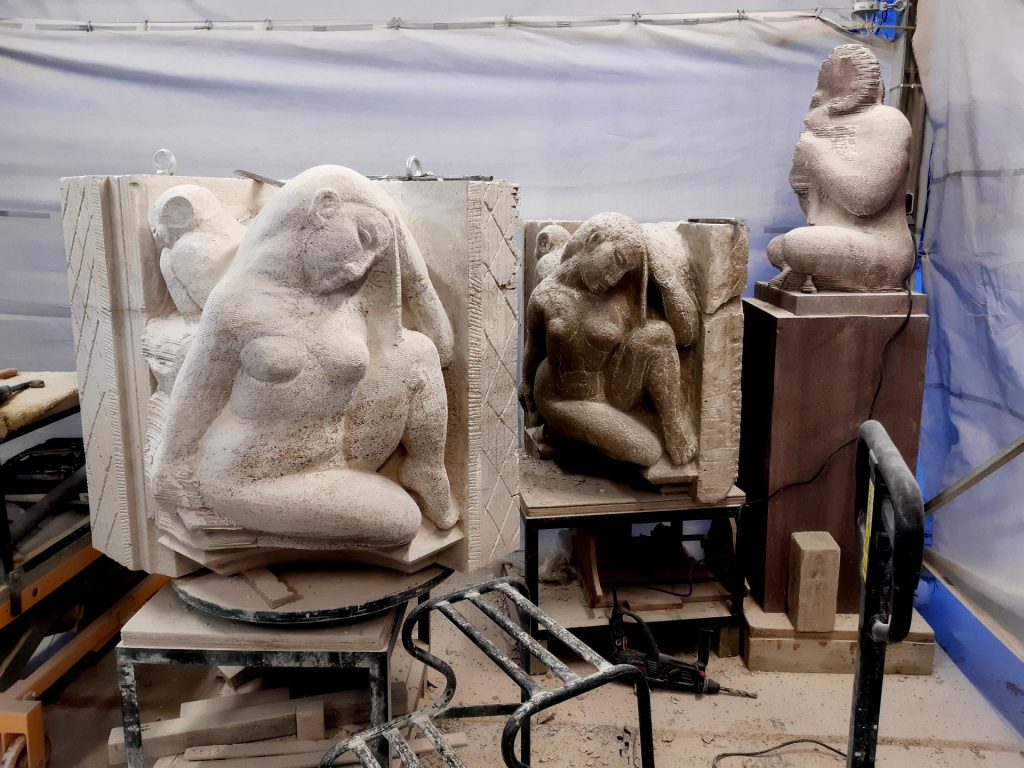
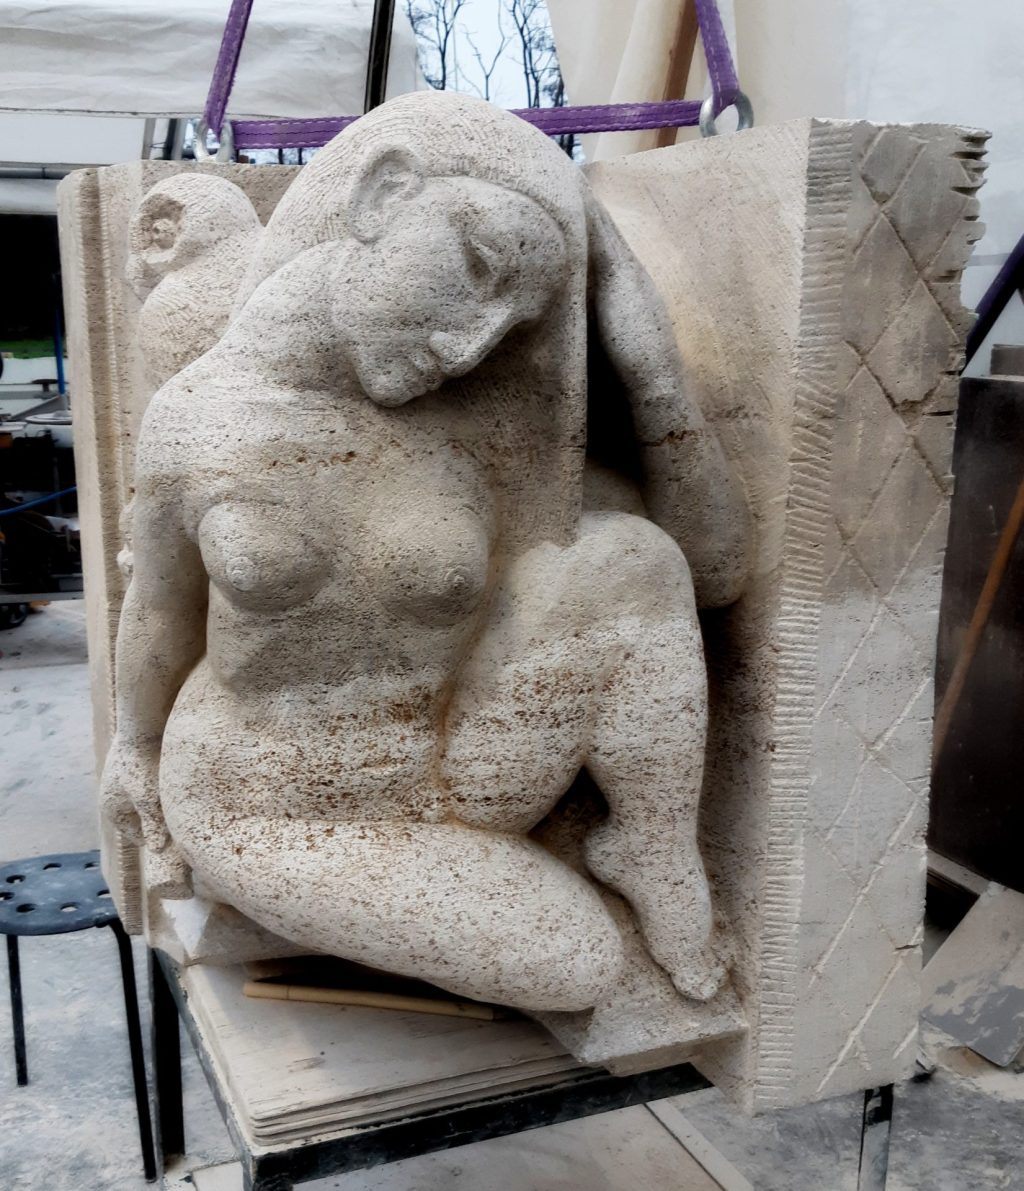
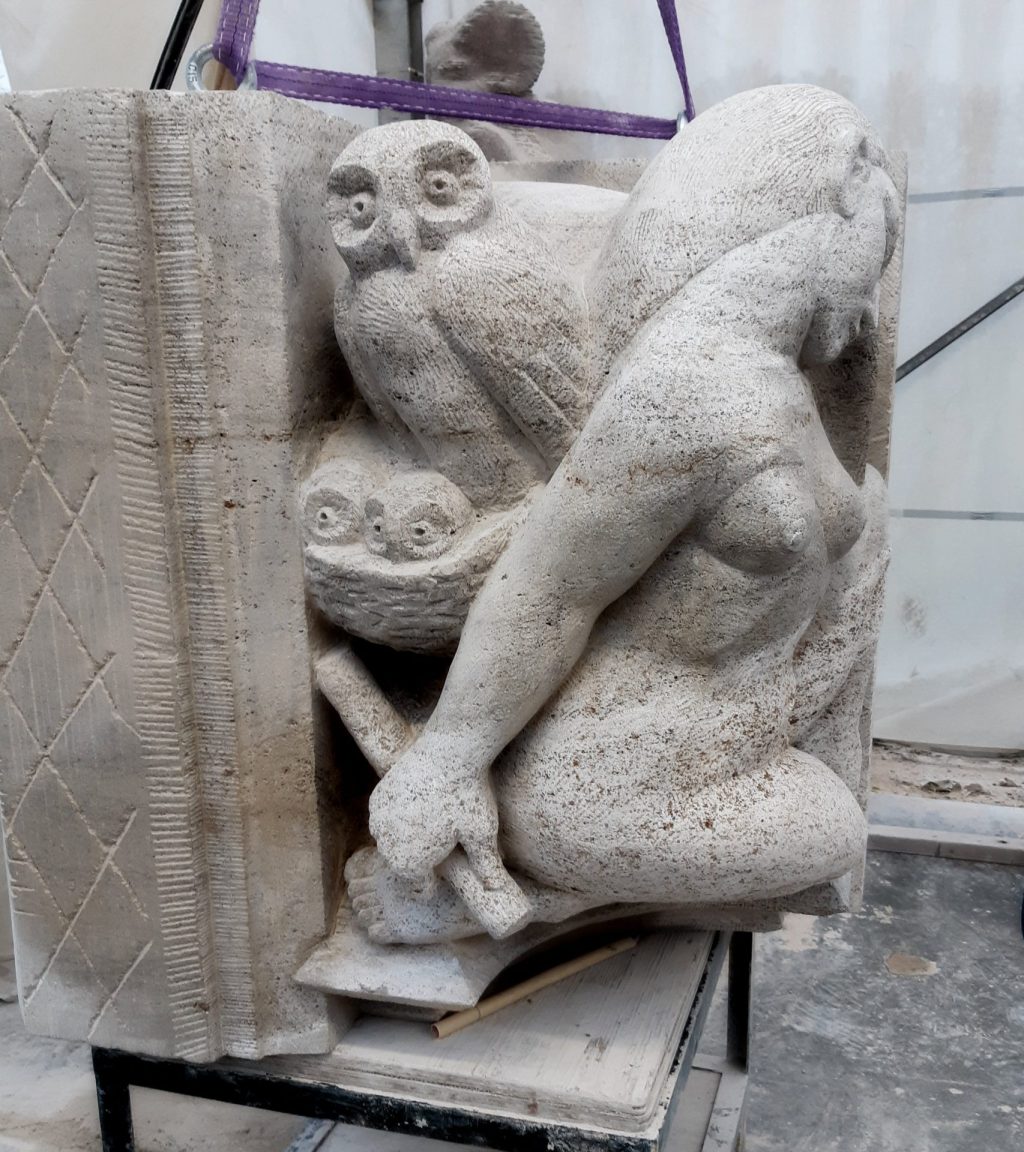
    This corner sculpture is located at about 15 meters up and was originally carved in tufa by Eduard van Kuilenburg. She's part of a pair: there is a guy with a rooster, breaking his shackles and brandishing a mop (or should it represent a flaming torch?), and yes, this woman with a nest of owls too. The Day and The Night. This lascivious young lady is sitting with the left hand in her hair, on one knee, with a stick in her right hand. The purpose of the stick is not clear to me, or perhaps it should represent an extinguished candle. The owls represent nightlife, the rooster and the broken shackles stand for dawn. I suppose he's about to extinguish the torch and is not going to mop the floor, because he 's not carrying a bucket.

    Presawing

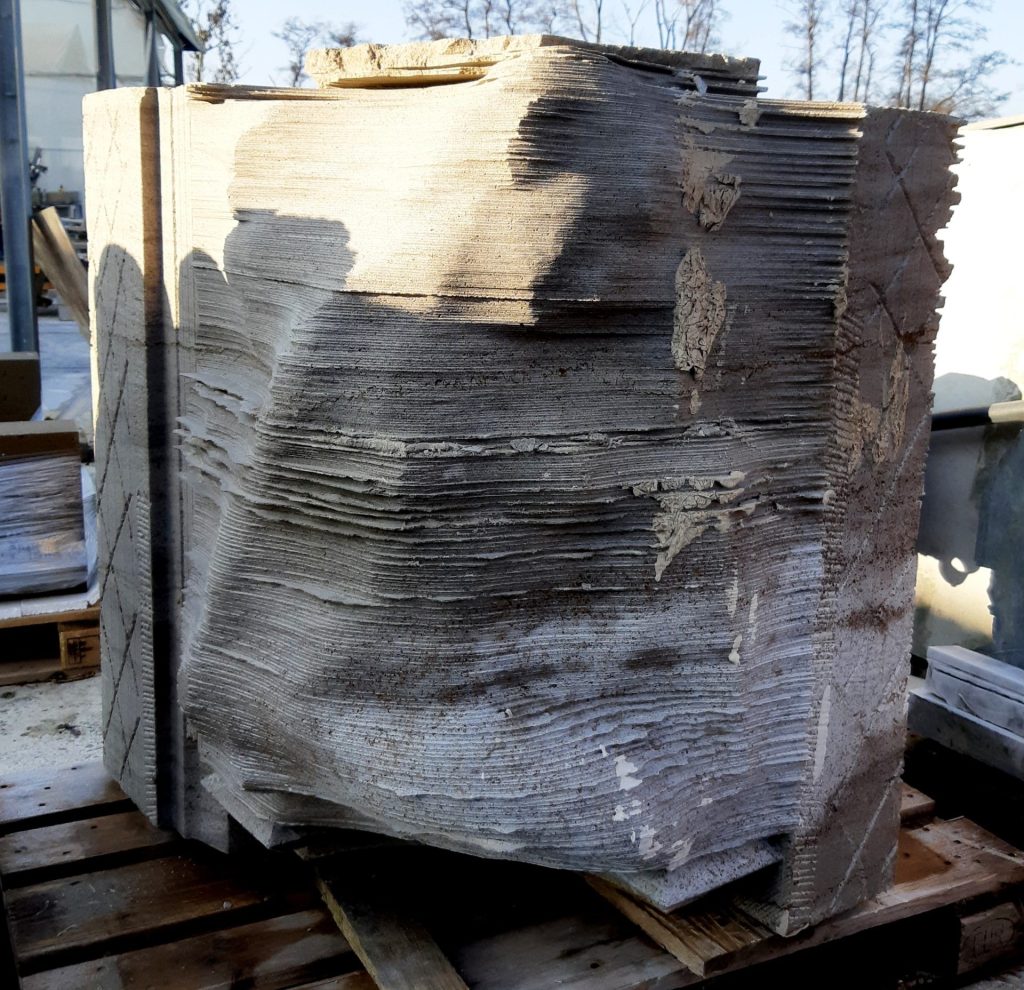
    This relief is the biggest block from this church we received in the yard in recent years: almost 1 cubic metre. Due to time constraints we decided to use the copying saw or contour sawing machine, but the block was so large that it couldn't even turn around on the turntable of the machine. I had to literally cut a number of corners to make it fit. These were however just those corners that ultimately will be embedded inside the masonry, so you won't see anything of it later on.

    This presawing is saving me days of measuring work, by enabling me to start carving by eye from quite early on. And it saves me a lot of rough carving and sawing with an angle grinder, freeing me from a lot of the hard work. I glued two stainless steel threaded rods M16 into the top of the new block, onto which I can screw a eye bolt for lifting, making the block easy to move. It may come in handy on the scaffolds later on as well for the restoration masons.

    Little feet

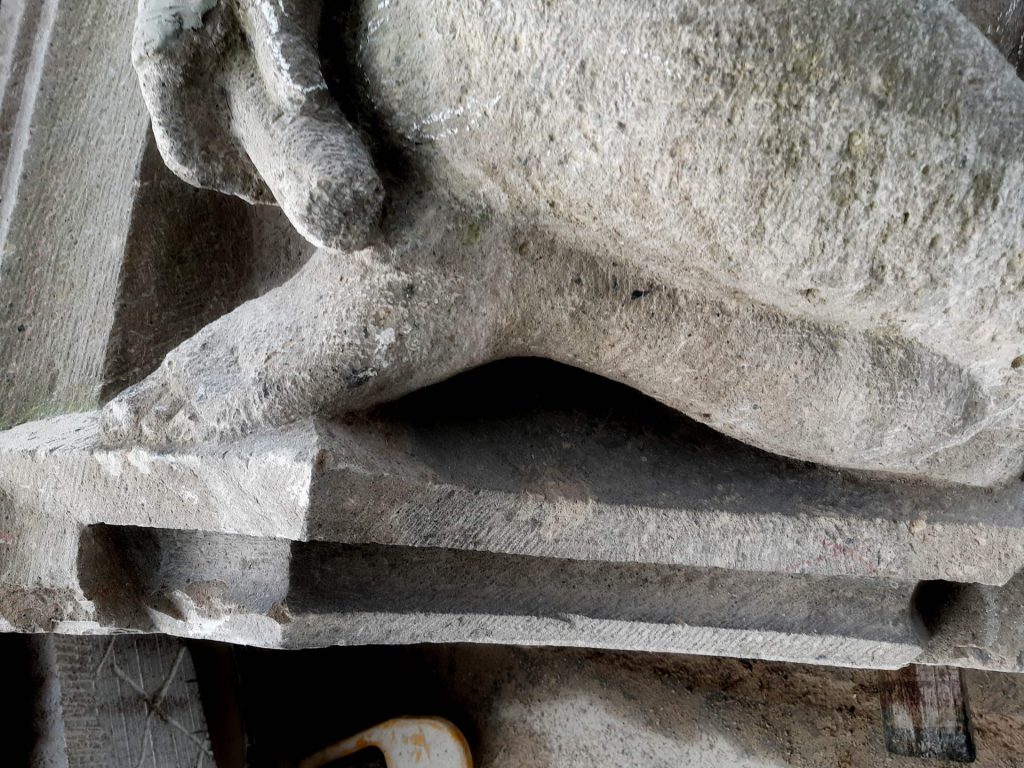
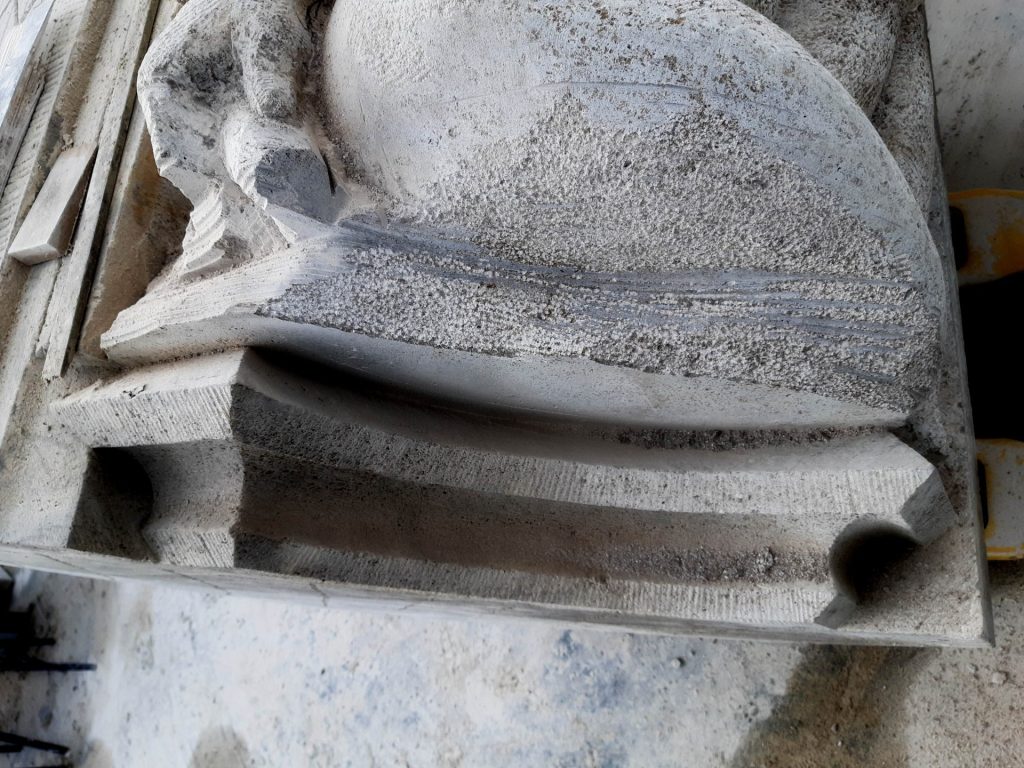
    The block of new Muschelkalk limestone of over 1800 kilos was provided by the Stonemasonry Firm, who also carved the profiles on it. Unfortunately, the stonemason in question was somewhat preactieve, which caused that I was short on material for the lady's toes. Added to that was that the original sculpture was a lady with a unique anatomy. Her knee was pointing straight forward, but her left foot was targeted towards the viewers at home. So I made a virtue of necessity and right away took the opportunity to give her left foot a somewhat more logical position. The right foot also missed a lot of stone, but I was still able to carve it nicely by putting it more back and in a bit flatter position. If you don't place the original right next to it, it will not stand out at all. It was an interesting challenge and I'm really pleased with how it turned out (See the slideshow below for pictures).

    Nest of owls, finish

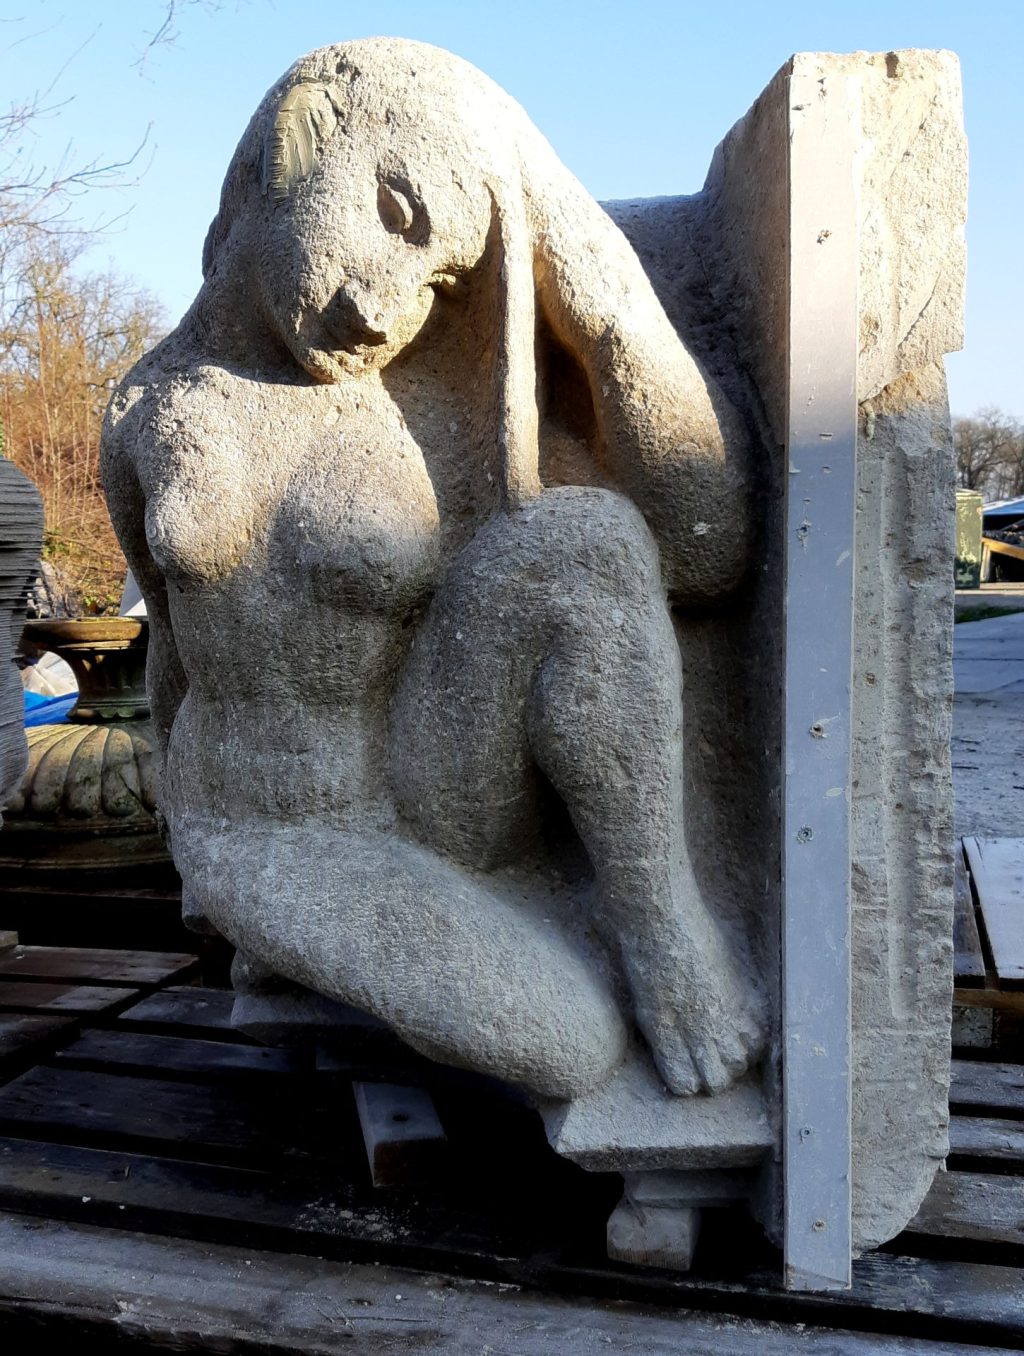
    Near her right shoulder is an owl mother with her nest with two young. The chicks look endearing, with their surprised look.

    I finished the entire sculpture with a wide tooth chisel, and then smoothened the body of the young lady with a coarse grater, leaving the chisel marks still barely visible, for a lively effect. Her hair and the owl's feathers I accented with the tooth chisel.

    Sculpture The Night by Eduard van Kuilenburg- new copy in Muschelkalk limestone
    Sculpture The Night by Eduard van Kuilenburg- new copy in Muschelkalk limestone

    Headless chicken

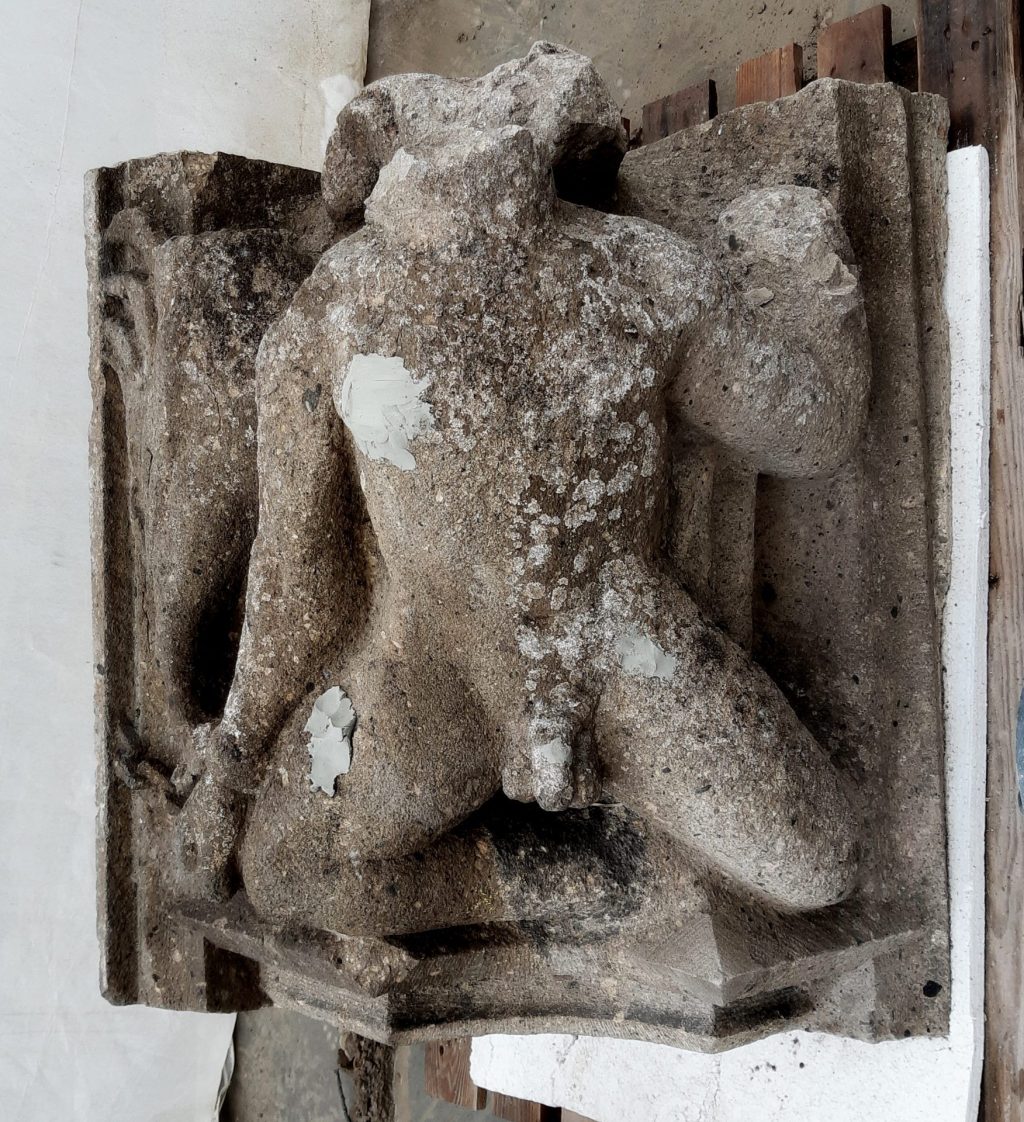
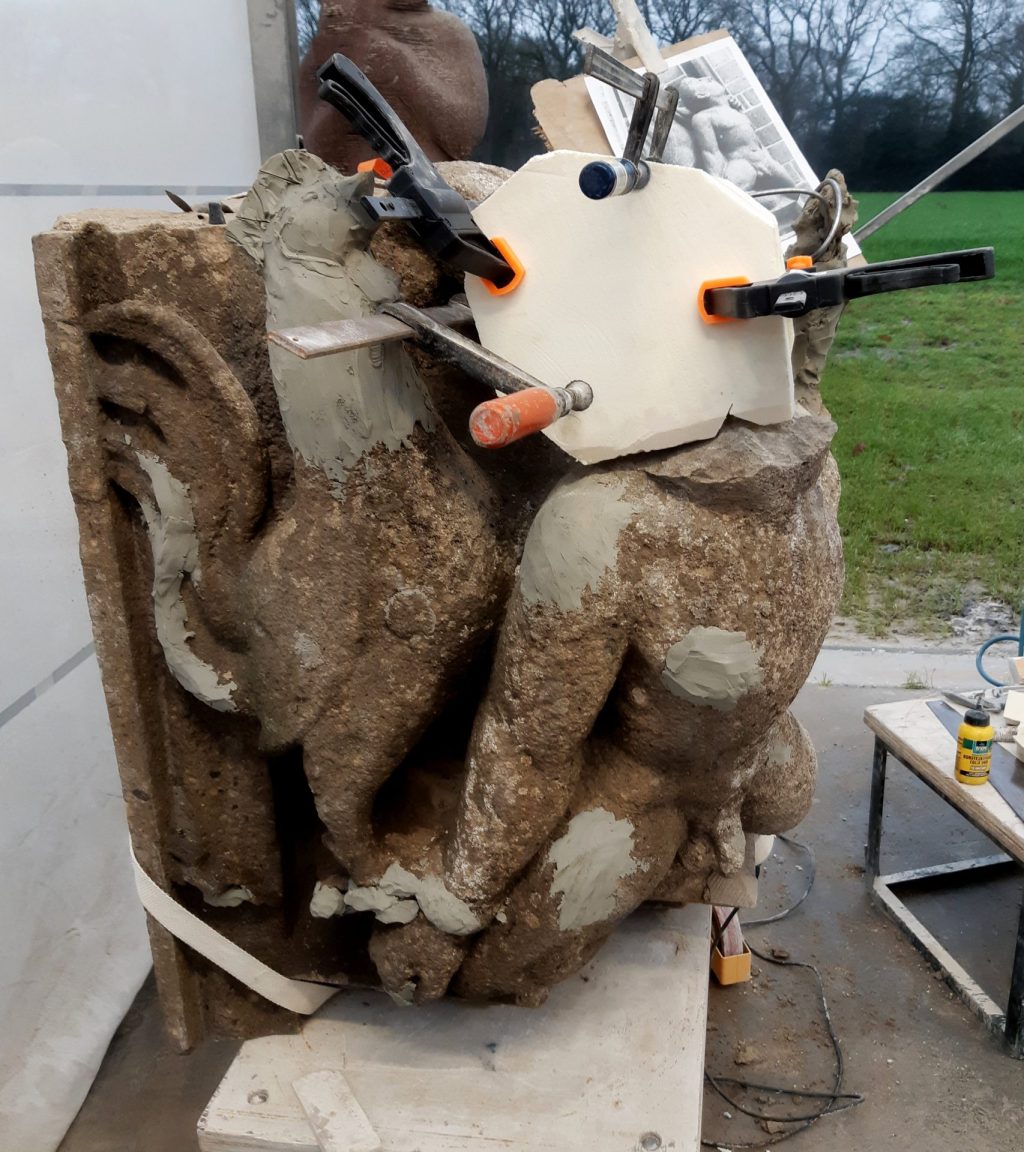
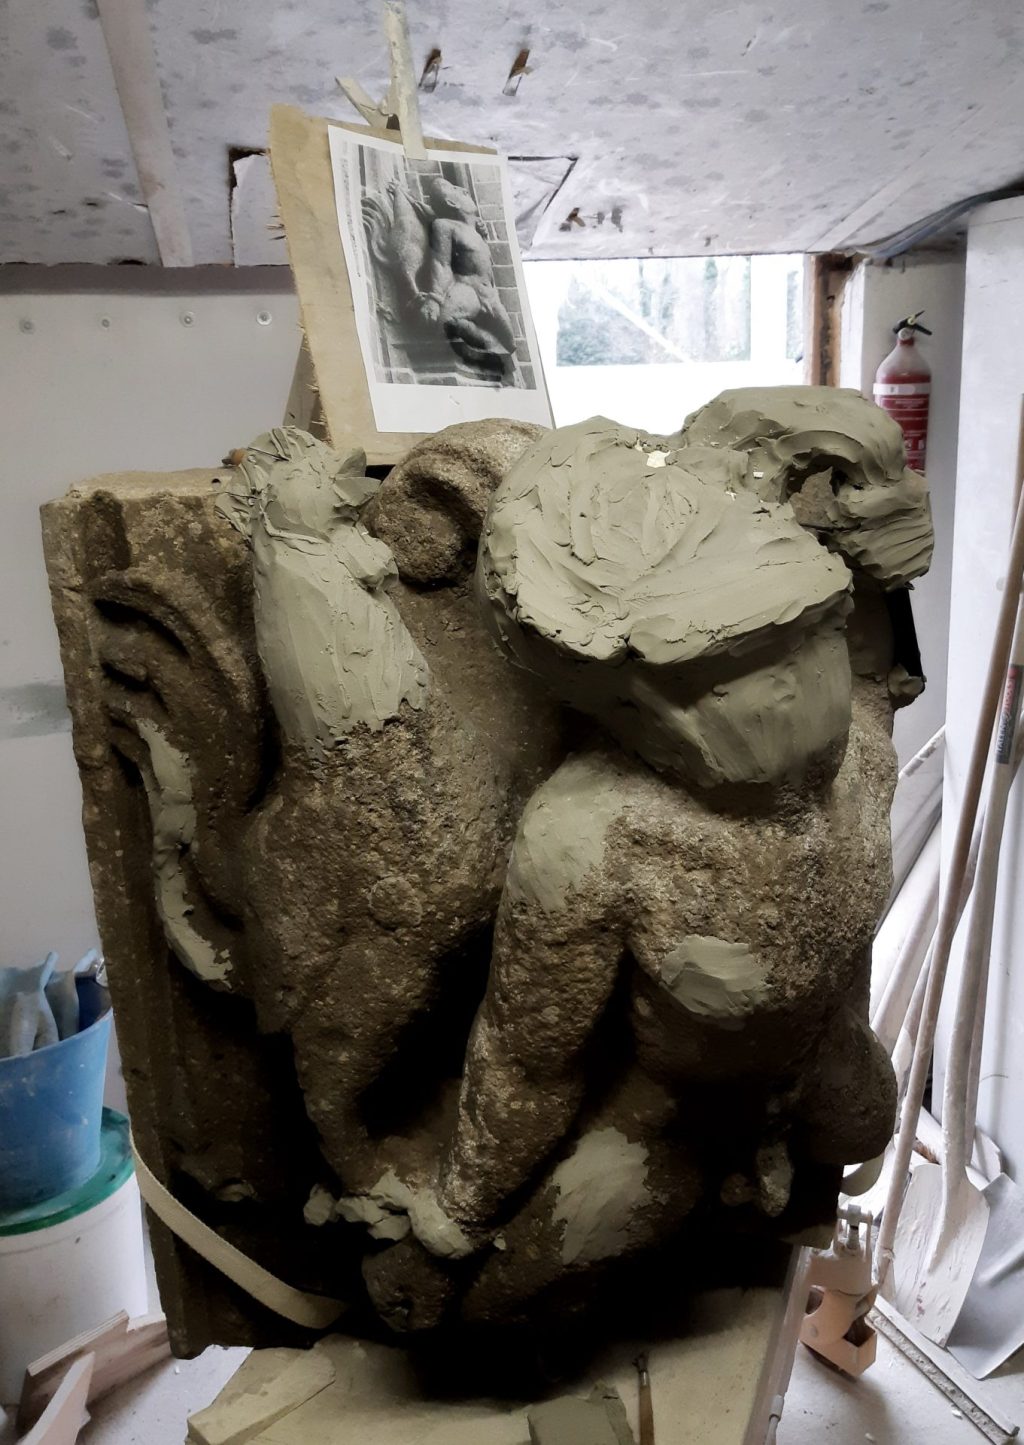
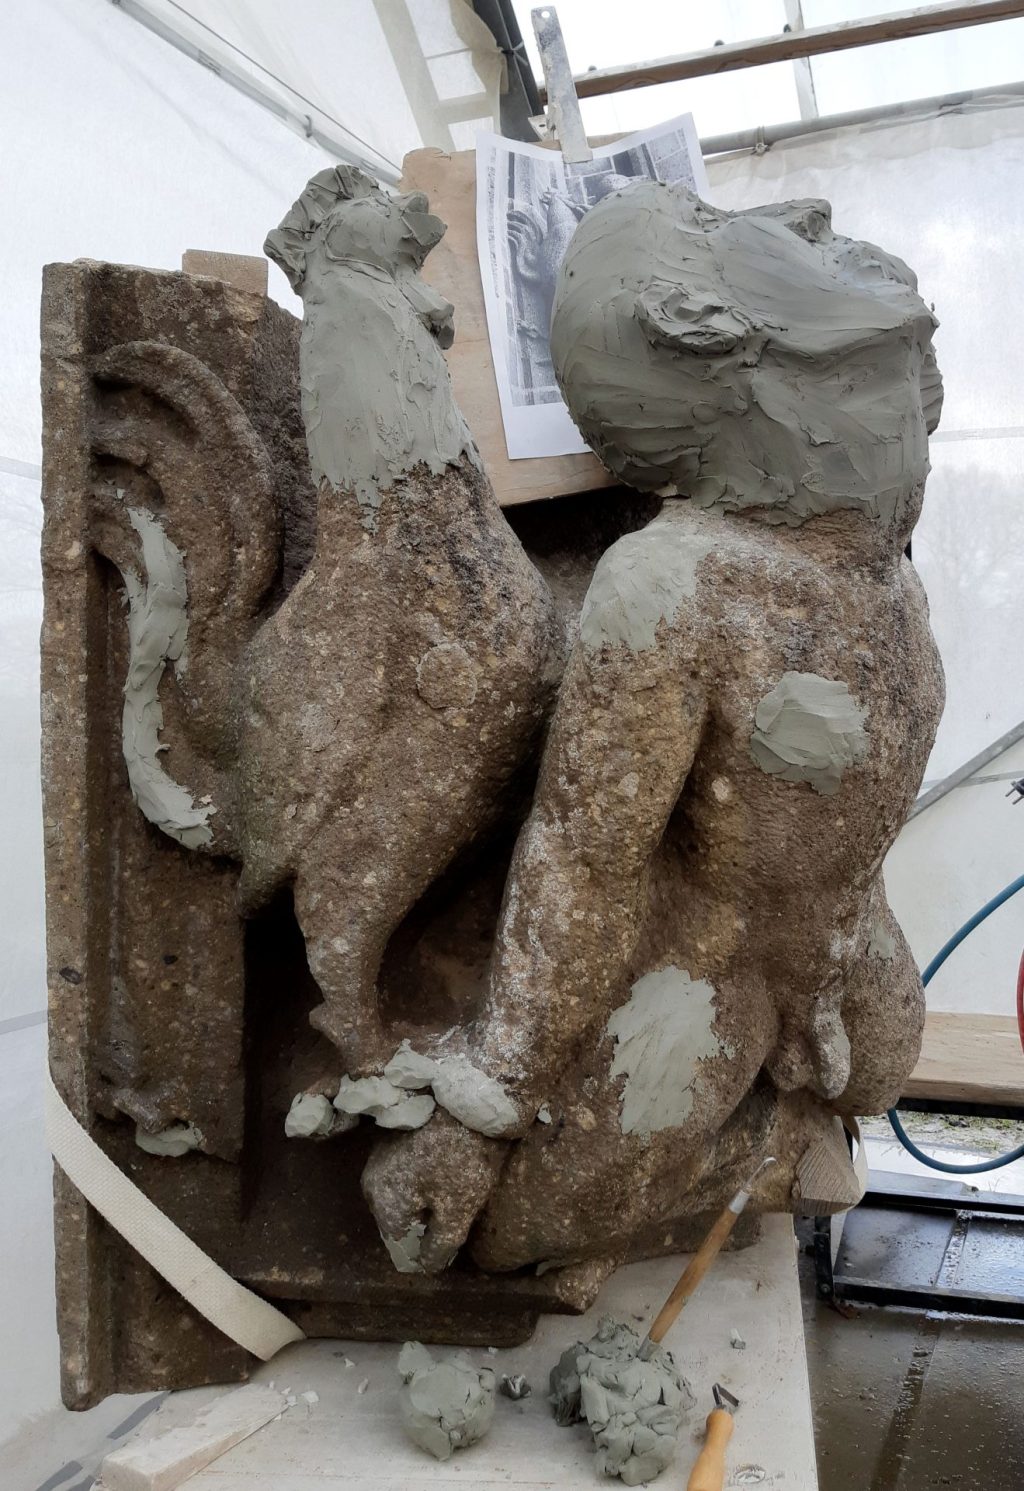
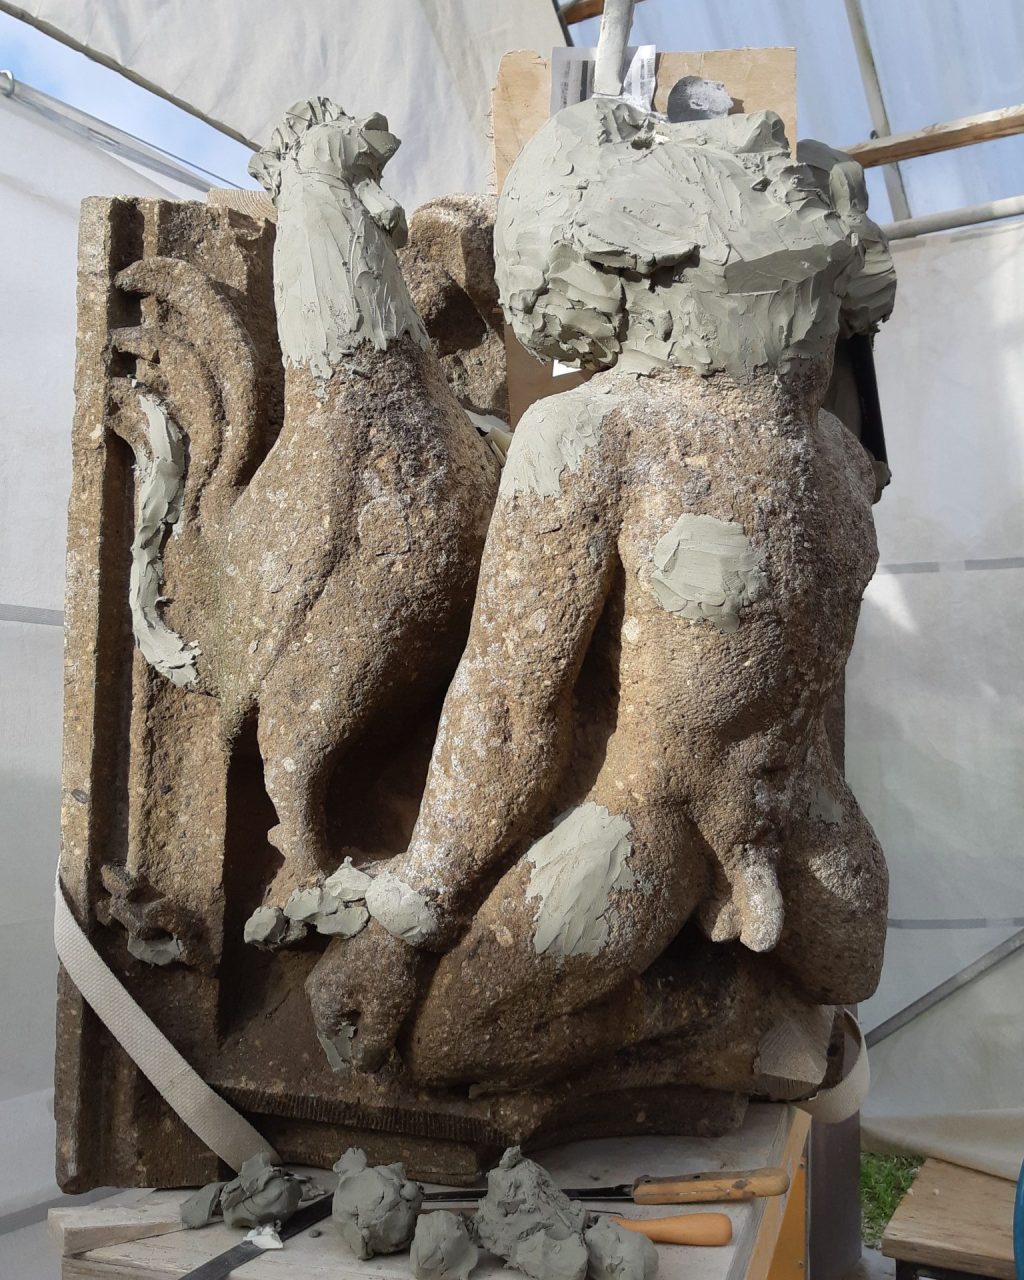
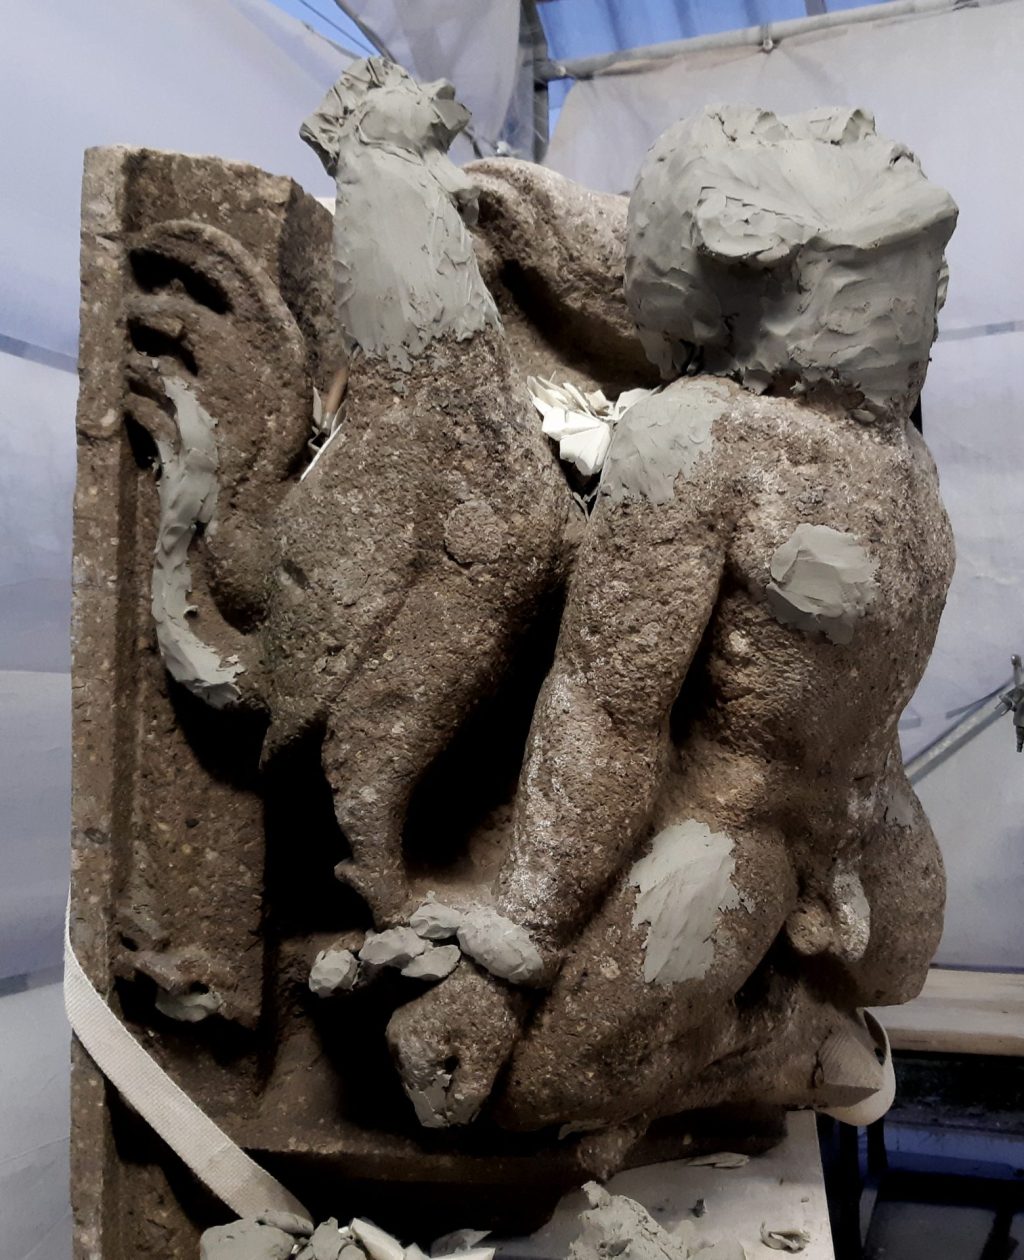
    The sculpture of The Day was in a lot worse condition than The Night. The rooster and the man were both missing their heads , and the hand with the torch had disappeared as well. So I first needed to reconstruct those parts before I could start presawing. I modeled the neck and head of the rooster with plasticine and the hand was remade pretty quickly too. The tricky part was the position of the original hand, because in the only picture I had, the fingers were in an almost impossible position. But the head was more of a challenge. because this young man had quite a big head. I had glued a piece of hard PIR-foam onto his shoulders and from there I started looking for the right size, position and shape of the head.
    I tried to see my progress by comparing my pictures with the original image. In the end Stide decided he would carve this one, so he has has been the one to make the finishing touches to the remodelling. See the gallery below for an impression.

    Gallery

    This was the last corbelstone from the Eusebius Tower.

    Read more about the first corbel or continue to the next flying buttress image.

No more messages to show.

No more messages to show.