• Sculpture 'Surrender’ installed

    Surrender, a symbolic moment

    Installing sculpture Surrender

    A few days before All Souls' Day 2020 I went to my place of birth for a special moment. I was about to install my father's sculpture 'Surrender’ in the cemetery behind the church.

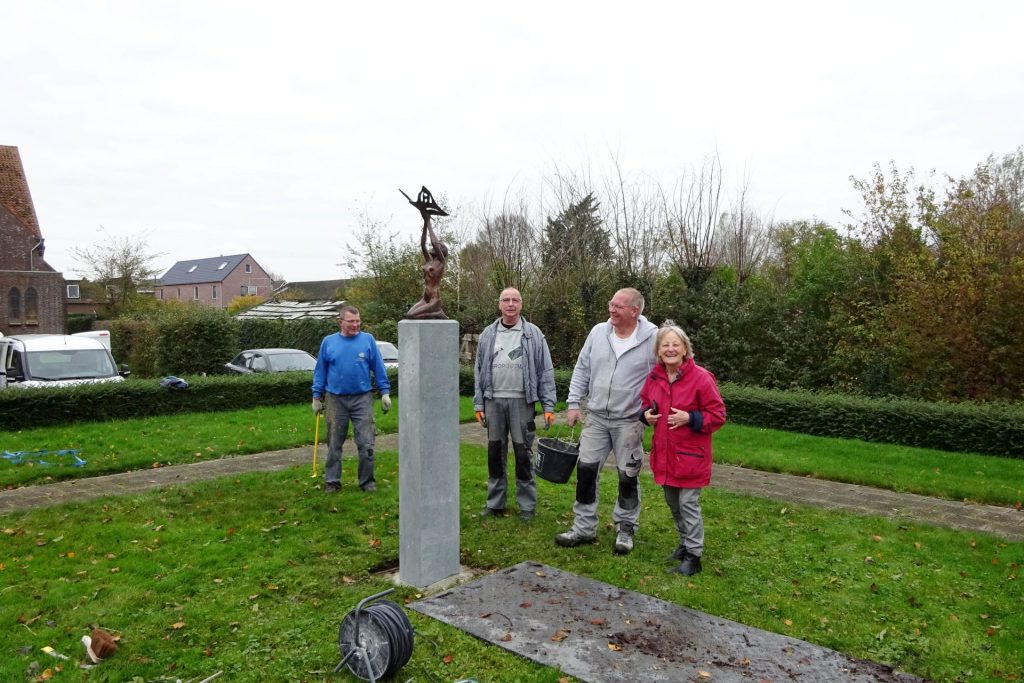
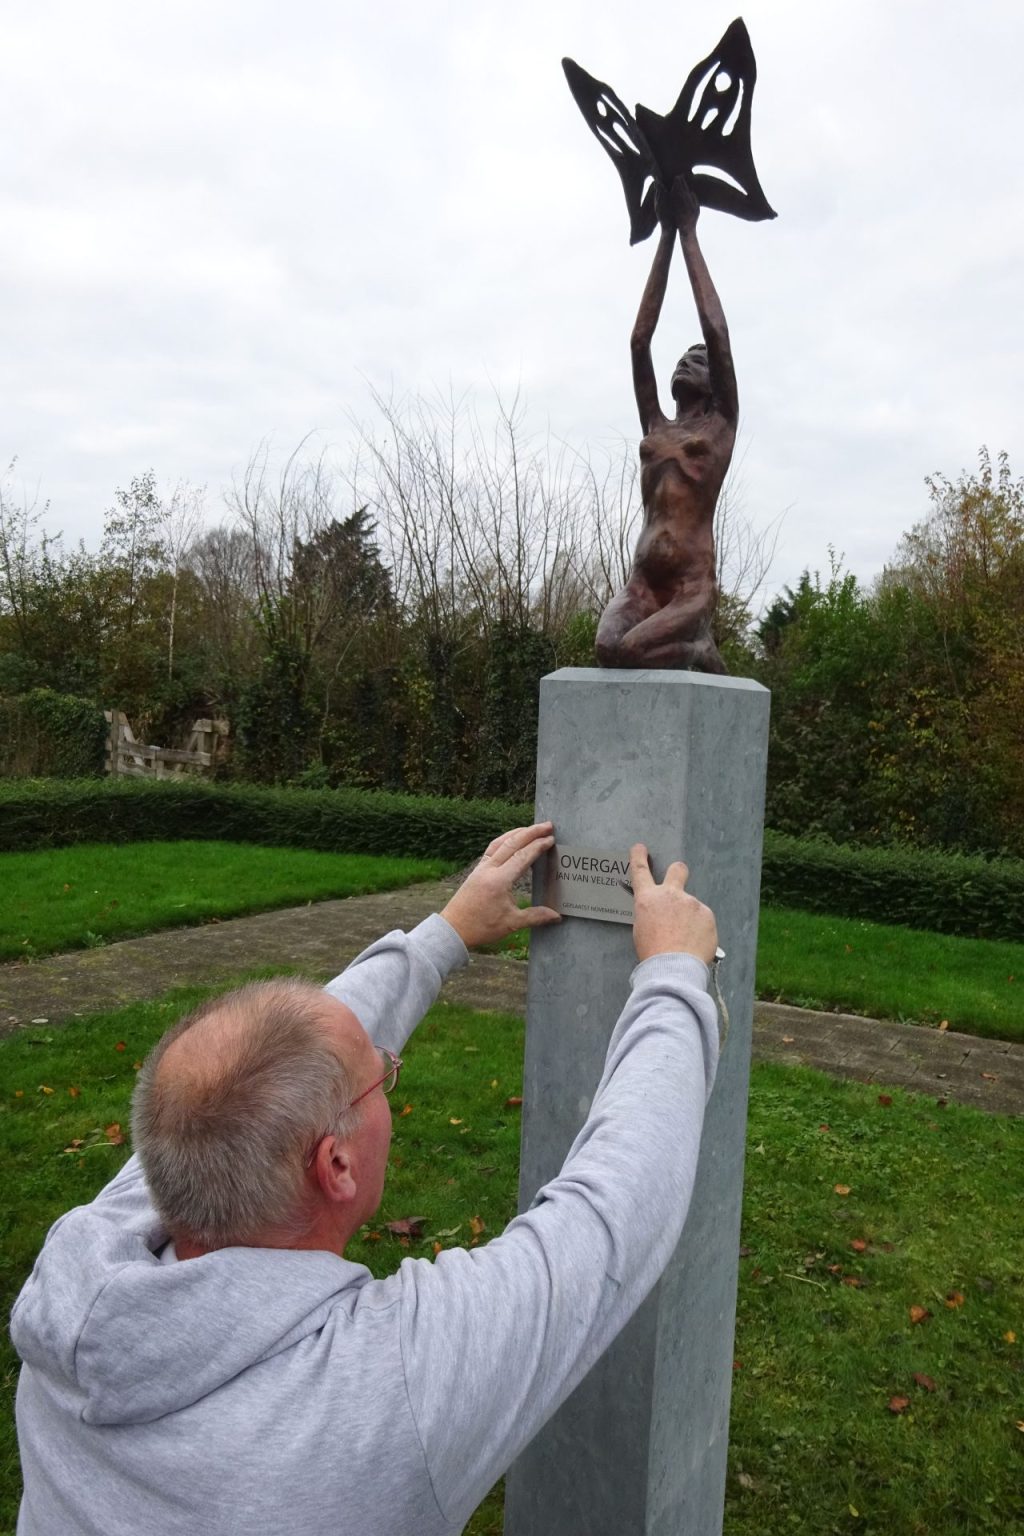
    My father, Jan van Velzen, had made this sculpture in 2011 when he, was nearly 80 years old. It represents a young woman releasing a butterfly, rising into the air. It depicts the release of a soul on its onward path to the light.

    At the time, he provided the following explanation about this sculpture:

    The thought 'Surrender’ designed represents the inner attitude of surrender to God's plan for us.

    The feminine aspect is present in every person as tender beauty, the kneeling posture as dedication to the Creator of all.

    The butterfly is a more often used symbol of the Soul, and means Transformation.

    As surrender is greater than letting go, so true beauty often is fragile silence.

    Jan van Velzen, 22 February 2011, Onderdijk

    In the right place

    Installing sculpture Surrender

    Actually, there was a whole process before this sculpture ended up here. My father actually intended this as a figurine for the children's graves in this cemetery, but that fell through. After his death, I made a proposal to my mother and brothers and sisters for a funerary monument, but we couldn't figure that out at first, as tastes differ, after all. Then the idea arose to place this statue on his grave, but we soon came to the conclusion that such a grave did not suit his modest nature. It would however be a good idea to donate it to the parish, and that was what happened.

    Pedestal

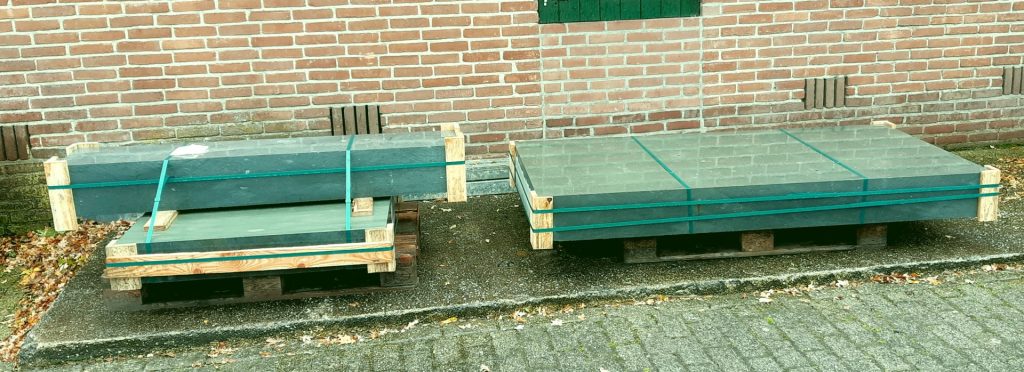
    stone arrived for plinth of Surrender

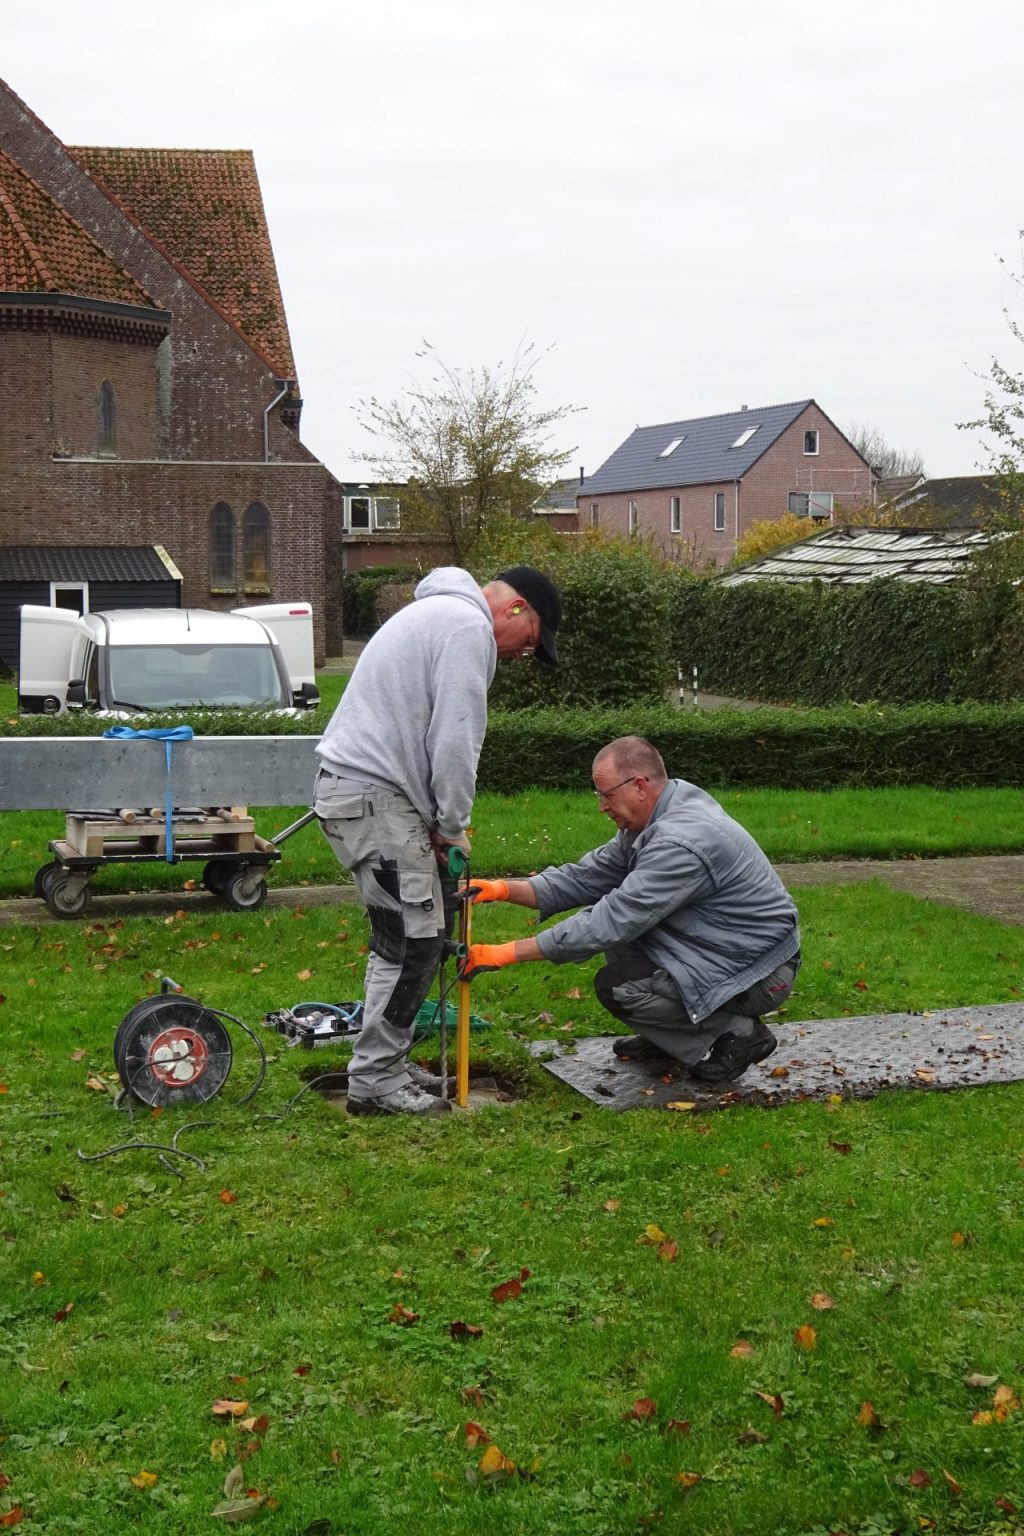
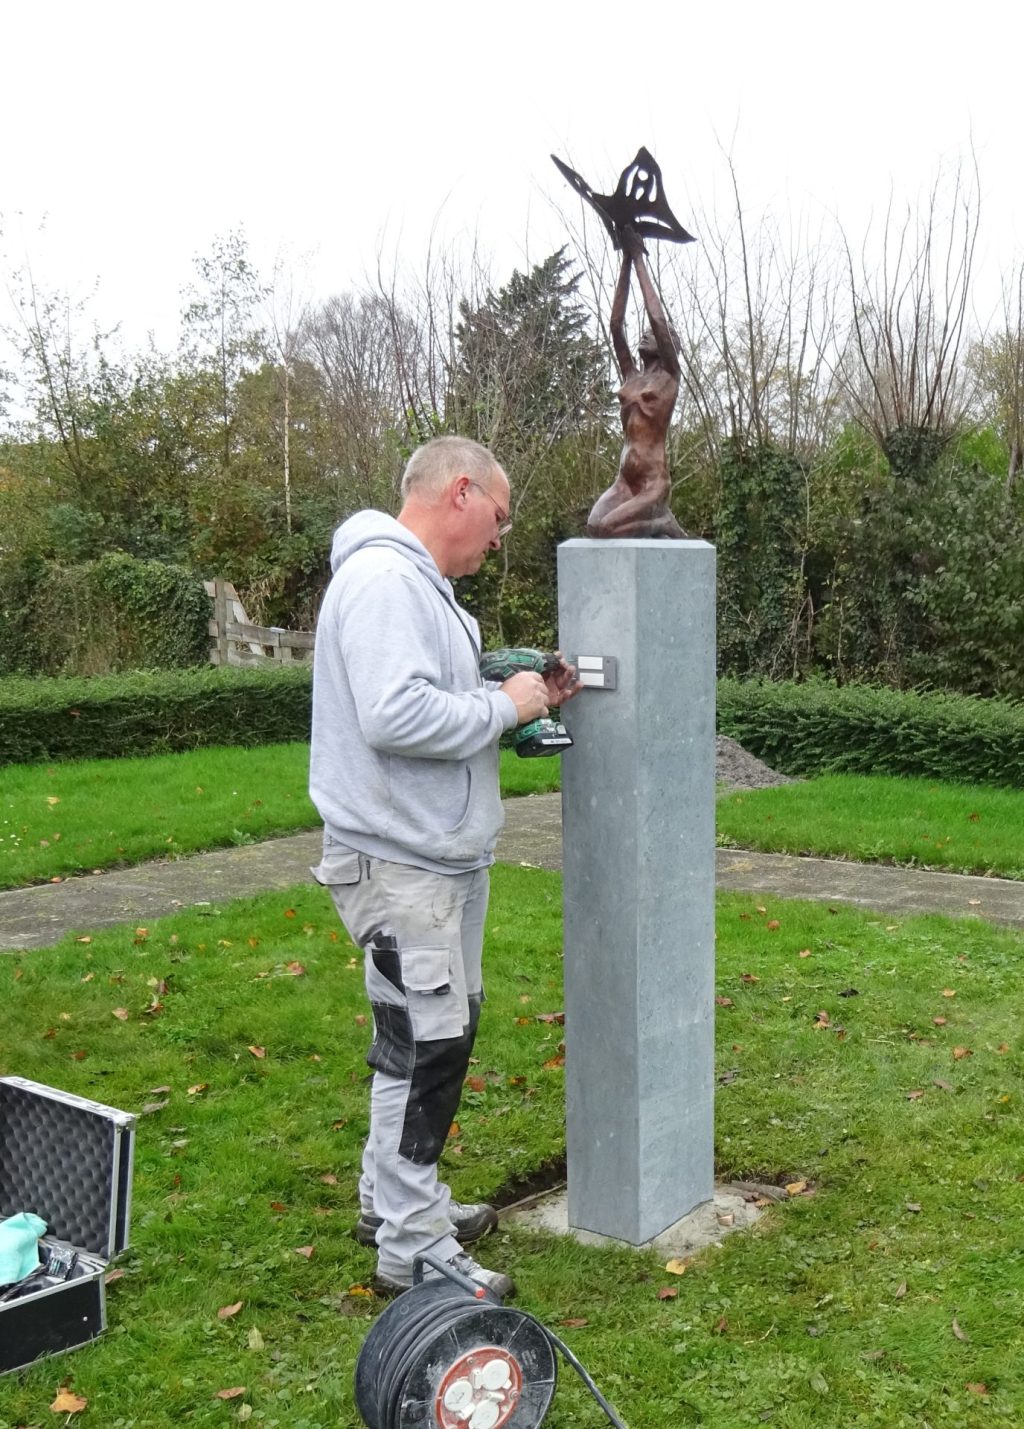
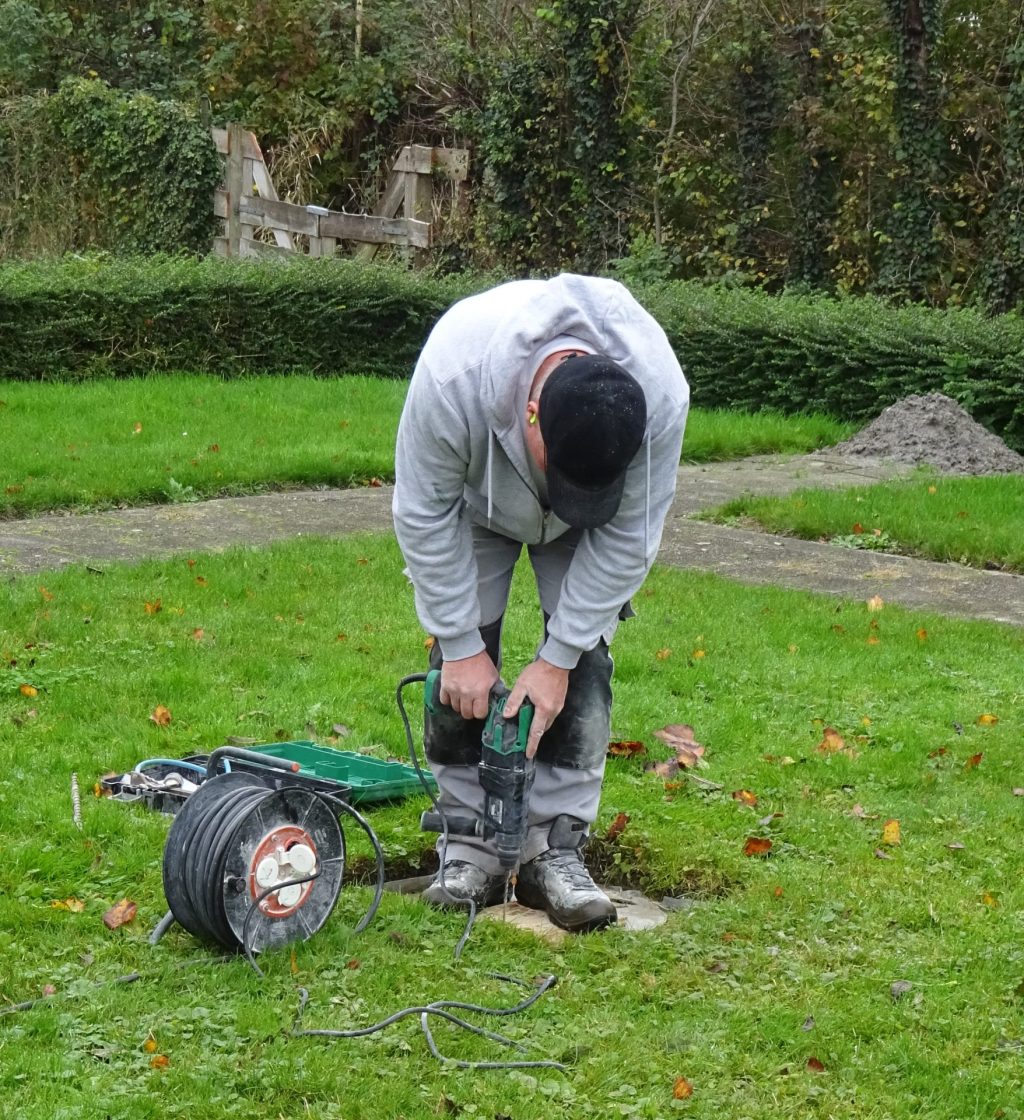
    I ordered a column of Anröchter Grünstein (dolomite) for this figurine. My mother felt it had to be placed high up in order to enhance its movement, and I can only say that she was right. I spent half a day doing all the preparations: sanding, drilling holes, removing its old base, drilling and tapping holes in the bronze, gluing pins, making a drilling template, collecting stuff and more. The pedestal stands on two thick stainless steel pins and the statue is also anchored in that way.

    To polish or not to polish, that is the question?

    This dolomite, or rather Anröchter Grünstein, is quite greyish at first when you sand or polish it. But the longer it sits outside, the more it turns into a beautiful light greenish tint. You can polish it of course, as you can see from my sculpture 'Ferns’, but in this case I just sanded it down to grain 200, so that the soft structure comes into its own, and not predominates over the sculpture itself with a sleek dark green shine.

    Installing sculpture Surrender

    Quite a weight

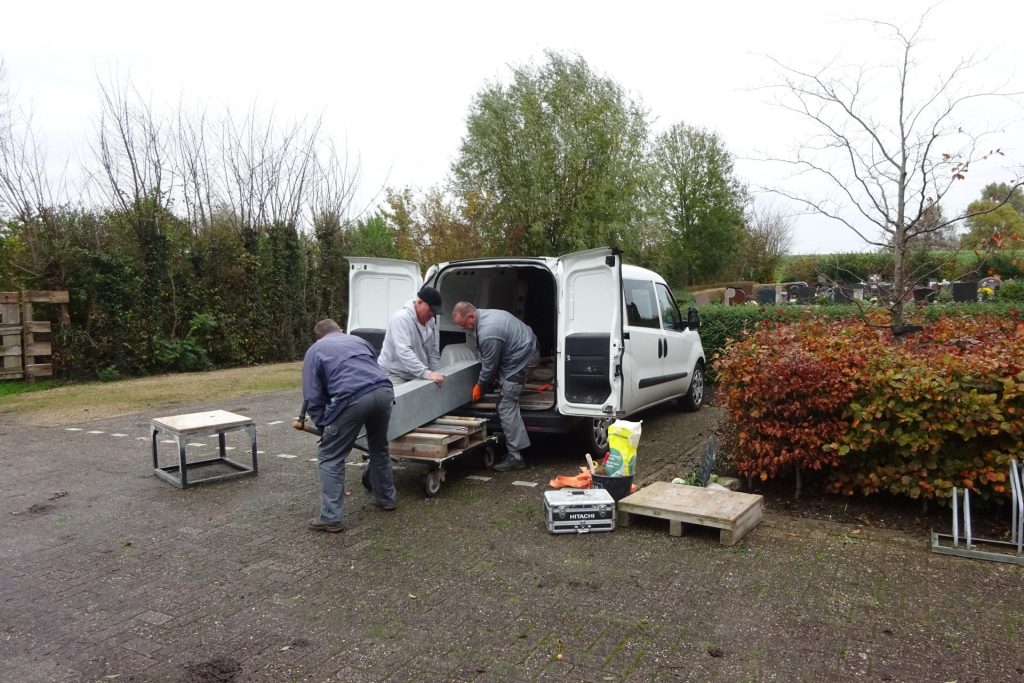
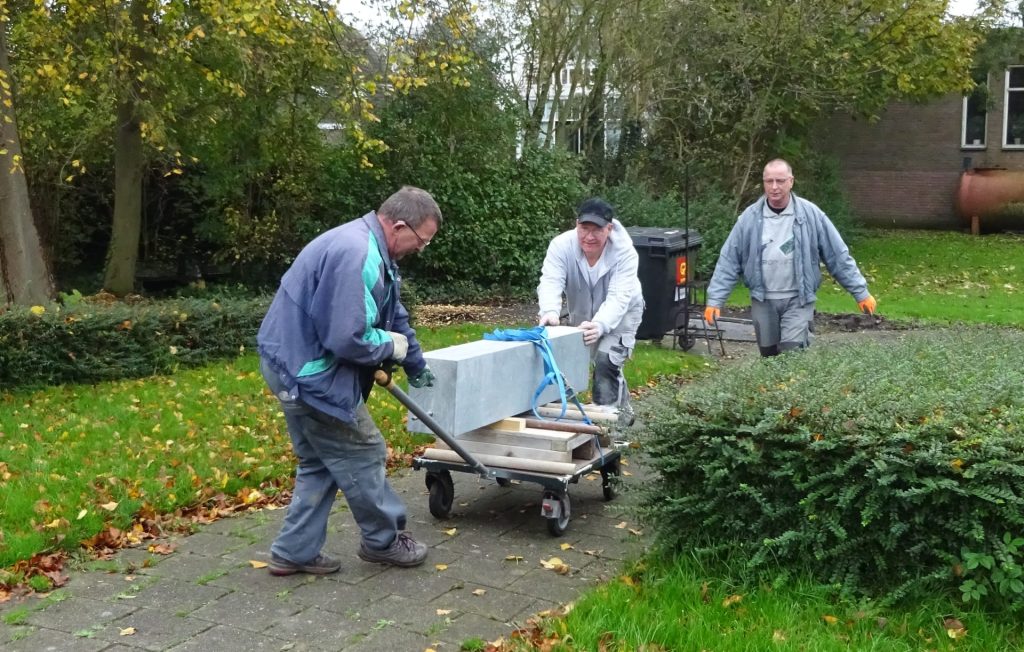
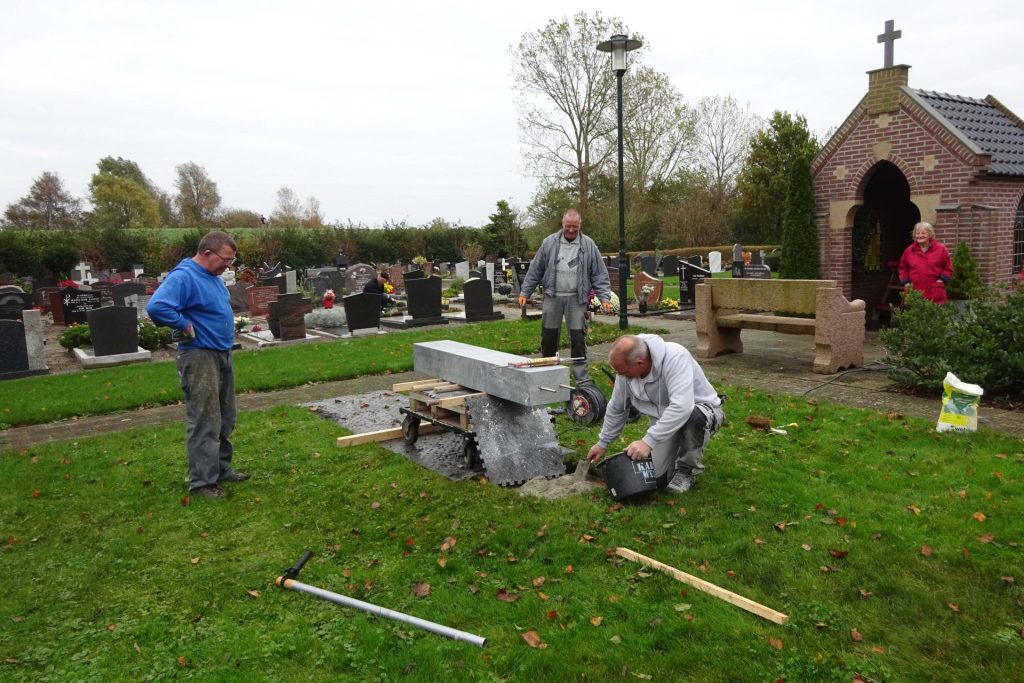
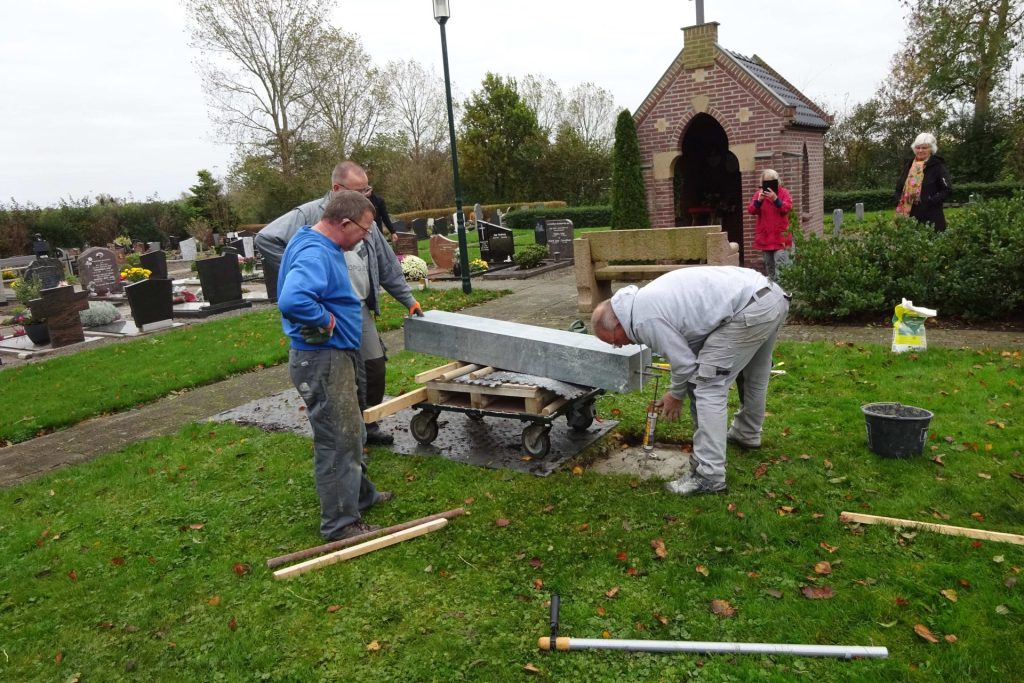
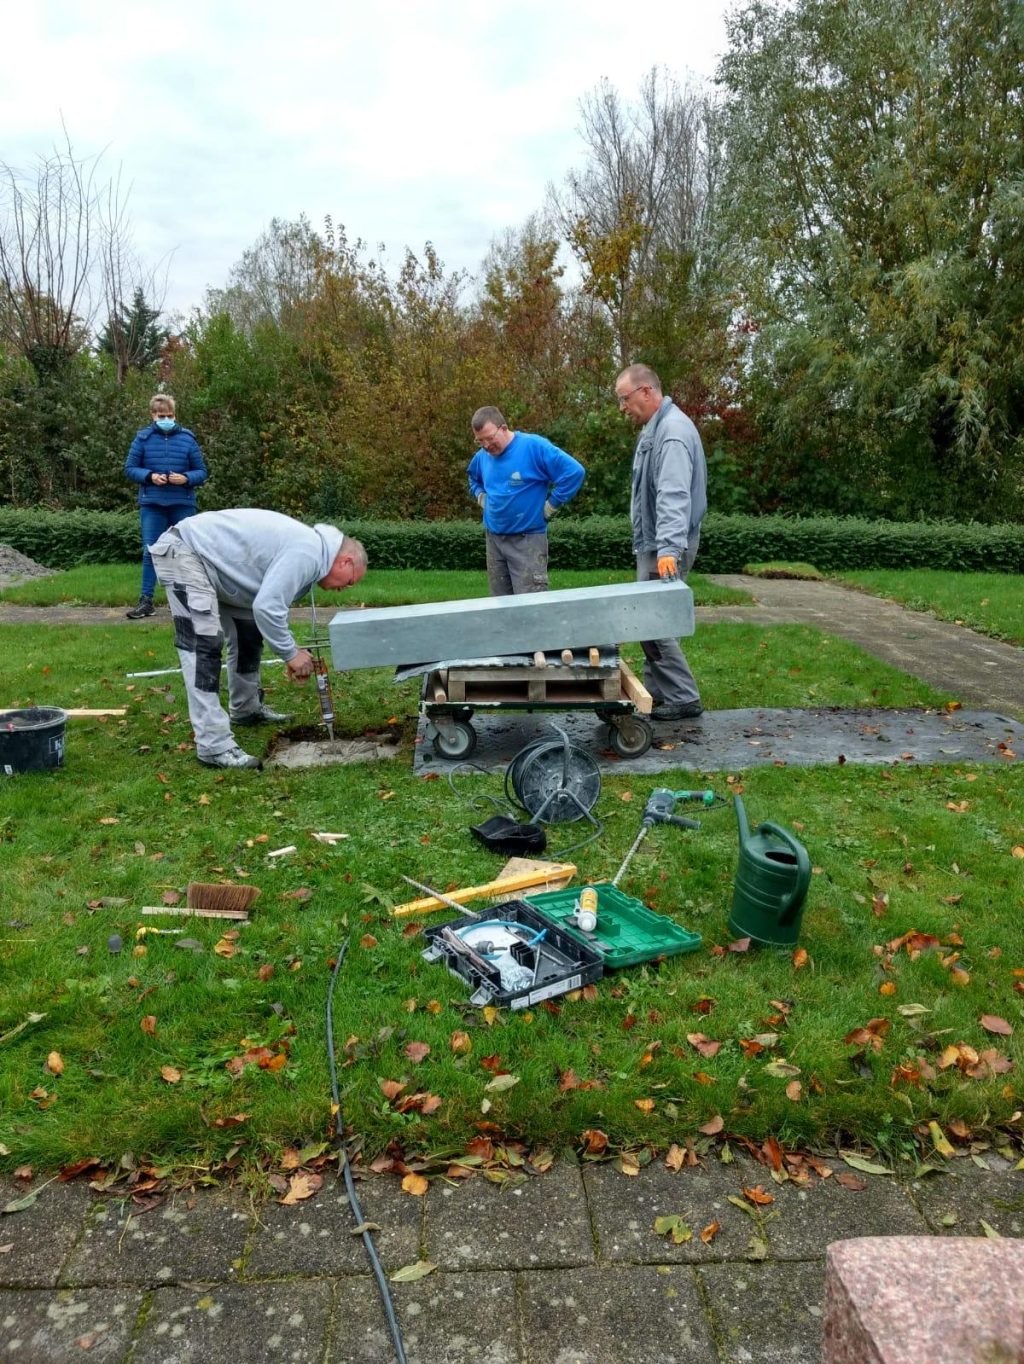
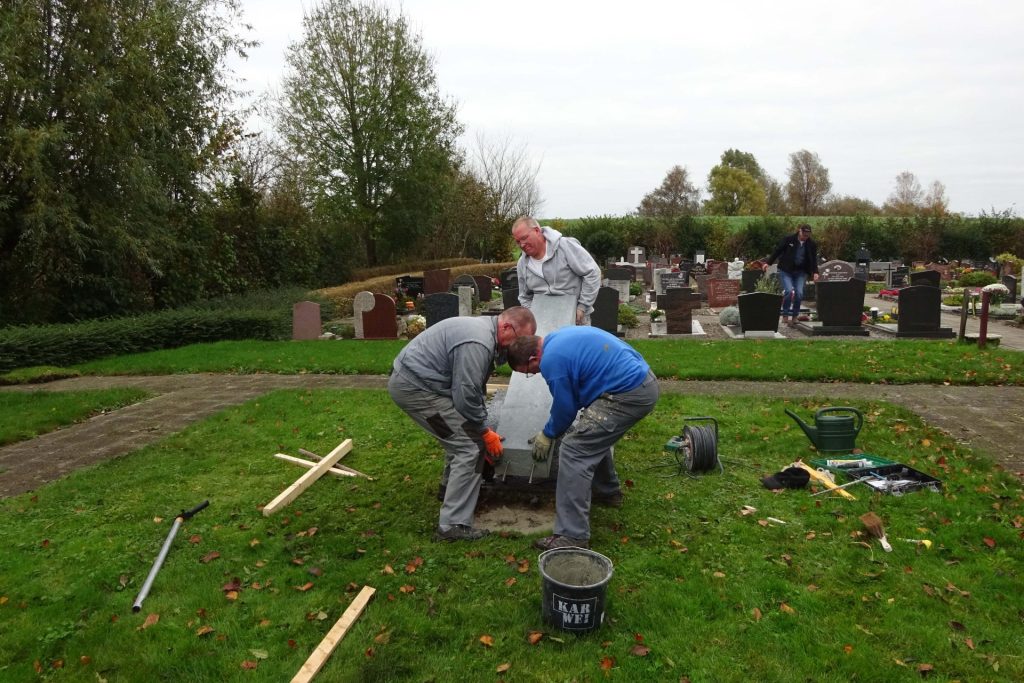
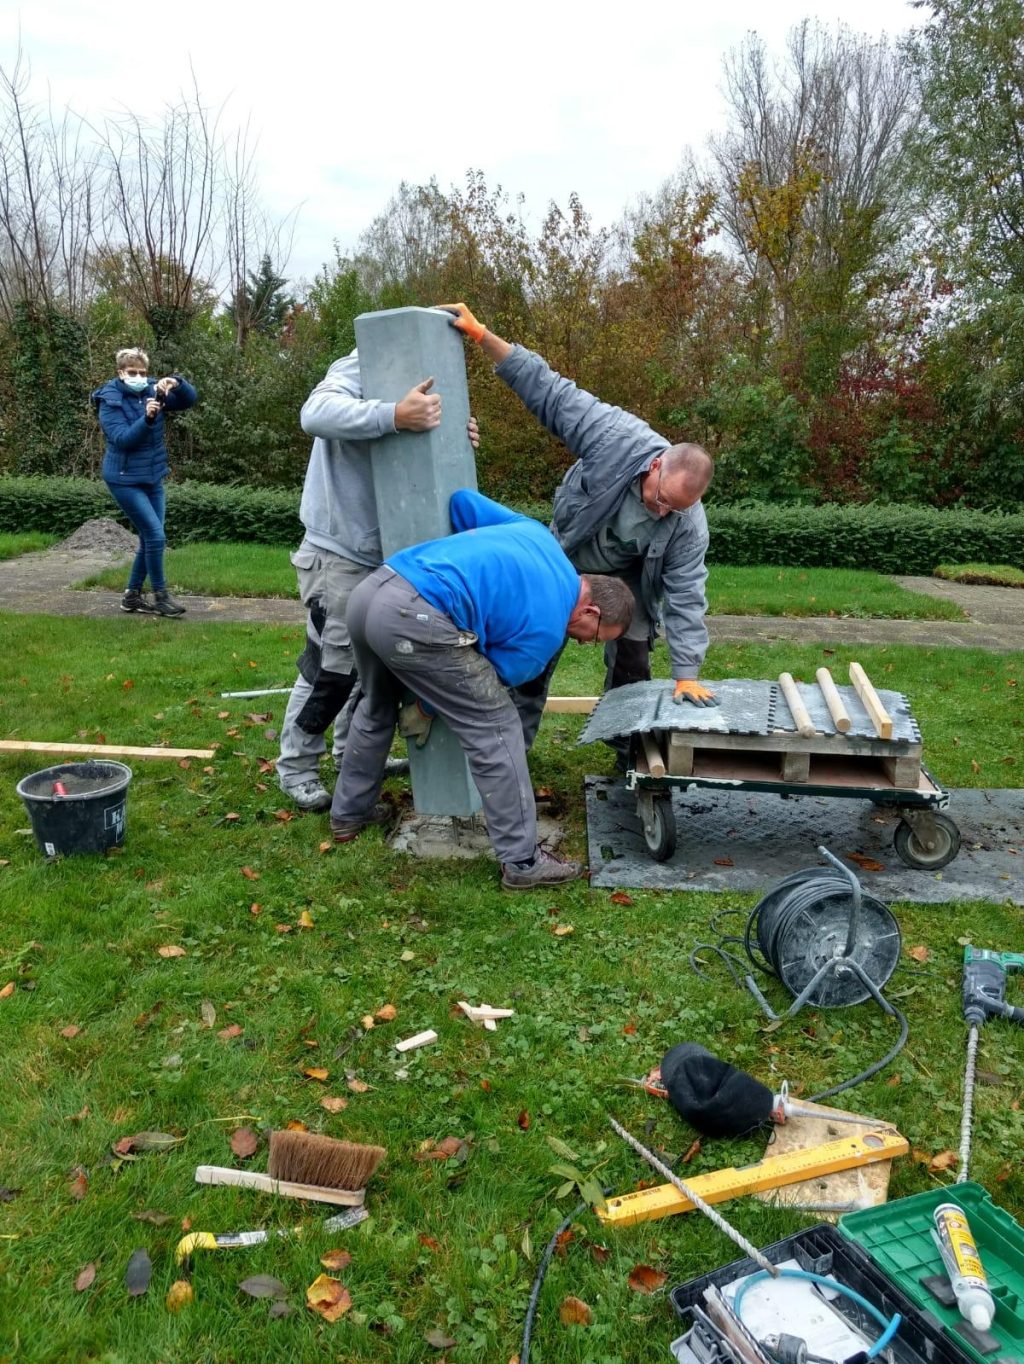
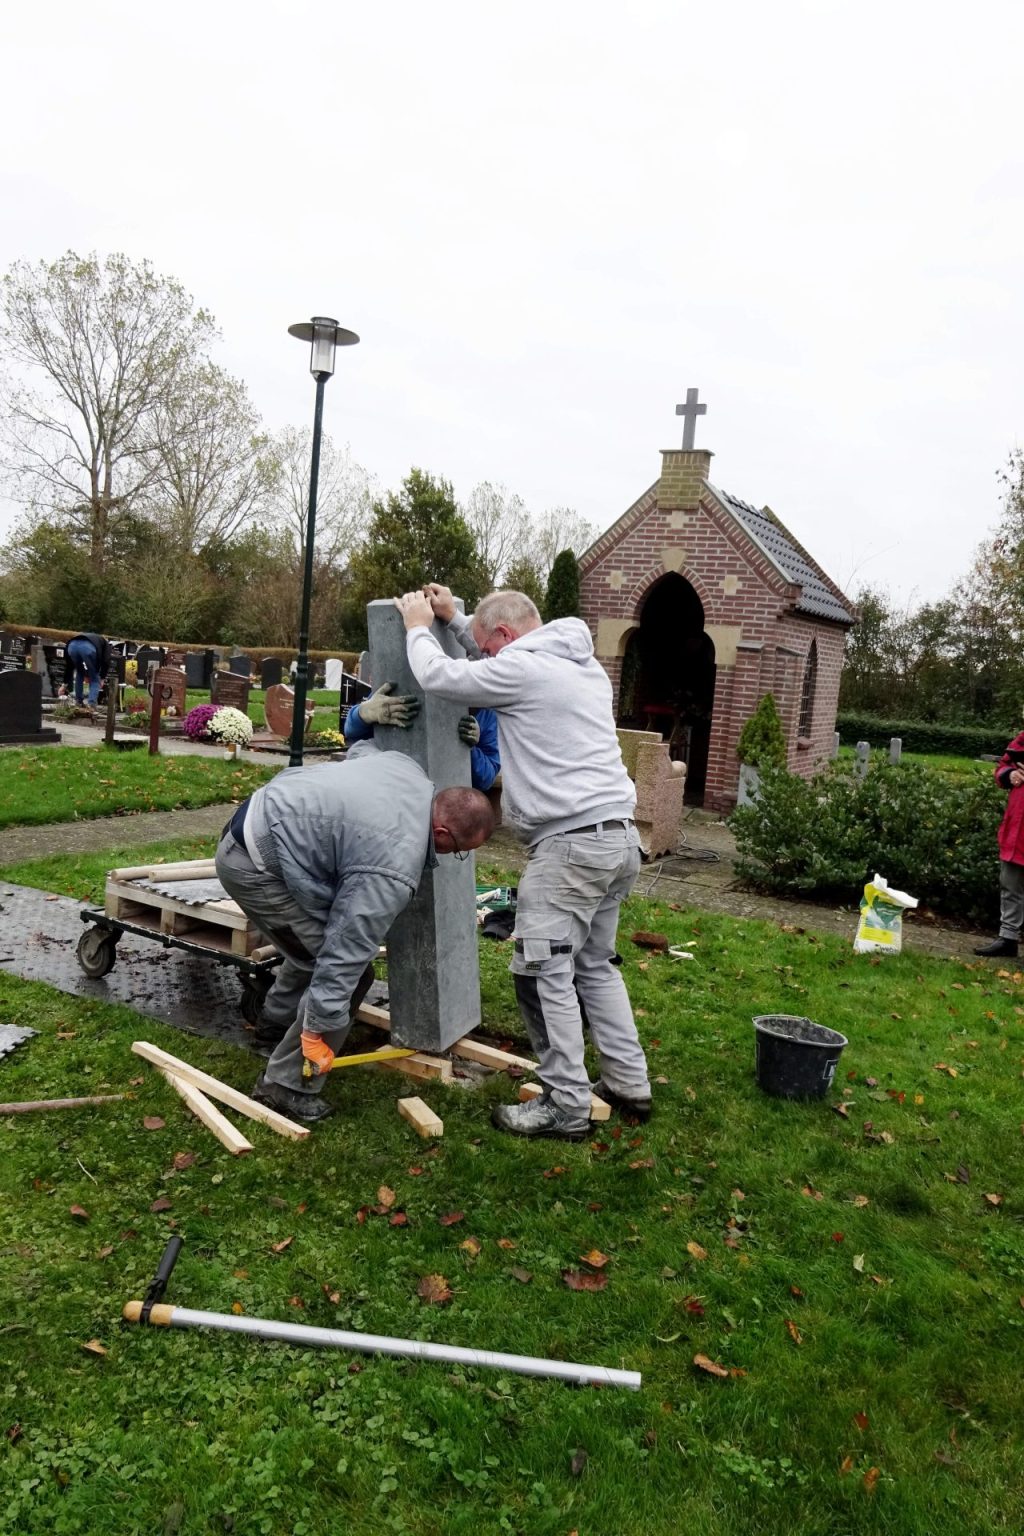
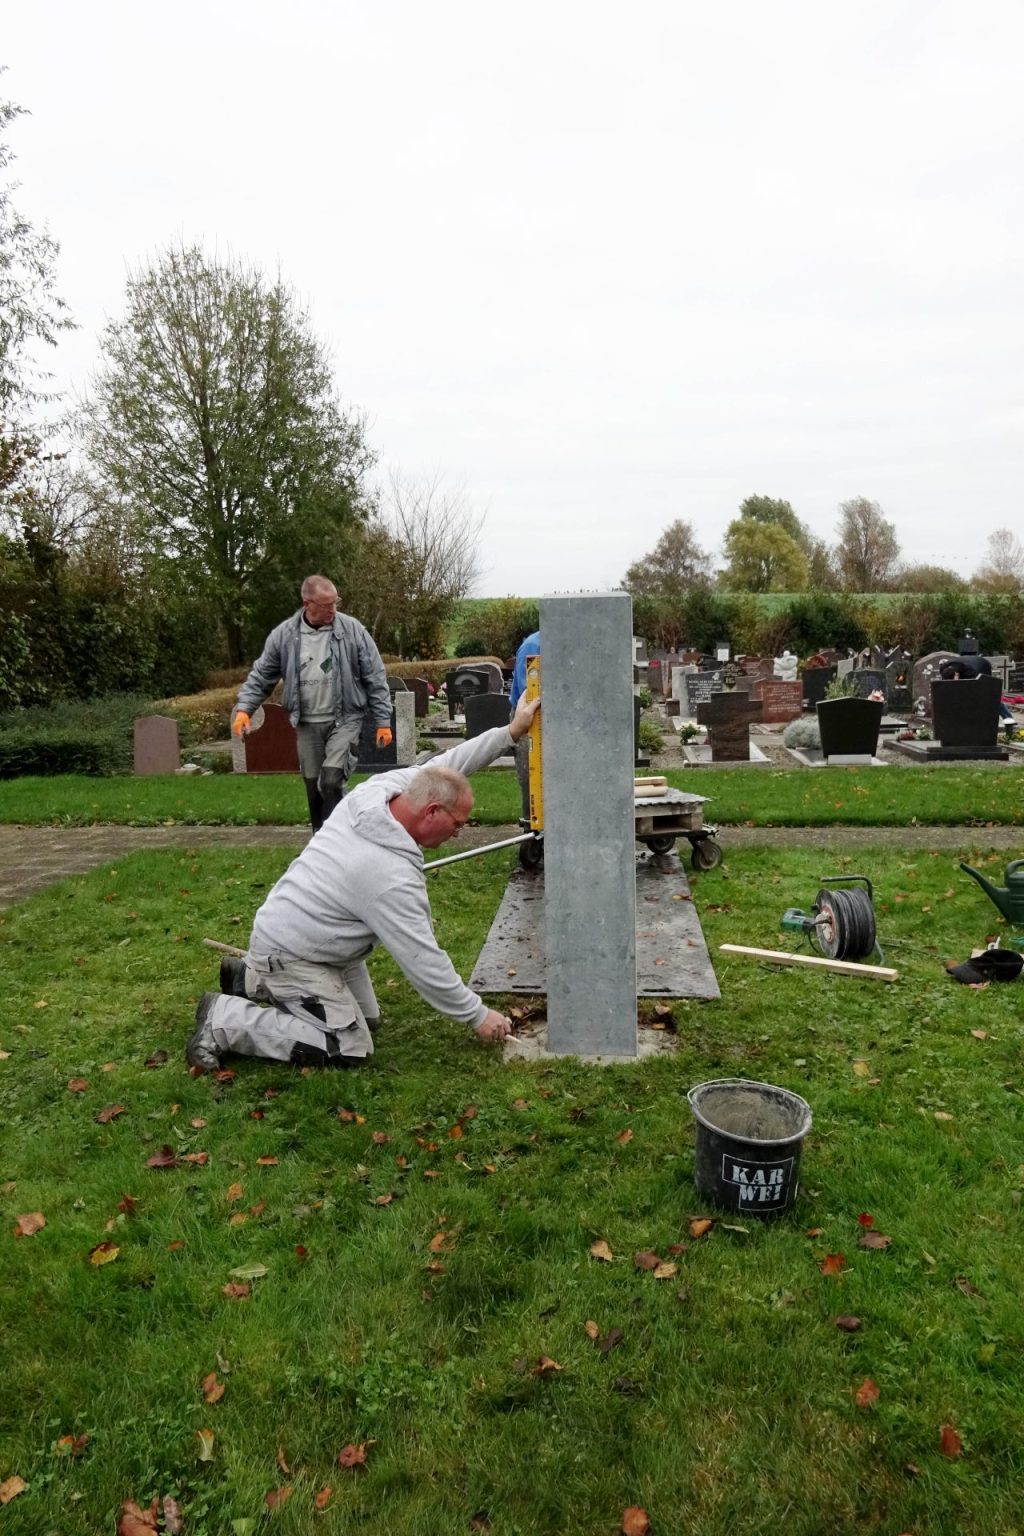
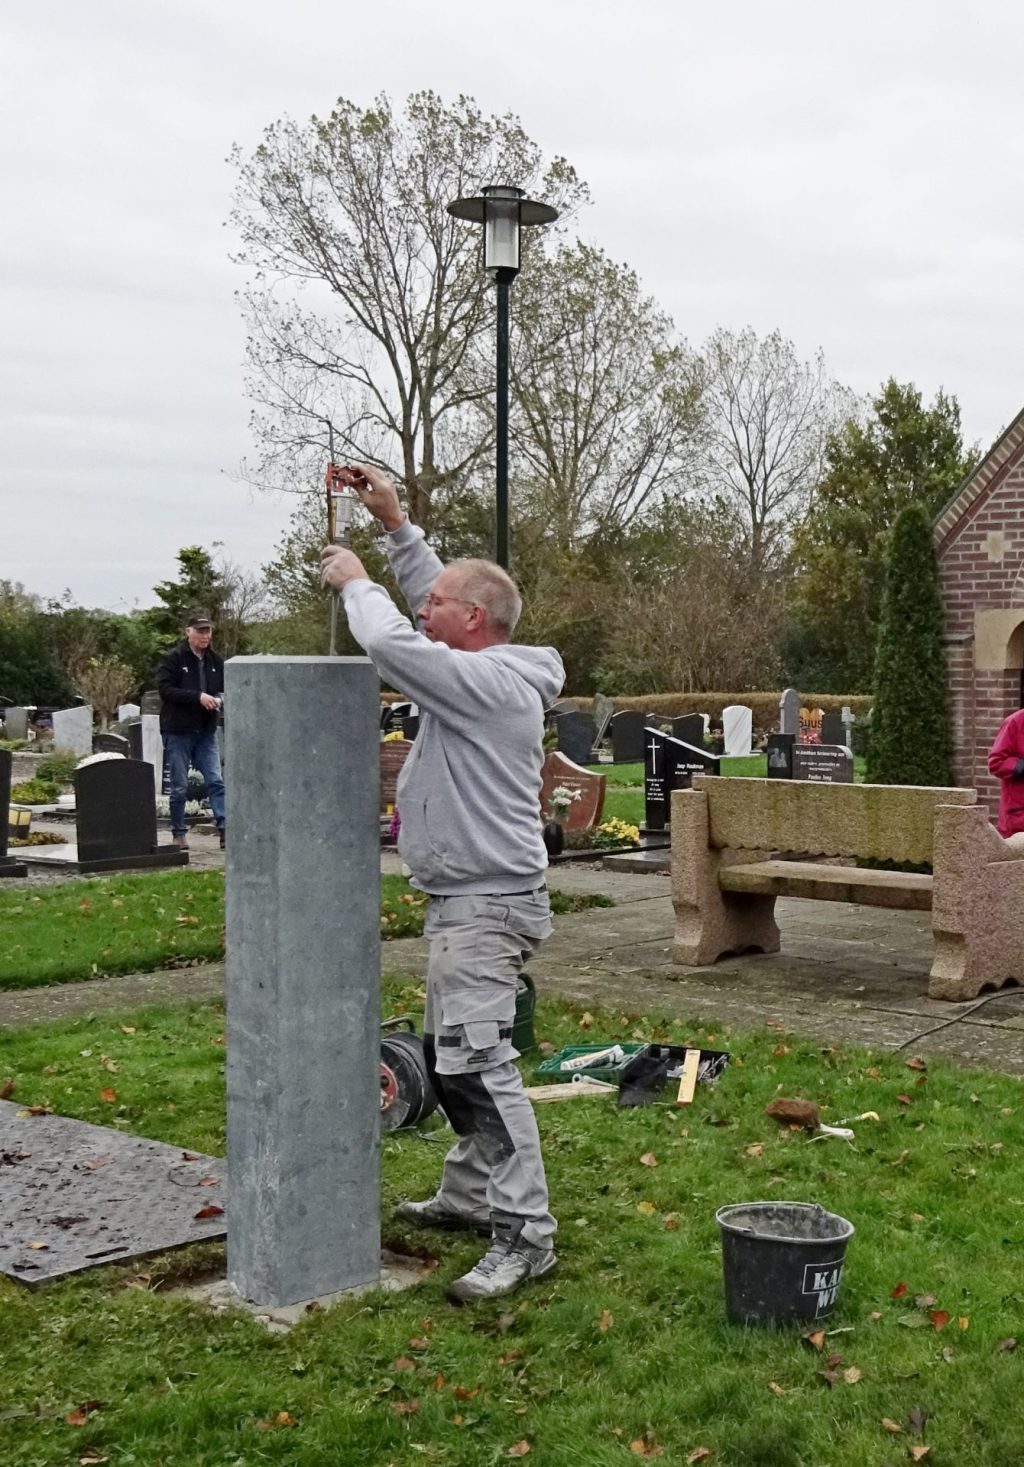
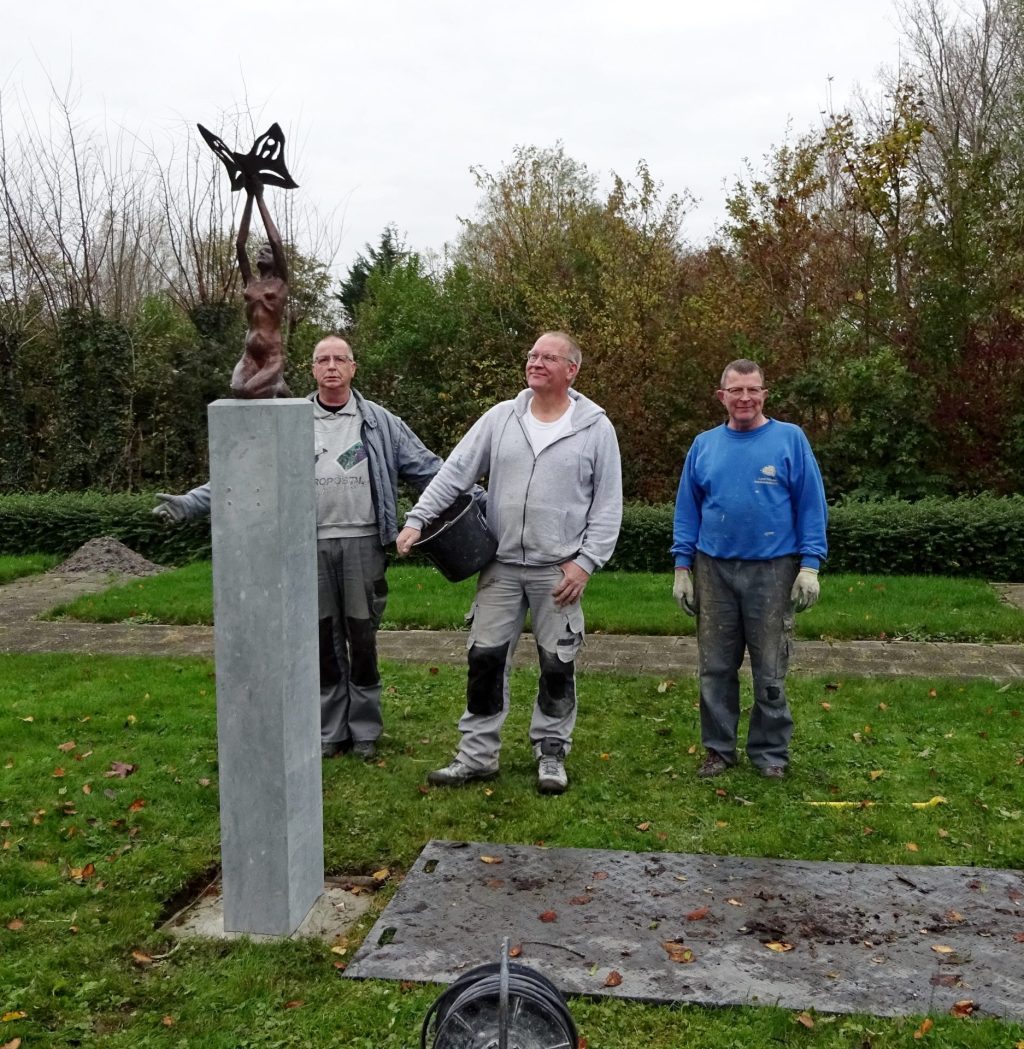
    This plinth weighs approximately 250 kilos, but with a little skill and the right equipment you can move it around just like the ancient Egyptians did. Leverage and rollers. Fortunately I had help from the Stroet brothers who also took a flat cart with them, so within half an hour it was all up and done.

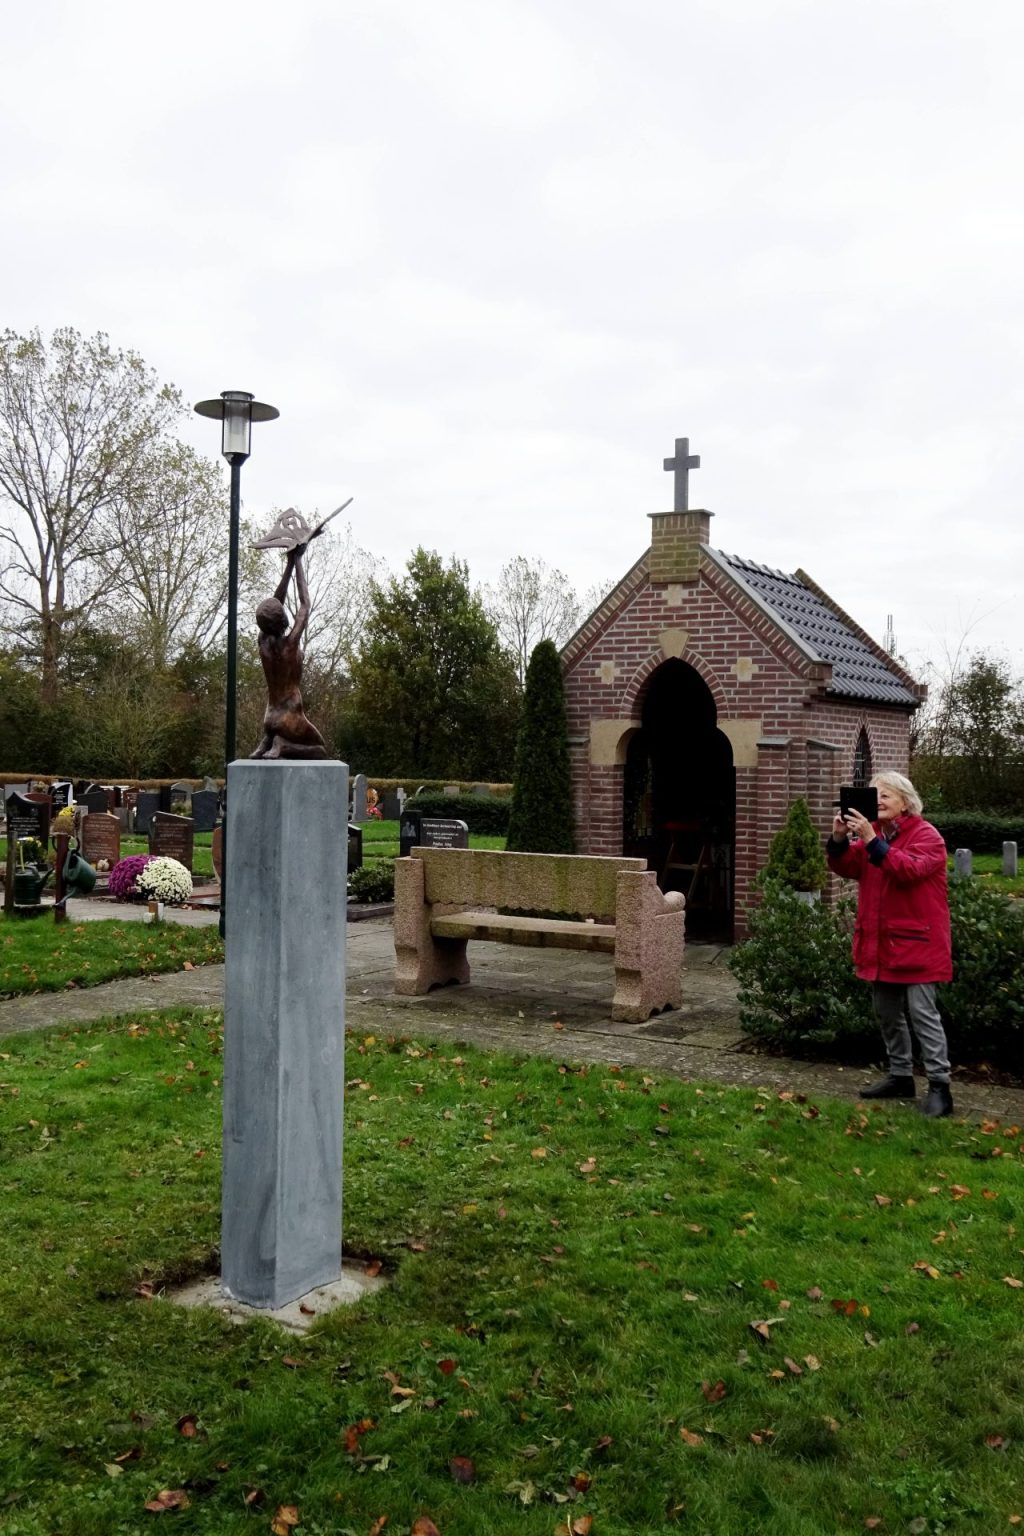
    The sculpture sits in the center of a green lawn, which itself is also more than a meter above the surroundings. The field is intended as an extra space for any graves. With the plinth of 1 metres 60 in addition, the statue protrudes high above its surroundings and thus the column strengthens the intention of the sculpture and the movement of the woman: releasing the butterfly, the soul that continues on its new voyage of discovery. The sculpture therefore contrasts well with the sky and the dike behind it.

    Installing sculpture Surrender

    It was also a special moment for me, because a lot of things came together that day. The statue of my father has such a strong symbolic function for the soul journey and it was almost All Souls' Day and All Saints' Day. It also felt strongly as if the sculpture had been made for that place and the day was perfect: nice weather, not subdued and still, but something of a joyous realization that it is not over after this, just the next step in our journey. Surrender doesn't have to be tough! It's great how everything can come together.

    More about his life

    Sculptors Jan and Koen van Velzen rowing

    A while ago I shared a first article about my father's life. I could write five more, I noticed later. But actually that doesn't fit in with the blog and there is so much material that it would become an ever bigger project. That is why we are now in the process of working out and printing his memoirs, in which we hope to include a lot of photos of himself and his work. On this blog I will dedicate one more article to what I learned from him as a sculptor. Meanwhile, I have also started working on his tombstone, because we finally agreed on what it should look like. More on that later.

    Gallery

    Below you will find a photo series of the installing of the pedestal and the sculpture 'Surrender'. My mother really didn't want to be in the picture, but as she was doing the donation, she has earned that place as far as I'm concerned. Thanks to Gerda Schutte for most of the photos.
  • Statue of Pope Leo the Great, part two

    located in the joint face are two stainless steel pins of 20 mm. Statue of Pope Leo the Great

    1 Statue in two parts

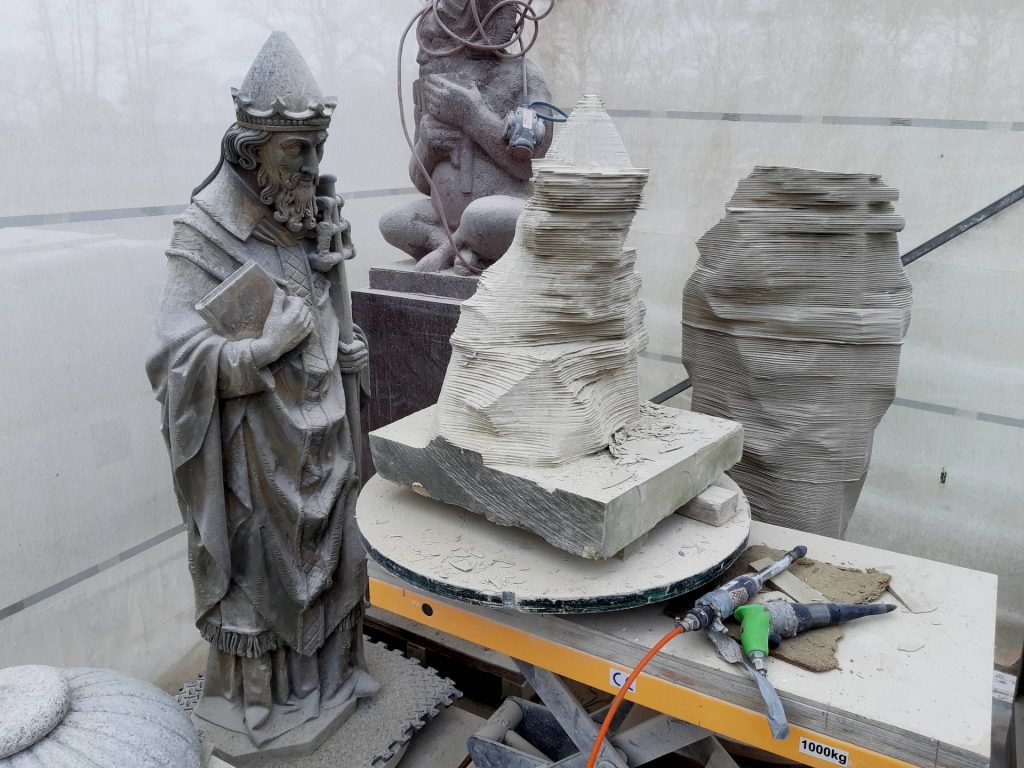
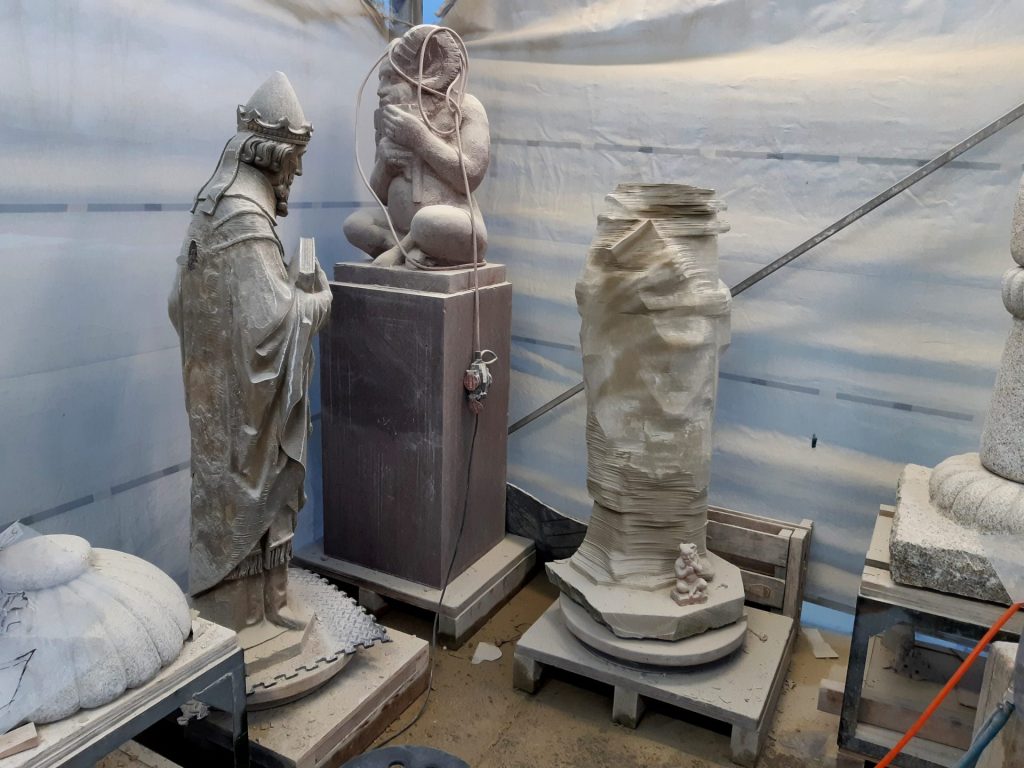
    Work on the statue of Pope Leo the Great proceeds much more smoothly than I expected. When I explained to the committee and to my colleagues about my plan for carving of the statue out of two parts, most of them thought it was quite a bold approach.

    Because the statue needs to be carved from two parts, as I explained before in the previous article and the article on the similar statue of Thomas Aquinas.
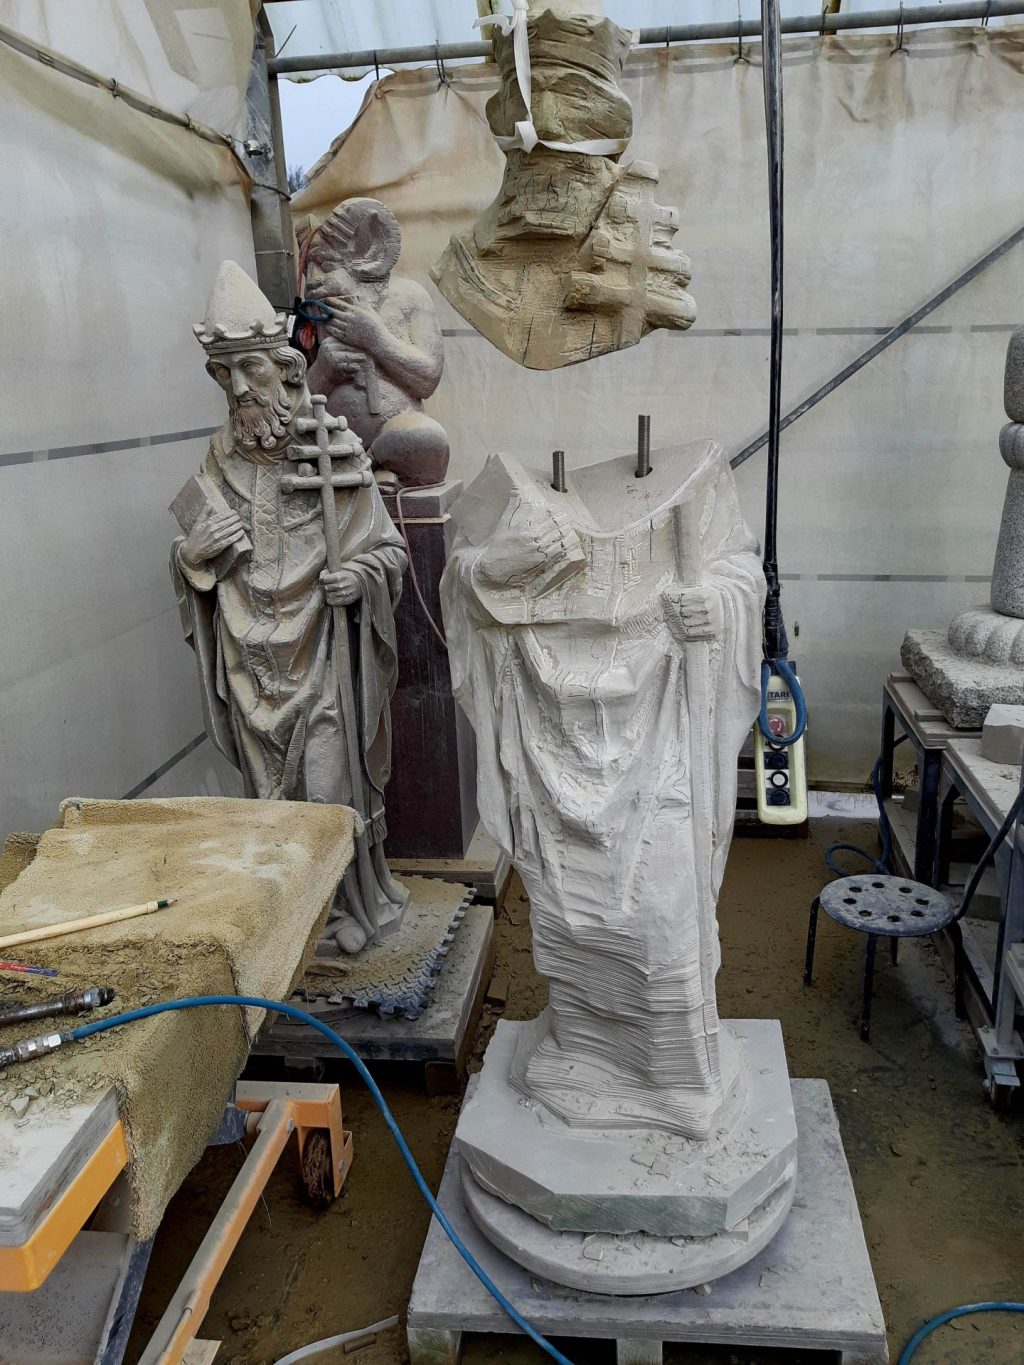
    the top- and lower part of the statue of Pope Leo the Great are presawn

    In the original statue, the layers were used vertically, but for the copy it's desired that the layers run through the statue horizontally. Since there are no blocks of Udelfanger sandstone available that are tall enough, it has to be made out of two pieces. Where would you put the seam? A first proposal was
    to do it at the bottom and top of the image, below the line of tufts of its outer garment, plus another one in the crown. I myself proposed to follow the seam of the garment, along the bottom line of the cross on his chasuble.

    The rough carving of the torso of the statue of Pope Leo the Great

    Finding out the way the statue sits first

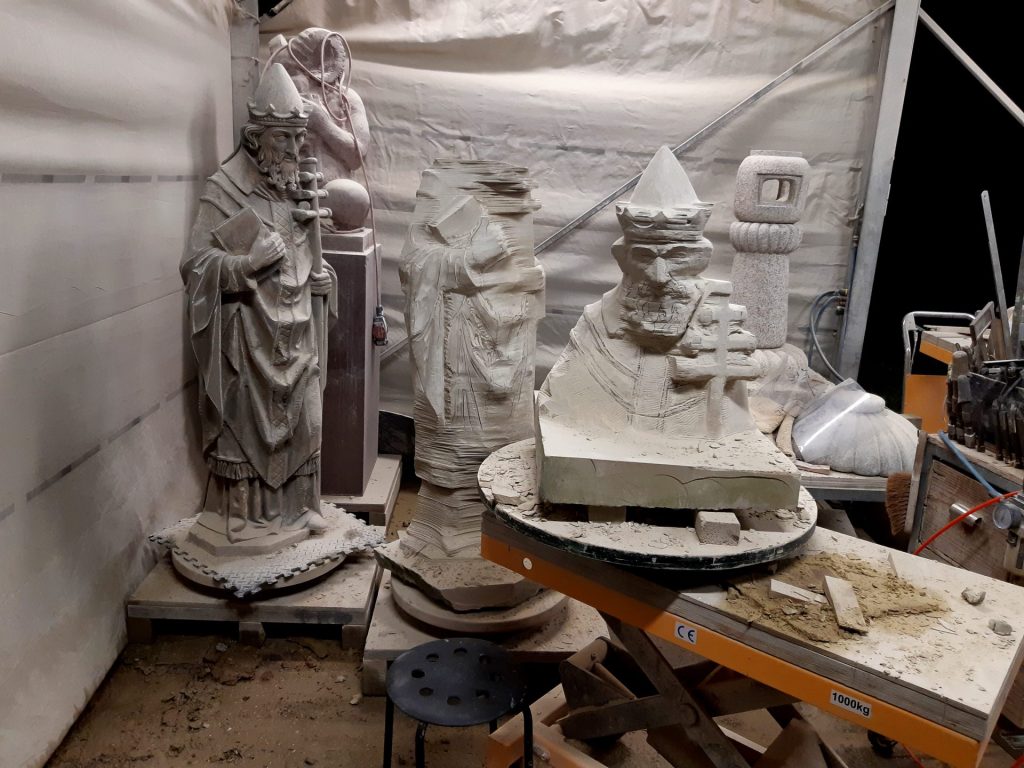
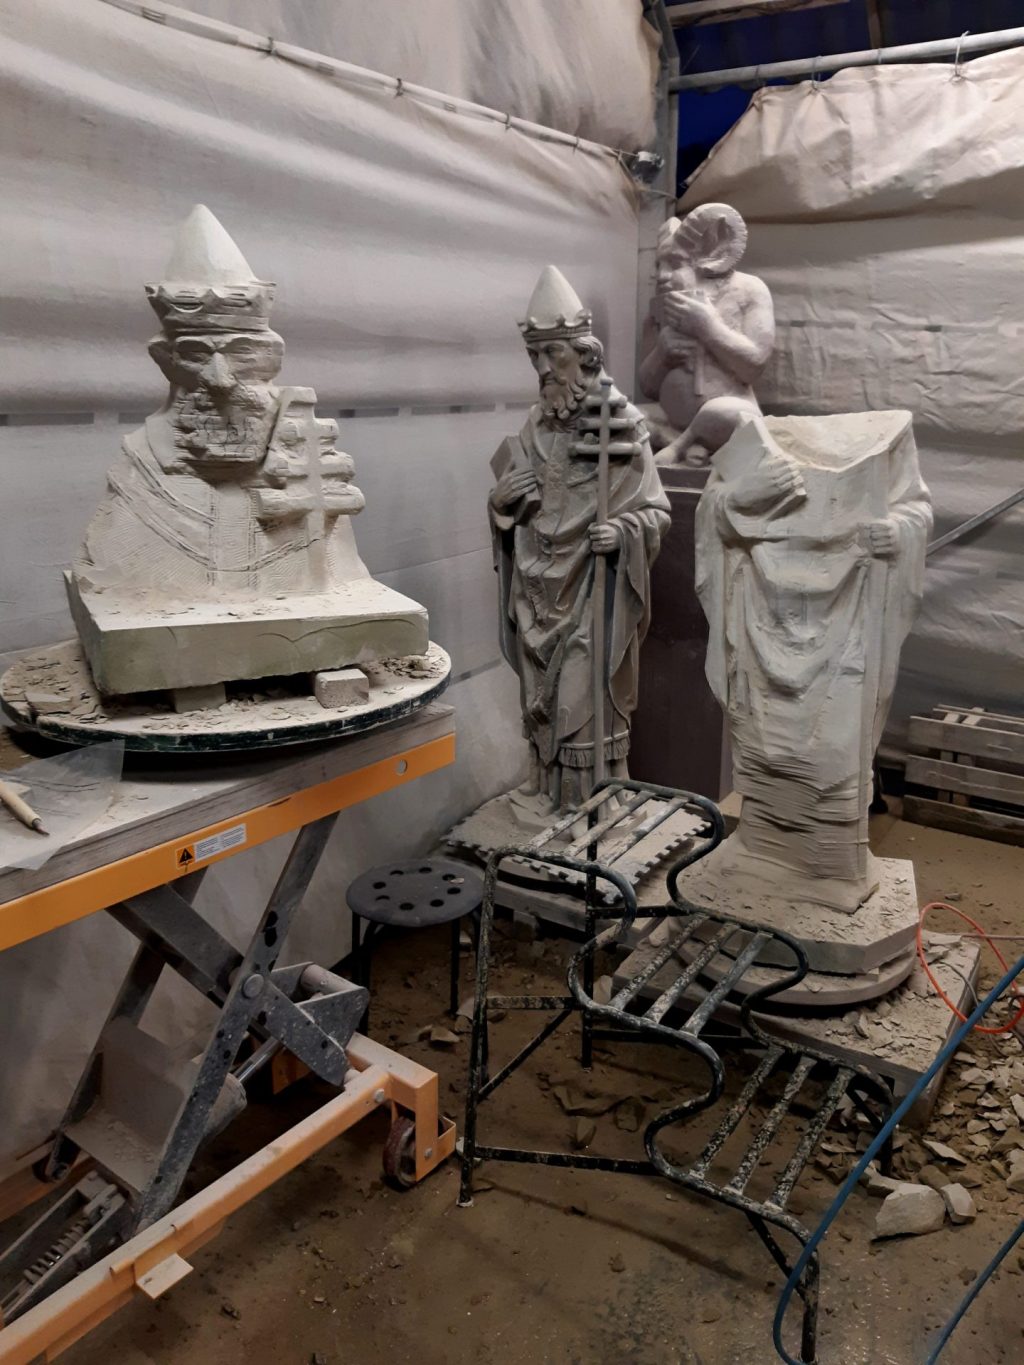
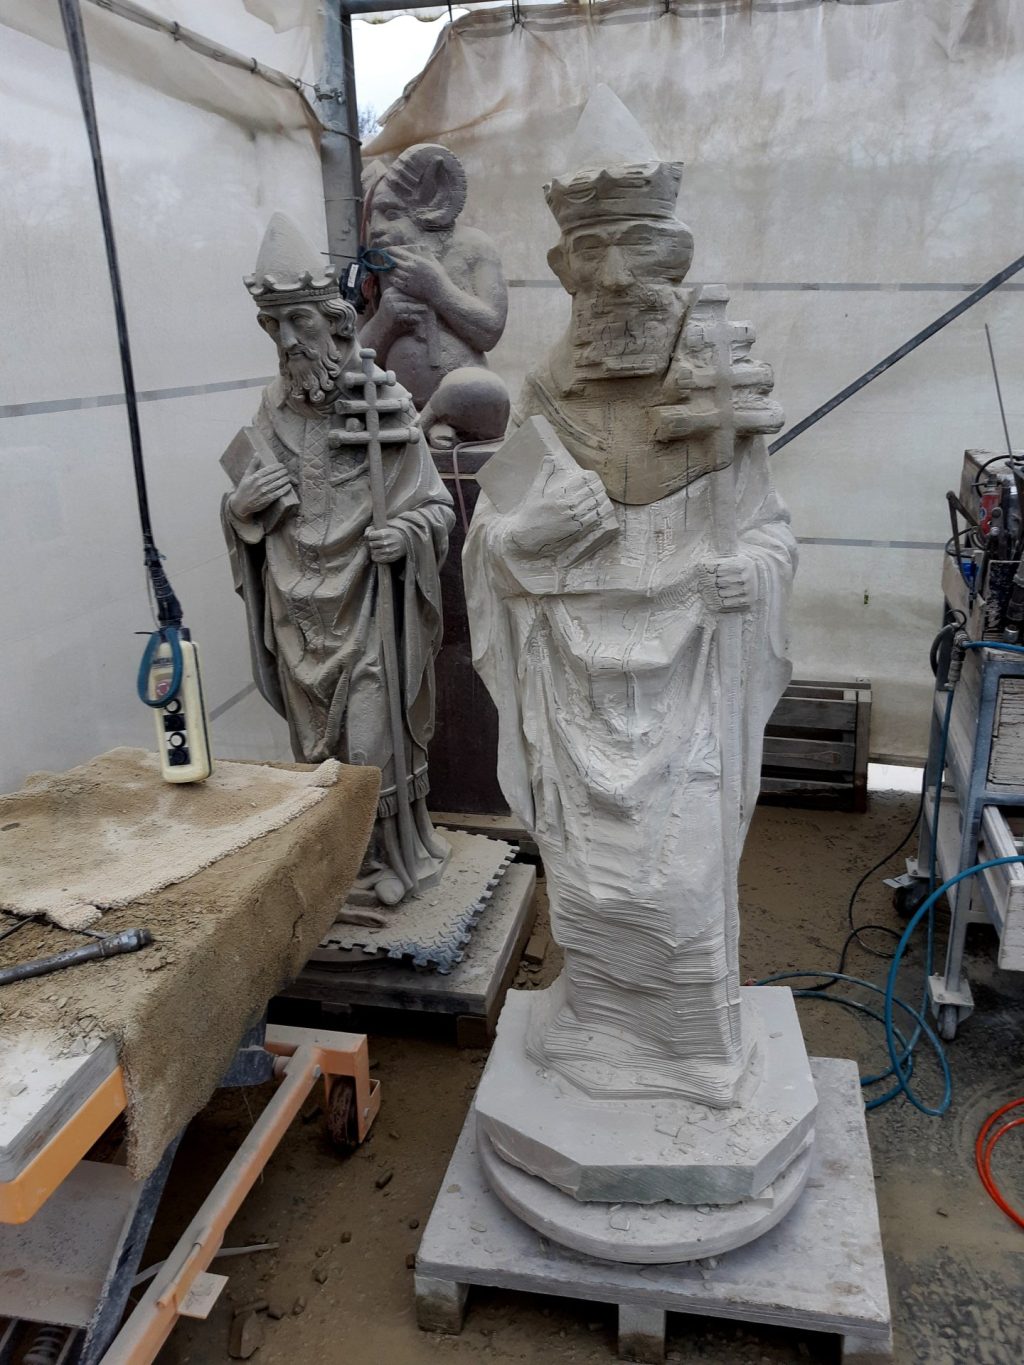
    Now I can't just stick the two pieces together after the presawing. Firstly, there is a lot of surplus material on both parts at the spot of the joint plane. Secondly, there would be two versions of a hand holding a book. The book needed to be removed on the upper part, because that piece sits behind the book. I also couldn't reach all parts with my presawing machine such as behind the book. So I had to partly carve both parts just to see how it all fits.

    upper- and lower body carved far enough to fit the two parts together

    Determining the joint plane

    The seam doesn't run through the statue in a straight line, but is rather curved. The difficult part is on the one hand to get the bend the same in both parts. It has to fit exactly and the lines of the robe should connect nicely. On the other hand, there is a fragile point near both shoulders, where the stone is not perpendicular to the outside, but will form a thin wedge. In this place I had to be extra careful that I don't break anything off by accident.

    First fit of the state is promising.

    Lifting and lowering

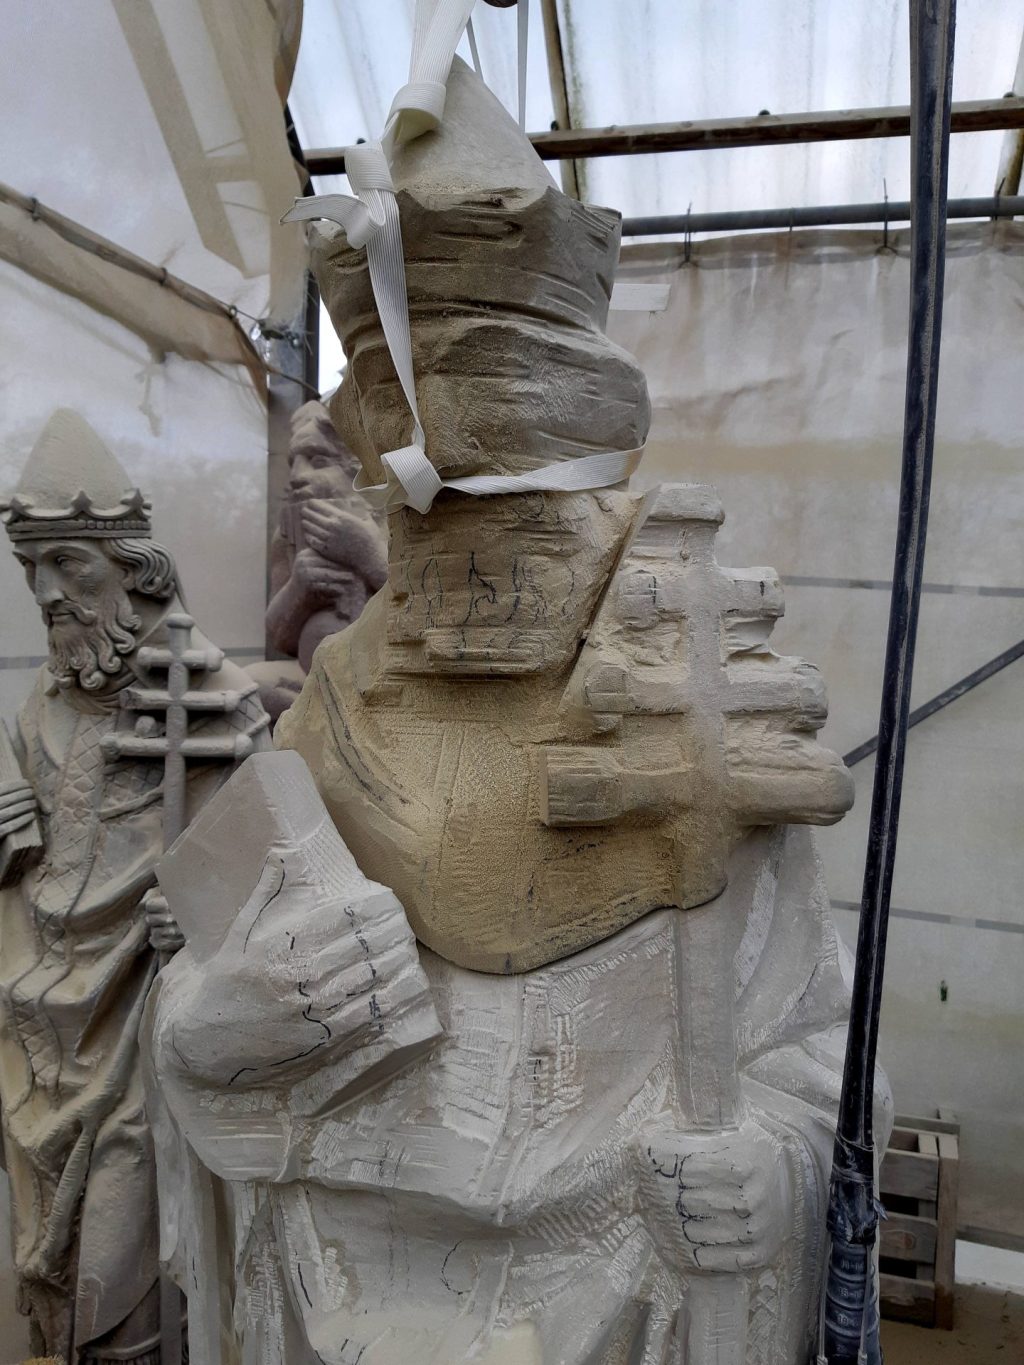
    Once I had determined the line of the chasuble on both parts I could start chiselling away the excess stone. I suspended the head from the hoist with two thin straps that I had tied in the correct position. Then it became a matter of lowering, looking where it didn't fit, hoisting, adjusting, and back down again, and repeat, until it was just right. I had made the lower part of the statue of Pope Leo the Great a bit narrower at the top, so that the upper body fitted over it as a lid. The picture shows an early stage; it doesn't fit properly yet here, because there are still slits at the shoulders.

    located in the joint face are two stainless steel pins of 20 mm. Statue of Pope Leo the Great

    Putting in the anchoring

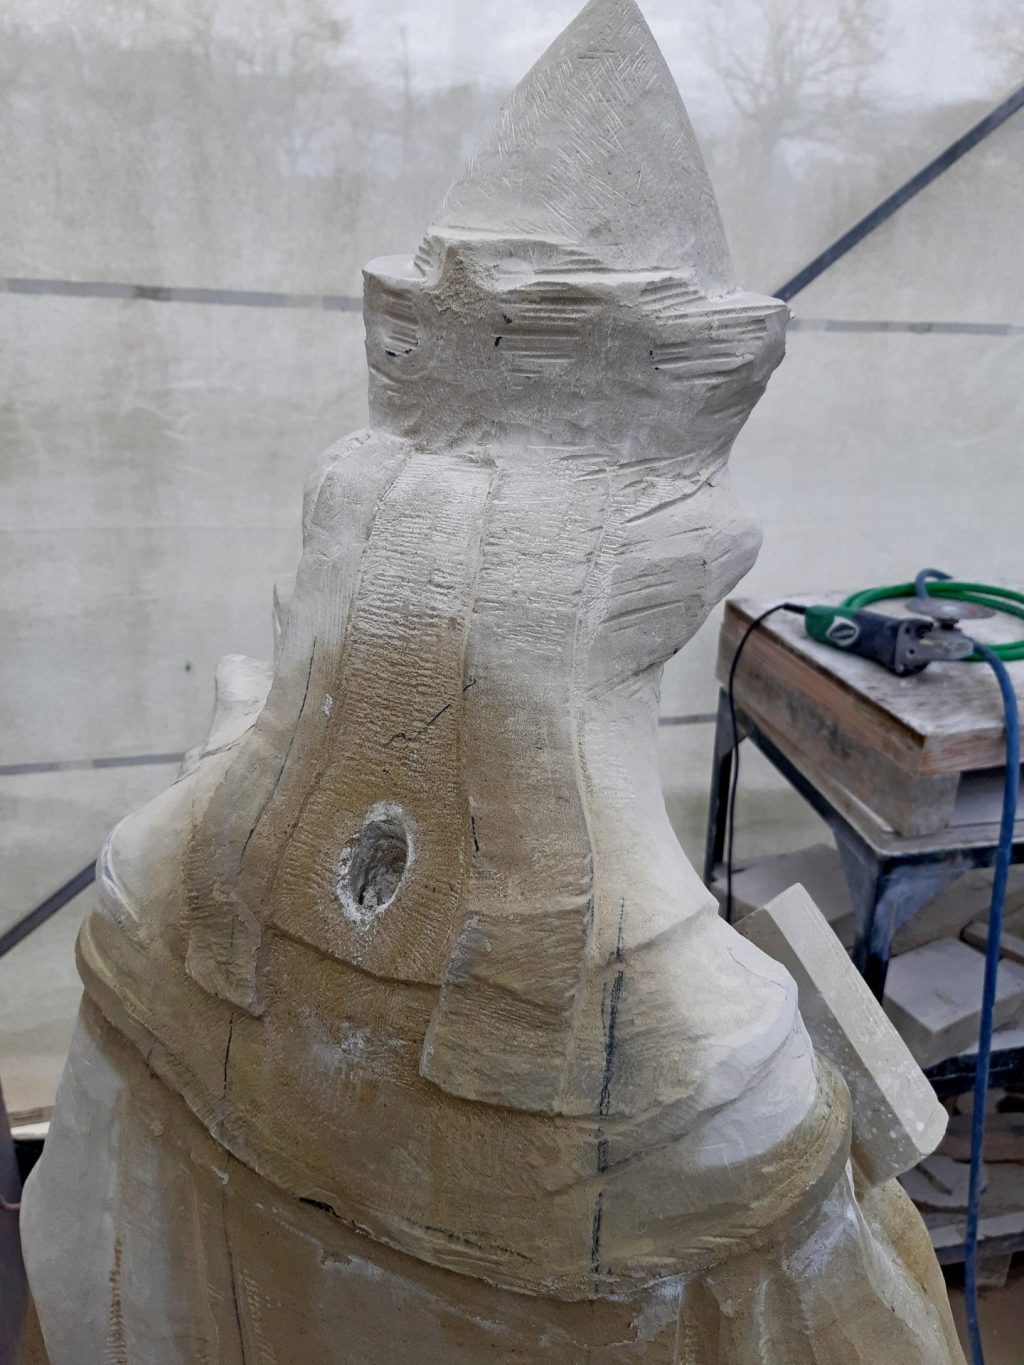
    For a really strong connection between the two parts to I inserted two anchor rods of 20 mm thick stainless steel wire ends. Now the two bars have to fit very well inside the two parts and cannot disturb their alignment. It is therefore important that they are exactly parallel. Also, the holes in the two parts should be perfectly superimposed and aligned. You always need to be careful when drilling! When the four holes were to my liking and Ifound that the alignment was still the same, I bonded the two pins with epoxy . Then the two pieces were stuck tightly together, but there was still some space in the joint plane. It is almost impossible to make it so that these are less than a millimeter away from each other.

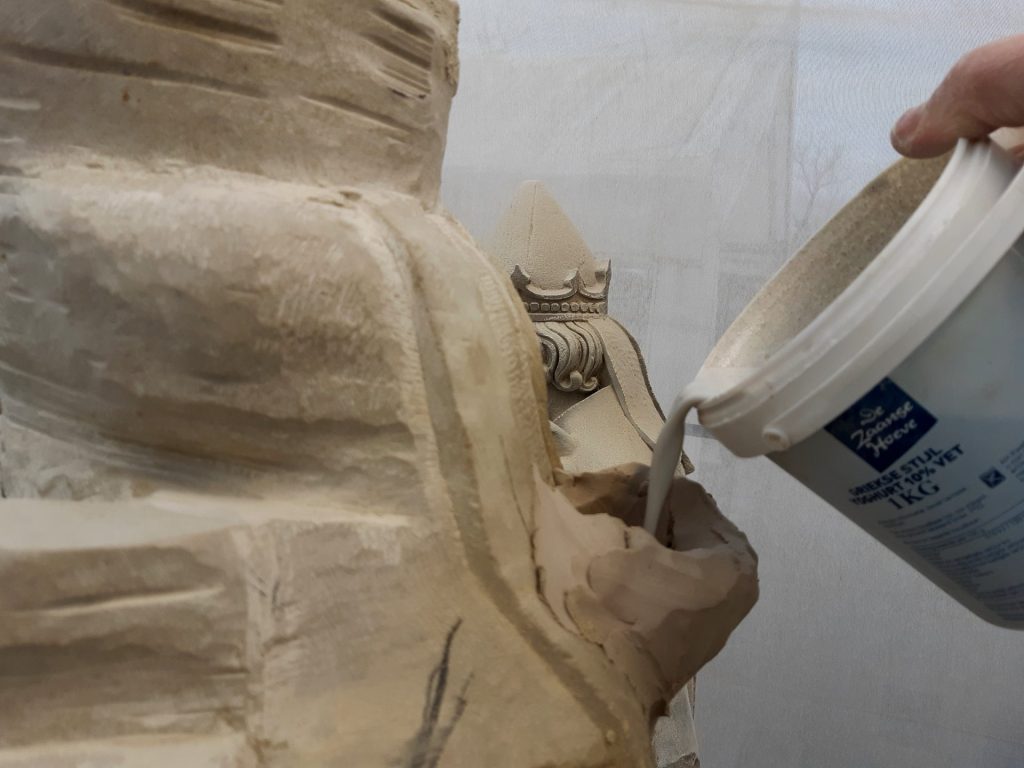
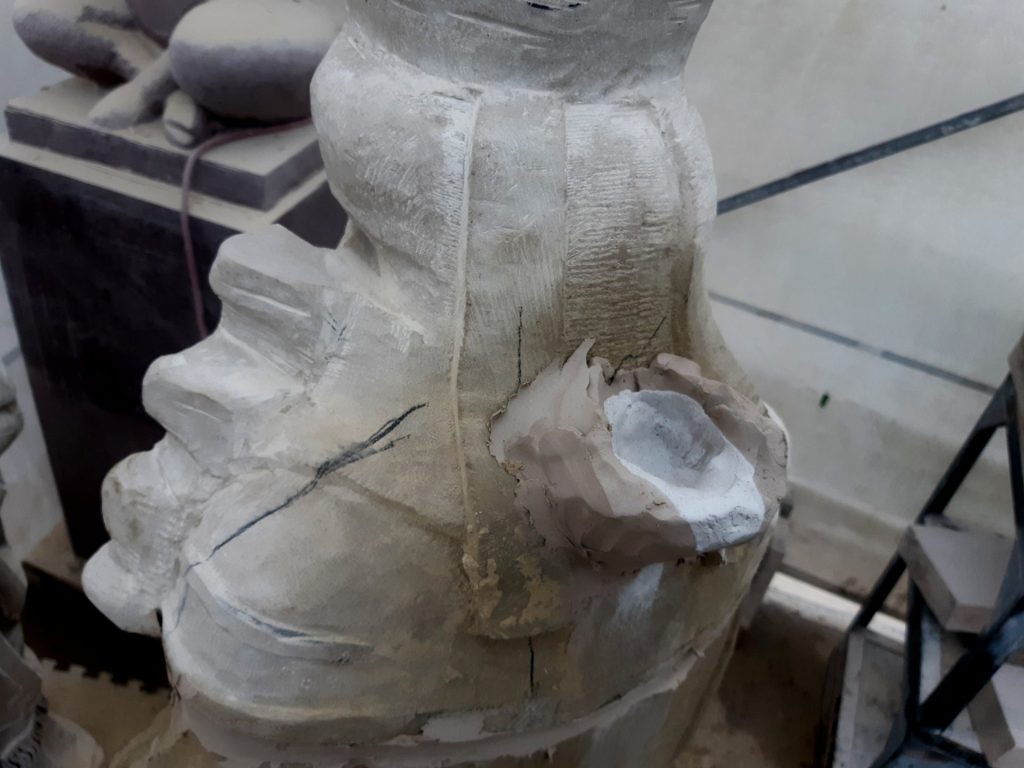
    two part statue of Pope Leo the Great in Udelfanger sandstone: pouring the seam with restoration mortar

    Pouring the mortar

    But in this case that space worked in my favor. Besides the four holes for the pins I had drilled an extra hole, which ended up in the neck of the statue of Pope Leo the Great. I still had a bucket with Jahn grout that I could use for this case. First I thoroughly soaked the statue and especially the joint, so that it wouldn't dry out the mortar too soon and then not fill the entire cavity.

    the white grout in the pouring bowl

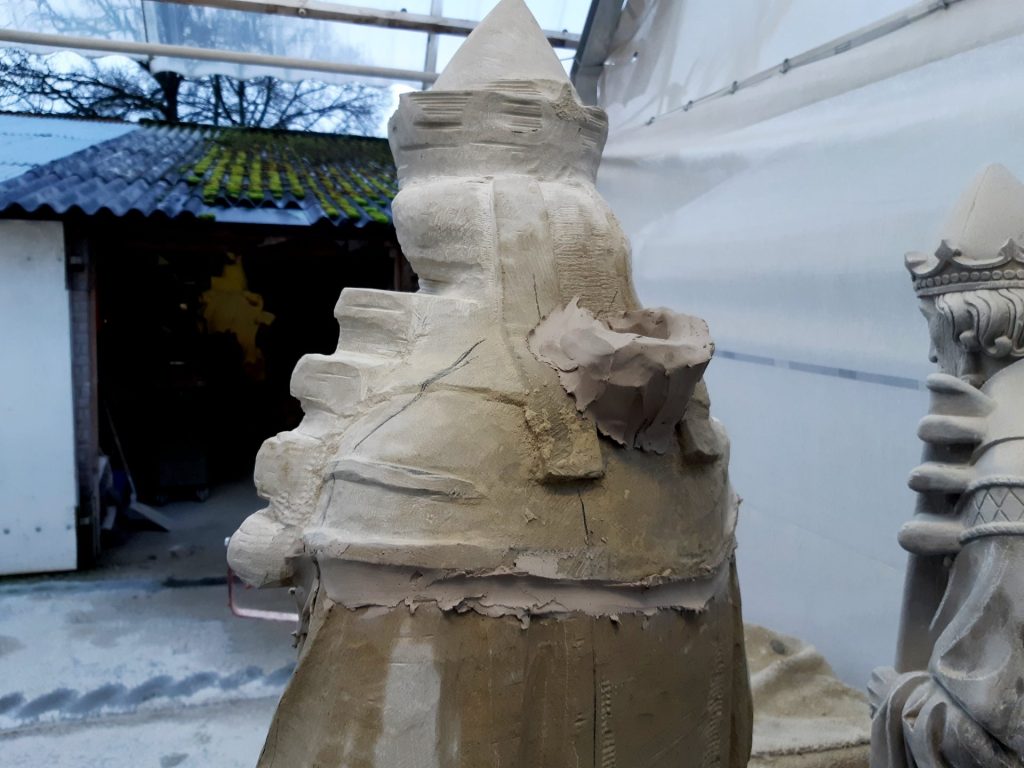
    Then I took some modeling clay and closed up the seam almost completely . Only at the shoulders, I left a small hole. These were the highest points, so that was where air could become trapped. Then I modeled a bowl for pouring in the neck of the Pope. The final steps were simple: mixing up the grout, casting until the shoulders began to leak, closing up the shoulders and continuing to pour until that bowl was full. After a few days, the seam was closed perfectly: porous enough, but sturdy and well connected. Finally, I sealed up the edge of the tiny seam with restoration mortar for Udelfanger sandstone, so you can't see anything of it anymore.

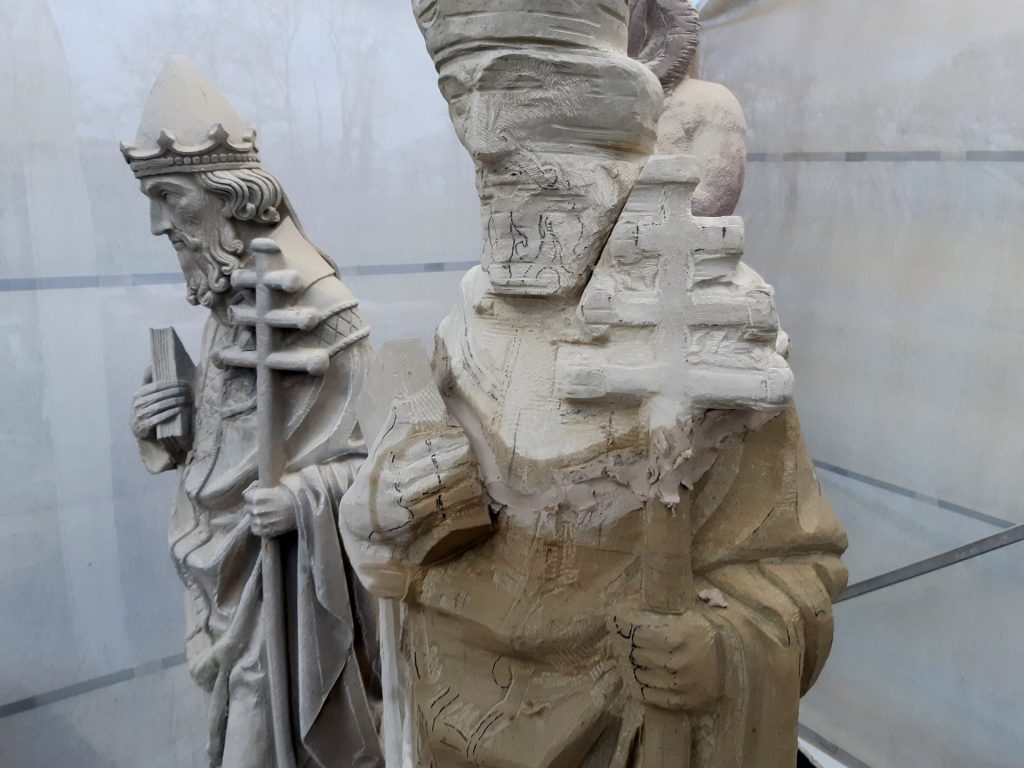
    beginning with detailing the head and the crown

    Shaping

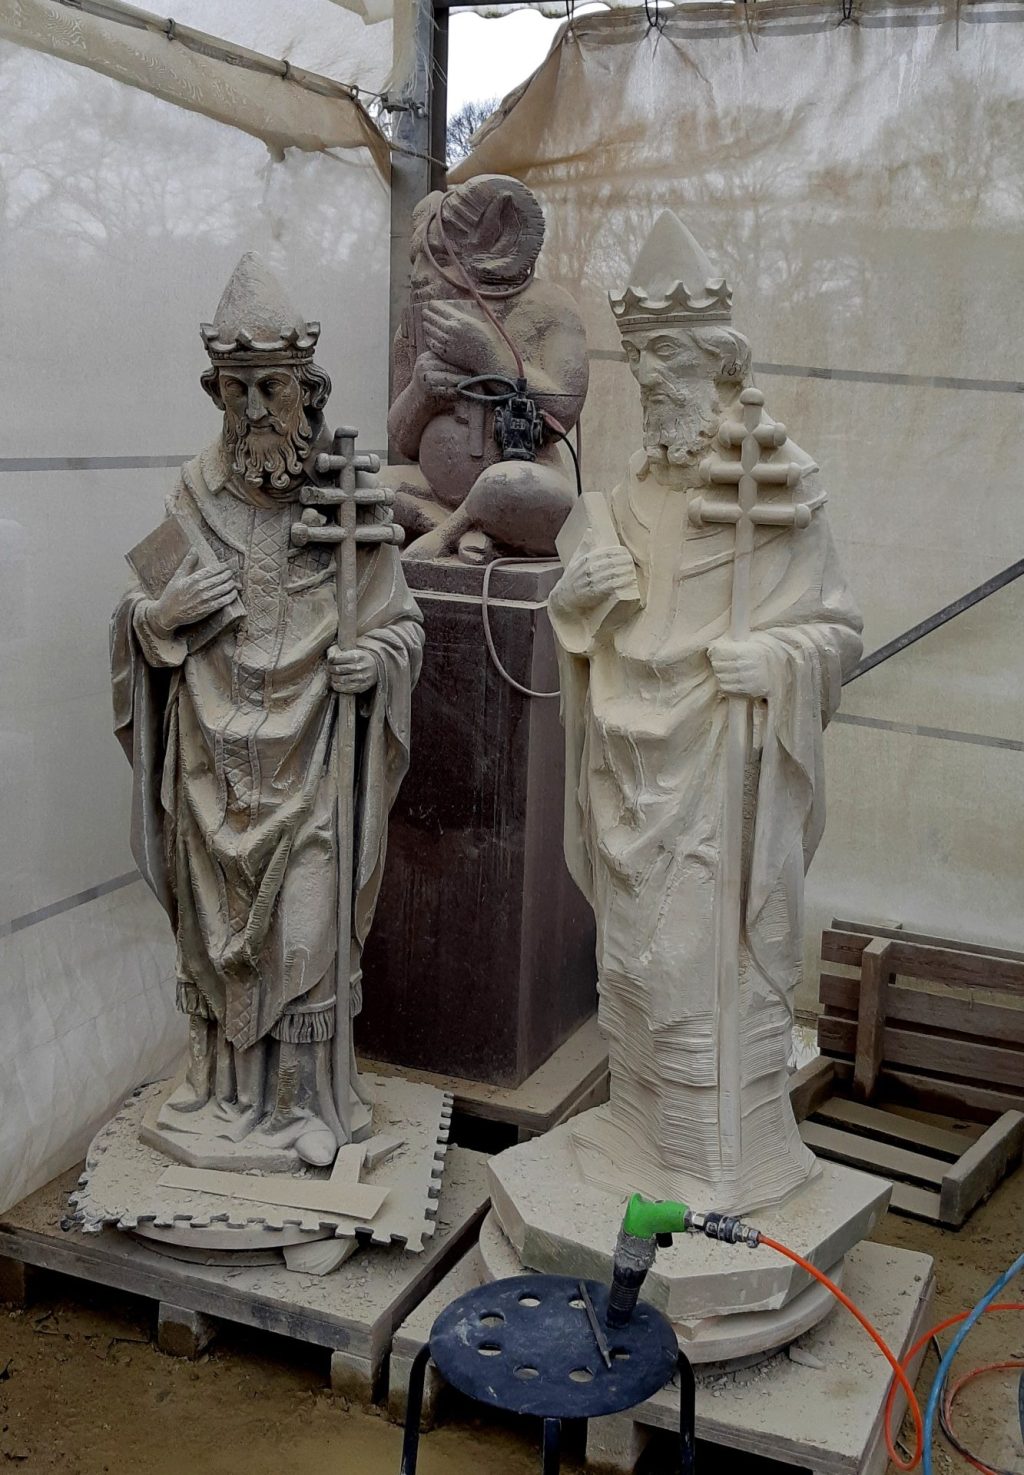
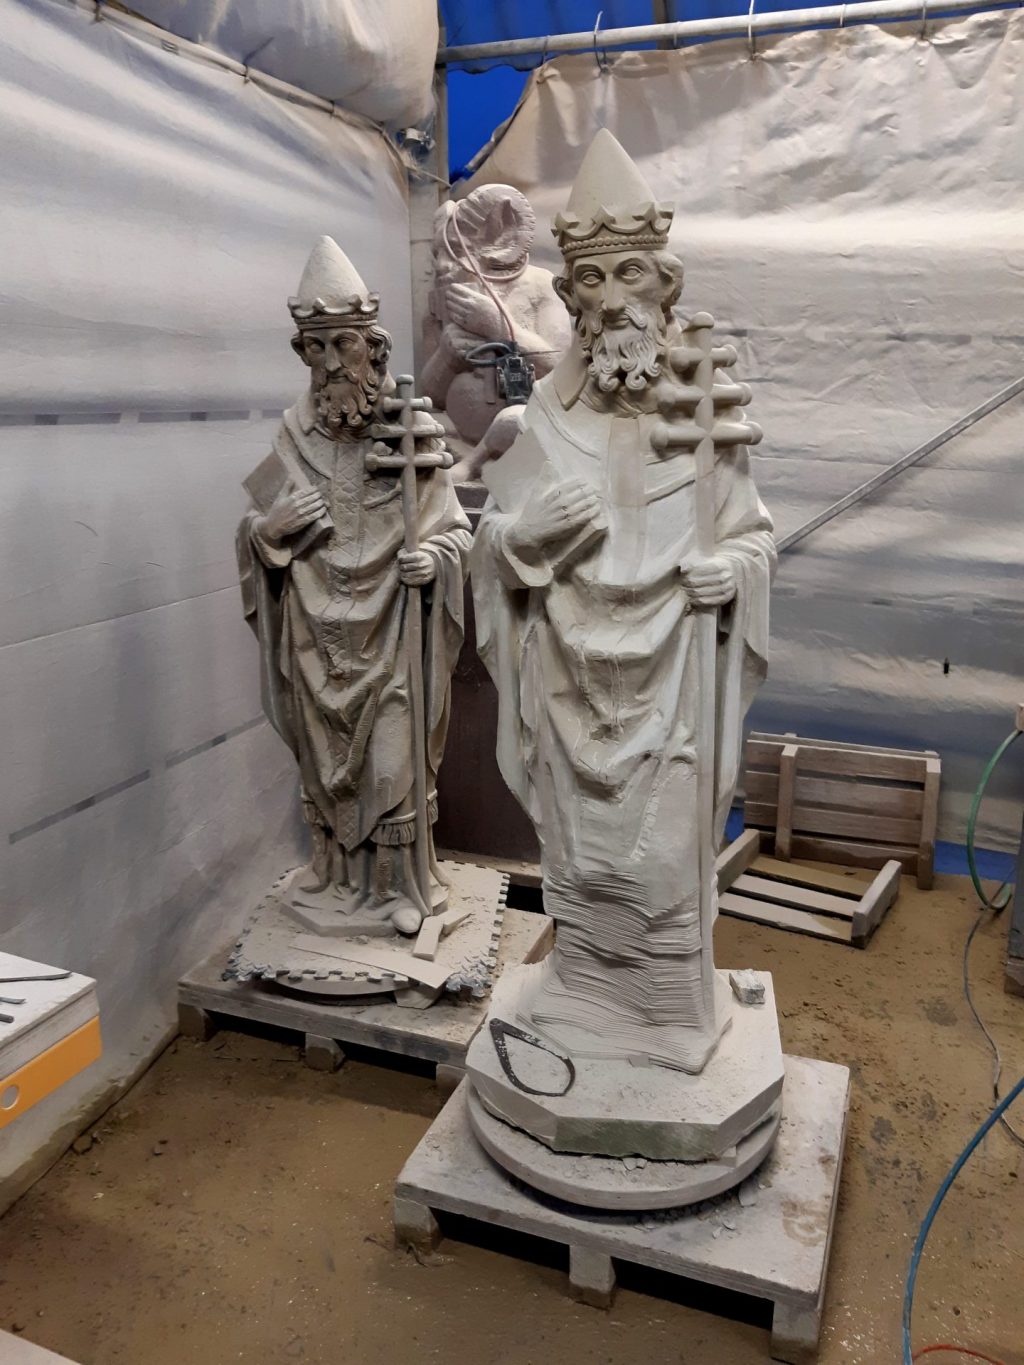
    And the rest is simple enough: just carving a copy of how the original looks. I work from top to bottom and have now reached the beard. I've had a lot of work on the crown and the cross, in getting it all nice and tight. Yet there is still a lot of work left, but that all comes later. For now I am very happy anyway that everything fits beautifully and that it worked out fine without any damages.

    Gallery

    Read the work of this In the next articleas well ↑.

No more messages to show.

No more messages to show.