• Removing a pedestal with the concrete chainsaw

    Last Wednesday I was at the gardens of Estate De Schaffelaar in Barneveld, the Netherlands. I had to remove a plinth of Belgian bluestone, that was anchored with four stainless steel pins of 2 centimetres thick to a concrete foundation. Of course the solution was the concrete chainsaw at 230 Volts (Cardi Coccodrillo 35 so you might say Renova chainsaw). The base will in due course be reinstalled inside the main building itself, but more on that later.

    Camera and editing: Joram van Velzen

    The anchors were very tough and it took a lot of strength in an awkward crouching position to cut them, but the machine did not budge. We had brought water, a pressurized water system ( a pressure tank with pump) and an generator of 6 kilowatt with us, so we were completely self-sufficient.

    Read all posts about chainsaw for stone and concrete here.

    Copy of this pedestal

    I made a copy of the upper part of this plinth.
    Read more about it in the next post.
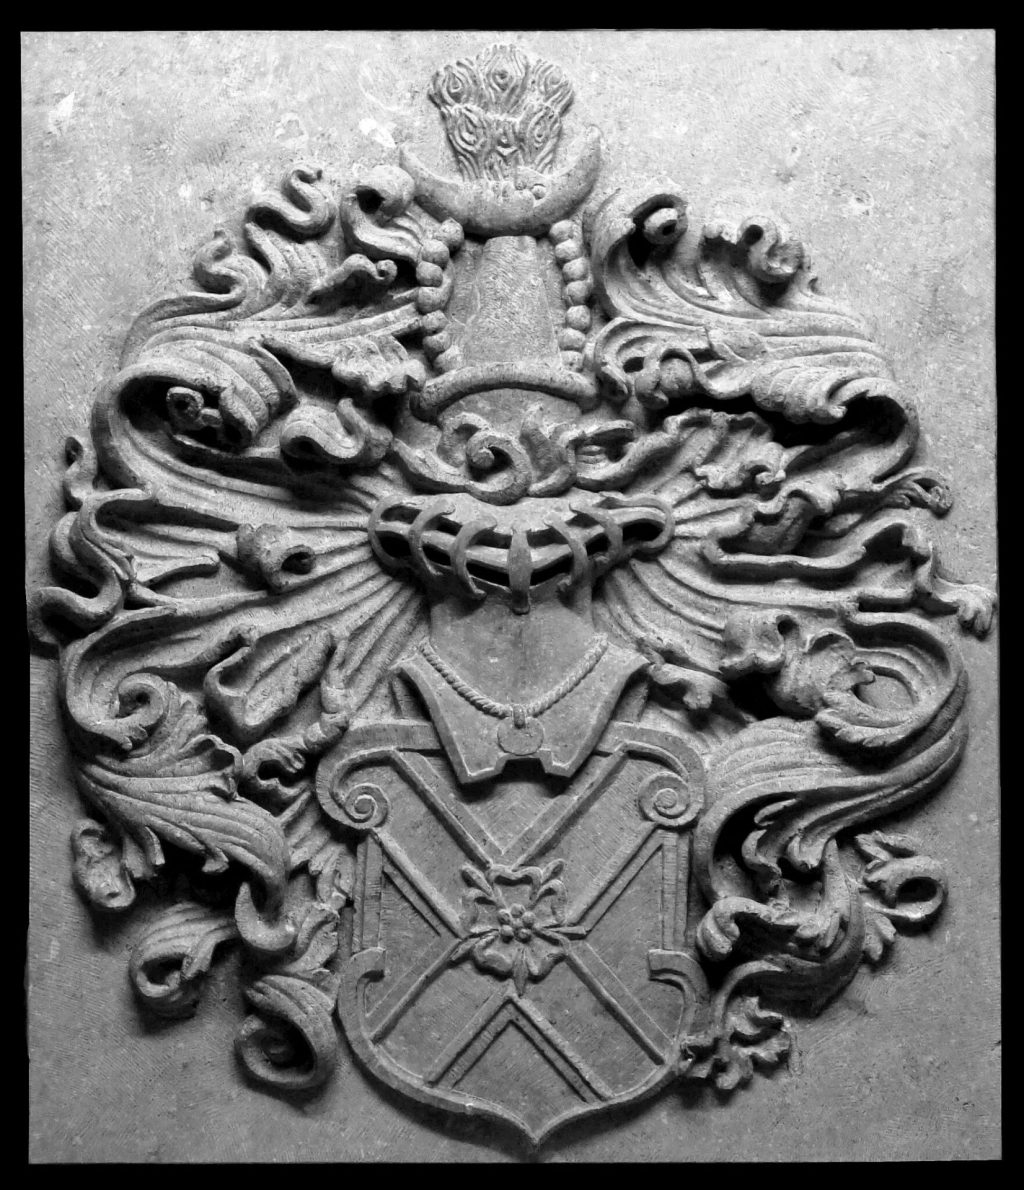
  • Coat of arms in stone completed

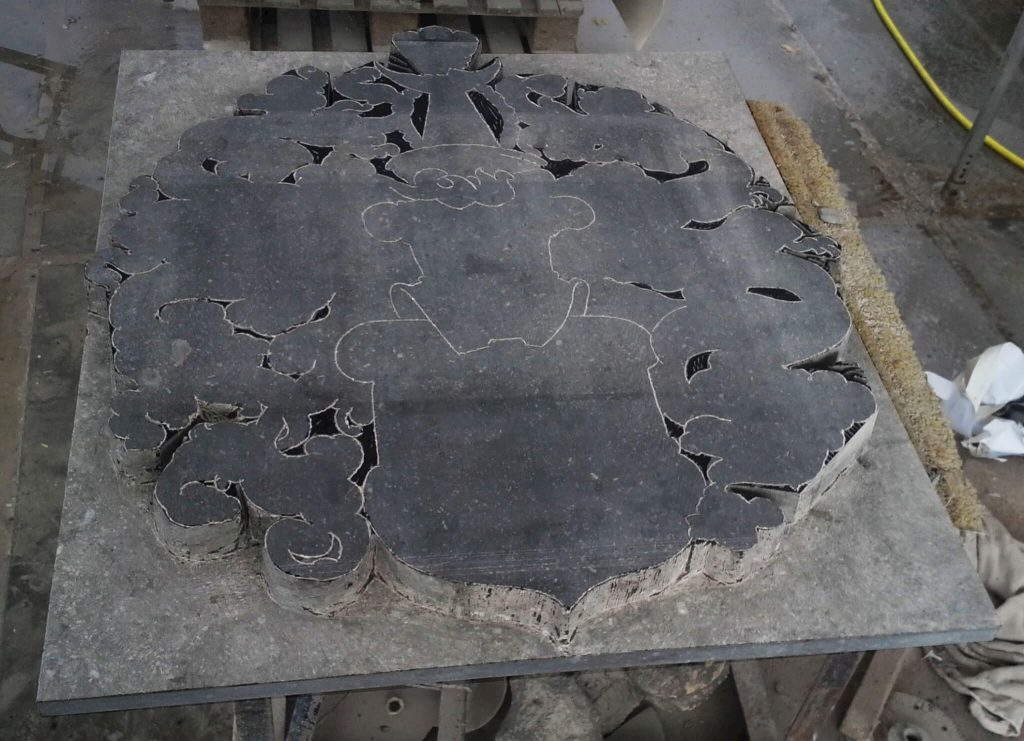
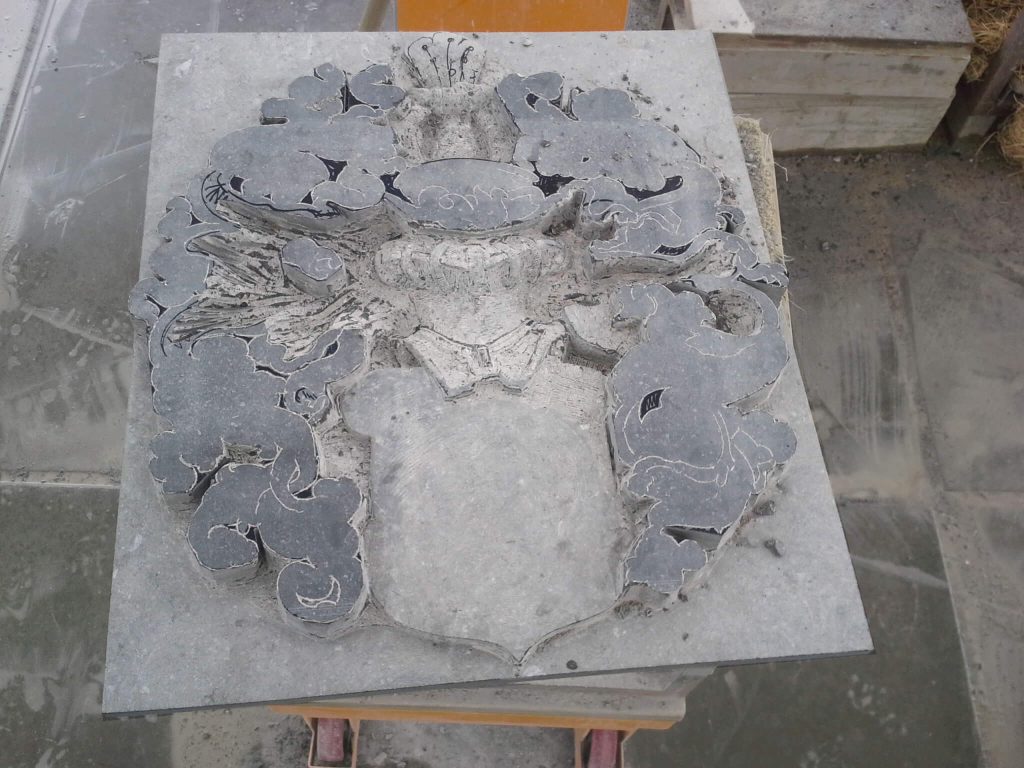
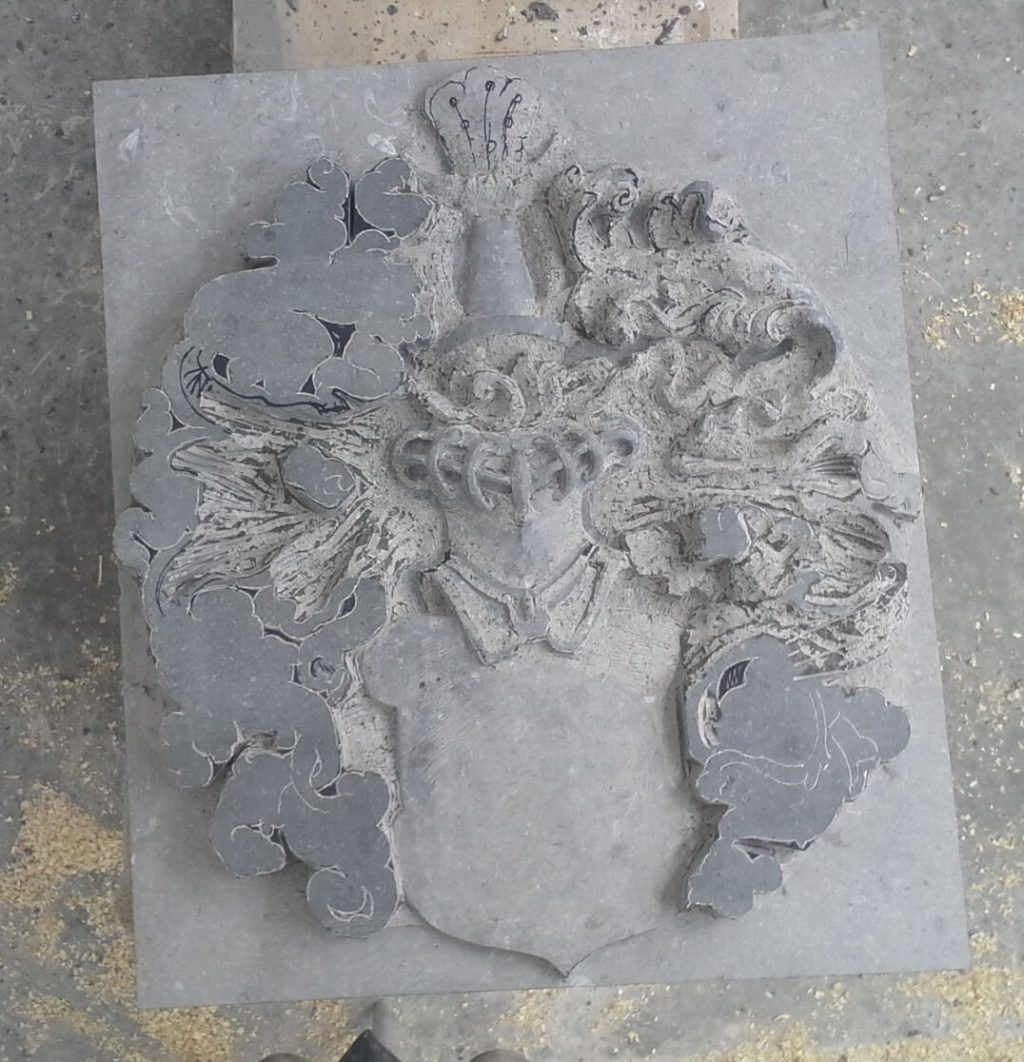
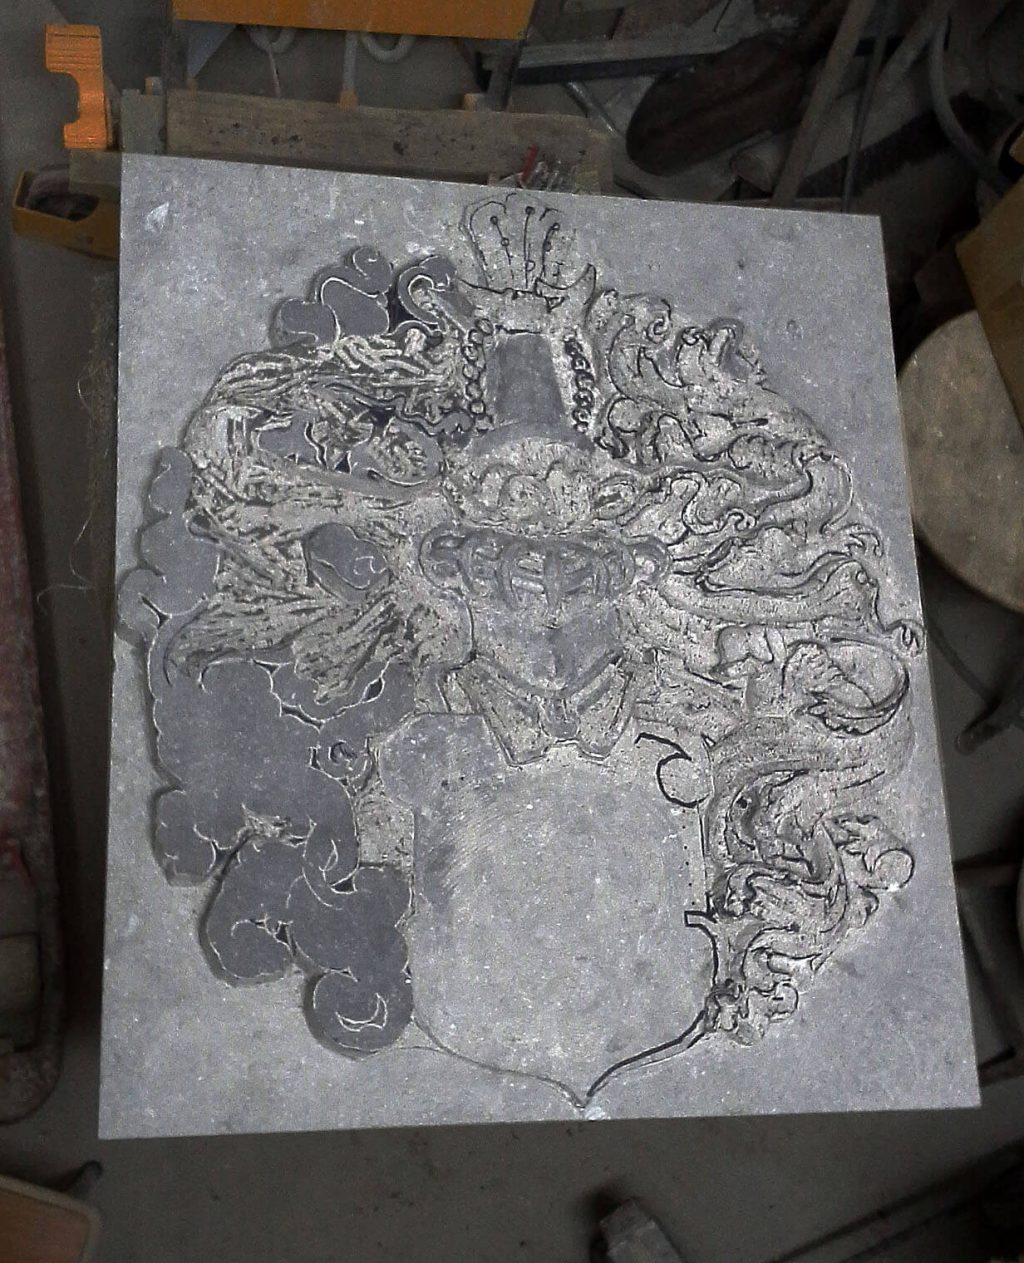
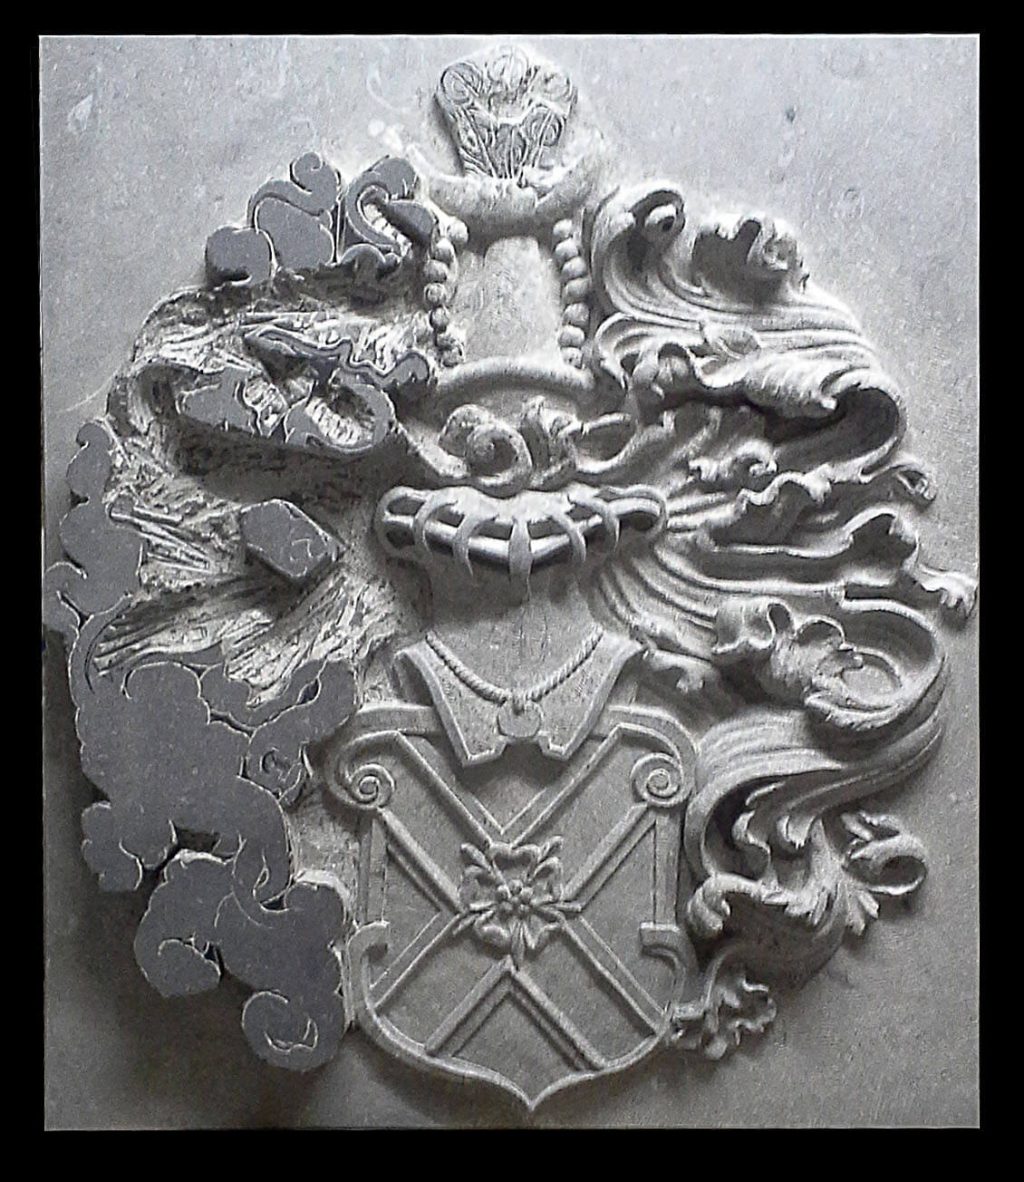
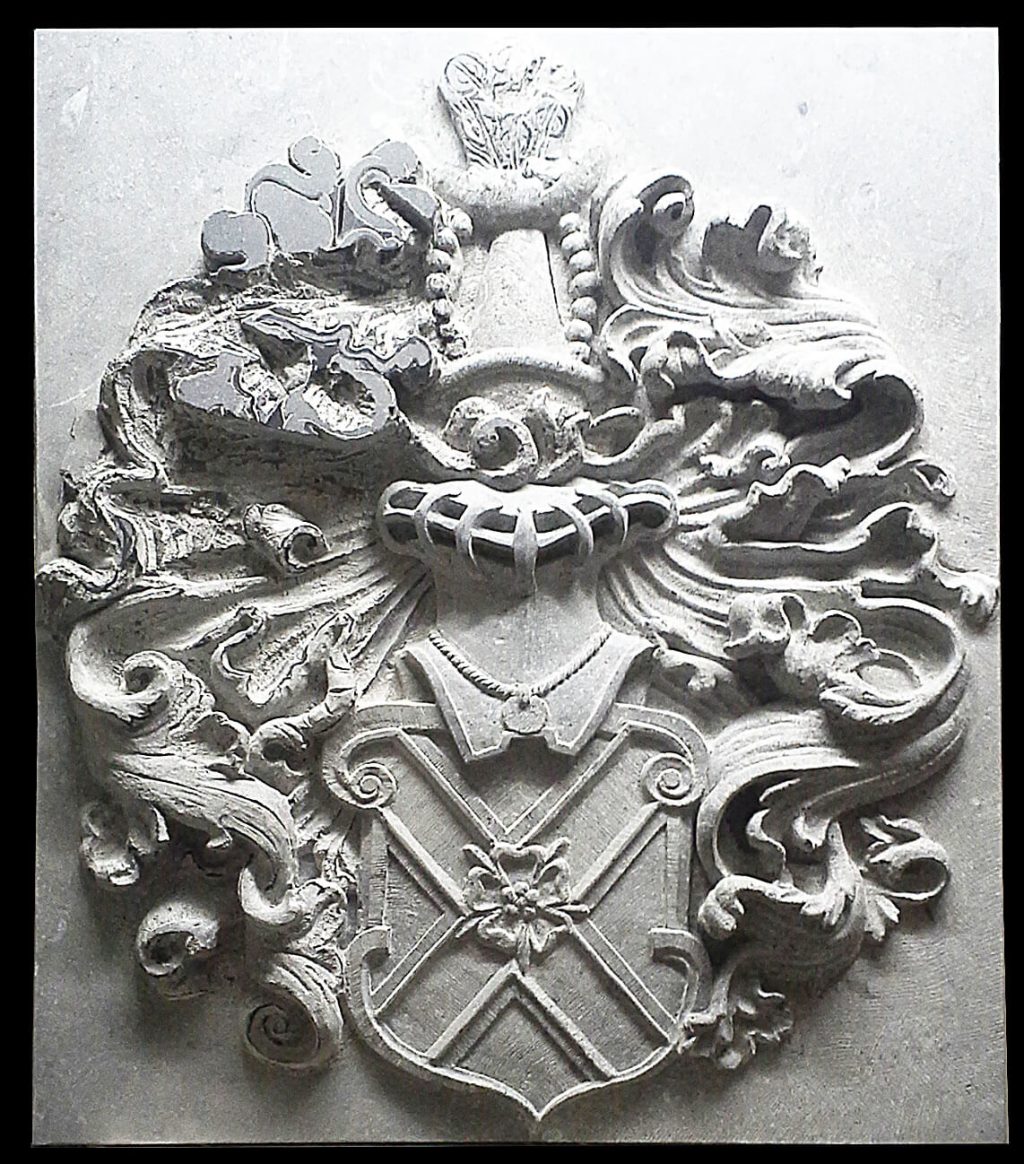
    These past few weeks I carved a family coat of arms in stone for a customer. It was a top quality piece of stone, as I found out soon enough: I never encountered such a rock hard piece of Belgian blue stone (arduin) in my previous works. This piece therefore more than deserved its name of ‘petit granit‘ by right then. It tested my skills to the limit, I have to say, and also my chisels; frequently the tungsten carbide chisel chipped at its cutting edge.

    family crest stone in stone completed, coat of arms carved in Belgian bluestone, arduin, petit granit

    To the first post about this project.

    The relief is 60 x 70 cm wide and in total 5 cms thick; what remains as background is more than a centimeter thick, so the relief itself was carved a little over 3 ½ cms deep. The reason it was all made so thin is because it will be suspended from an interior wall, and for that reason the customer did not want it all to become too heavy. At the back I made two holes to hang it on the wall with two slanted pins.

    Below is a display that gives a glimpse of the process, a timelapse of a coat of arms so.

    If the slide show does not work properly, click here.

    As you can see I started with the already mentioned method of first defining the contours, “jig sawing“, as I like to call it. I have learned that when I started carving wood and it is still the most efficient method by far. It saves a lot of searching for the place where everything should go. Oftentimes I'll drill many holes between the mantling right up to the background, but in this case, that was not really practical.

    At the customer's request I left visible chisel stroke instead of grating and sanding everything smooth ; only the helmet's bars were filed smooth for contrast. The sides were finished with a chisel stroke. Also see this post with a video on this process.

    Also see: Timelapse of a family coat of arms-1 and Timelapse of a family crest-2.

No more messages to show.

No more messages to show.