• copy of Thomas Aquinas completed

    Thomas in two parts

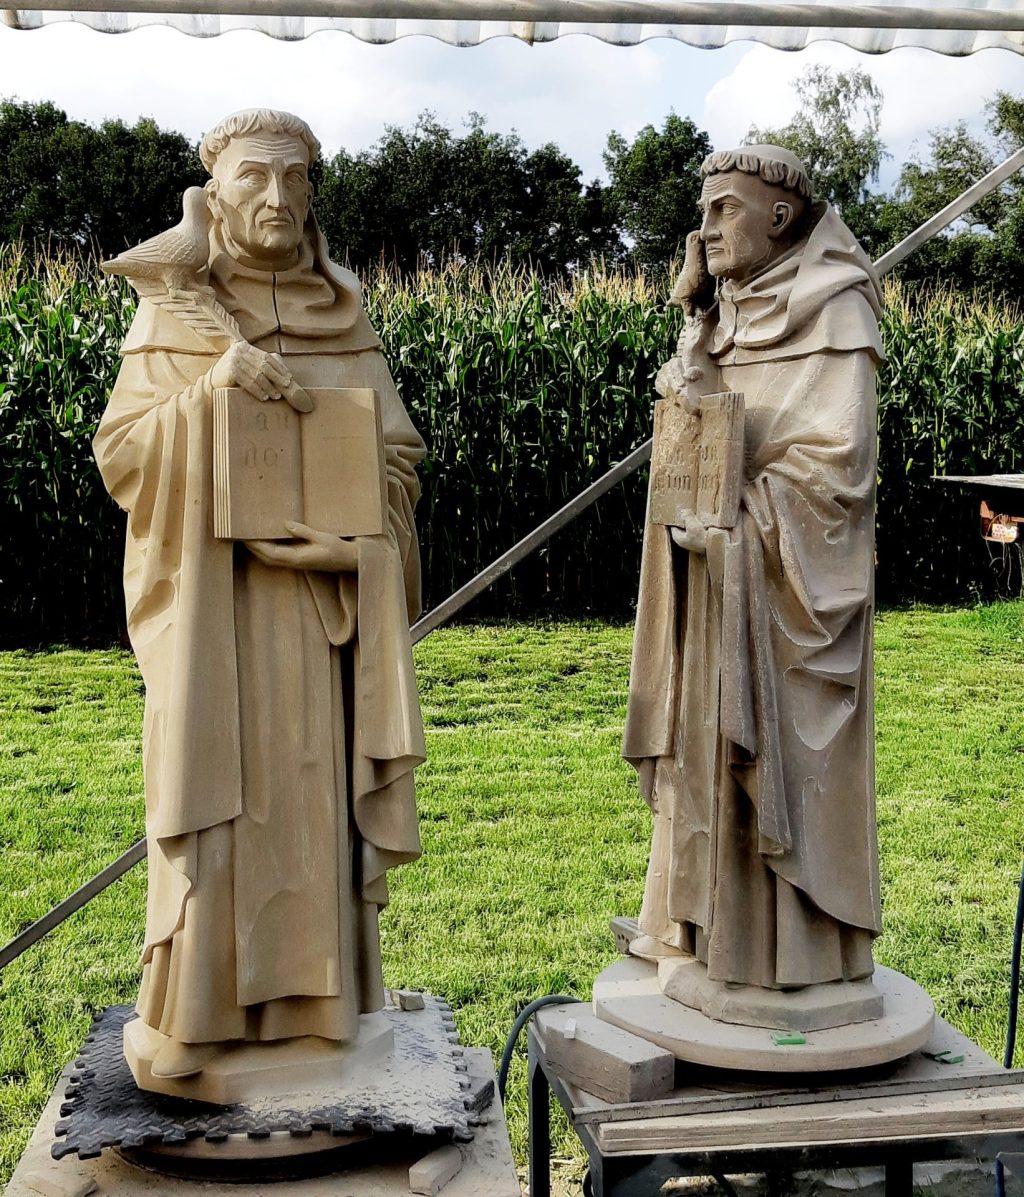
    After long interruptions (carving finials for St. Eusebius's Church and large crockets for the Utrecht Dom Cathedral out of new limestone) the statue of Thomas Aquinas is finally finished. In my previous blog posts you can read who this man was and how I reconstructed the sculpture, and how I started the copying of the statue with a lot of sawing.

    the two parts of the sculpture are glued together
    7. The parts are glued together
    beginning with carving the head
    8. starting to carve the face and bird

    To the message first about this project.

    When I got started again,I had already anchored the two parts together with two thick stainless steel threaded rods of 20mm thick and about 50 or 60 cms long. That won't come off so easily. I made it so that the top part fits onto the lower part a bit like a bottle cap. But I still needed to connect the jointing plane with a restoration mortar, because carving this plane to fit 100% is unnecessarily difficult. I can't glue it entirely, because a horizontal glue layer is like asking for trouble. The water won't seep through the material and the stone above the line will rot and break by freezing. Of course I did attach the pins firmly with epoxy adhesive. With the mortar I grouted the seam in the same colour and now it's hard to tell the spot.
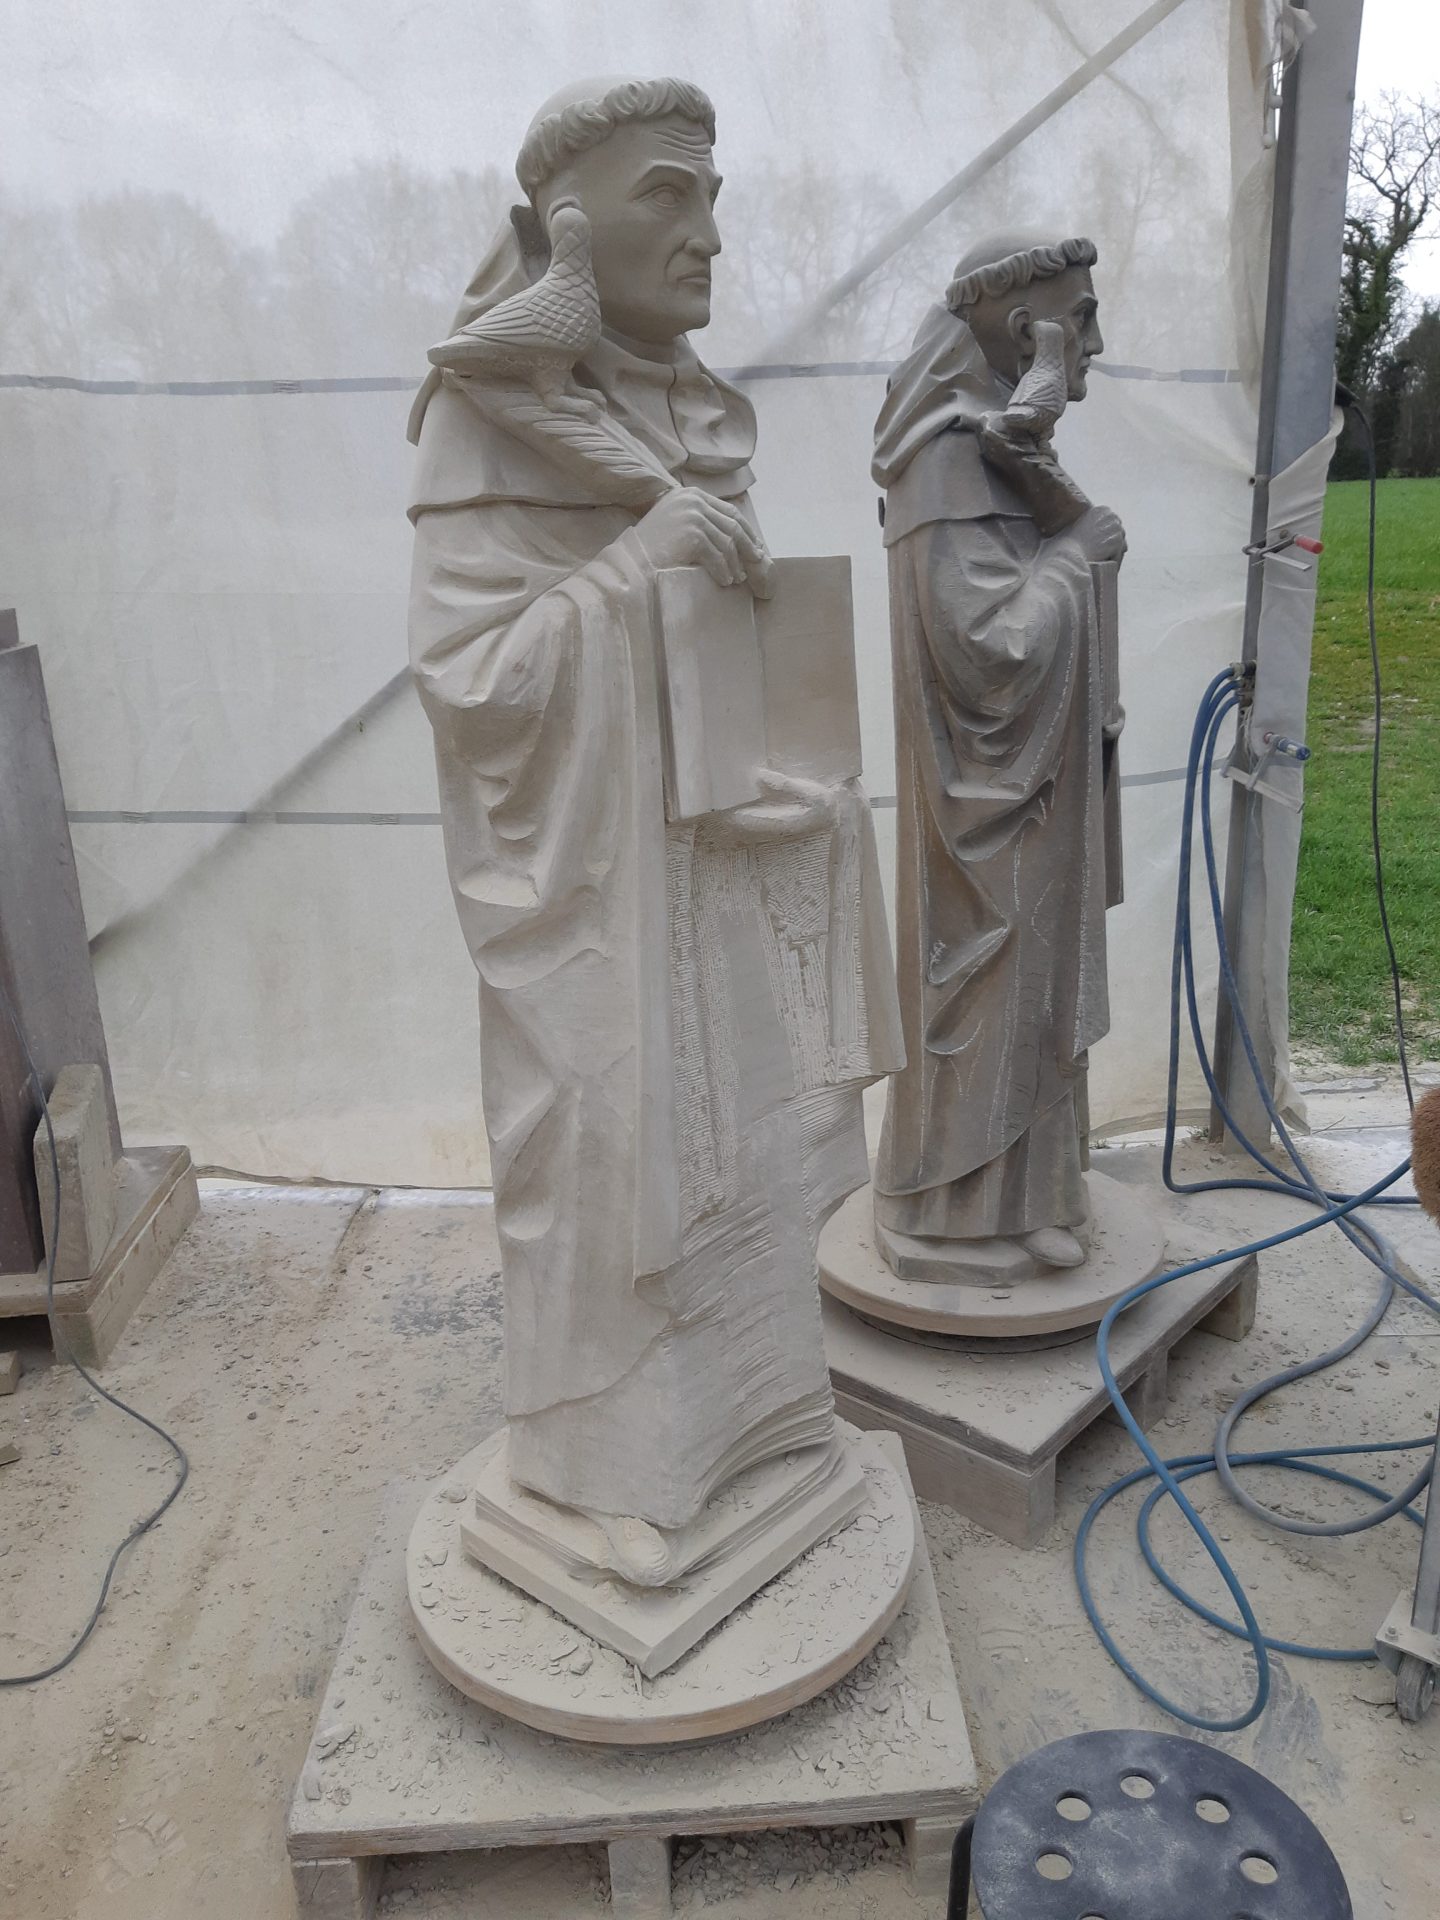
    carving of the face and the bird on the copy of the statue of Thomas Aquinas
    9. detailing bird and head
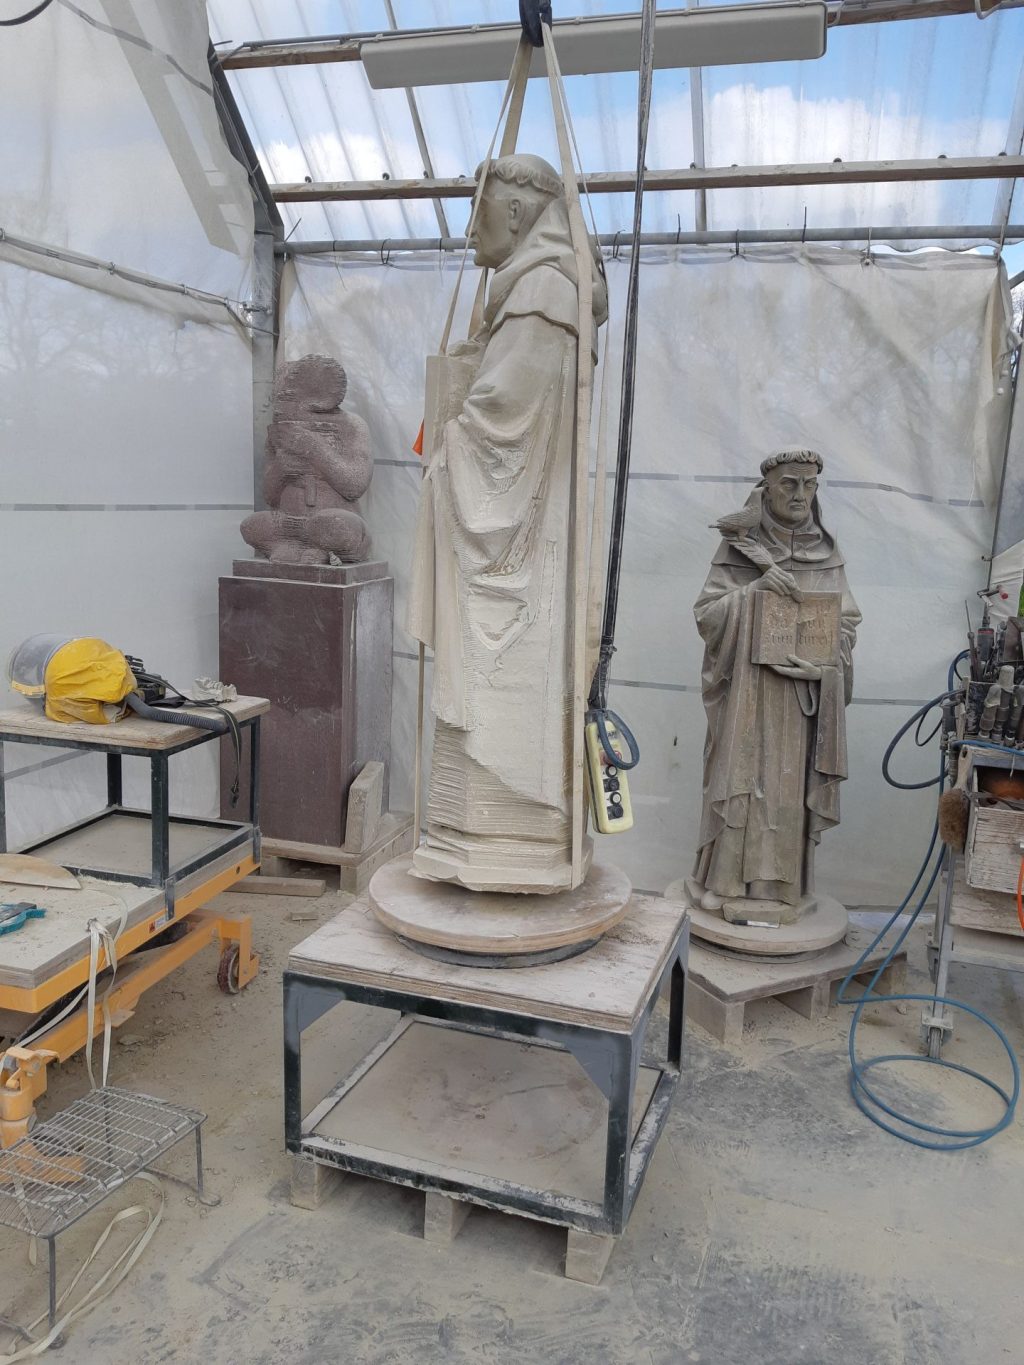
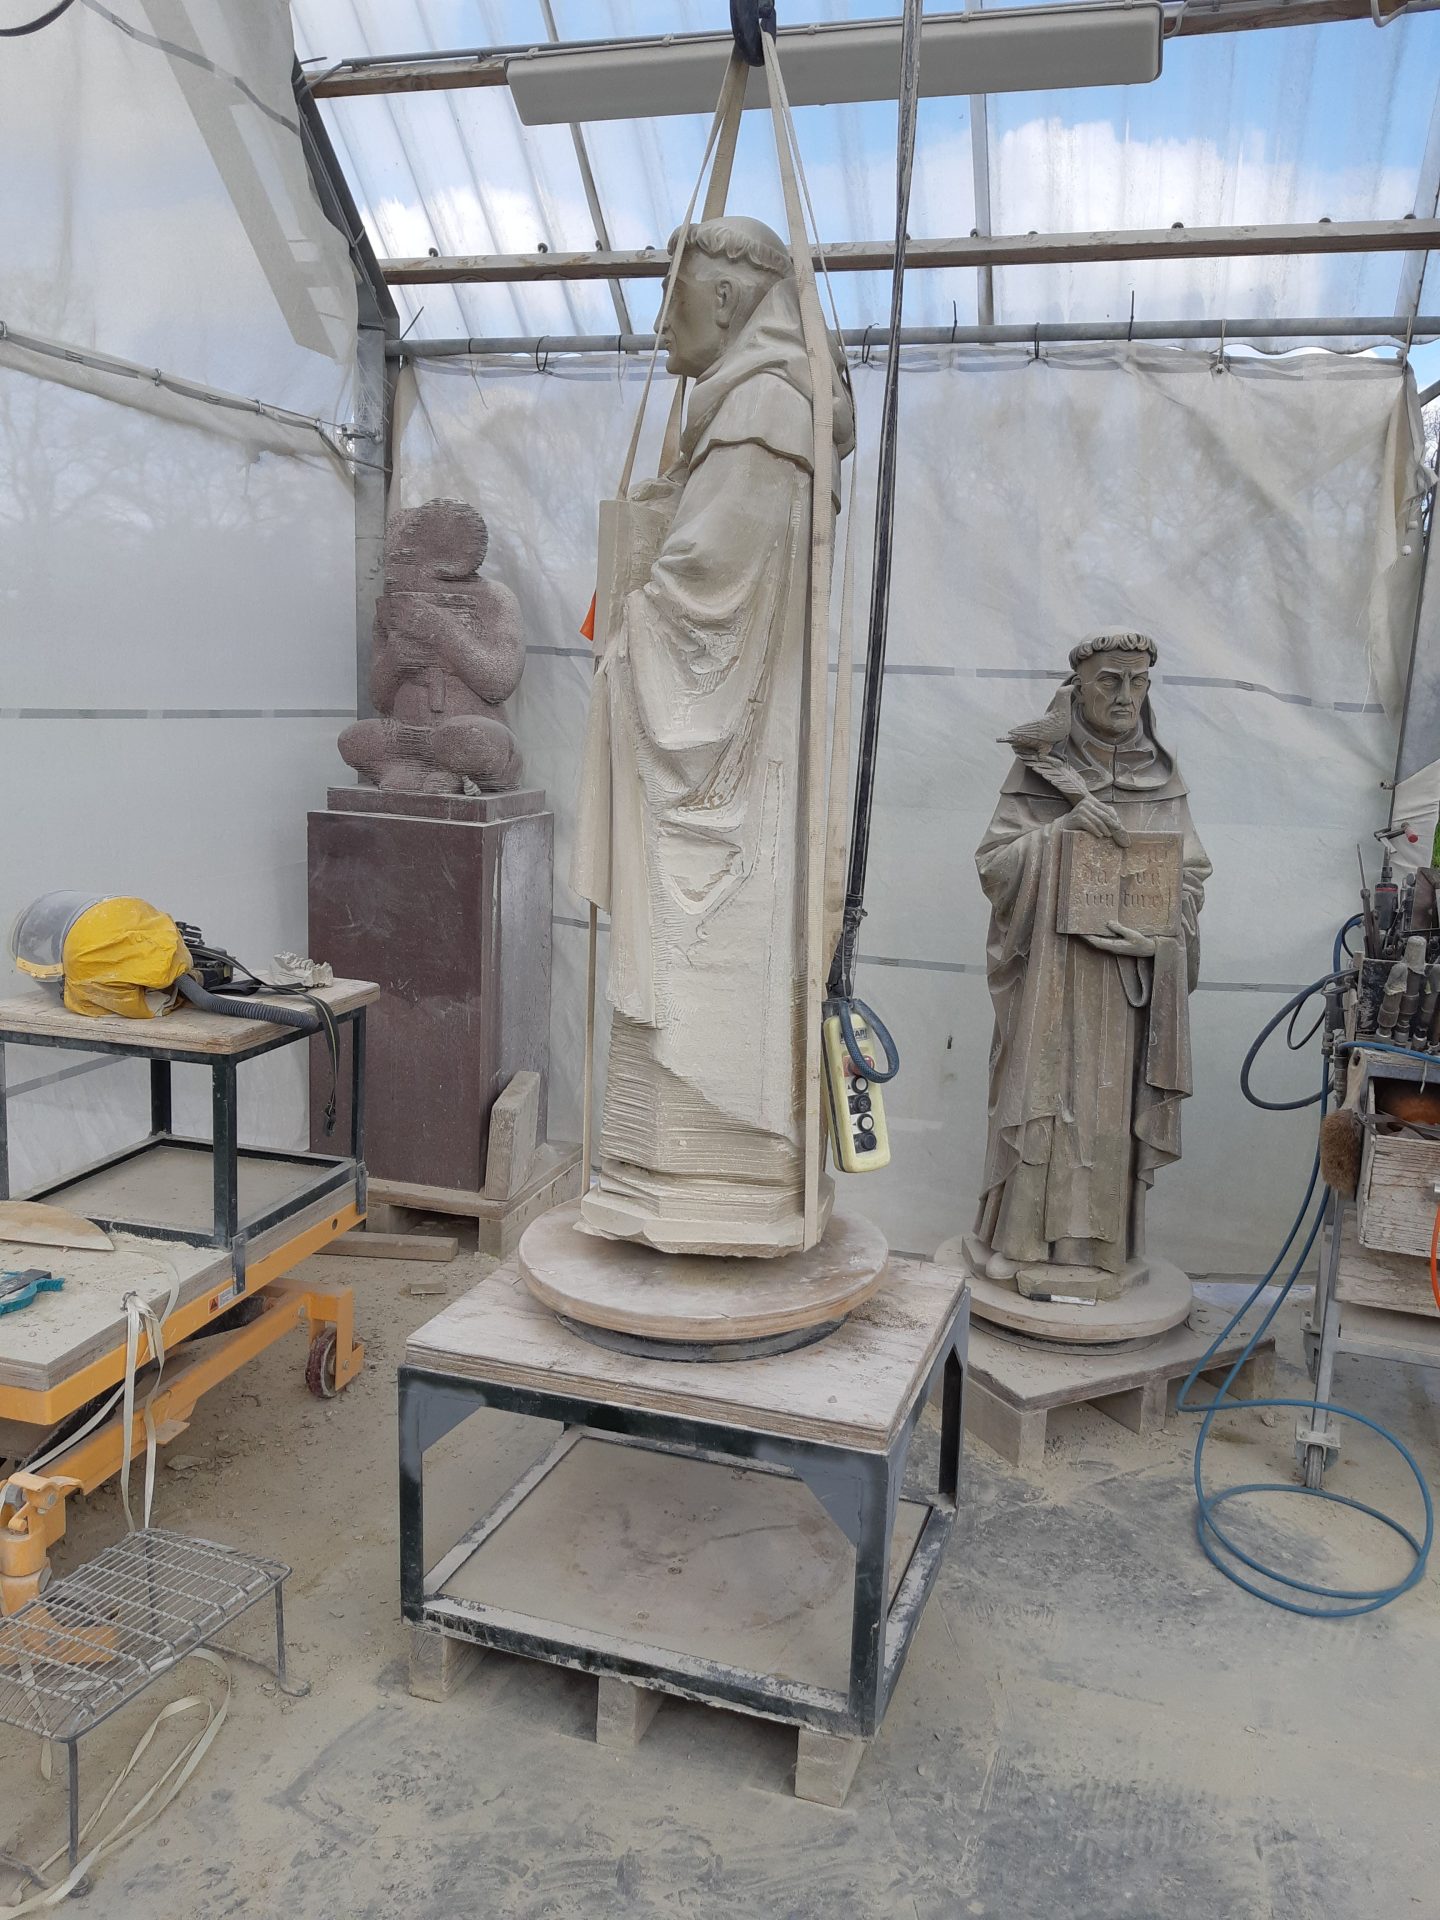
    hoisting the statue of Thomas Aquinas
    10. hoisting

    Feathers and feet

    This was followed by the wellknown steps of carving the details. With some measuring work and gradually detailing, a proper copy of the weathered sculpture emerged. I didn't use the pointing machine unfortunately, because my presawing machine had already given me so much references that I could transfer the intermediate points much more easily with compasses and templates.

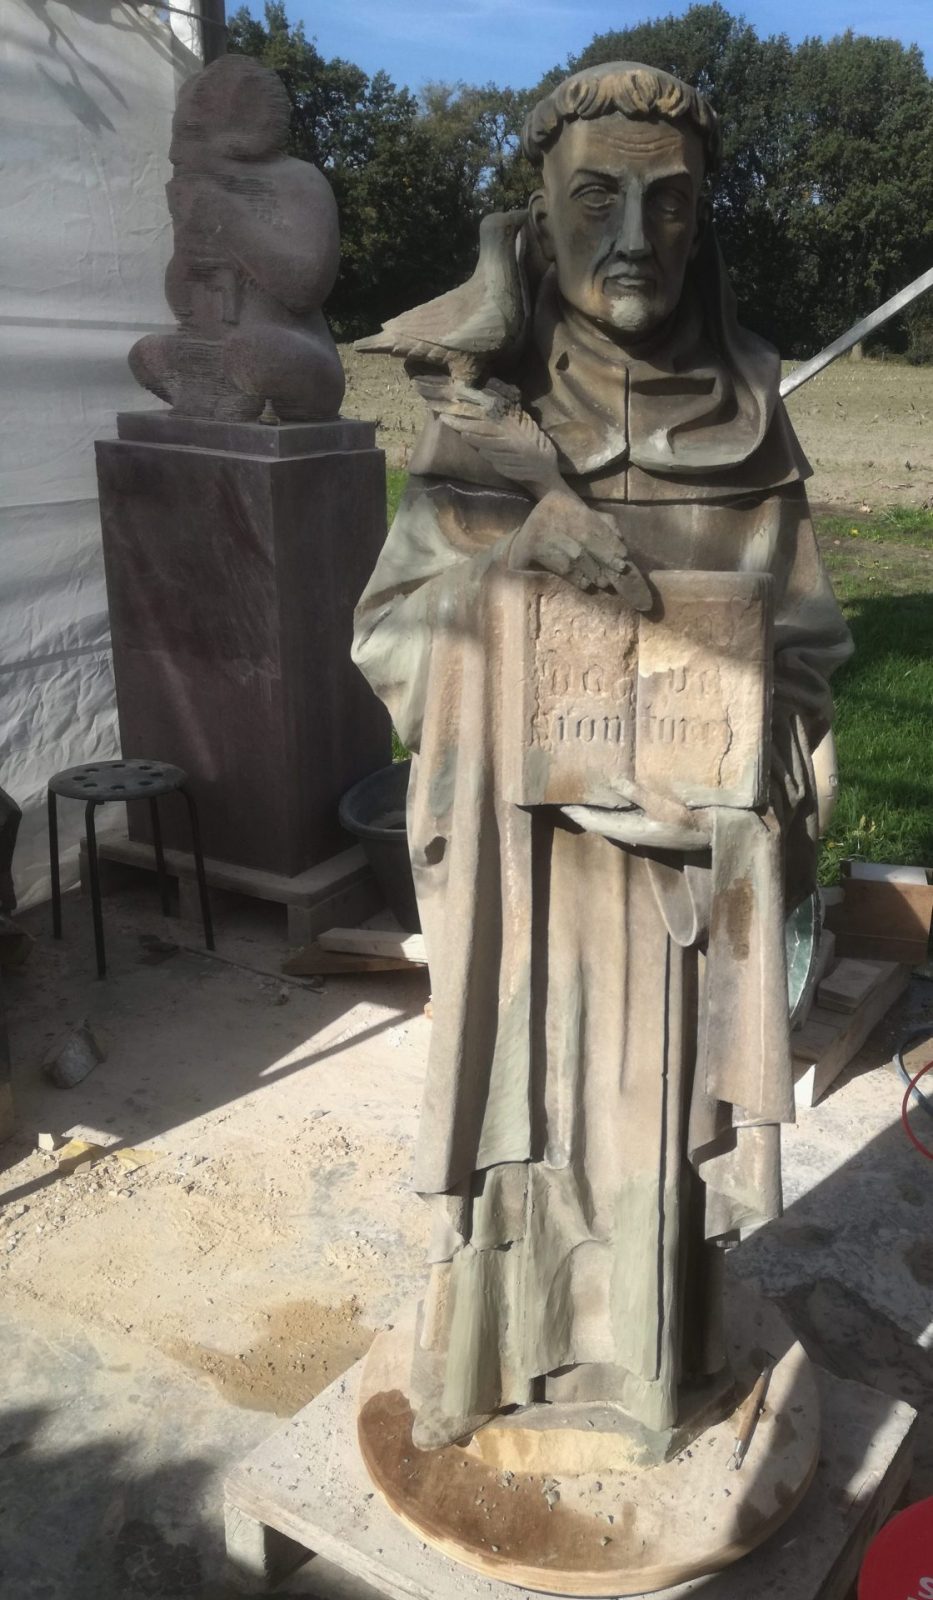
    I had reconstructed the missing pieces with plastiline clay in the old statue. This clay will not harden and can easily be removed again later. The clay coloured remarkably well with the rest of the statue, so it did not interfere while copying.

    The pigeon on Thomas’ s shoulder was carved with great detail, with tiny legs and feathers. This kind of thing is not really hard to make in this stone, it just requires a little more patience.
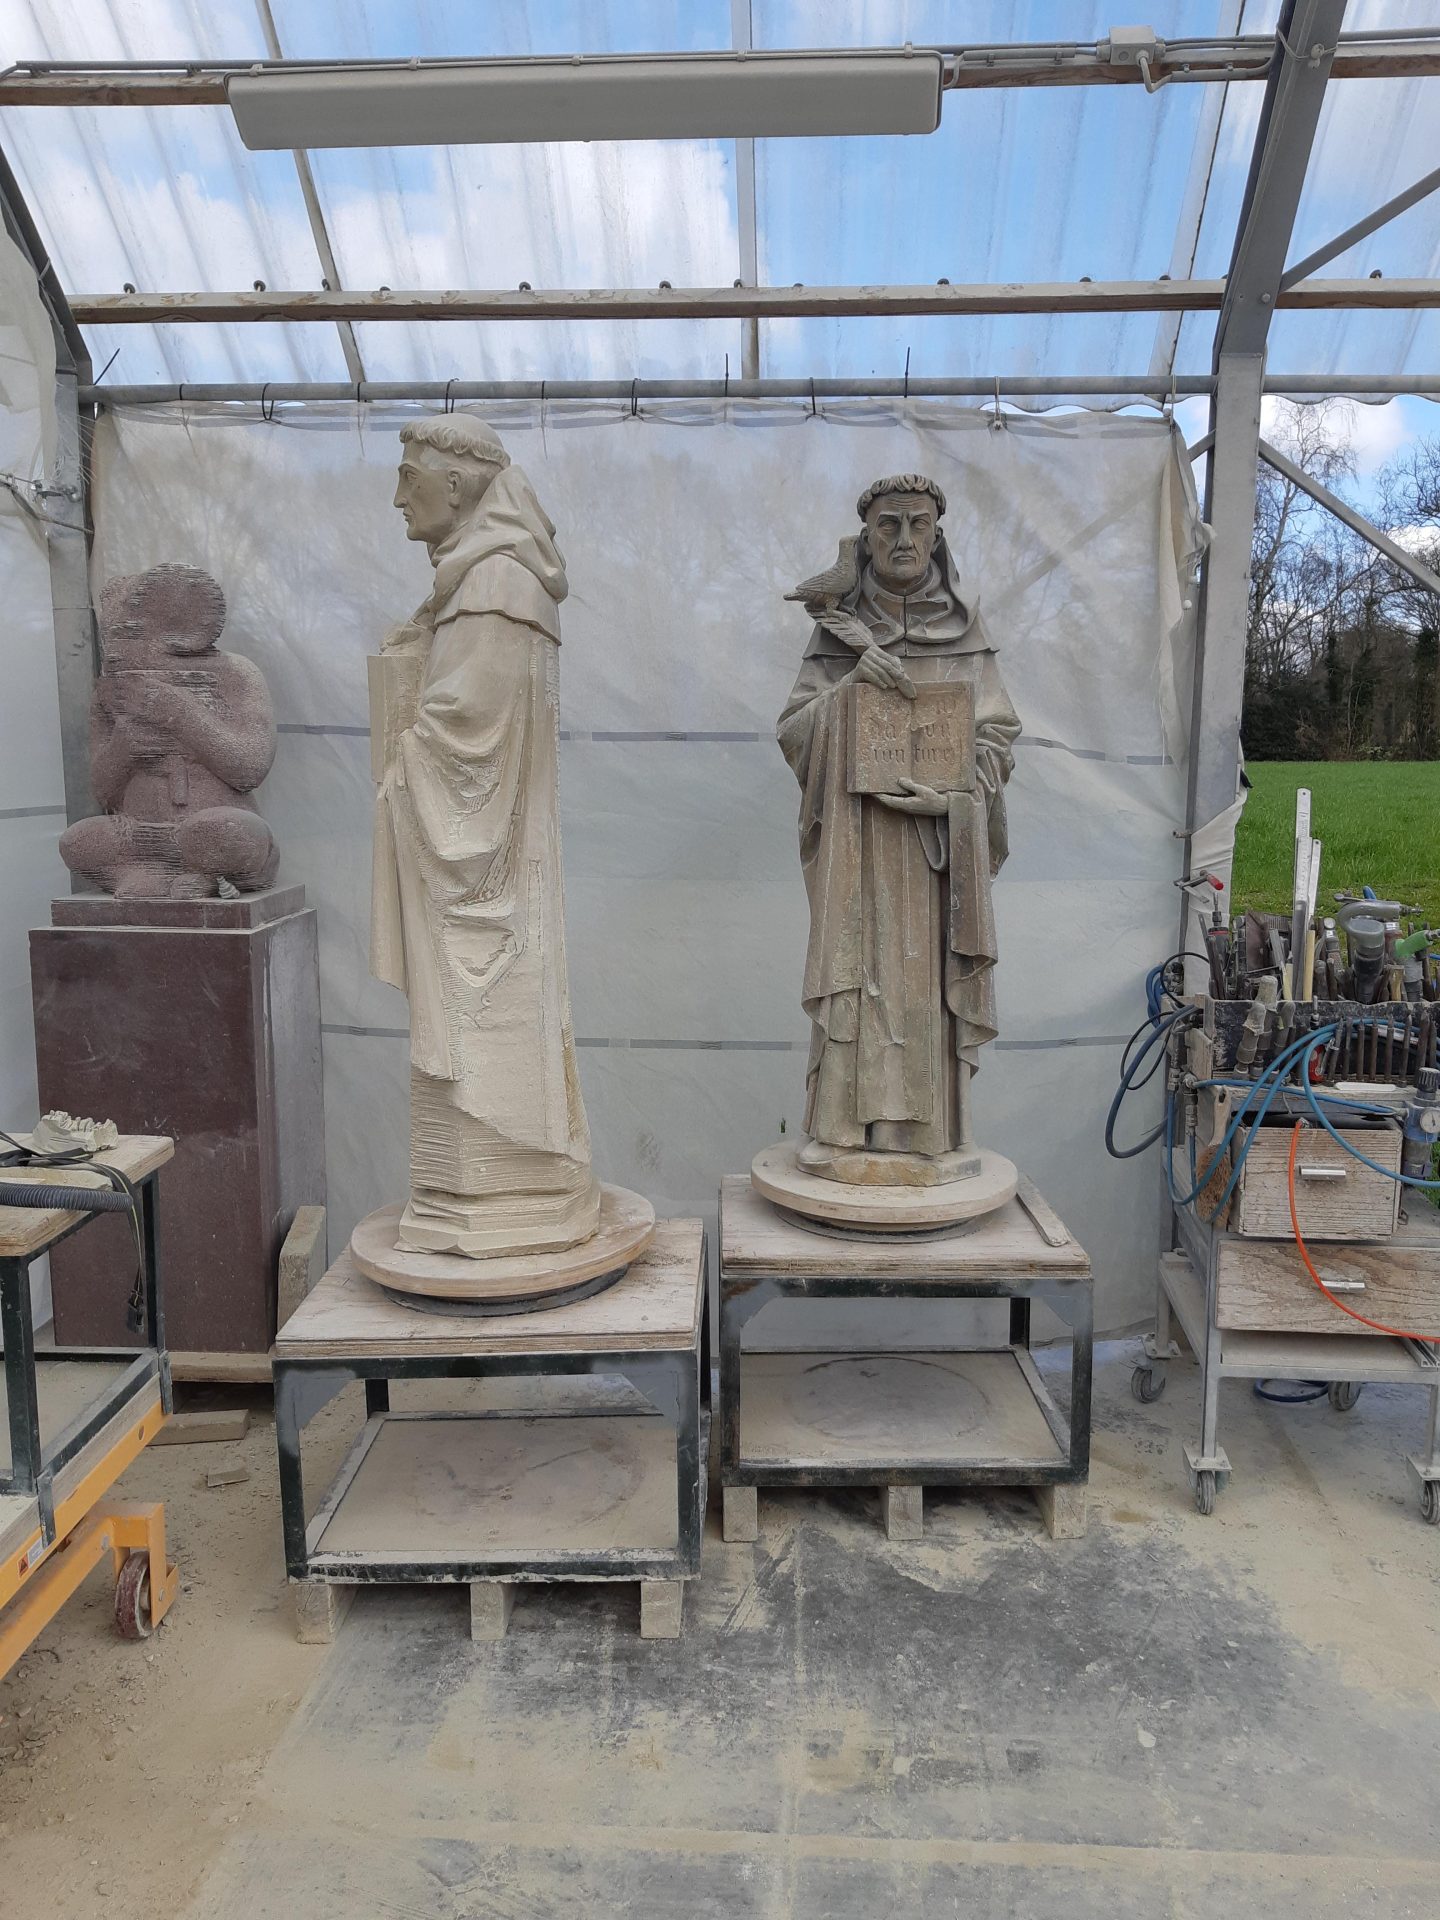
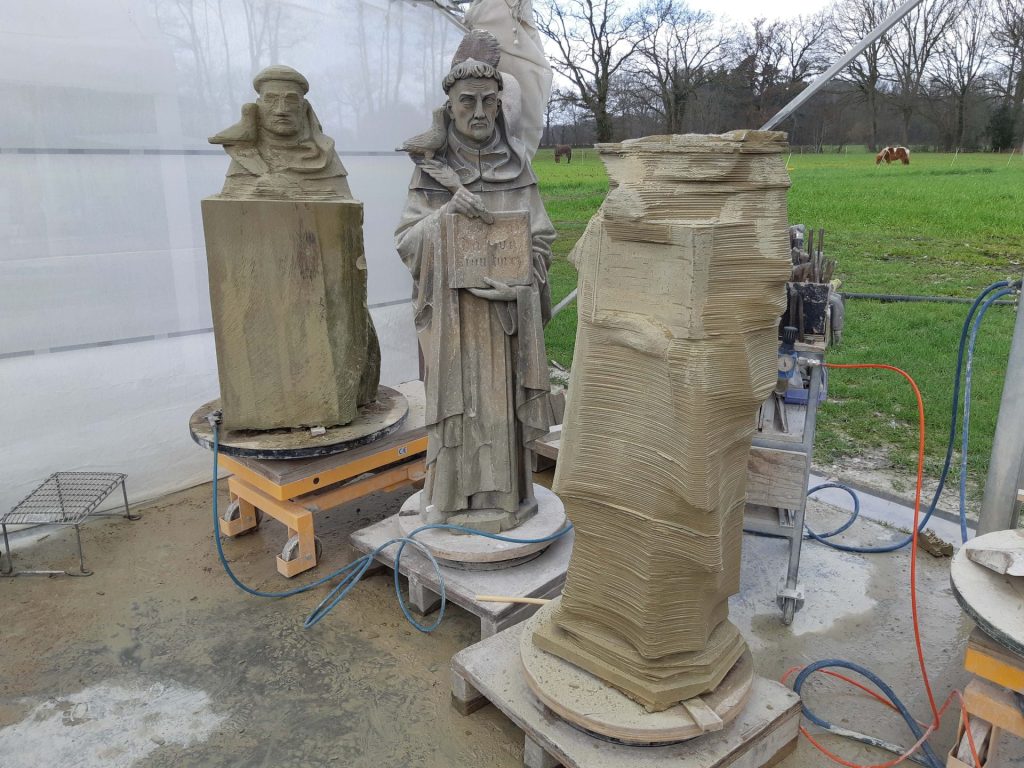
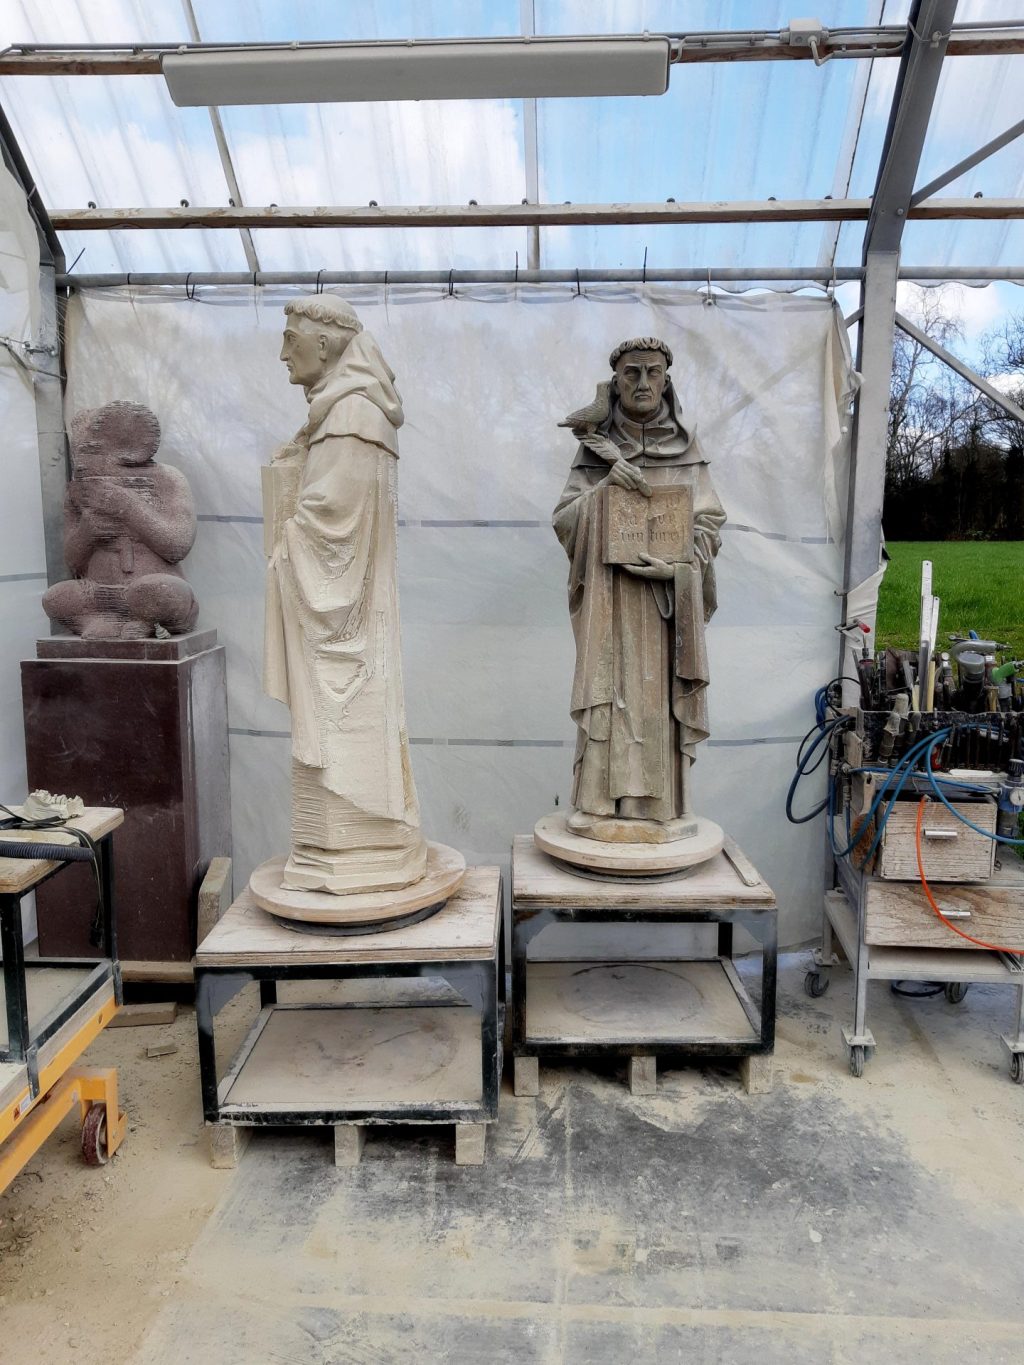
    copy of statue of Thomas Aquinas put higher for the carving of the folds
    11. carving of the lower half
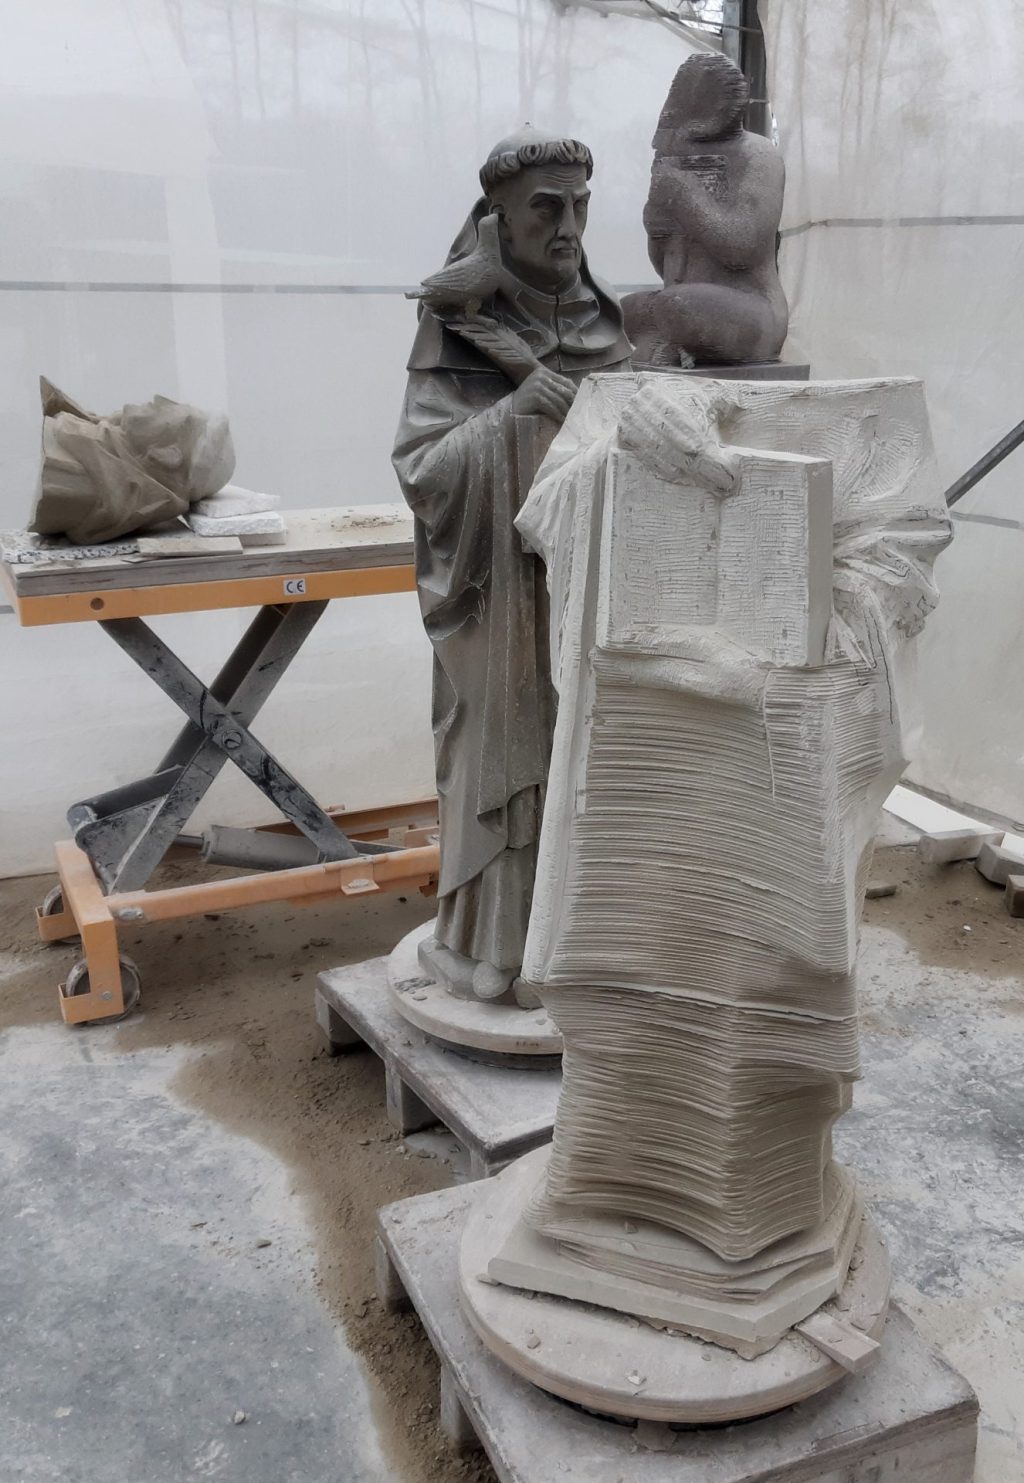
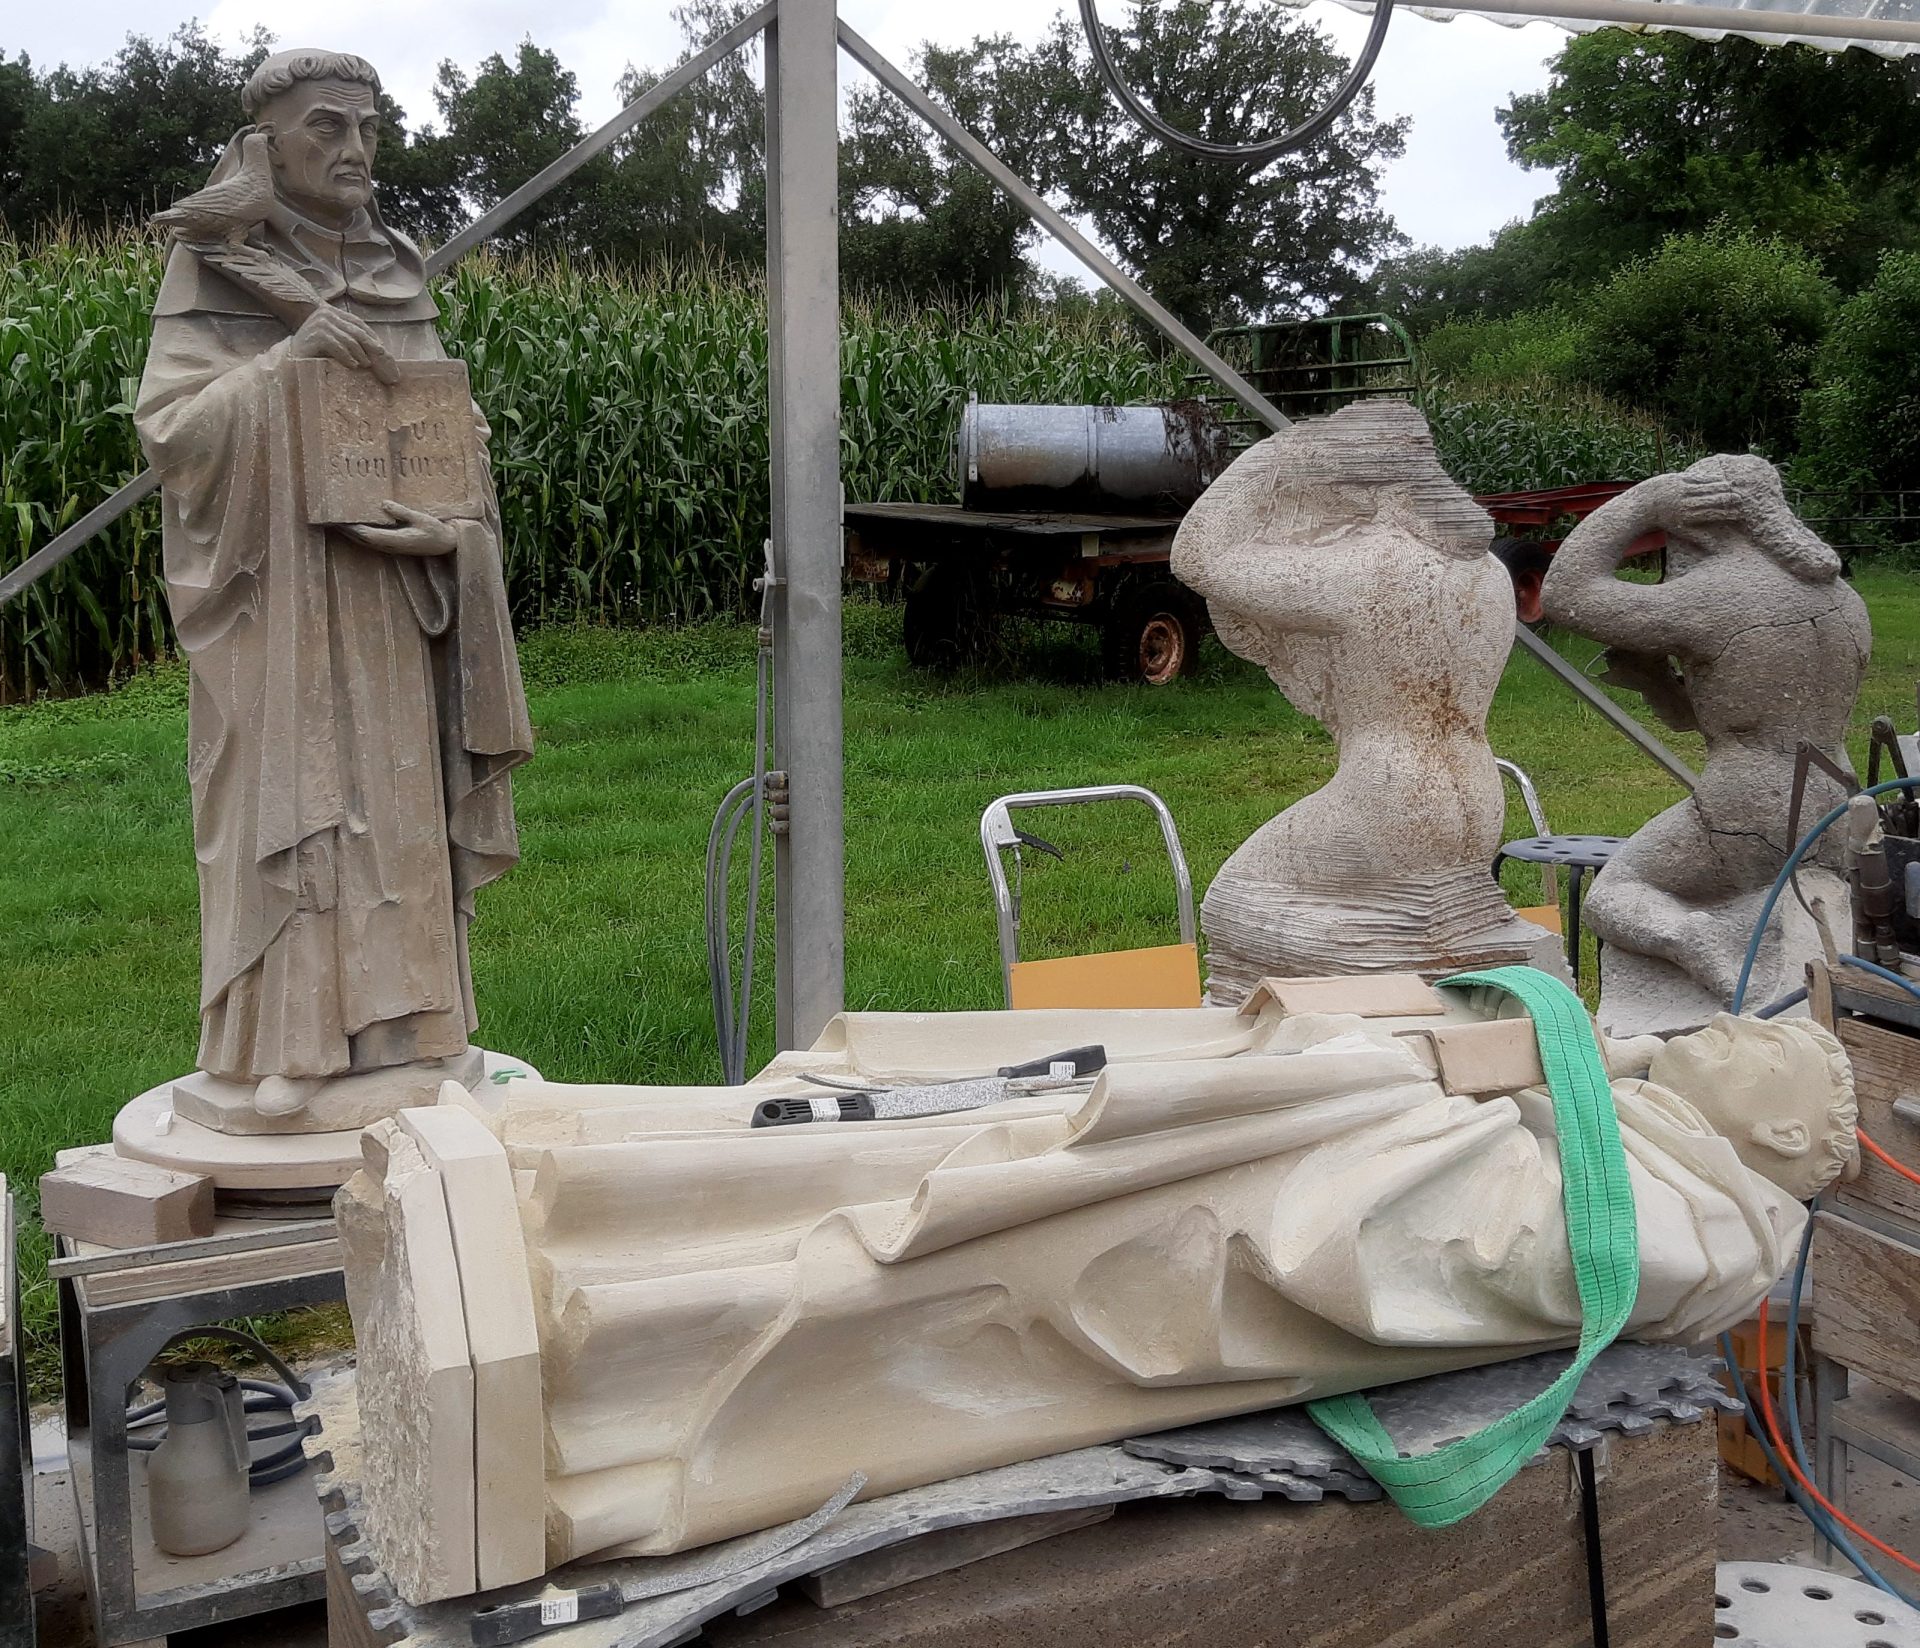
    finishing the lower side of the statue of Thomas Aquinas
    12. carving the folds and finish sanding

    At working height and easy to turn

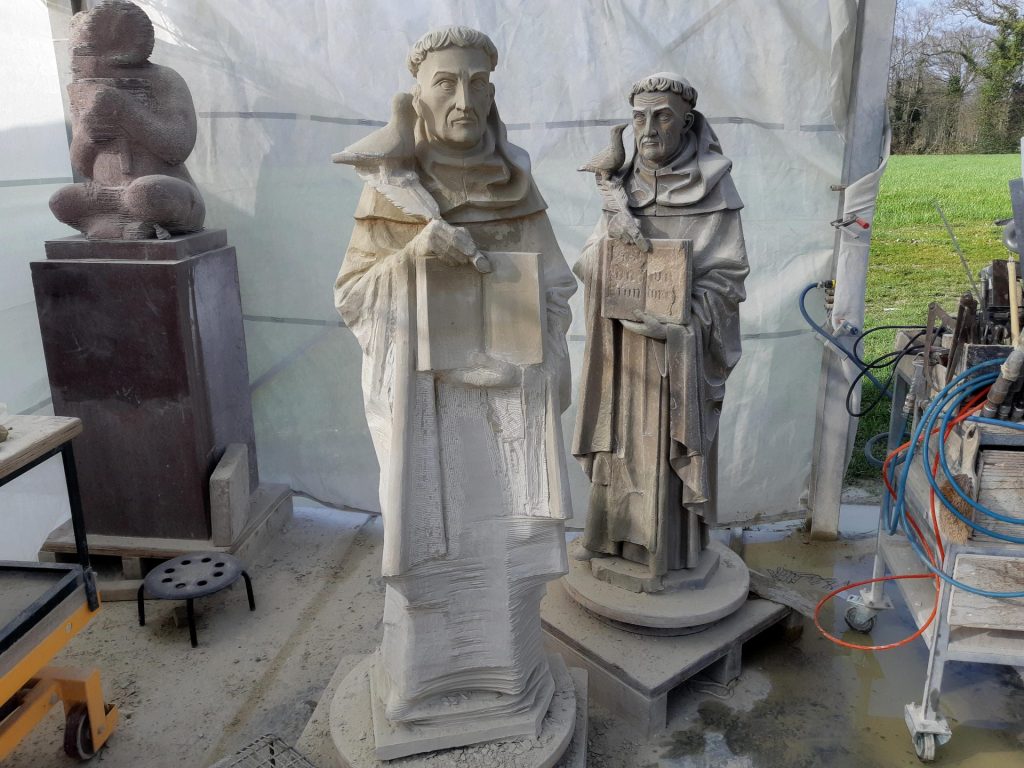
    I then placed the statue a level higher, in order to tackle its lower half. I always set them up close together and preferably on a turntable, so I can always put them in the best position and easily oversee everything.

    I had these stands made so they fit on small pallets, so I can easily wheel them around with a pallet truck. They are stackable too, so I can build them up to a good height. But the stands are just for the larger statues; for smaller ones I'll use my yellow scissor tables. I can use the turntables on these as well.
    In case that's still too low, I can add an extra platform to it.
    sanding the habit of the sandstone sculpture
    13. sanding the habit
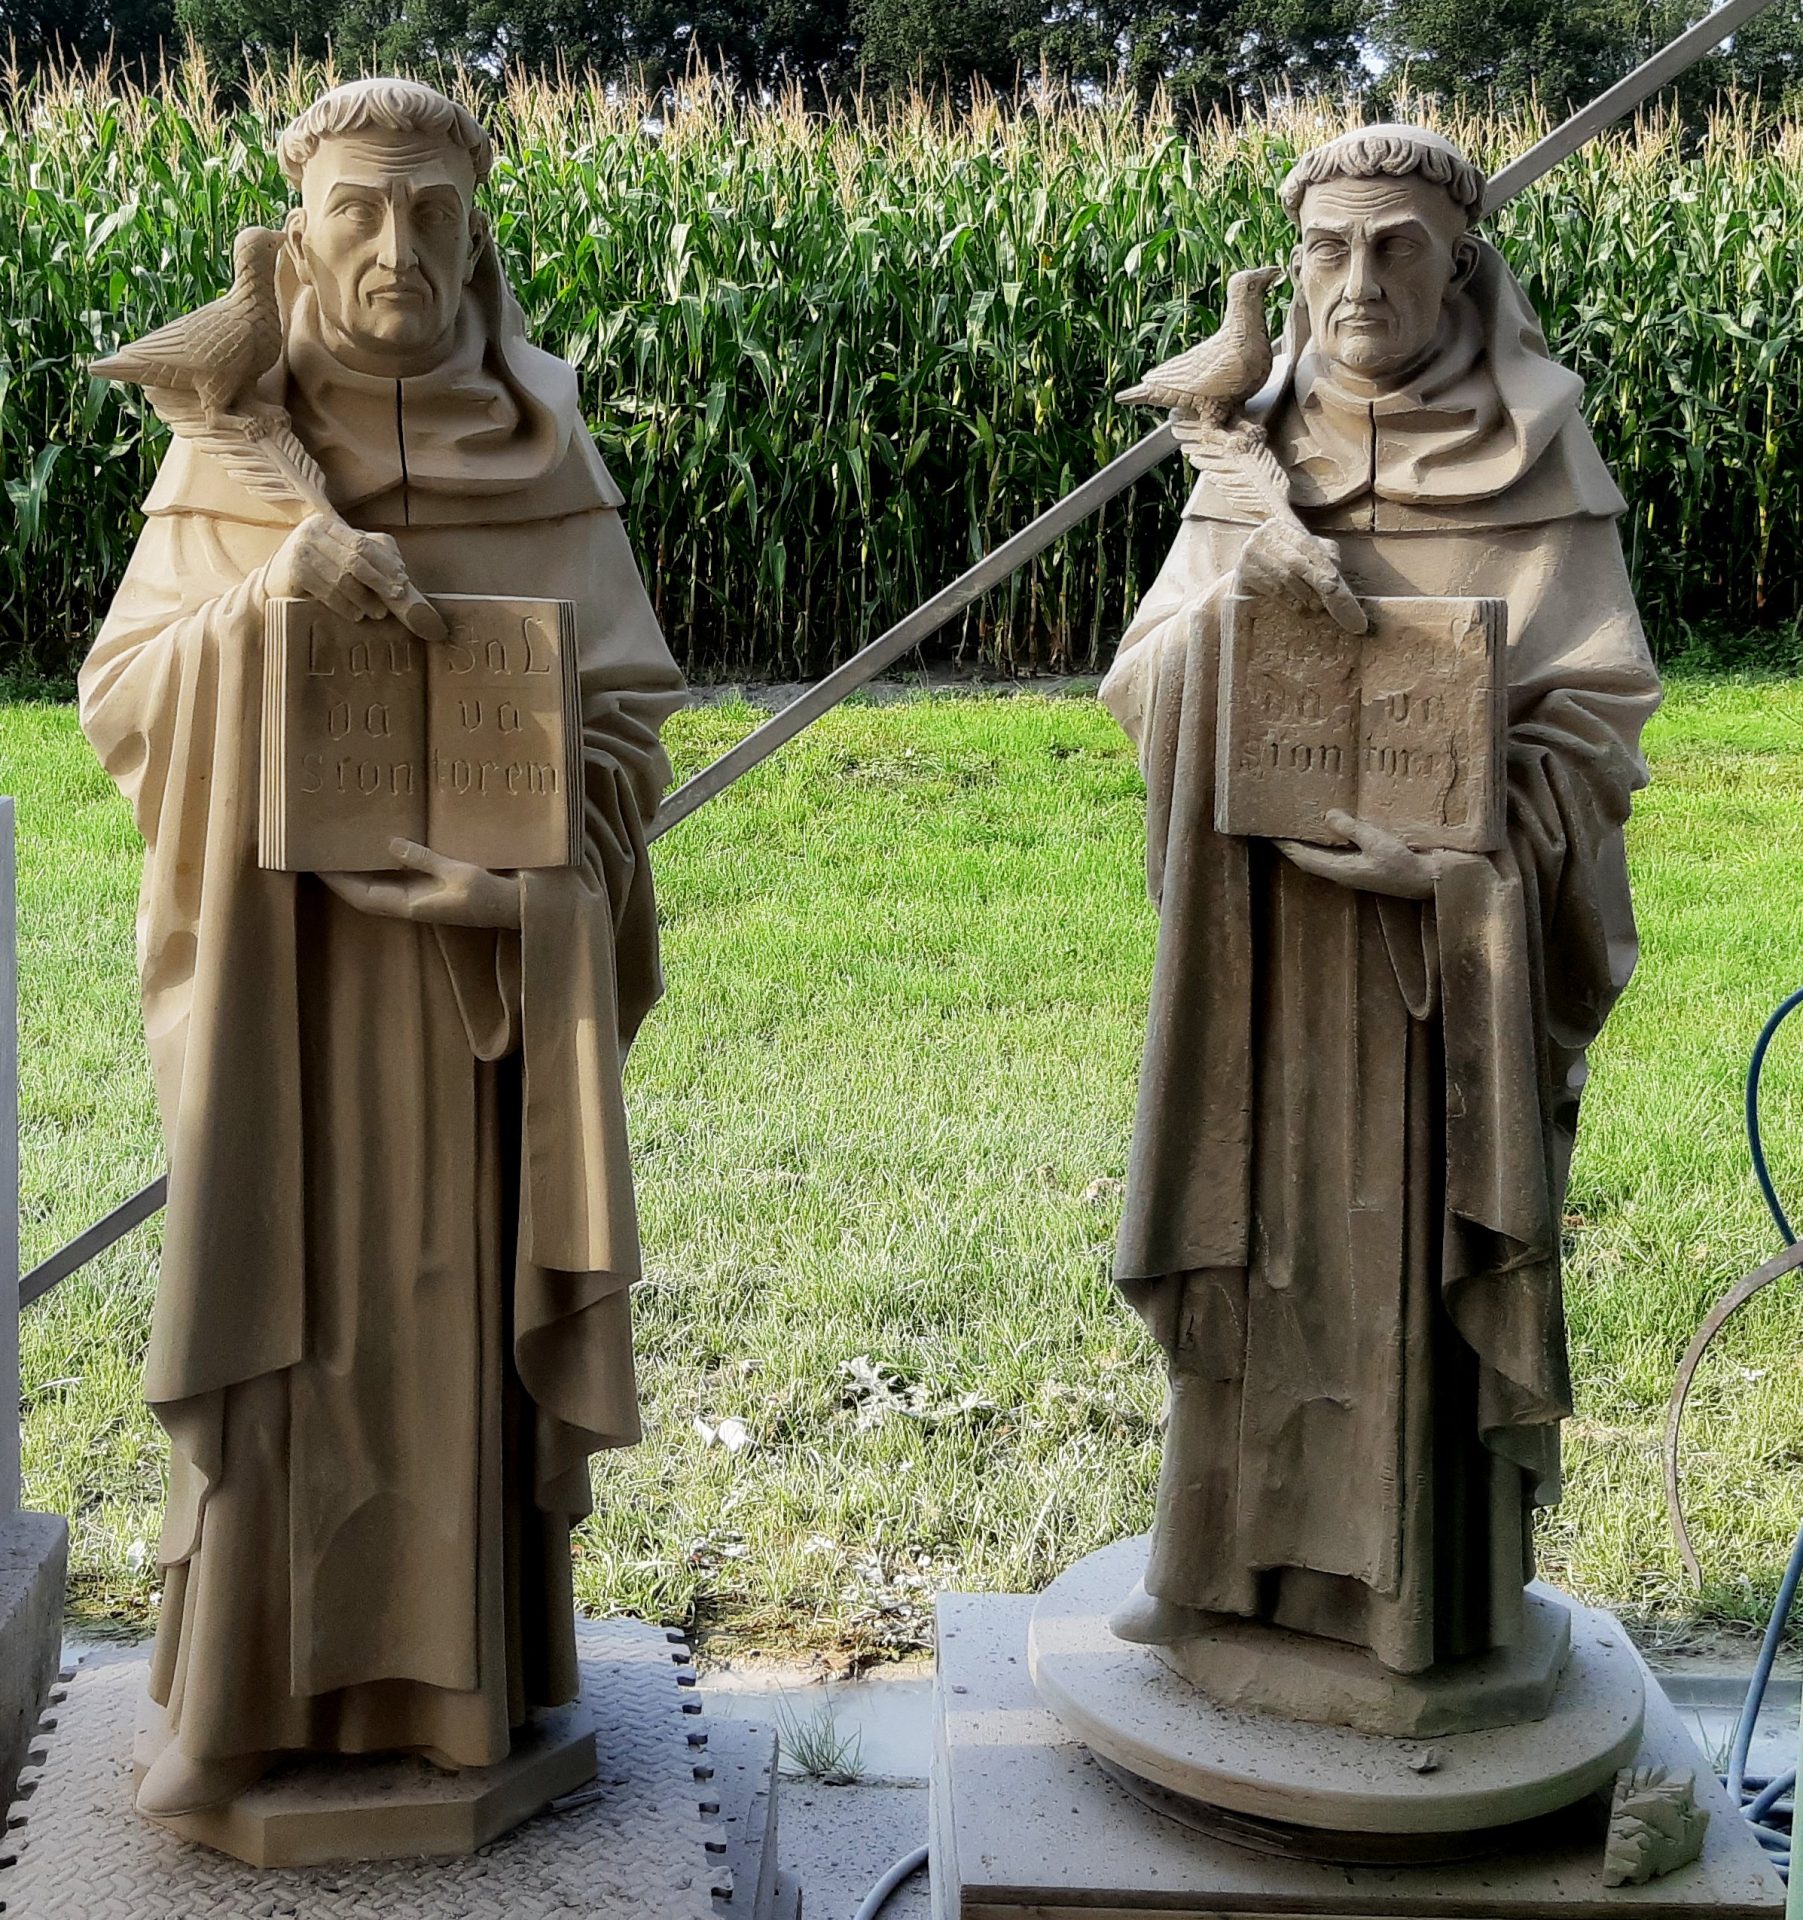
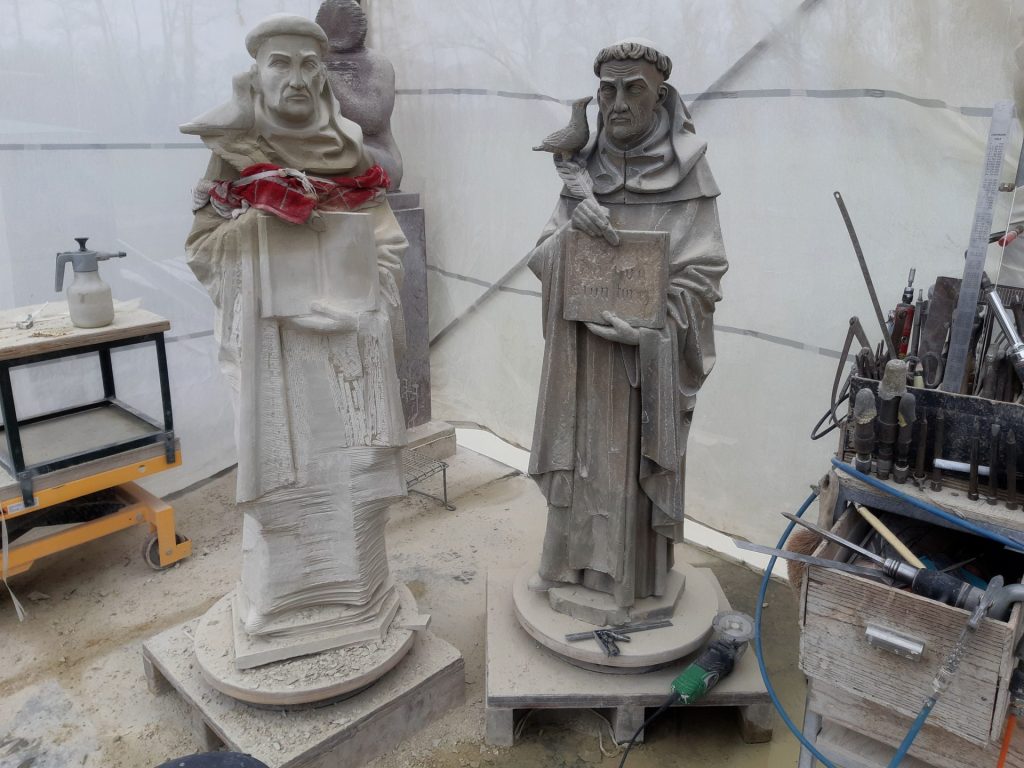
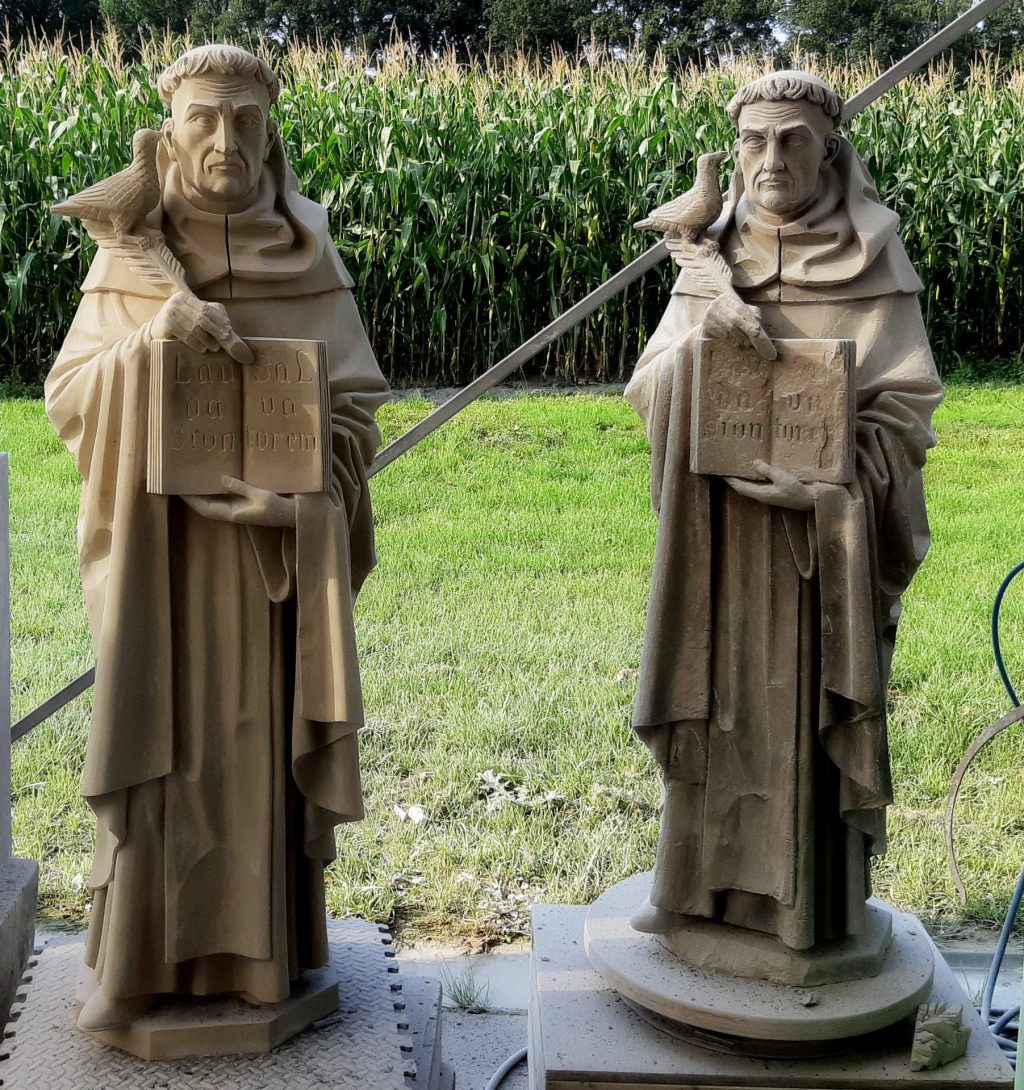
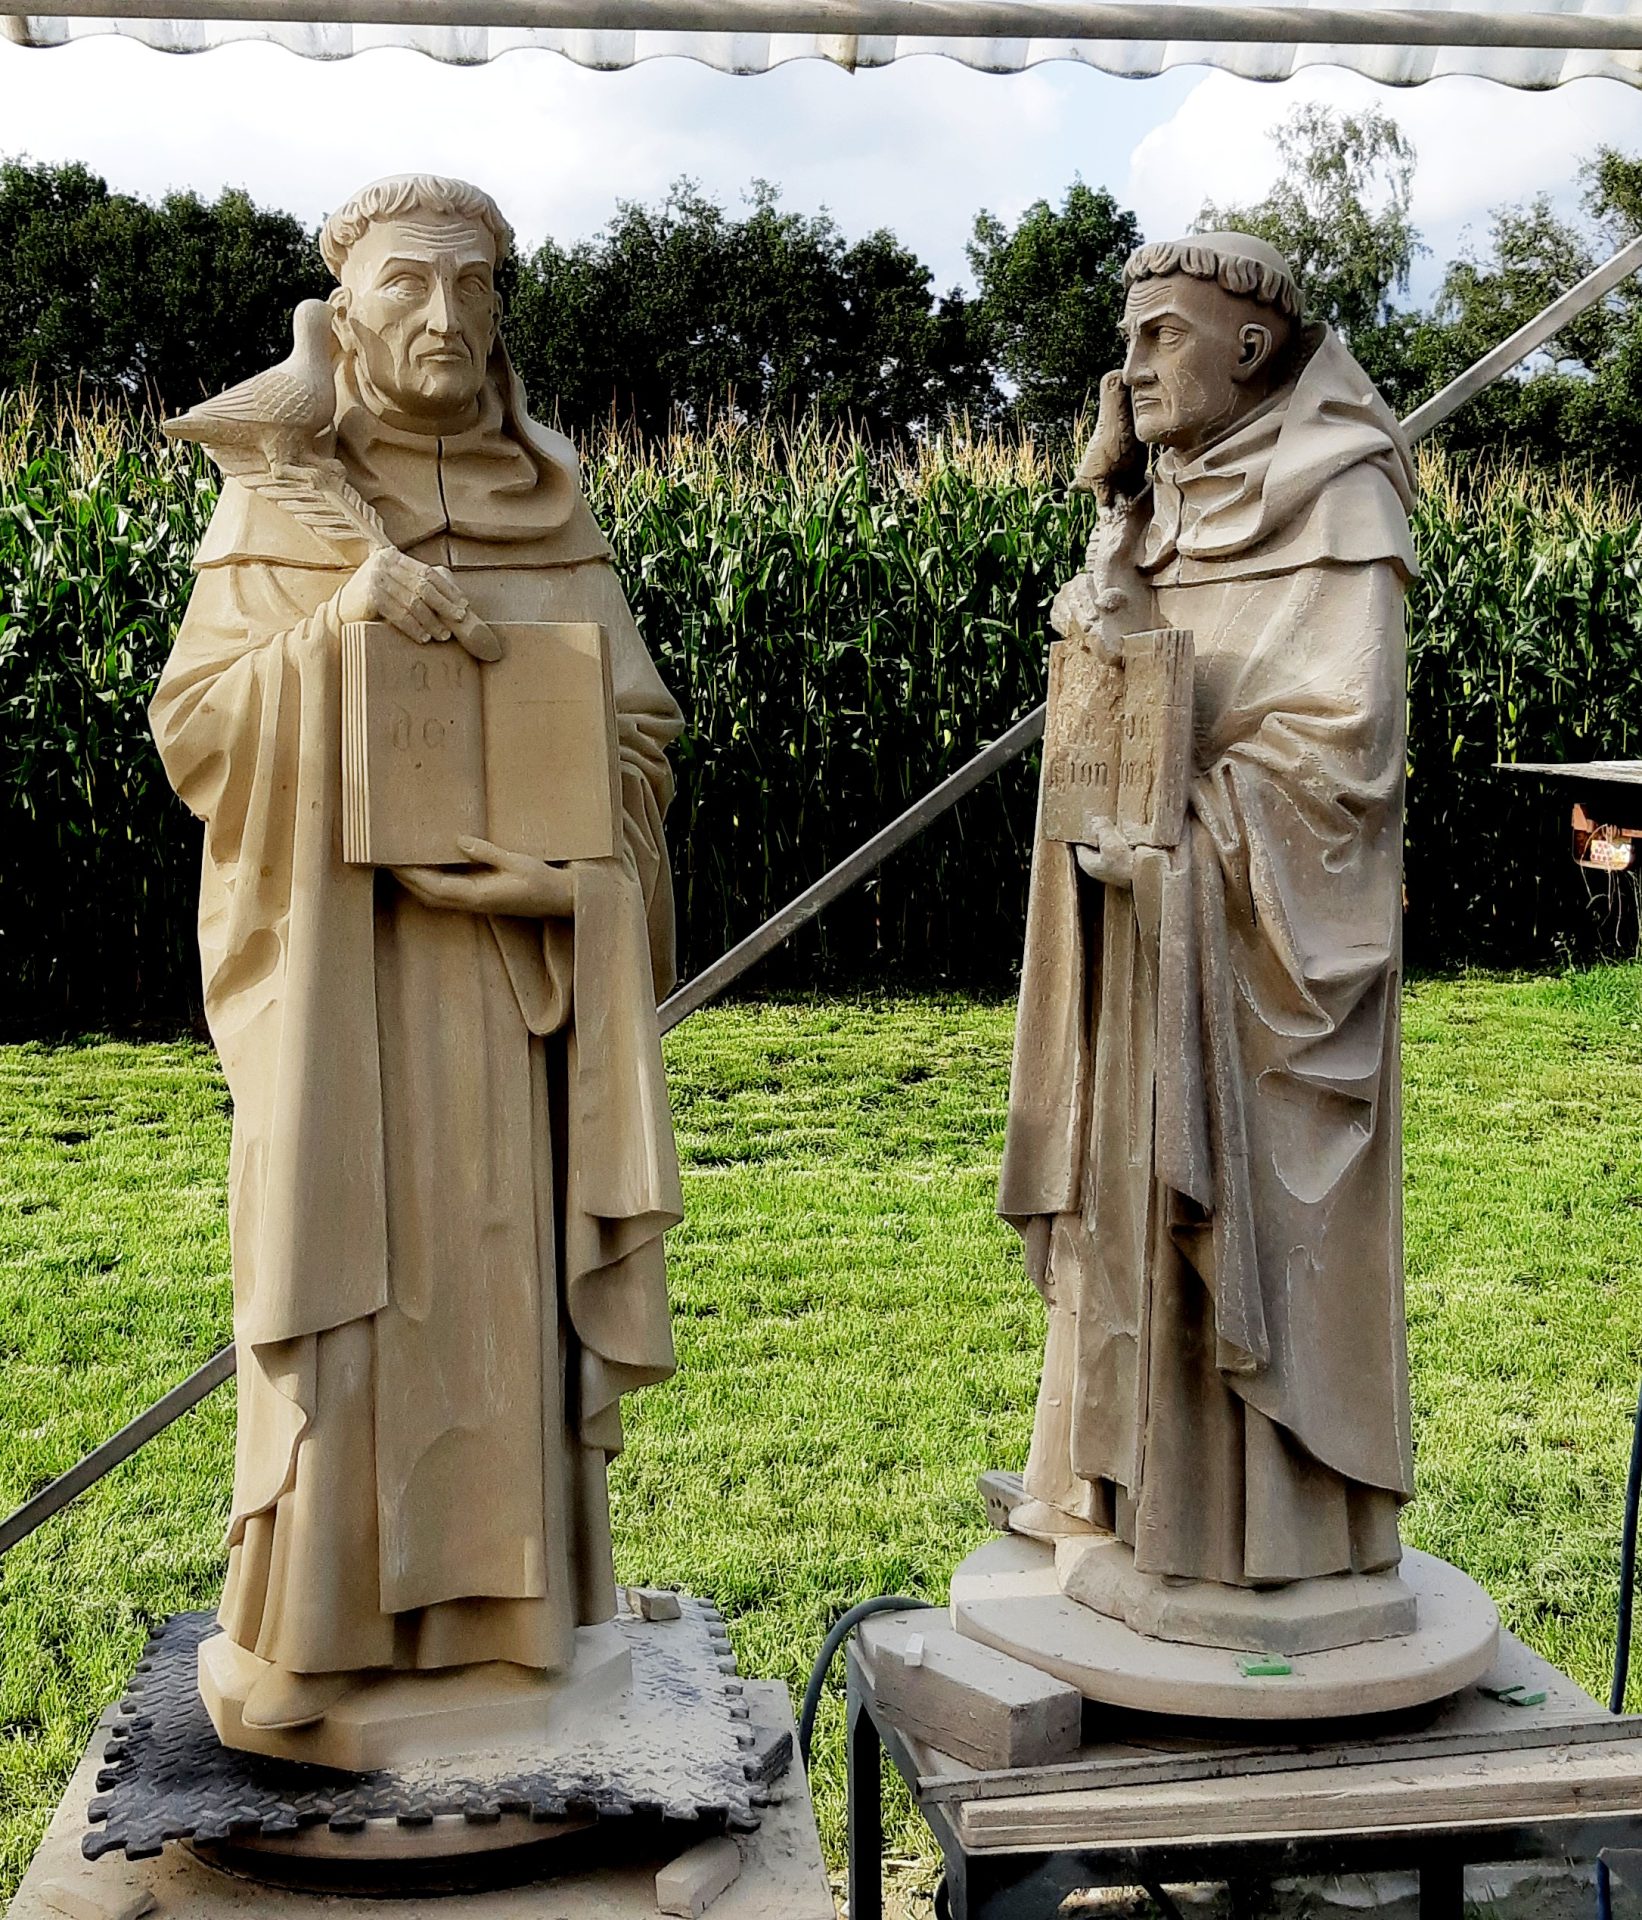
    copy of statue of Thomas Aquinas beside reconstructed original
    14. statue finished; the original, here still with the clay repairs

    Buffing and sanding

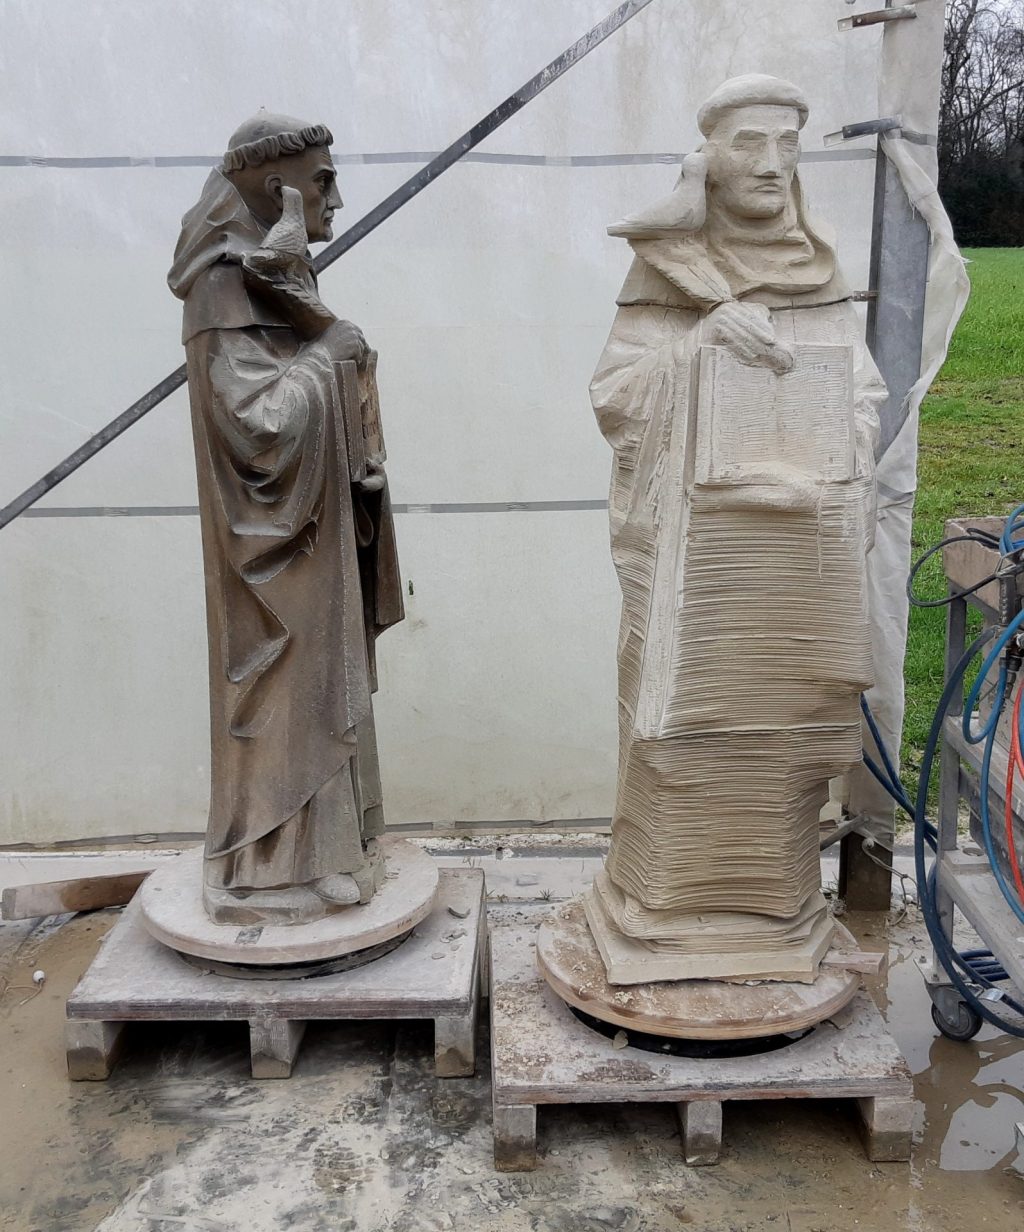
    Once all the details were to my taste, the sanding started. With diamond files and abrasive stones, I sanded the entire statue. Later on it still didn't look good enough to me. I discovered that in this Udelfanger sandstone it works quite well if you finish it with sandpaper or emery cloth by hand. It gives a kind of velvety finish that suits the sculpture quite well, and all the scratches of the chisel and abrasive stones will quite easily disappear. However, it is again just another of those jobs that take a bit of patience. I've been sanding on his habit for days, and started to feel it in my fingertips.
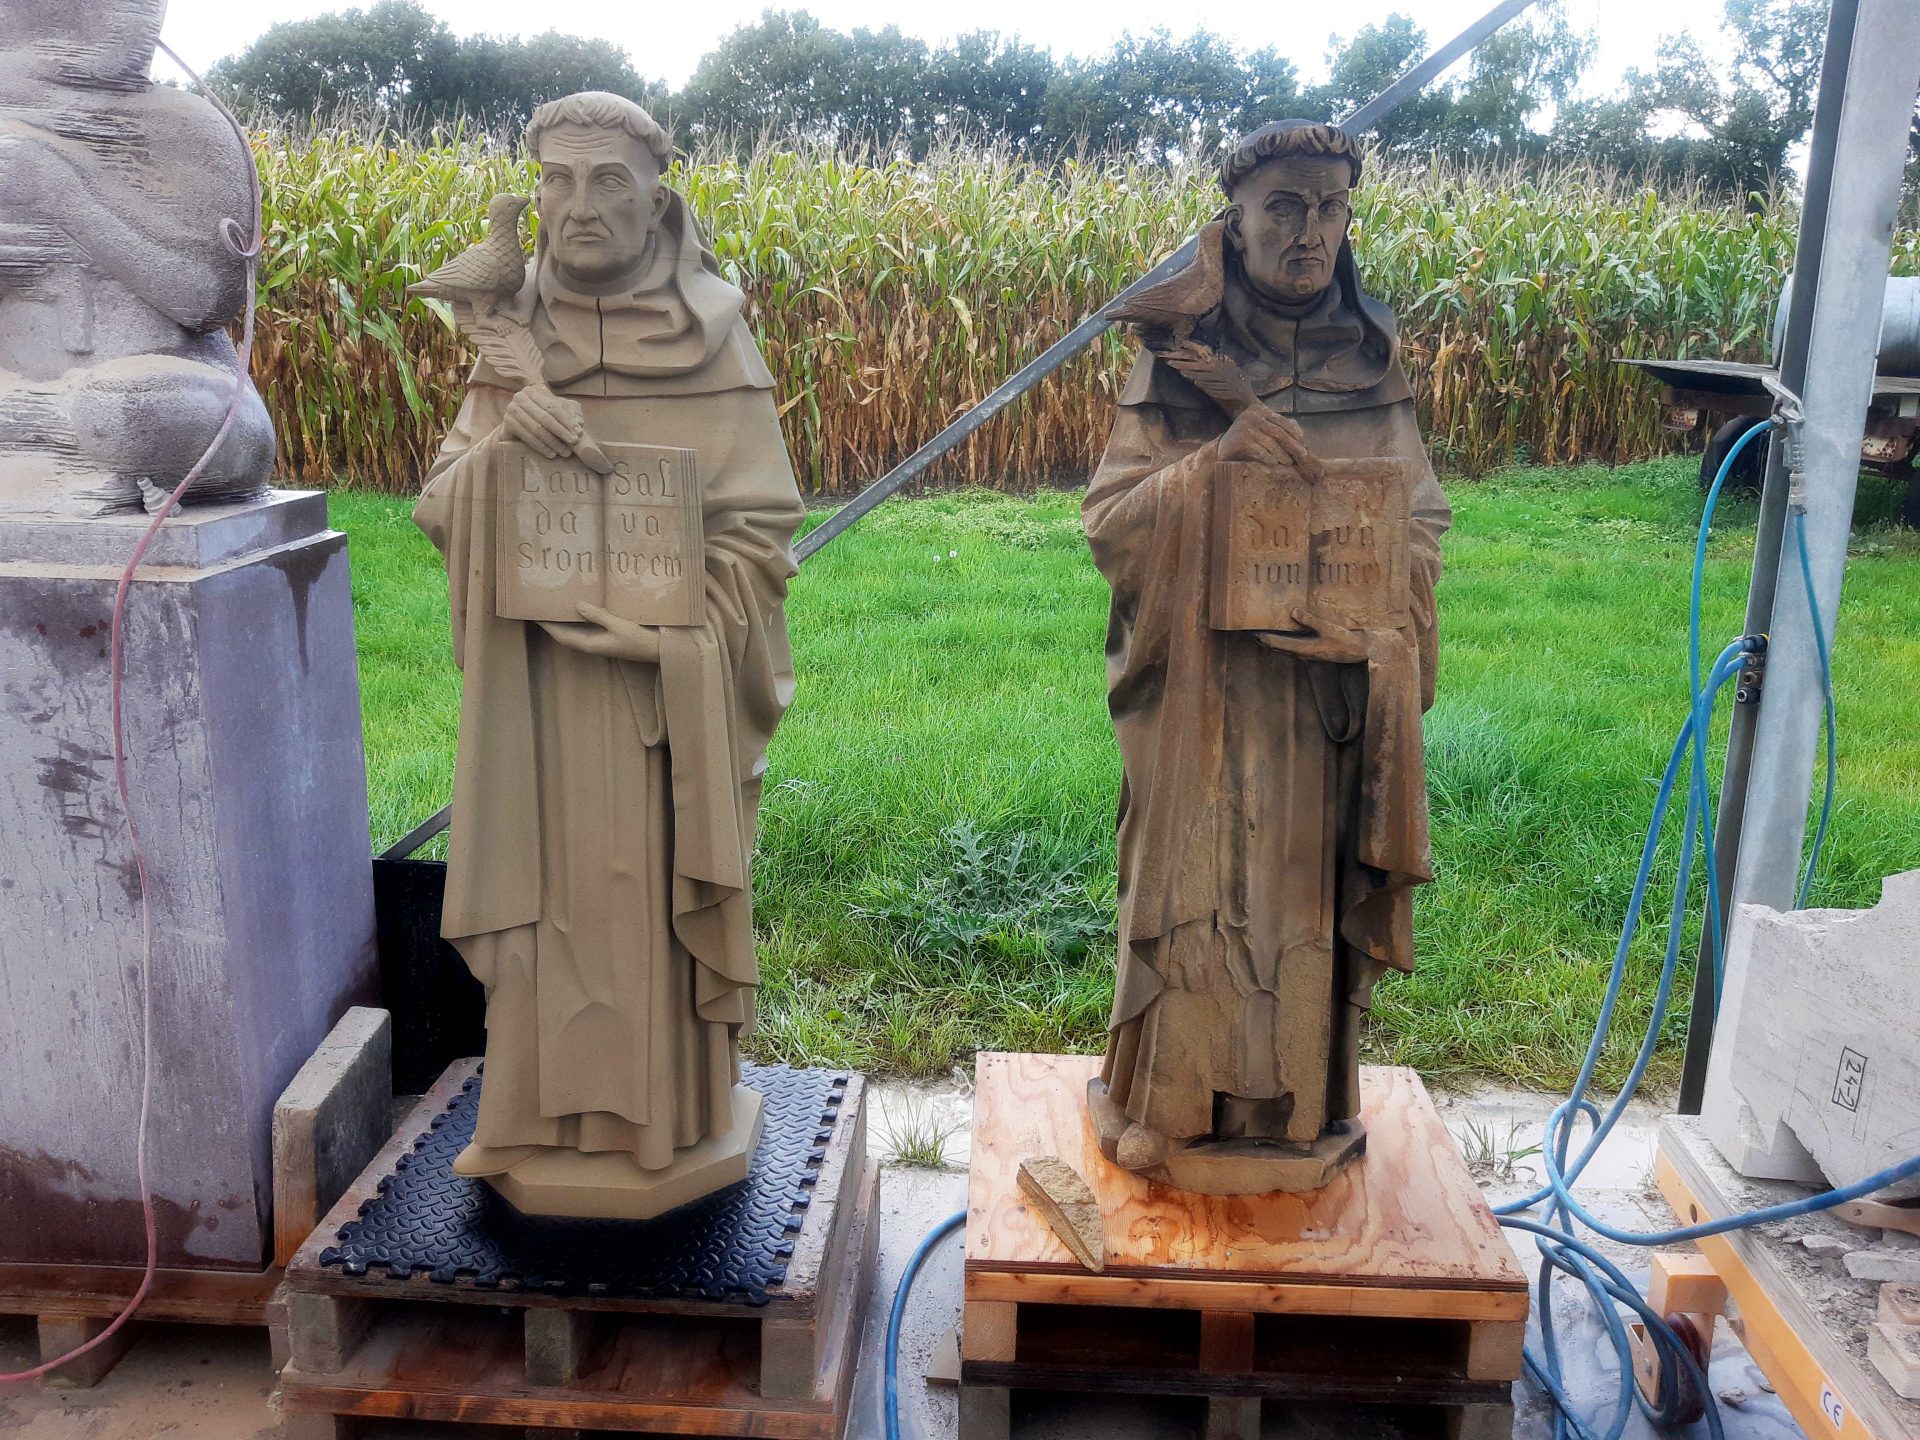
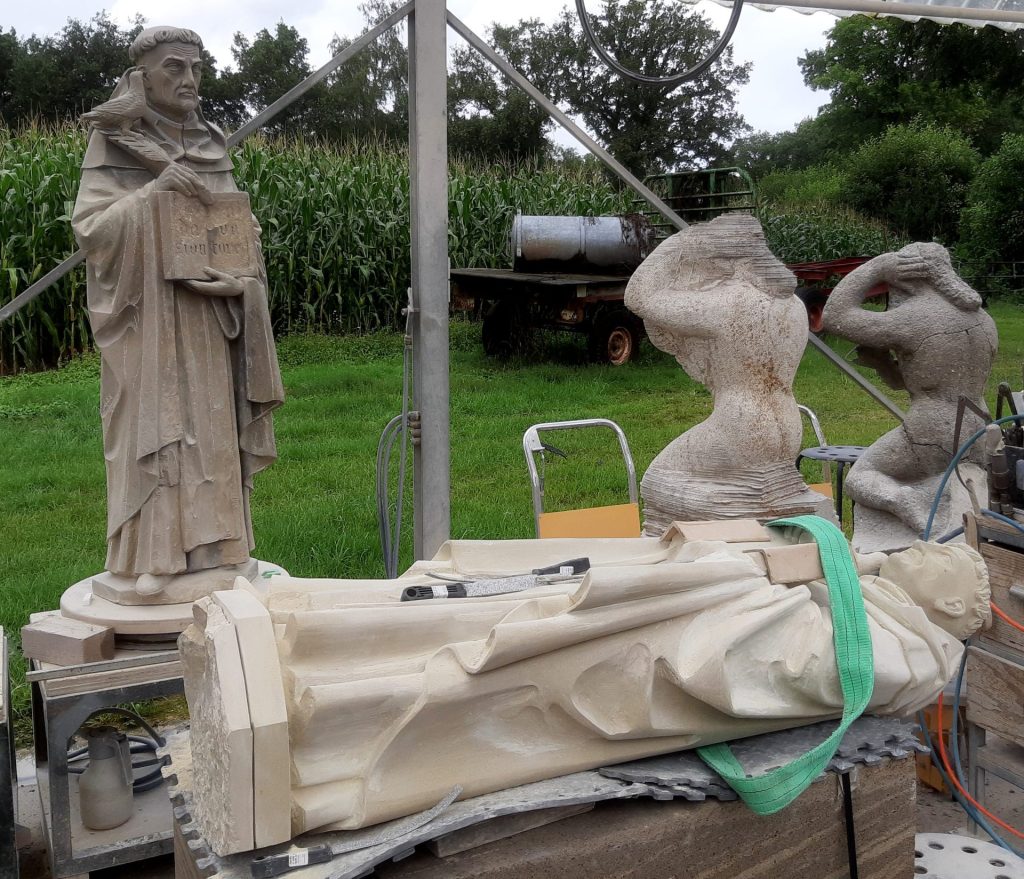
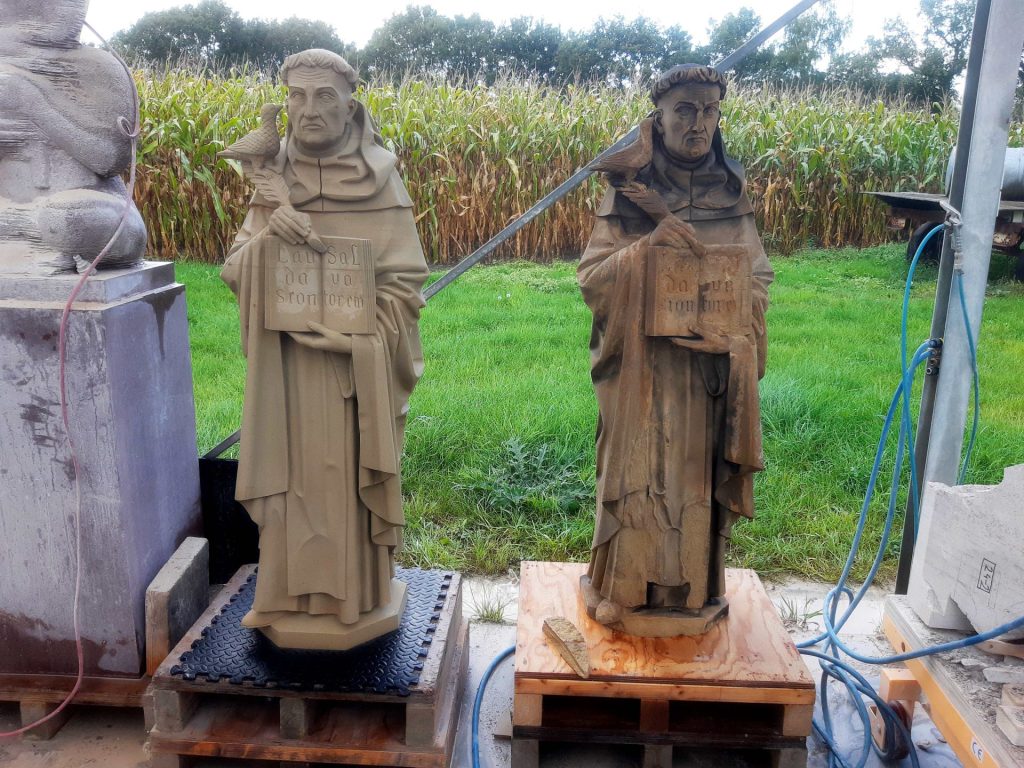
    copy and original side by side. Original now without clay
    15. The finished copy and the original, here without clay
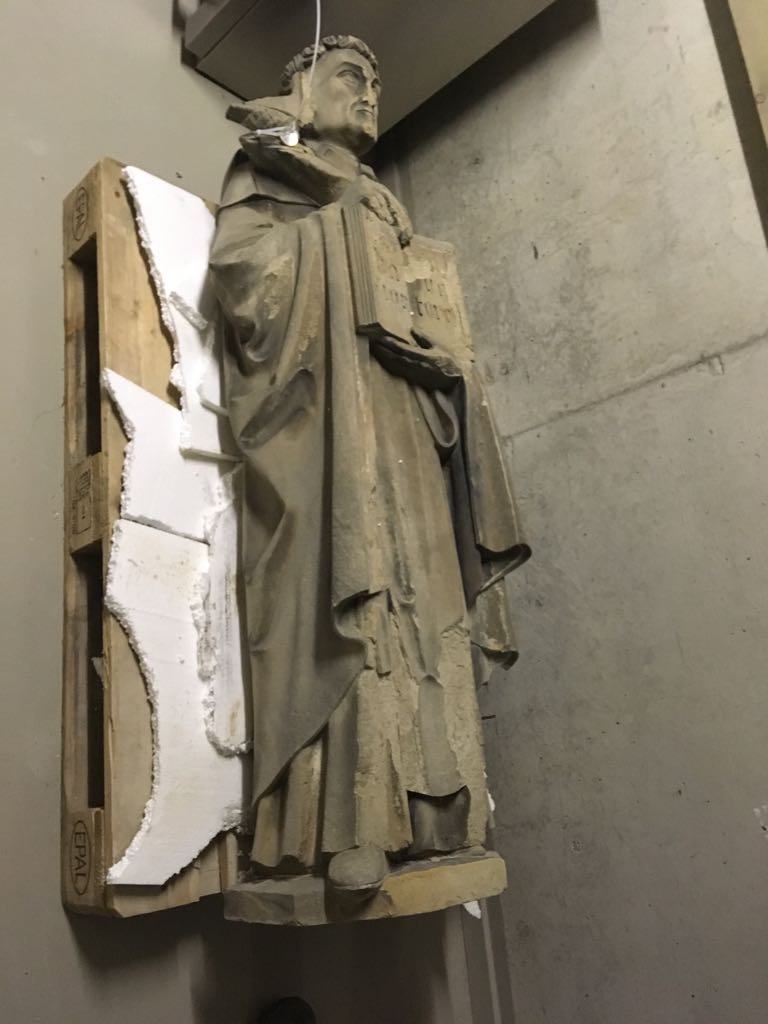
    the original statue of Thomas Aquinas, damaged.
    16. The original before repairs

    Making history for posterity

    At the rear of the original statue, there were all kinds of different chisel marks. I reproduced them in the copy. But to make things clear for future generations, I also carved in the following text:: copy 2019 k. van velzen

    This should make it easier for future historians what happened to this statue in the present year. For I don't dare trust that this blog will survive the centuries. Perhaps not even the Internet will. It is said that one good solar eruption is enough to fry all of our electronics and even the electrical equipment and facilities. We'll see, but this way, Thomas will remain, at least a little, a guardian of history.

    Gallery with a timelapse of carving the sculpture

  • Thomas Aquinas, part 2: sawing

    Thomas Aquinas, part 2: sawing. Two large sandstone blocks
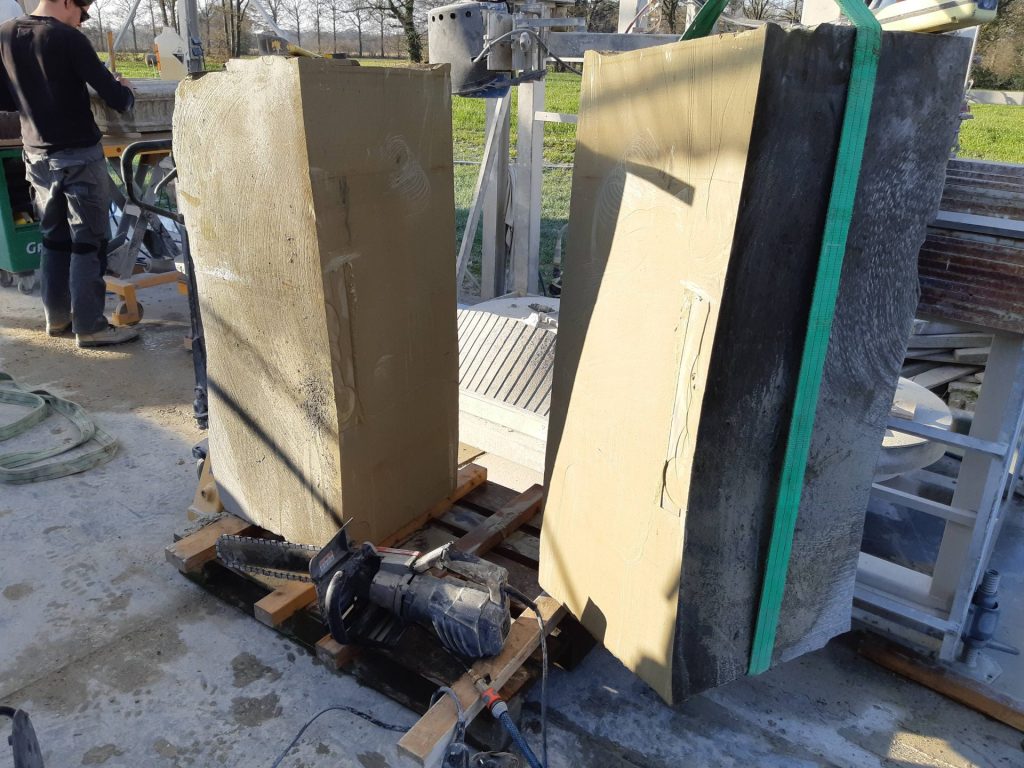
    1. Two large sandstone blocks of Udelfanger sandstone: 1 for the statue of Thomas Aquinas, 1 for Serge's angel

    Two large blocks

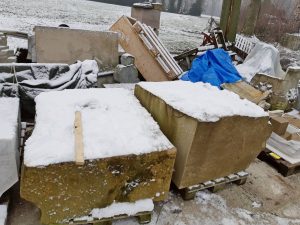
    The work on the on copy of the statue of Thomas Aquinas has finally started. I had received two large blocks of Udelfanger sandstone some time earlier: one destined to make two angels out of it and one block from which I had to carve the two parts of the statue of St. Thomas from St John's Cathedral in Den Bosch, The Netherlands and fit them together. So the first step was to divide both blocks into two with the diamond chainsaw.

    Presawing Thomas

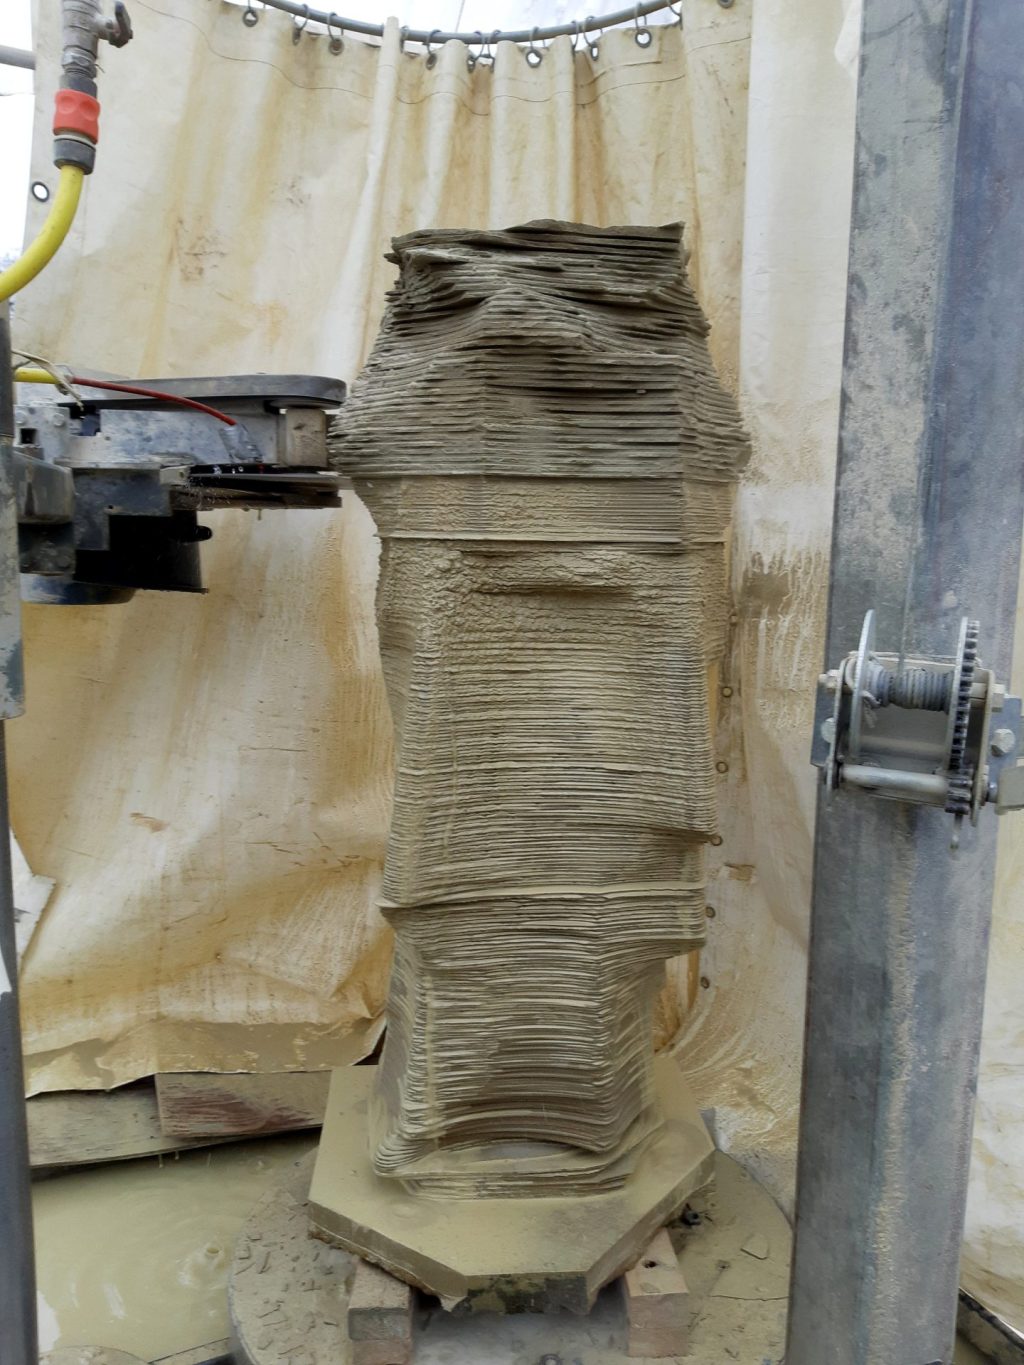
    After that I put one block on my copying saw or contour sawing machine and started presawing Thomas' lower half. The dividing line of the two parts was meant to be near the line of his hood, so that

    it's almost invisible. Reminder: in an earlier post I wrote that the old statue was made from a single piece of stone, in which the layers run vertically. Because it's more desirable that the layers run through the statue horizontally (in that case, there's less chance that an entire big slice comes falling down at once, after weathering) it will be different in this copy. But the quarry has no banks in which the stone is higher than 120 cms wide. Therefore, the head was to be made from a separate piece.

    Thomas. Aquinas, part 2: sawing.  I halved the block with the diamond chainsaw
    2. The block is cut in half with the chainsaw
    Thomas Aquinas, part 2: sawing. Presawing the lower body
    3. Sawing the lower body

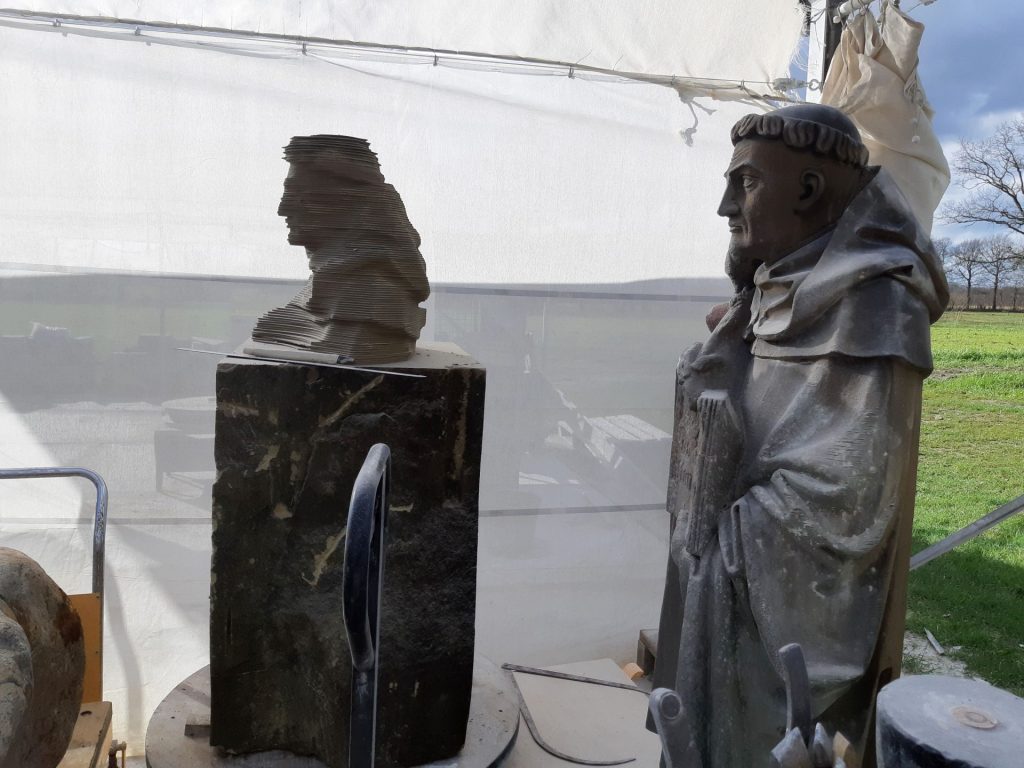
    Because of the large color differences between separate blocks of Udelfanger sandstone I was sent a very large block from which I had to cut the two parts. From this I made the body and the head of Thomas.

    Thomas Aquinas, part 2: sawing. Upper body presawed.
    4. The upper body was cut from the second half
    Thomas Aquinas, part 2: sawing. Rough carving the head and body
    5. The head and the body are roughly carved

    Fitting together of the two parts

    Then, the two pre-sawn parts of the head and body had to be made to fit to each other snugly. That wasn't so easy, because the dividing line doesn't run straight. It follows the wavy line of the hood and needs to be higher at the right hand, because otherwise the joint seam would run through the knuckles. These inclined faces need to fit together well. For this, it should first be clear what will be located where, and for that I needed to rough carve the two parts for quite a ways. I carved the upper body and the lower body so that I could see where it all would be going, and I could see where the dividing line was to run. Then I could find the joint surfaces.

    Thomas Aquinas, part 2: sawing. Making both planes fit
    6. The joint surfaces are being made to fit
    Thomas. Aquinas, part 2: sawing. The head and body are bonded.
    7. the two parts are bonded together

    Joint surface

    Because I made this joint line visible on both pieces, I could demarcate the joint surface and carve away the excess stone. By keeping on fitting the pieces together and scribing the excess stone, I could ultimately achieve a tight seam. When the fit was tight enough, I scribed off where I wanted to put the stainless steel pins and drilled four holes. Two holes in each piece, so I could adhere both parts with strong epoxy glue and two thick threaded rods. Also, the joint plane itself was bonded with a suitable breathable mortar. You should actually never make a horizontally extending closed off gluing surface on a statue sitting outside. The stone above such a dense glue layer can't lose its moisture and will start to rot right above the glue seam.

    Serge's angel

    Copying an angel for St. John's Cathedral
    The other block was halved as well. From the one half this angel was presawn for Serge

    My colleague Serge had an commission in Udelfanger sandstone as well for St. John's Cathedral in Den Bosch. He was asked to copy this angel. He had previously made one and asked me if I wanted to saw this one as well. Jelle did a perfect job for him.

    Read more about the continuation of this project in the next post.

No more messages to show.

No more messages to show.