• A faun with loss of face, for a castle

    Loss of face

    repairs on a fractured sandstone faun
    The broken pieces are glued back together and the first mortar is applied

    (Bicentenary post on this blog!)

    From the garden of Singraven Estate in Denekamp, the Netherlands I received a faun in my studio this week. It was a cheerful fellow with a flute on his belly. Only he had lost the face; apparently something had fallen on top of it, for the whole right side of his face was missing. What was left of it was lying beside him on the pallet, neatly packed in a container.

    What to do? I was asked that he should be restored to its original state as much as possible. I had been given a new block of sandstone.

    Weather-beaten

    But actually this stone is just at the end of its lifetime. It would be best if a copy were made in new stone, and that the old one would be put somewhere indoors where it can survive for centuries. For as a result of how it's presently situated, it's strongly in decline now. The Faun had a deep fissure along the layers of the stone (the deposition direction of the stone) on the backside of his head, and other cracks are beginning to form, and the surface of the stone loses its sharpness and becomes more granular. As always it is a matter of balance between cost, value, historical considerations and emotional value.

    Restored Faun

    Sandstone Faun with restored face
    The same Faun after repairs

    In this case I was asked to repair the faun. I glued the pieces back again and remodeled the face with restoration mortar. To imitate the skin of the rest of the stone, I didn't make the features and surface of the repairs too sharp, so that it blends seamlessly into the rest. The tear in the back of his head was carefully opened and filled with a thin liquid mortar for natural stone. After that, the surface of this tear was also remodeled with restoration mortar. Finally the sculpture was cleaned and the repairs were colour-matched.

    This was not my first faun for a castle; earlier I restored a complete garden bench with dancing fauns for castle Twickel.
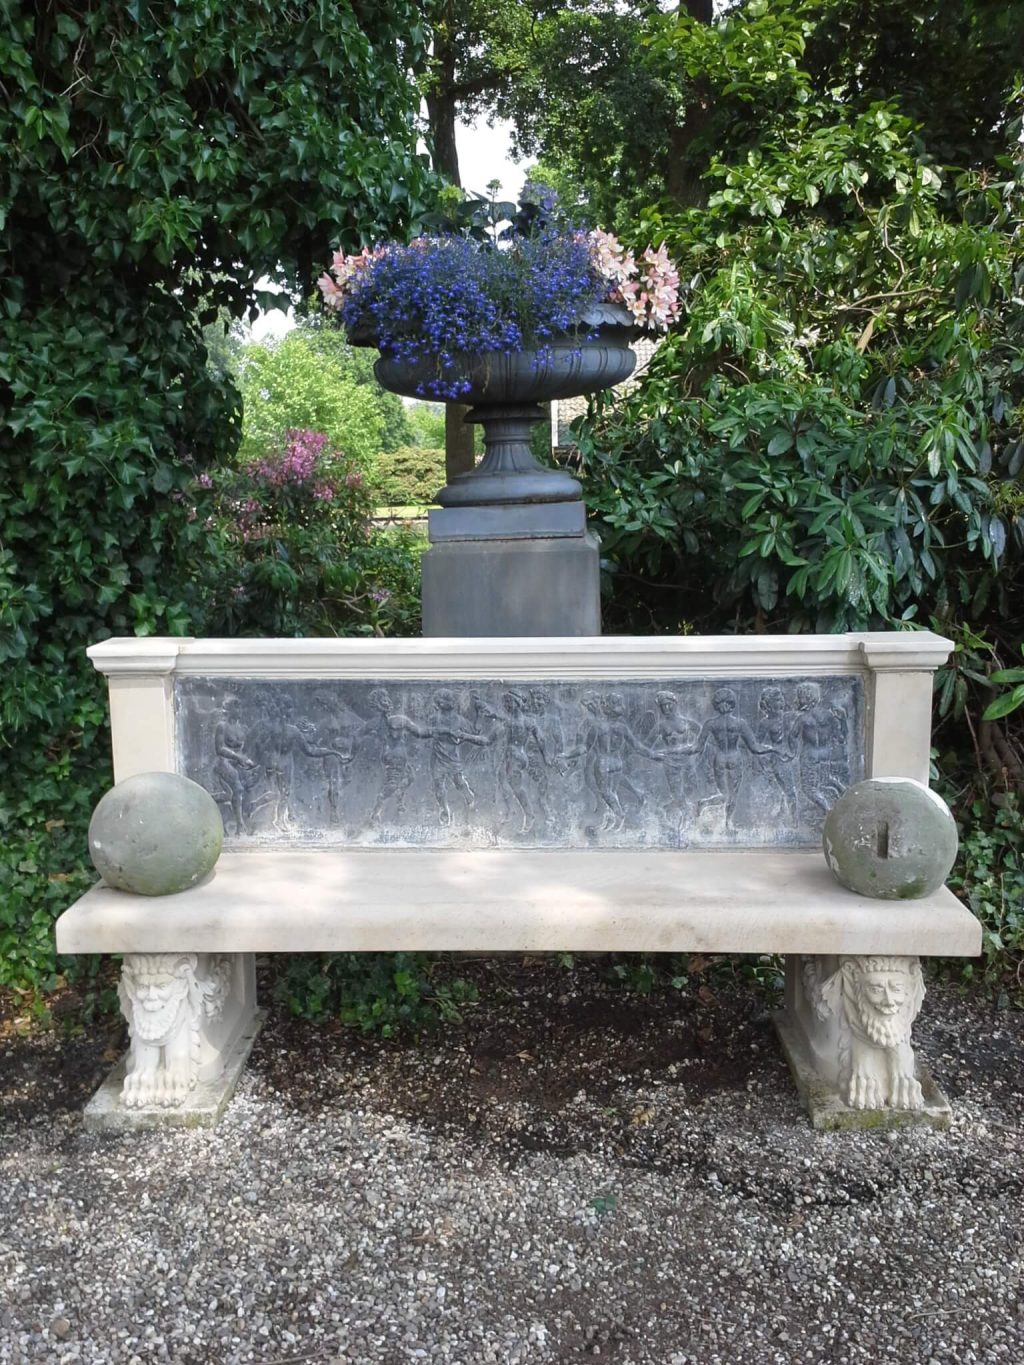
    Garden bench with fauns or satyrs as theme, with lead relief and new sandstone elements
    a restored garden bench with faun- or satyr theme for Castle Twickel
  • Installing: A garden bench for Castle Twickel

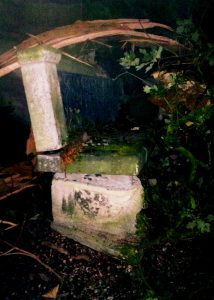
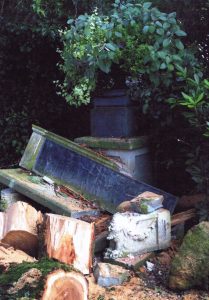
    During dead quiet weather, a very thick branch of a tree fell down.
    During dead quiet weather, a very thick branch of a tree fell down.
    During dead quiet weather, a very thick branch of a tree fell down.
    The concrete backrest with lead relief and the seat were the most damaged parts.

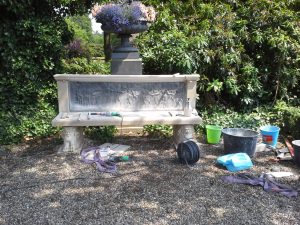
    Today, it was a hot sunny day. With a little power shovel machine and lifting straps we lifted the components of the garden bench and assembled them on site.

    To the first post about this project.

    tool with the new bench for Castle Twickel
    trowels, mortar, glue, hoisting straps… a car full of stuff

    The puzzle of course fit, because I had tested that beforehand.

    All stone parts of the bench were weathered and damaged, and have been replaced with new sandstone. Especially the legs are quite elaborately carved.

    Garden bench with lead relief and new sandstone elements
    The sandstone spheres are there as a temporary solution

    The lead relief will probably soon again be patinated. It's possible to use a special patinating oil to quickly turn the lead grey or black, something that has obvious been done to this relief before. I've not done so beforehand on my own account, because such a thing, of course, is usually done in consultation.

    Garden bench with lead relief and new sandstone elements
    Dancing nymphs and fauns on the backrest

    Temporarily I've put the old sandstone spheres back on the seat. The right hand sphere had received such a blow that it broke into twenty pieces. I've pasted it roughly back together, quite a puzzle. The best thing would of course be if someday in the future those little music-making fauns on the corners could be put back again (read more on that in this post), but for the protection of the sculpted sandstone legs, for now the spheres will do.

    I thought for a moment that it might be a solution to carve two small little fauns from the beginning. The originals were made of lead and were stolen, and carving new ones out of sandstone is much too fragile with such a dangling leg. But sitting, from granite, that's technically possible. It's just not up to me to decide.

    This is how a damaged garden bench looks fresh and sharp again, perhaps even a little too sharp. With the greenish haze which the bench will automatically get because of its place under an oak tree, it will fit in more with the rest of the garden over the years.

    We have also talked about tactics to get something green rapidly. Buttermilk is often mentioned, and so is yogurt. I once saw a lady on the BBC who managed to get even plastic flower pots in a thick coat of moss by mixing in a blender some yoghurt, moss and (cheap!) latex paint (and maybe some loam and manure, but that I don't remember) and brushing that onto those pots. I think I'll experiment a bit myself someday. Just need an old blender.

    Update 2 September 2015:

    Always on the lookout for other insights I started using Stumble Upon. Apparently it works, because here I came across a fine recipe for moss : how to make moss graffiti. In short: indeed moss in the blender, add lukewarm water, add water-retention gel (perhaps from a diaper??), add buttermilk, pulsate in the blender until it congeals, pour it into a bucket and paint with it whatever you want, and if you spray it a bit wet every week, in no time you will have moss growing on your desired surface.

No more messages to show.

No more messages to show.