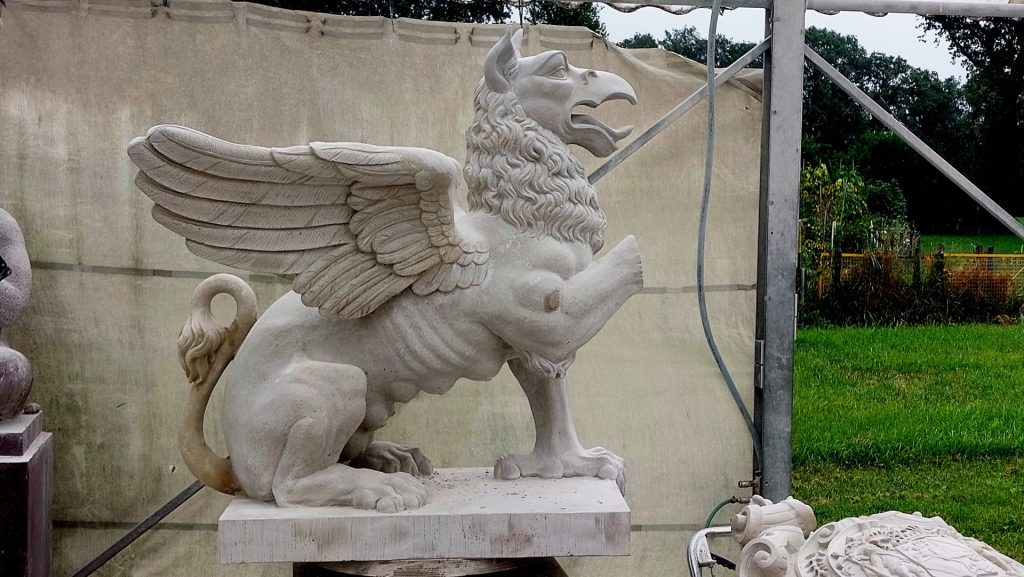
Two griffins with large baroque shield in sandstone

Waited a long time, and kept silent….
As you may perhaps remember, Jelle and I had started making two large griffins? Well, we have come a lot further at this time. The first griffin is finished, the second one is almost there, the first shield is finished, the second will be coming soon…. we were just delayed a lot by our work on the Utrecht Dom Tower, which always took precedence over everything else.

Now that has been completed, we suddenly have a lot more room to handle other ongoing matters.
How would one even begin such a job?? I will try to explain it with a step-by-step plan and some links.
Making models

After the commission had been issued, I started looking for old photo material from before the Second World War, as everything had been destroyed during that war. But on one website there were some nice pictures from which, with a lot of editing, I could extract some information . Later, when we were almost done, I was sent some really sharp photos from the housekeeper's photo album, but that's how it goes. Once I had enhanced the grainy pictures, I modeled a small clay model. From that point, I first thought of carving it out foam right away, but I couldn't get it to my liking. That would be different now, after all the intermediate phases, I am now very familiar with the shapes of these animals, but not at that time. Because foam didn't work out, I started sculpting a larger maquette in plastiline clay, which never dries out. After approval, there was still debate on having it cast in concrete, but fortunately it was to be carved in stone.
Clay model

Jelle and I sculpted the full-size model for the griffin together and I sculpted a separate clay model for the shield.
Plaster models

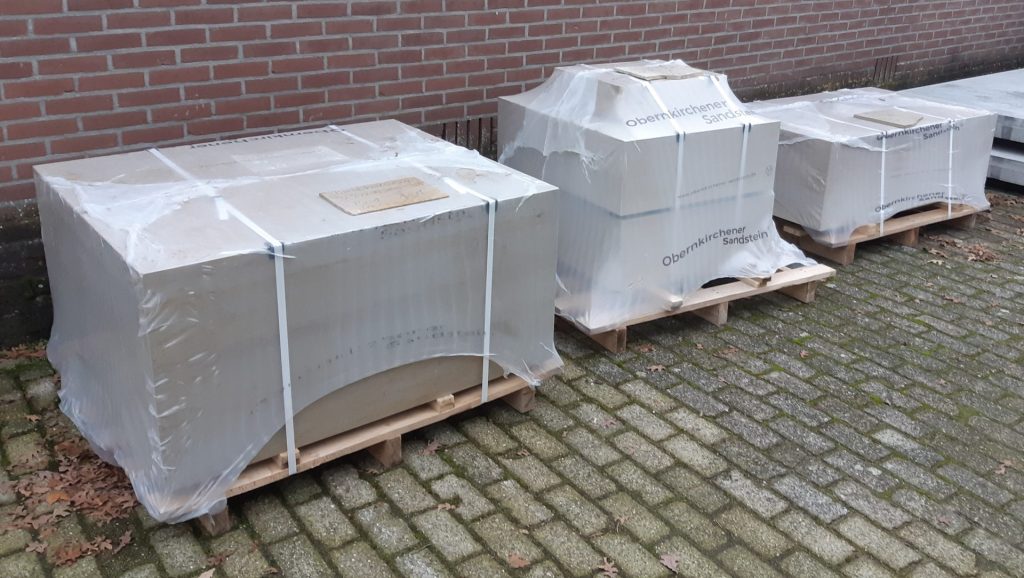
From those, we made plaster casts and then ordered the stone. In this case it I chose Obernkirchen sandstone, because of the color, its high weather resistance and because it is so strong, as we're dealing with several thin parts, such as the tail, the wings, the one forelimb and the shield.
Contour sawing machine

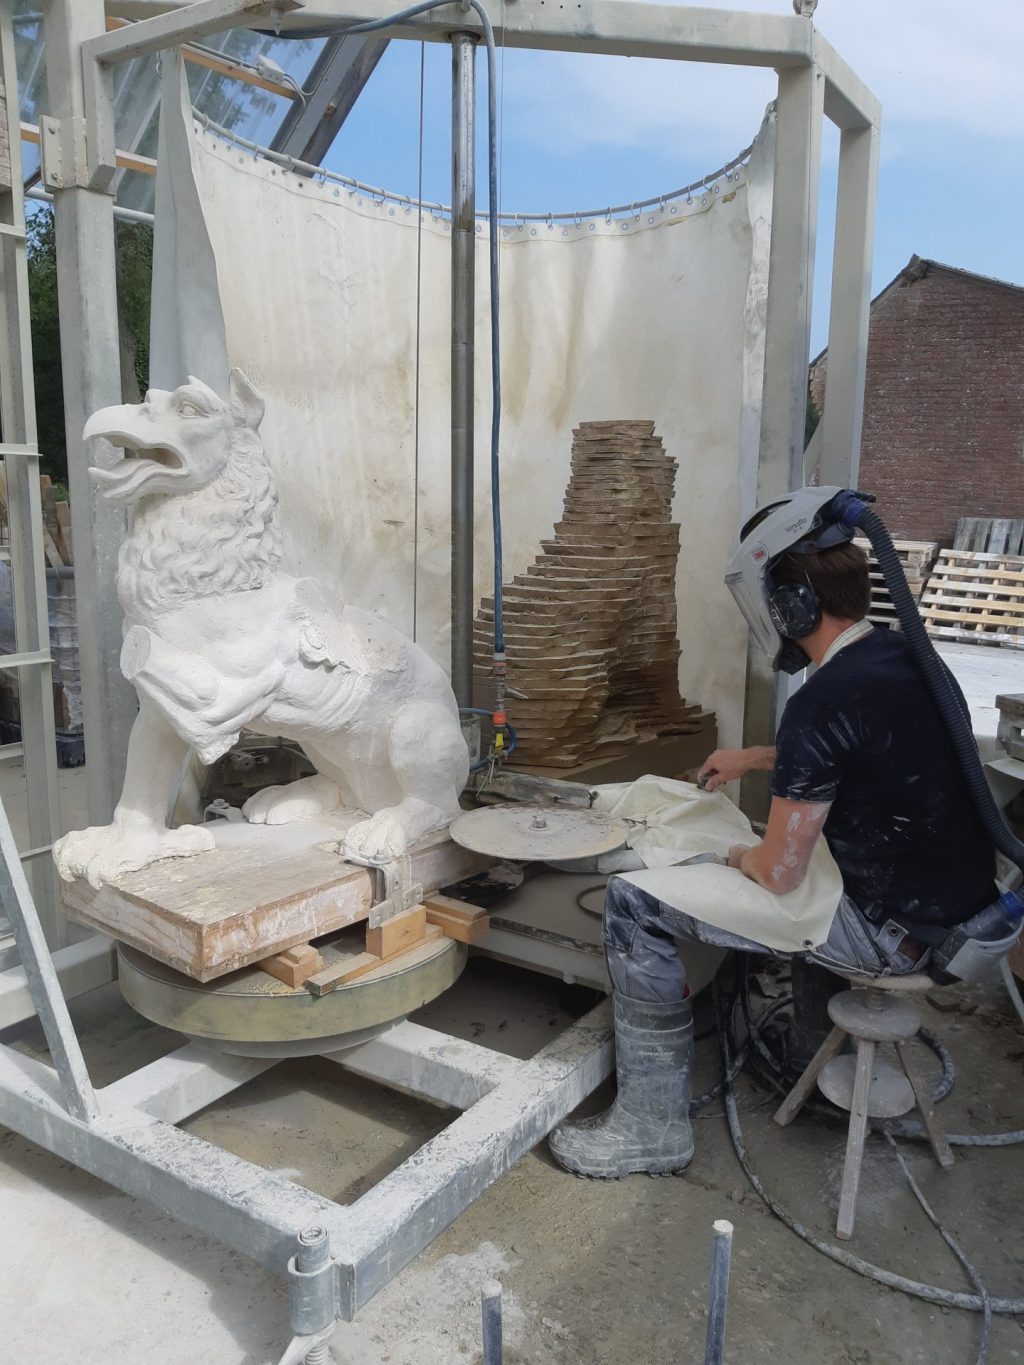
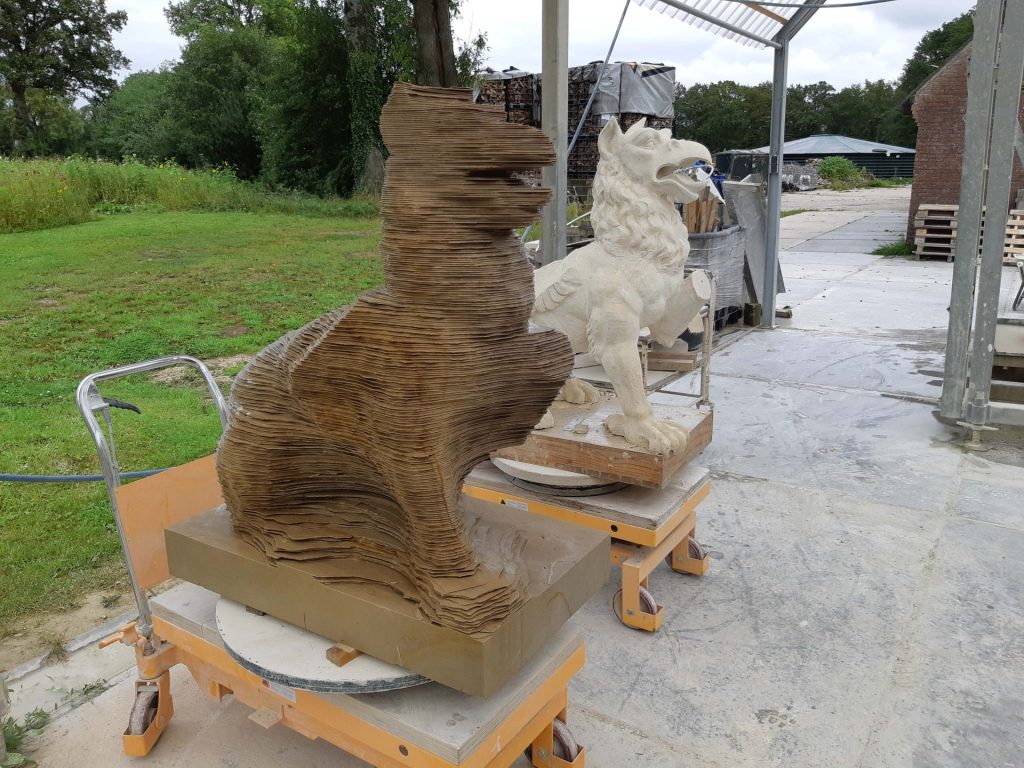
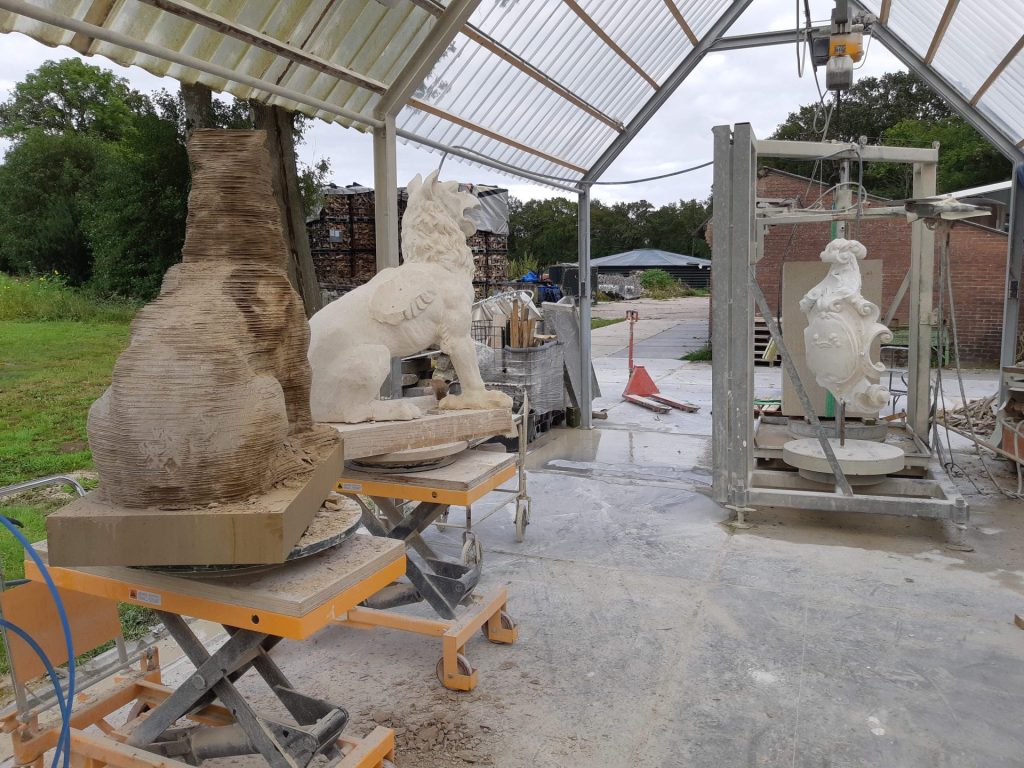
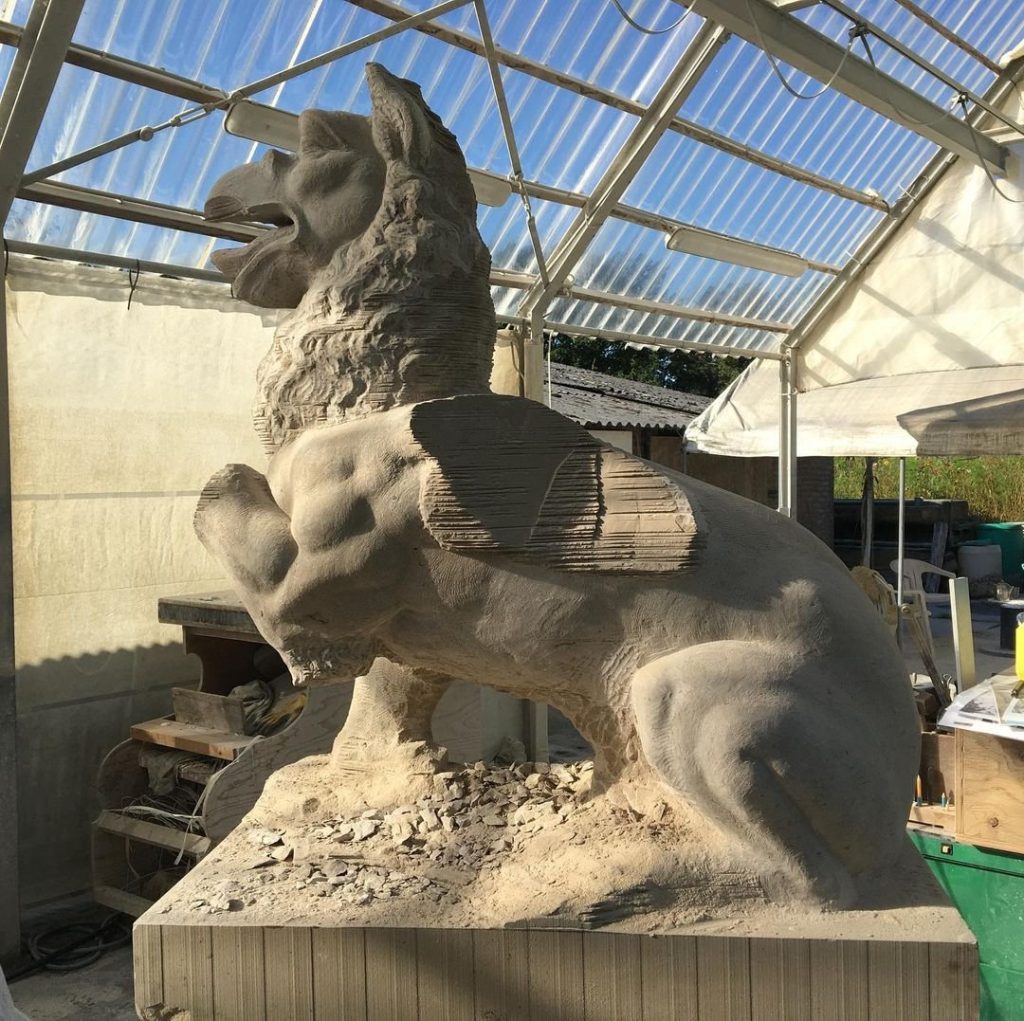
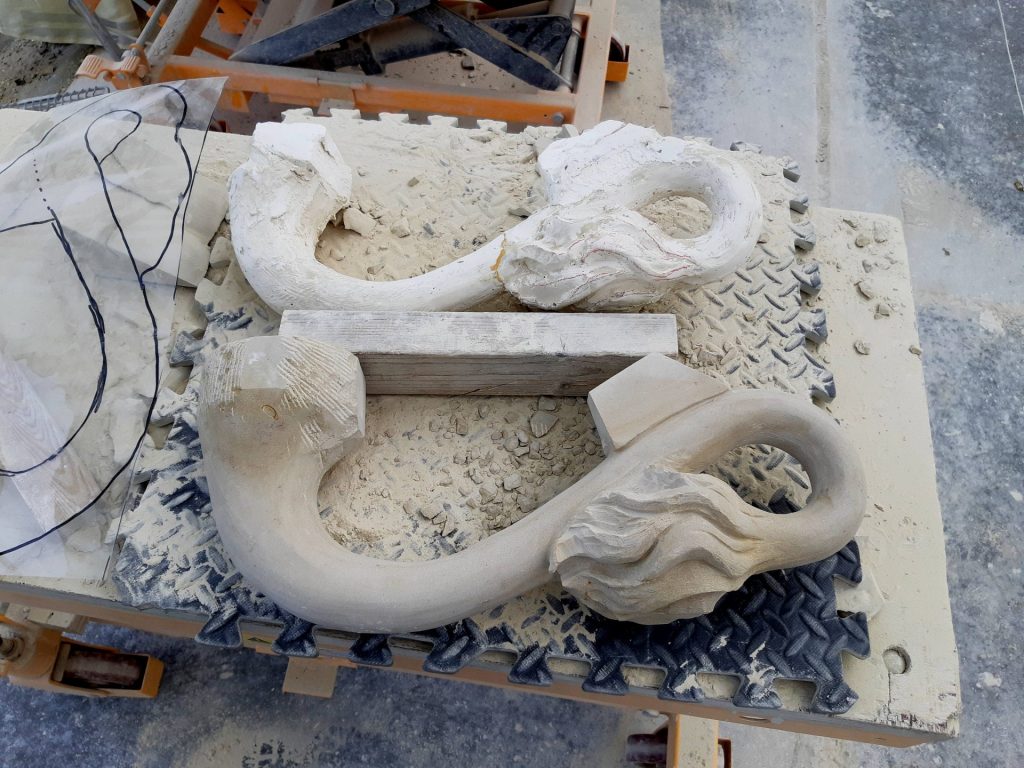
Then we contour sawed the plaster griffins, the wings and shield out of new stone blocks with my contour sawing machine. I carved the tail by eye.
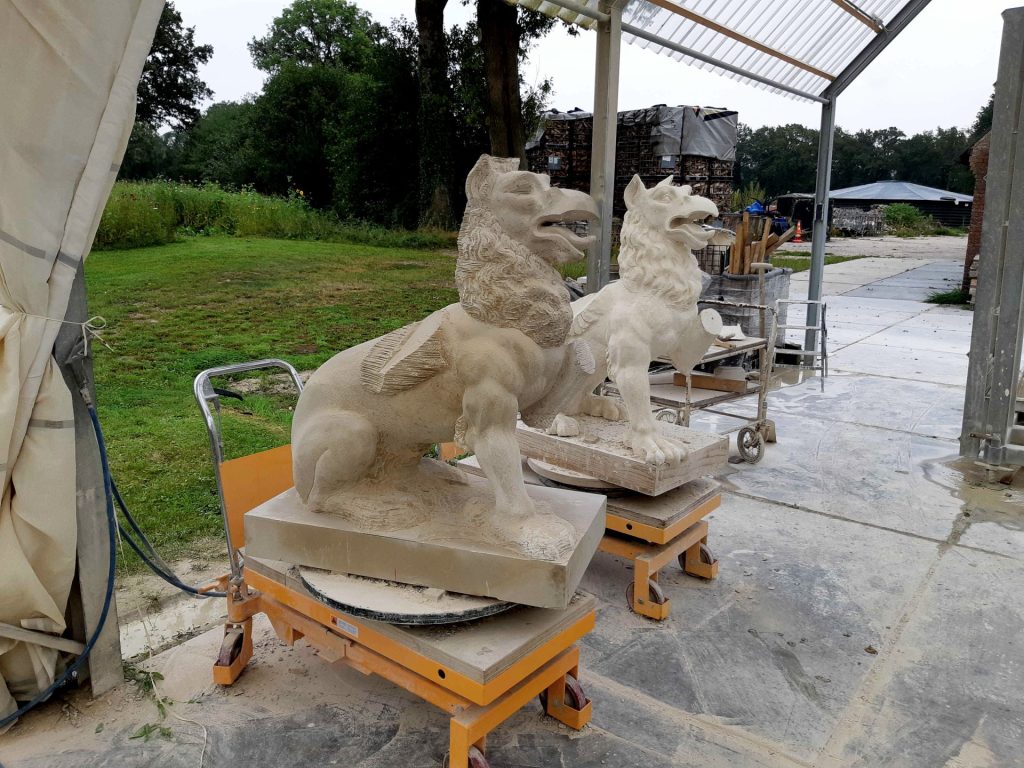
Jelle and Koen are carving the griffin

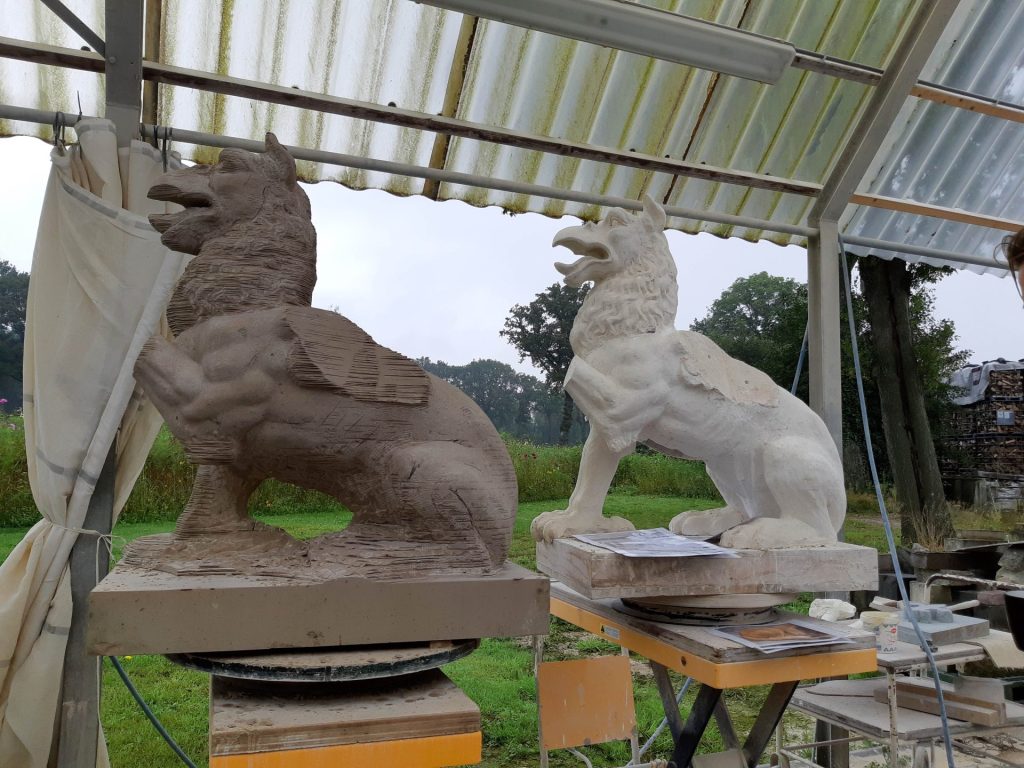
Then the fun work began: Jelle carved the first griffin and I was about to start on the next one, but unfortunately I had to order a new block of stone because of a hidden crack. After everything was contour sawn, I started carving and refining the second griffin. Then I made the wings for mine and attached them to the body with two thick M20 stainless steel threaded rods.. I filled the thin joint seam with a liquid mortar and then sealed it with a suitable restoration mortar. These won't just come off anytime soon. The same thing I did with its tail. Jelle is making progress with his version.
Male and female

We thought it would be nice this time around to, contrary to tradition and to indicate that this is 21st century work, carve two different griffins. The originals probably came from Ernst March's workshop in Berlin, and were made of ceramic. As a result, they were probably completely identical, except for the crest on the shield, and the inverted position of the legs. In consultation with the customer, one became a male griffin and mine became a female, with a double row of mammary glands. Times are changing, don't they?
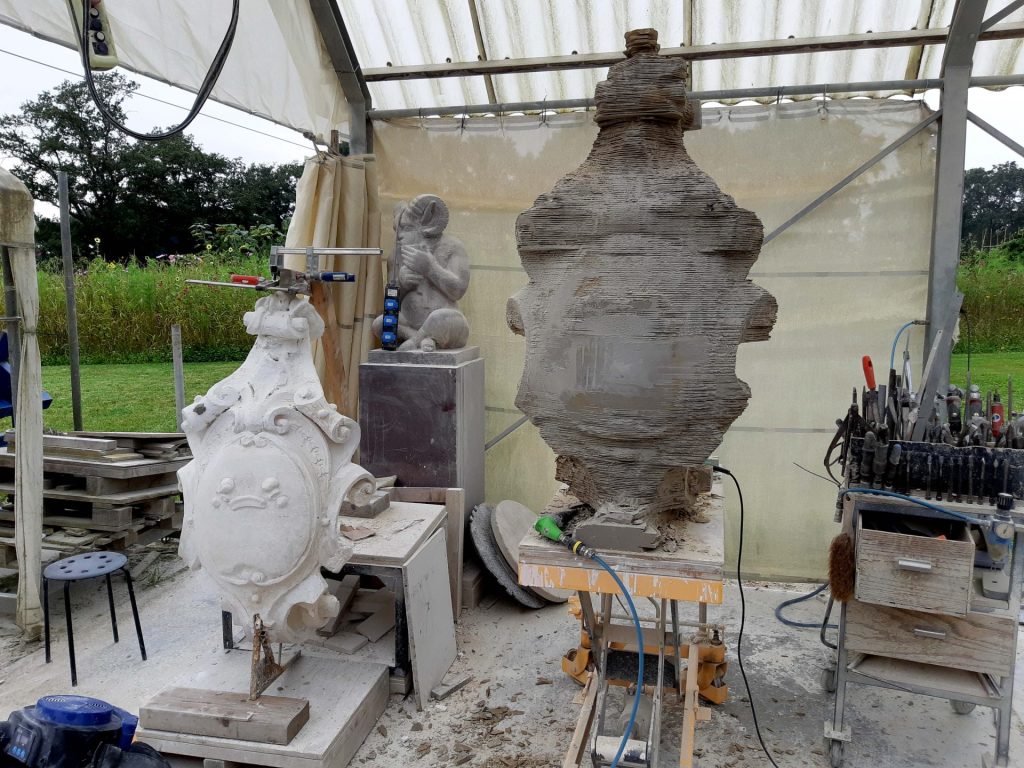
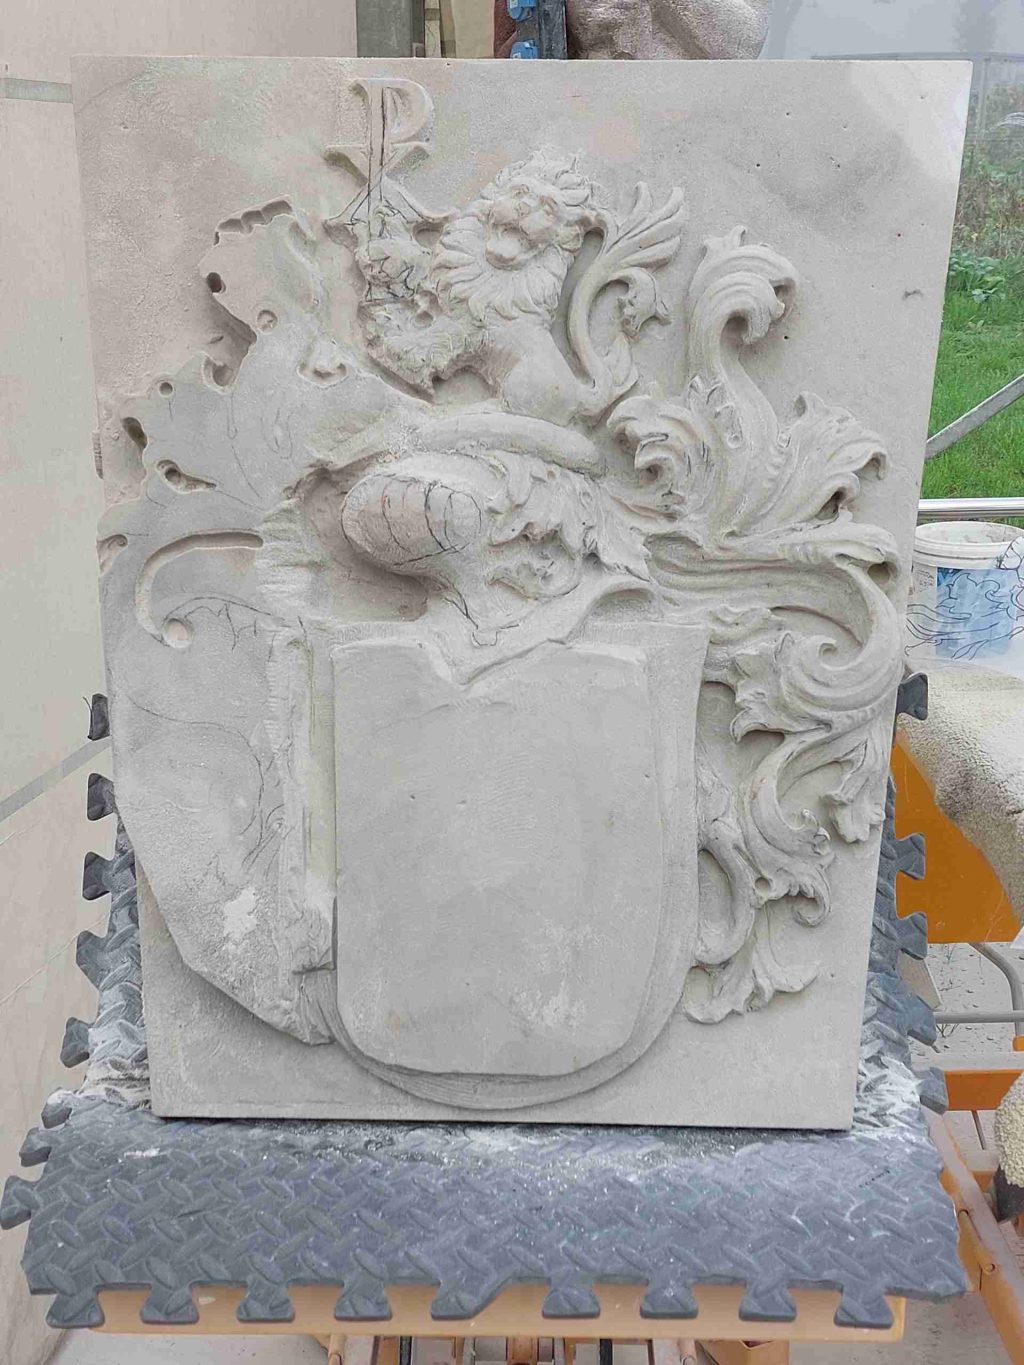
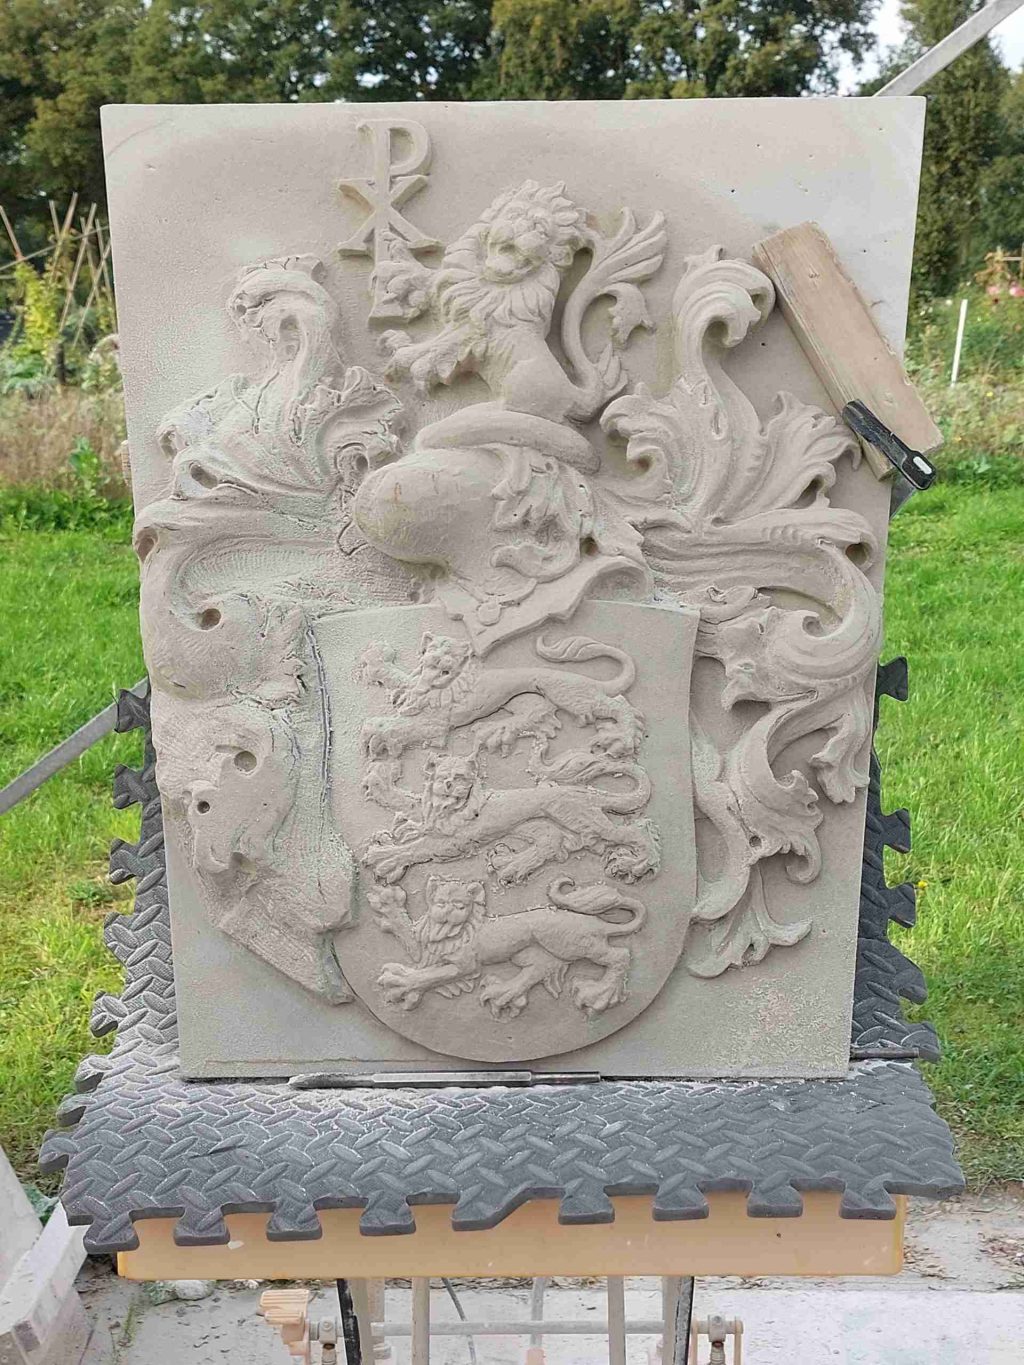
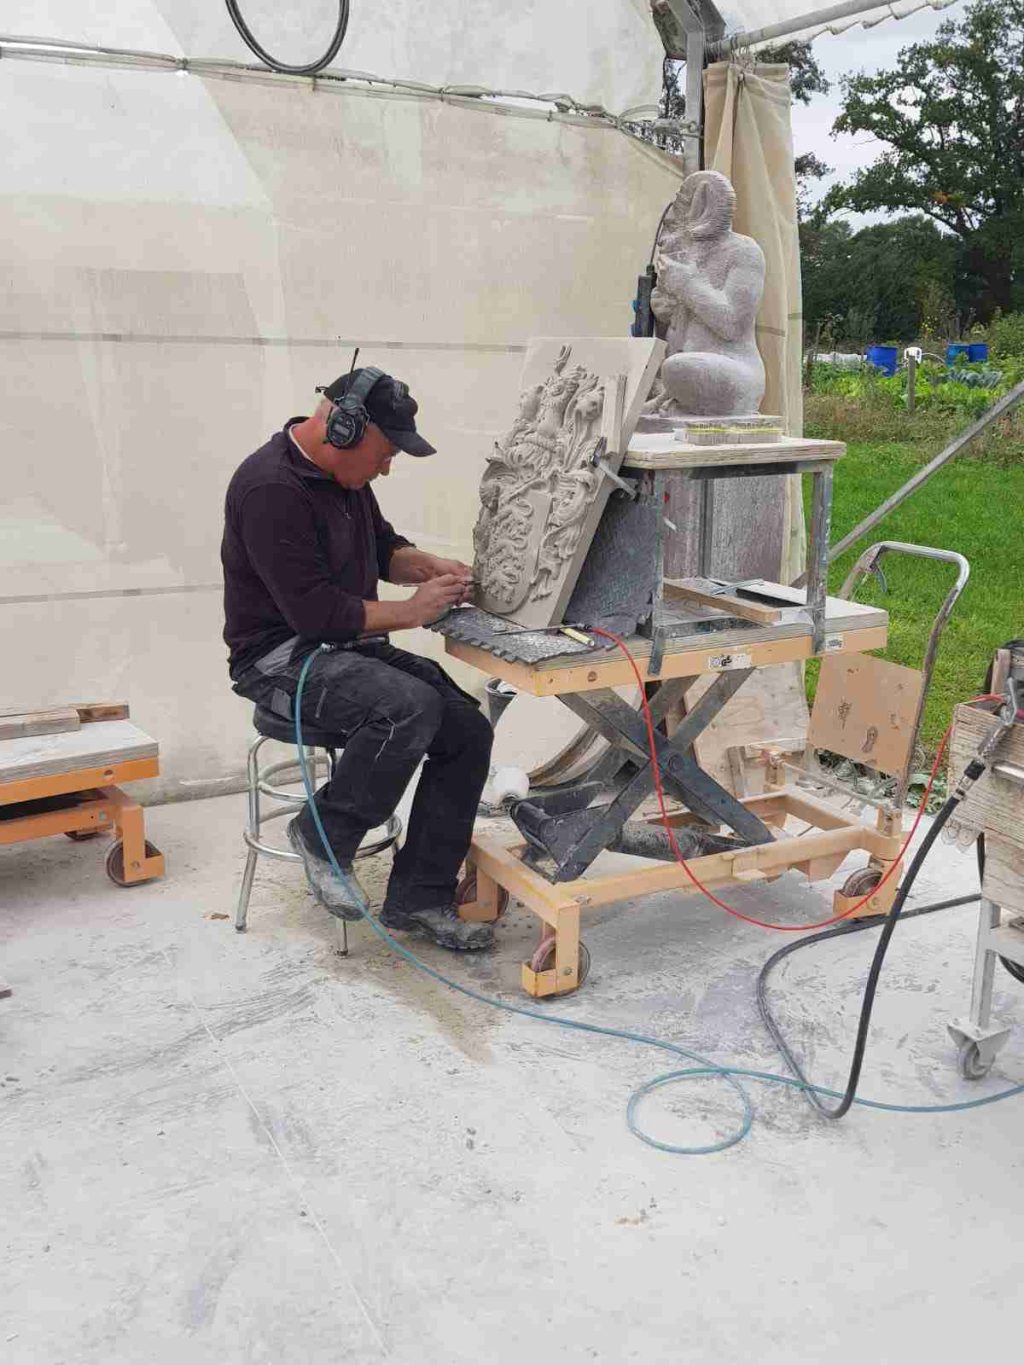
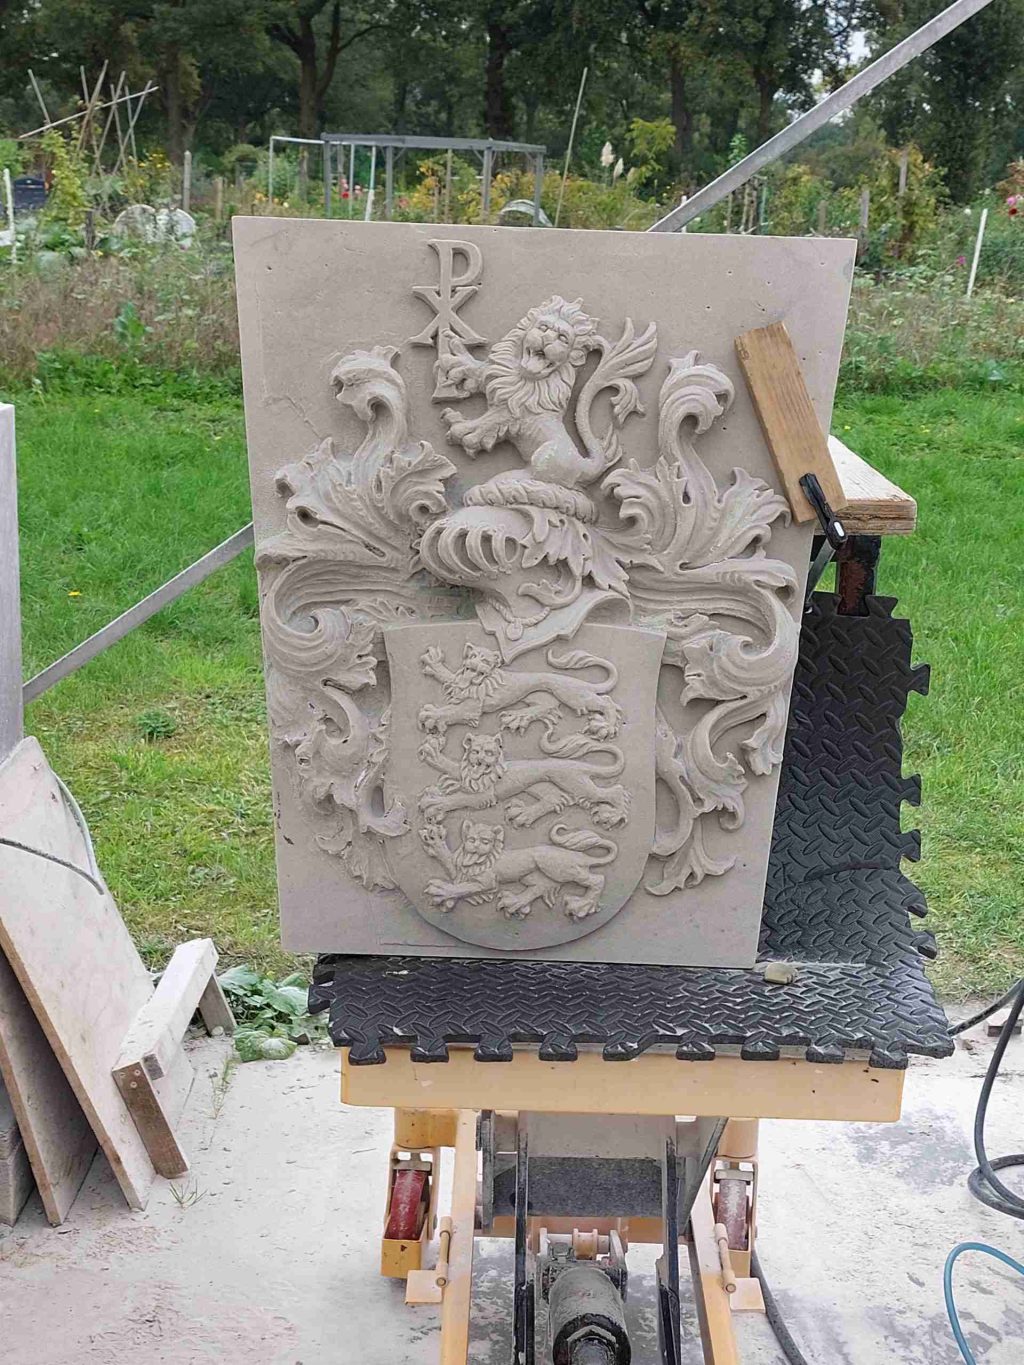
Koen carving the first shield

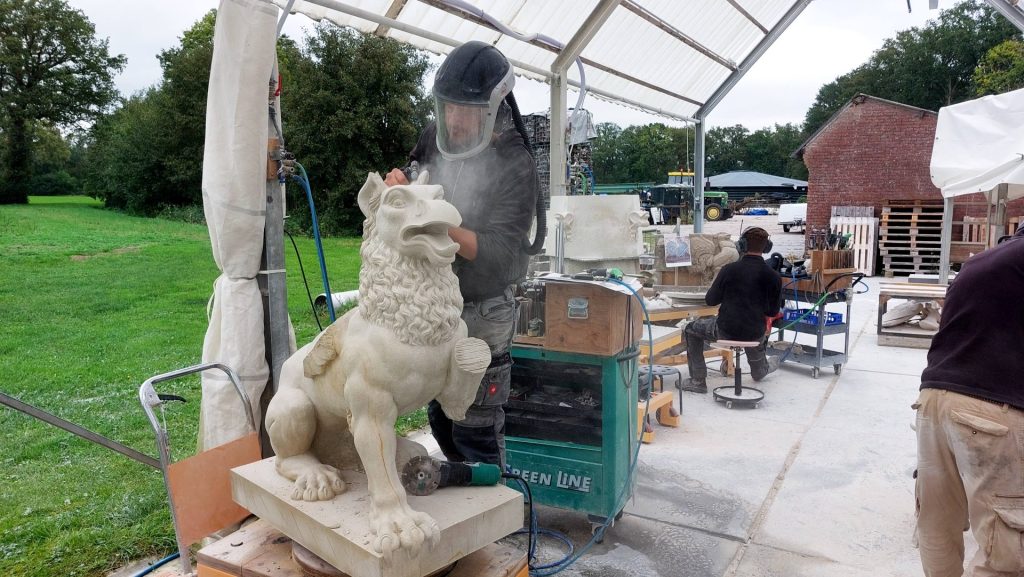
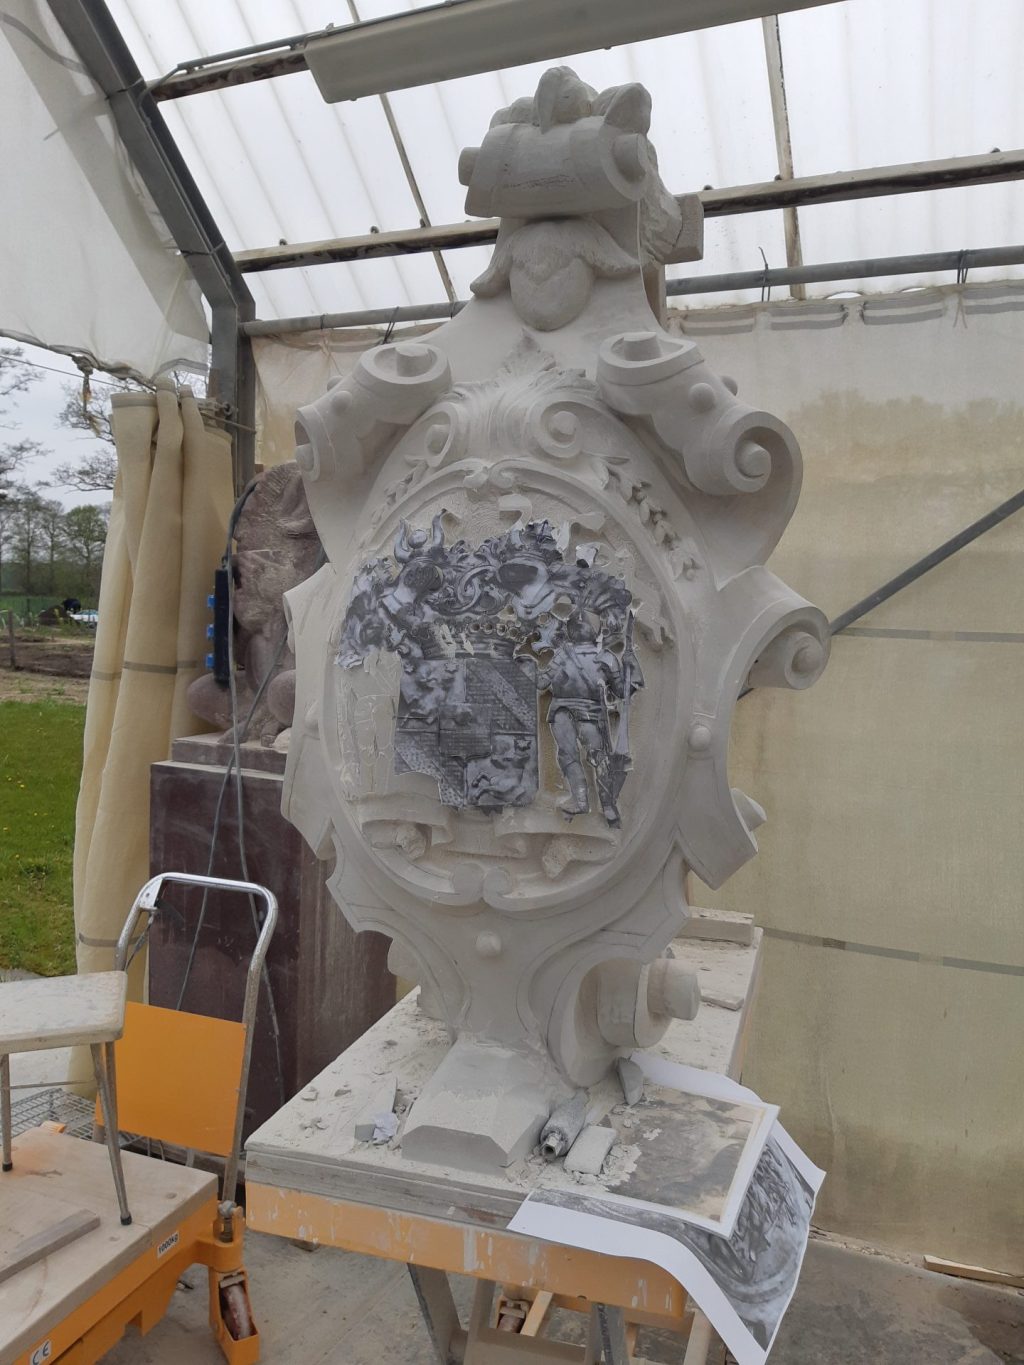
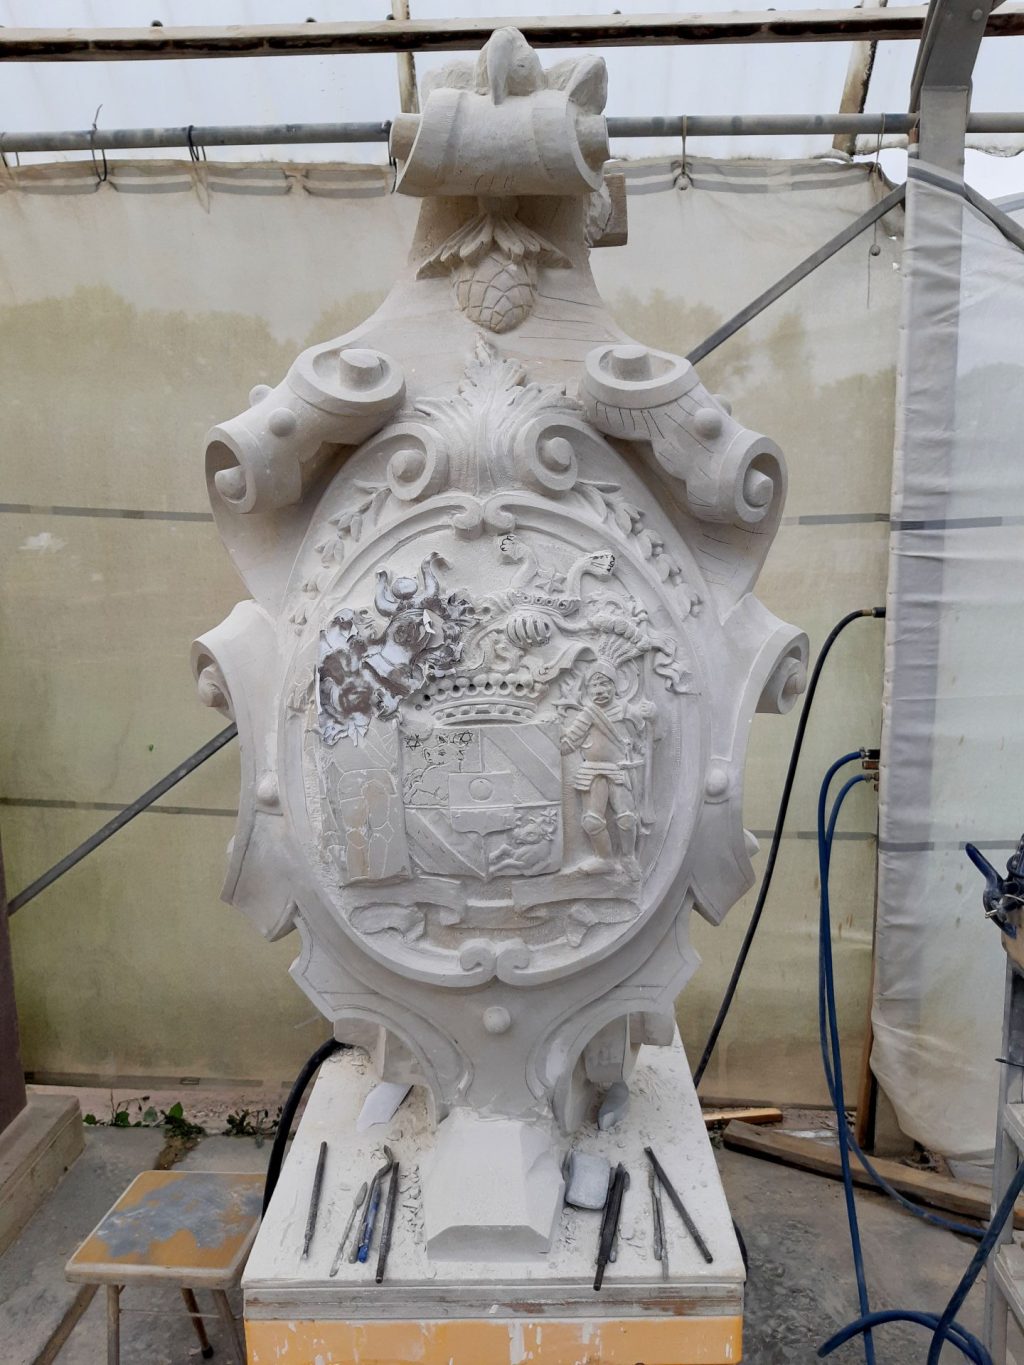
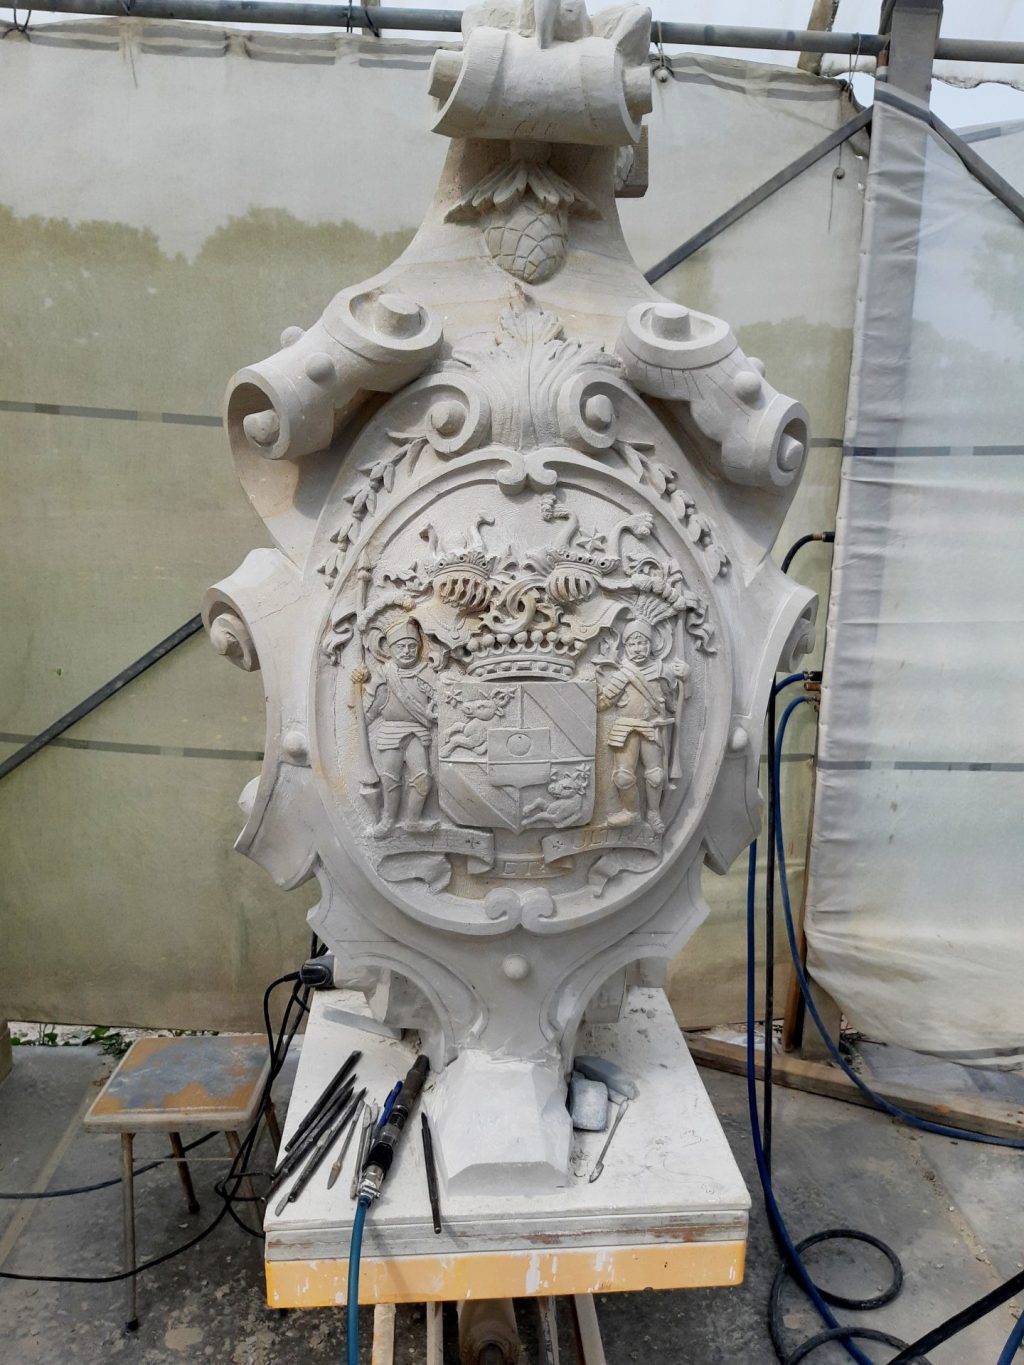
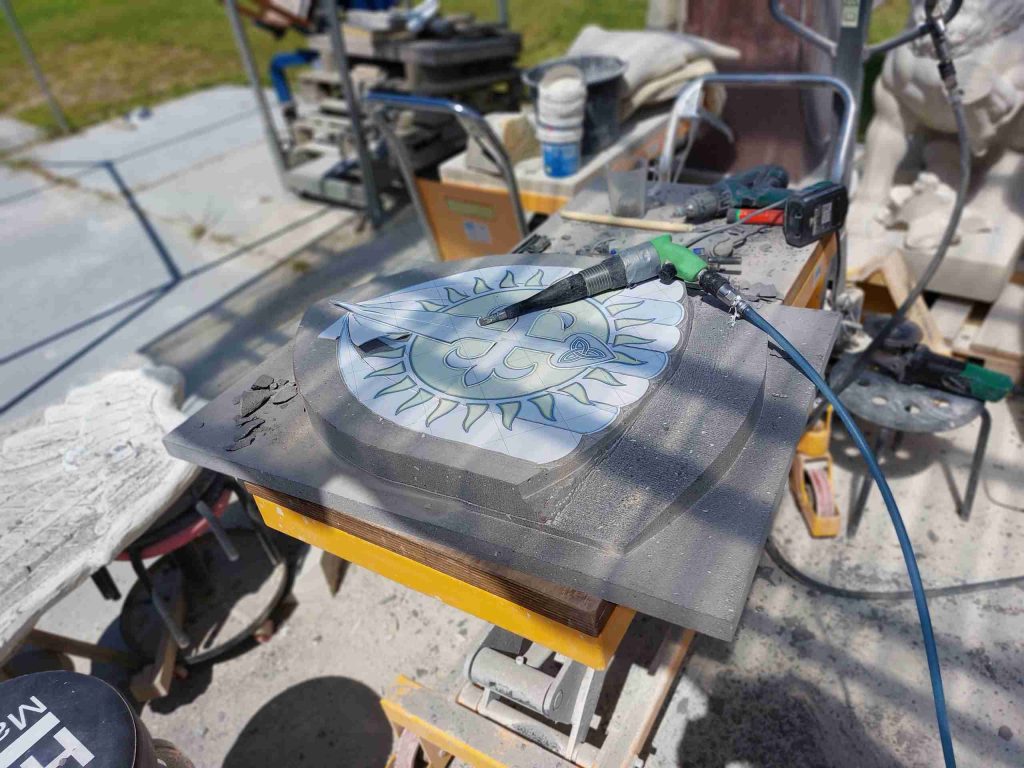
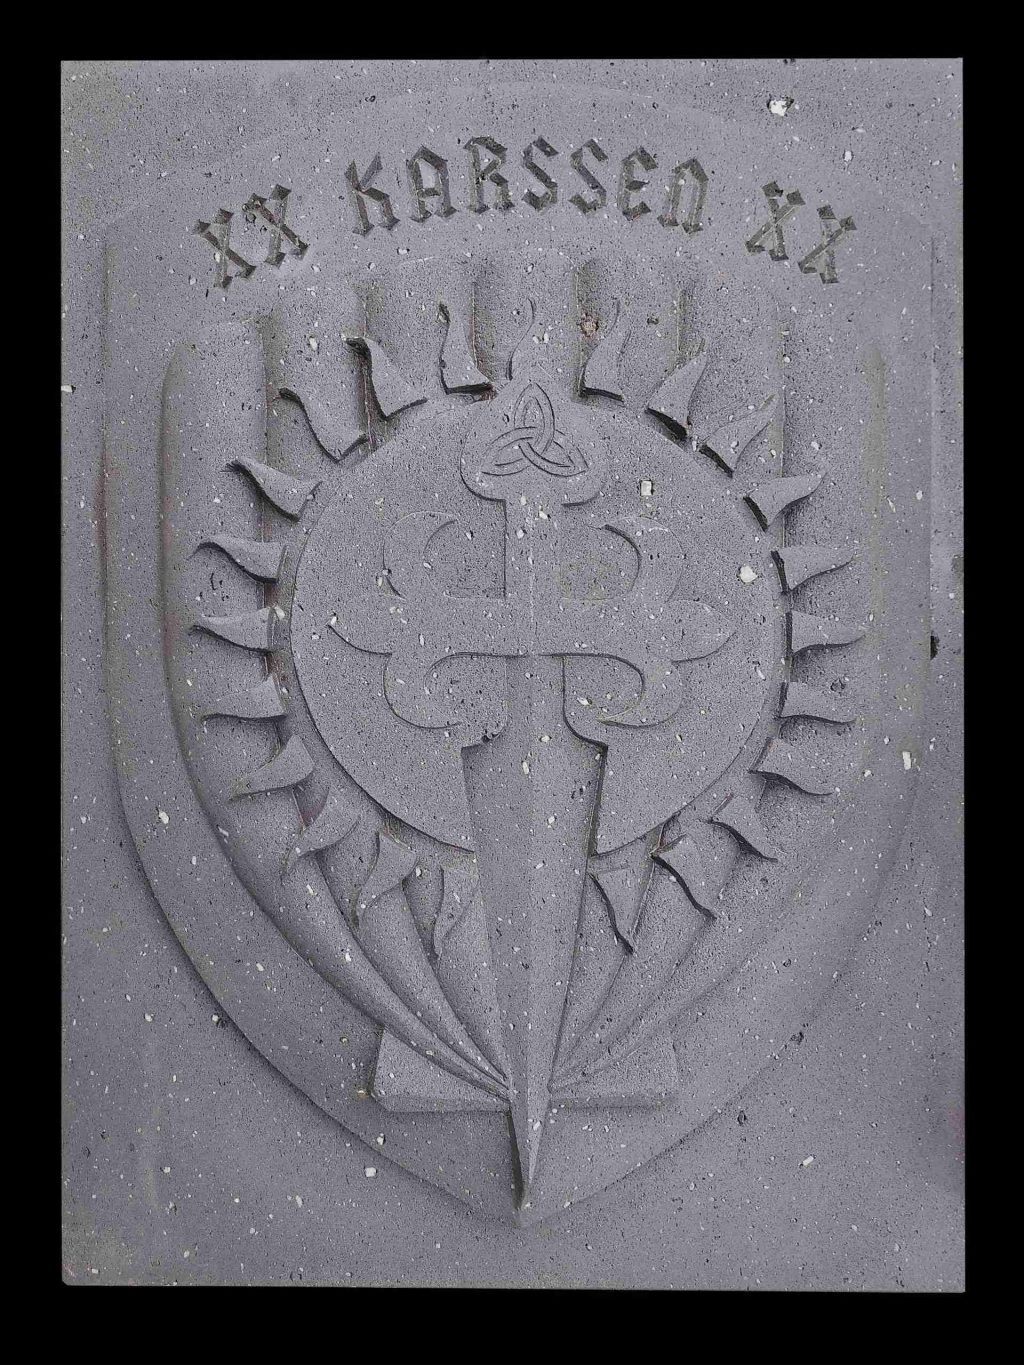
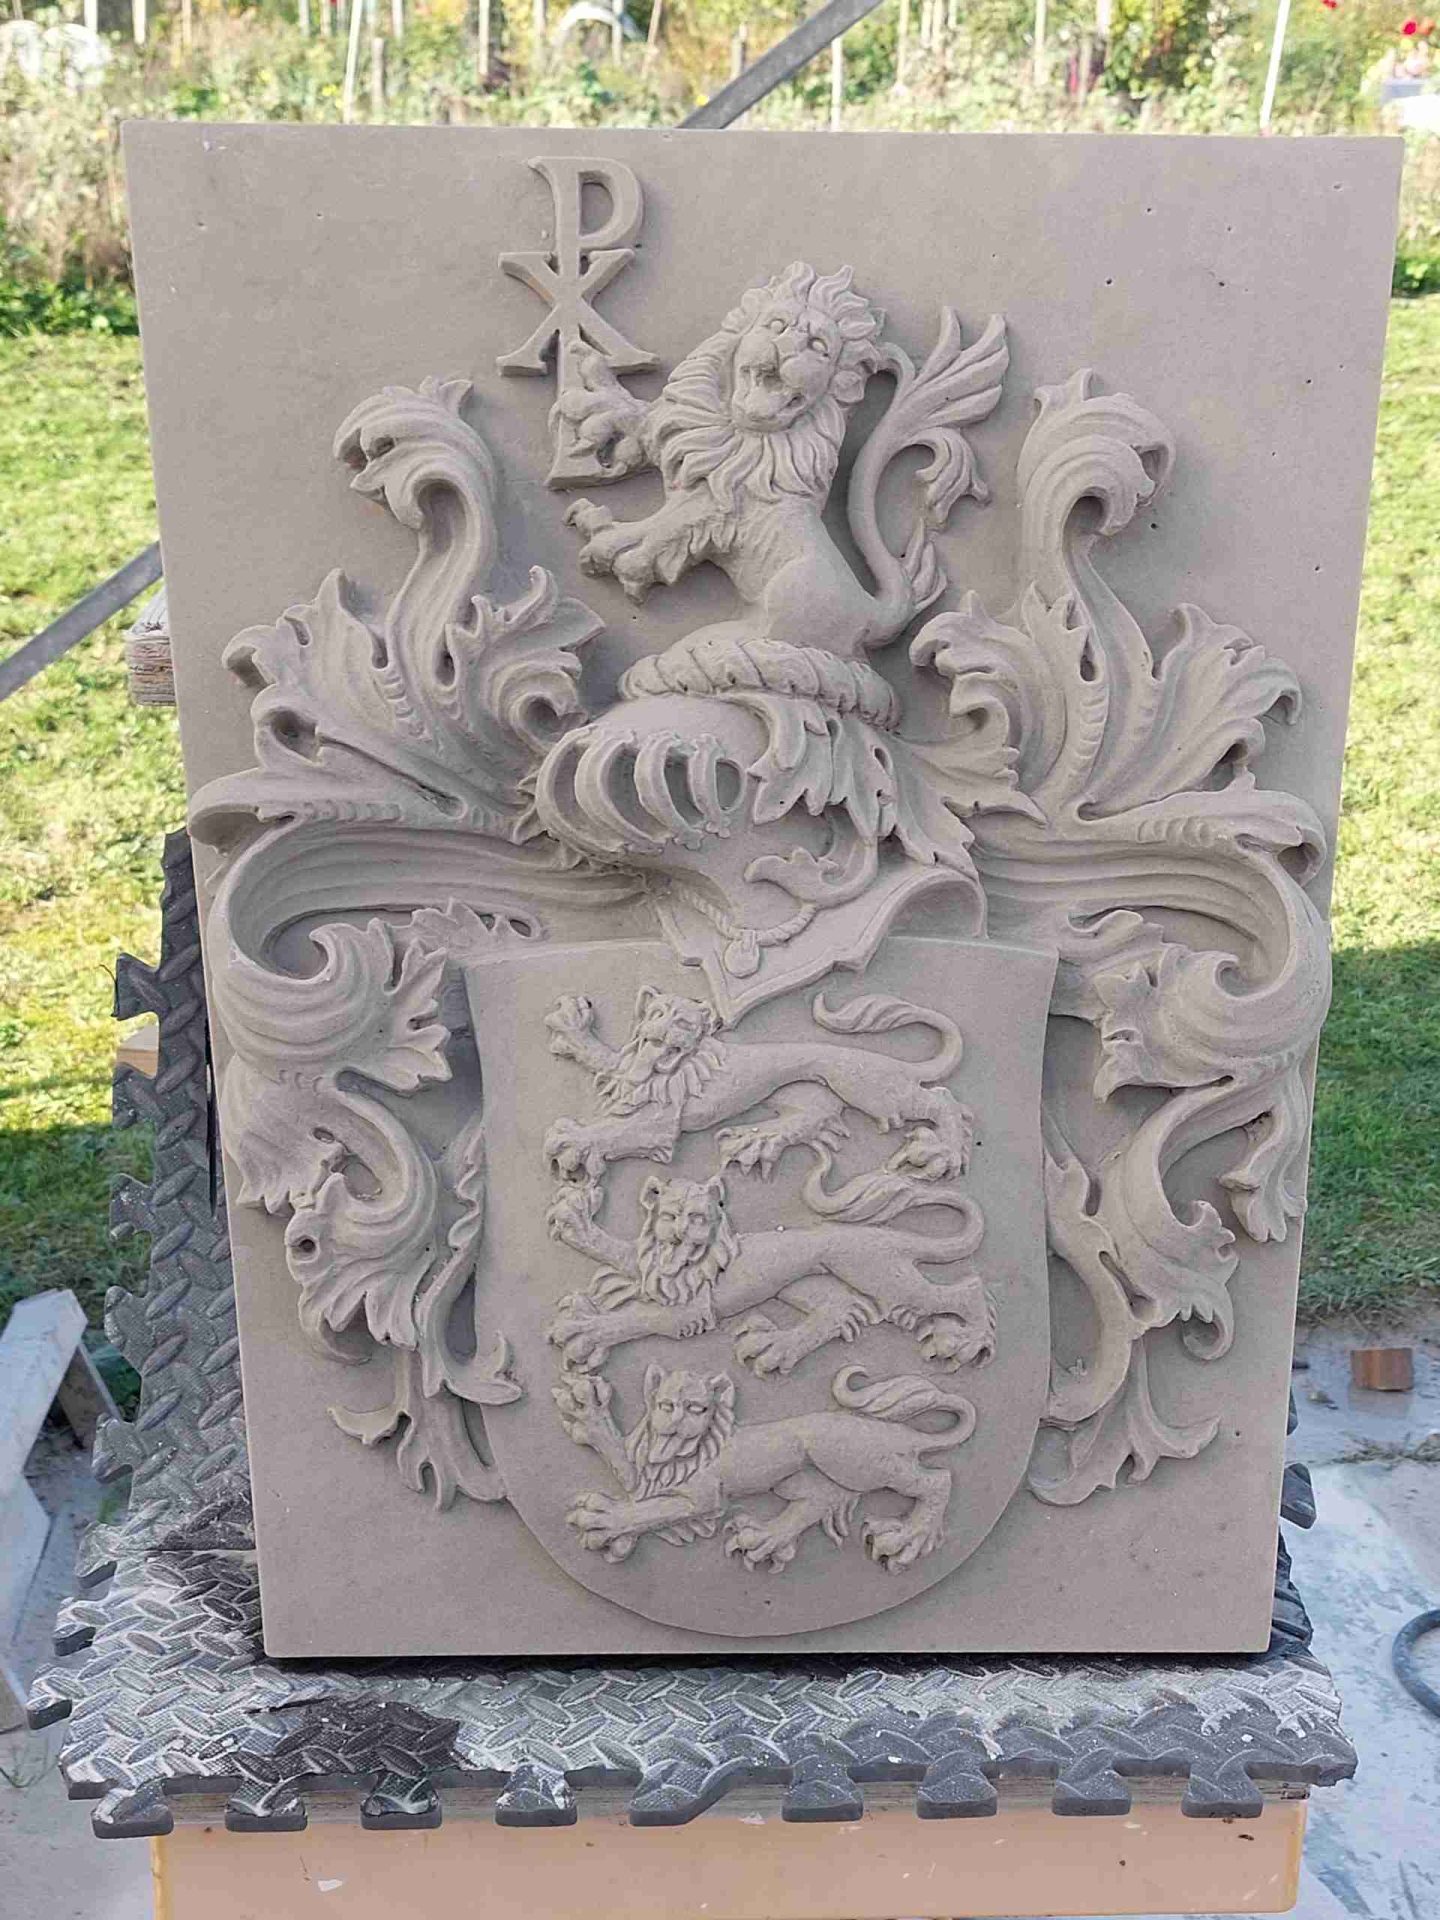
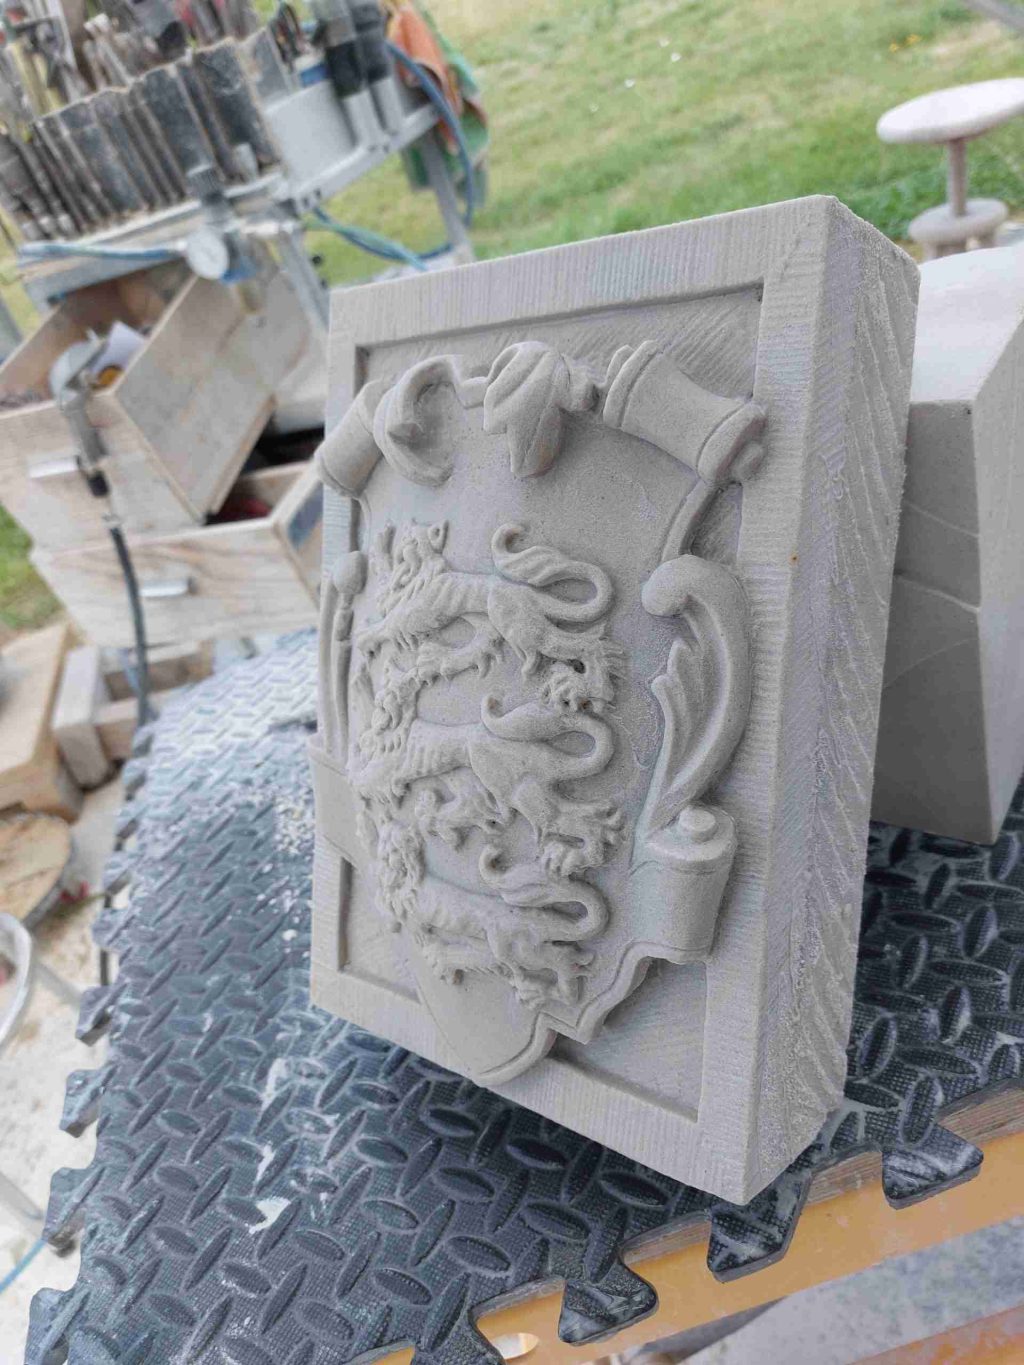
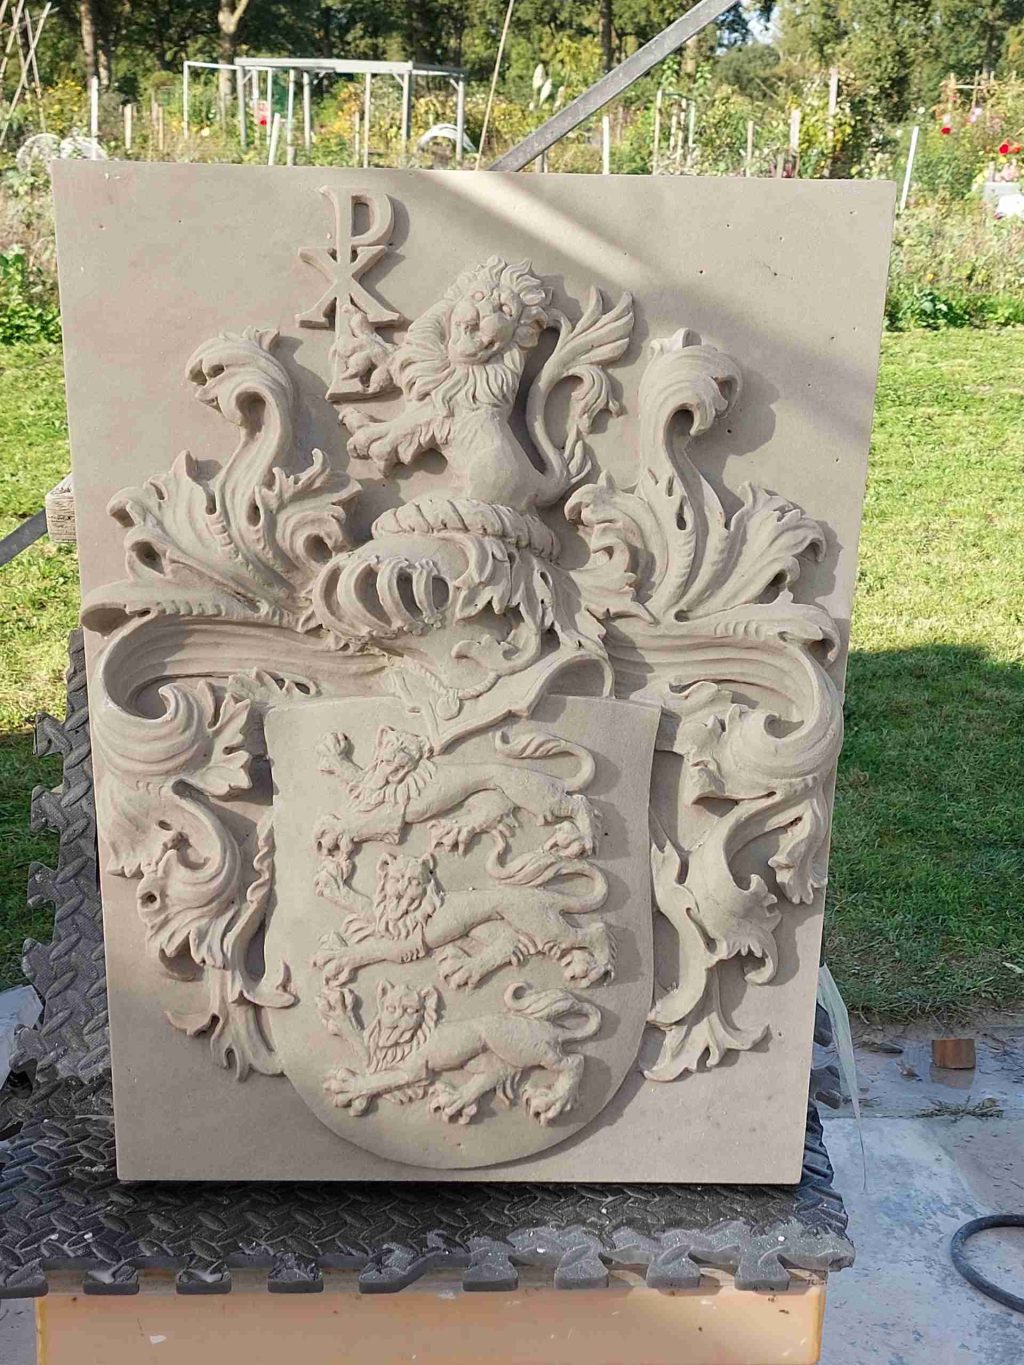
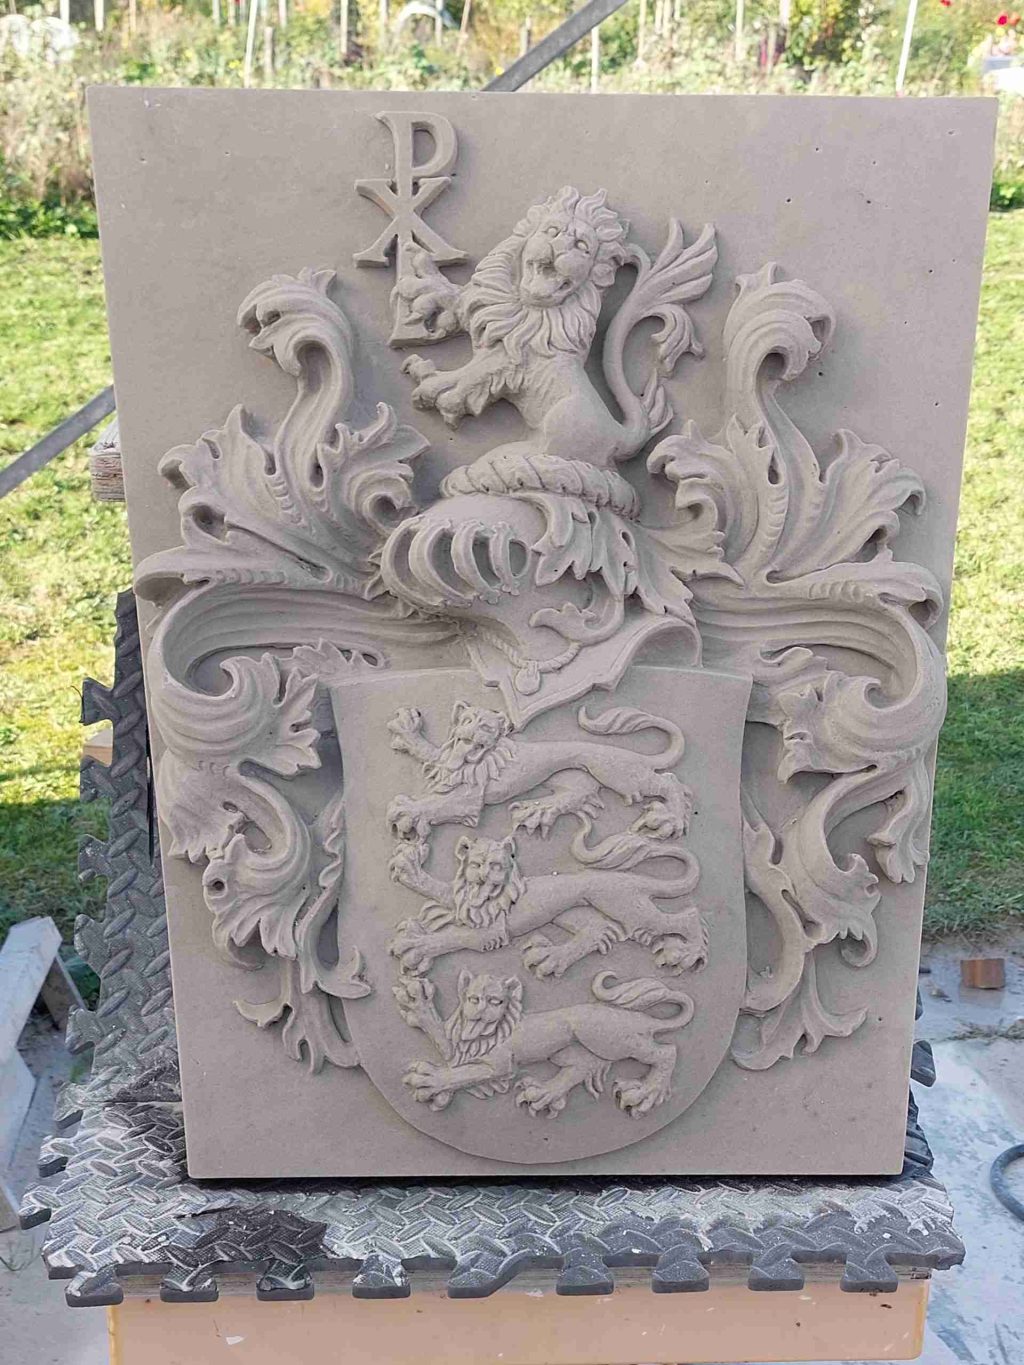
Then there was the shield. It was roughly contour sawn and all the details of the end result were not yet visible. After I had determined the large shapes, I was able to add the edges and details. On top you can still see part of the claw with which the griffin will hold the shield. The back was then hollowed out into a fairly thin plate and the lower curls of the shield were completely finished. Thanks to new photos, I was able to recreate the old details even more faithfully.. Obernkirchen sandstone is quite a difficult stone. It actually works against you every step of the way during carving. It is tough and you can easily chip out unwanted holes with your chisel, but the result is beautiful. It is not without reason that it has been a very popular material for centuries. You just have to protect yourself with a pressured breathing mask (the photo above was more for show, I normally wear a helmet with a fresh air supply).


Stairs profiles
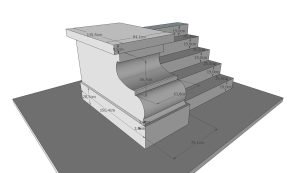
Finally, I made drawings of the stair profiles on which these two griffins will be placed, so that the restoration plasterer can lay the bricks and plaster the sides of the stairs in the matching shapes.
What next?
We still have to put the finishing touches on it 1 of the griffins, the wings and tail still need to be glued. Then the second shield still needs to be carved (it has already been cut out with the contour saw). This shield has a different family crest on it, for instance this one has no less than 6 griffins incorporated into it and three helmets, plus the motto 'Cave Gryphem’ (beware of the griffin). The count was probably very happy with his guard dogs.
Gallery: the progress of the work
Finally, we will fit everything together before we proceed with the actual installation. More on that later.