• Between the flying buttresses of St. John's Cathedral

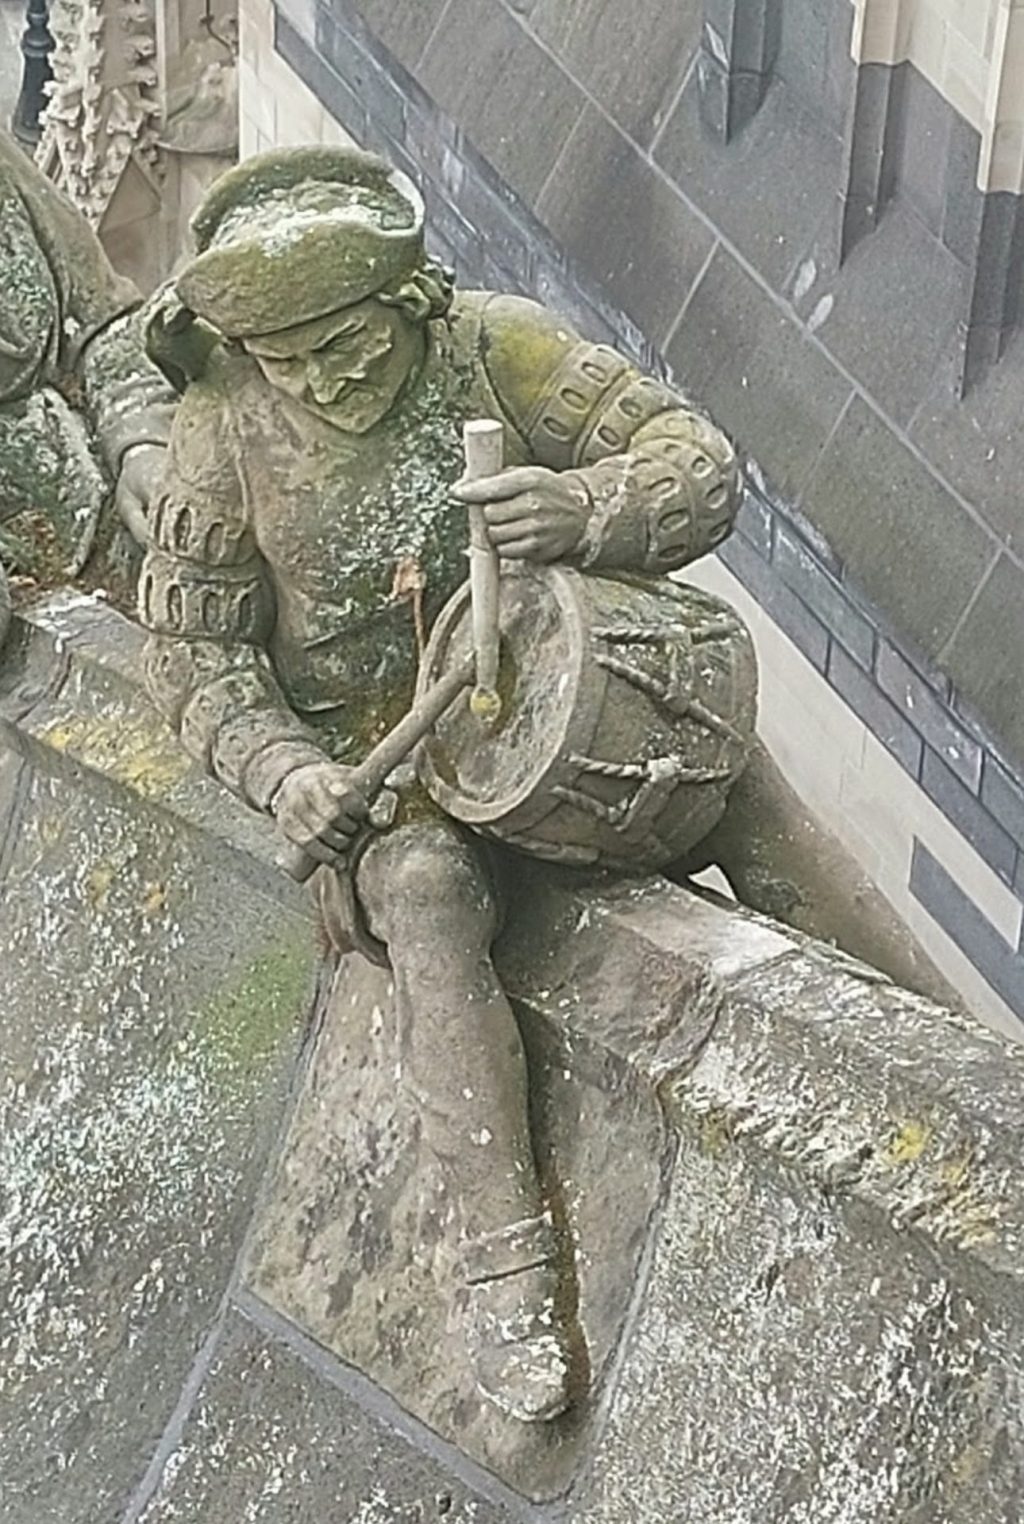
    broken drumstick of the Little Drummer Boy
    The Little Drummer with broken drumstick

    Gothic churches with flying buttresses

    If you've read any of my previous articles on this blog, then you may have seen that in the recent years I made quite some copies of flying buttress figurines for St. Eusebius's Church in Arnhem. Now there are only a few churches in the world that have sculptures on top of their flying buttresses. Actually that wasn't even so originally with St. Eusebius's Church. Firstly, before 1921 this church had no flying buttresses around its choir at all, and secondly, it was only during that restoration that the first flying buttress statues were installed. After World War II eventually 96 flying buttress figurines installed (which we are all copying at the moment).

    Gargoyles and ornaments and flying butresses of St. John's Cathedral in Den Bosch
    St. John's Cathedral in Den Bosch is richly decorated. The northwest facades were replaced in the 70s and 80s in the somewhat gray German basalt lava. The statues and gargoyles were made of Udelfanger sandstone, and date from the 19th century.

    The flying buttresses of St. John's

    This was all inspired by the flying buttresses of St. John's Cathedral in 's-Hertogenbosch, where already since the Middle Ages 96 figurines have been sitting on top of the flying buttresses.

    There is a Wikipedia article devoted to them, where you can find a description of each figurine. The statues of St. John's are 19th-century copies of earlier medieval sculptures. Of these, a few can still be found inside St John's Museum De Bouwloods, next to the Cathedral.

    Been working on it for years

    the Little Drummer Boy on the flying buttresses of St. John's Cathedral in Den Bosch
    This picture shows that the drumstick had already been broken a long time ago. Photo: Tony Zeeuwe

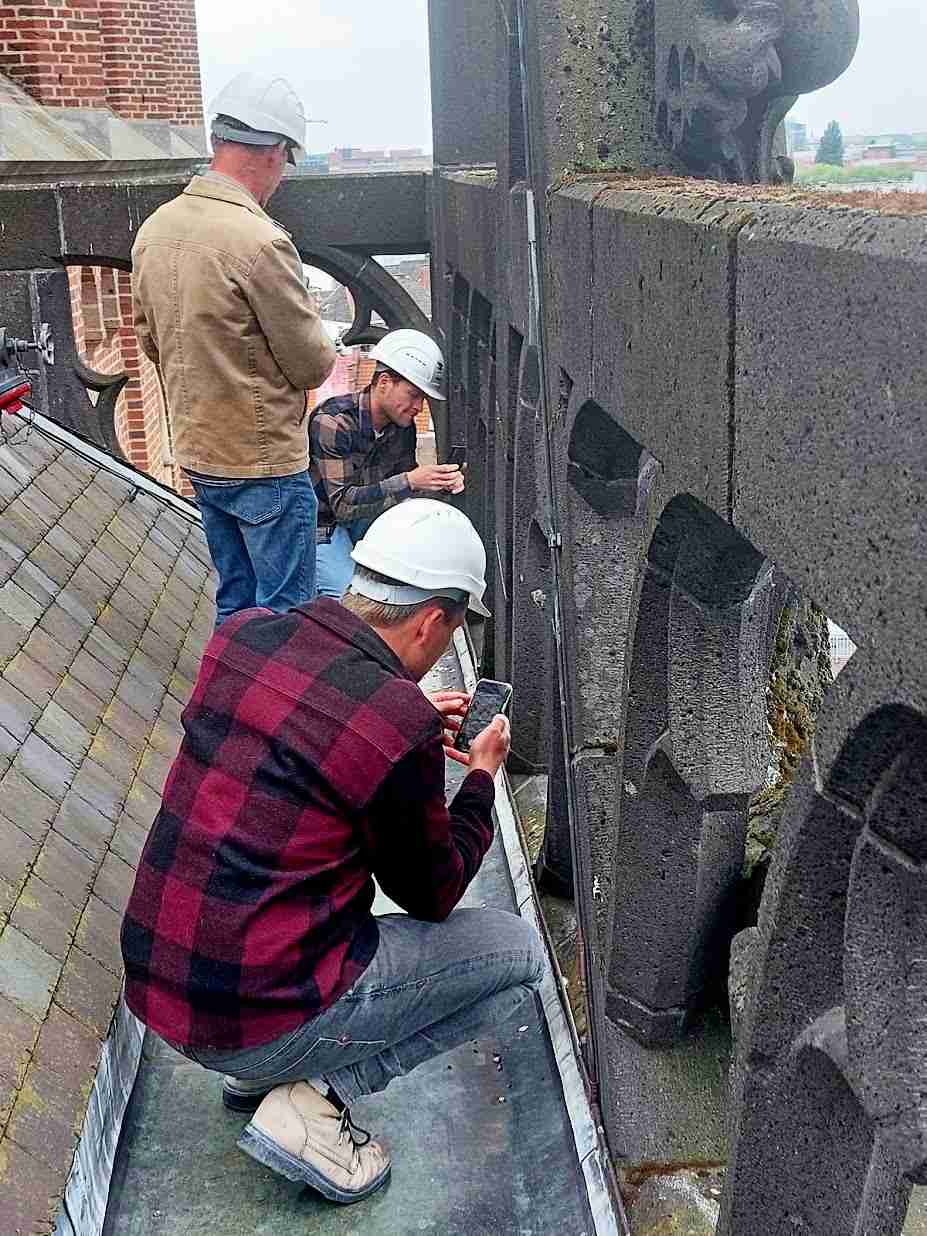
    Recently I was asked to fix one of those flying buttress figurines. It was a really simple job, that was done in a few hours, but it was very nice to once again sit on top of the church. My colleagues and I have been working on this Cathedral of 1999 to 2010 carving ornaments, statues, gargoyles, consoles and canopies for the church, and then we have also been involved several times in carving ornaments later on.

    A good cooperation

    Every year a small part of the church will be restored in the context of Major Maintenance. This year, a Belgian company took on the restoration of the natural stone parts, including the ornaments. That's why I was very surprised when I was asked for this job, but I got to hear that the lines are very short between the contractor and our crew (we work together in the restoration of the Eusebius Church in Arnhem, the Dom Cathedral in Utrecht and the Dom Tower in Utrecht), so these things can be arranged very quickly.

    The Little Drummer Boy

    In this case it was the Little Drummer Boy's drum stick, which was broken. If I could fix it. Of course. It was Udelfanger sandstone, and as I still had some pieces lying around, no problem. I loaded all the stuff in my van, drove to Den Bosch, and dragged everything up the stairs to about 30 meters up. Luckily I didn't need my compressor after all.

    repairing the drumstick of the Little Drummer Boy on the flying buttresses of St. John's Cathedral in Den Bosch
    The beginning of the job: an aligned hole through the hand and the old tip of the drumstick. A fitting piece of new sandstone with a hole, in between the old parts. Next is adding the top piece and then shaping the drumstick

    Connecting all the parts

    Because it is a stone drumstick, it was obviously not too thin. I could drill a long hole through the hand and make a hollow drum stick in two parts. Once the pieces, with a lot of finicky matching, finally fitted on top and in between, I could make them slimmer and shape them precisely. Finally, I was able to connect the five parts by gluing one long pin into it. Add a little bit of mortar and it's done.

    Flying buttresses of St. John's Cathedral in Den Bosch
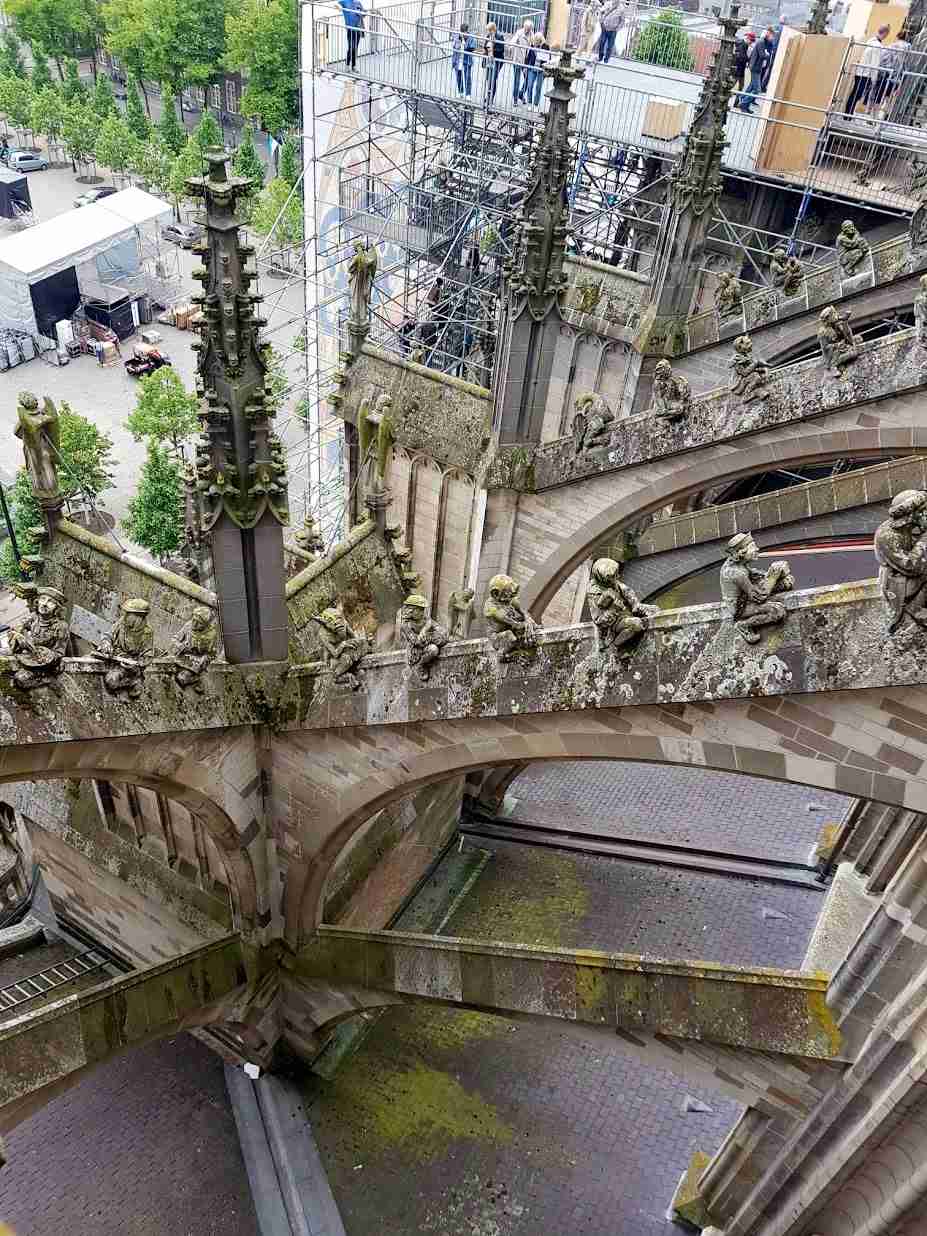
    A great view of the flying buttresses on the north side

    Carnival, above and below

    And only then I had the time to look around me. I had been so engrossed in the work that I had forgotten to take some photos of my work, but now I could clearly see that this was a very good spot. Downstairs, the Carnival was starting up, on Friday, already. But even here on top a party was going on, what a view! All kinds of different flying buttress figurines of high quality.

    Jerome Bosch connection

    Hieronymus Bosch Fat man on Water Barrel

    There are speculations that the flying buttress figurines may have a connection with Jerome Bosch. Hieronymus Bosch, the famous 15th-century painter from Den Bosch, was, just as the architect of St. John's Cathedral, Alaert Duhameel, a member of the Illustrious Brotherhood of Our Blessed Lady. Whether it is true that the themes of the original sculptures indeed were partly raised by Jerome Bosch or that he even made drawings for them, we'll never know. But the atmosphere is remarkably similar. It's nice to muse about it anyway. In any case, it's a special place for Den Bosch. That's why the flying buttresses, in the Bosch-year of 2016 were the centre piece of the well-visited ‘The Wondrous Climb‘ along the sculptures of St. John's Cathedral.

    Forgotten

    The job was done, I loaded the stuff into my van, consulted a bit with the foreman and drove home. I had only forgotten 1 small detail. Taking a picture of the final result!

    Update:

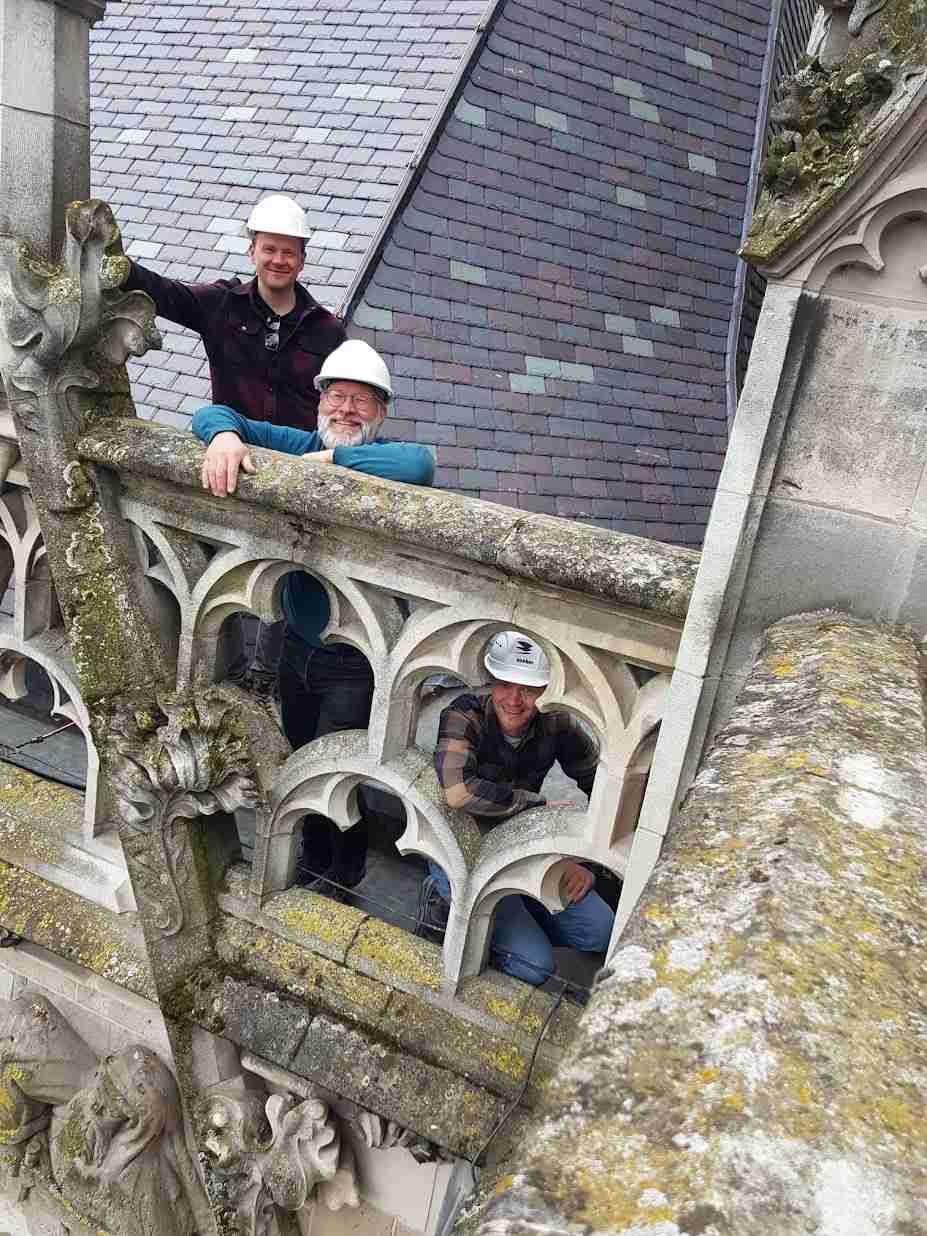
    during a later visit to the gutters of St. John's, with my team of sculptors and student sculptors in May 2023, I was able to take a picture of the Kleine Tamboer.
  • A Japanese lantern for Clingendael Estate

    An old Japanese lantern

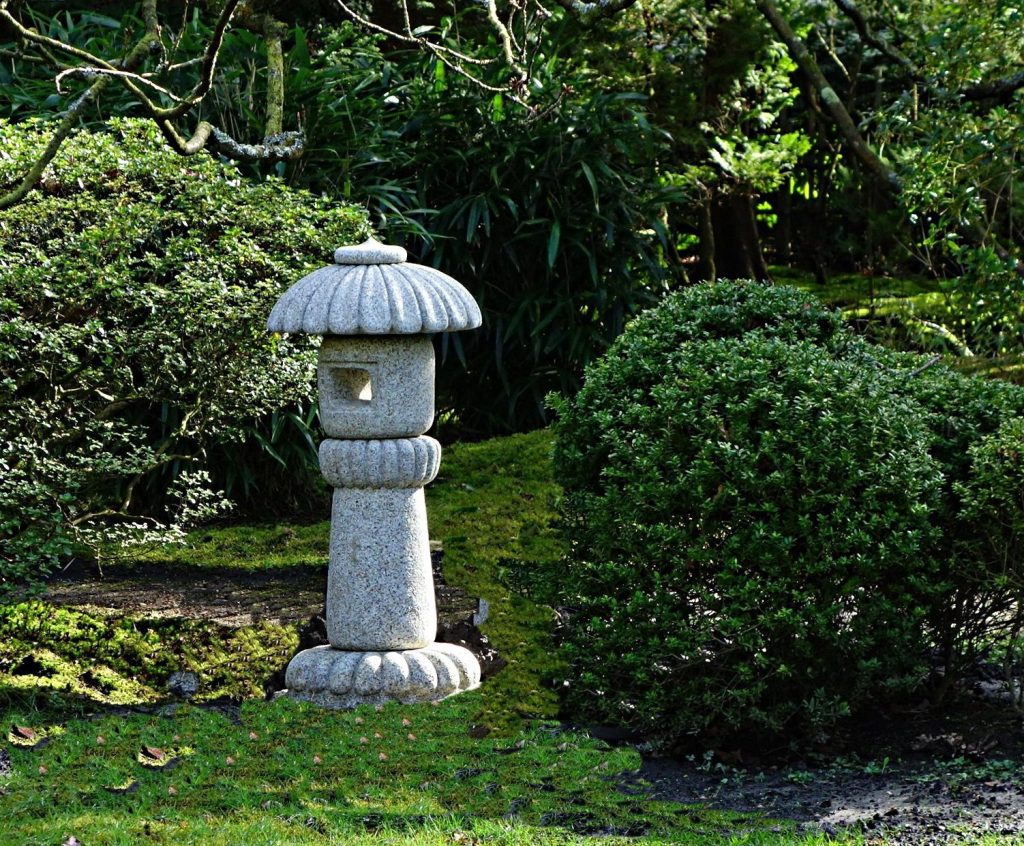
    Japanese Garden Clingendael
    Japanese Garden of Park Clingendael. Photo by Takeaway – own work, CC BY-SA 4.0

    You'll probably know them: the granite lanterns adorning Japanese gardens. I didn't know this, but even in the Netherlands, we have wonderful Japanese-styled gardens. Actually you can't really call them Japanese Gardens, because the criteria for these are apparently very strict. Rule no. 1 is as I believe that it should be located in Japan, and that just won't fit inside The Netherlands. Anyway, in The Hague, specifically in the grounds of ​​Clingendael Estate in Wassenaar, there is also a Japanese garden. A very beautiful one, that was created around 1915 and only opens for 8 weeks per year. To save the moss.

    Copying in Bavarian granite

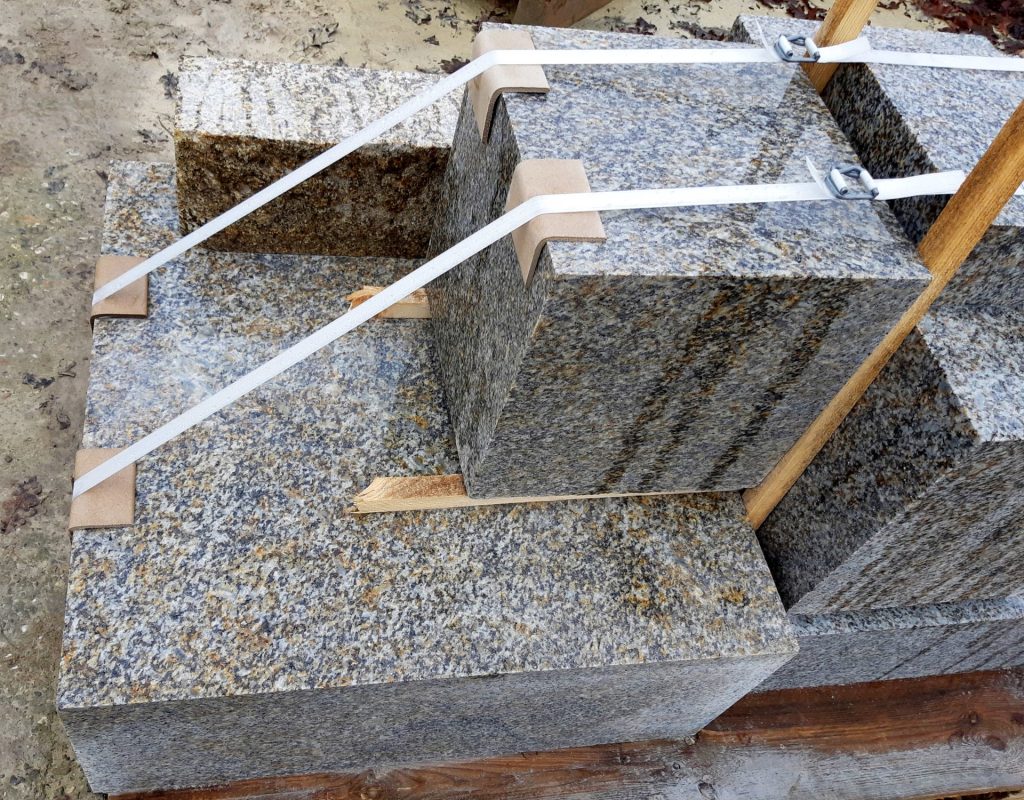
    blocks of Flossenburger granite gray-yellow

    Around the time of the construction of the garden, its owner imported a number of granite lanterns for her garden. Among them was also one

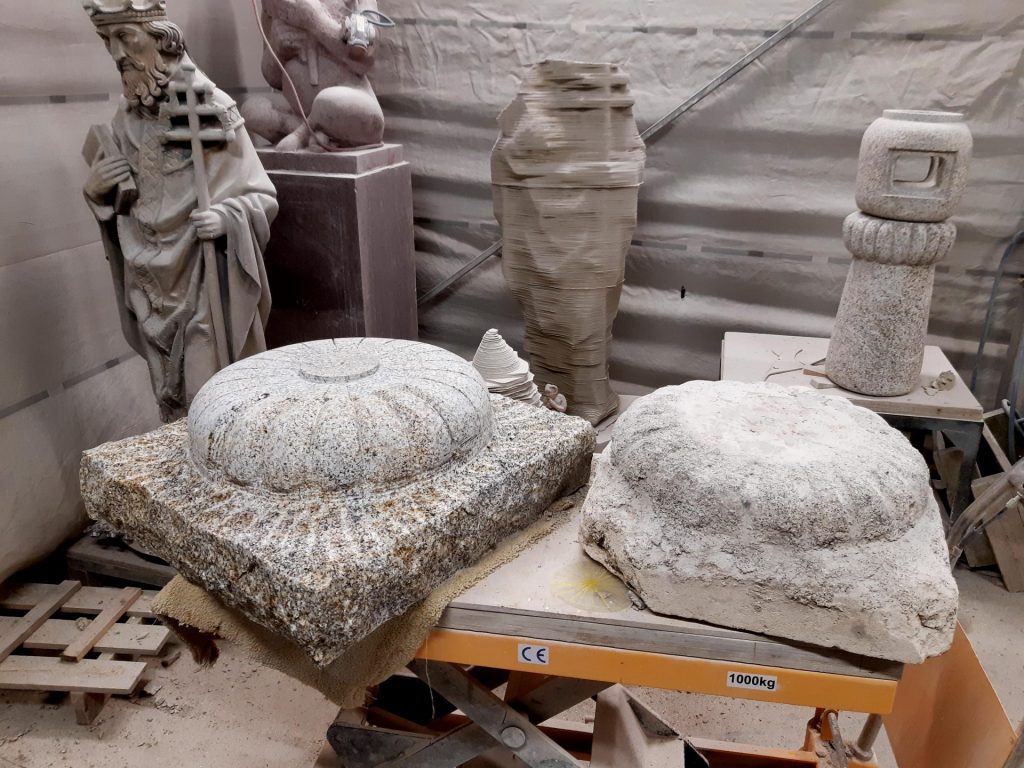
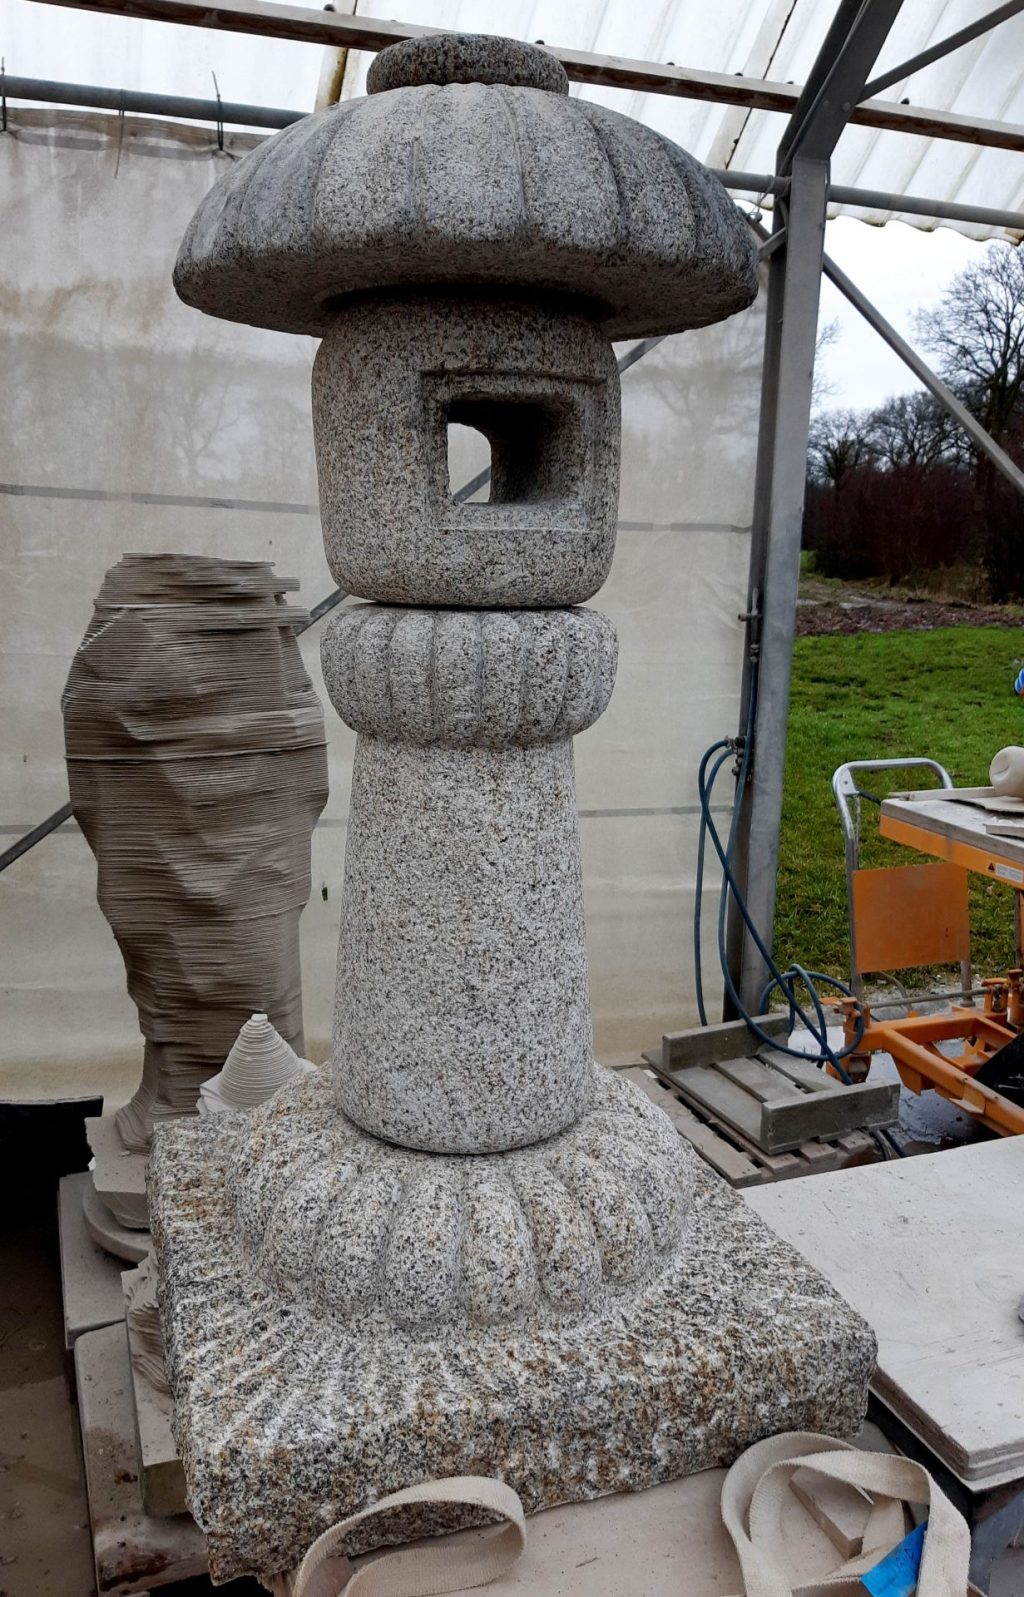
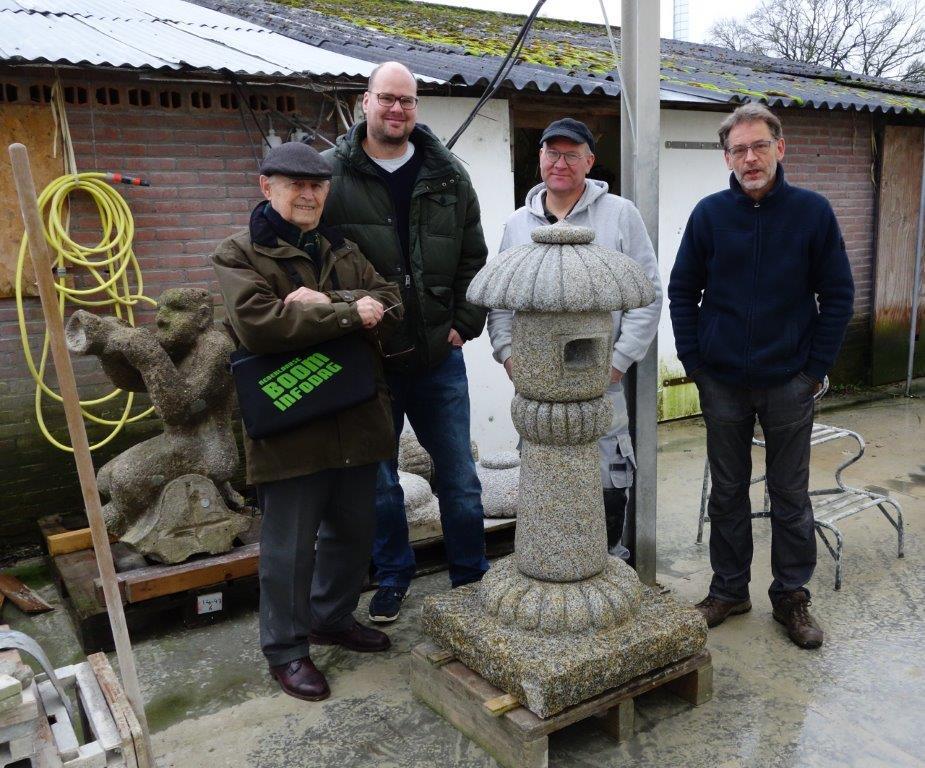
    somewhat primitive Japanese lantern made of Shirakawa granite. It weathered rather quickly however, and was restored a number of times over the years. And then in May 2017 I was approached by Raymund Bervoets of Restauratie Breda, who asked me what it would cost to have a copy carved in Bavarian granite.

    The lantern consists of five parts: the base, the shank, the fire chamber, the roof, and the cap. Typically, all the parts are loosely stacked onto each other, but in this one, because of all the repairs, several parts were glued together. Its base had gotten lost over time, perhaps it had weathered and been done away with, so at one time a composite cast piece was made.

    Chrysanthemum themed

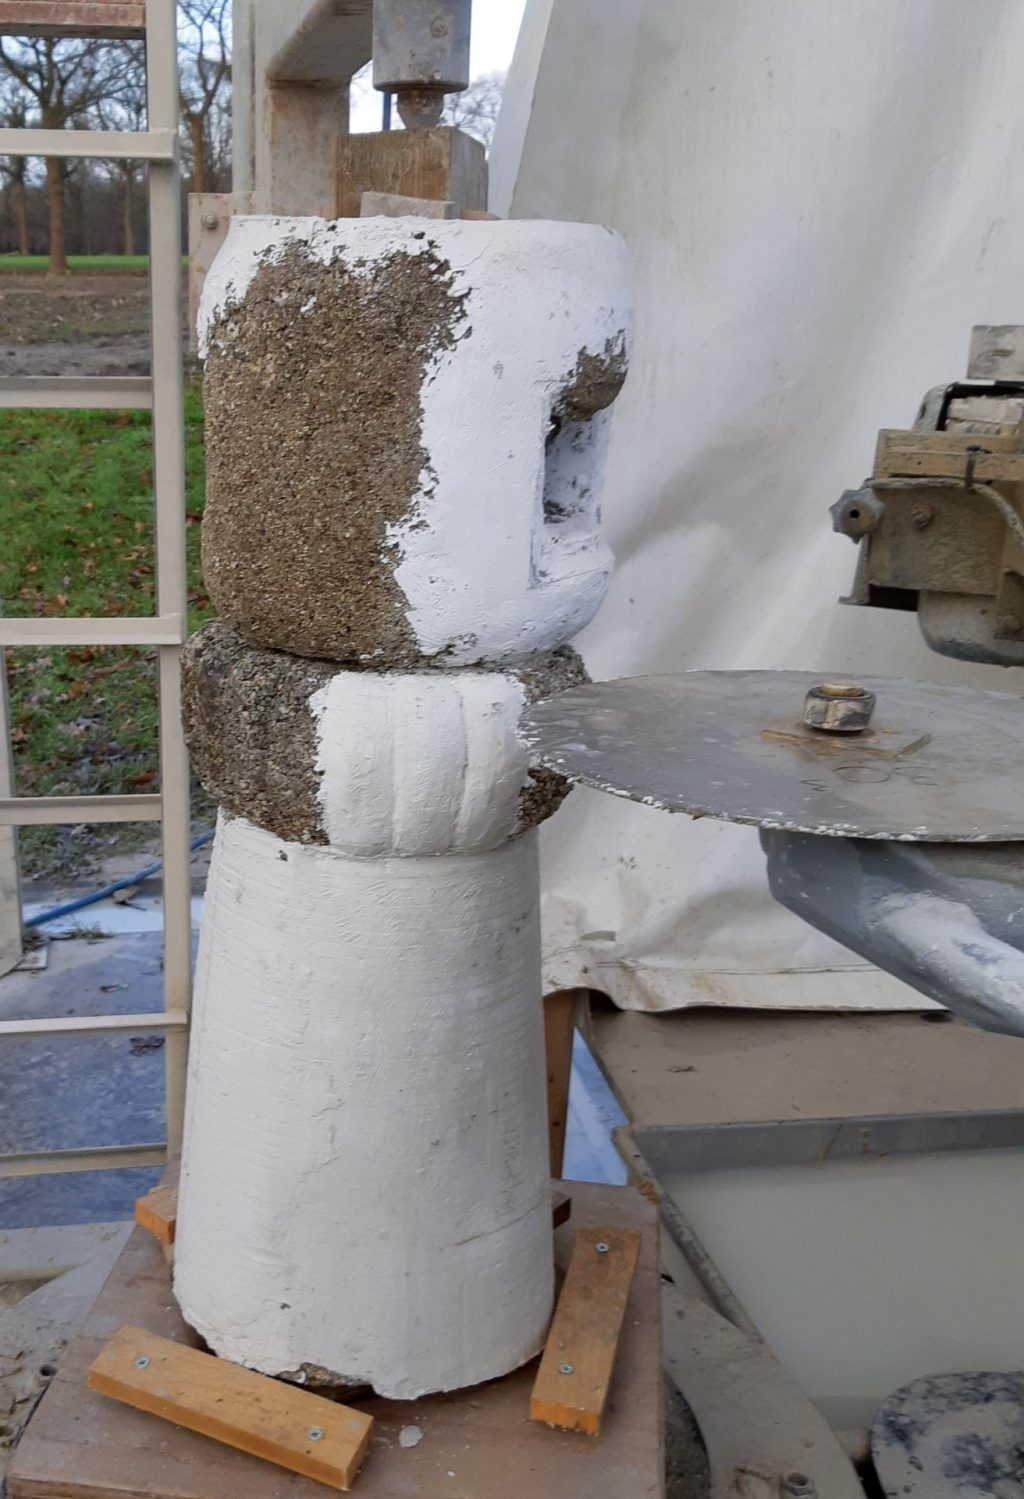
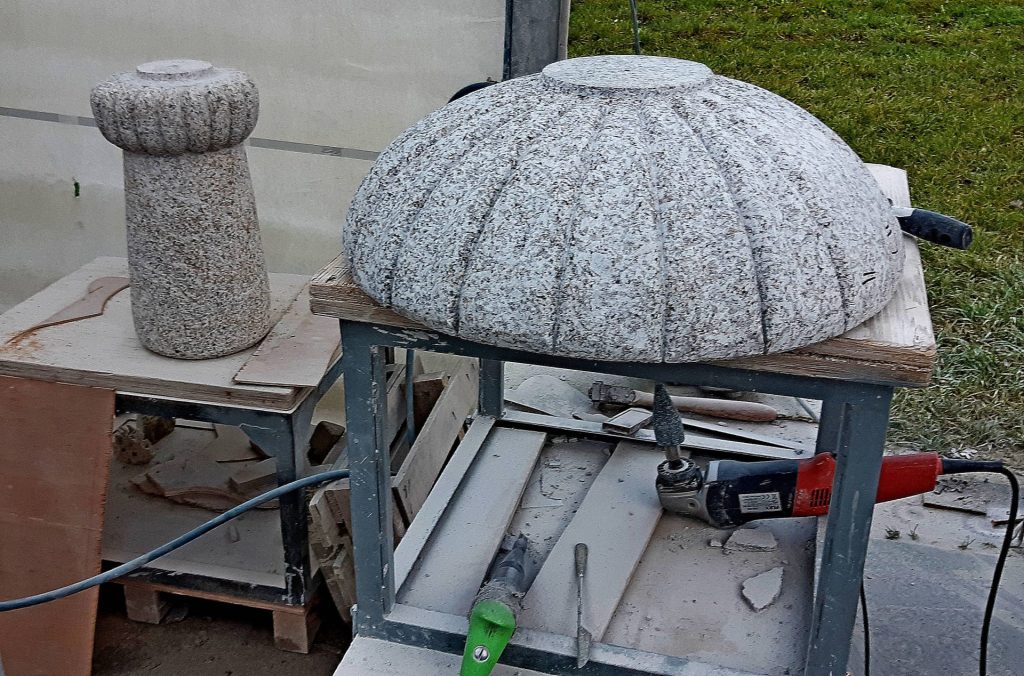
    reconstruction of the shank and fire chamber of the lantern on the sawing machine

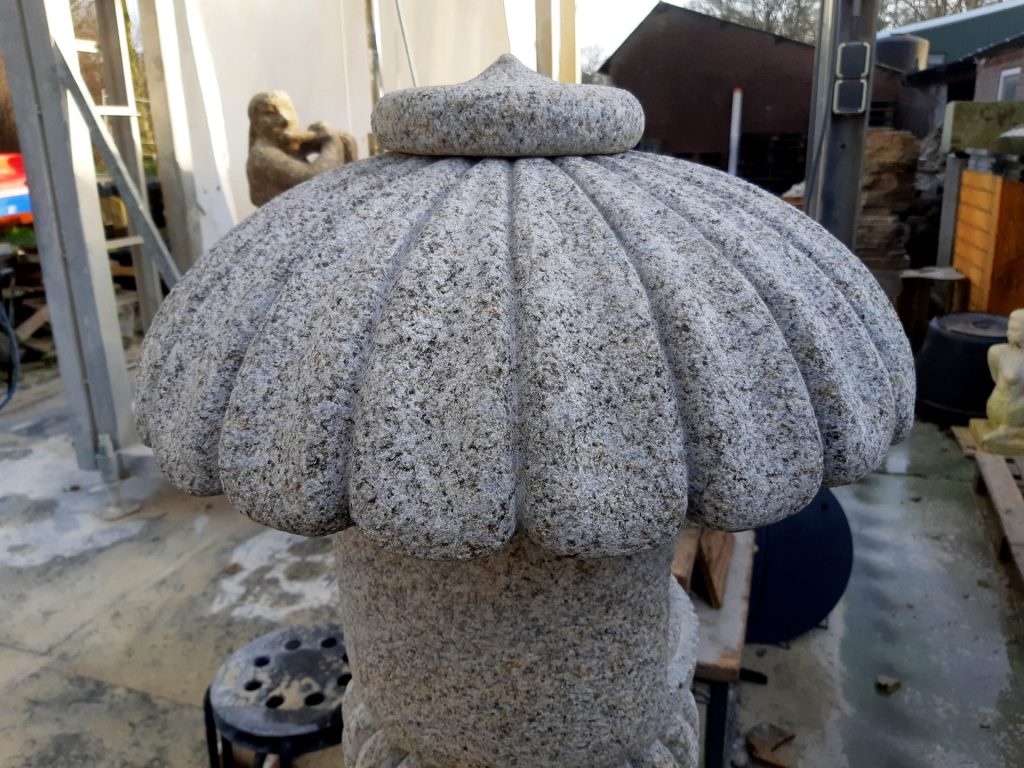
    Usually Japanese lanterns look very different. For starters they haven't got 20 but 16 lobes, and thus get to bear the title 'Imperial'. Also, base and shank will be carved much more clearly. But the common element was that the roof of the lantern consisted of chrysanthemum petals. Perhaps this was a somewhat more rustic version of an official lantern?

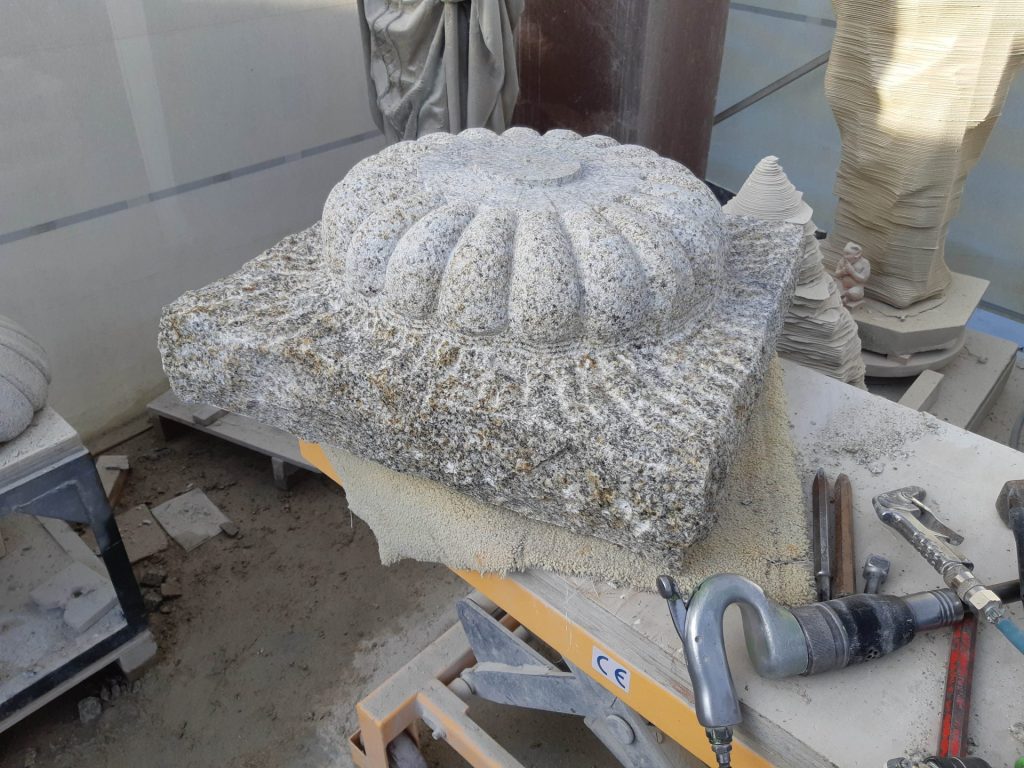
    Raymund had done a lot of research into the right shapes for this lantern. On this basis, a plan was drawn up for copying. We needed a new design for the base, with, just as the roof and the shank, has 20 lobes. The shank was supposed to get a bit of a tummy. The fire chamber had deepened 'edges’ so that a small window frame with rice paper could be put in. The roof had to get 20 chrysanthemum leaves just as the original had, but sharper and fuller, and the cap had to go get a tip. And everything was supposed to get a hand-carved character.

    Of course, no problem! You ask, we run.

    Getting to work

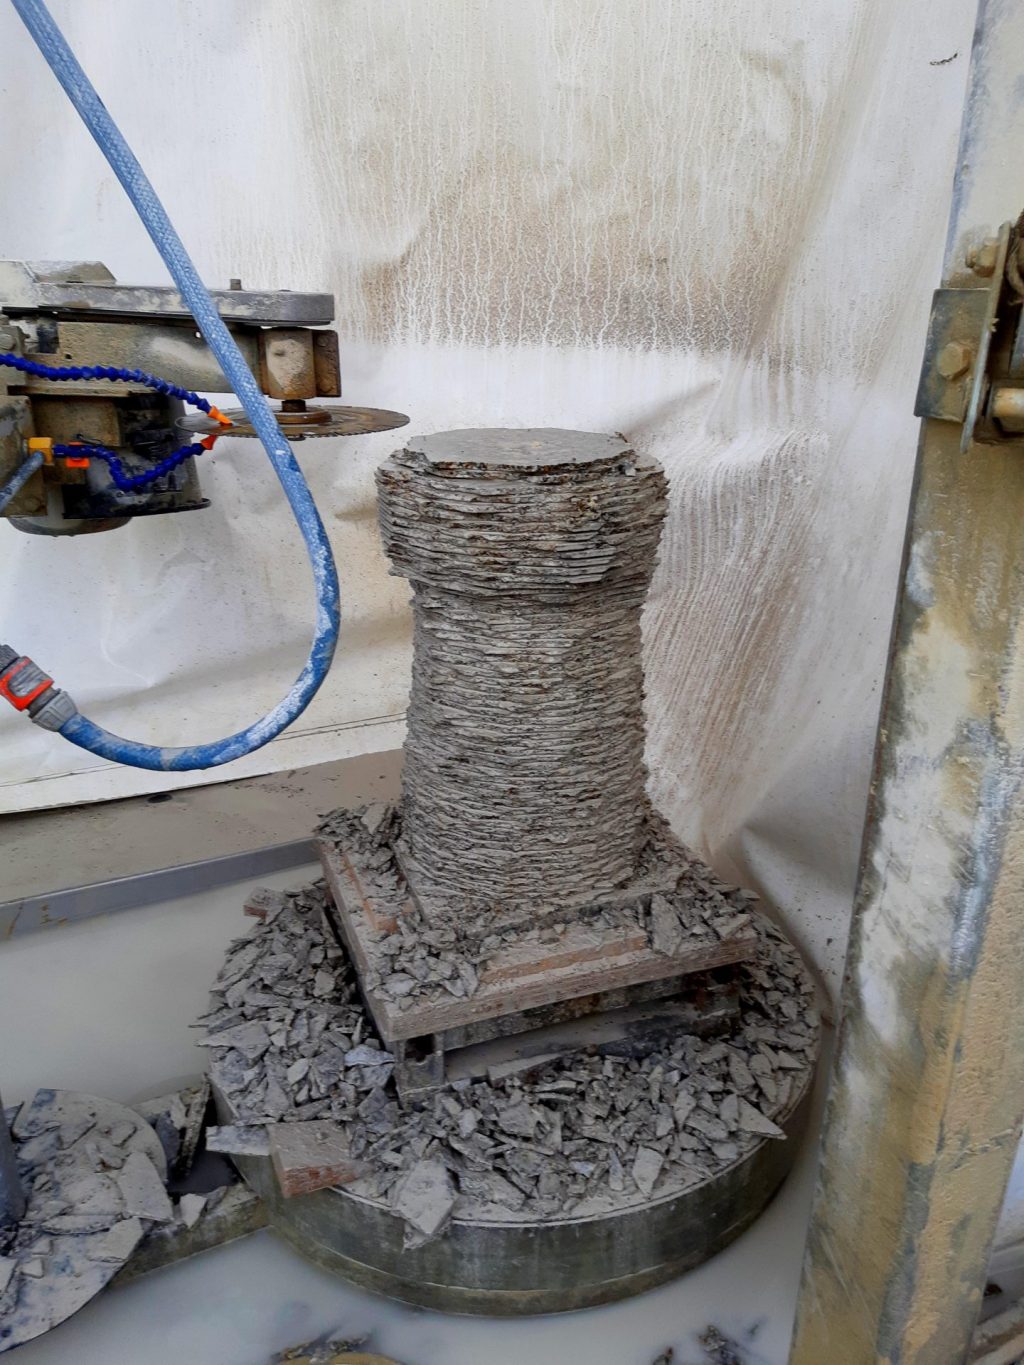
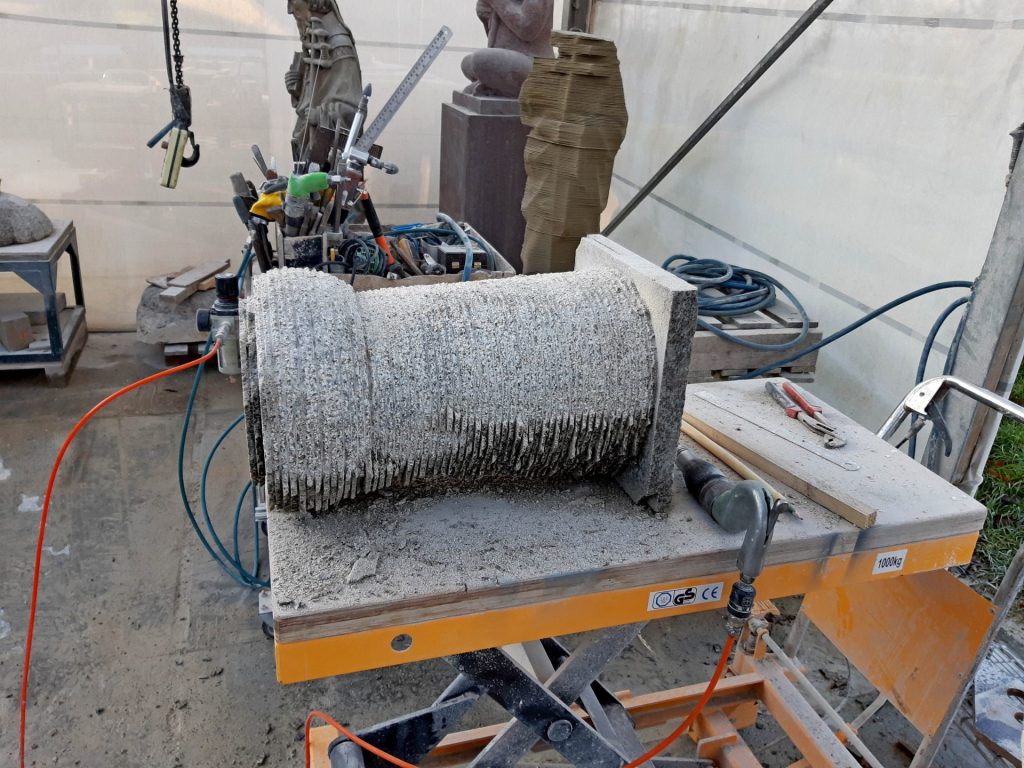
    presawing granite shank piece on sawing machine

    Bureaucratic mills never grind very quickly and certainly not in The Hague, but at the end of 2019 I got the green light and I could start reconstructing the lantern and then copying it in Flossenburger yellow-gray granite. With plaster I completed the five components, cut out the major shapes on my presawing machine, and carved the copy just as irregular as its original. Many details were deteriorated quite badly, so I had to bring them back a lot sharper in the copy.

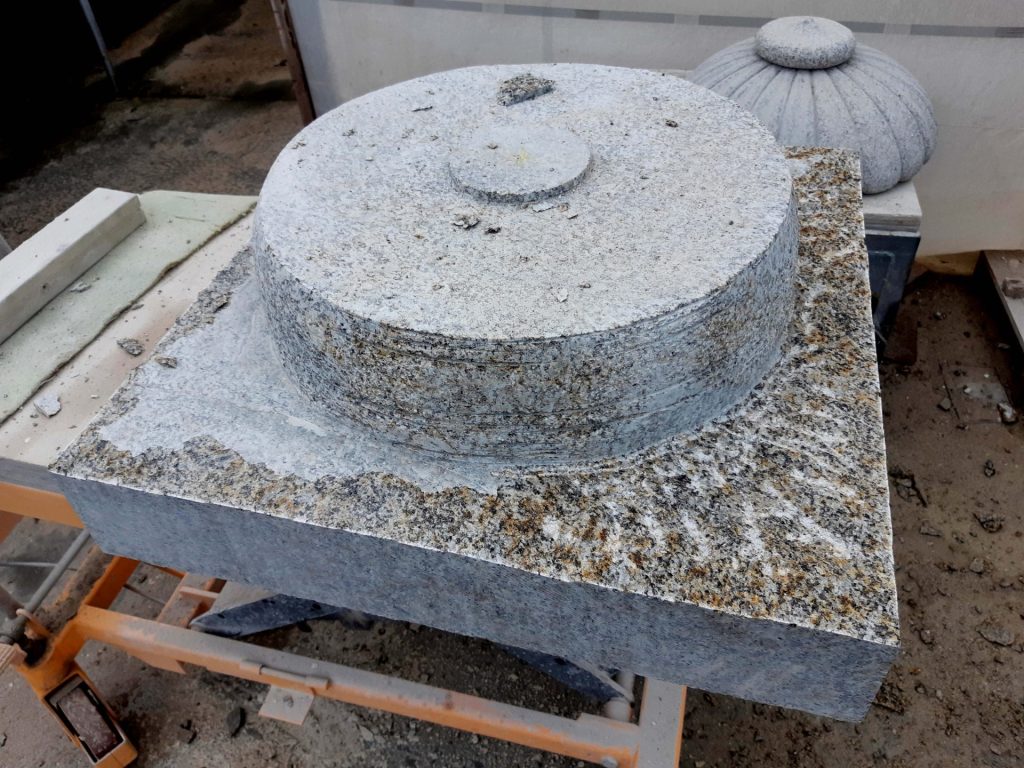
    Carving the base of the lantern

    Lantern base in granite completed

    The base was supposed to be partly covered in earth, and a layer of soil was to cover it. I thought it would be nicer to give the part that would end up underground a hand-carved finish as well. Of that, I made a short film. Carving granite with a chrome vanadium chisel is not easy! Only at the end I realized that I had a carbide (tungsten) point chisel lying around somewhere. That proved to go remarkably easier. In the first chisel, its tip was blunt after just a few hits, but with the carbide chisel, I could keep carving for a long time. I was afraid that the tip of the chisel would shatter at the first blows, but it all went without any problem.

    A special way of experiencing a Japanese lantern

    The Japanese garden in Wassenaar is actually too popular to let everyone experience it in peace. If there would have been access to the garden all year round, the moss would not survive the many photo sessions. Therefore, it is only accessible to the public for eight weeks a year. But not everyone keeps to that rule! It has happened a number of times that uninvited visitors entered the garden at night and went frolicking about with lanterns. Since all the parts are stacked loose, several times, parts have ended up in the pond.

    Jam jar and cap

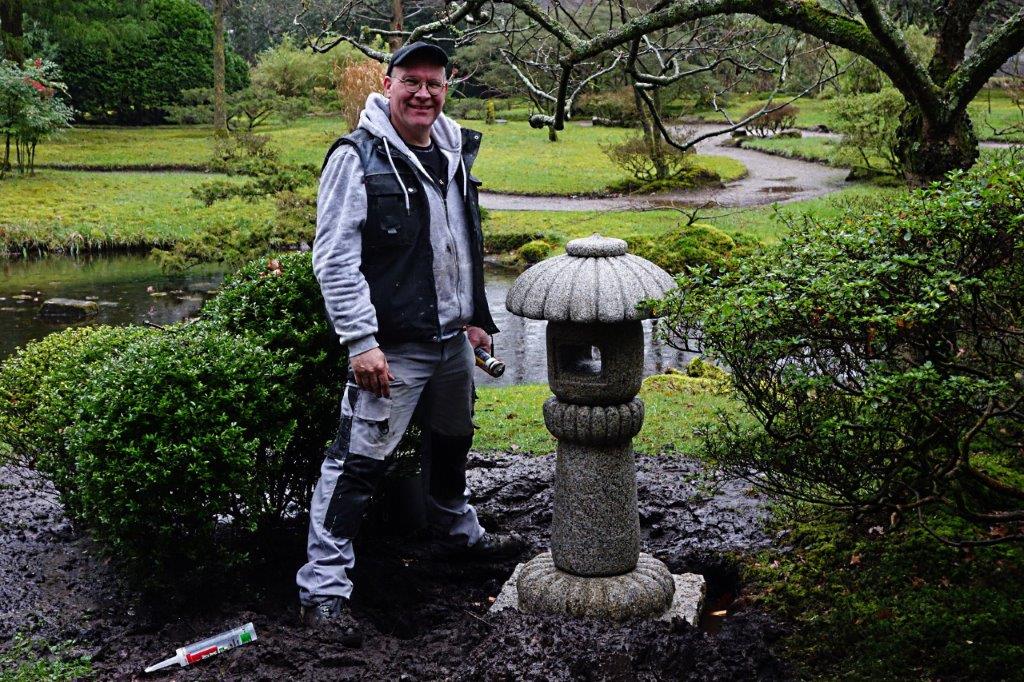
    lantern in Japanese garden

    For that reason, we discussed how we could make the copy more stable. The result was that I was to make a kind of jam jar structure for each component. On top of the lower part, I would make a raised edge, and the portion above that was to receive a cavity that just fits over the lip. Like the cap of a jar.

    As a result, the stack will no longer be easy to shift, but can still be lifted. That's why we've also applied a flexible adhesive between the parts during installation. In this way the components can always be removed someday, with some precaution, but they are anchored better in case someone wants to throw the thing over.

    Gallery

    Click on a photo for an enlarged view.

No more messages to show.

No more messages to show.