• Contour sawing Pope Leo the Great

    Another saint's statue

    Pope Leo the Great upper body

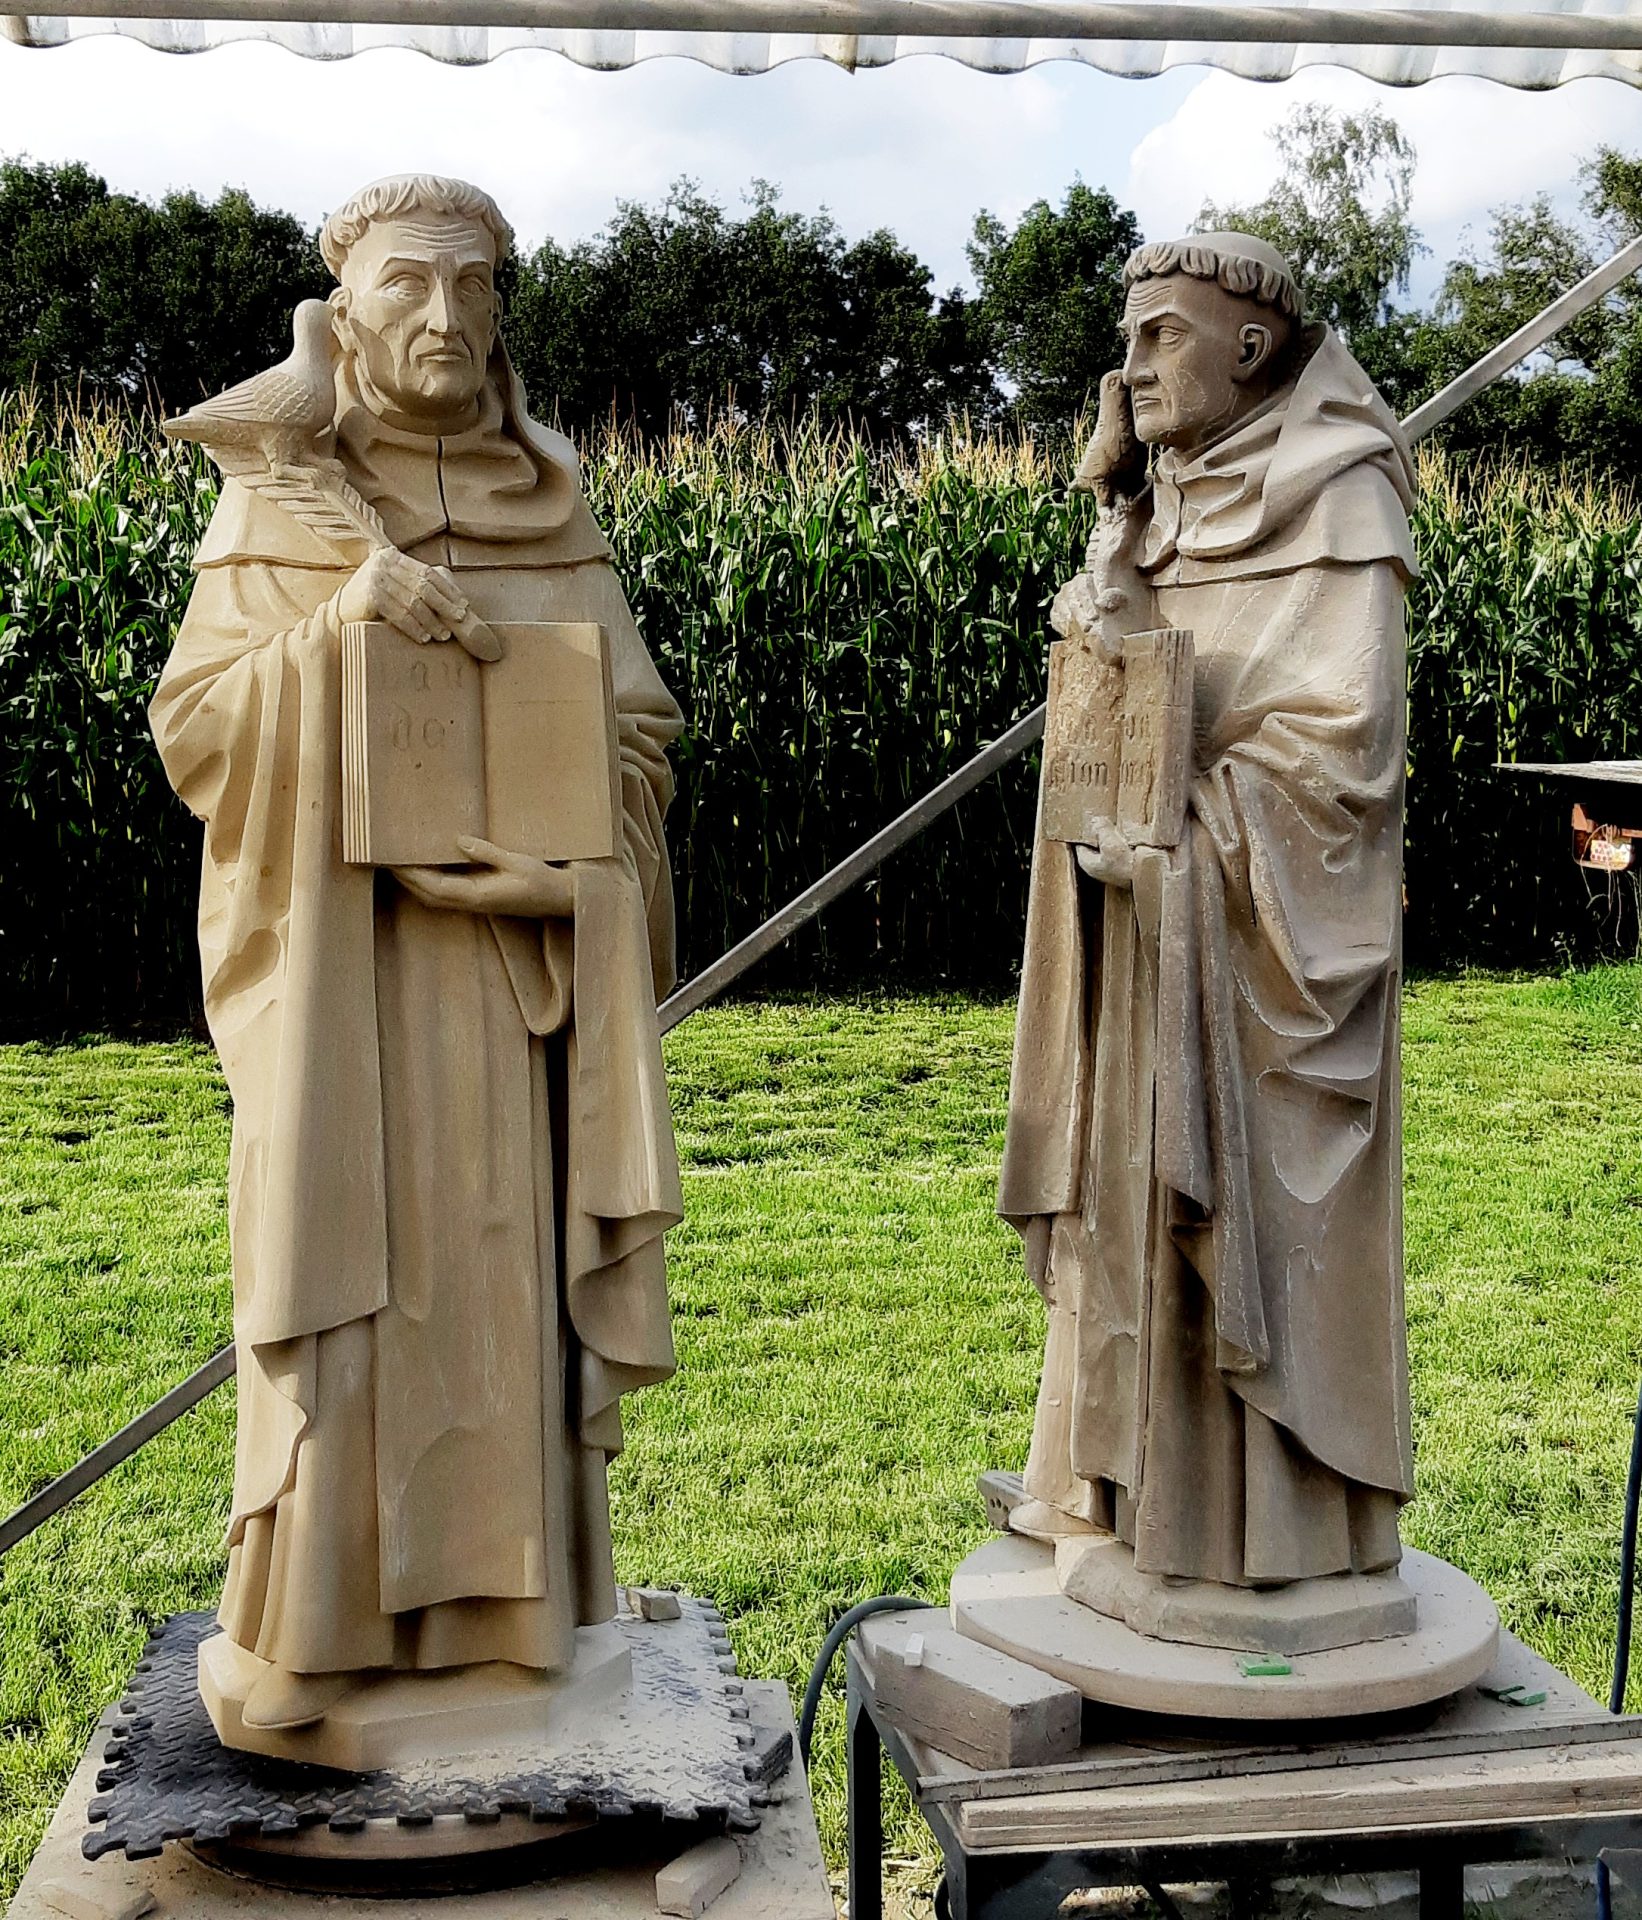
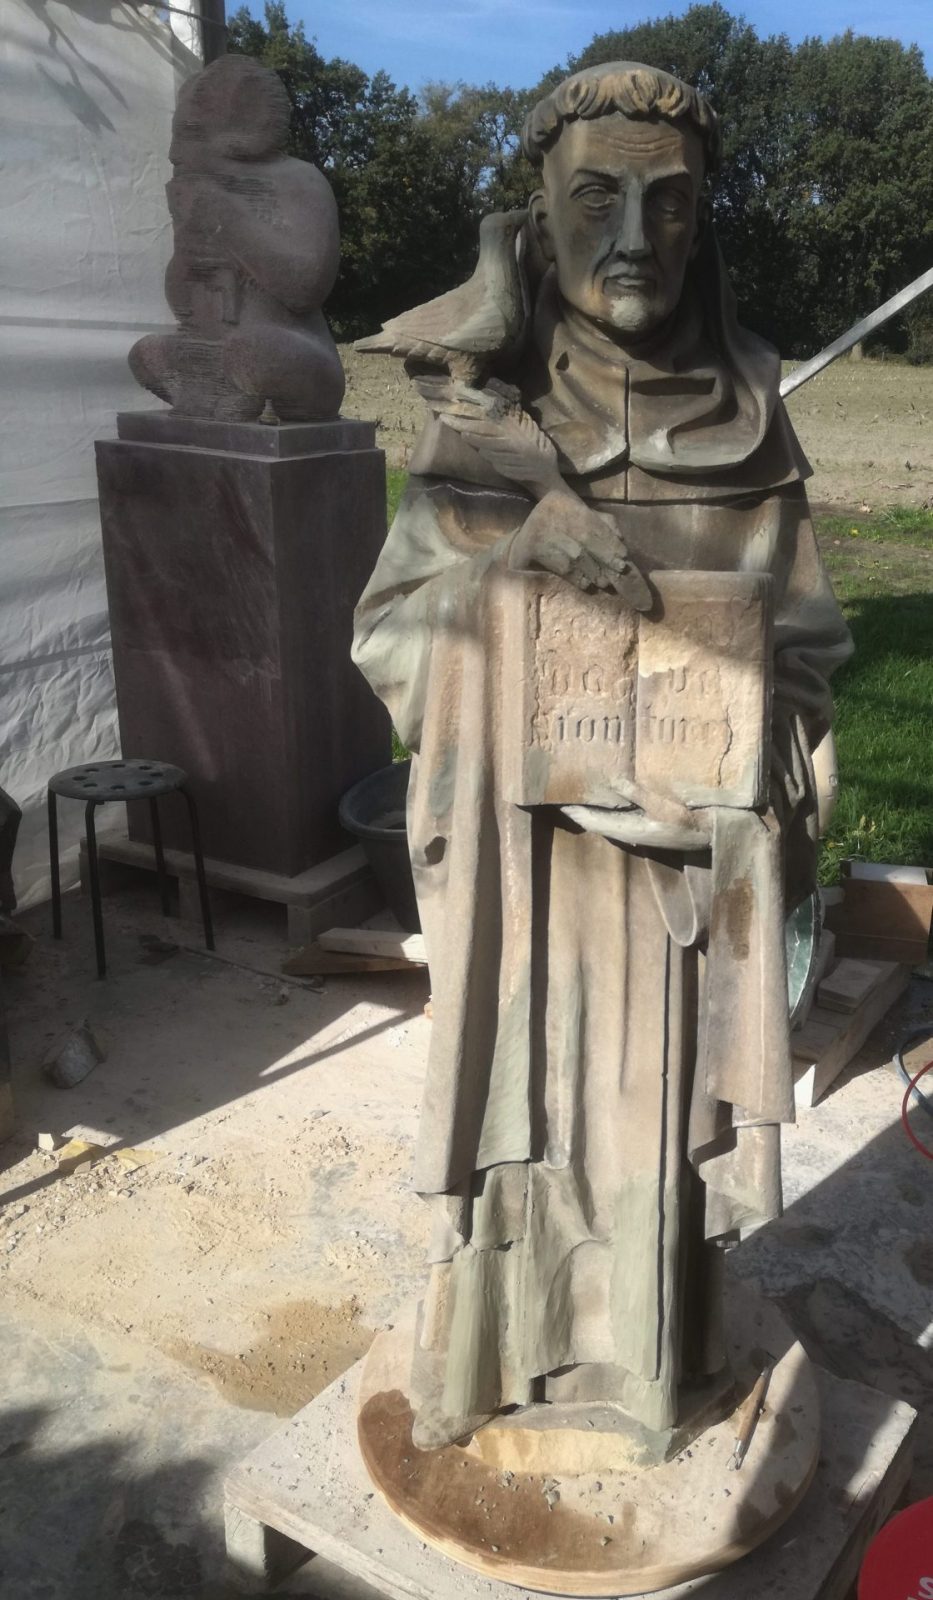
    As you might remember I copied the statue of Thomas Aquinas for St. John's Cathedral again. That statue has now been installed and I could move right on to the next one: Pope Leo the Great. It's a one hundred year old statue of a bearded man with a tiara, a book and a Byzantine cross.

    At first I thought it represented Pope Gregory the Great in stone, because the stained glass window behind the statue shows a similar Pope: also with a book and a Byzantine cross and tiara, but without a beard and with a dove.

    stained glass window of Pope Gregory
    Pope Gregory looked suspiciously like Pope Leo
    stained glass window with inscription Gregor . Magn.
    But the name of this pope is at the bottom of the window: Gregorius Magnificus

    Attila the Hun

    Cracks in the face of the statue of Pope Leo
    weathering traces in the face

    But it turned out that I was mistaken after all, partly because the console of this statue shows Attila the Hun crouching. In the year 452 the Hun Army was camped near Lake Garda, with plans to attack Rome, but Pope Leo visited him and talked it out of his head. Talk about power of persuasion. Pope Gregory only came a hundred years later.

    Weathering process

    robe of the statue of Pope Leo has weathered
    disappeared folds in the garment

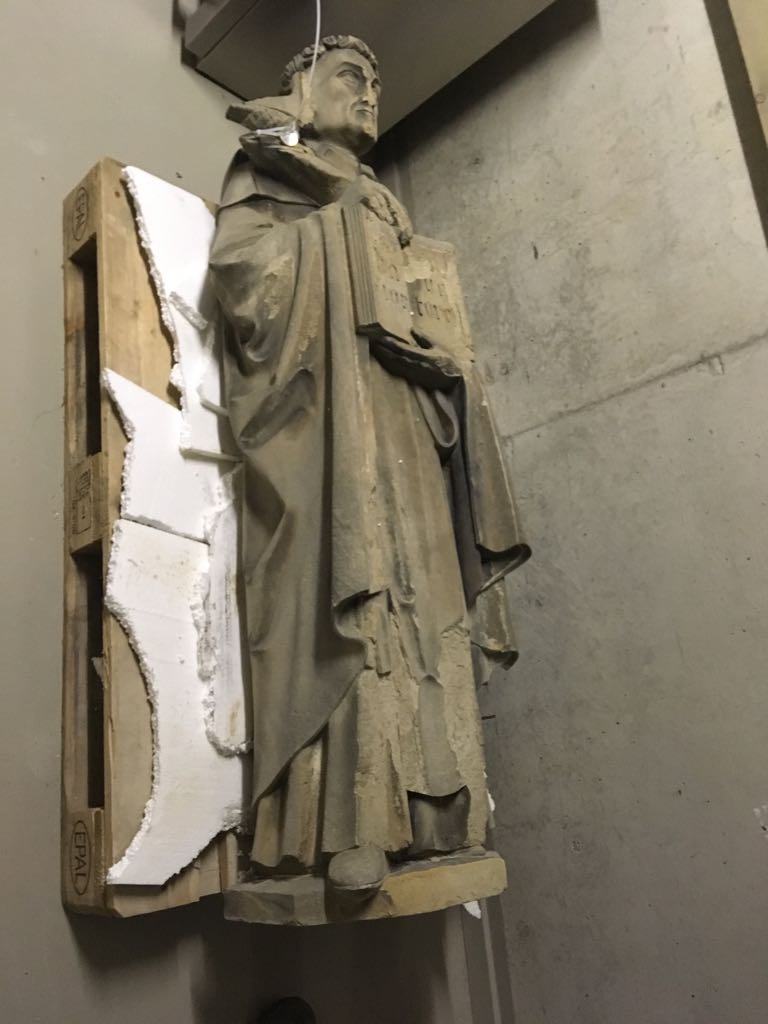
    The two statues of Thomas Aquinas left in a crate headed for Den Bosch, where the new statue was placed on the church and the old statue was put in the museum. By return mail I received the old statue of Pope Leo back. On my scaffolding visit I noticed that the statue still had almost all its details, but the stone wasn't in a very good condition.

    Just like Thomas, the statue was made of Udelfanger sandstone. The material has been applied vertically at the time, and that has had an impact on the weathering: vertical traces of watering and the disapperance of a number of folds of his garment. The statue also shows serious exfoliation on the back and if nothing happened now you'd have a chance that in a decade many details will be much stronger affected, which would make it very difficult to make a proper reconstruction of it.

    Vertical layering

    foot of the statue of Pope Leo the Great
    crumbled pleats

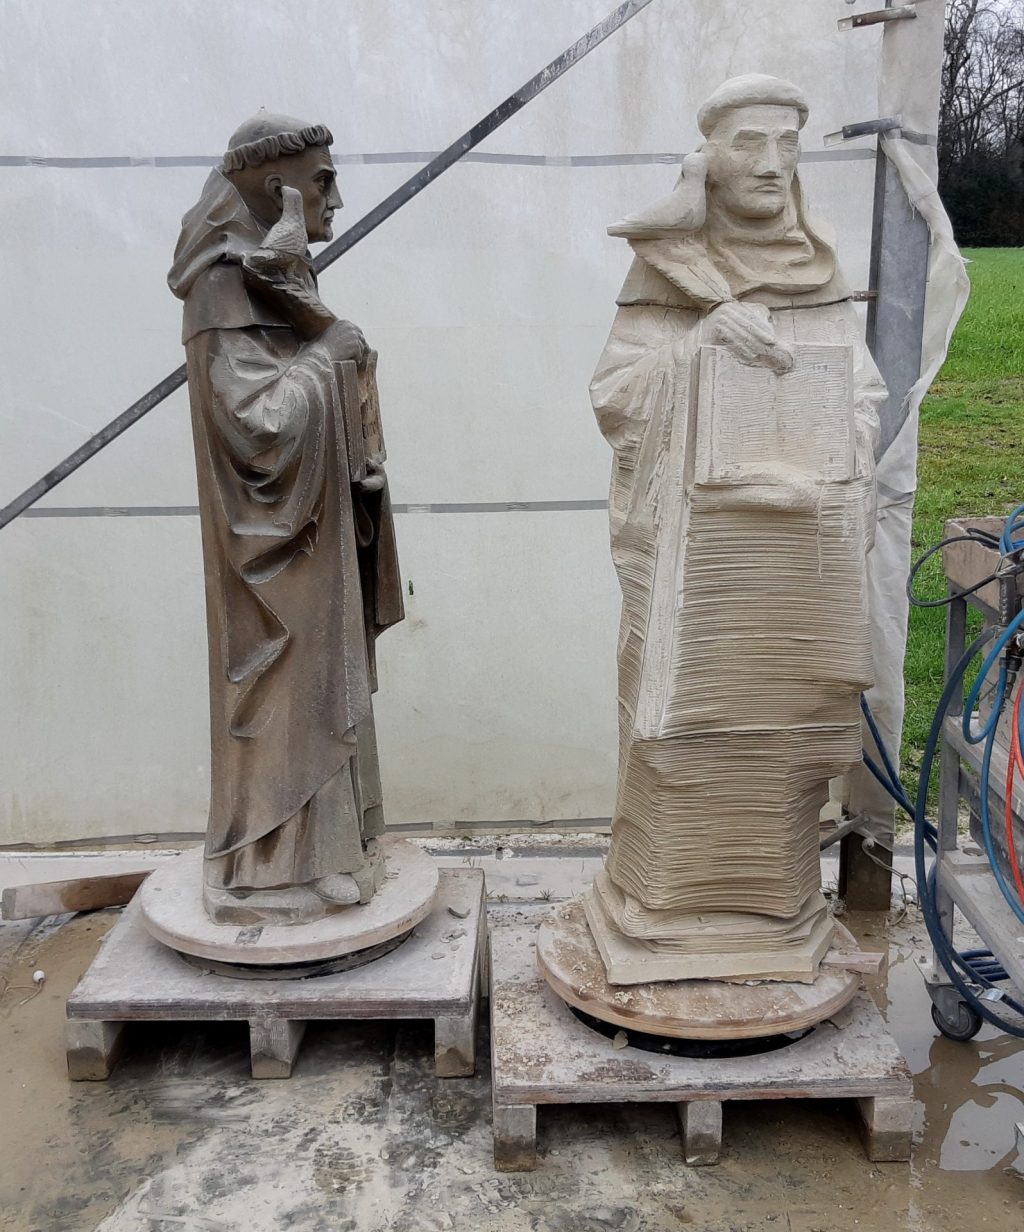
    As I explained in the first article about the statue of Thomas Aquinas it's not desirable to have the stone's layers run vertically through the statue. But it is not always possible to avoid that. In the quarry, the thickness of the right layer is not more than about 120 centimeters, and the statue is at least 150 cms wide. Over a hundred years ago they picked a horizontal piece of stone for that reason and put it straight up. This is known as standing layering. But this time I need to make a statue, in which the layers run horizontally. That can only happen if I make this statue out of two pieces. A body out of one piece, and a piece with the head and shoulders.

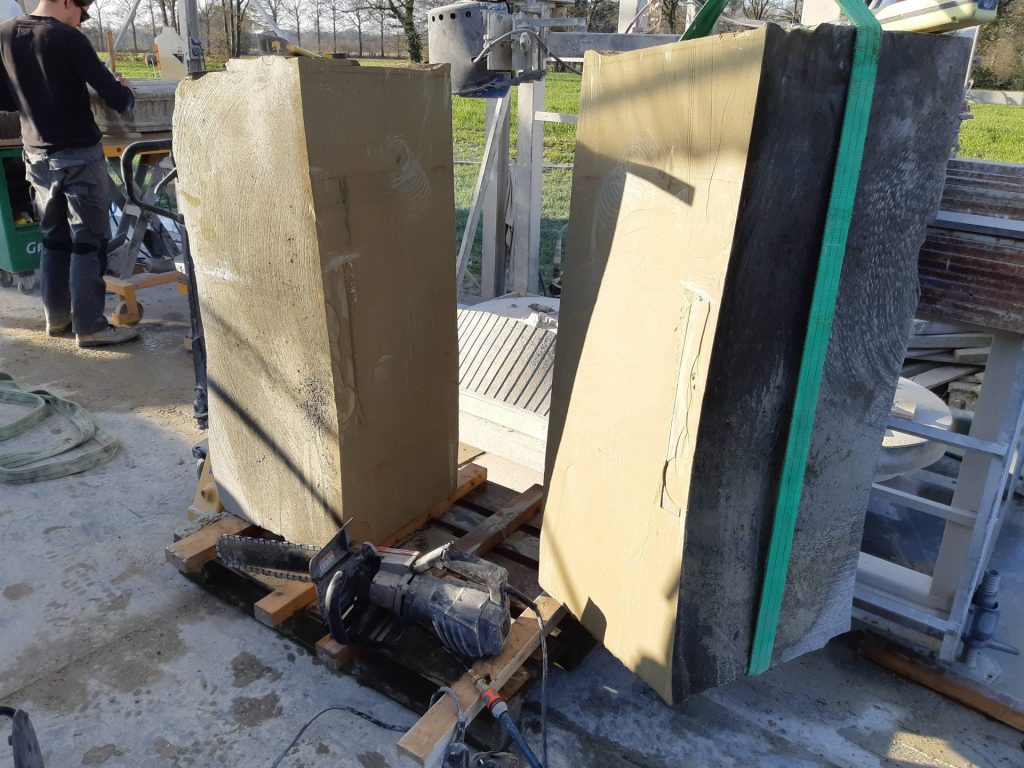
    Presawing

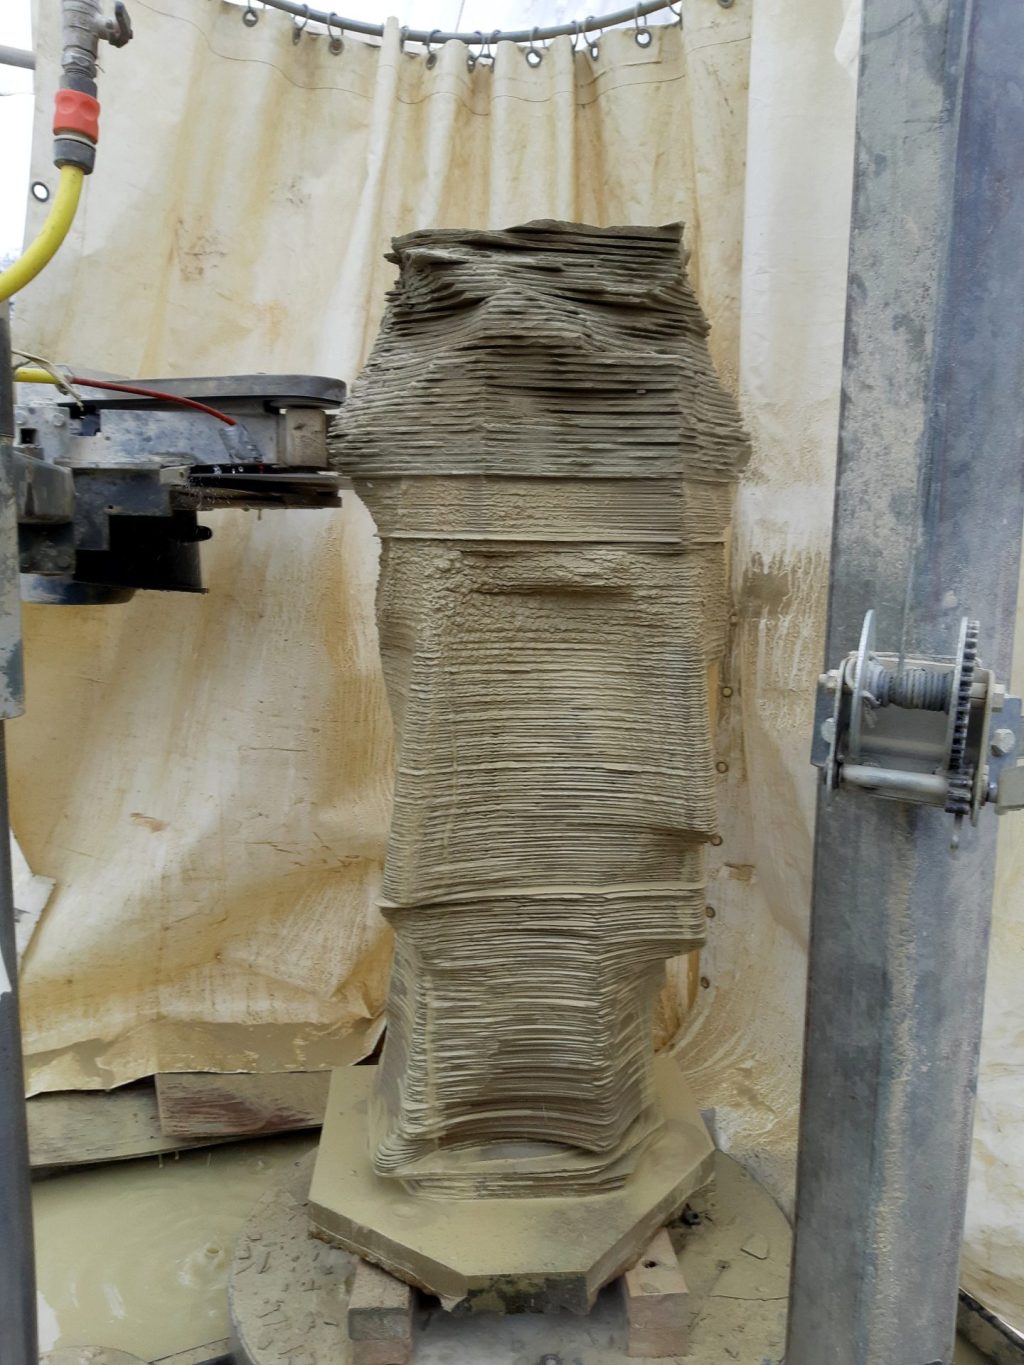
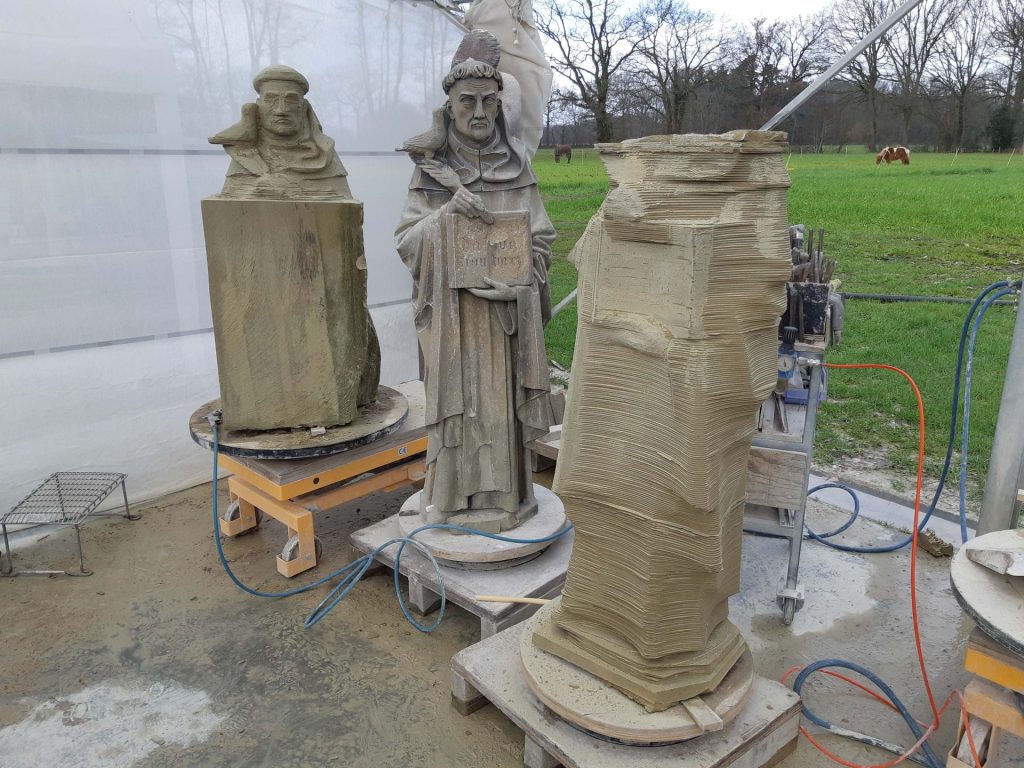
    presawing the new statue, step 2
    presawing the lower part, step 2

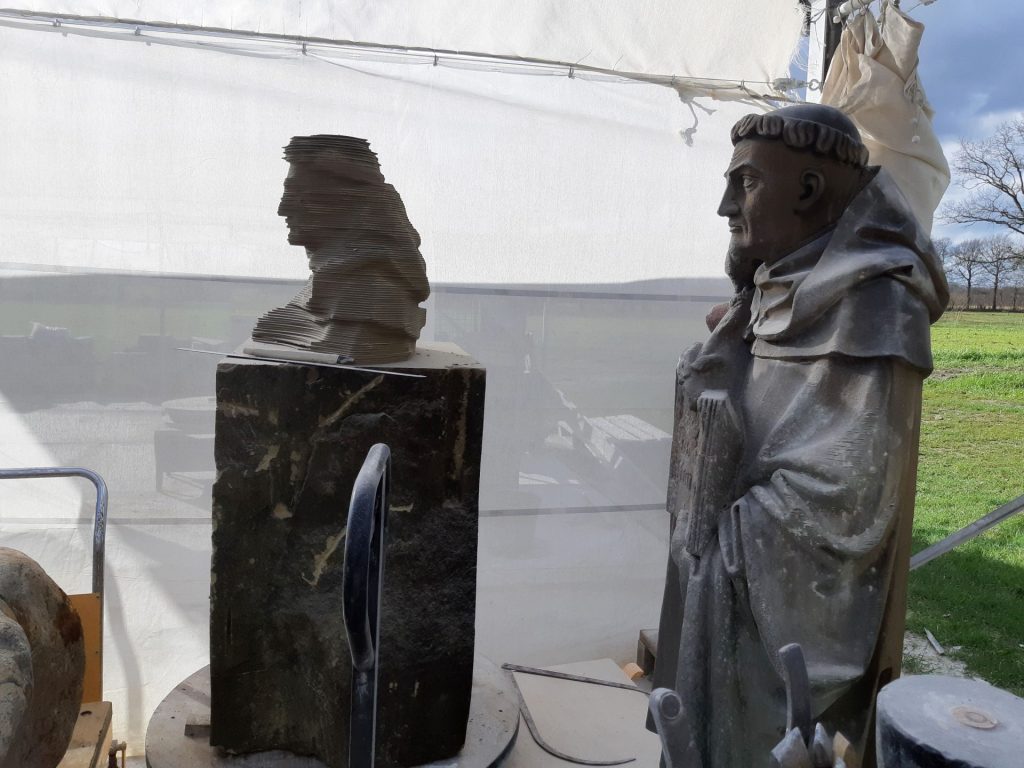
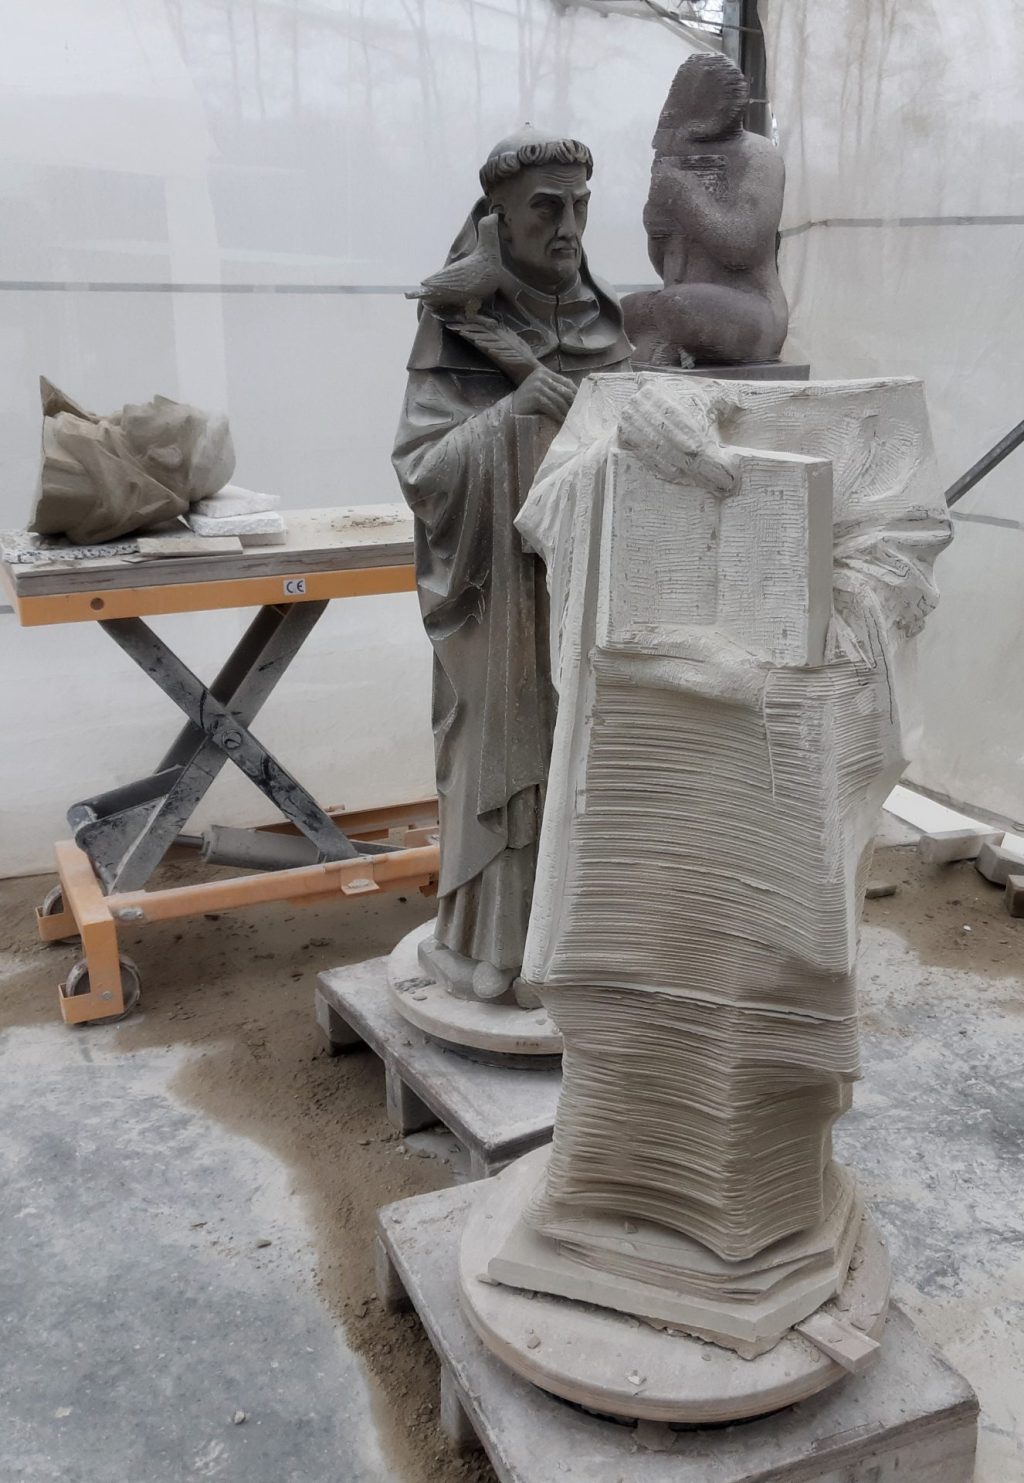
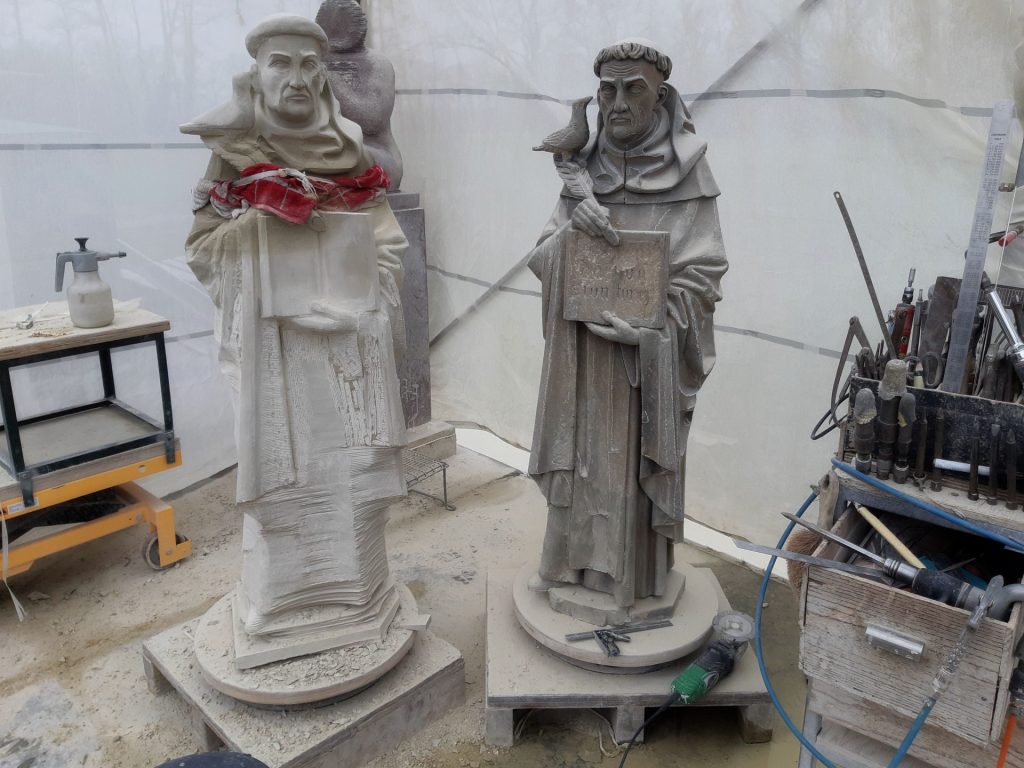
    I had already had some blocks of stone lying in the yard: a remaining piece of the Thomas torso and the second half of the block from which I've presawn Serge's angel. Those two pieces were not mine, but they belonged to St John's. After consultation it was decided that I could use these two blocks for this statue. I started reconstructing the missing parts with plastiline clay. Next up was the presawing of the lower body, in three steps from coarse to fine. This was followed by the same process for the upper body.

    Next step

    After this will come the rough carving of the two pieces, at the point where the seam should be. The plan is to follow the lower line of the cross on the chasuble of the pope. It will be a rather difficult job! Read the continuation of this interesting challenge in the next article about this image.

    presawing head of the new statue, step 2
    Presawing the shoulders and head, step 2
    presawing the new statue, step 3
    presawing lower body ready
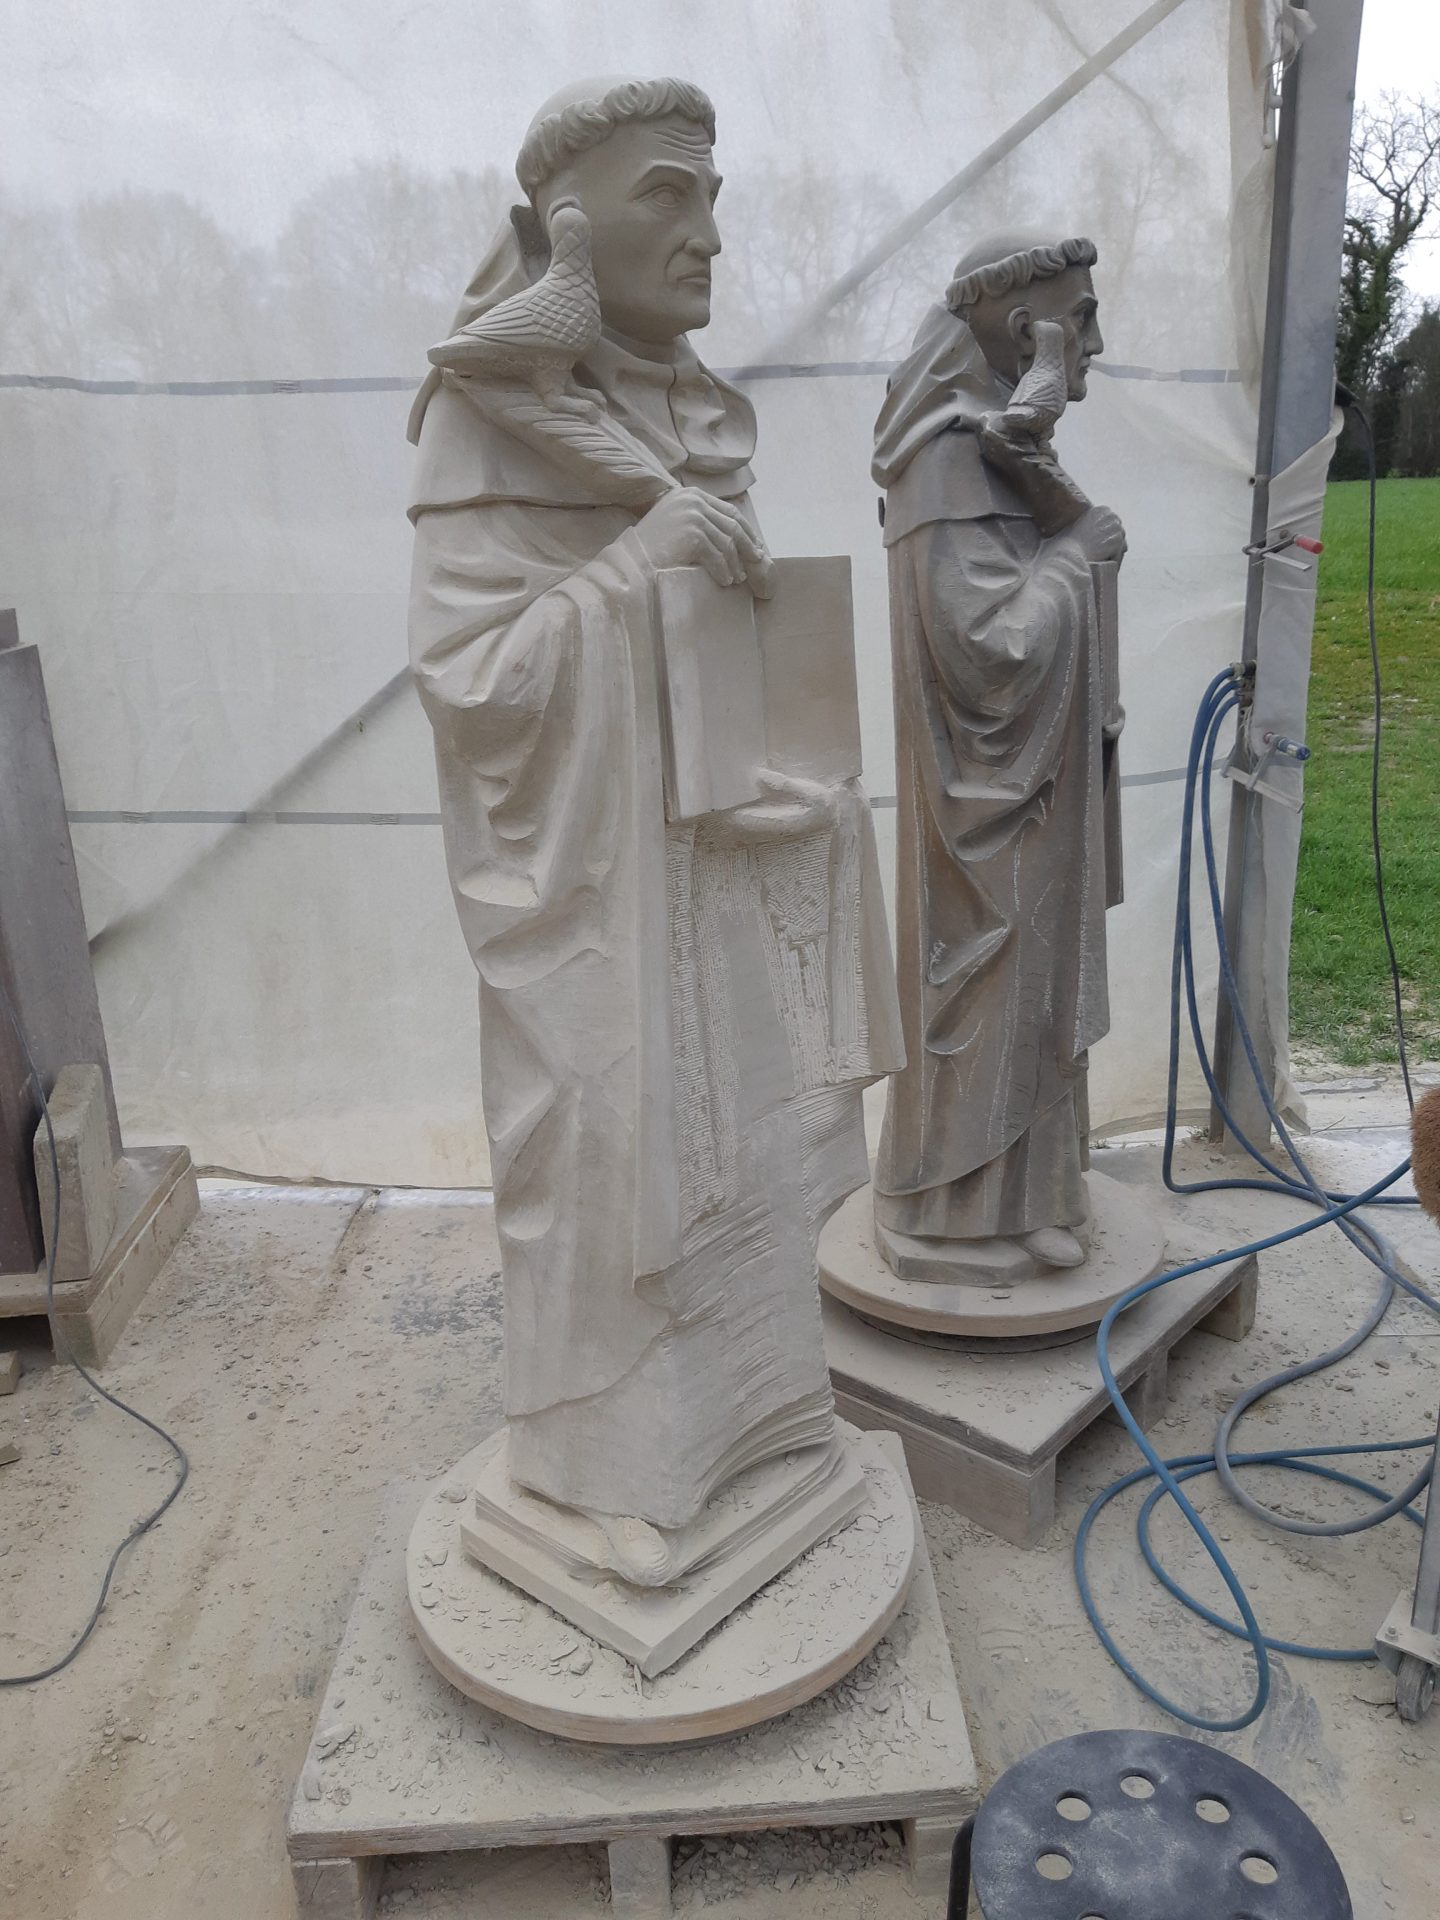
  • copy of Thomas Aquinas completed

    Thomas in two parts

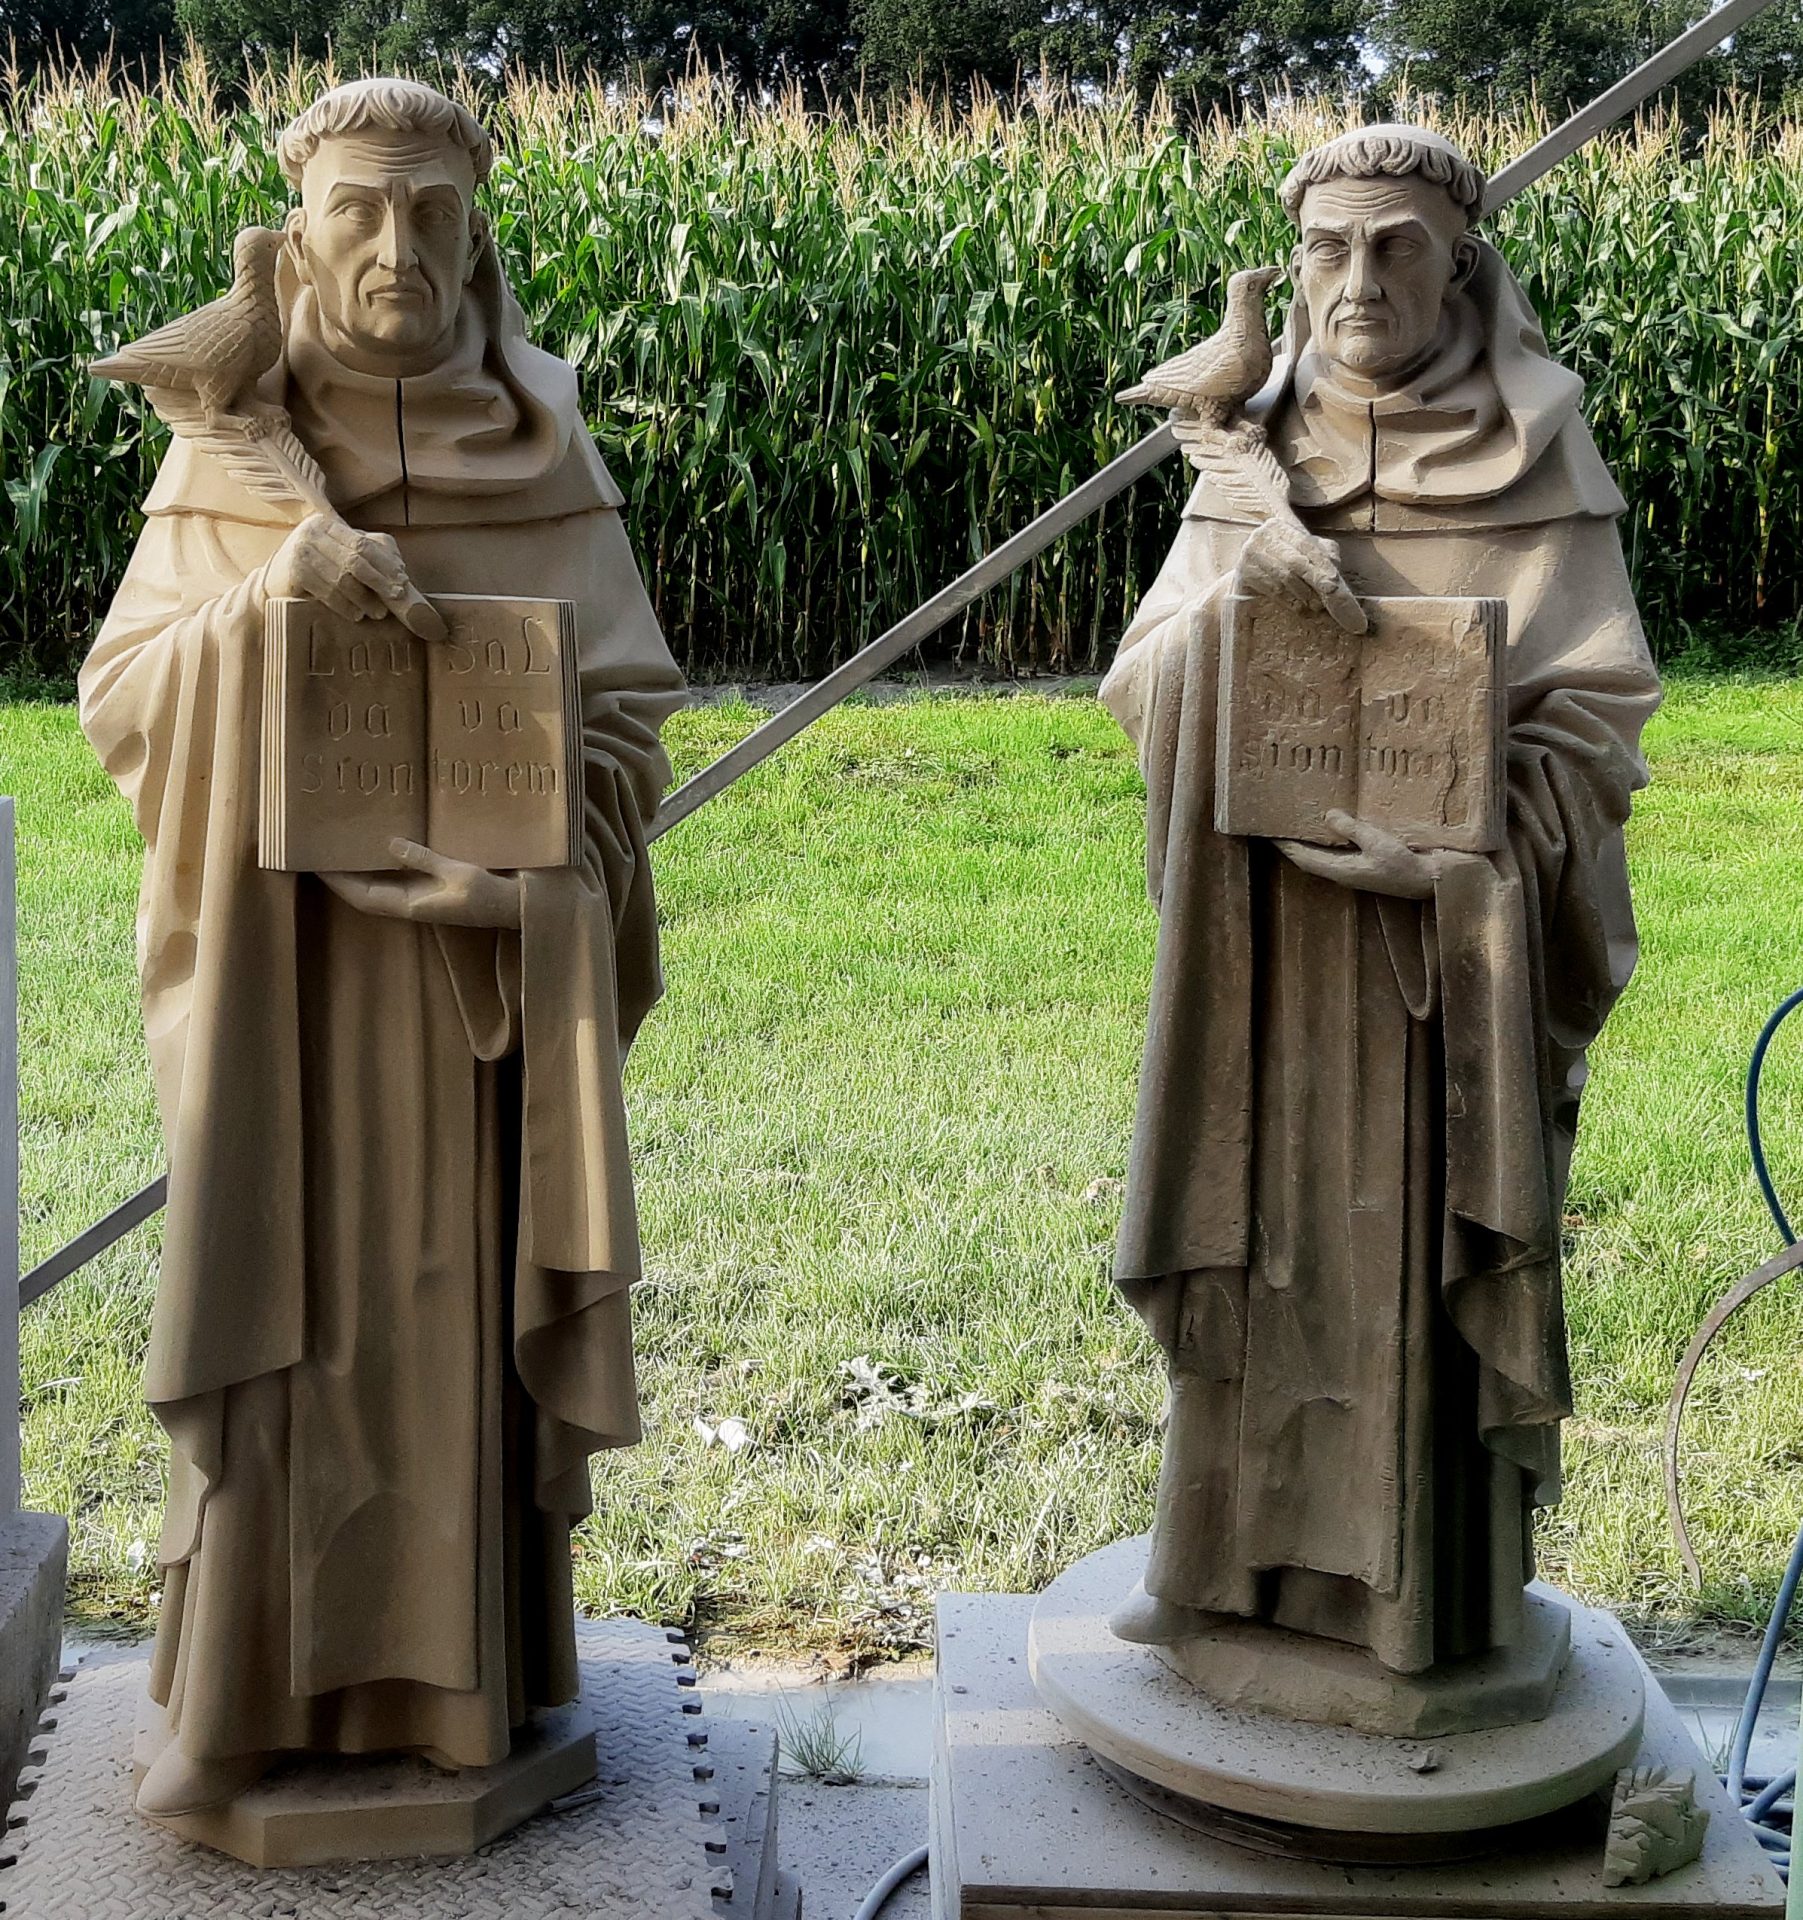
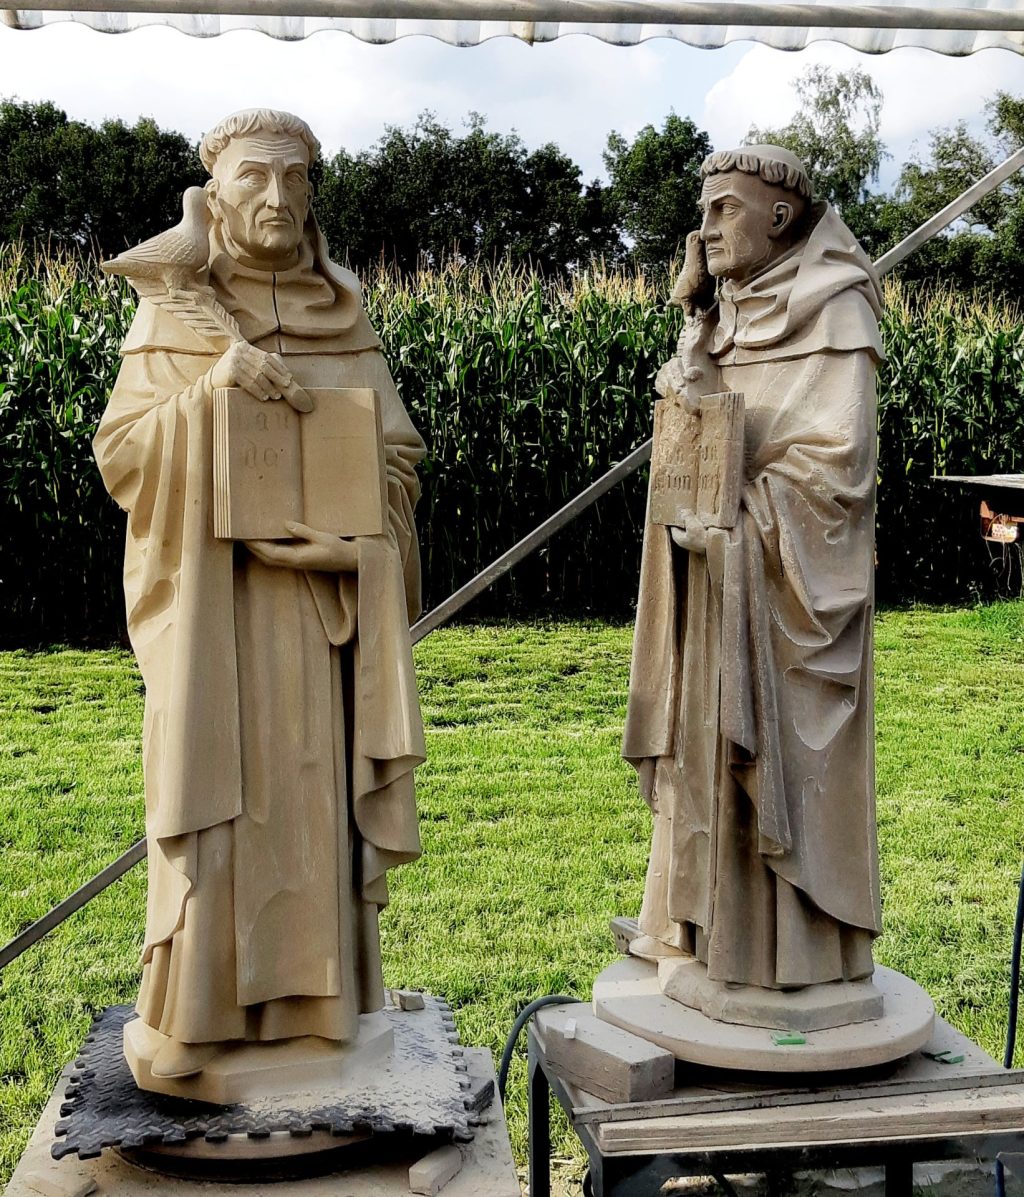
    After long interruptions (carving finials for St. Eusebius's Church and large crockets for the Utrecht Dom Cathedral out of new limestone) the statue of Thomas Aquinas is finally finished. In my previous blog posts you can read who this man was and how I reconstructed the sculpture, and how I started the copying of the statue with a lot of sawing.

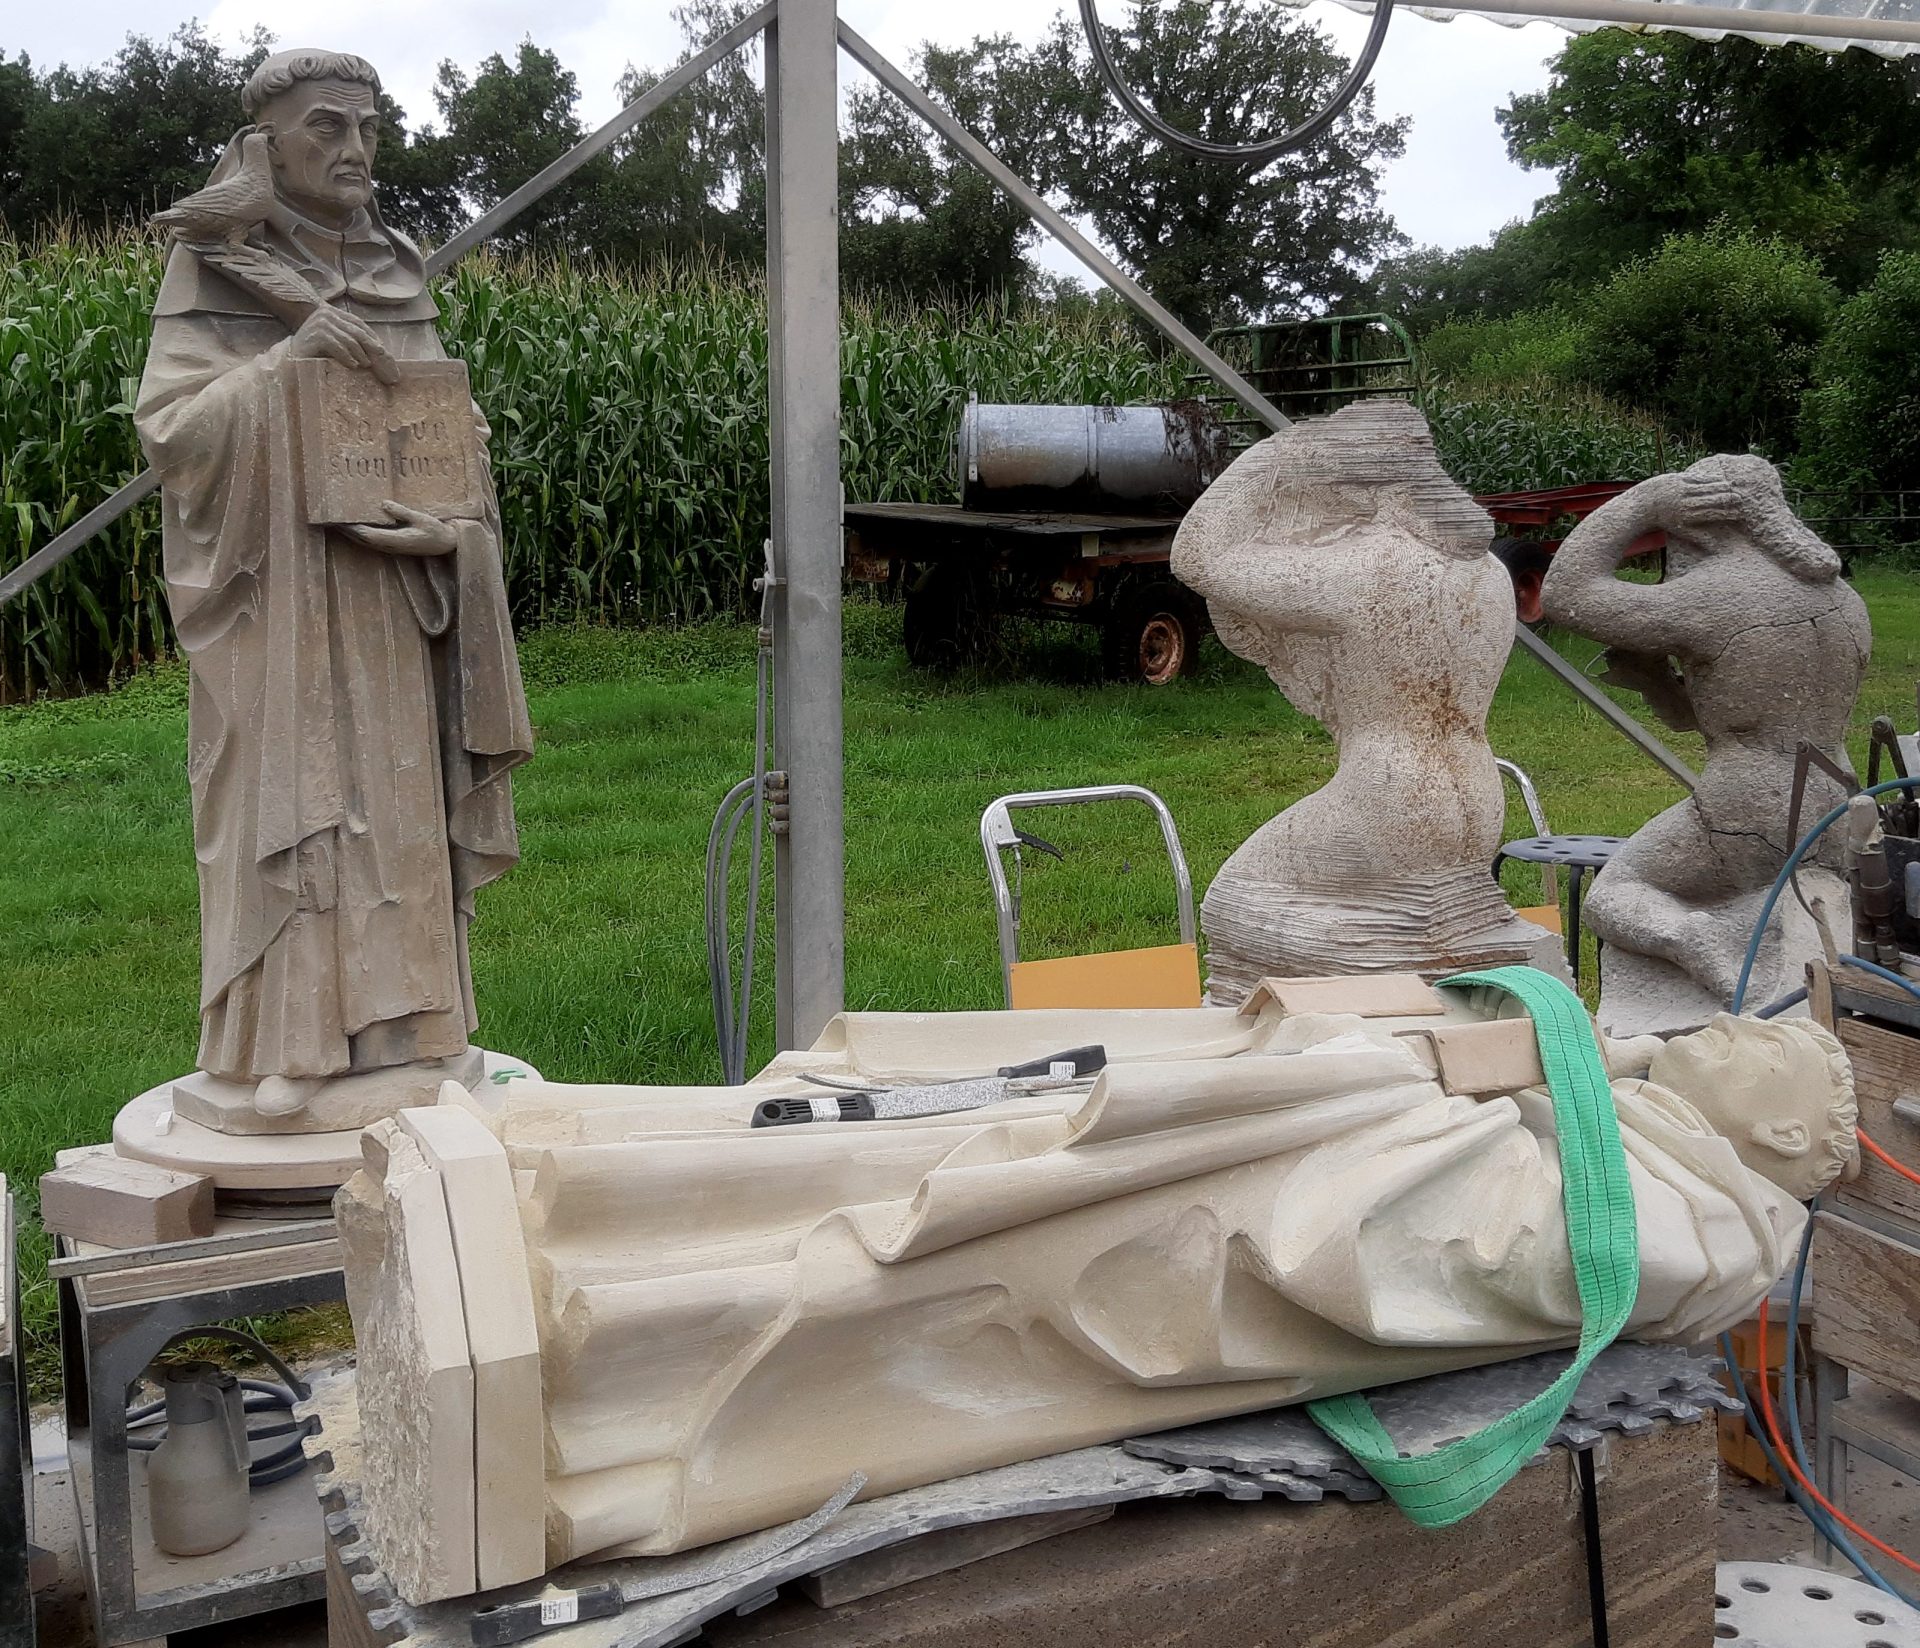
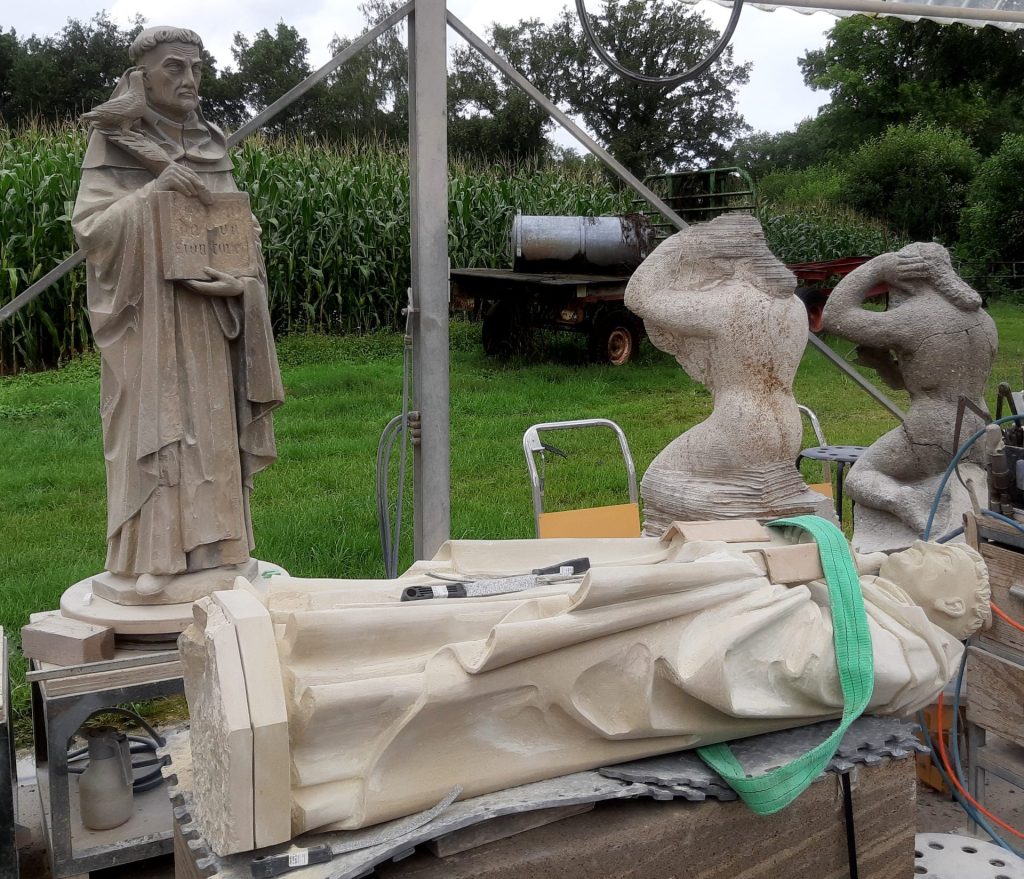
    the two parts of the sculpture are glued together
    7. The parts are glued together
    beginning with carving the head
    8. starting to carve the face and bird

    To the message first about this project.

    When I got started again,I had already anchored the two parts together with two thick stainless steel threaded rods of 20mm thick and about 50 or 60 cms long. That won't come off so easily. I made it so that the top part fits onto the lower part a bit like a bottle cap. But I still needed to connect the jointing plane with a restoration mortar, because carving this plane to fit 100% is unnecessarily difficult. I can't glue it entirely, because a horizontal glue layer is like asking for trouble. The water won't seep through the material and the stone above the line will rot and break by freezing. Of course I did attach the pins firmly with epoxy adhesive. With the mortar I grouted the seam in the same colour and now it's hard to tell the spot.

    carving of the face and the bird on the copy of the statue of Thomas Aquinas
    9. detailing bird and head
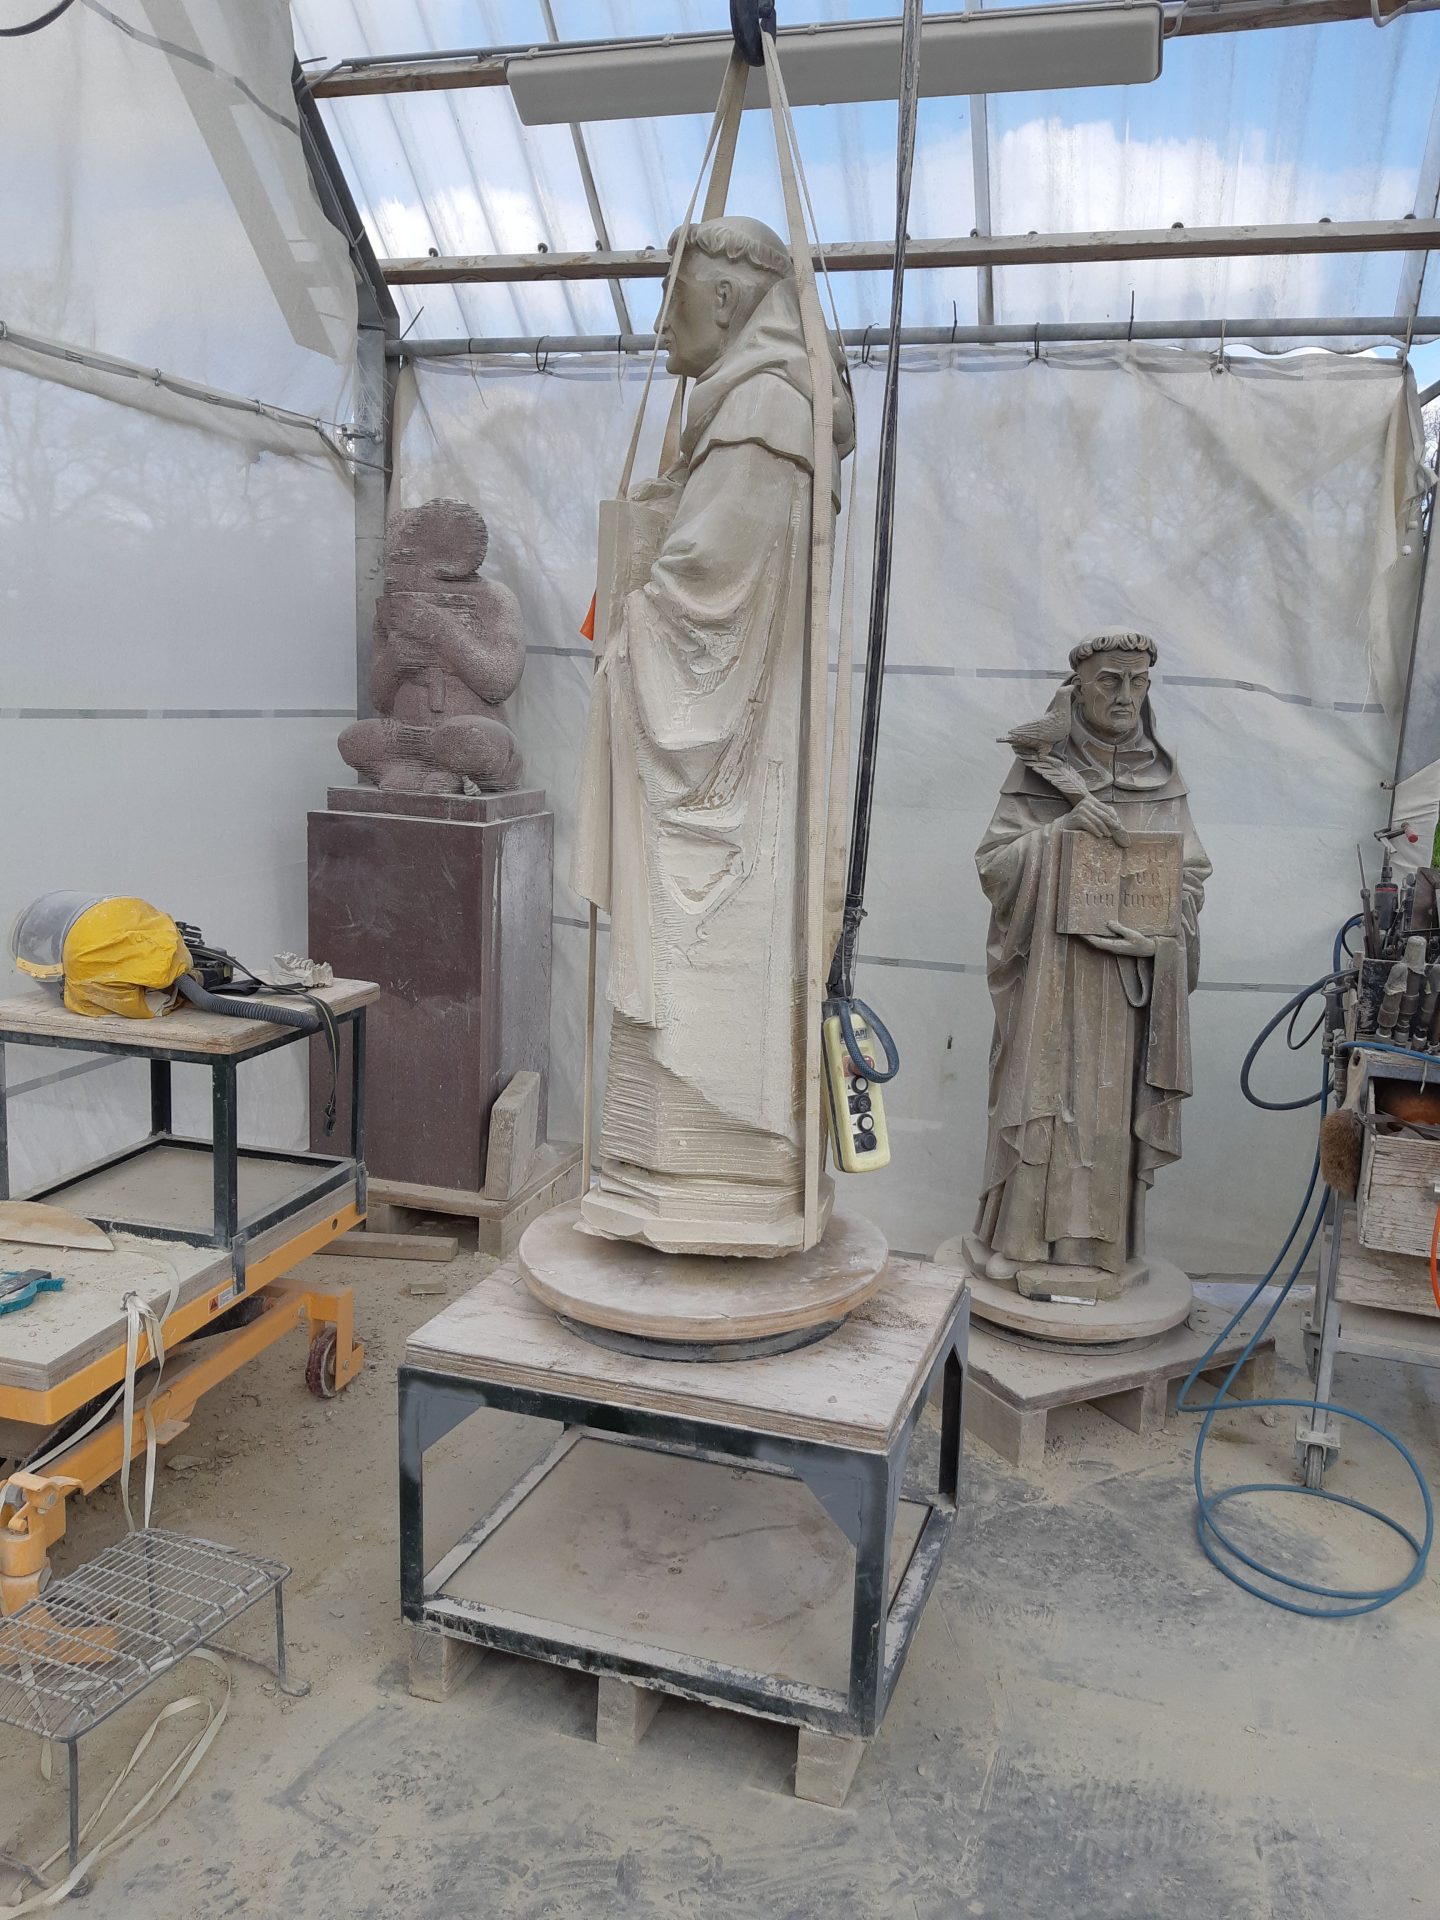
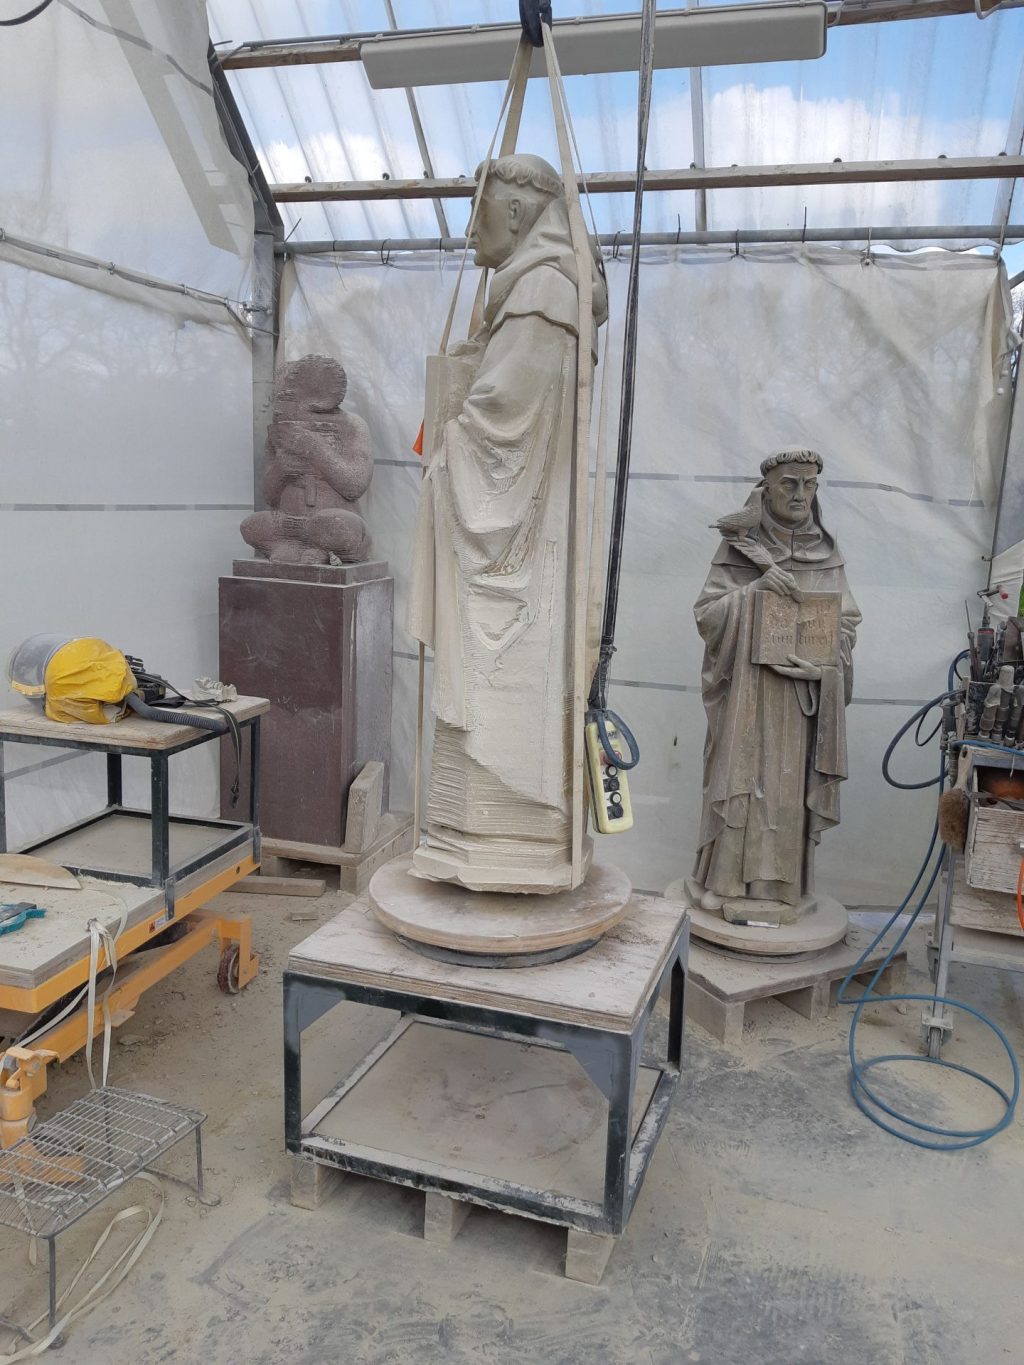
    hoisting the statue of Thomas Aquinas
    10. hoisting

    Feathers and feet

    This was followed by the wellknown steps of carving the details. With some measuring work and gradually detailing, a proper copy of the weathered sculpture emerged. I didn't use the pointing machine unfortunately, because my presawing machine had already given me so much references that I could transfer the intermediate points much more easily with compasses and templates.

    I had reconstructed the missing pieces with plastiline clay in the old statue. This clay will not harden and can easily be removed again later. The clay coloured remarkably well with the rest of the statue, so it did not interfere while copying.

    The pigeon on Thomas’ s shoulder was carved with great detail, with tiny legs and feathers. This kind of thing is not really hard to make in this stone, it just requires a little more patience.

    copy of statue of Thomas Aquinas put higher for the carving of the folds
    11. carving of the lower half
    finishing the lower side of the statue of Thomas Aquinas
    12. carving the folds and finish sanding

    At working height and easy to turn

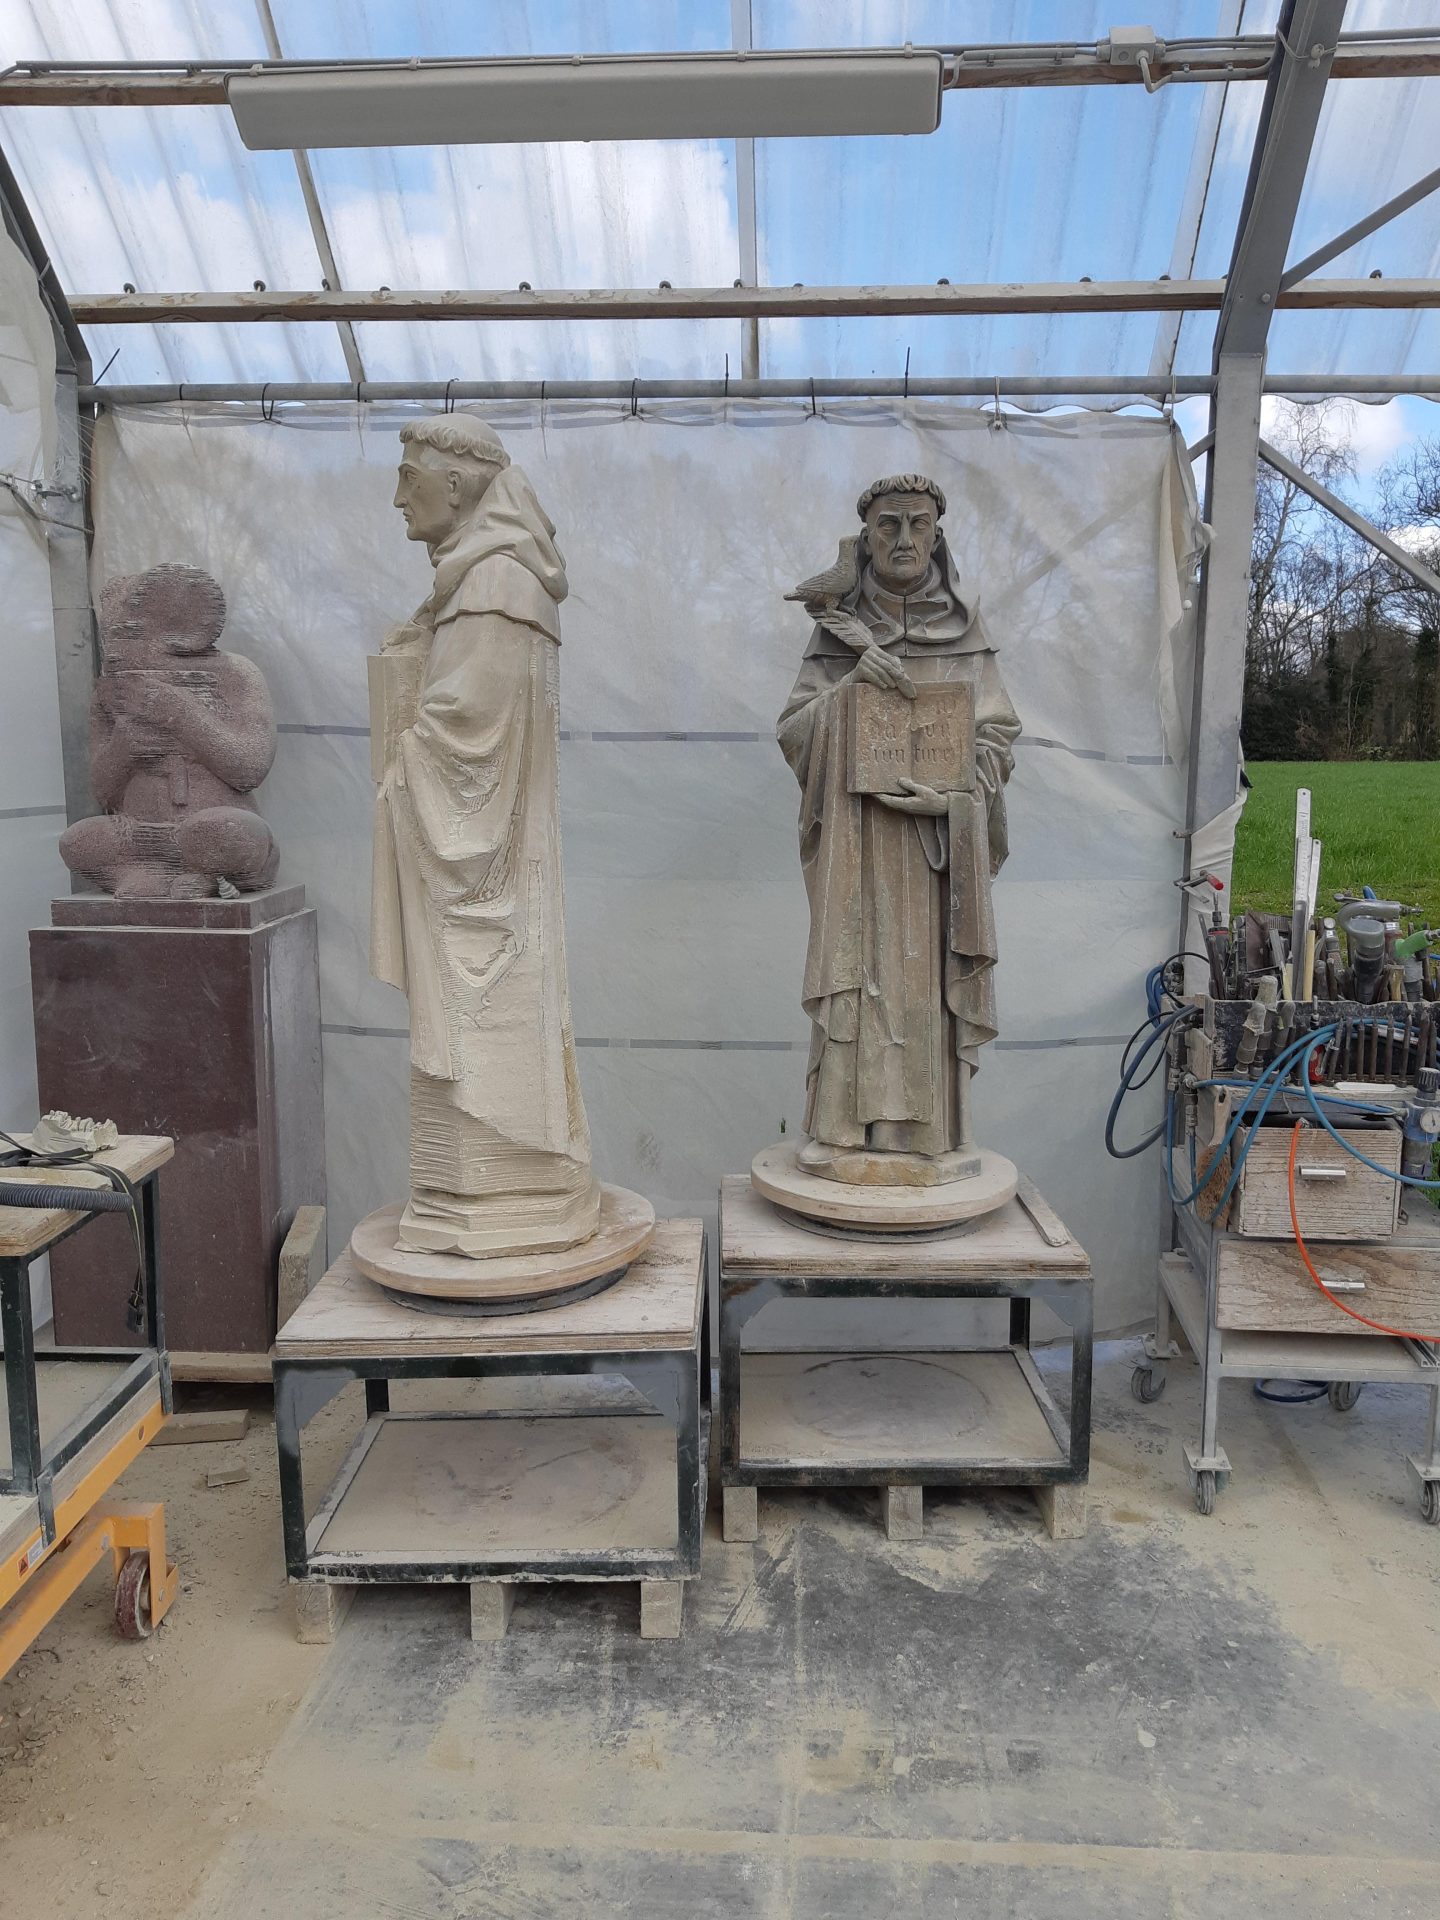
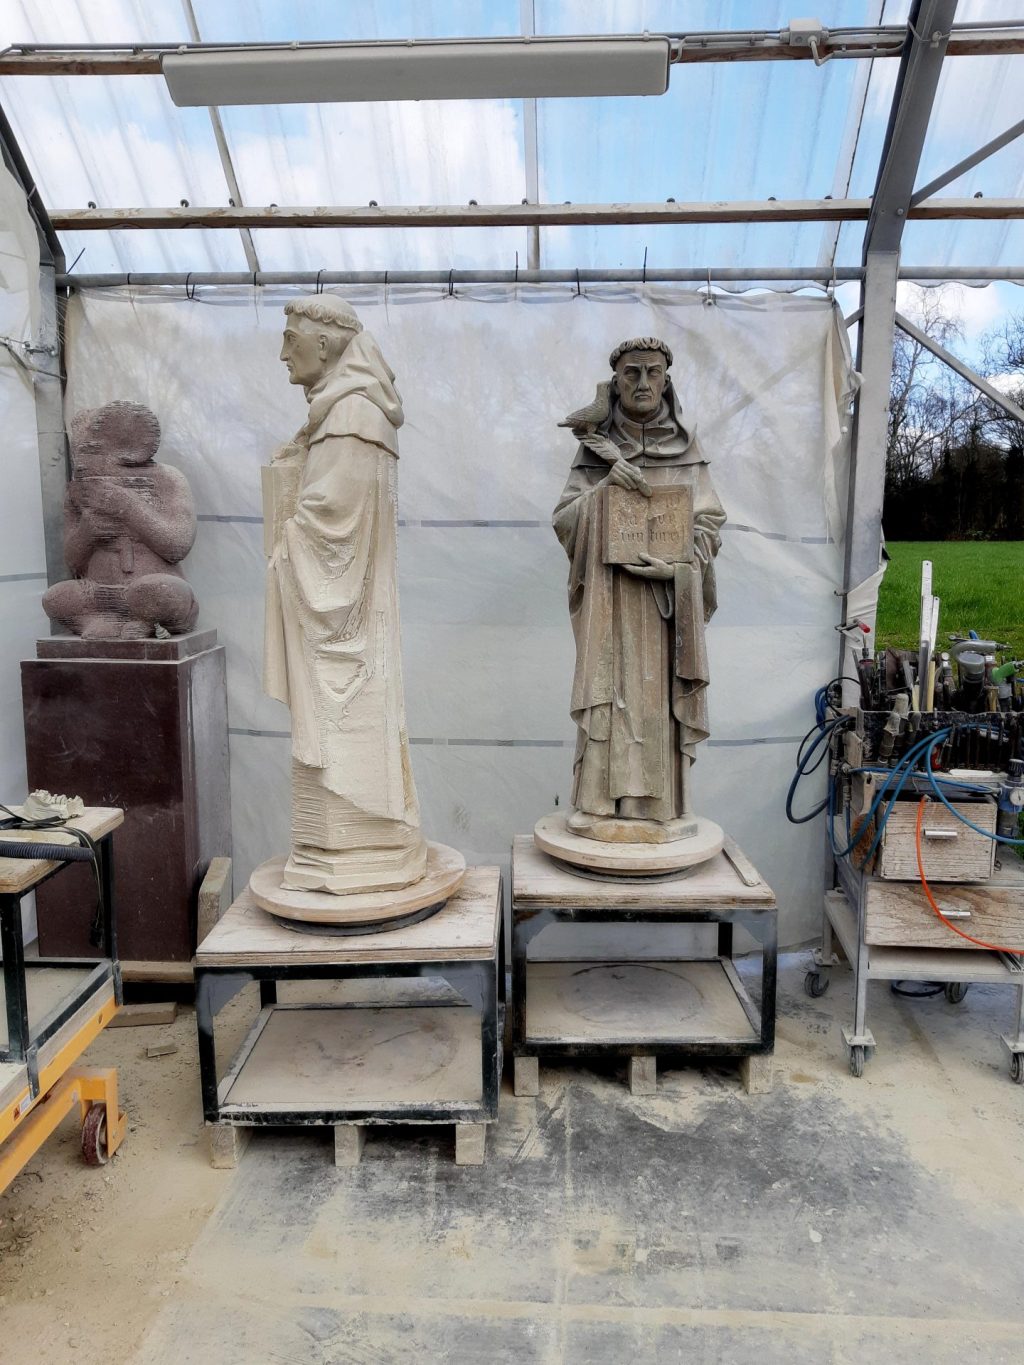
    I then placed the statue a level higher, in order to tackle its lower half. I always set them up close together and preferably on a turntable, so I can always put them in the best position and easily oversee everything.

    I had these stands made so they fit on small pallets, so I can easily wheel them around with a pallet truck. They are stackable too, so I can build them up to a good height. But the stands are just for the larger statues; for smaller ones I'll use my yellow scissor tables. I can use the turntables on these as well.
    In case that's still too low, I can add an extra platform to it.

    sanding the habit of the sandstone sculpture
    13. sanding the habit
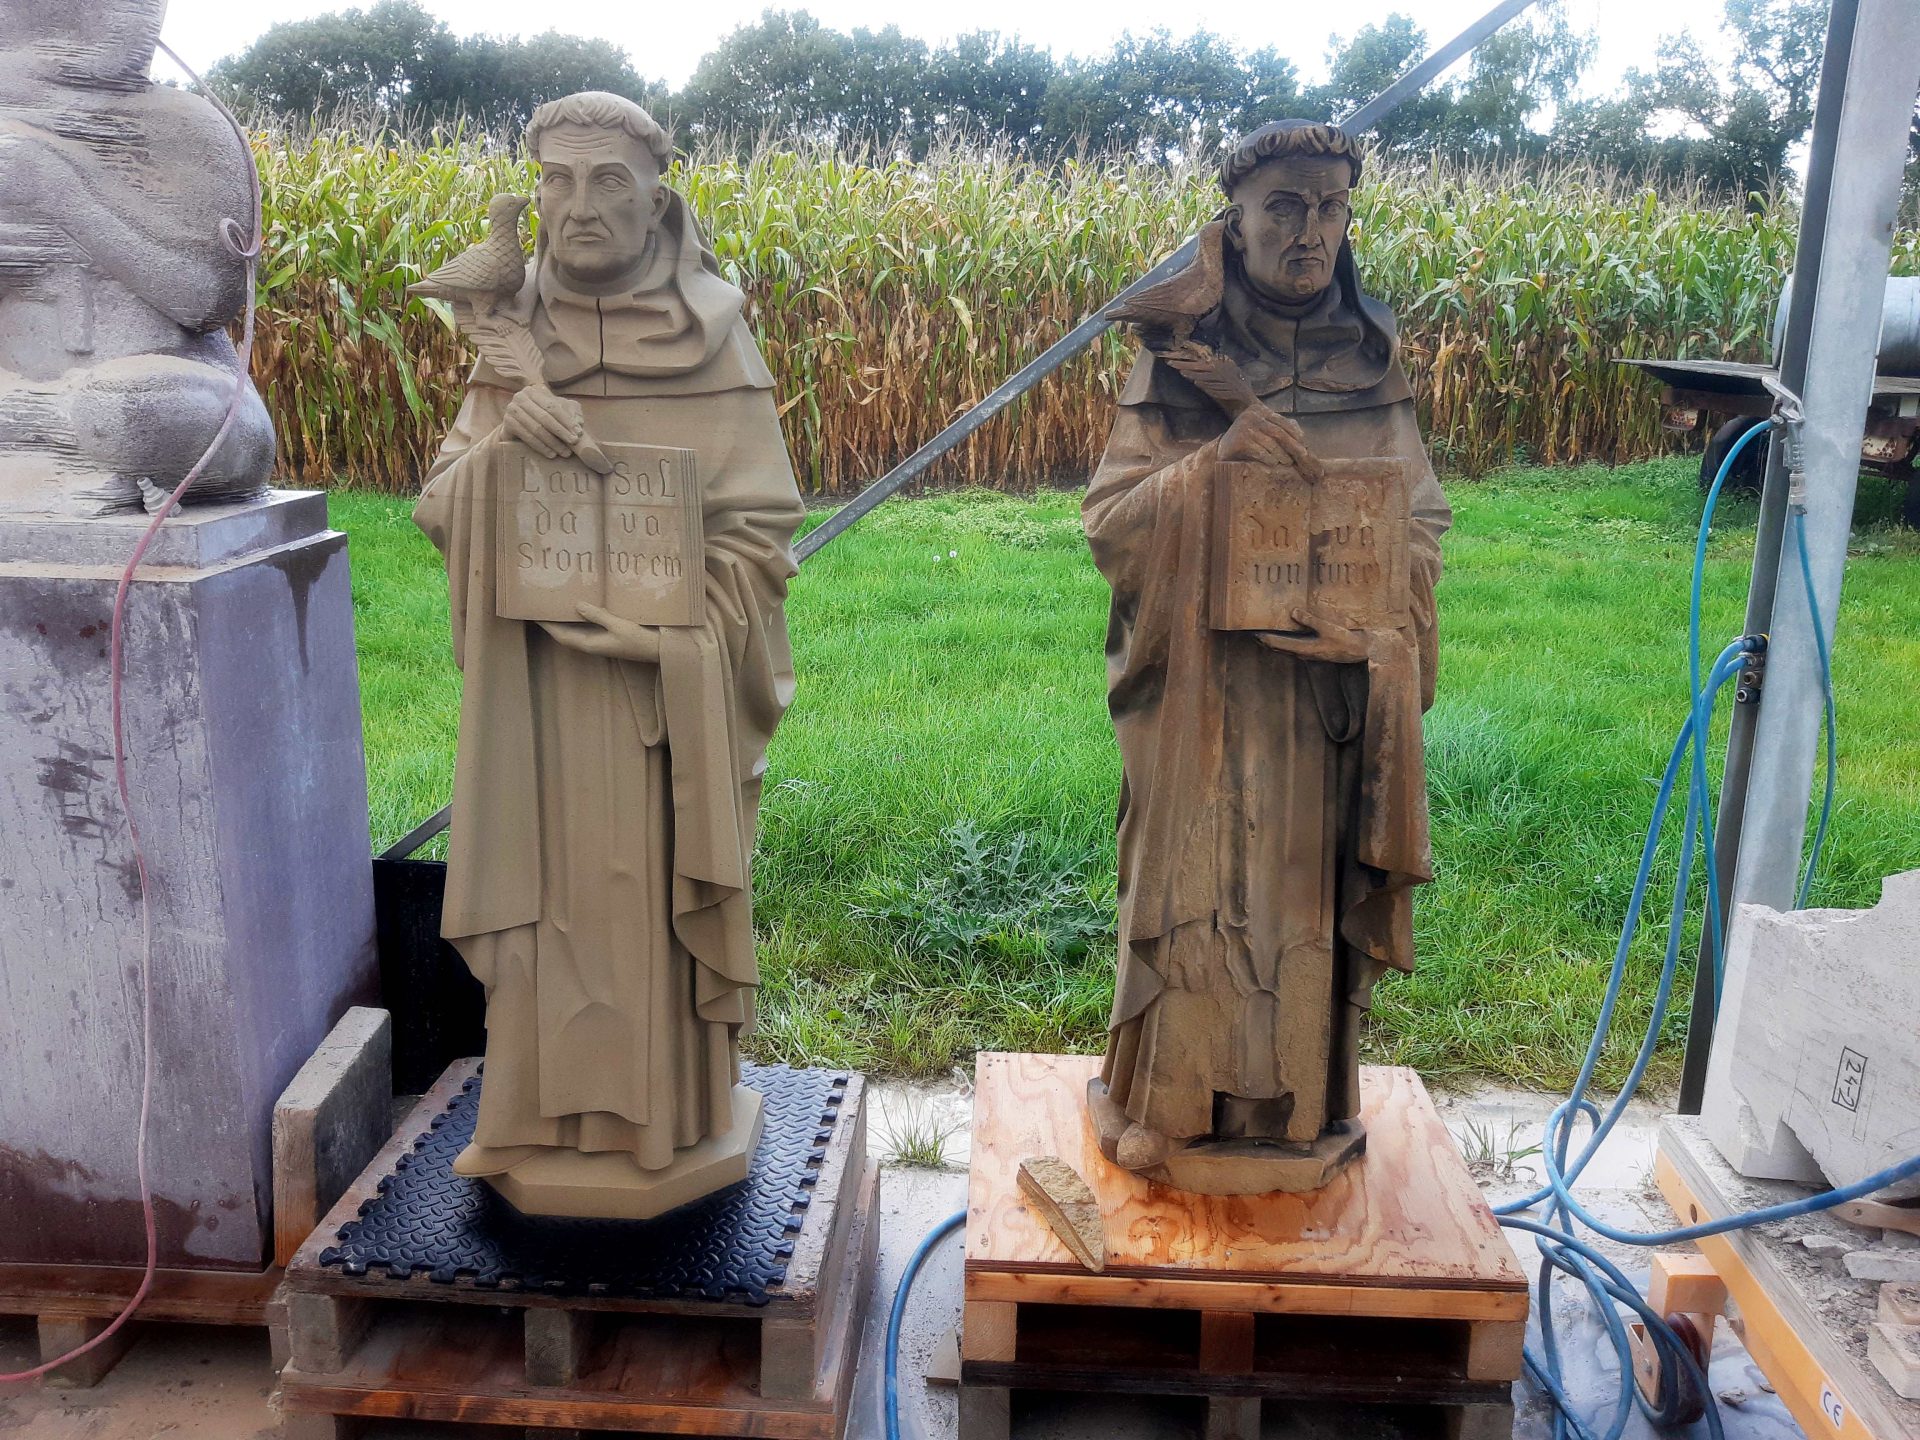
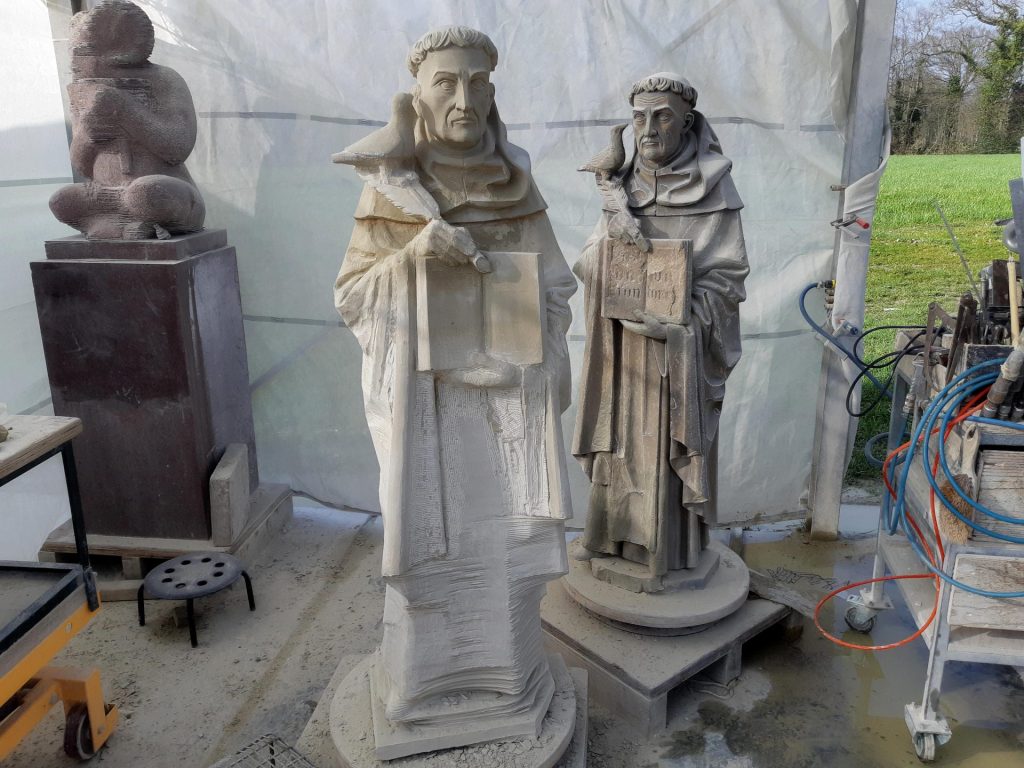
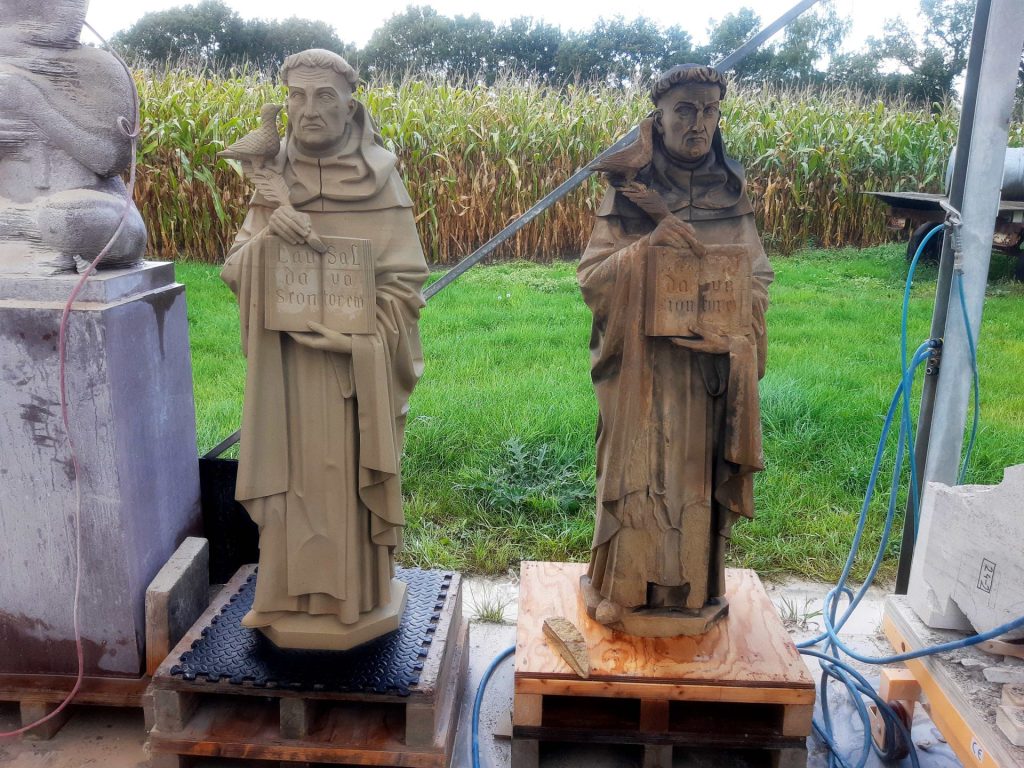
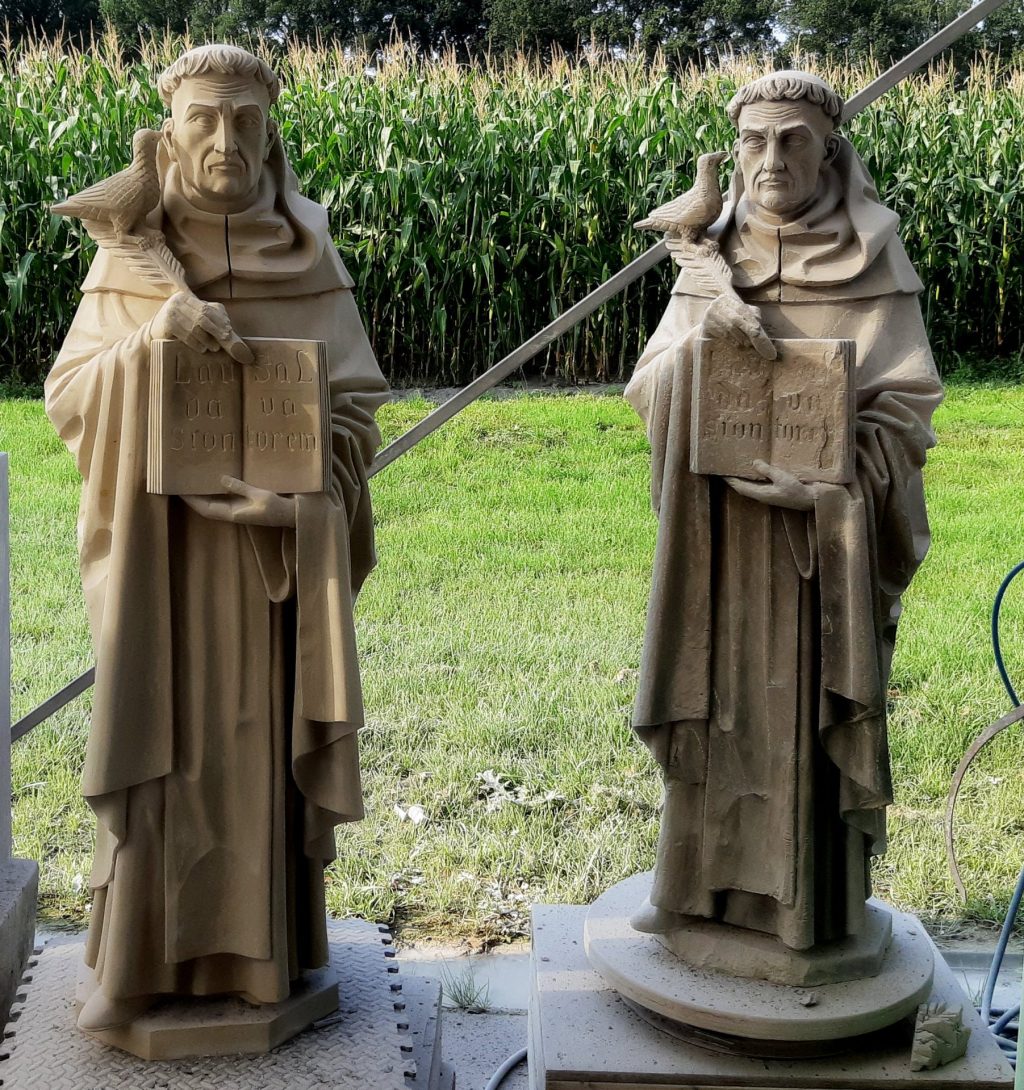
    copy of statue of Thomas Aquinas beside reconstructed original
    14. statue finished; the original, here still with the clay repairs

    Buffing and sanding

    Once all the details were to my taste, the sanding started. With diamond files and abrasive stones, I sanded the entire statue. Later on it still didn't look good enough to me. I discovered that in this Udelfanger sandstone it works quite well if you finish it with sandpaper or emery cloth by hand. It gives a kind of velvety finish that suits the sculpture quite well, and all the scratches of the chisel and abrasive stones will quite easily disappear. However, it is again just another of those jobs that take a bit of patience. I've been sanding on his habit for days, and started to feel it in my fingertips.

    copy and original side by side. Original now without clay
    15. The finished copy and the original, here without clay
    the original statue of Thomas Aquinas, damaged.
    16. The original before repairs

    Making history for posterity

    At the rear of the original statue, there were all kinds of different chisel marks. I reproduced them in the copy. But to make things clear for future generations, I also carved in the following text:: copy 2019 k. van velzen

    This should make it easier for future historians what happened to this statue in the present year. For I don't dare trust that this blog will survive the centuries. Perhaps not even the Internet will. It is said that one good solar eruption is enough to fry all of our electronics and even the electrical equipment and facilities. We'll see, but this way, Thomas will remain, at least a little, a guardian of history.

    Gallery with a timelapse of carving the sculpture

No more messages to show.

No more messages to show.