A thorough dislike of measuring
Long live the copyshop! The title of this post is obviously a bit exaggerated. A sculptor in stone can't avoid taking measurements every once in a while.

- I really don't like having to remember numbers. There must be another way

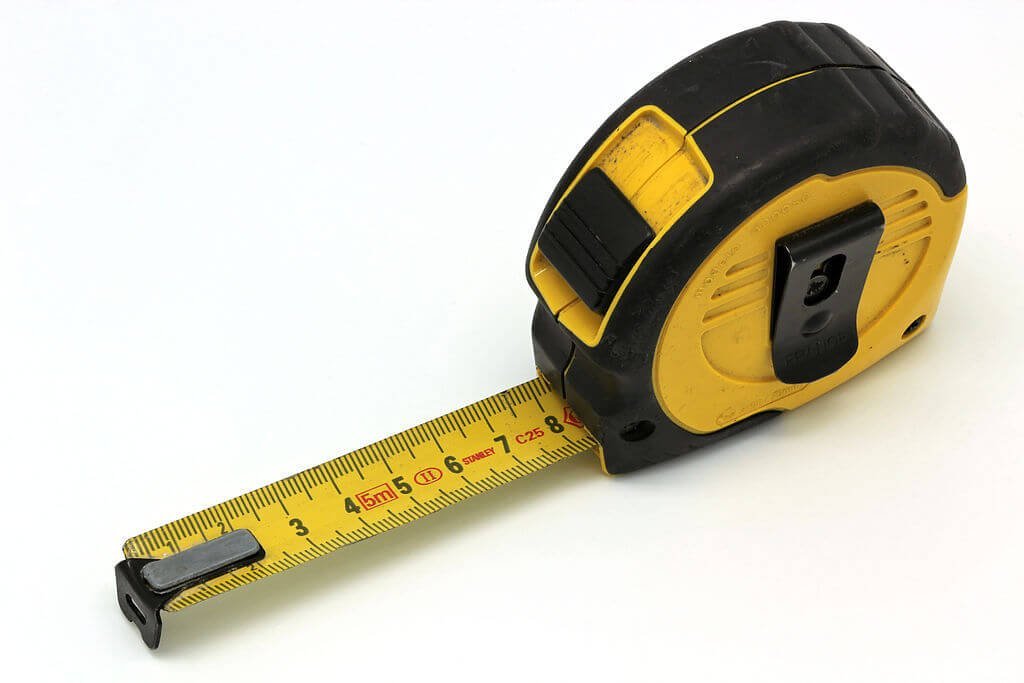
How to avoid measuring
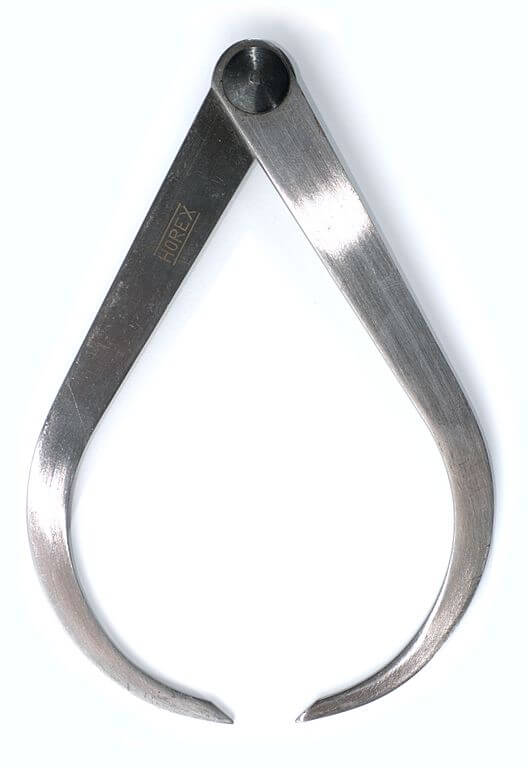
There are several ways in which I try to avoid that I should measure with a tape measure when I have to copy or enlarge something. For example, while carving my previous sculpture, 'Ferns’, I made the model in a scale of 1 at 4 when he. From that I took the sizes with a compass, which I then 'walked' four times across the piece of stone, so there would be no digits to convert. Whenever I needed to convert sizes with a calculator, or out of my head, or just needed to measure and reproduce something, I'd sometimes already forgotten the numbers once I'd stepped away from my model. So then I have to get back, measure again, remember, and measure on the new piece, draw the measurements, etc.. I once did that, in the beginning, and soon got tired of it. Hence the compass. Or calipers, or pointing machine, or…. but no, I'm not going to tell all my tricks. In any case I like it if I don't need to think too much, and when the measuring process takes as little attention as possible. Sorry, but sometimes I think I'd rather be lazy than tired.
Reliefs
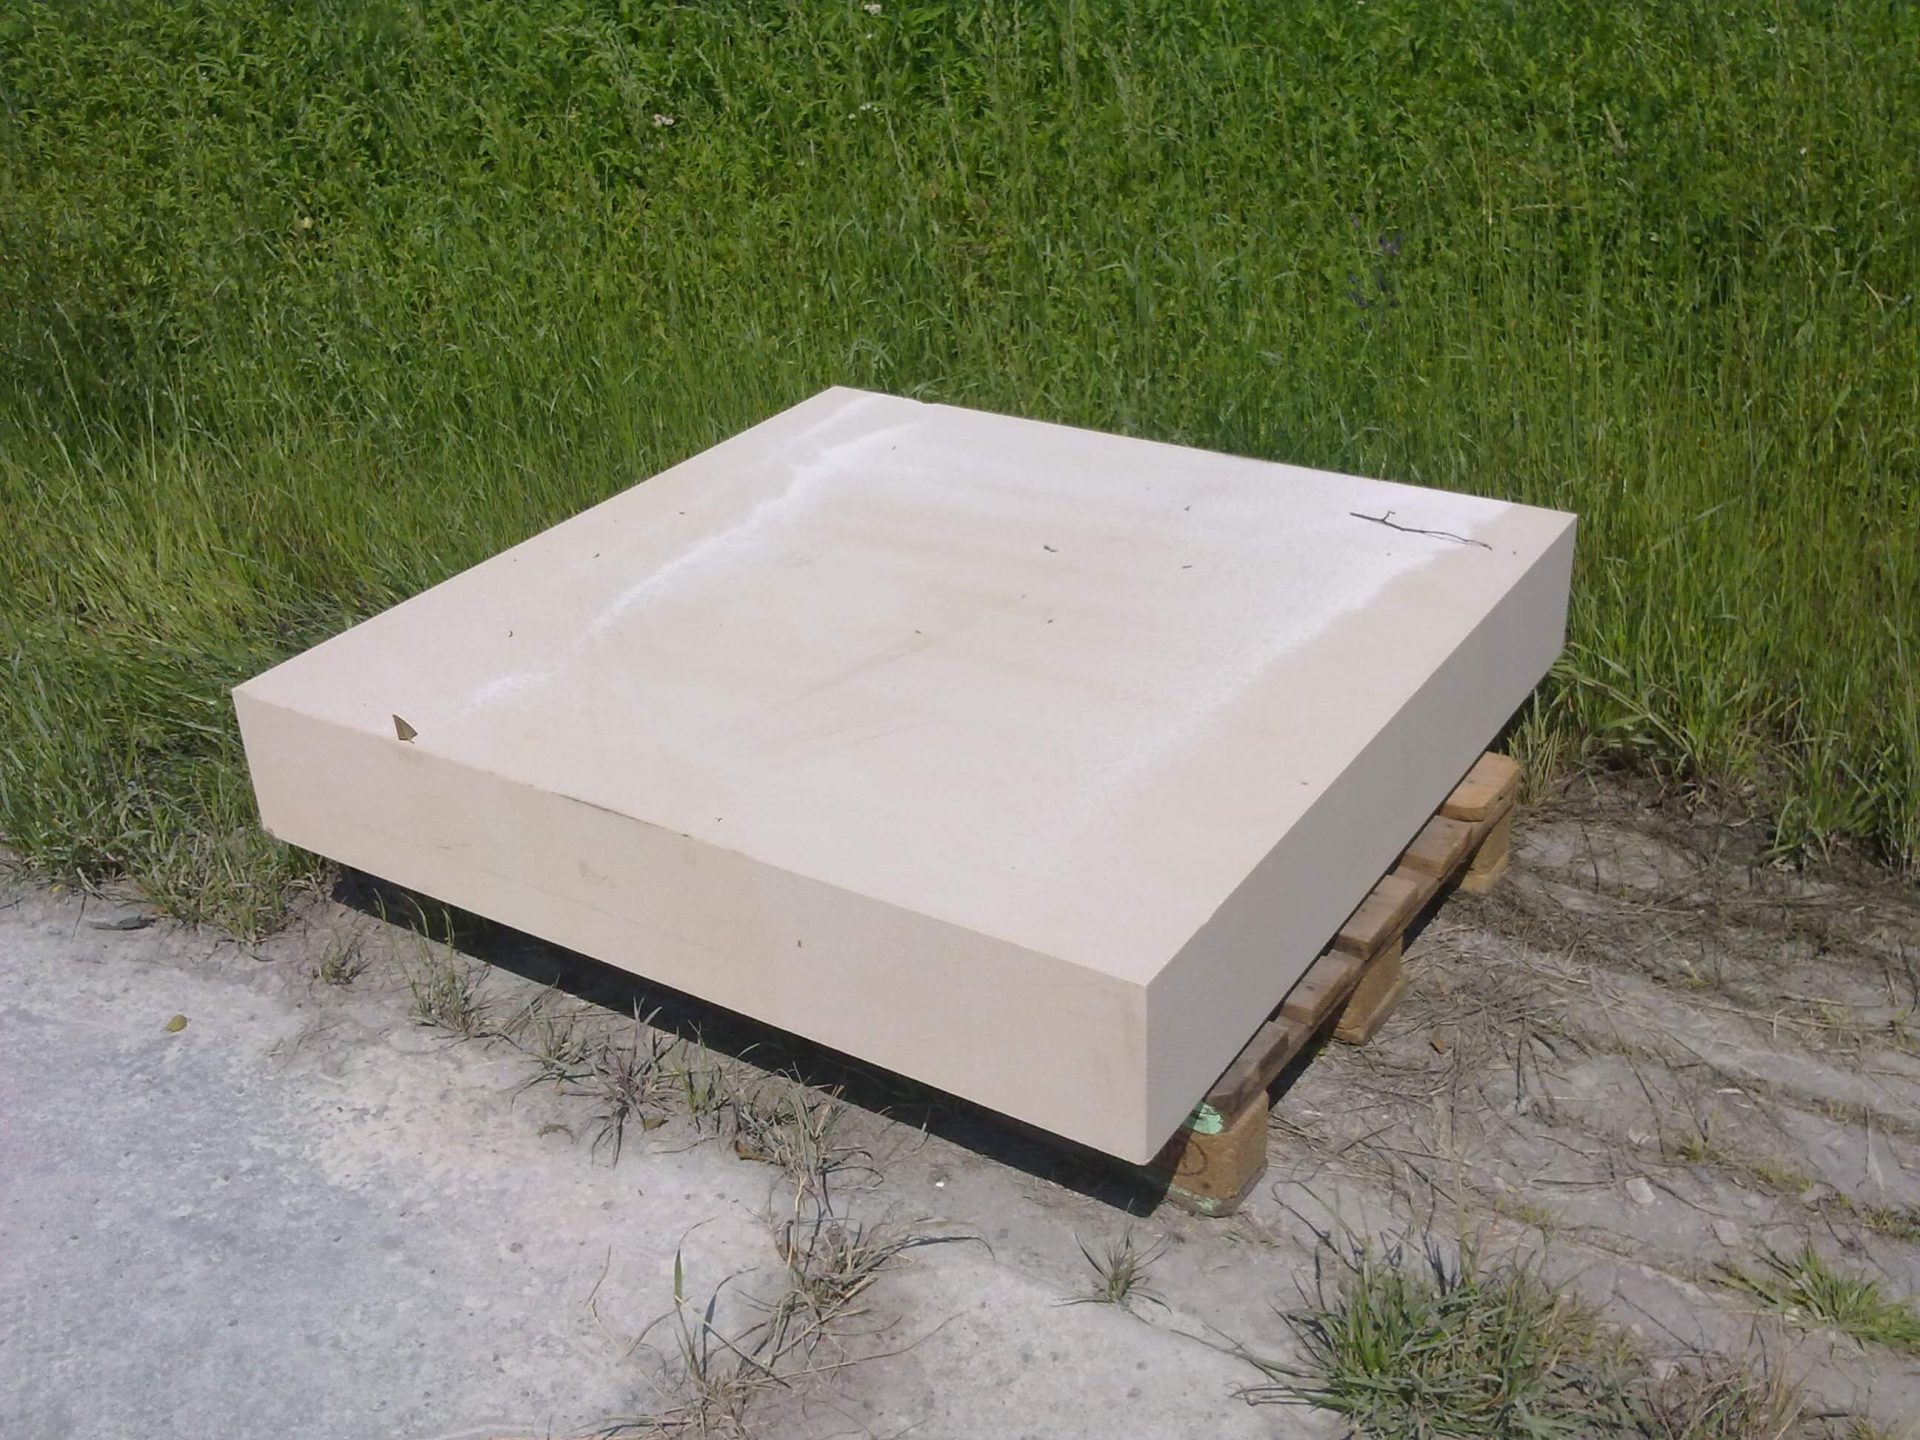
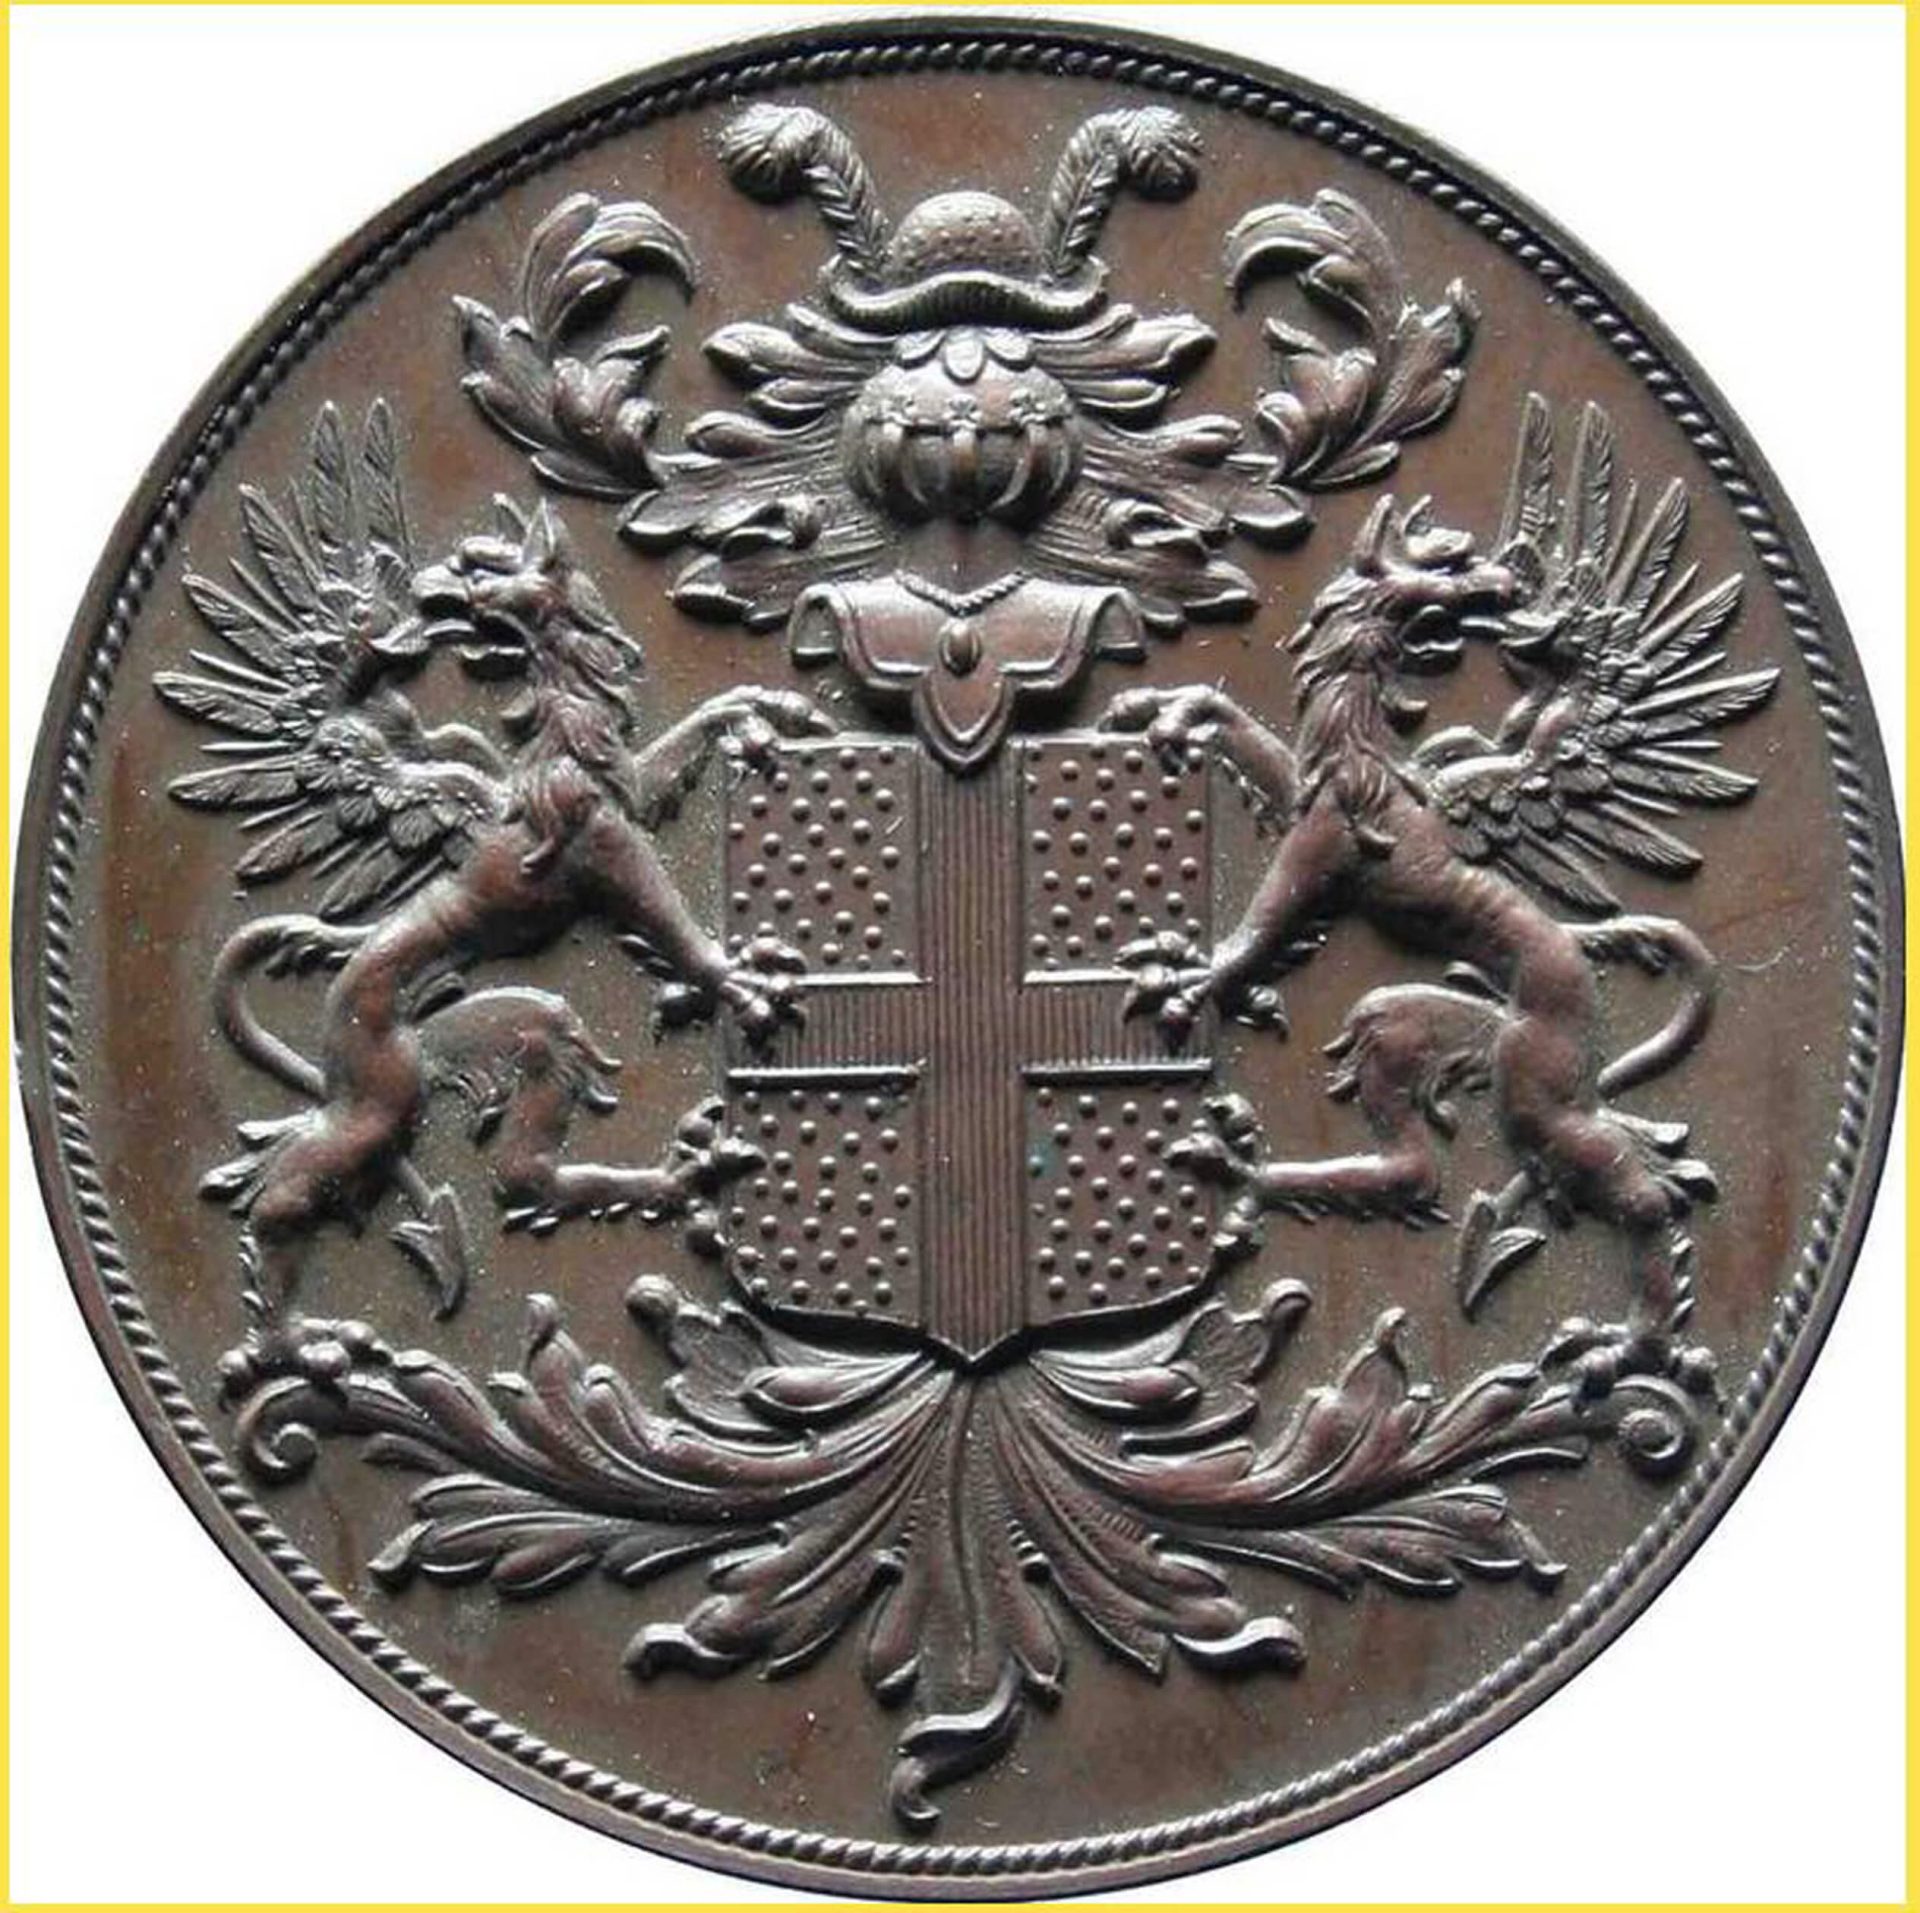
It's even easier for reliefs. Just ake a picture in the correct size, lay that on the stone, and transfer it to the stone. Then all I need to do is carve it out, easy as that. Of course I won't tell you all the tricks I've discovered over the years. But the main trick is that of course I'm not going to magnify such a picture with grids. Or print on A4 sheets and stick them together with adhesive tape. I emailed the picture to the copy shop, and they enlarged it to about 120 cms, and Koen is done.
Day 1

So today I started carving the coat of arms of the family Van Heeckeren. After cutting the slab of sandstone round and transferring the image I've made a start with the profiled edge. Also, I put three loose lifting anchors in the background material of the stone, for a round stone is very hard to hoist properly. Imagine it happening, it's all finished and slips out of the slings! We can't have that. So I put in two lifting pins just above the center. They're drilled slightly upwards , so they clamp themselves, and for horizontal lifting, there is a third pen at the bottom. Finally, I started ‘jig sawing‘ the relief, so I no longer need to measure a lot of things!
Nasty the first message about this project.
Nastythe next post about this project.