• Saturdays project: two Kalasams in dolomite

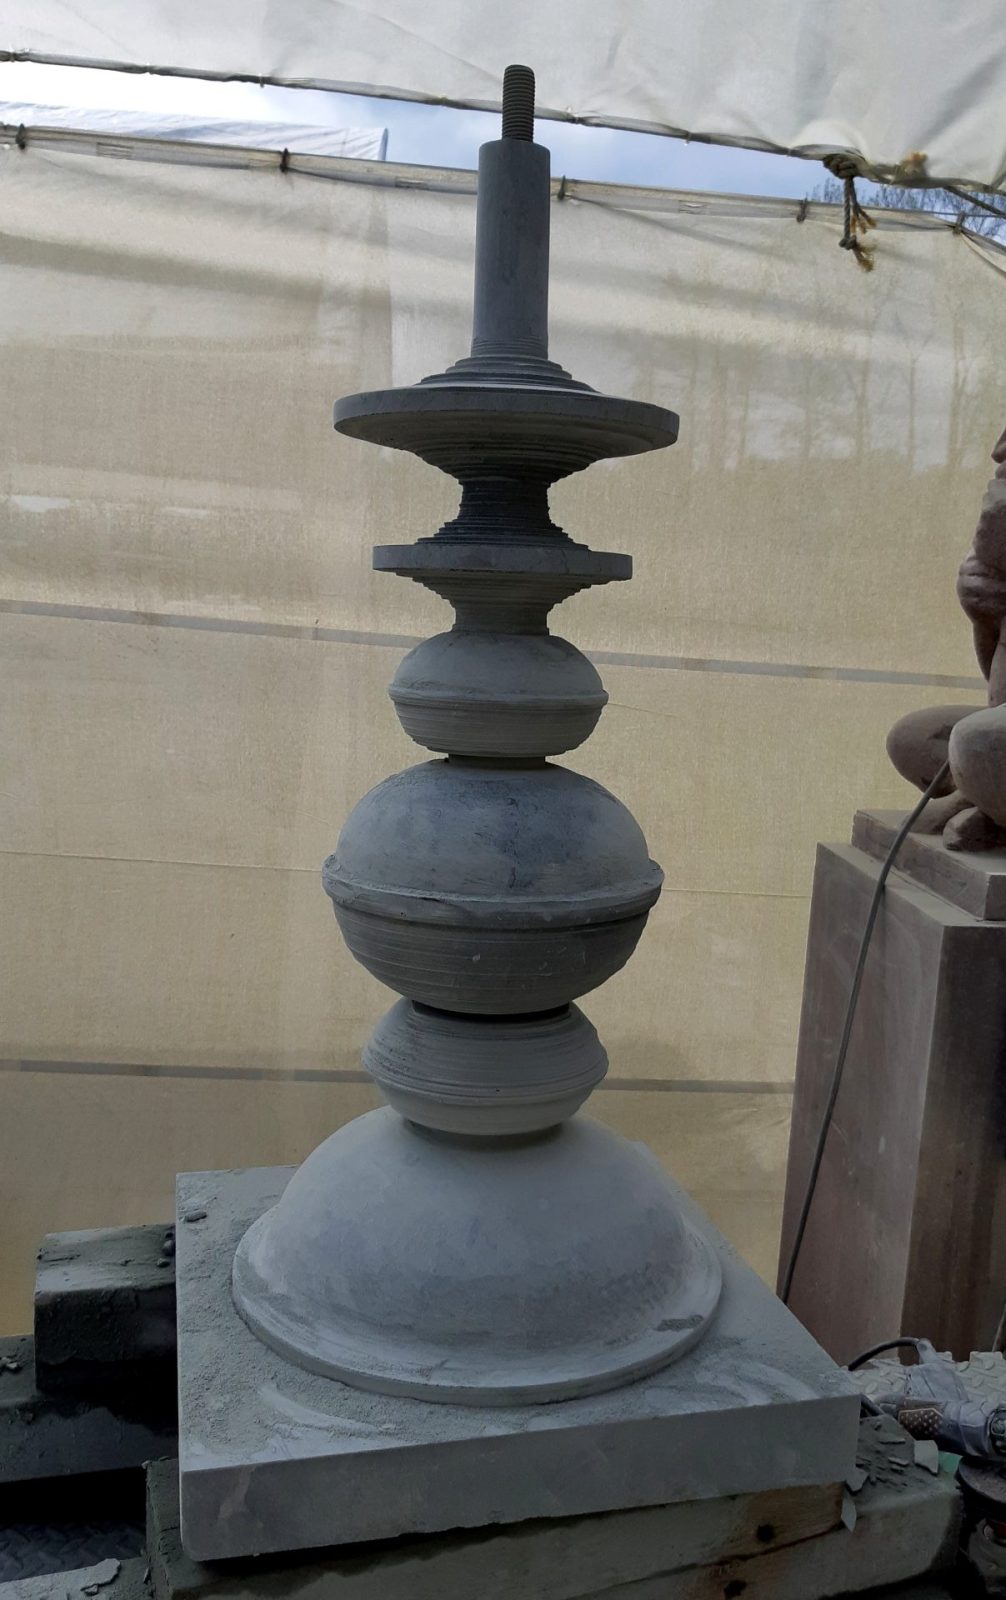
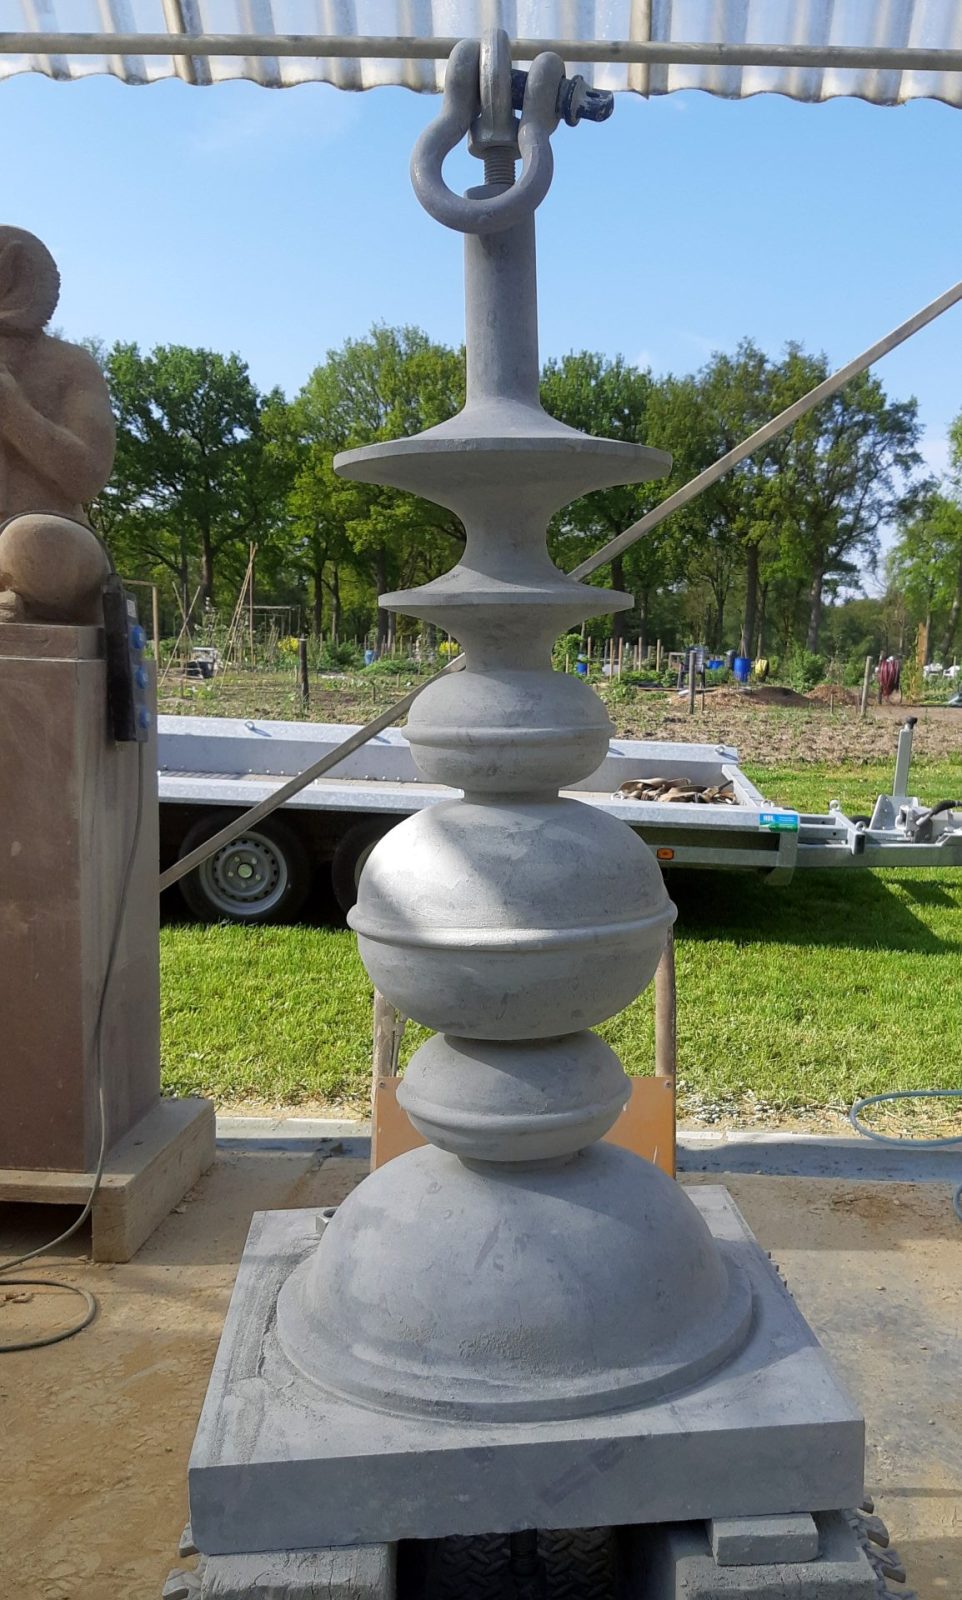
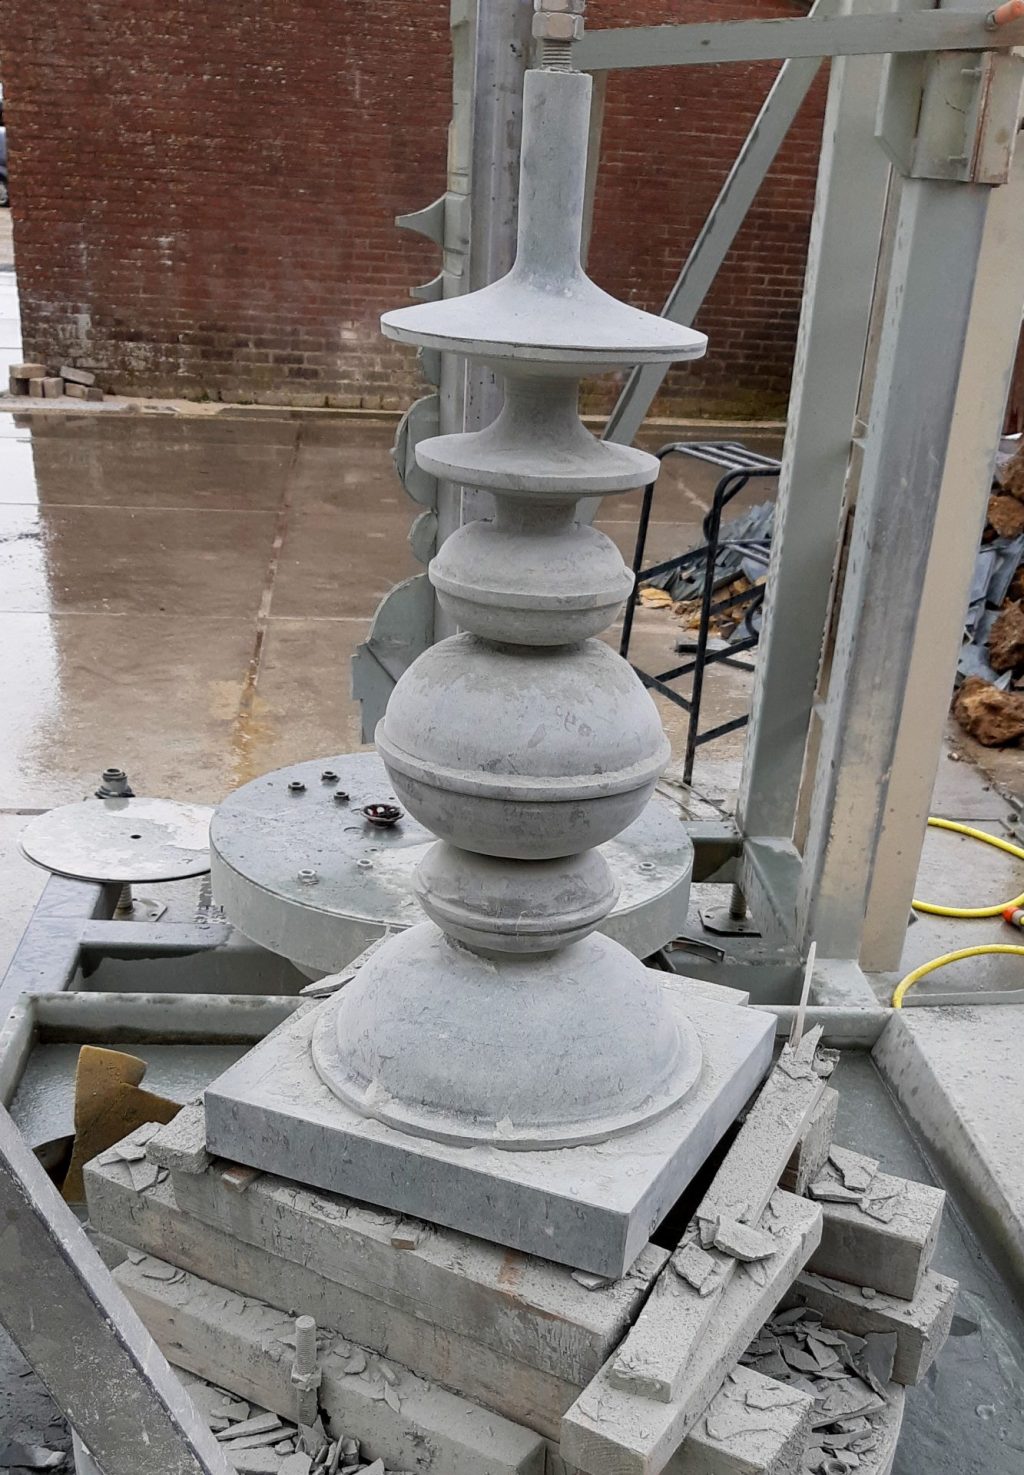
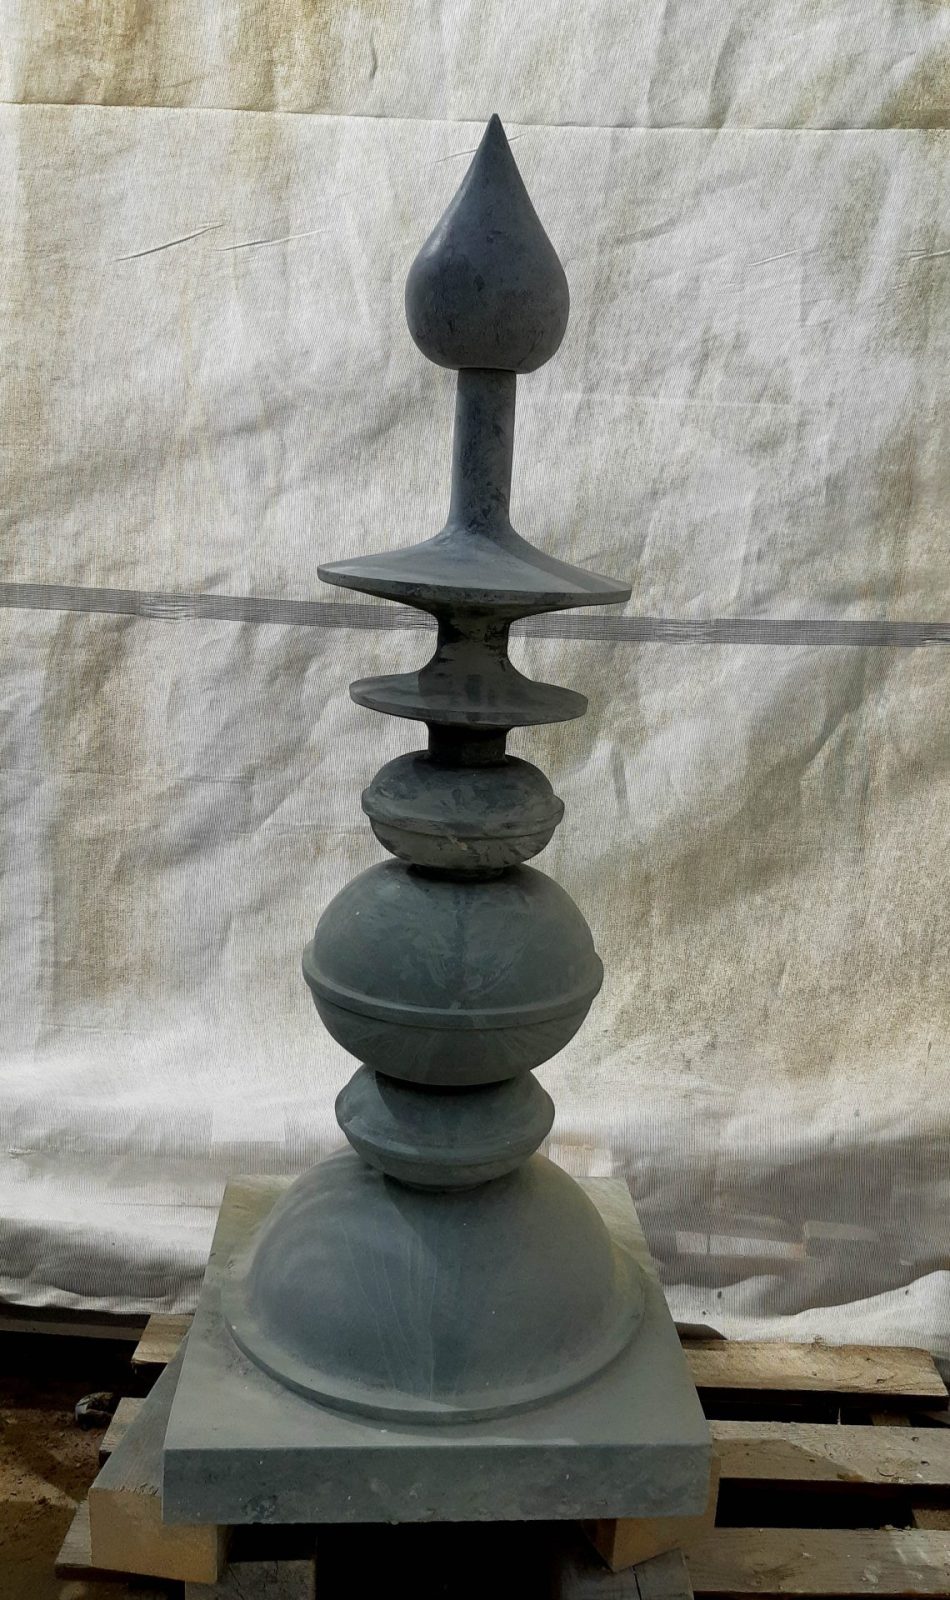
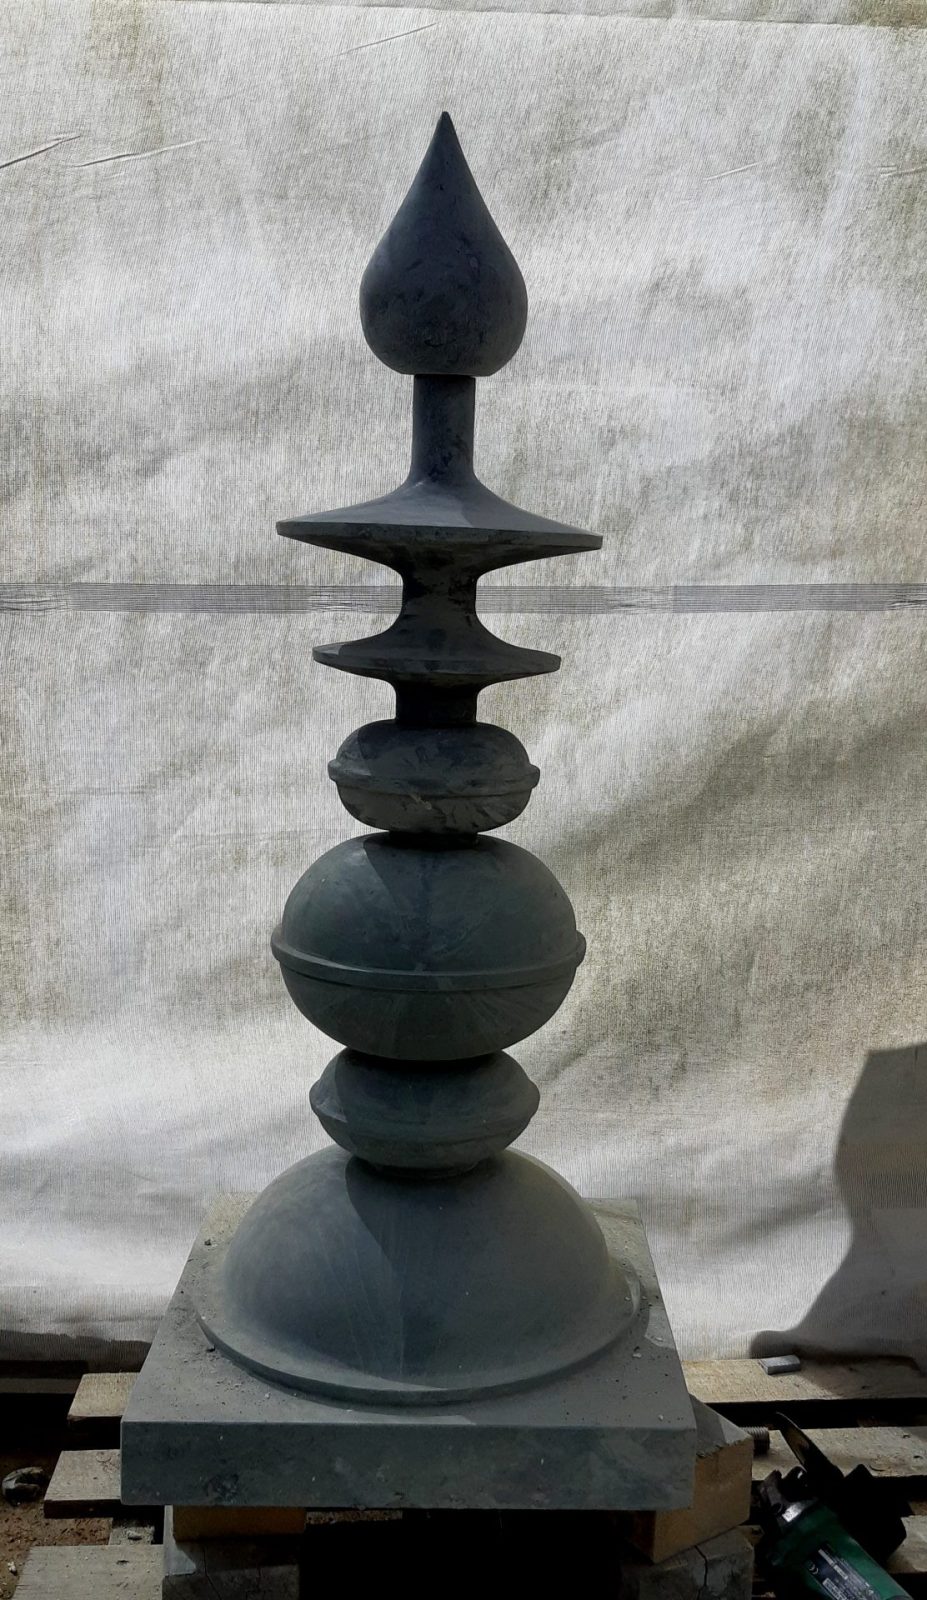
    one of two kalasams in green dolomite limestone (Anröchter Grünstein)

    Strict Confidentiality!

    reliefs in basaltic lava

    It has been a while since I shared a project, and that's because our current project is a big one. Not only do we need to make a lot of parts for it, but also a lot of this work is new and exciting. I can say that it concerns the façade reconstructions for the church of Veghel, but the details remain a surprise as it will become a gift to the city/village. We have been busy for more than a year with the preparations, reconstructions and the sculpting itself. Meanwhile the work on installing it all is progressing quickly and we're already working on carving the final parts, but we will keep the icing on the cake a secret for a while. This is also an exciting part for us, of which we very much look forward to the result. Update: the work has now been placed and unveiled. read more under this link↑ and further messages.

    Saturdays project

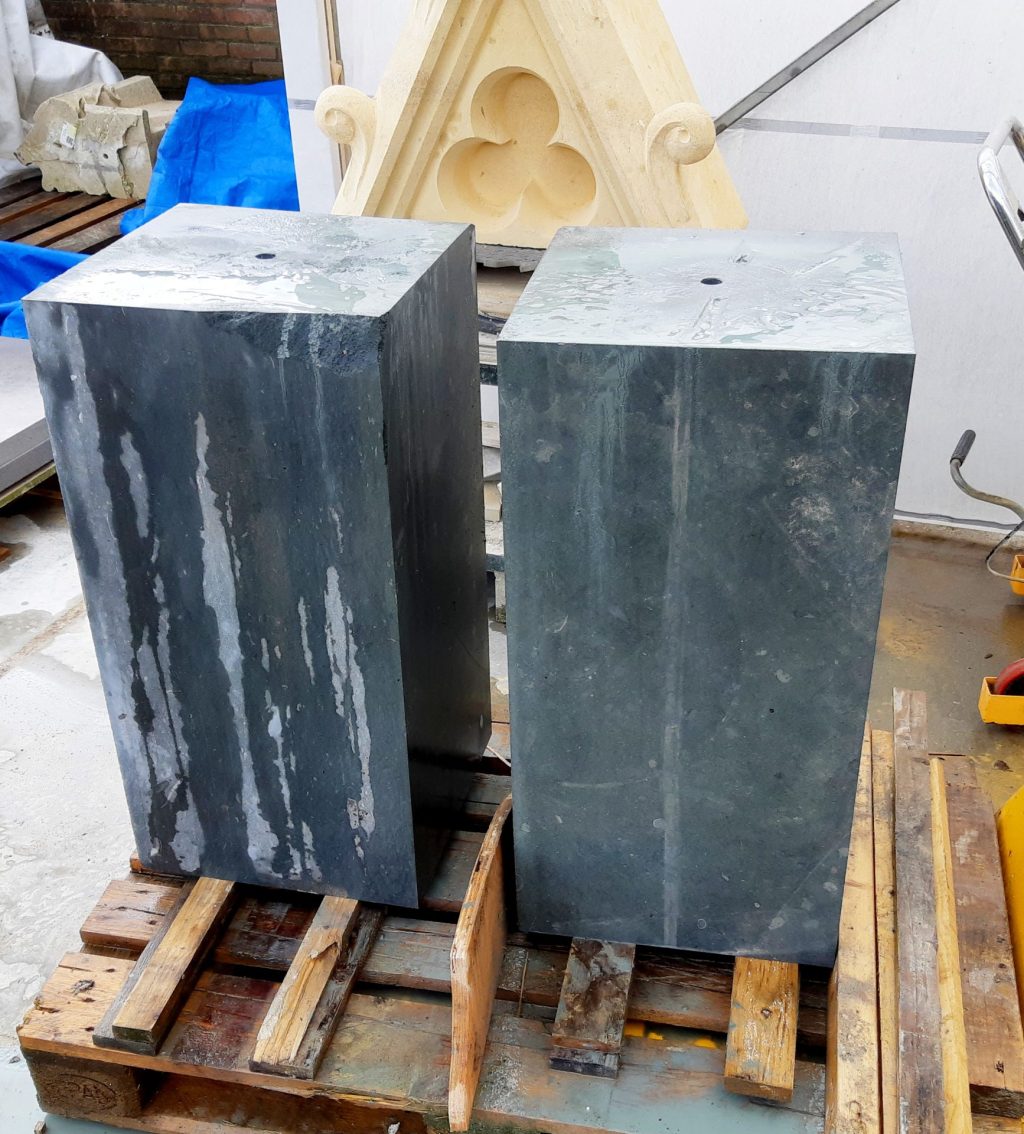
    blocks for the two kalasams in green dolomite limestone (Anröchter Grünstein)
    two blocks of dolomite

    But in addition to all the hustle and bustle in Veghel, I still saw an opportunity to make good use of my Saturdays and carve two temple finials in the same green dolomite limestone from which the plinth for my father's statuette "Surrender’ was made, as well as his tombstone.

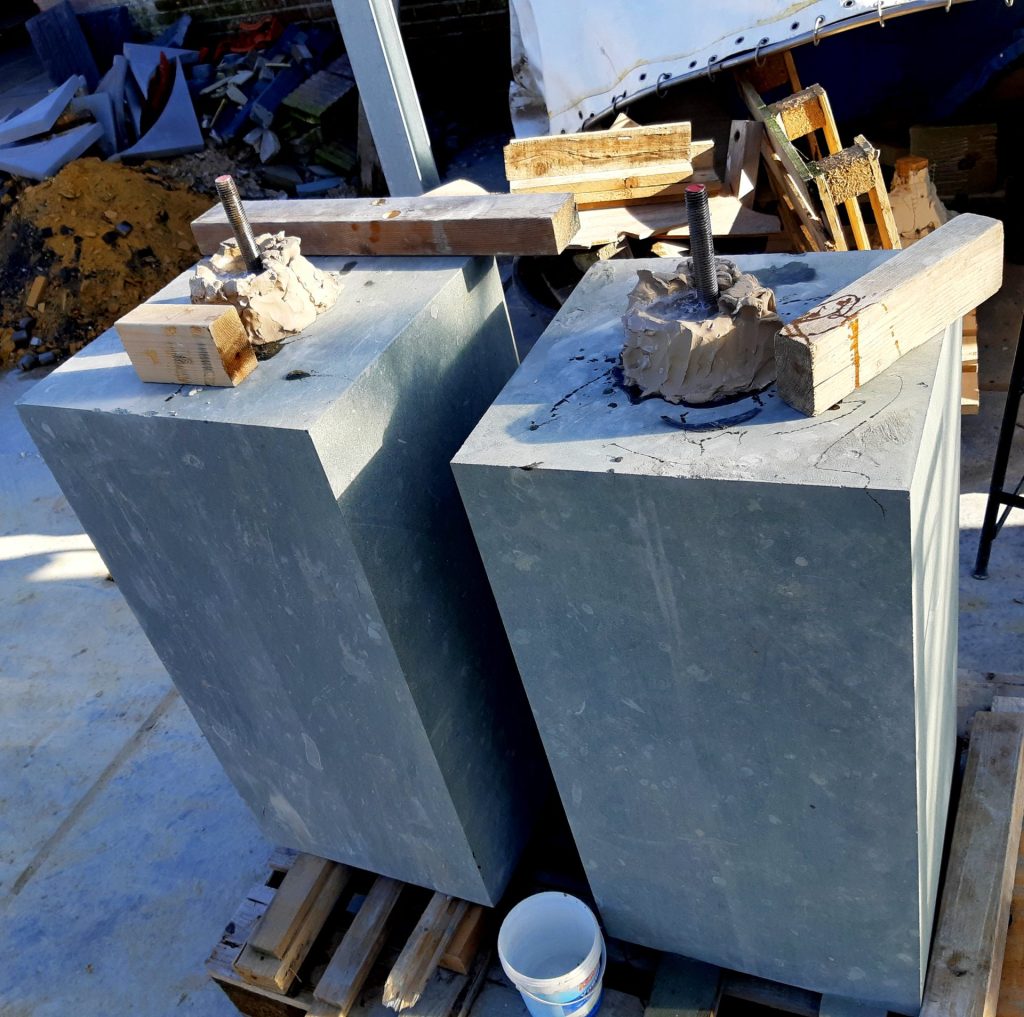
    This was a venture that required some planning as it was going to be very thin and yet needed to remain strong. How did I do that? I didn't want this ornament to break in half after a few years outdoors, so I decided to glue in a stainless steel threaded rod. I drilled a hole in the middle of the 80cm tall stone with a diamond drill, well aligned, so that I would end up right about in the middle on the other side. It needed to be really sturdy right away, so I chose a threaded end of 20mm thick. This one need to stick out the bottom for 15 cm and at the top for 5 cm, so I thought to seal the stone with clay and pour some epoxy around the threaded rod. But it was still very cold outside and the epoxy would not flow properly.

    Retry

    gluing pens into the blocks for the two kalasams in green dolomite limestone (Anröchter Grünstein)
    gluing the pins

    The second attempt was with a much thinner cast epoxy. I poured this in from the other side, via a clay bowl, and this glue did flow all the way through. Success, I thought. But then it turned out in the following week that the epoxy wouldn't harden fully! To my disappointment, I had never read that you need to use this glue above 15 degrees Celsius, and it was only 5Âş Celsius. The stuff stayed a bit rubbery and although it hardened a bit more in the following month, it never really cured fully. But… actually that is better. These temple ornaments will be placed on the roof and will have to deal with considerable temperature differences. Then it is beneficial if the binding is not too rigid.

    Kalasams

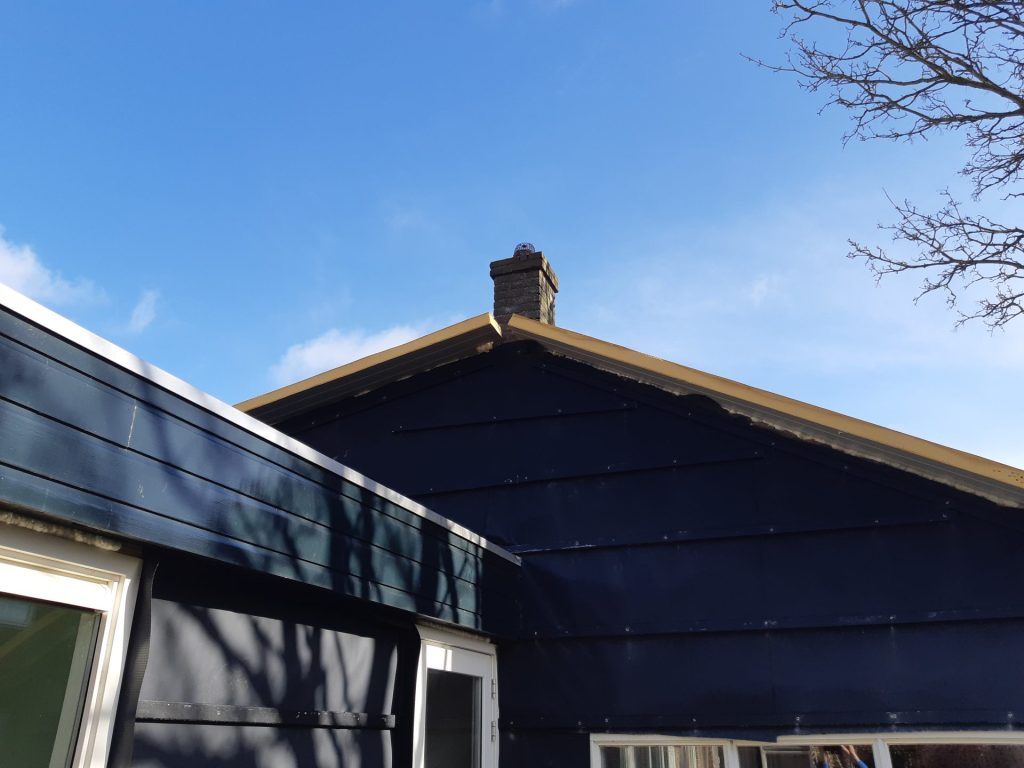
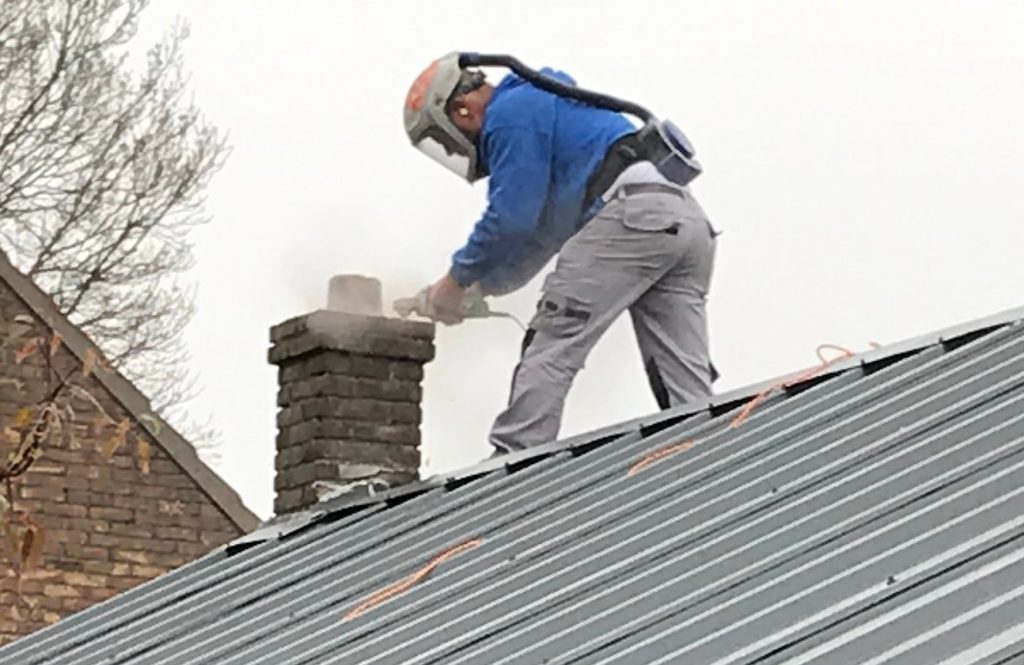
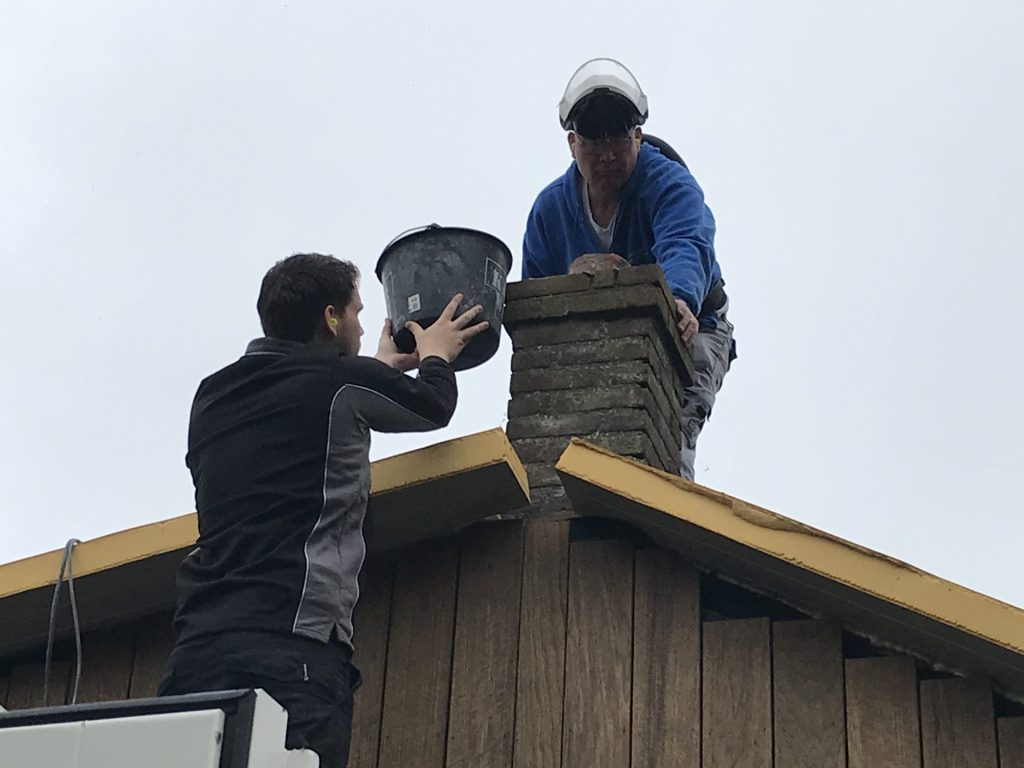
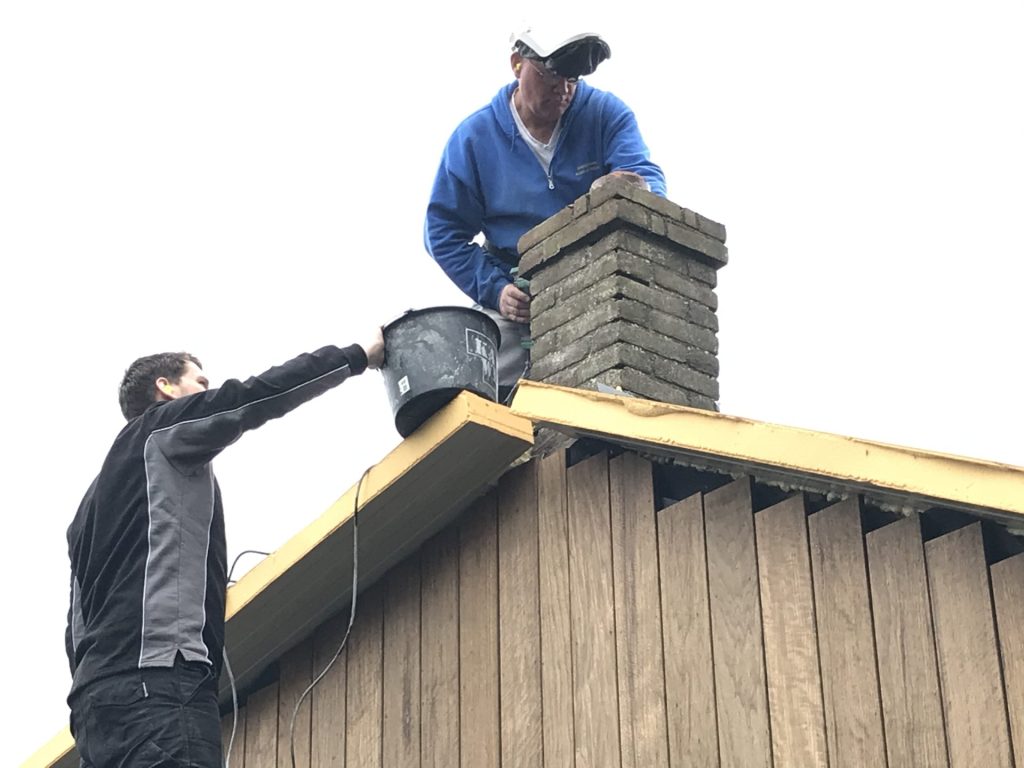
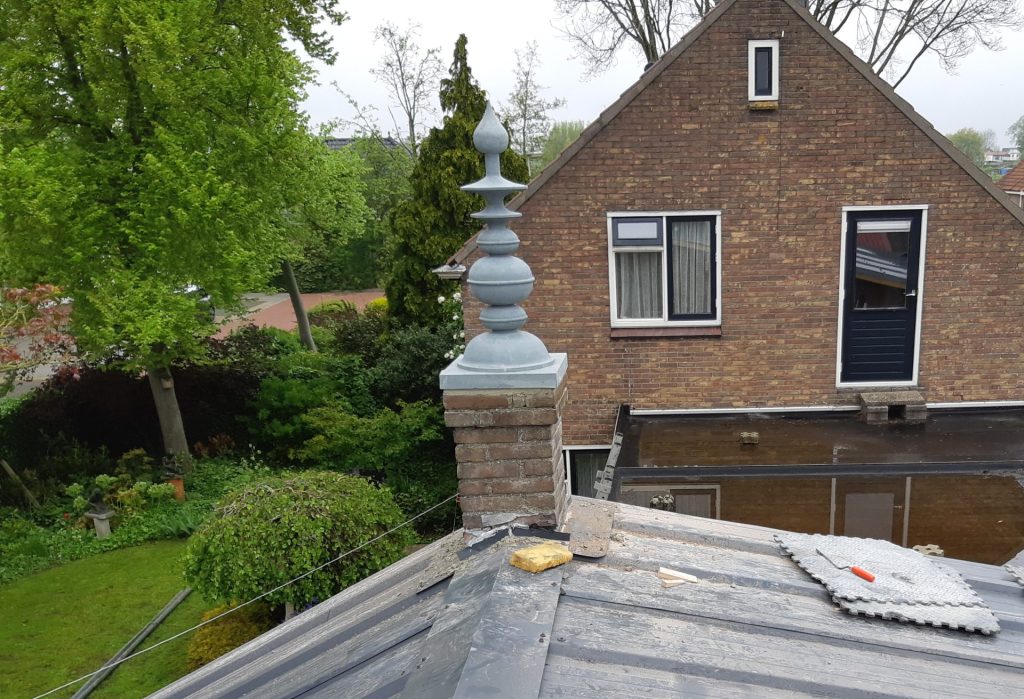
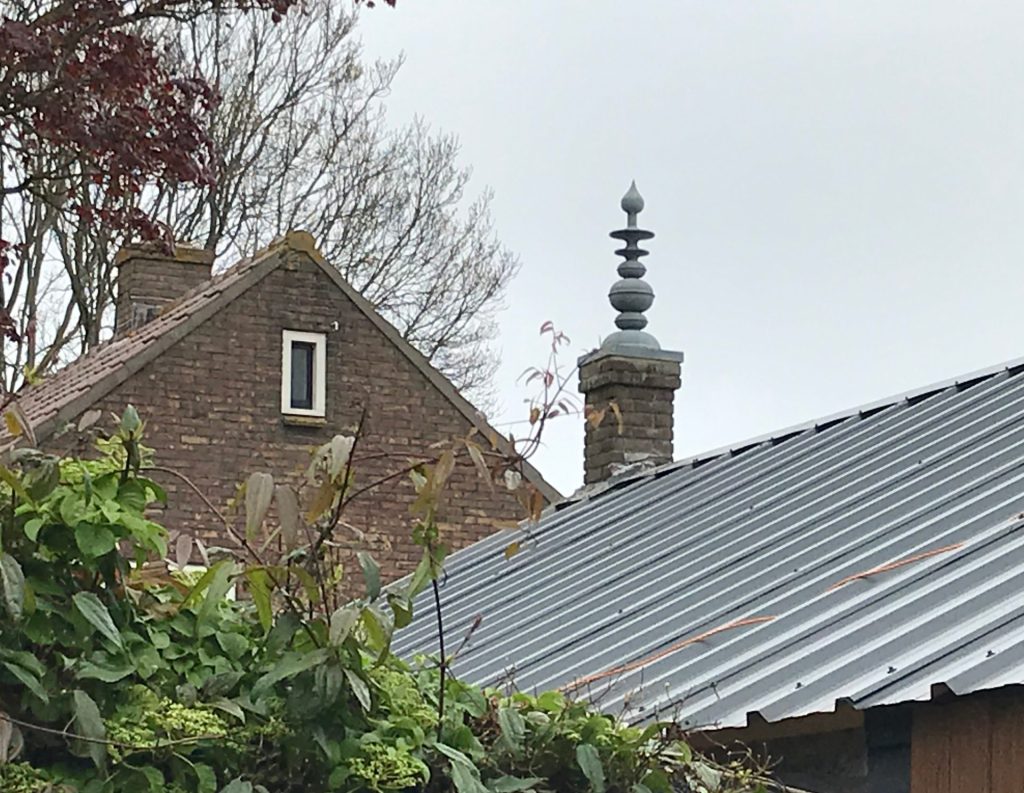
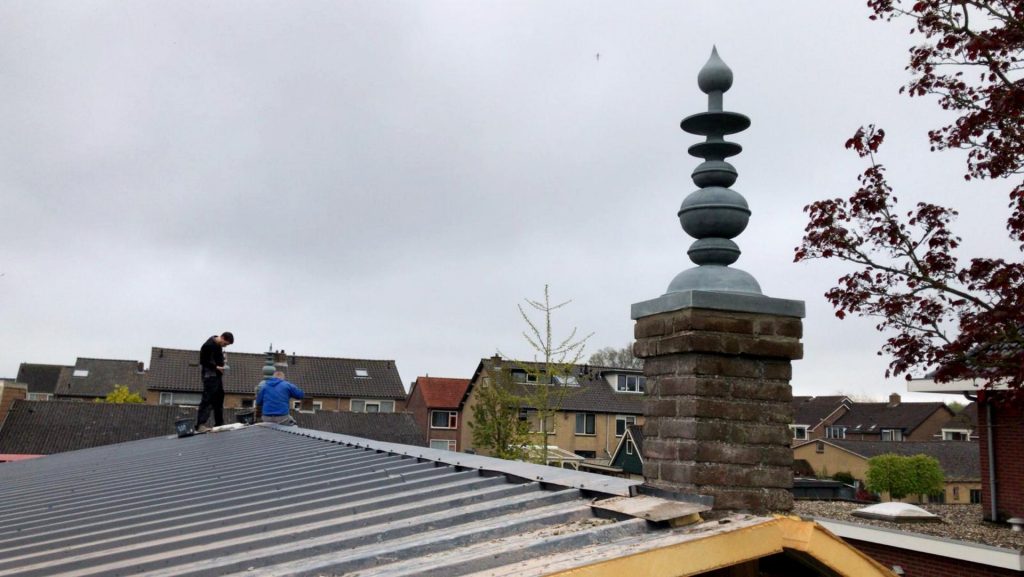
    Kalasams are ornaments atop a Hindu temple, usually made out of brass but sometimes stone. Traditionally they were used to store rice, so that after a disaster it could always be resown. They are intended to protect the temple. Also see the English Wikipedia. In this case I was asked to make these Kalasams for the temple of Onderdijk. This hall got a new roof, and though first was thought of removing all three chimneys, later on was decided to keep the two little ones as a pedestal for these kalasams. They serve as the crown on top of the temple.

    Drawing and sawing

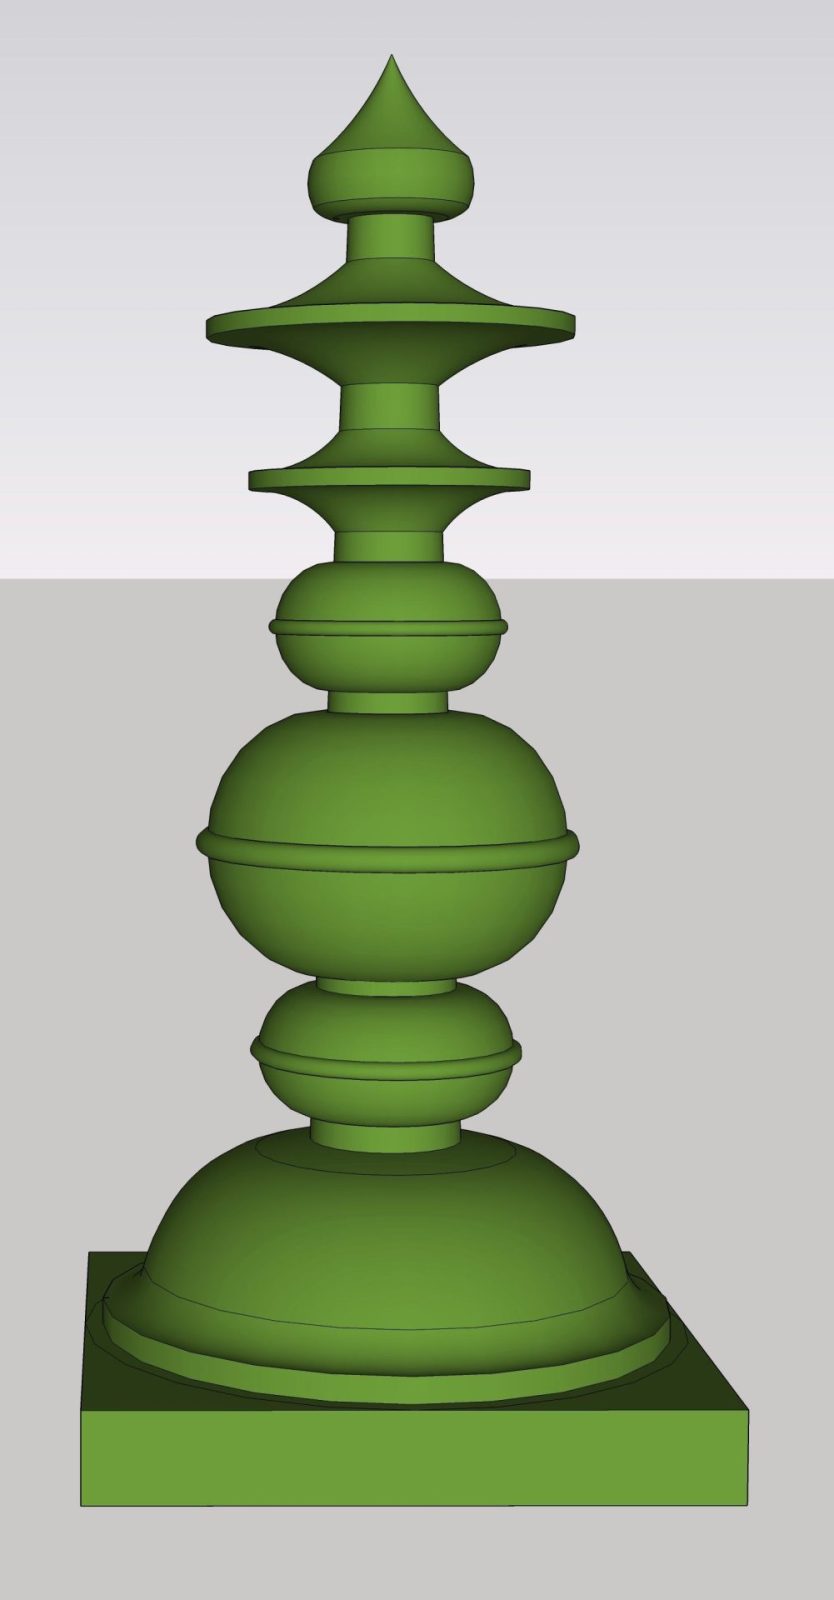
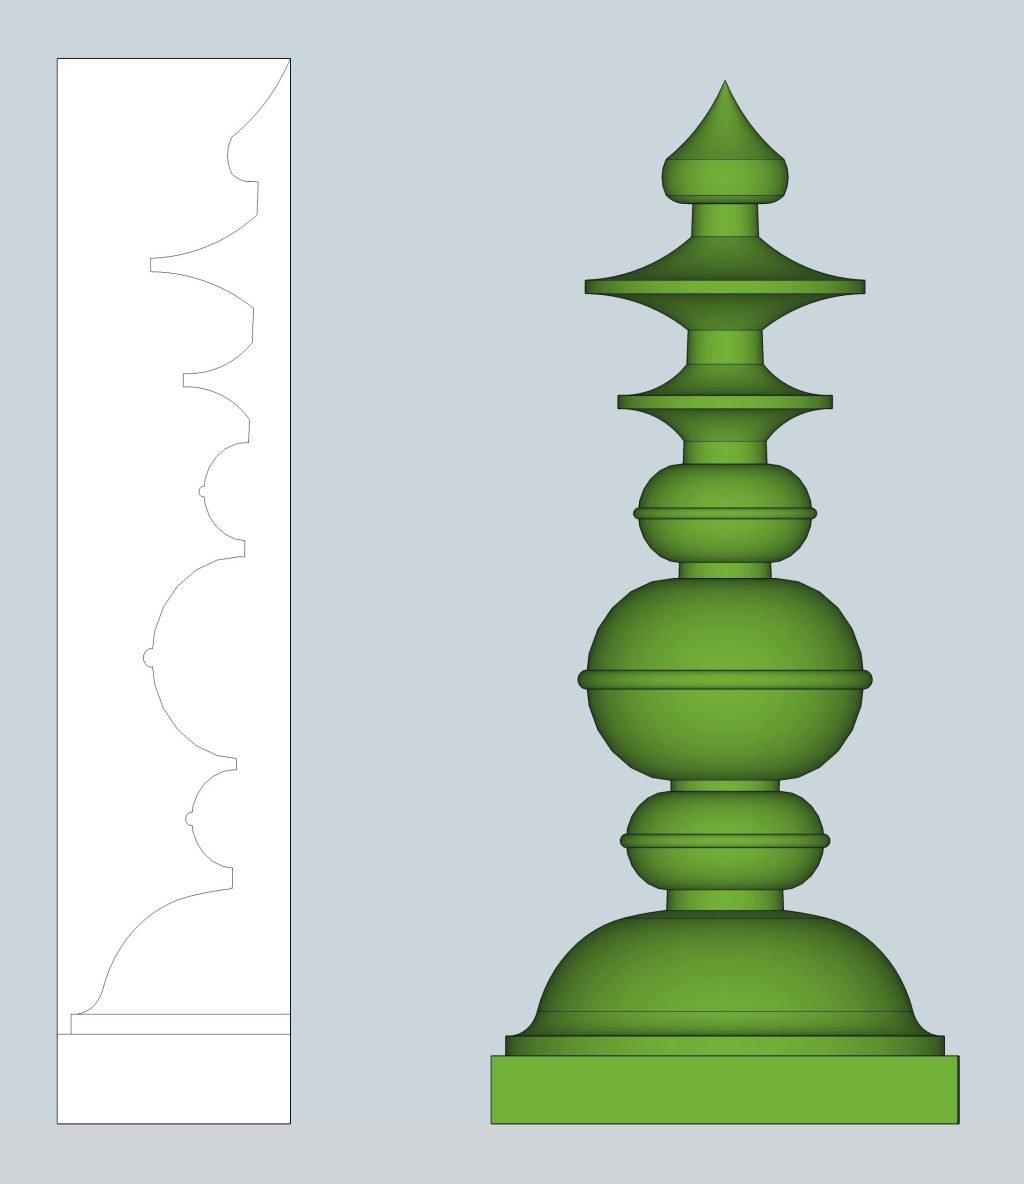
    3d sketch
    side view and cross section of the two kalasams in green dolomite limestone (Anröchter Grünstein)
    side view and cross section

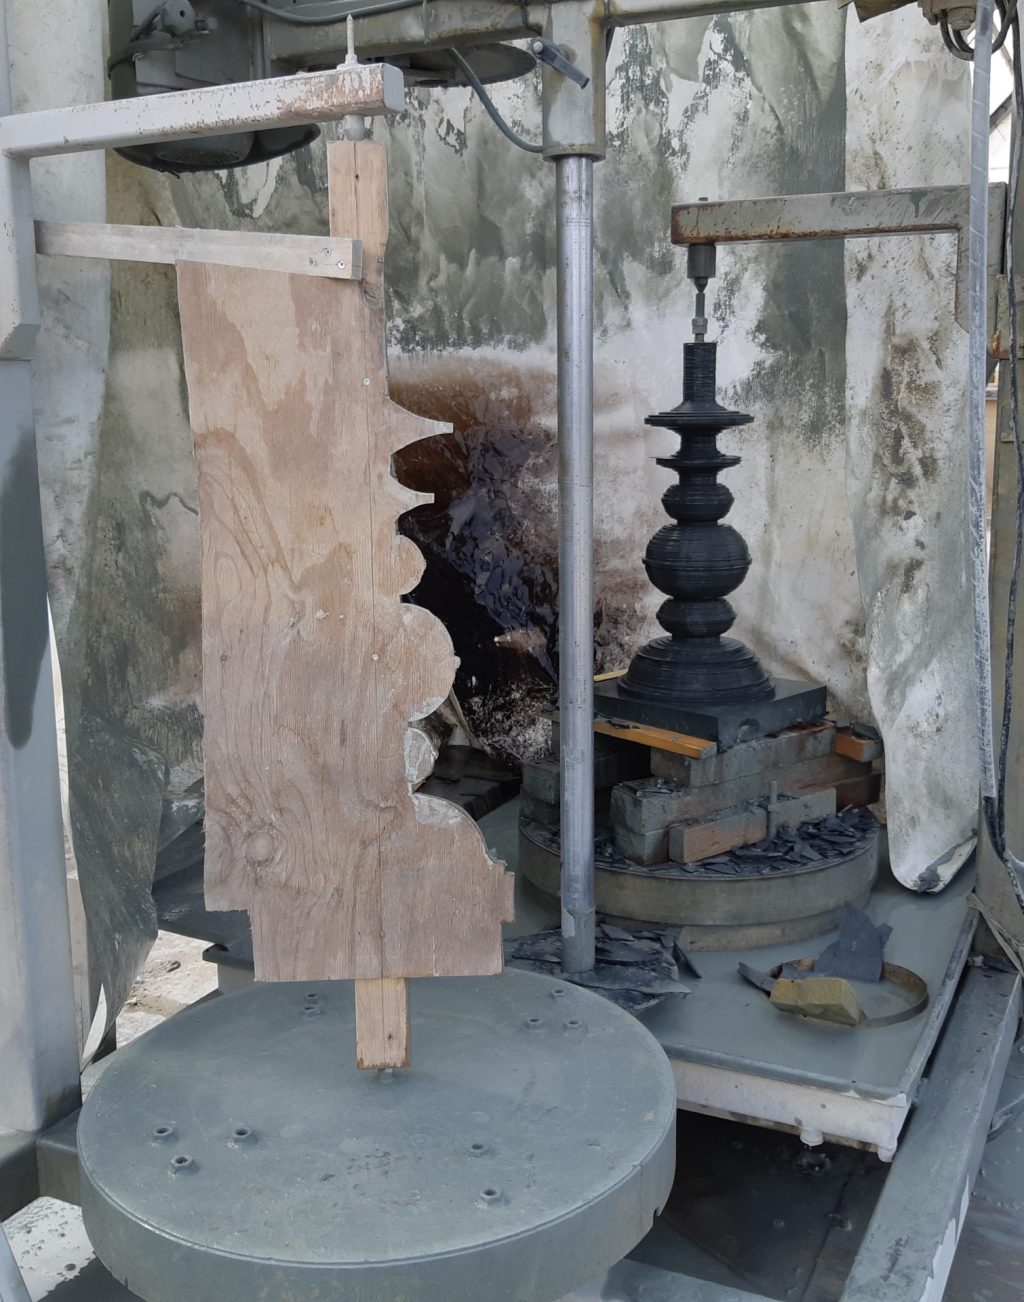
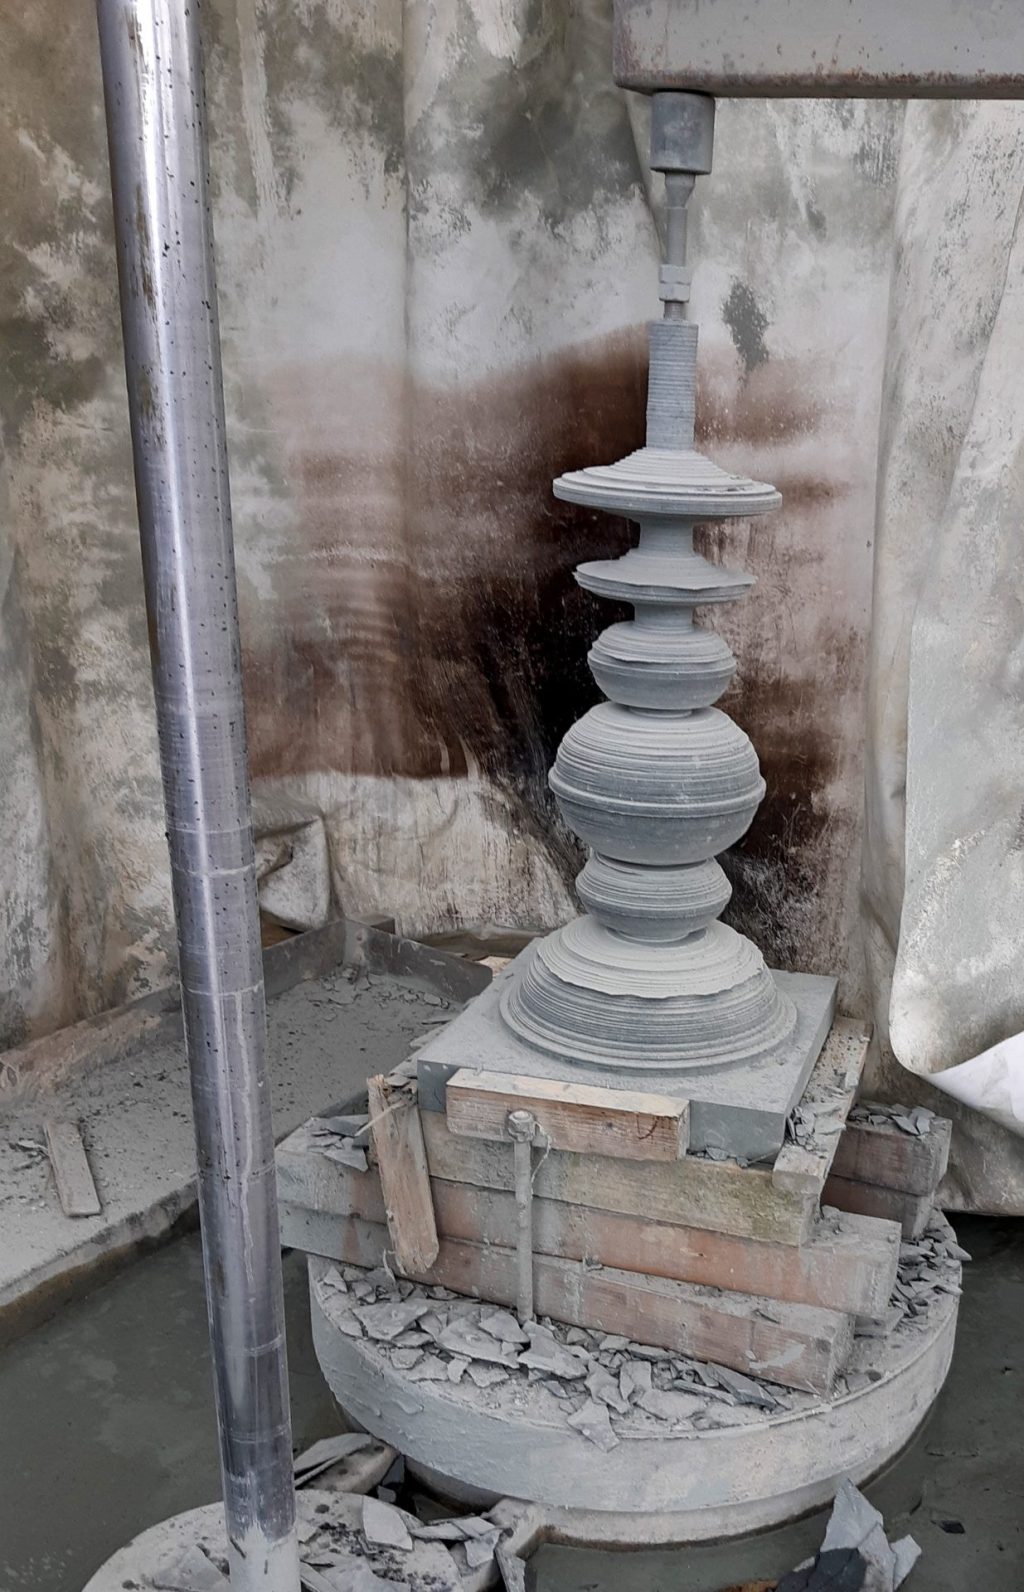
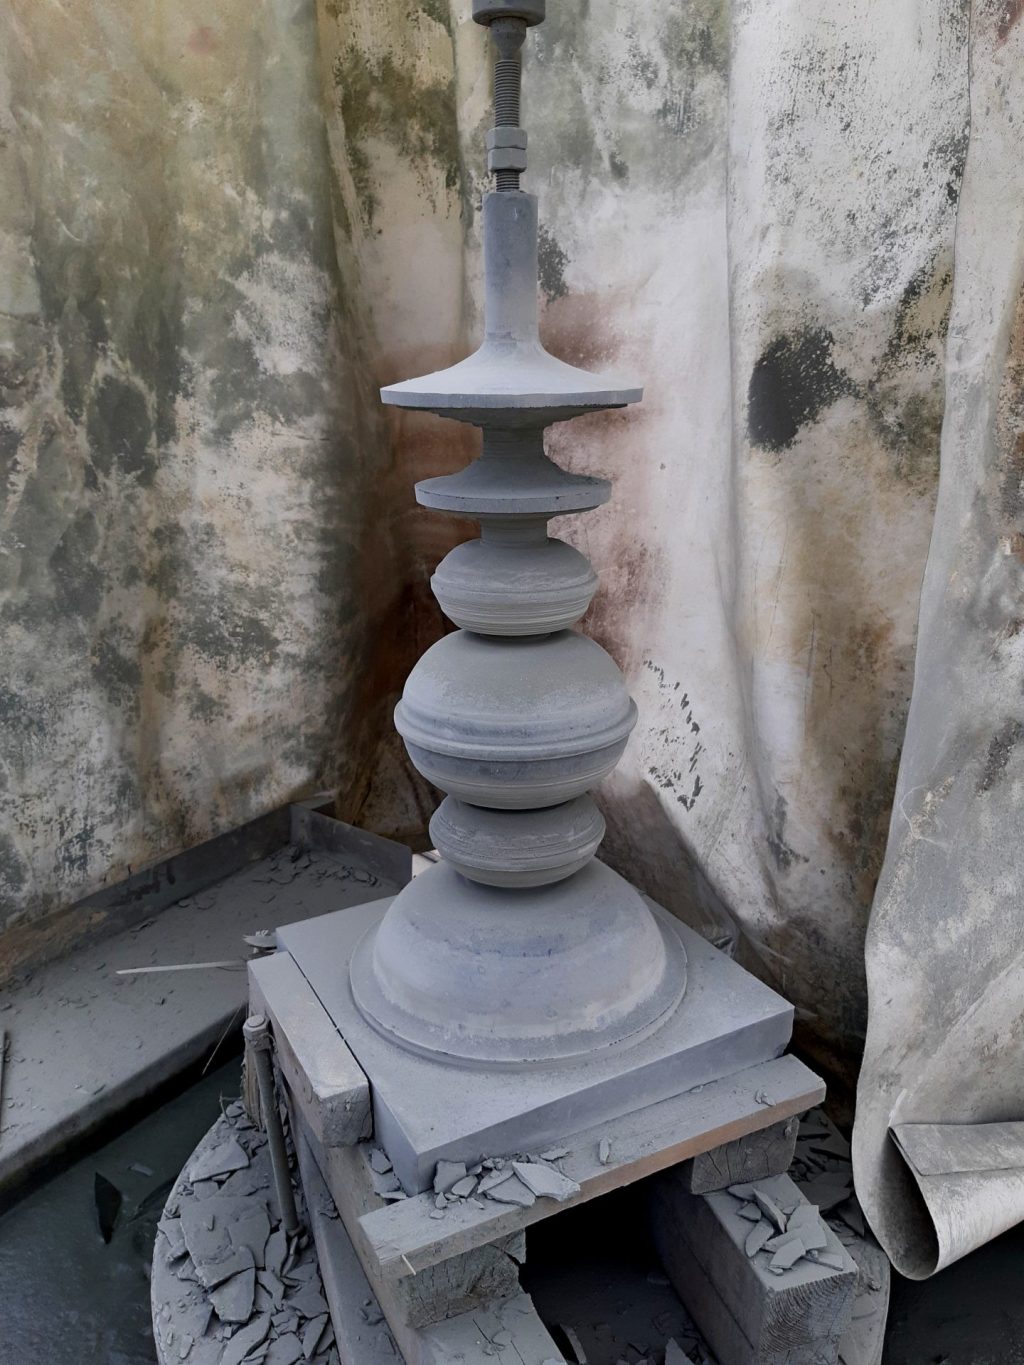
    I drew a model on the computer based on photos using Sketchup, from which, after some adjustments, I printed a profile. I used that for a full-size wooden profile template, that I could use on my sculpture sawing machine. With this copying saw I was able to cut out of the stone, just like a vertical lathe, the ornaments in several steps. However, sawing in dolomite is a very slow process, so I was kept busy for a few days sawing each kalasam.

    Buffing and sanding

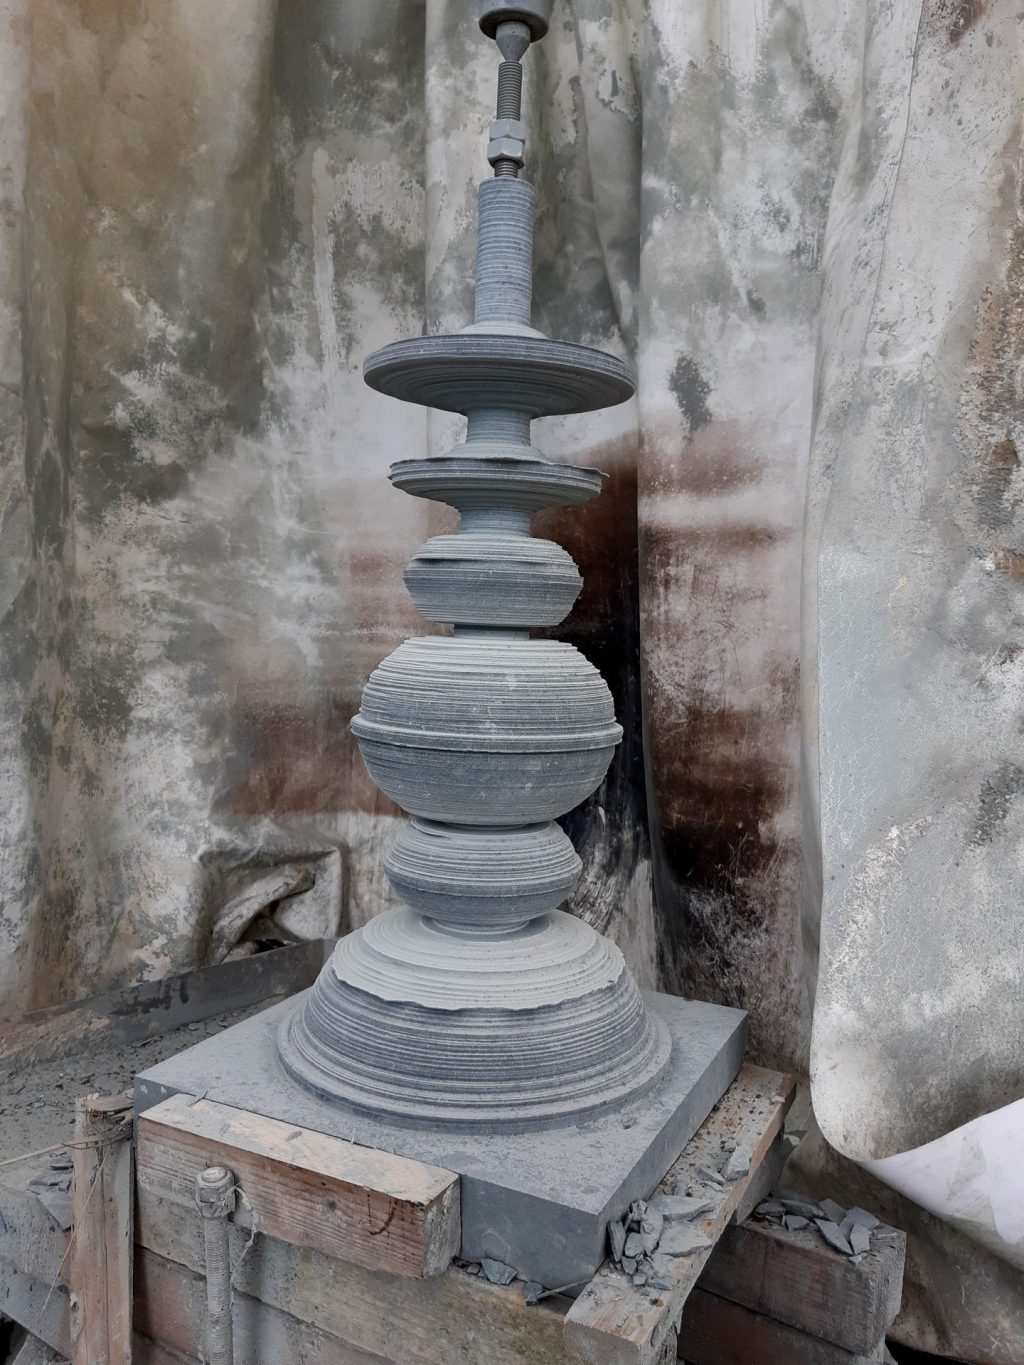
    one of two kalasams in green dolomite limestone (Anröchter Grünstein)
    first turning work

    But just with this sawing work you're far from finished. The result is still not accurate enough and very striped because in fact it consists of lots of saw cuts that run horizontally around the ornament. I have been busy shaping for a few more days, sanding, grating and filing until it was to my liking. And because these are all difficult shapes, I just had to do a lot by hand. I finally sanded the two ornaments down to grain 200, so it wouldn't get too dark and shiny. A little bit matte light green, like a copper roof, seemed nice to me. Over time, this stone will weather to this color on its own.

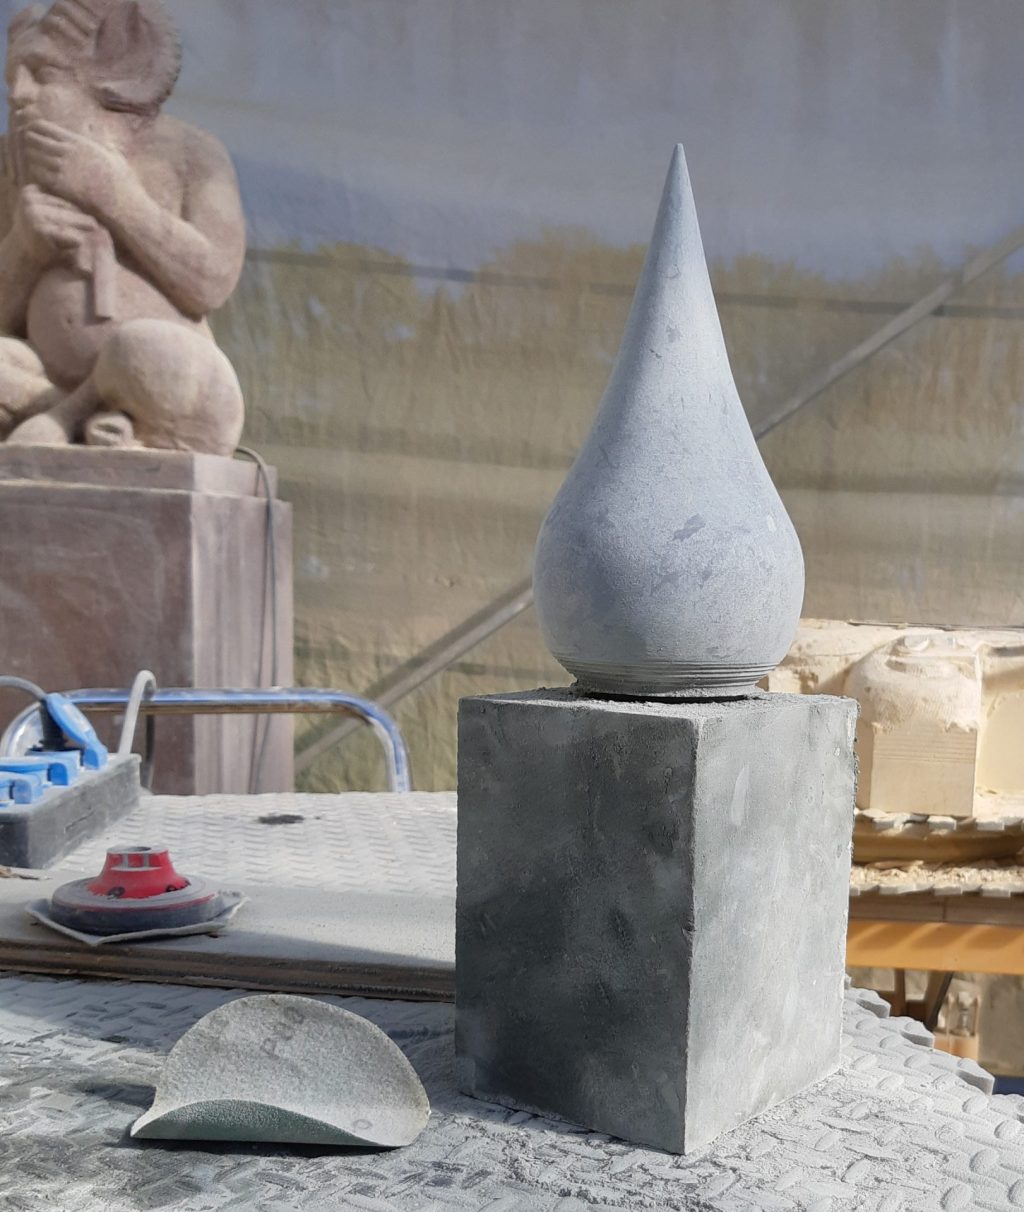
    Finial

    crowning for one of two kalasams in green dolomite limestone (Anröchter Grünstein)
    the first version of the capstone was much too pointed

    As a last part I still had to make two separate cover knobs, which I also cut out with the lathe first. I had a very slender shape in mind, but when I put the parts together it all turned out to be out of proportion. The stem was still too long and the bud was too much Efteling theme park style. After I had adjusted all that, I was happy. I made it so that the button sits like a lid over the stainless steel threaded rod and the stem. It has become quite a slender ensemble, but the reinforcement in it makes it surprisingly strong.

    Installing

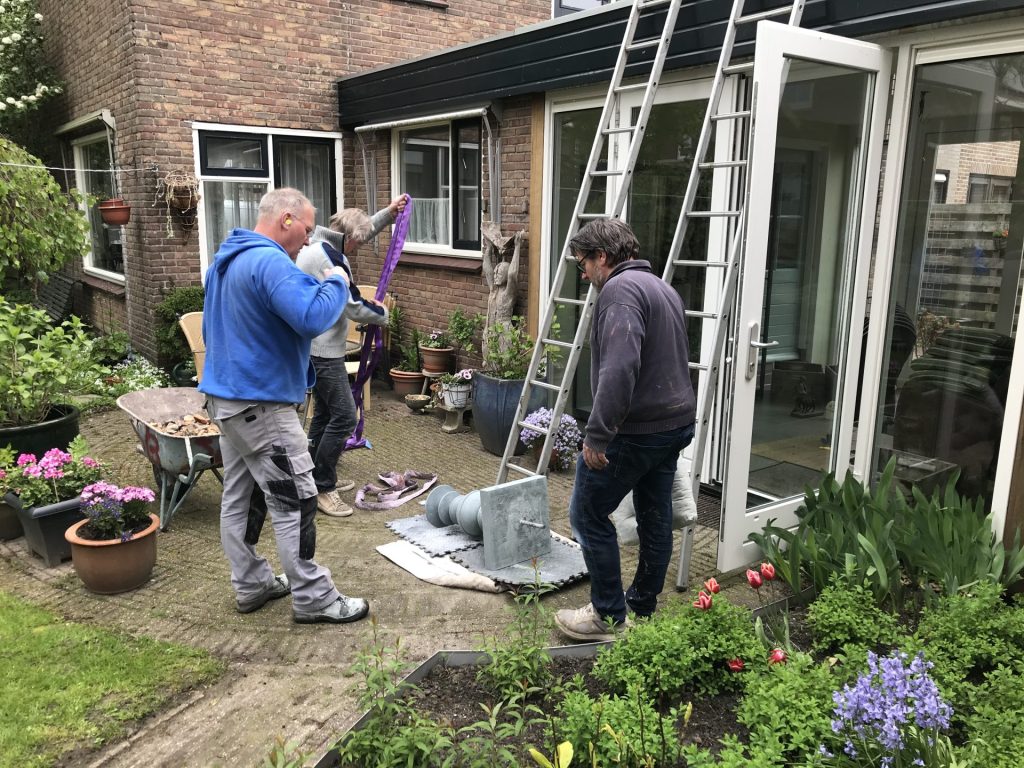
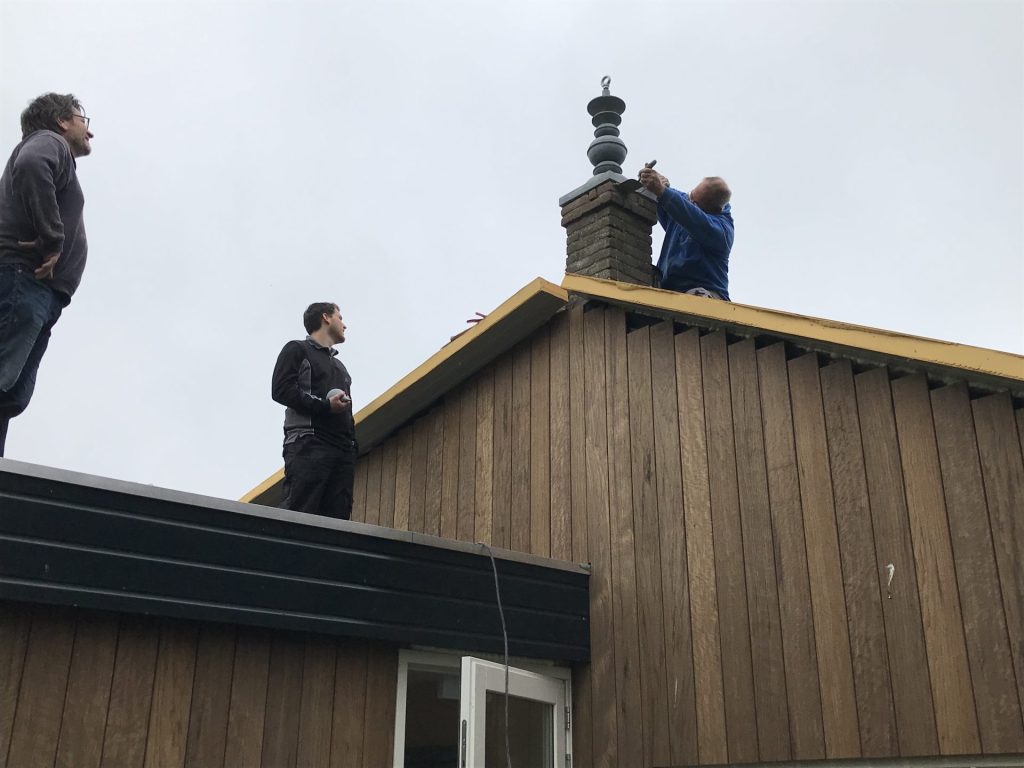
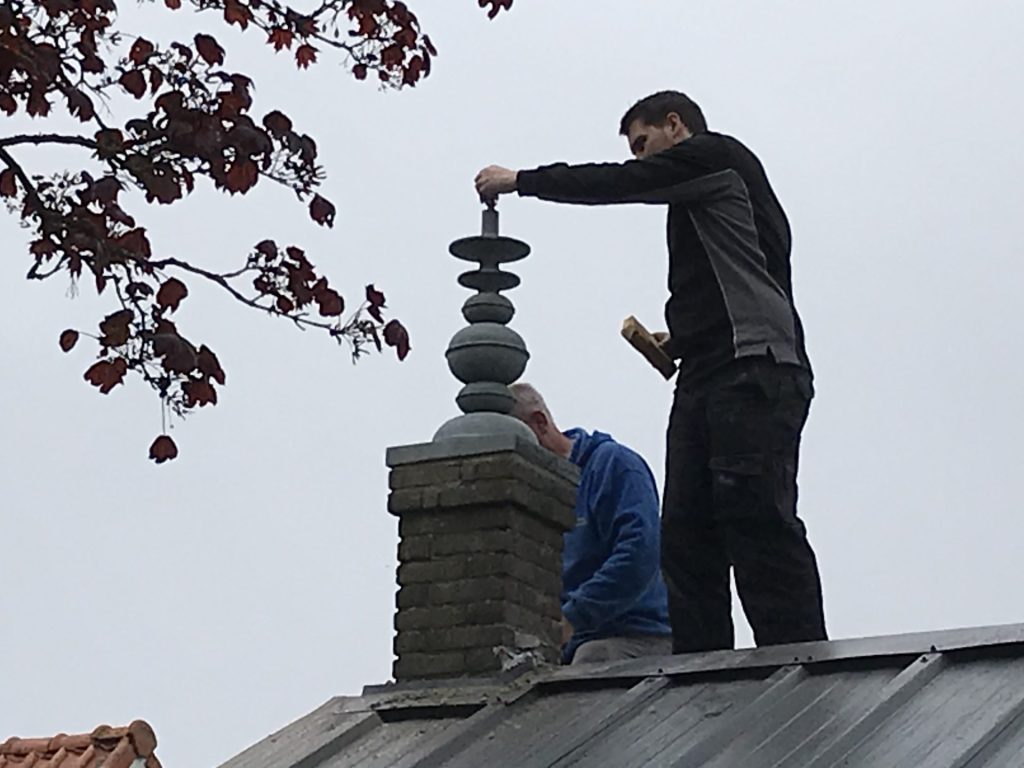
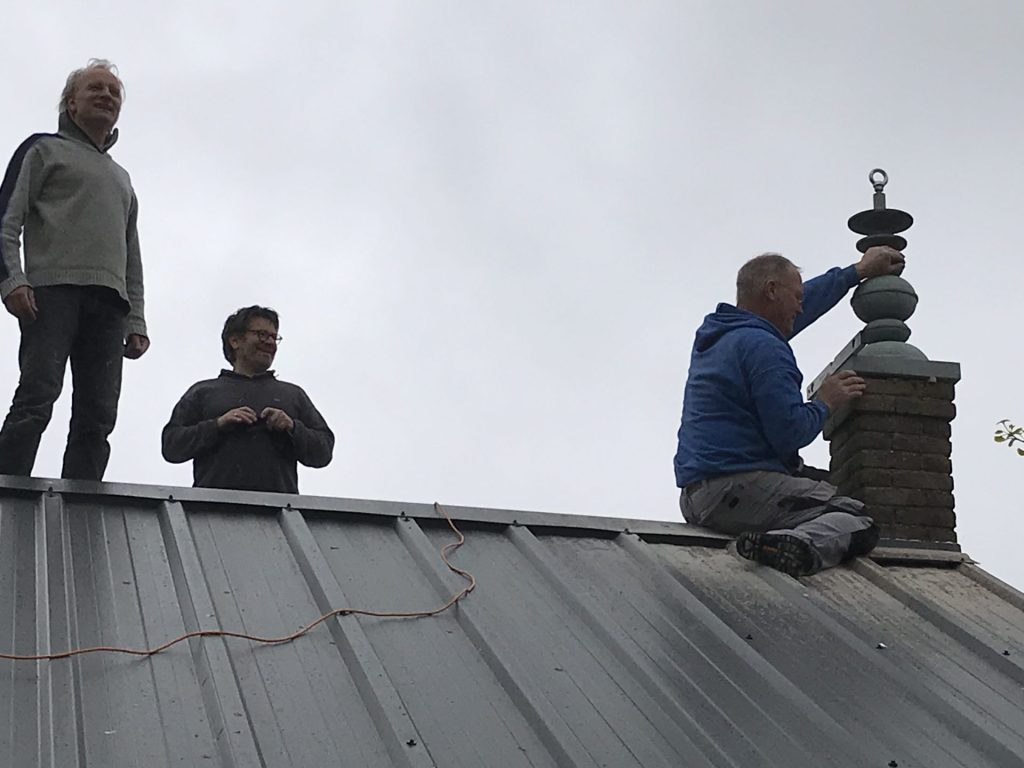
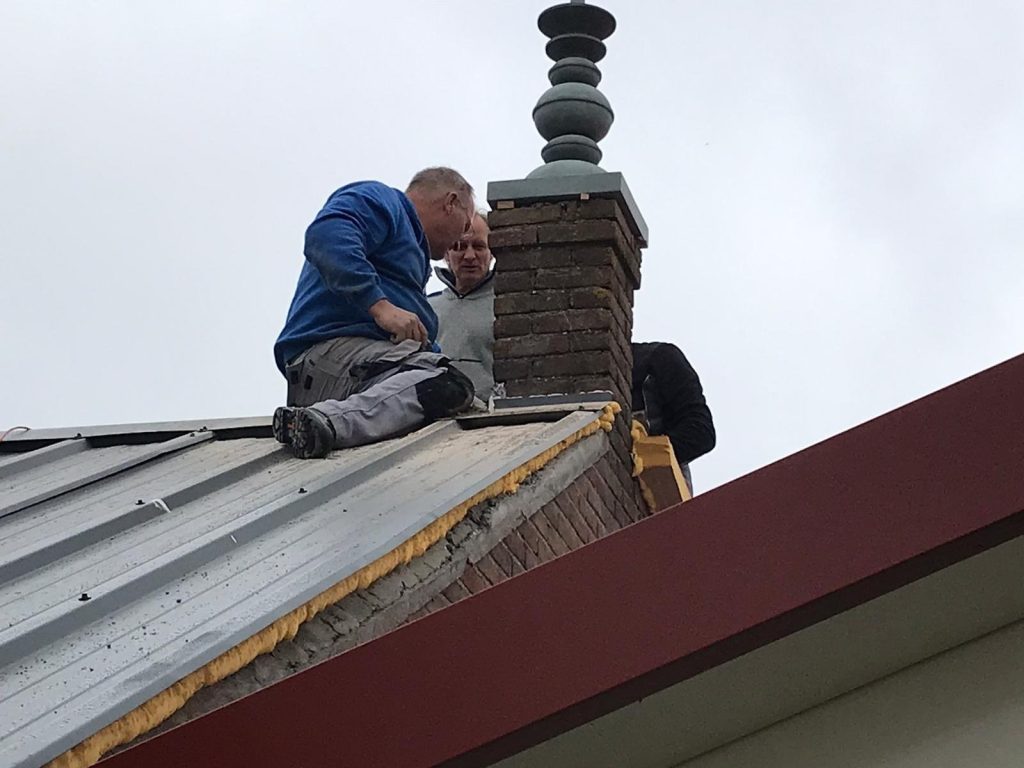
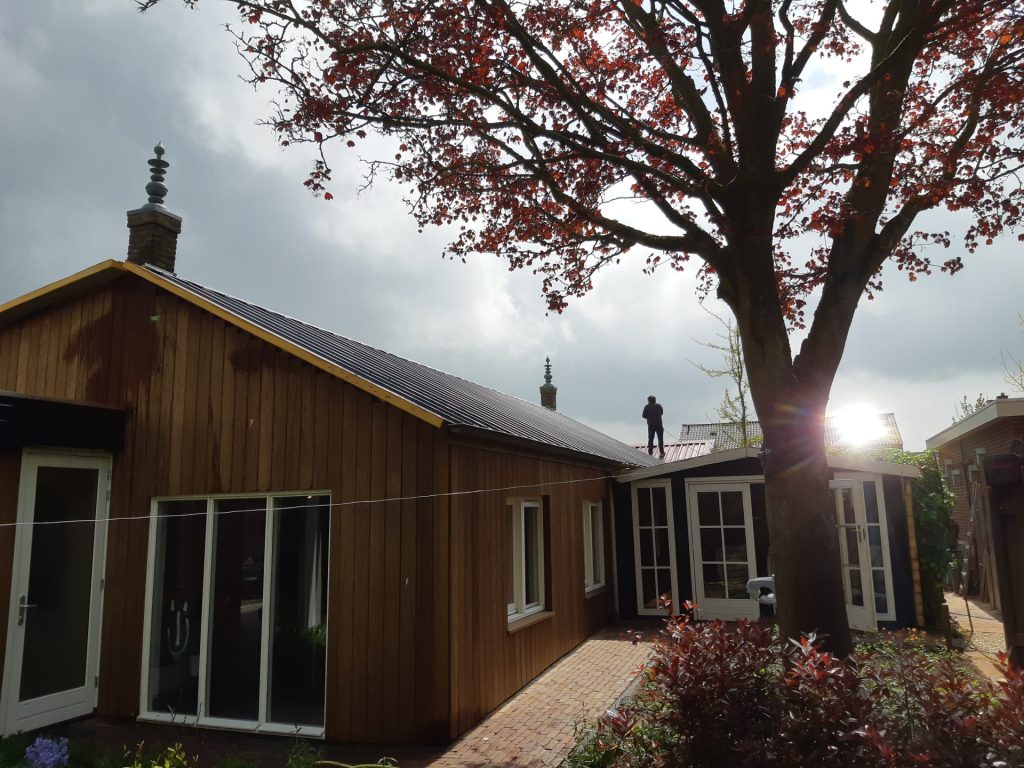
    first of the two Kalasams is installed
    first one installed

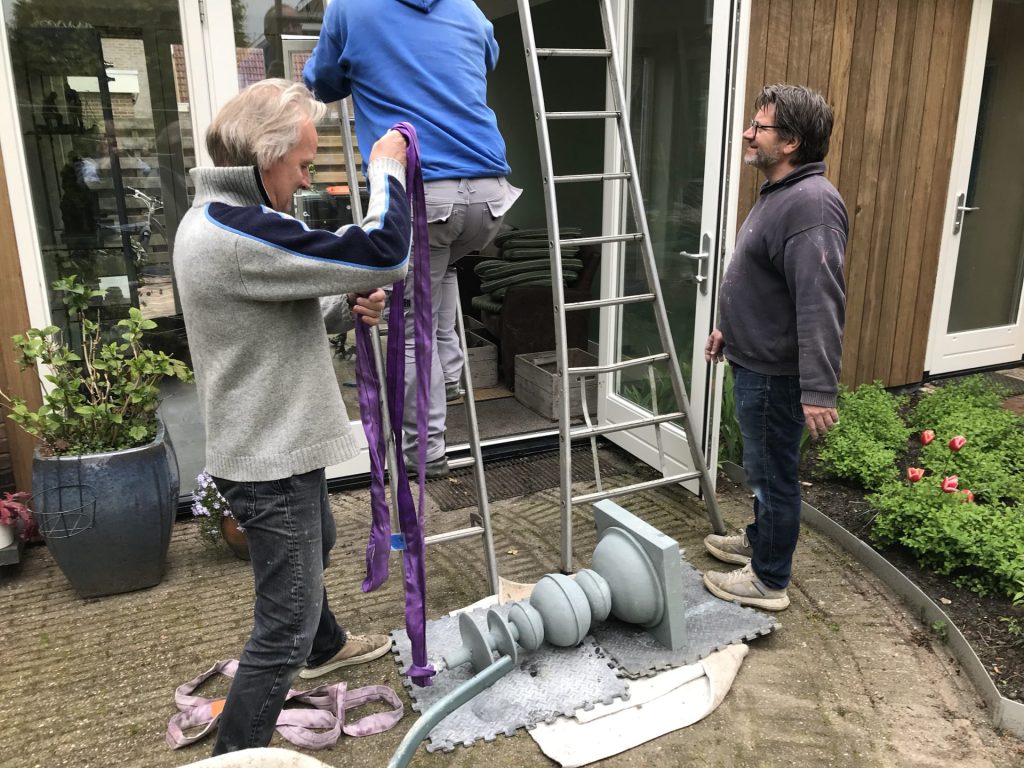
    I had thought beforehand that it would be useful if the two Kalasams each consisted of two parts: the actual ornament and a loose peak. Then I could screw on an eye bolt so that I could hoist the piece in the workshop and it could also be handy on the roof.

    That turned out alright. I had prepared it all well and because many hands make light work, they were in their place on the chimneys in no time. With a long lifting strap onto the eye bolt, two men on top and two on the bottom, we could easily hoist them onto the roof. I suspect they weigh around 60 kilos, but it was doable this way. They are 80 x 40 x 40 cms tall. A little bit of adjusting, attaching the cap and filling the joints and it was done.
     

    Gallery

  • An angel and a Shivalingam

    fine sanding the Shivalingam

    It's not all about carving (flying buttress no.)sculptures in the Sculptor's Workshop. Last week I copy-sawed an angel and made a Shivalingam.

    Shivalingam

    polishing the lingam
    the sanding and 'sweetening’ of the lingam

    A customer told me he would like to own a Shivalingam. Not because he has a special religious connection with it, but he just liked the shape, he said. Now he still had a piece of Black Swedish granite lying around, from which it could be made. He himself drew the outline on a piece of drawing board. I traced this contour onto a piece of plywood, which allowed me to cut this shape out of the granite with my copying saw.

    Fortunately I did not have to polish the lingam, but after the copysawing I spent more than a day of sanding the stone. He wanted it to be finely sanded up to grit 200. The most difficult thing is to get all false dents out of the oval shape, so that a nice smooth shape is created. You can feel it best with your eyes closed. During the work I sang all the Shivabhajans that came to mind, a beautiful meditation.

    What is a Shivalingam?

    A Shivalingam is an egg-shaped stone, a symbol for God in his unformed state of being. The male principle of Being-Awareness-Bliss (Sat-Chit-Ananda), resting in itself, all-encompassing but unformed. Often this egg-shaped stone is placed in a yoni or panipitha (water seat), a kind of foundation that is a symbol of the feminine principle (Shakti). The Shiva- aspect is Being, Shakti is Becoming. Shakti stands for the expression in all-that-is, the entire creation. So the same energy is Shiva when it is unformed, and the moment it decides to unfolds itself into full creation, you get the feminine creation energy, the Shakti. These are two aspects of the same energy. During rituals, Shiva is worshiped by pouring water and milk over it.

    Read here a number of posts about the lingams and panipithas I made earlier.

    An angel in two attempts

    The block is cut in half and is upside down for gluing

    Then there was the sandstone angel I was going to copysaw for my colleague Serge. It is a commission from St. John's Cathedral, similar to my statues of Thomas Aquinas and Pope Leo the Great. He will make a fine copy of this pre-sawn angel again . Last time, Jelle sawed a similar angel, read here now.

    However, it was a chore with a few snags. A few months ago I received a large block of Udelfanger sandstone for this angel. I immediately thought I saw something that wasn't right, and sure enough: the block was more than 10 centimeters too small!

    After some deliberation it was decided to attach the bottom 15 centimeters of the statue separately. The reasons are the same as I explained earlier with Thomas Aquinas and Pope Leo: preferably they have the layering (the layers in the block of stone) run horizontally through the statue, instead of vertically, because otherwise whole slices can suddenly fall off. In contrast, you could argue that the thin wings might have been better made from vertical layers, because for that part that position is actually more favorable. It remains a struggle to find the best solution.

    Cracked!

    crack in sandstone block
    the crack runs right through the entire block
    at the top left and top right a large crack is visible in the block
    from the left- and right a large crack is visible in the block

    So I had recieved a block of stone that was way too big, but not tall enough. I cut it lengthwise with my concrete chainsaw in two pieces, and made a separate base from the lower part of the spare. I glued it to the bigger piece and started copy-sawing. But it soon turned out that the small black line I had found was a big crack, that ran through the block, from top to bottom. Oops! I put the block aside and made some phonecalls, and a week later I received a better block.

    Second try

    the block of stone is cut in half with the chainsaw and glued. The plywood contour templates are there for the sizes
    the second block of stone is cut in half with the chainsaw and glued. The plywood
    contour templates are next to it for the sizes

    I cut up this block lengthwise with the chainsaw as well. Then I hoisted it upside down onto the copy-sawing machine, where I cut a nice flat surface. The spare part also underwent this treatment, and I cut a slice of about 20 cms from it. I was asked to glue these two pieces together. But if you have been reading along for a while, you'll know that I can't just put a thick layer of epoxy glue between them. You'd get a waterproof layer that will cause all kinds of problems.

    I put both pieces upside down. After I made the surfaces to be glued as flat as possible, I prepared a special mortar in the right colour. I applied this thin mixture on the surface and lowered the smaller block onto it. For just a little while I was able to move that block, until the parts suddenly sucked tight .

    clay bowls with poured epoxy
    drilled holes with stainless steel pins and poured epoxy

    It worked, a minimal, permeable connection was made. After the weekend, the mortar had cured and I drilled two deep holes with the diamond drill. In these, two stainless steel rods were glued with epoxy. A day later, everything had set and I was able to turn the block and start copy-sawing the sculpture.

    Careful

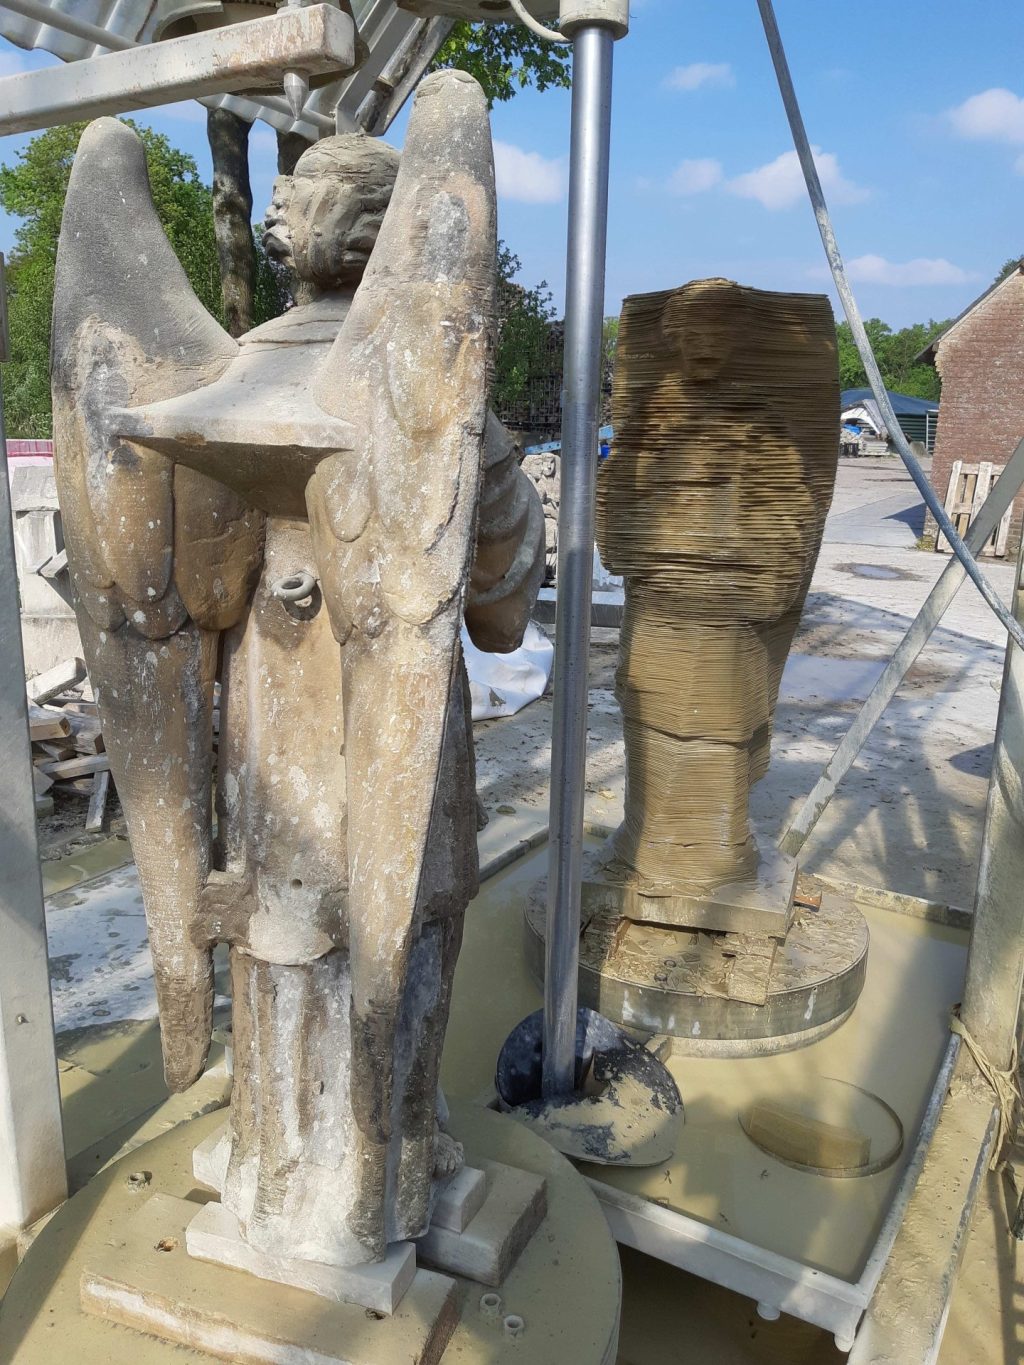
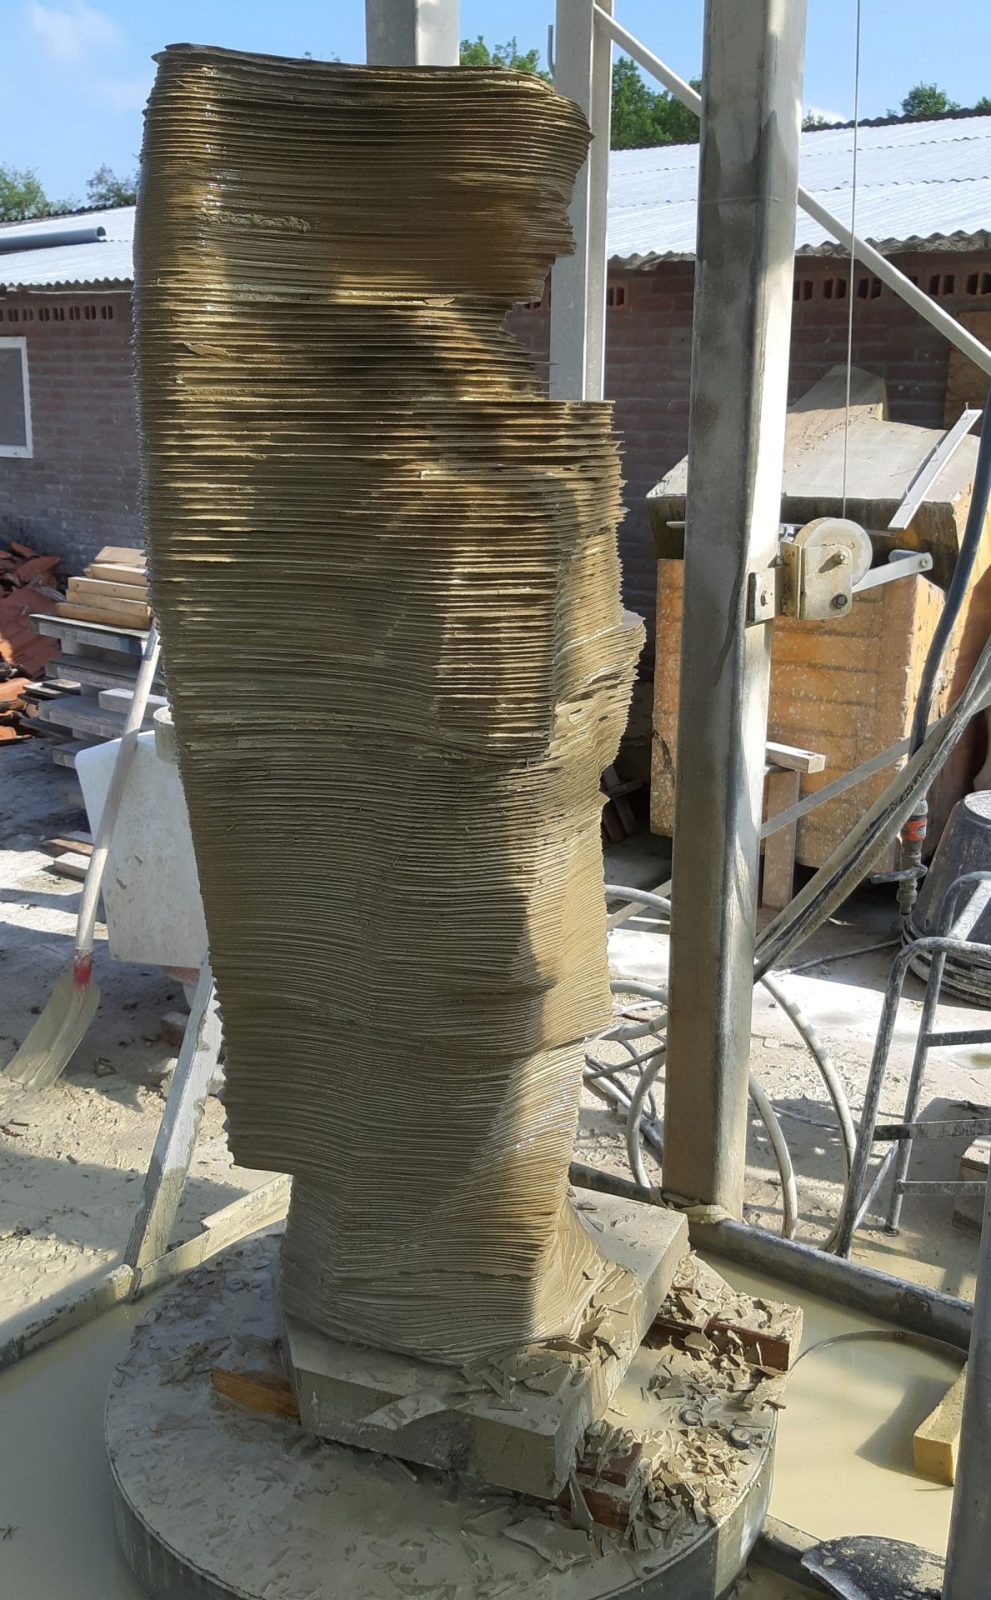
    step 1 and 2 of the pre-sawing process. an angel in Udelfanger sandstone
    roughly presawn (at the top) and medium fine (at the bottom)

    It was not for nothing that this angel was to be replaced: it was heavily weathered and Serge had filled in all the missing parts with modeling material. That stuff is easy to remove afterwards, because it never hardens. But as far as I am concerned it is very difficult to work like this. I had to hoist and move the statue a few times, so I had to be very careful not to distort anything. And it's extra difficult during copy-sawing, because I could easily push through the surface of the clay with the feeler disc. I prefer plaster or hard mortar for repairs, because then I have to be much less careful. Fortunately, I managed to do it with a lot of patience.

    You can see in the photos of the end result that I was very careful especially at the nose.

    If I'd pushed through the clay there, this would have also happened on the cutting side, in the stone. One saw cut that ends up a little too deep, would create a lot of problems. In that case, the whole head will have to be adjusted, and be made further back. So rather a fraction too much material than too little in that place! And it turned out that the glue seam was almost invisible, you really need to know where it is, to spot it. It might end up a bit more visible in the sanded end result, but even then it will barely be visible.

    copy-sawed angel from Udelfanger sandstone

No more messages to show.
No more messages to show.