Statue of Pope Leo the Great, part two

1 Statue in two parts
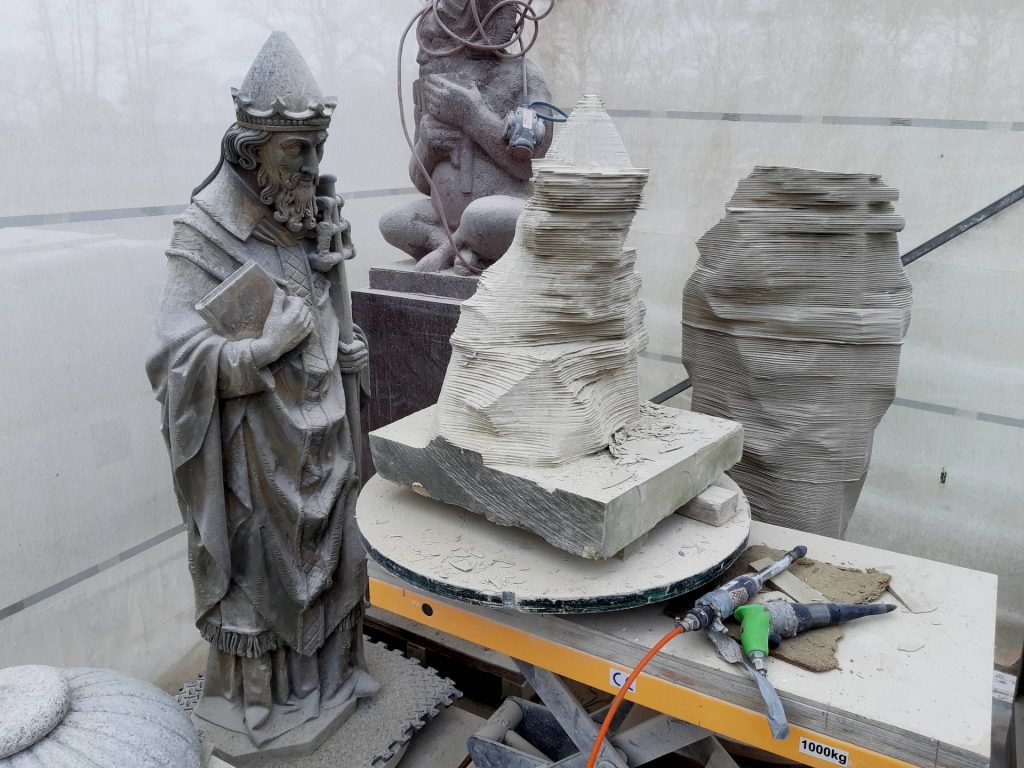
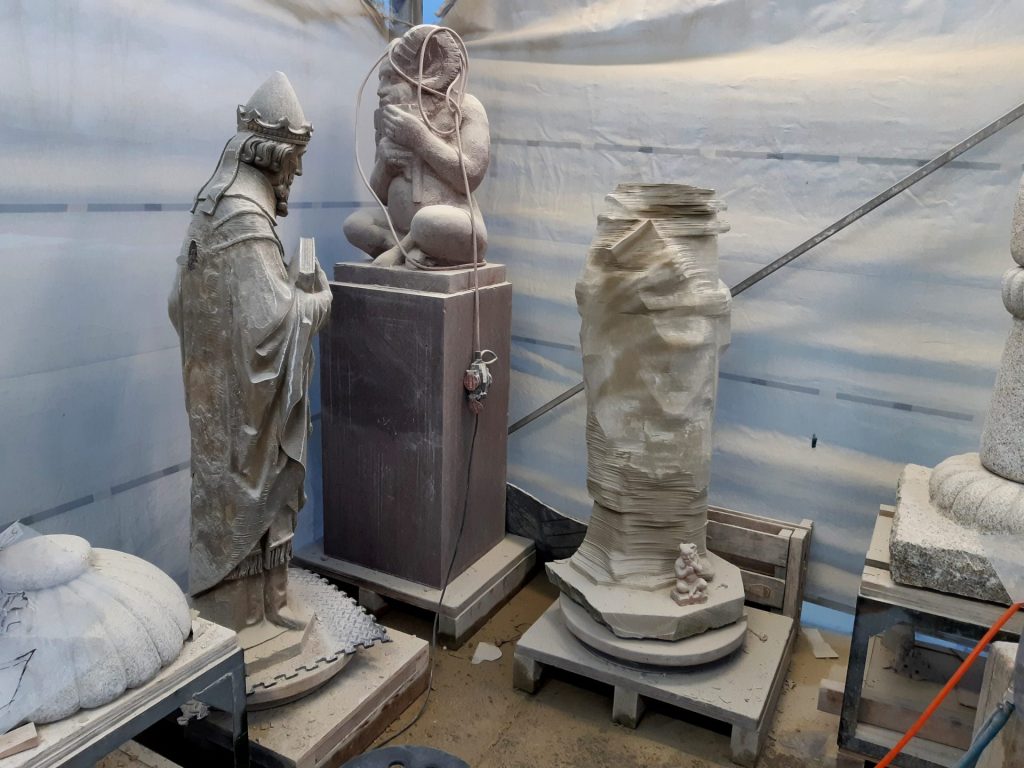
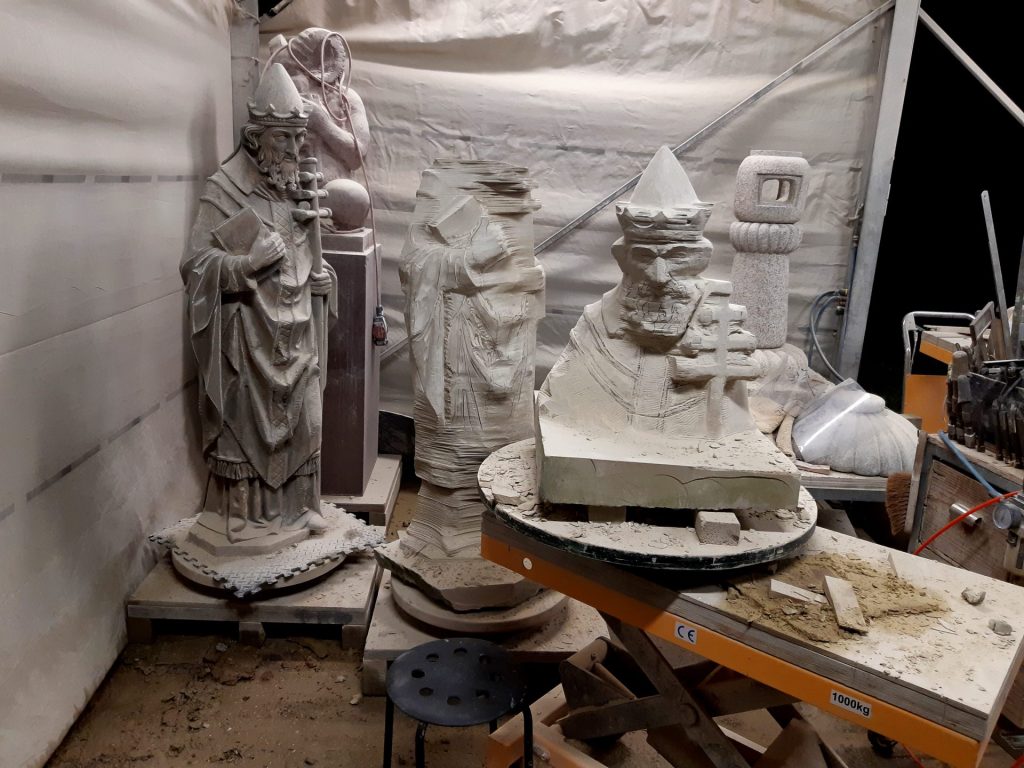
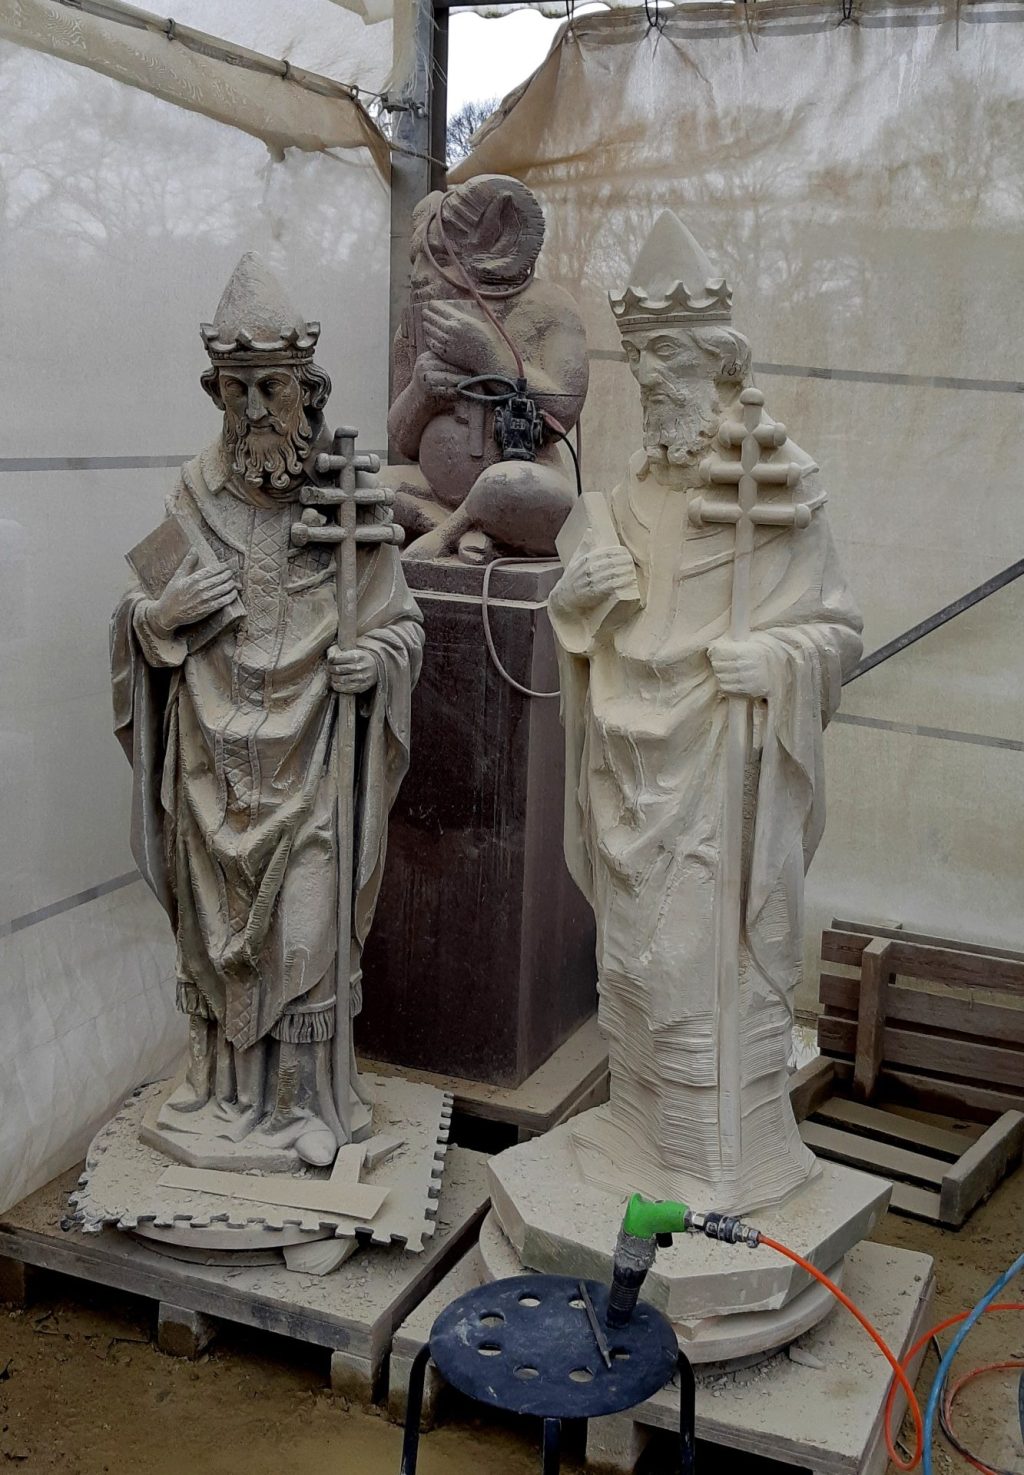
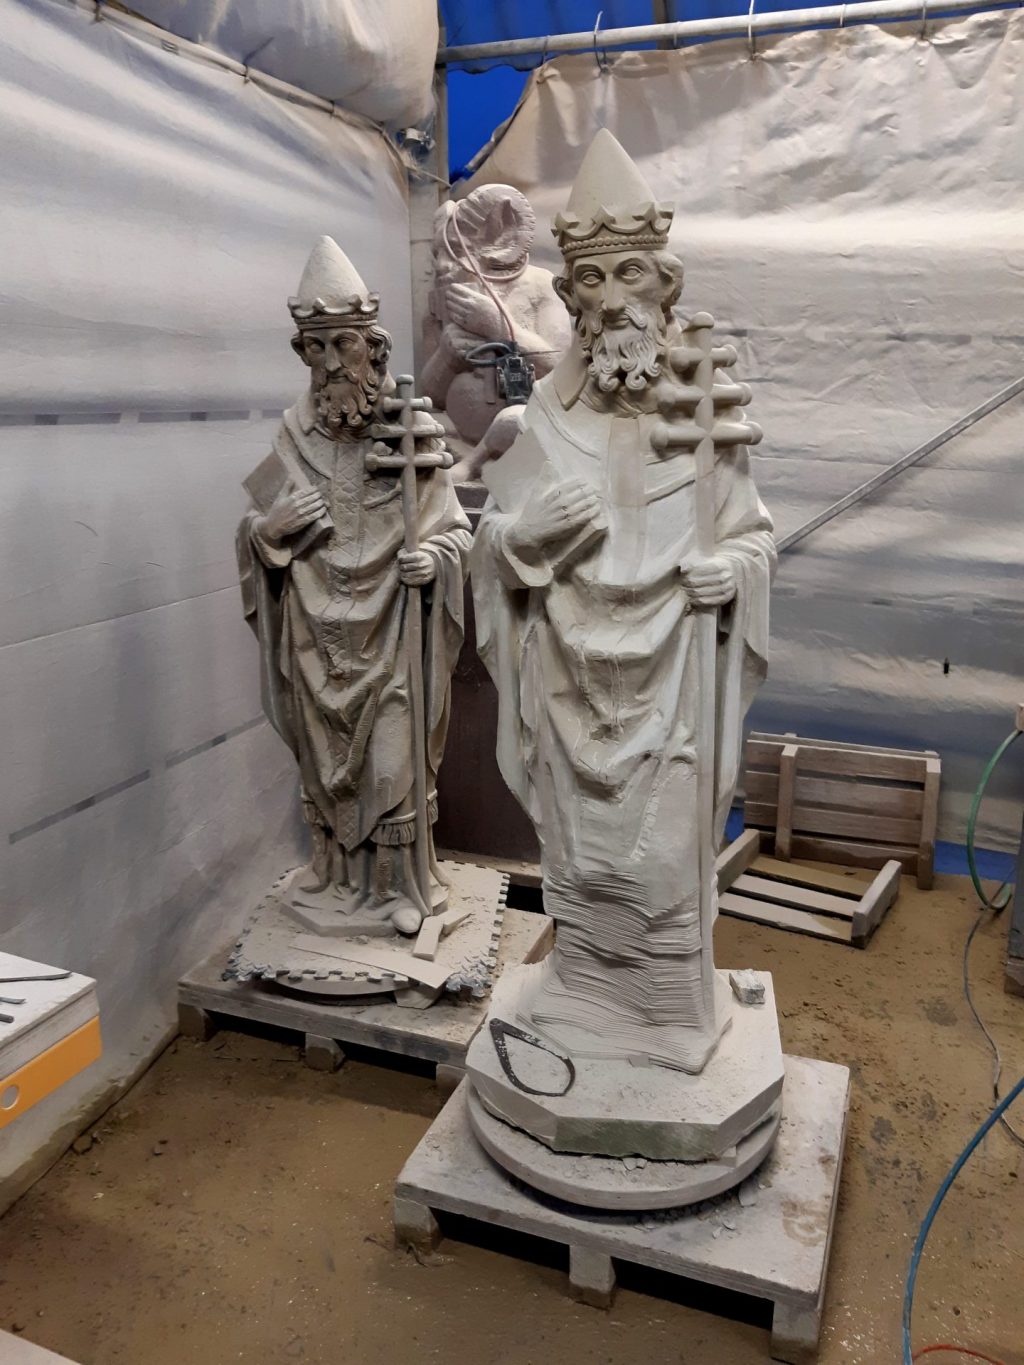
Work on the statue of Pope Leo the Great proceeds much more smoothly than I expected. When I explained to the committee and to my colleagues about my plan for carving of the statue out of two parts, most of them thought it was quite a bold approach.
Because the statue needs to be carved from two parts, as I explained before in the previous article and the article on the similar statue of Thomas Aquinas.

In the original statue, the layers were used vertically, but for the copy it's desired that the layers run through the statue horizontally. Since there are no blocks of Udelfanger sandstone available that are tall enough, it has to be made out of two pieces. Where would you put the seam? A first proposal was
to do it at the bottom and top of the image, below the line of tufts of its outer garment, plus another one in the crown. I myself proposed to follow the seam of the garment, along the bottom line of the cross on his chasuble.

Finding out the way the statue sits first
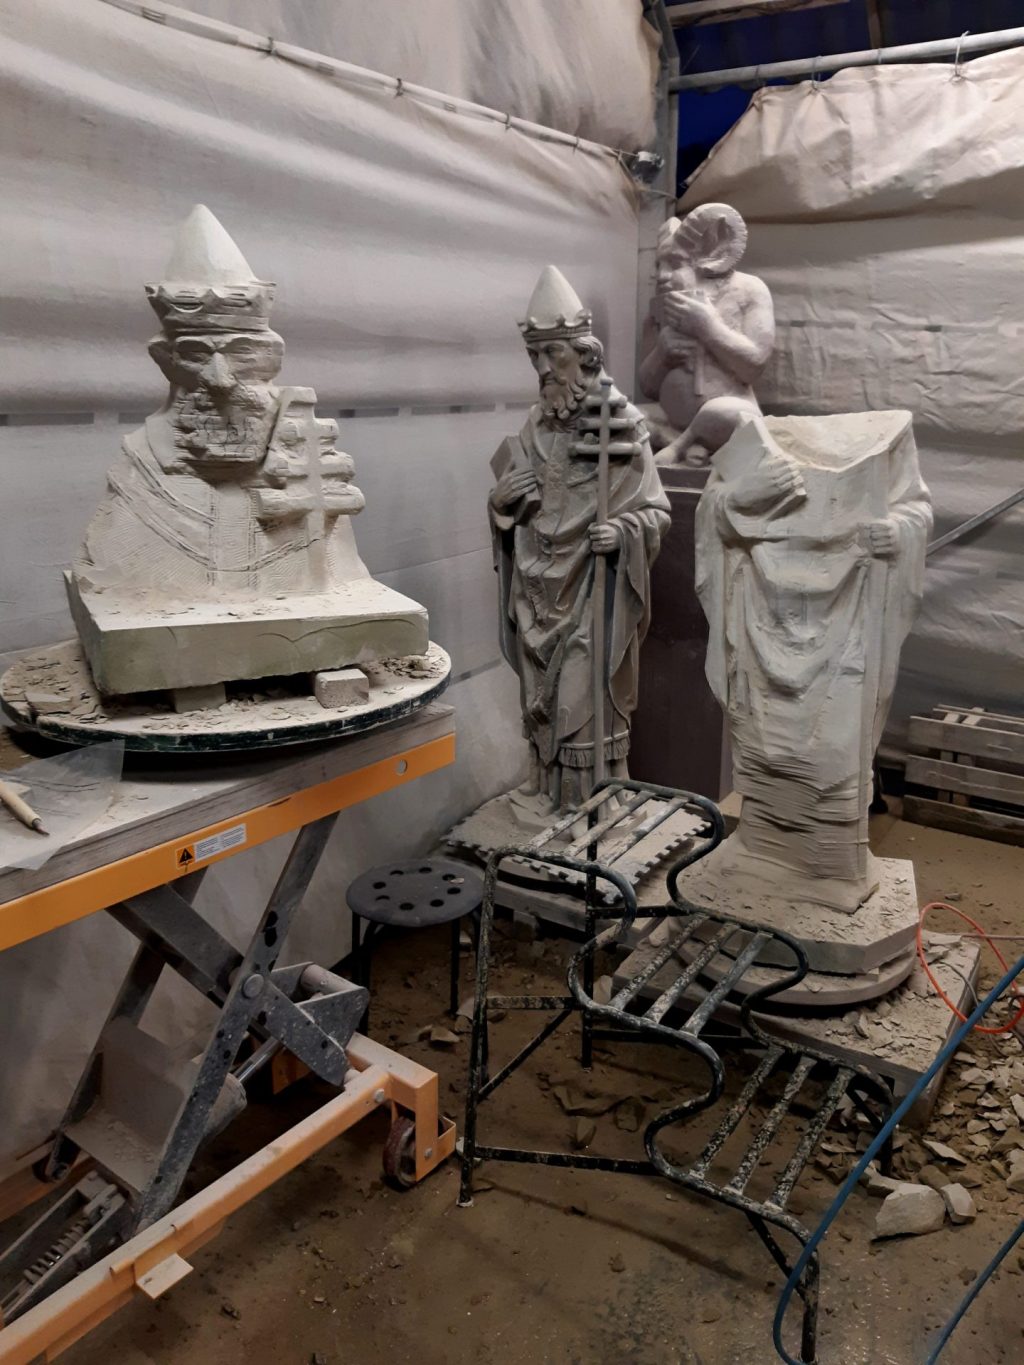
Now I can't just stick the two pieces together after the presawing. Firstly, there is a lot of surplus material on both parts at the spot of the joint plane. Secondly, there would be two versions of a hand holding a book. The book needed to be removed on the upper part, because that piece sits behind the book. I also couldn't reach all parts with my presawing machine such as behind the book. So I had to partly carve both parts just to see how it all fits.

Determining the joint plane
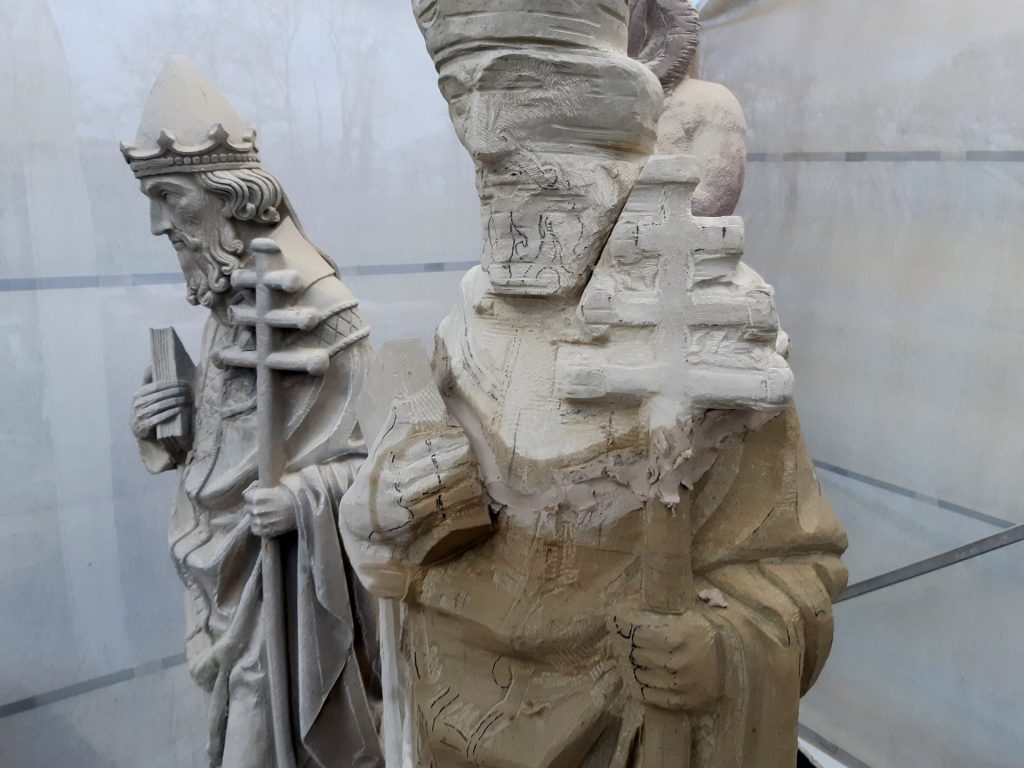
The seam doesn't run through the statue in a straight line, but is rather curved. The difficult part is on the one hand to get the bend the same in both parts. It has to fit exactly and the lines of the robe should connect nicely. On the other hand, there is a fragile point near both shoulders, where the stone is not perpendicular to the outside, but will form a thin wedge. In this place I had to be extra careful that I don't break anything off by accident.

Lifting and lowering
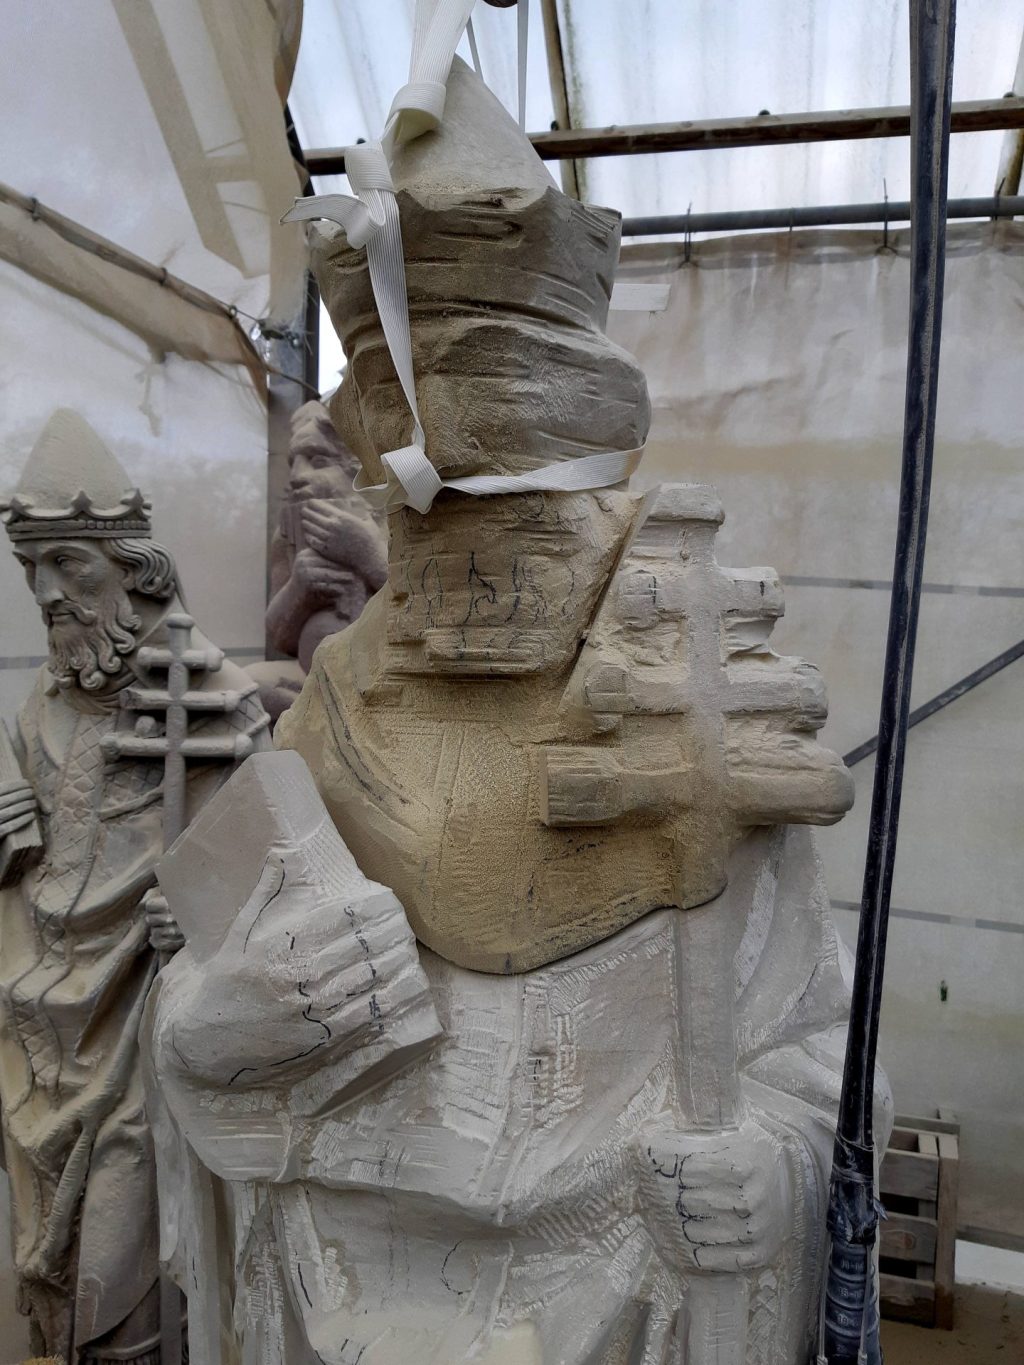
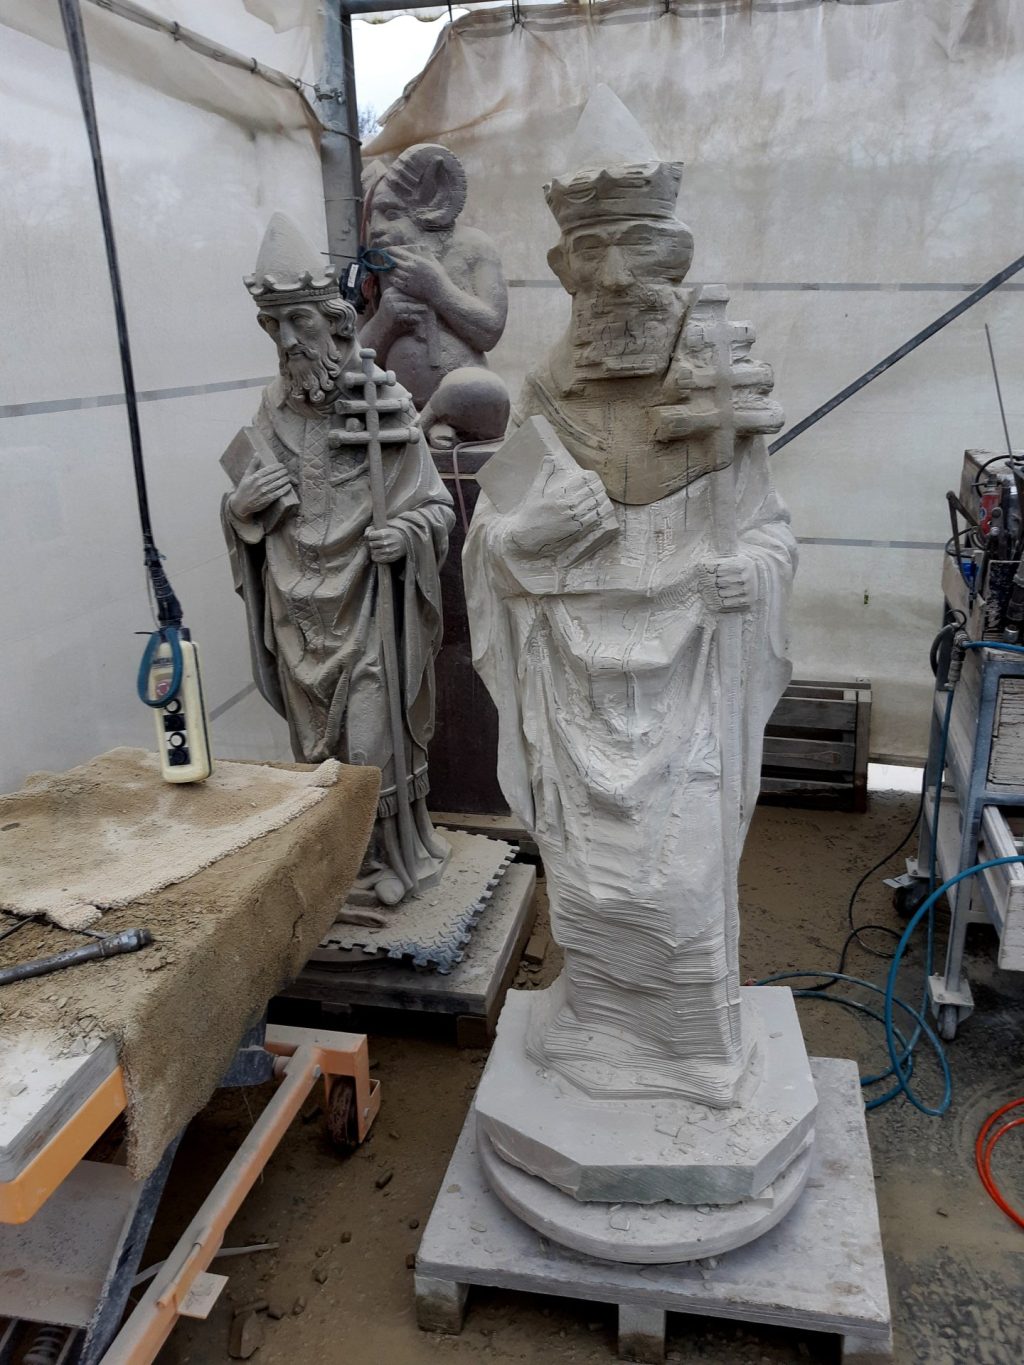
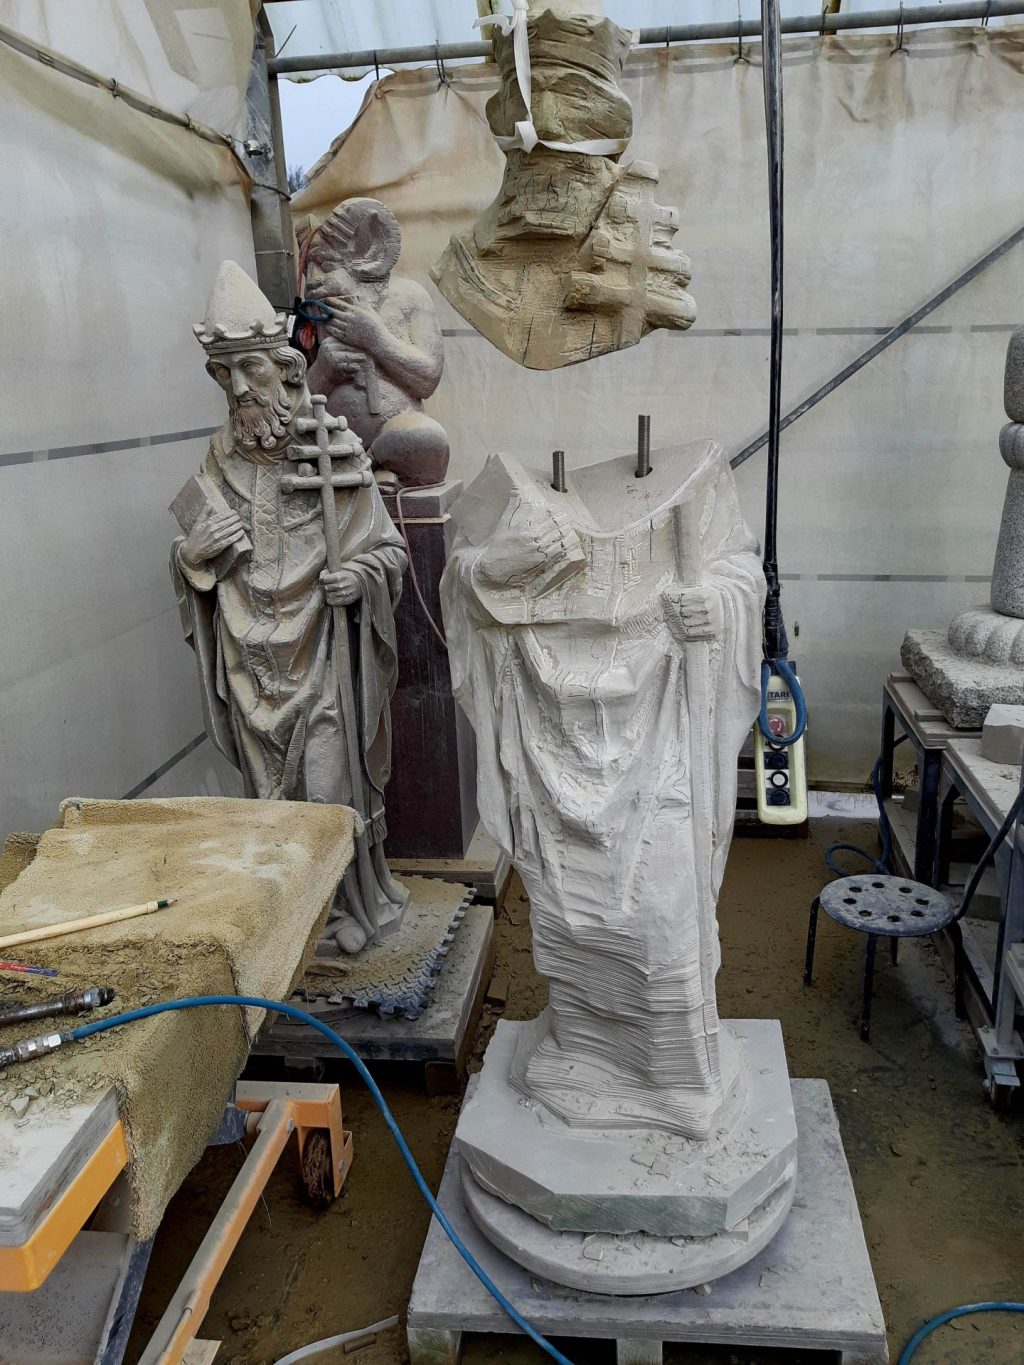
Once I had determined the line of the chasuble on both parts I could start chiselling away the excess stone. I suspended the head from the hoist with two thin straps that I had tied in the correct position. Then it became a matter of lowering, looking where it didn't fit, hoisting, adjusting, and back down again, and repeat, until it was just right. I had made the lower part of the statue of Pope Leo the Great a bit narrower at the top, so that the upper body fitted over it as a lid. The picture shows an early stage; it doesn't fit properly yet here, because there are still slits at the shoulders.
Putting in the anchoring
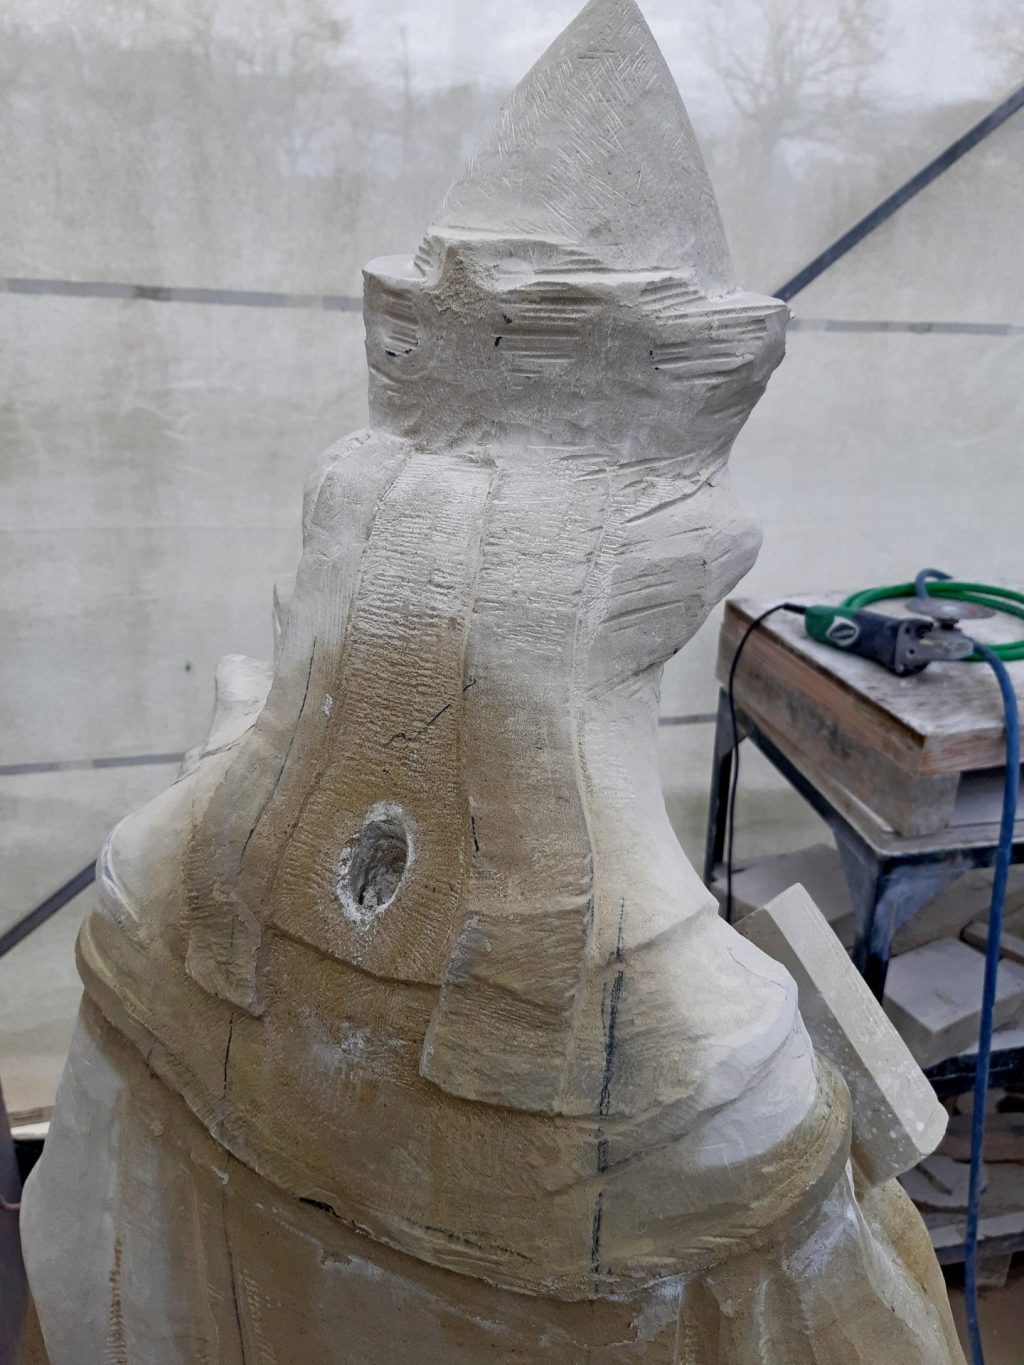
For a really strong connection between the two parts to I inserted two anchor rods of 20 mm thick stainless steel wire ends. Now the two bars have to fit very well inside the two parts and cannot disturb their alignment. It is therefore important that they are exactly parallel. Also, the holes in the two parts should be perfectly superimposed and aligned. You always need to be careful when drilling! When the four holes were to my liking and Ifound that the alignment was still the same, I bonded the two pins with epoxy . Then the two pieces were stuck tightly together, but there was still some space in the joint plane. It is almost impossible to make it so that these are less than a millimeter away from each other.

Pouring the mortar
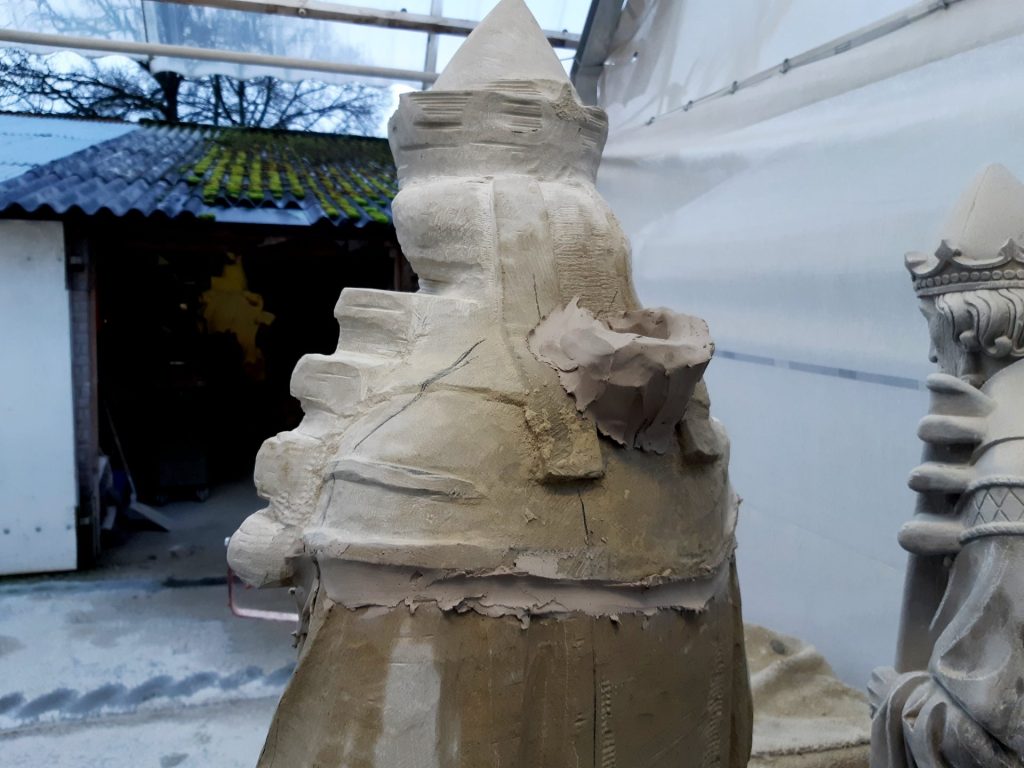
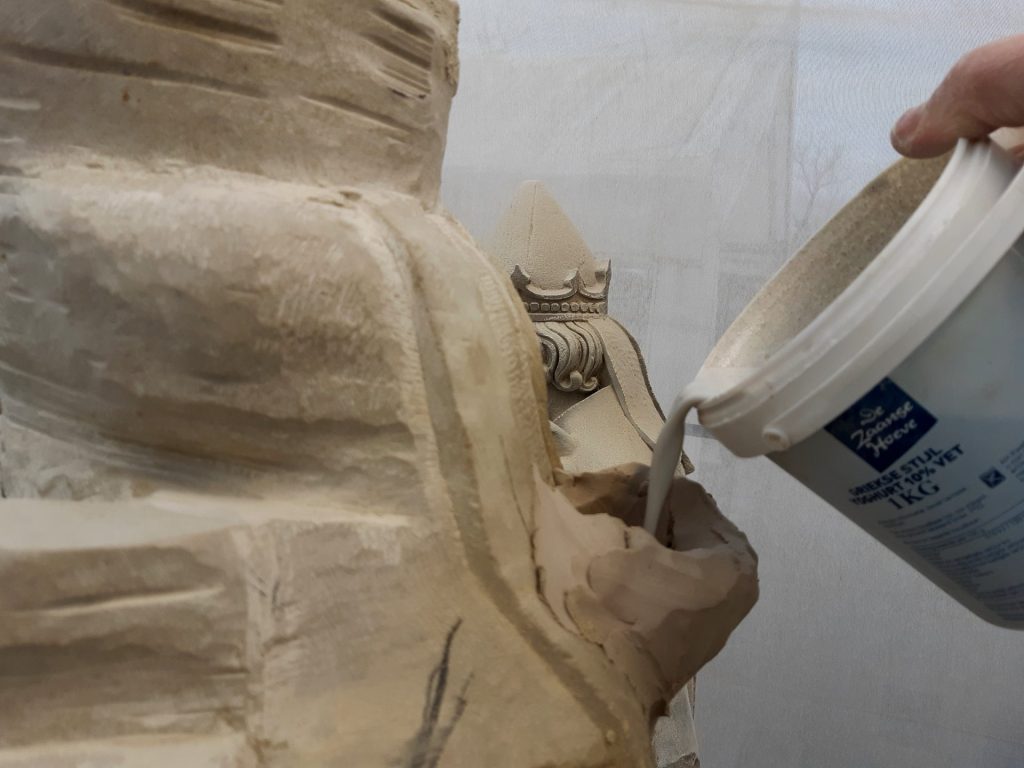
But in this case that space worked in my favor. Besides the four holes for the pins I had drilled an extra hole, which ended up in the neck of the statue of Pope Leo the Great. I still had a bucket with Jahn grout that I could use for this case. First I thoroughly soaked the statue and especially the joint, so that it wouldn't dry out the mortar too soon and then not fill the entire cavity.

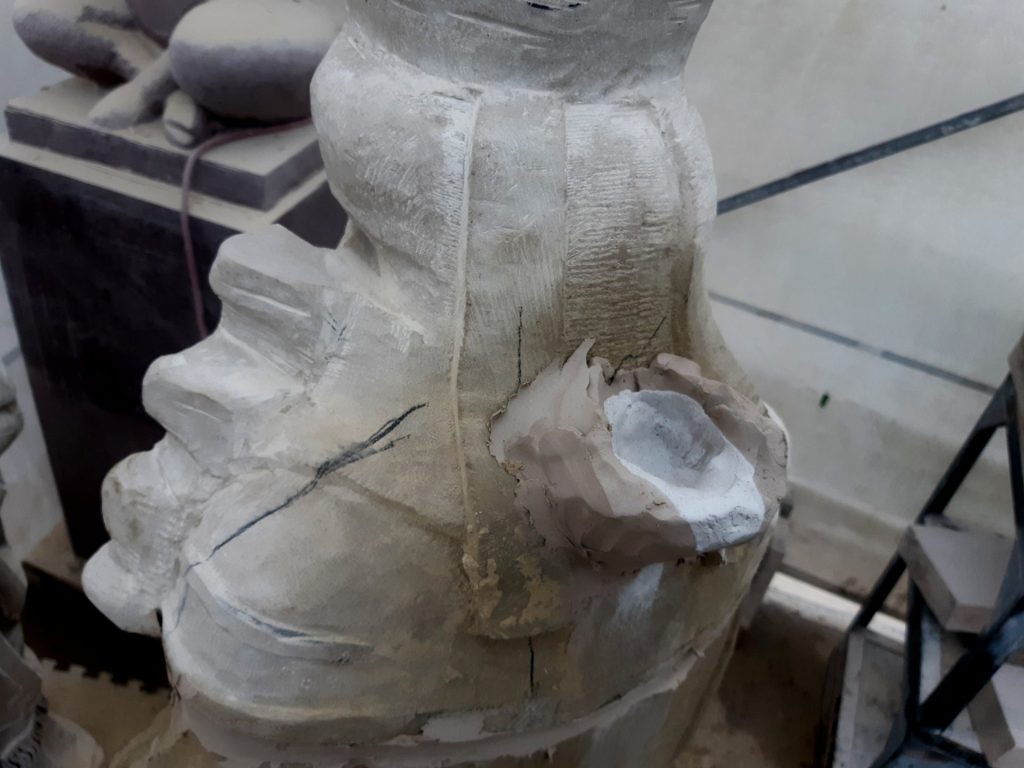
Then I took some modeling clay and closed up the seam almost completely . Only at the shoulders, I left a small hole. These were the highest points, so that was where air could become trapped. Then I modeled a bowl for pouring in the neck of the Pope. The final steps were simple: mixing up the grout, casting until the shoulders began to leak, closing up the shoulders and continuing to pour until that bowl was full. After a few days, the seam was closed perfectly: porous enough, but sturdy and well connected. Finally, I sealed up the edge of the tiny seam with restoration mortar for Udelfanger sandstone, so you can't see anything of it anymore.

Shaping
And the rest is simple enough: just carving a copy of how the original looks. I work from top to bottom and have now reached the beard. I've had a lot of work on the crown and the cross, in getting it all nice and tight. Yet there is still a lot of work left, but that all comes later. For now I am very happy anyway that everything fits beautifully and that it worked out fine without any damages.
Gallery
Read the work of this In the next articleas well ↑.