Pan in Red Porphyry (1) (video)
Resumed
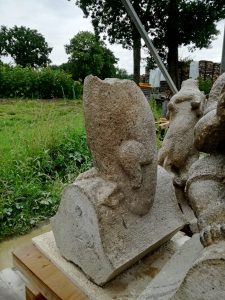
I finally continued with my plaster statue of Pan (read here more about it). After much doubt about a beautiful red block of granite it ultimately became a piece of Chinese Porphyry. It is available in large blocks, and even though it is very hard and difficult to carve: it looks beautiful.


I thought I could take this opportunity to explain my approach to carving such a figurine. But on the first day I'd unfortunately forgotten the camera, so the video below regrettably doesn't show how I put the machine ready for use, hoisted the block up on it and made a wooden frame for the model.
Pedestal
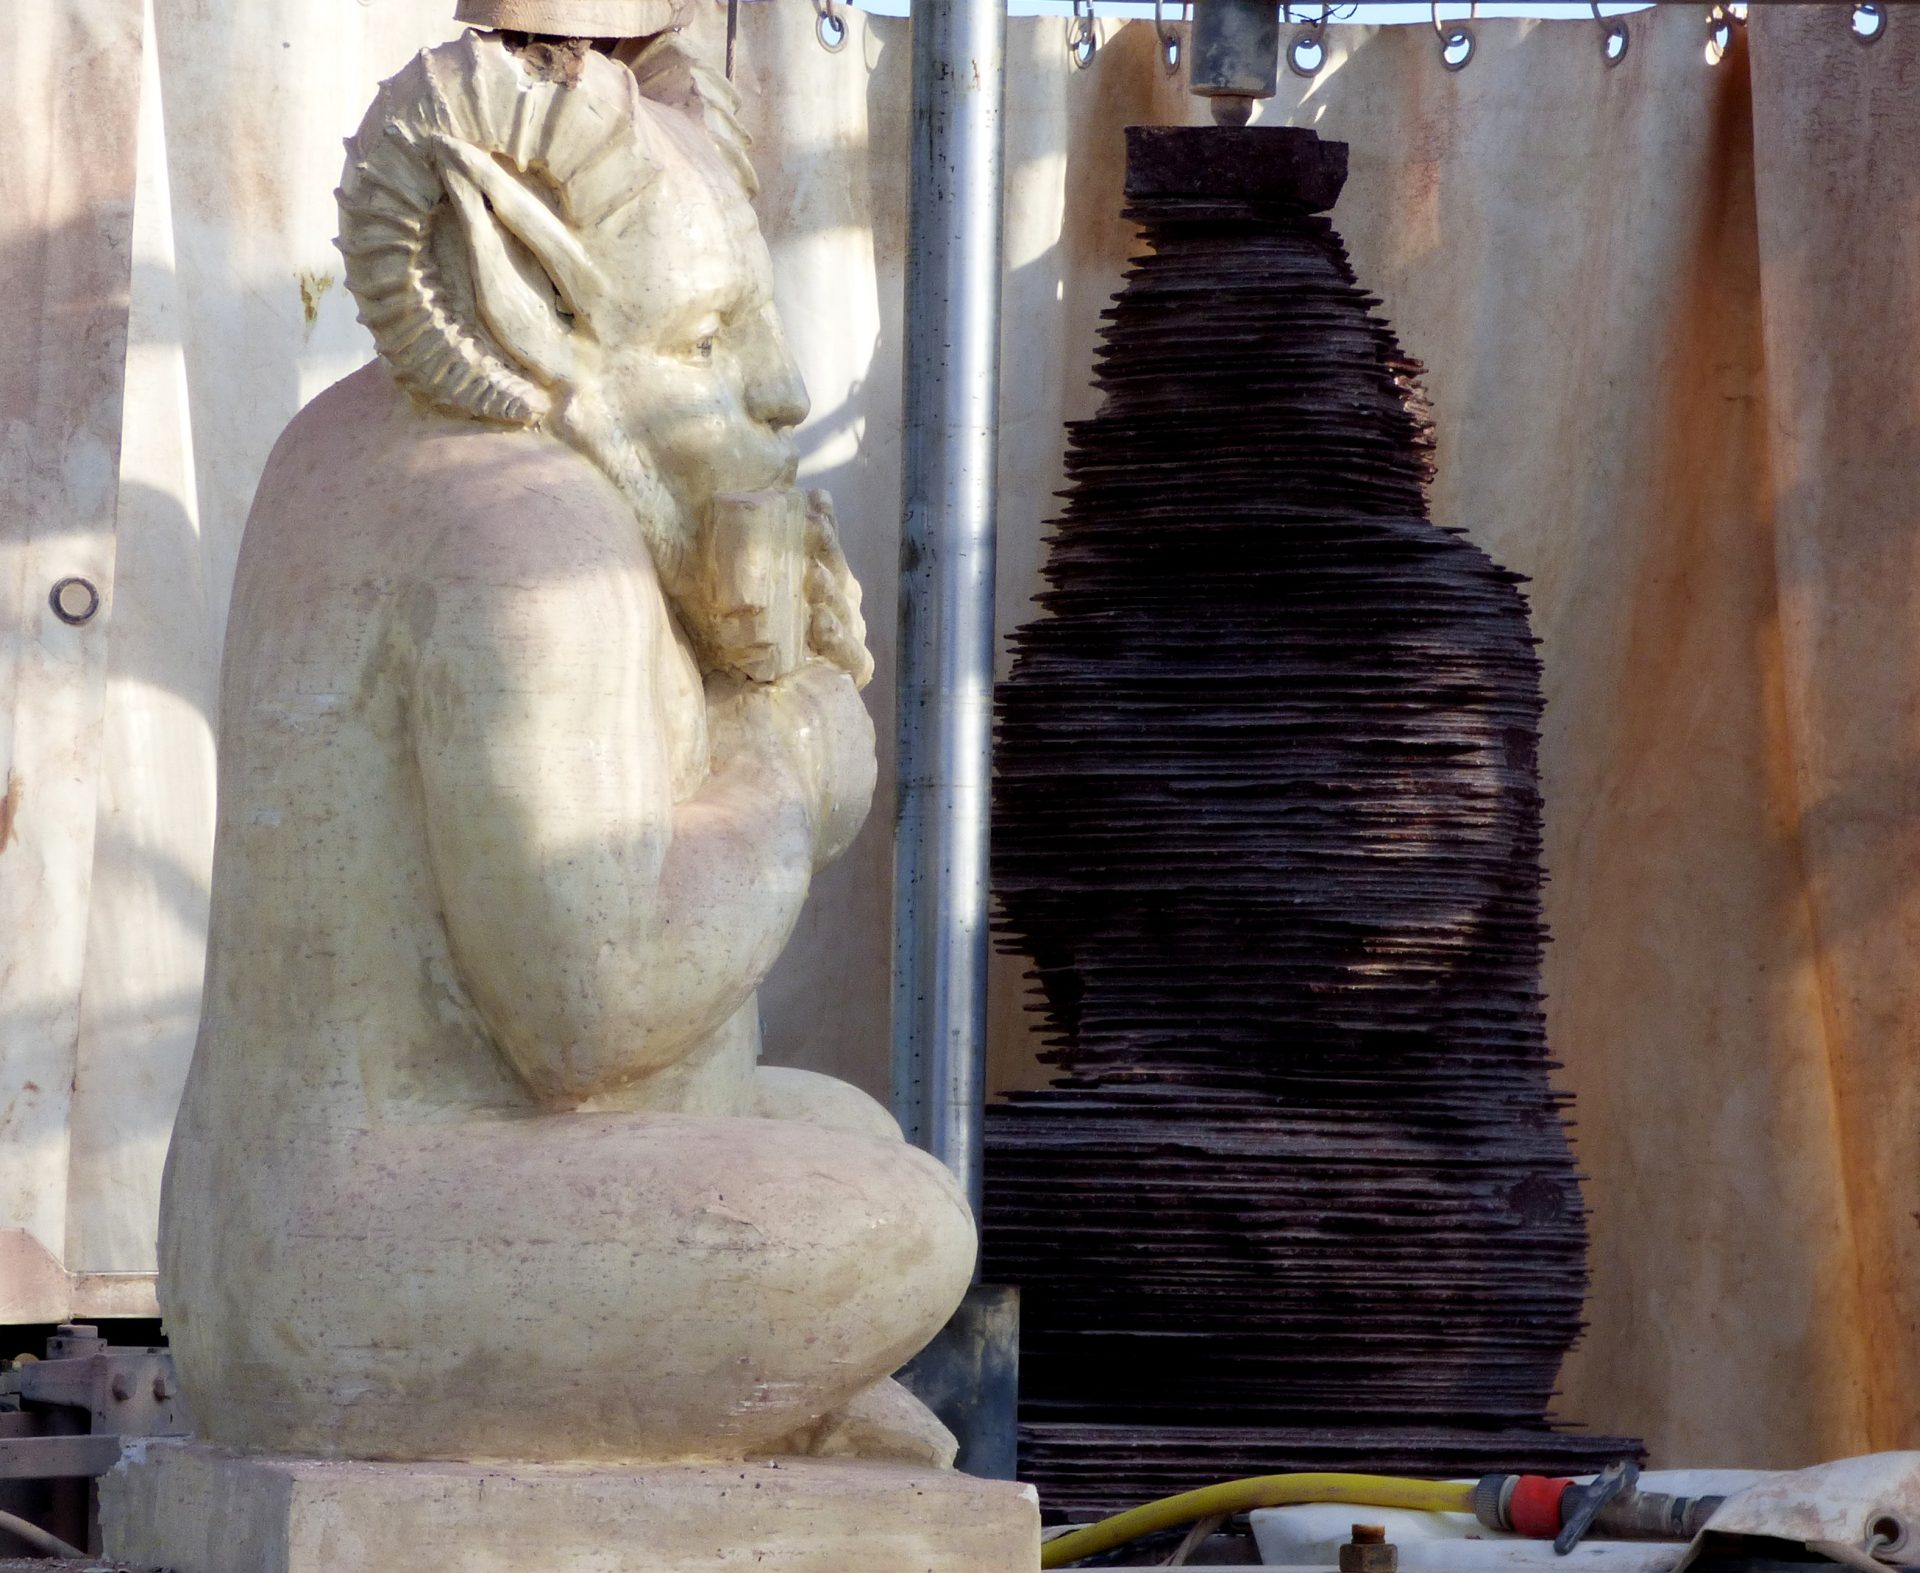
I have actually ordered a way too large block! The idea was that I would attach the plinth to the sculpture in one piece, or rather let it still be attached. Sculpture and pedestal from a single block. But for that I'll need to carve the statue as high up as possible inside the block , and everything below that will be the base.
A while ago I welded some stainless steel nuts onto the turntables, in order to secure the flying buttress figurines properly. That came in handy this time; because I could now fix a pair of twobys on the turntable, and from there I further built the woodwork up. It had to be quite firm because it absolutely shouldn't deform under pressure: otherwise the copy would not be cut accurately.
Alignment
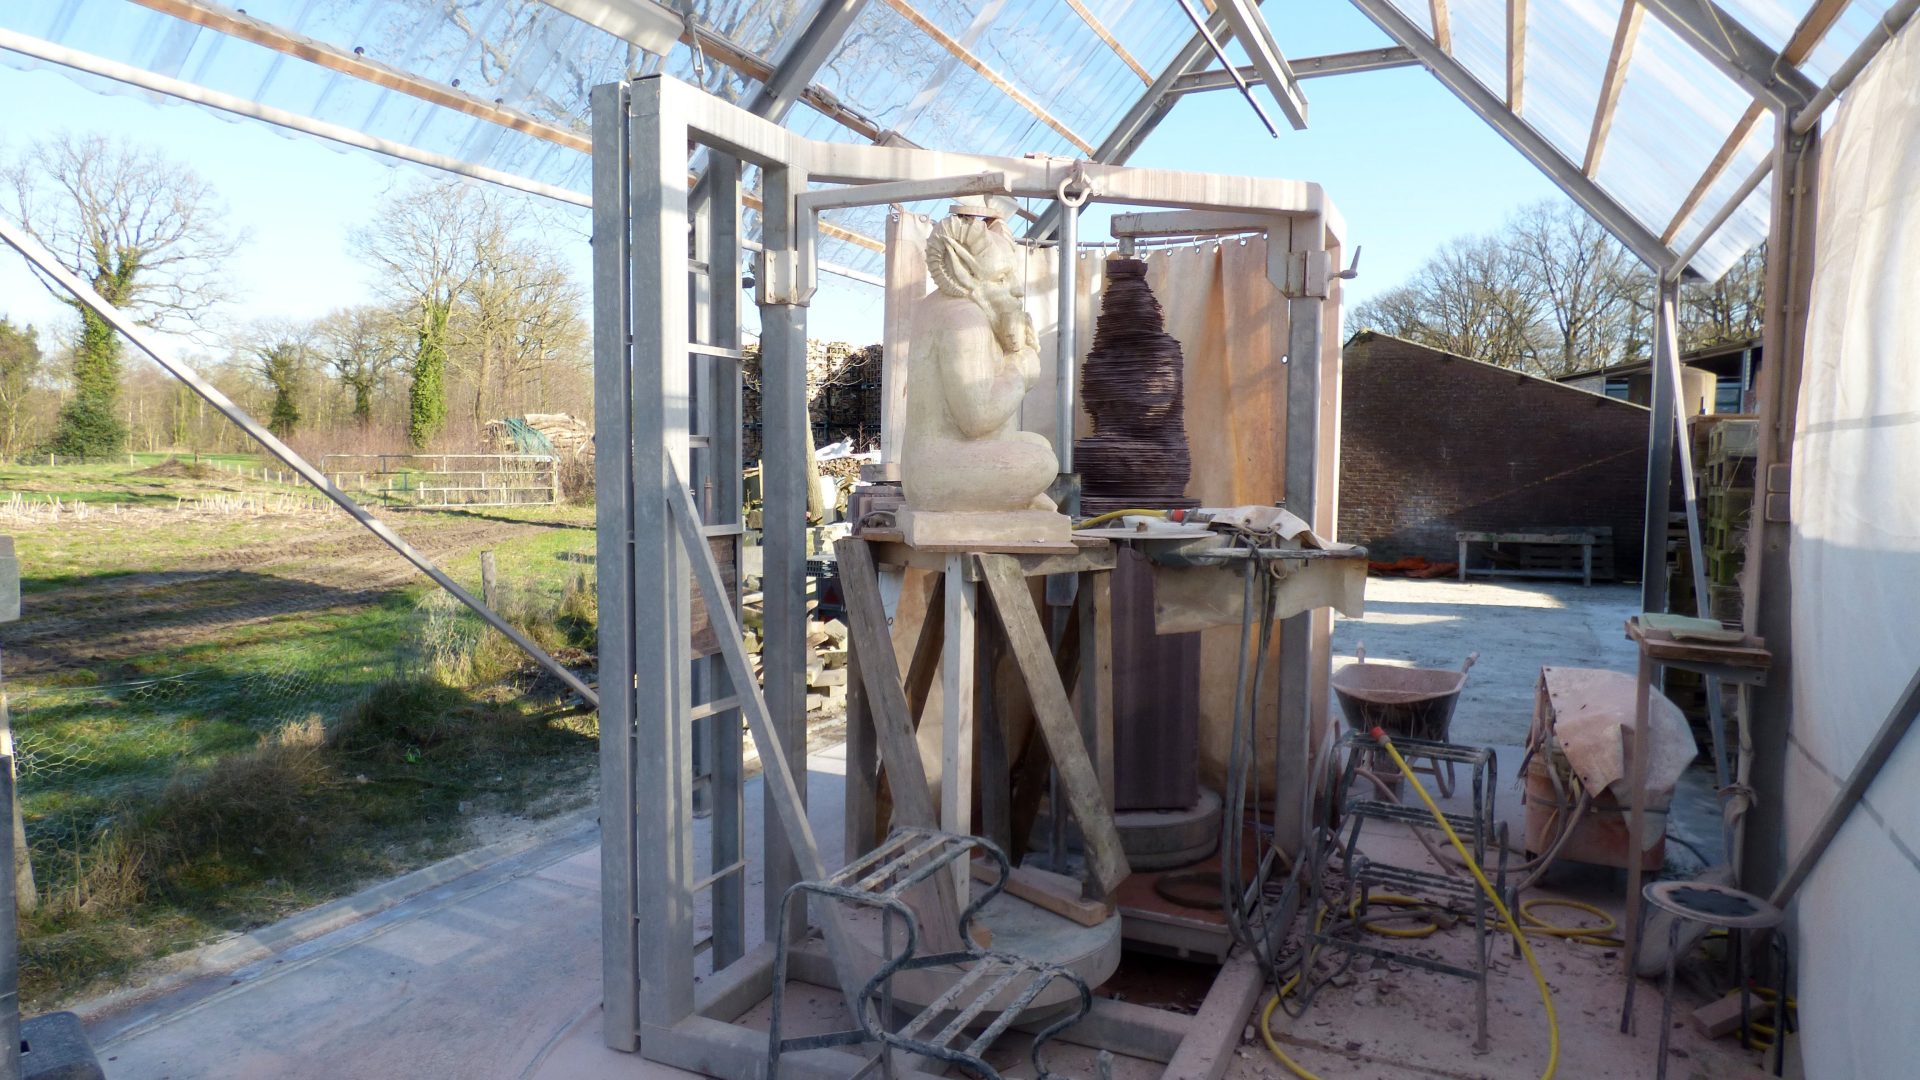
The first job is to accurately align the sculpture. It should fit within the block on all sides. For that reason I had already ordered the block a little bit bigger, otherwise it would become very difficult. If I would not put it exactly right, it would cut away too much on one side and on the other side there would not be enough material left.
Block and model are also secured below and above by two center points, so that nothing can shift during the process.
With a blunt saw

I cheerfully started sawing, but it was not quite that easy! I had been warned beforehand: on porphyry a blade will quickly get dull and then it's all not so smooth sailing anymore. Well it was not as bad as I expected. My granite blade initially cut very well, except when I had to cut quite deeply. Only later it didn't do so well anymore. It started to pinch, jam, and start to follow a previous cut and everything took an excruciatingly long time. I ultimately dulled four different blades on this one piece! All in all, it took three times as long as with for example the limestone flying buttress figurines , and it didn't look as good either.
I usually cut a sculpture in three rounds: in the first pass I cut layers of about five centimeters thick, at a few centimeters away from the final surface. The second round I cut layers of one and a half centimeter, to one and a half centimeter distance, and in the final round I preferably cut each line just below the last one, at 3 mm from final surface. Only the latter did not work so beautifully in this material as in for example at the Monkey.
Tapping away
Between each course I strike the porphyry off with a hammer. With a claw hammer in this case: I find I can strike faster than with a bulky hammer. This cutting process takes away a lot of material, but more importantly: it takes away a lot of the measuring work. And as you may know I have a thorough dislike of measuring.
Bad Luck
After the sawing, during which, because of the cold and wet, I had to change clothes several times, I cleaned everything and I wanted to continue right away with the carving. But then a hitch came: during a small job in between I cut my hand very deep. The sculpture is now at a standstill, and so am I: I'm sitting at home with three stitches. Again.
Apparently I needed a few weeks vacation.
Read more in Part Two on the heels of this.