Four pieces at a time….
Panipitha
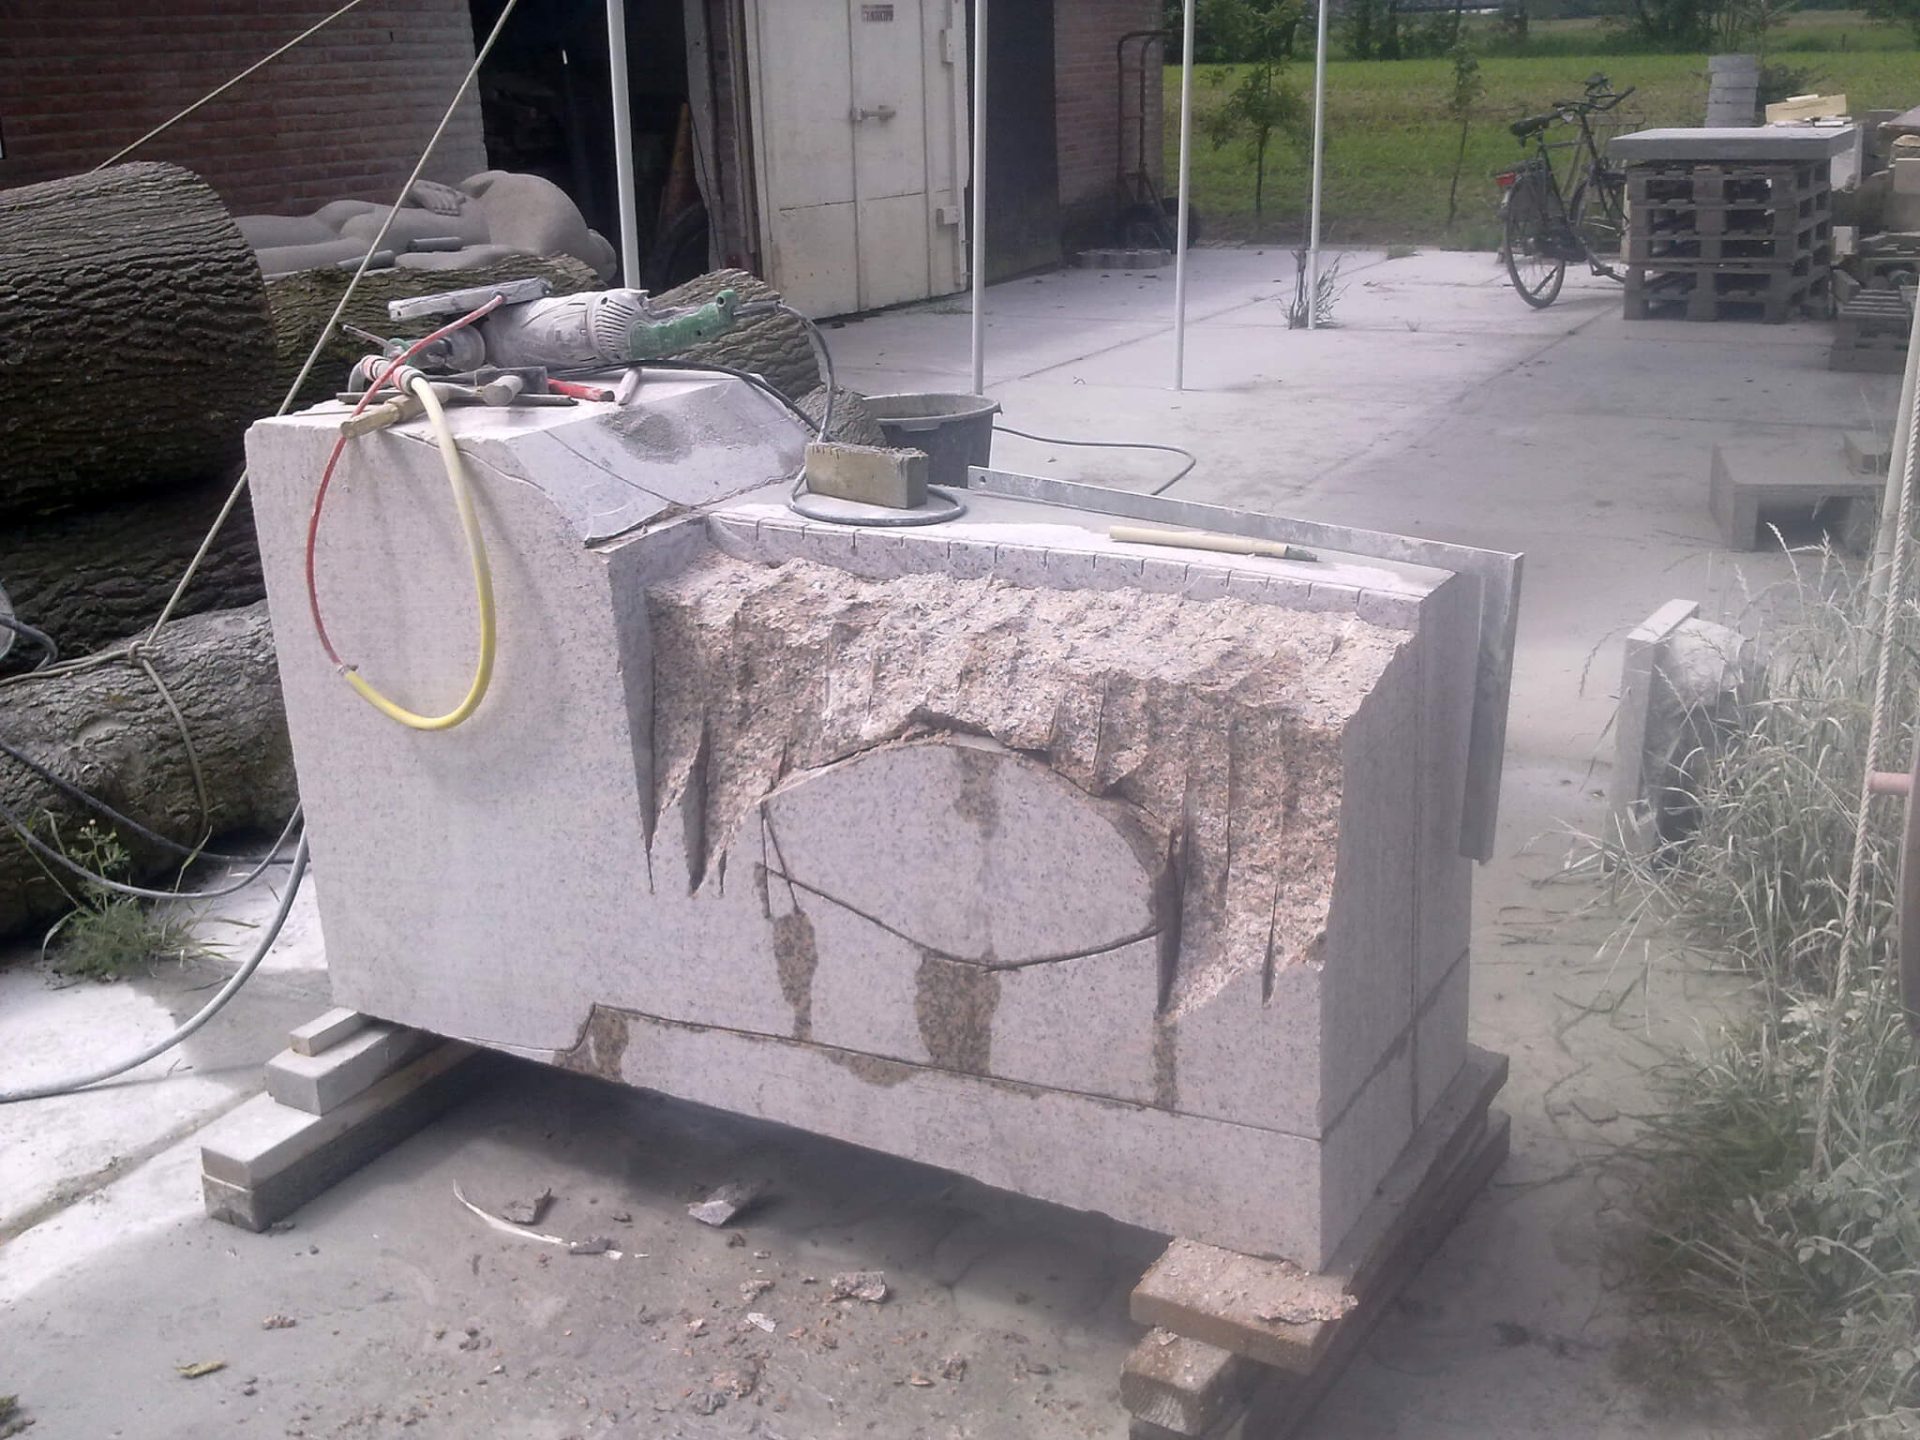
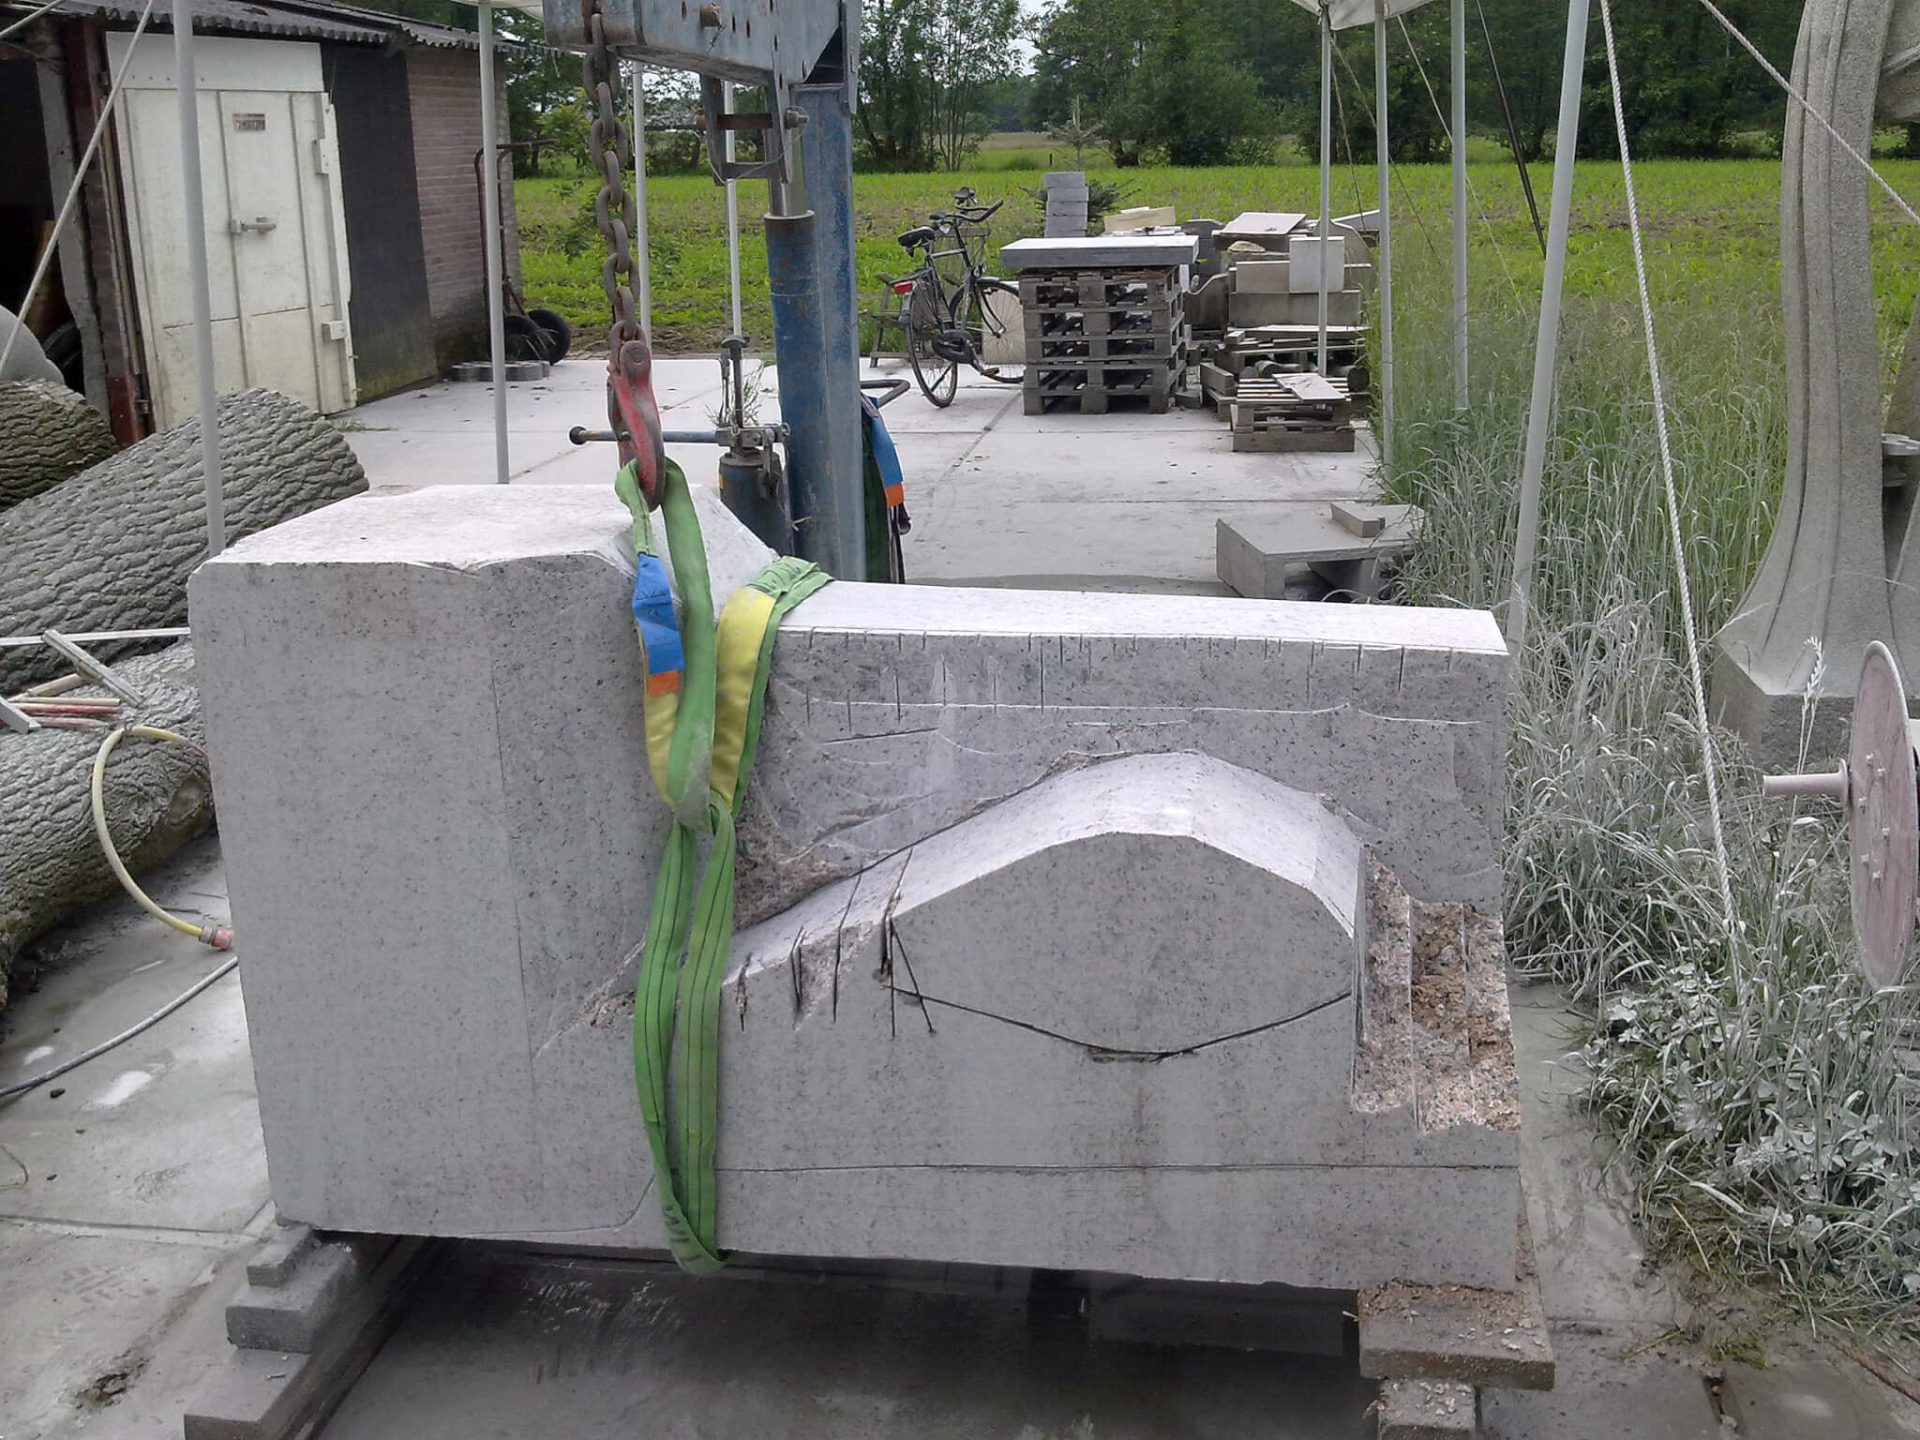
This past week I spent time working on four different projects at once, all of a different nature. First of all, the work on temperanceblack, square panipeetha just goes on. I've already shaped the top side and started sculpting the last four sides with the Lotus Motif.


It has been an enormous amount of manual work, especially because I could only polish by hand the rounded profile that lies deep in the middle of the block, and the same was true for a large portion of the top. The hole where the lingam has to go I mainly had to cut with a diamond saw, and because the material is so hard, that was almost a day's work for just the hole! But now it's coming along very nice. In the pictures there is a lot of dust and sludge on it, but the whole upper part is already polished deep black to grit 10.000.
Nasty the first message over dit Panipitha project.
Nasty the next post over Panipitha this project.
Contract work for others
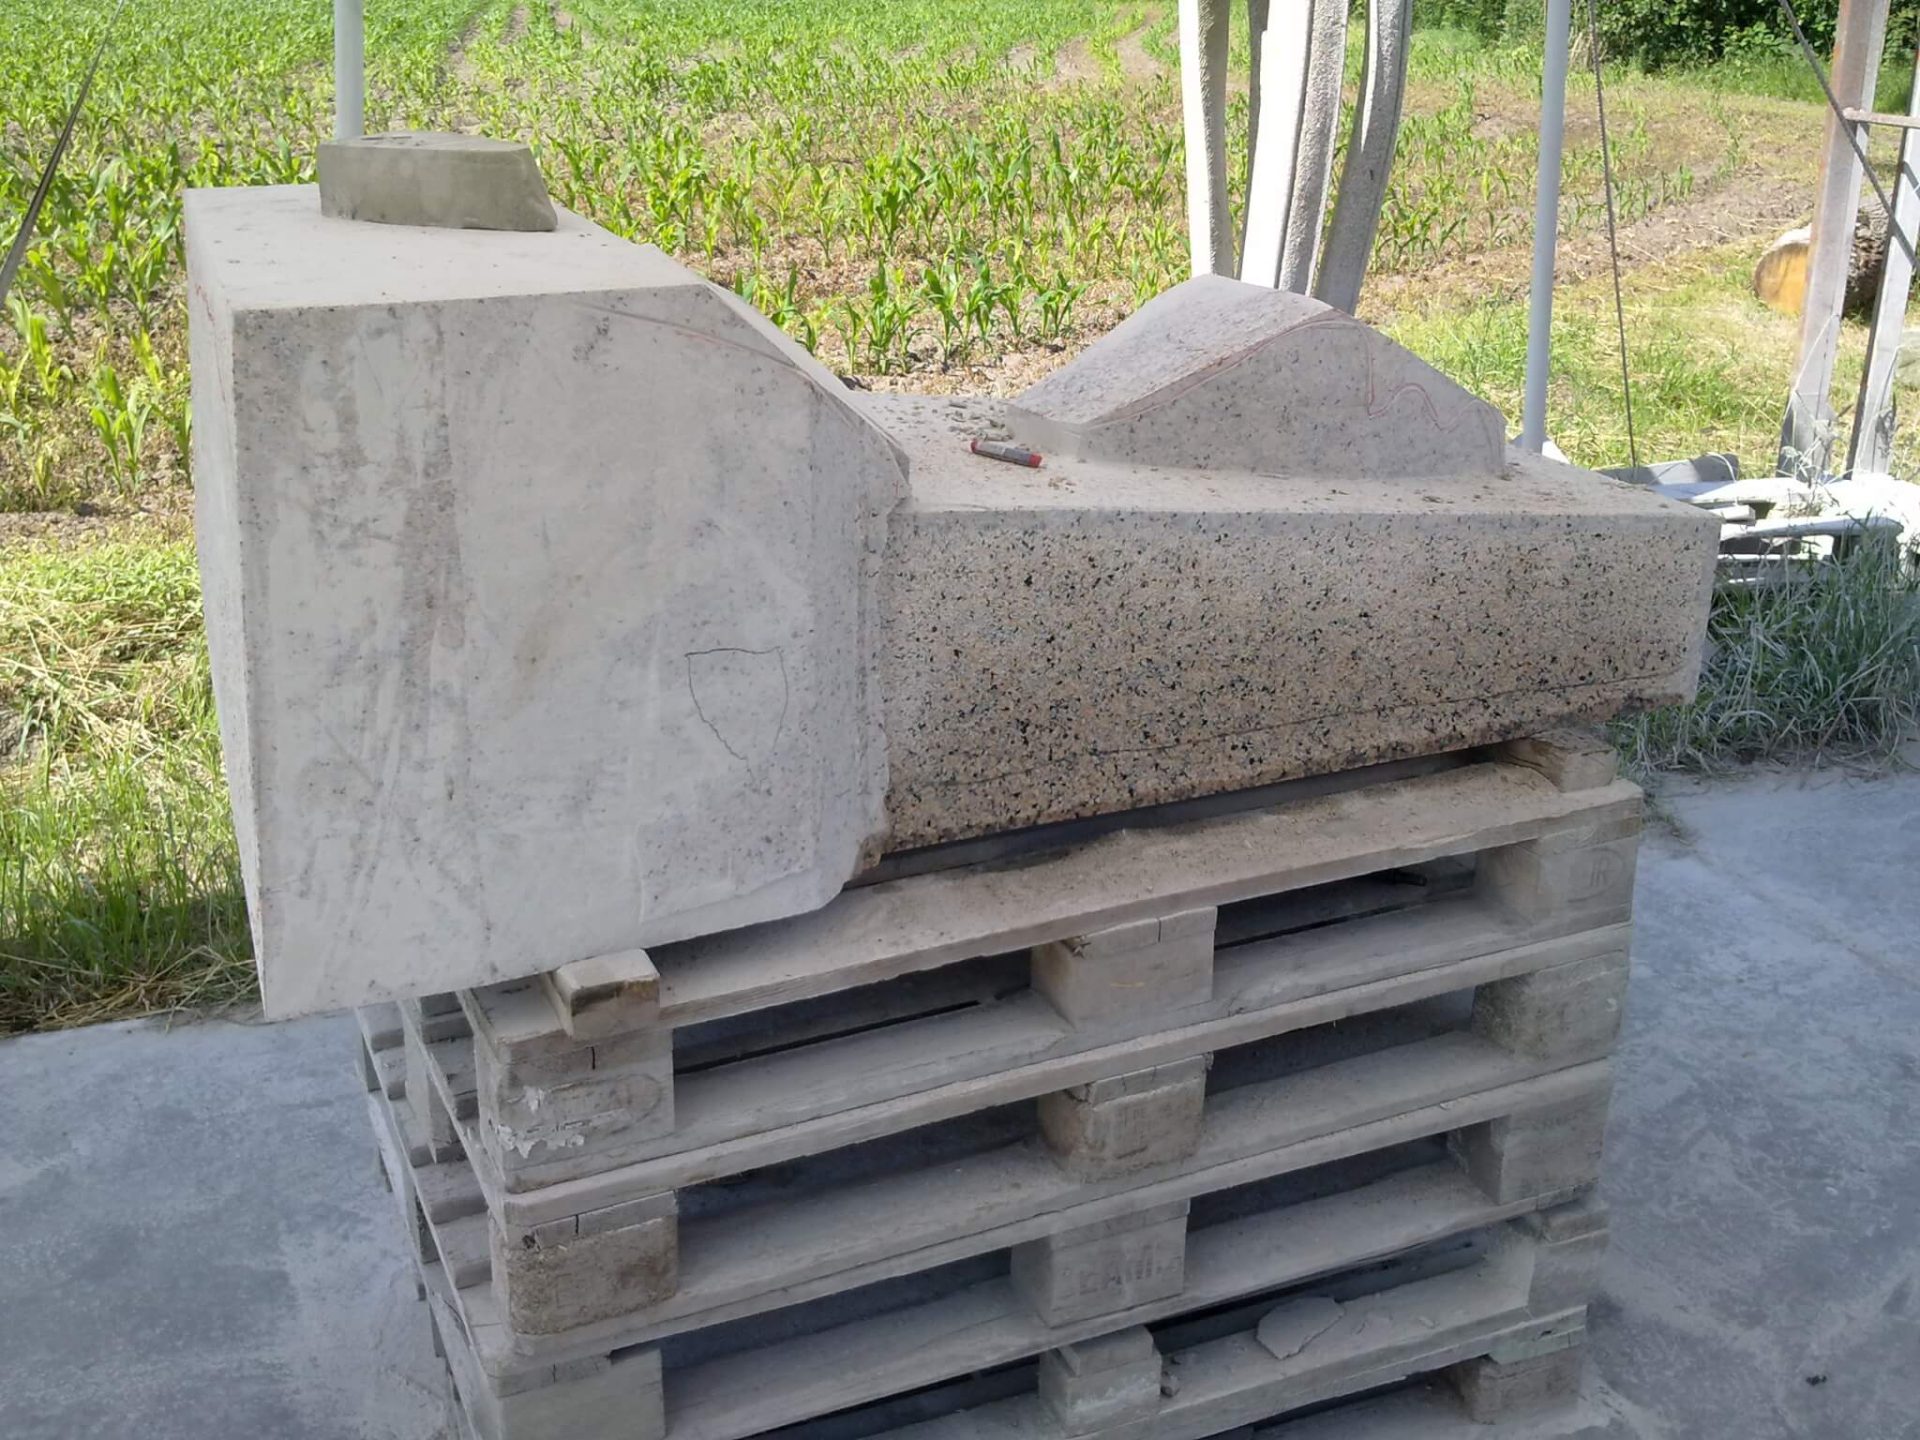
Then I have two projects in progress for other sculptors: the previously mentioned tombstone, and a bluestone relief.
Splitting Dolomite
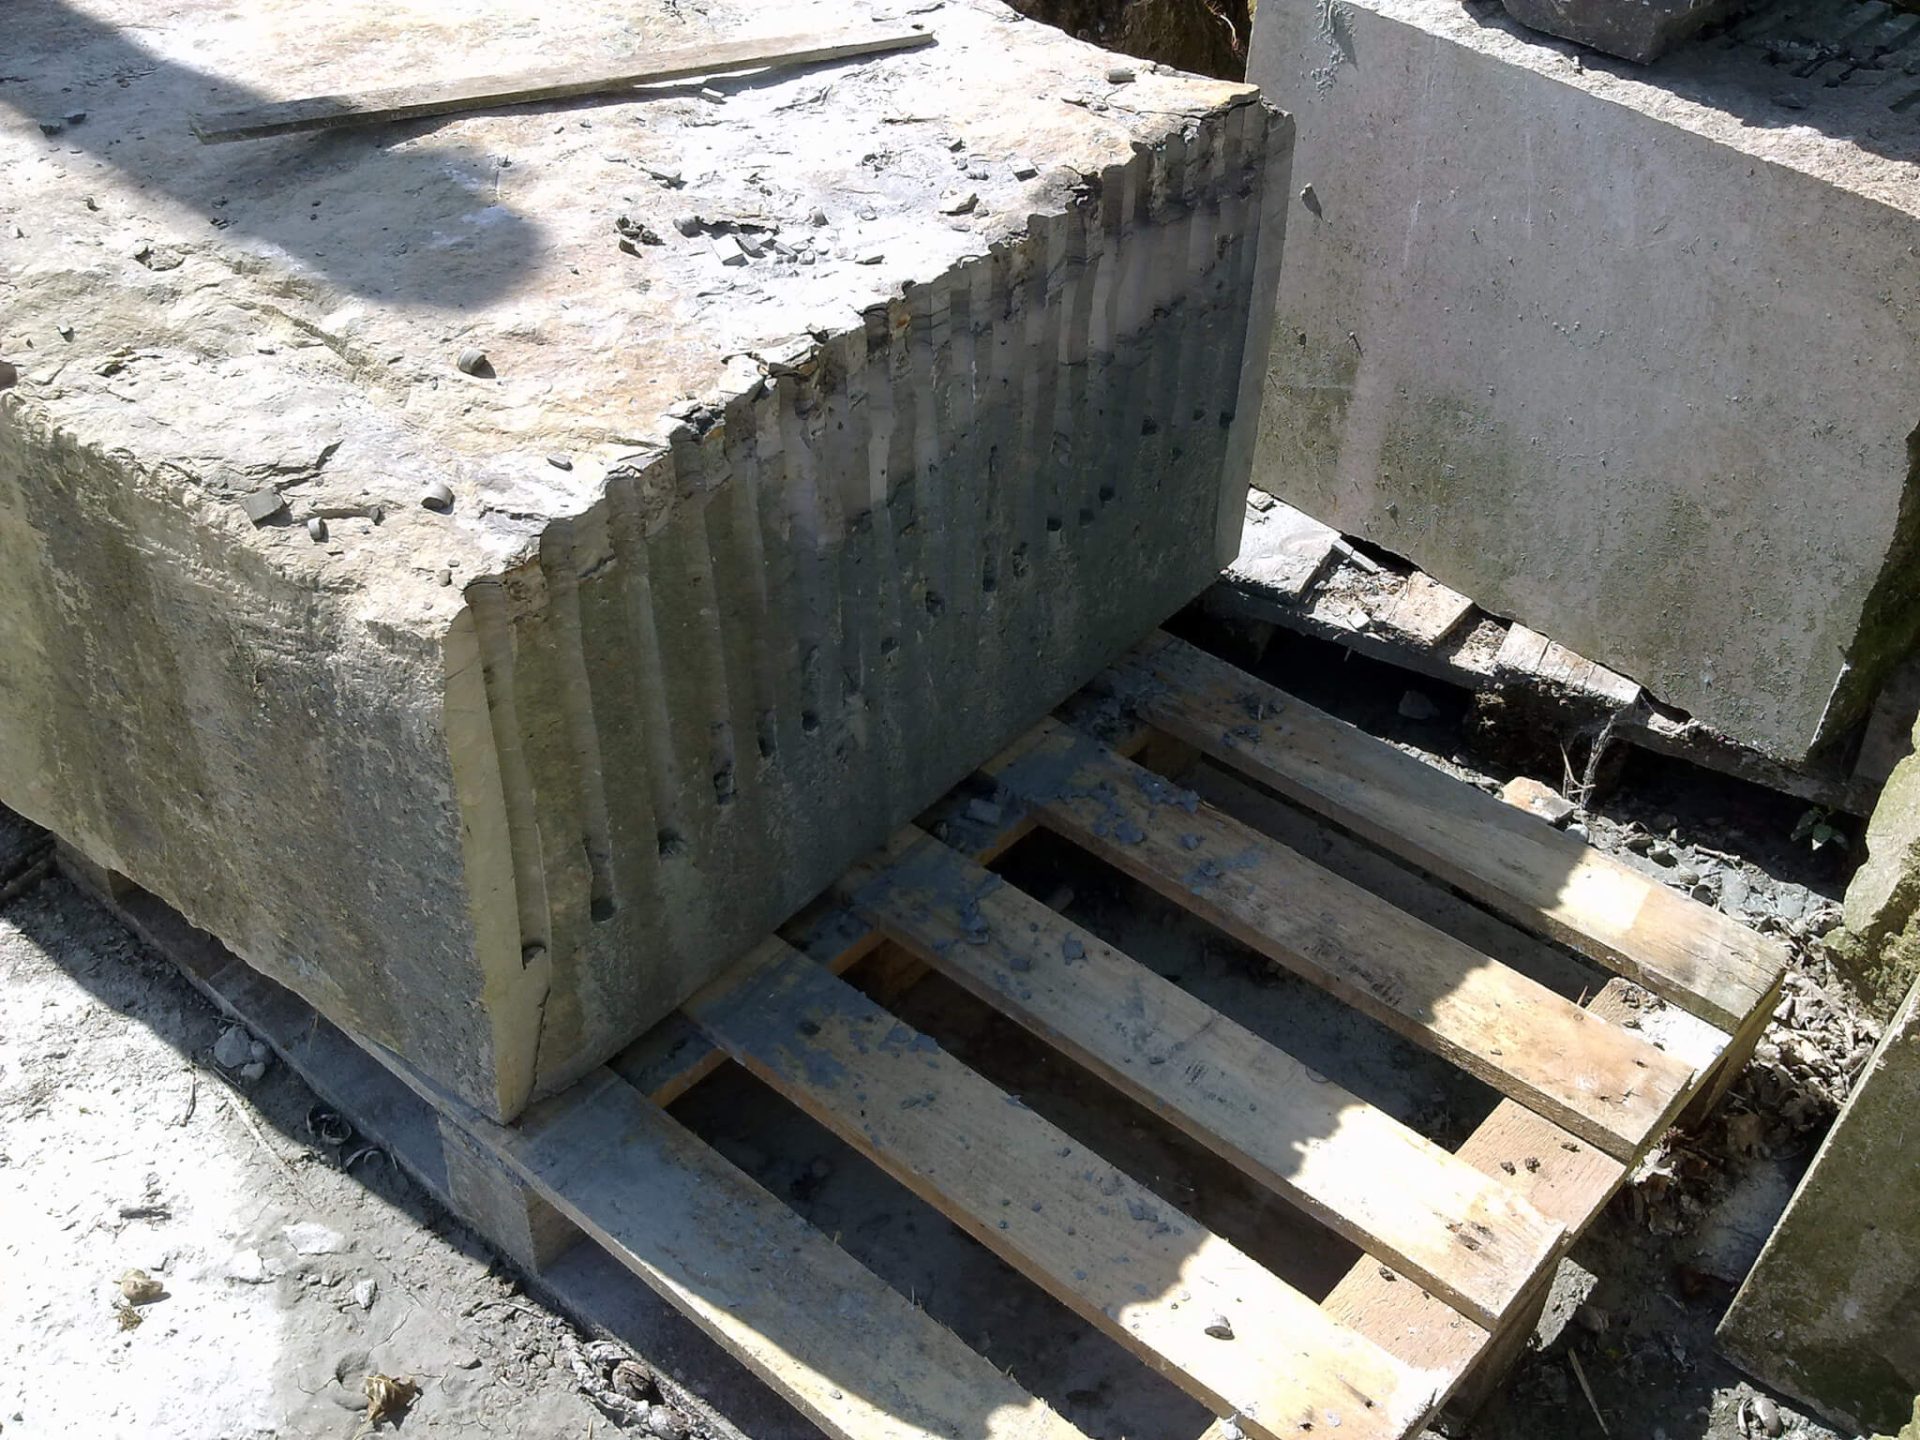
Finally, I started modelling, to make a stone statue of a brick layer, about which more later. For that, I also split a block of stone, Dolomite or Anröchter Grünstein. Basically, you need to have special sets of feathers and wedges, but I don't own one (they are also rather pricey, and you would soon need something like 15 of them). But not to worry, I made up my own variant. I bought a set of thin wide chisels out of chrome vanadium. I've noticed that splitting goes fine with those when I insert them into the cut. Because the block is 50 cms thick, I drilled a series of holes with the diamond drill (which goes a lot faster than using a hammer drill), sawed a deep cut on three sides, and 10 chisels in the top cut .
By then giving each chisel a tap until it's snug, and then hitting every chisel again, back and forth, the stone begins to crack at a certain moment. Just wait a little to give the stone time to crack, hit a few times more, and then it breaks-off splendidly! Also works well with concrete demolition, when there's no rebar in it. I first lifted the block up a bit and inserted a piece of angle iron under it, with the tip of the V pointing upwards, making it break in half nicely down the line.
To the next post about this dolomite project.